Smutterbutter Build


 05-12-2013, 08:54 PM
#77
Listen...you smell that?
Thread Starter

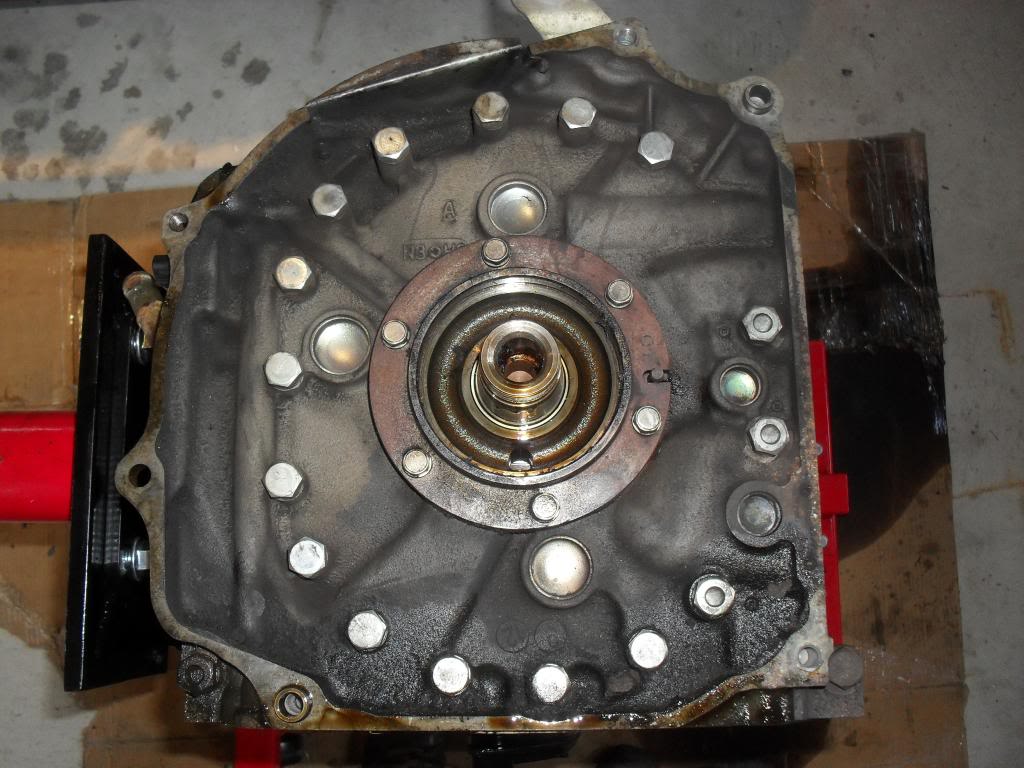
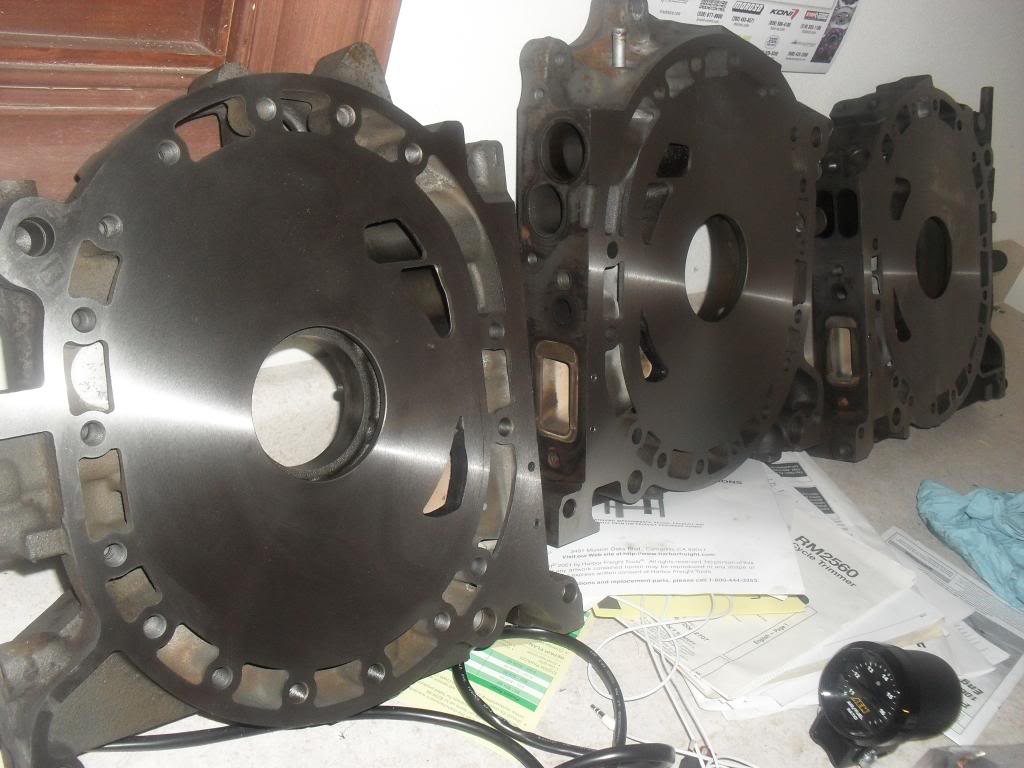
UPDATE! Been M.I.A for about a month, mainly due to the birth of my second child. Needless to say time to mess about in the garage was extremely hard to come by... It did give me a chance to take a second and third look at everything and really get a good idea what was truly going to be re-usable. Turns out this only includes the front and rear irons and eccentric shaft, everything else was fubar. At first glance I thought the rotors where still good, but the "trailing" edges of the apex seal grooves on both rotors were almost machined wider and had a palpable raised ridge along that side of the groove. In some grooves it was visually obvious that the middle of the groove was wider than where the apex seal met the corner seals. Not ideal. Granted this was a 100k mile engine that was obviously neglected, I wasn't horribly surprised, just disappointed.
So then I was really debating hard whether or not to forge ahead with my goal of rebuilding this beast myself or throw in the towel and get a reman from Mazmart. Destiny intervened and a 05 Renesis with 70k came up for sale locally which I snagged for a good price. So now its all or nothing. If I can get a usable set of irons and rotors out of these two engines I'll go on rebuilding it myself as planned. Then part out the rest for a little bonus. If it turns out I just spent a couple hundred bucks on a hundred pounds of ****, I've got Mazmarts number!
So then I was really debating hard whether or not to forge ahead with my goal of rebuilding this beast myself or throw in the towel and get a reman from Mazmart. Destiny intervened and a 05 Renesis with 70k came up for sale locally which I snagged for a good price. So now its all or nothing. If I can get a usable set of irons and rotors out of these two engines I'll go on rebuilding it myself as planned. Then part out the rest for a little bonus. If it turns out I just spent a couple hundred bucks on a hundred pounds of ****, I've got Mazmarts number!
Last edited by Smutterbutter; 05-12-2013 at 09:05 PM.
05-12-2013, 09:12 PM
#78
Listen...you smell that?
Thread Starter
Once again had to take advantage of a local shop to get that main front pulley bolt out of engine #2. Took an INCREDIBLE amount of heat and torque to get this one out. Strangely much more difficult that from the 30k mile older engine. Always fun to bring in a rotary engine to a shop that specializes in Toyota's..."Whoa! Is that a three rotor?"
Last edited by Smutterbutter; 05-12-2013 at 09:26 PM.
05-12-2013, 09:33 PM
#79
Listen...you smell that?
Thread Starter
Well, if the cleanliness of the tension bolts correlates at all with the condition of the internals, my gamble of purchasing a second engine just may pay off... At the very least I'll have some more fun taking another one apart and gasp at the unholy destruction that has occurred within! Hopefully I'll find some time in the next week to tap this keg, pics to follow.
 07-07-2013, 09:25 AM
#81
Listen...you smell that?
Thread Starter
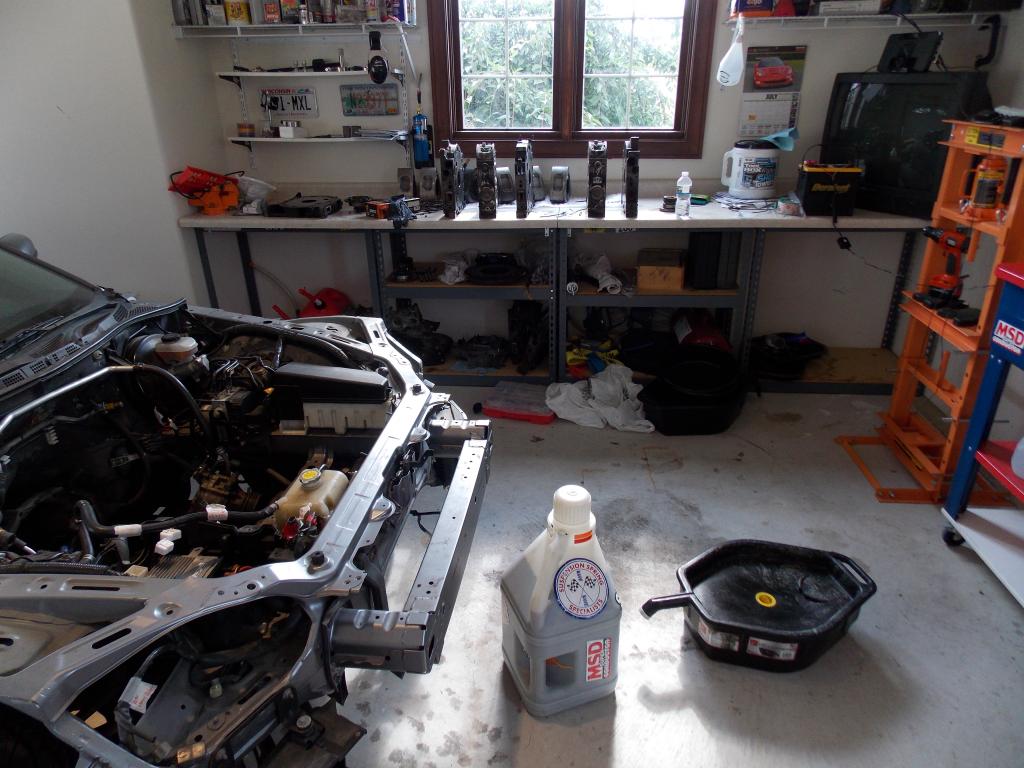
So this is what its like to own a rotary powered car...2 disassembled engines, lots of parts, and a car that hasn't moved in almost a year!
07-07-2013, 09:36 AM
#82
Listen...you smell that?
Thread Starter
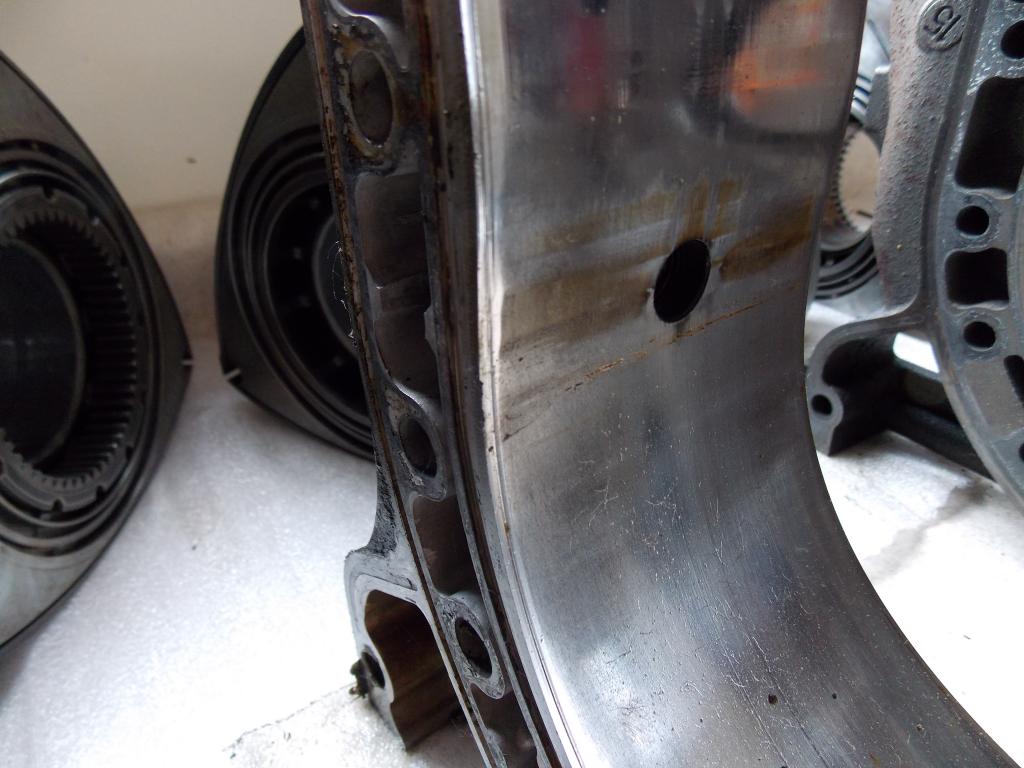
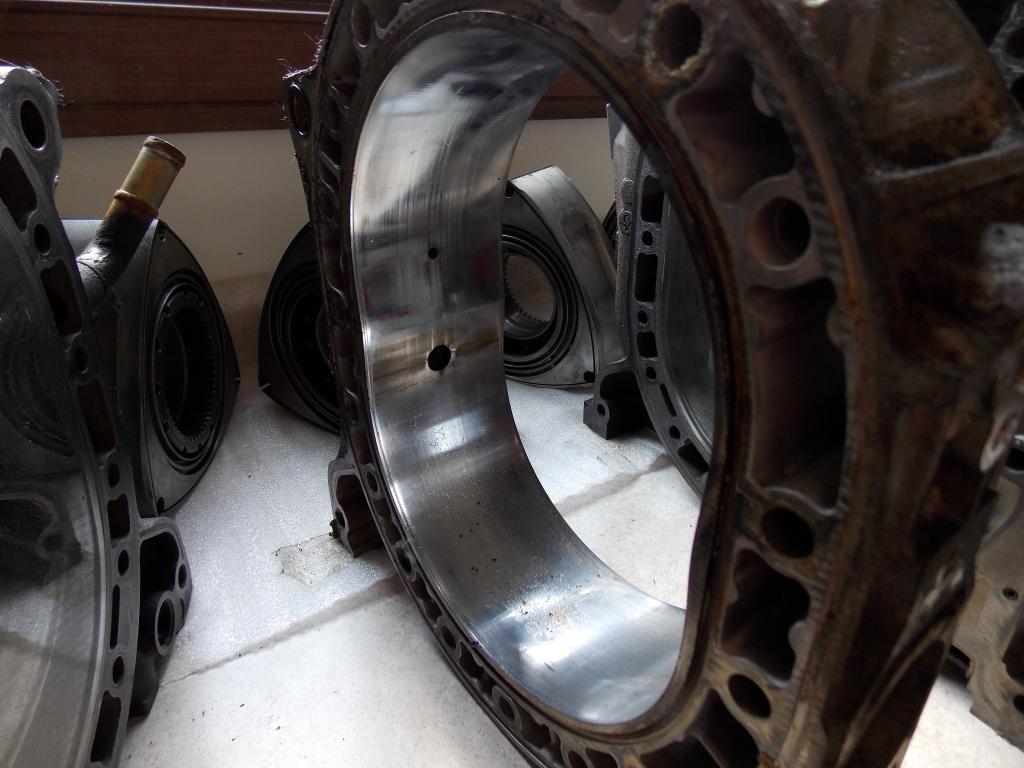
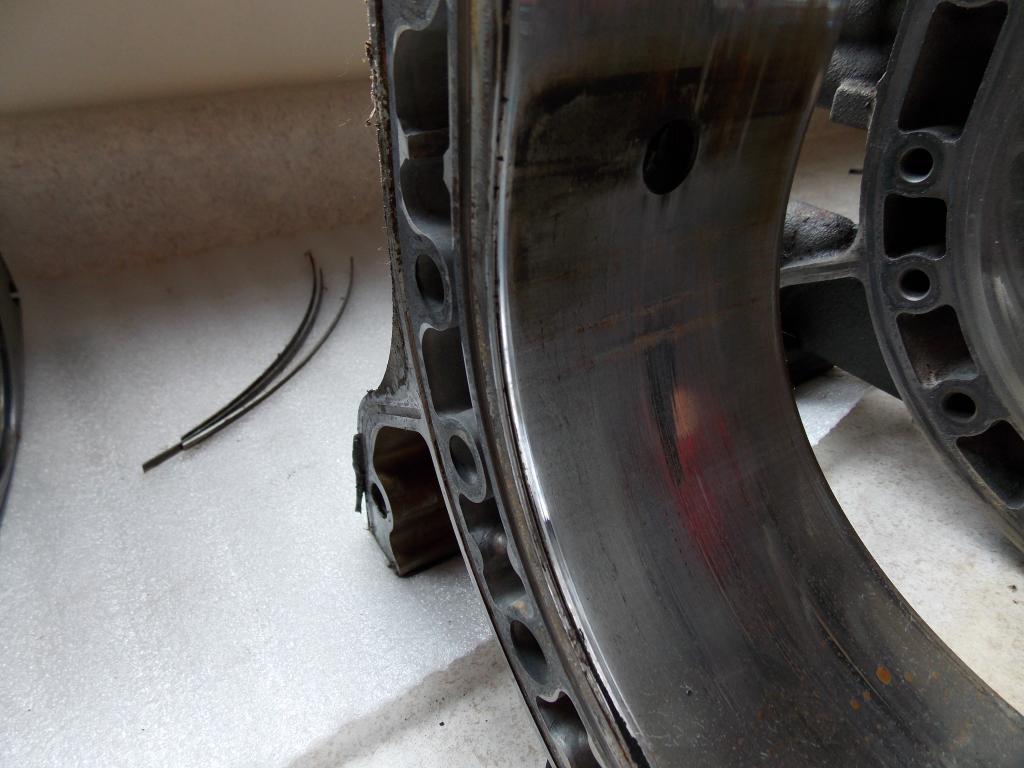
This was the rear rotor housing I believe from engine #2. At first didn't look too bad, no flaking at all, BUT there was a pretty deep groove that had developed by the rear facing edge of the housing. I'll add that all the side/apex/corner seals from this engine were intact. Any insight as to what caused this?
 07-07-2013, 09:52 AM
#84
Listen...you smell that?
Thread Starter
Same issue on the front housing, rear facing edge, much more severe though. Hard to get a pic of it but it looked like the chrome or the housing itself was machined up against the side housing. It formed a razor sharp edge, found that out the hard way...
07-07-2013, 09:55 AM
#85
Listen...you smell that?
Thread Starter
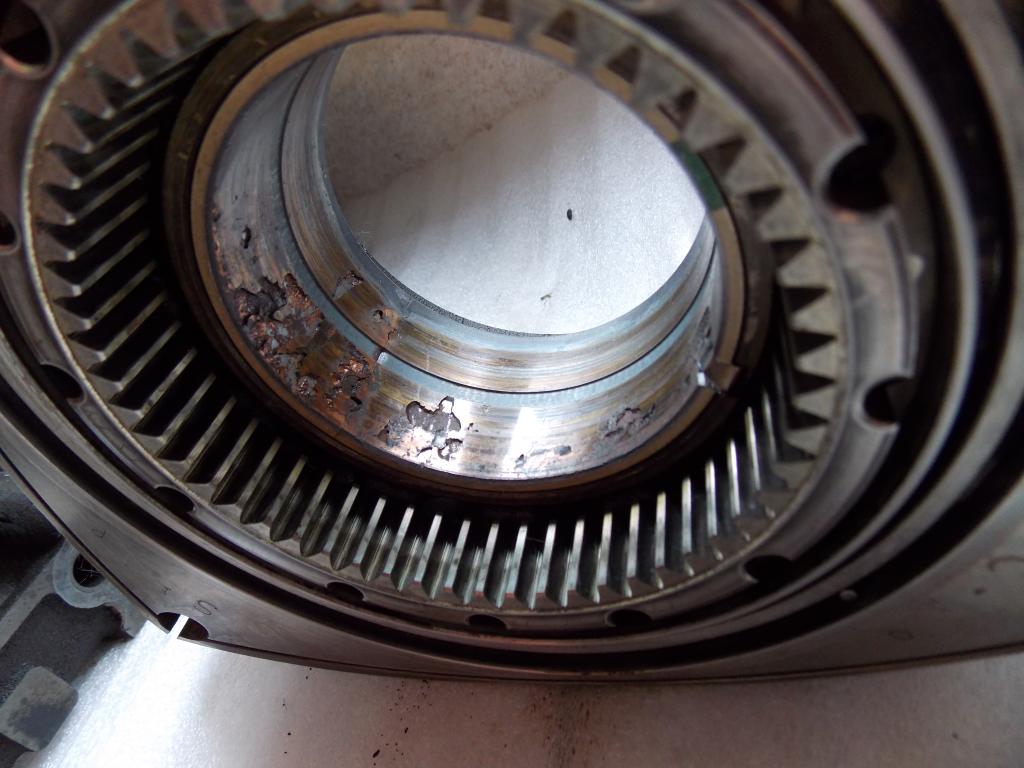
This is the Front Rotor/Bearing. Yikes! Thinking back I didn't notice any copper flakes in the oil pan or anywhere else in the engine. The rear rotor bearing also had excessive wear but nowhere near the amount of carnage of the front.
 07-07-2013, 11:01 AM
#87
Listen...you smell that?
Thread Starter
Agreed. Good news is that I got what I was after with engine #2, a reusable middle iron and 2 good rotors. In fact I'll probably use all 3 irons from engine #2. So I should be able to Frankenstein together an engine from the best parts from both engines.
07-08-2013, 01:19 PM
#88

This was the rear rotor housing I believe from engine #2. At first didn't look too bad, no flaking at all, BUT there was a pretty deep groove that had developed by the rear facing edge of the housing. I'll add that all the side/apex/corner seals from this engine were intact. Any insight as to what caused this?
http://i1283.photobucket.com/albums/...psc7ee5606.jpg[]
http://i1283.photobucket.com/albums/...psc7ee5606.jpg[]
the apex seal needs to be able to change lengths to seal at the ends, and they do this with the triangle piece at the end. Mazda has tried a few different designs over the years but the 81+ design has the apex of the triangle as close to the end of the main seal as possible, as this give the smallest leakage area. the downside is that the housing gets worn.
the previous and aftermarket seals moved the triangle further away from the end of the seal, which is easier on the housing, but offers more area for gas leakage
07-08-2013, 08:02 PM
#89
Listen...you smell that?
Thread Starter
Is the triangle piece always by the rear facing edge of the rotor housing from the factory? Wondering if during a rebuild you could assemble the apex seals with one apex seal in opposite configuration from the other two to minimize this type of wear pattern.
07-09-2013, 10:41 AM
#91
yep, you start with the front housing and work your way back.
07-18-2013, 09:09 PM
#92
Listen...you smell that?
Thread Starter
UPDATE! So I made an epic discovery this week. Turns out a local mazda/rotary shop called Triple R Autosports has been around for about 6 years without me knowing about and has recently moved into a new space about 5 miles from my house! Brought the irons and rotors that I plan on using for the rebuild by today to get checked out. Talked with the owner/operator Randy, nice guy, master mazda mechanic for over a decade, and does a lot of the rotary builds for the local club racers and track rats. He sends his irons to a guy in Chicago where they are grinded instead of lapped. This made me a little hesitant due to the fact that everything you read says lapping is the superior and preferred method. But he's been using the same guy for years and he agreed to a straight up trade, all 4 surfaces ground in exchange for the rotors and stationary gears from the other engine I have. So I went for it. I figure if it works out I know I can trust this guy from here on out with the rebuild, which I hope it will, because he definitely knows his **** otherwise, plus, how freaking awesome is it to have a shop like this so close! I was days away from shipping my irons to racing beat for lapping which would of cost me over $500 including shipping both ways.
08-31-2013, 09:10 PM
#93
Listen...you smell that?
Thread Starter
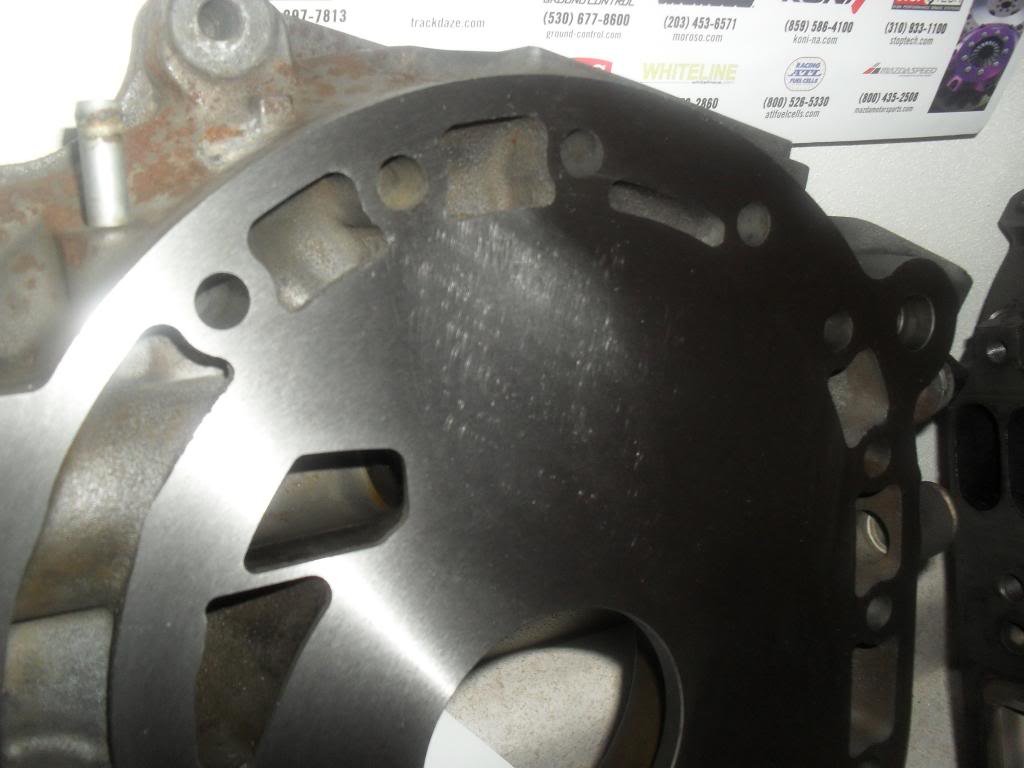
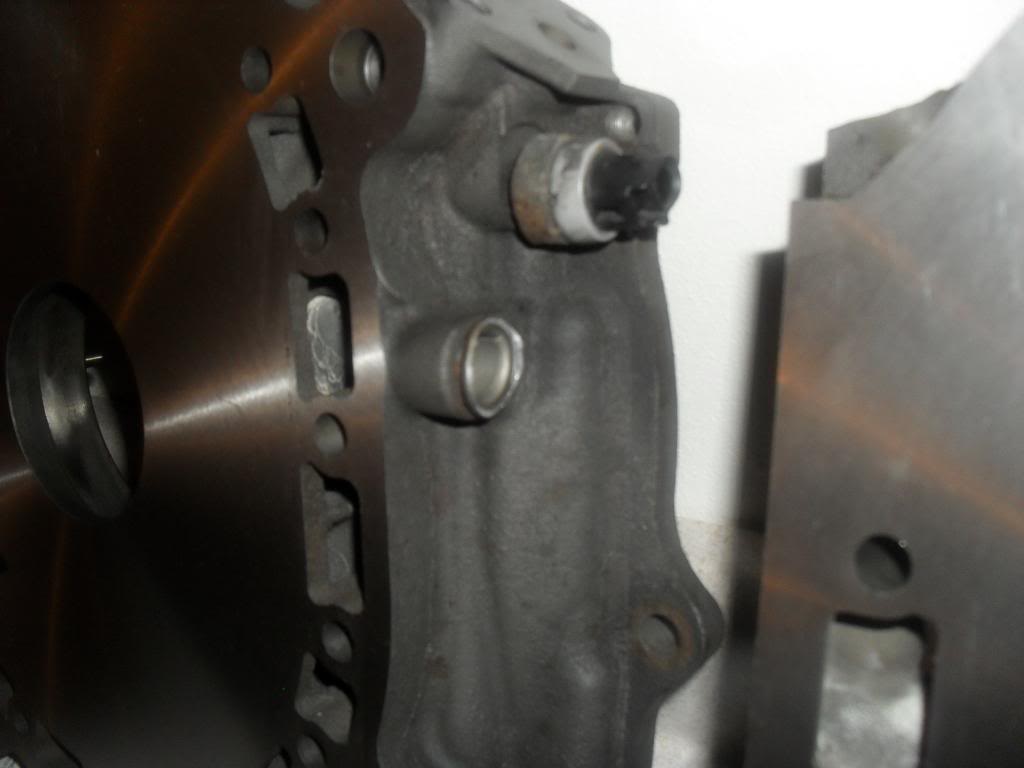
Finally ready to make a little progress with the rebuild again. My irons had been sent off to a place in Chicago to be grinded and got put on the back shelf I think so all the guys getting their rebuilds done before the runoffs could get there's sooner. At first I was really excited that I had found a local place to handle the resurfacing of the irons, especially since all he wanted in return was some parts from the first engine I was never gonna use anyway. But I got worried when I heard they grind them instead of lap them. But to save literally hundreds of dollars I went ahead with it. Its a place he had used many times before and many of the local racers use so I felt good about that. Just picked them up today and for the most part they appeared really good. When asked how much they took off he said "about 5 thou". I said "total?". Then he said "no, from each face"! Holy **** I hope this guy knows his **** or my rebuild will turn to **** in a hurry. The place that grinded them also broke off the coolant pipe piece from the rear iron and it looks like something scraped across the finished surface leaving very minor but noticeable scuffs. I had a moment of extreme apprehension when I pointed the scratches and he quickly took a small wet stone to the iron and rubbed out the imperfections (see scuffed area in Pic).
 08-31-2013, 09:21 PM
#96
Listen...you smell that?
Thread Starter
So after a month of waiting for these irons to come back I'd be lying if I didn't say I'm a little disappointed with the condition of the rear one despite the service only setting me back some parts I was never going to use. So if some of you guys who have done rebuilds yourself want to chime in I could use some input on what to do from here:
1. I have another rear iron I could have grinded, should I try again with that one or am I being uber paranoid and the one I got back slightly F'd will be fine after a few break in miles?
2. Whats the best route to go with getting the broken coolant pipe out/replaced? I've seen it where people will actually thread the iron and screw in a fitting and seal it with Loctite or should I just go oem press fitting? What's the best method to get this piece out/in? Cut it out? Heat the iron and yank it?
09-01-2013, 10:15 AM
#97
Driving my unreliable rx8

Smutter,
Wow that sucks. I've seen a ton Of things that say the coating is only 5 thousands thick so I'd be cocerned about that and give some other shops a call. I wouldn't have worried about grinding personally. It can squeeze a few Hp out of good irons but if they are bad you should f ind good irons. Did you talk to the shop about he broken coolent passage? I'd expect them to take care of that.
Wow that sucks. I've seen a ton Of things that say the coating is only 5 thousands thick so I'd be cocerned about that and give some other shops a call. I wouldn't have worried about grinding personally. It can squeeze a few Hp out of good irons but if they are bad you should f ind good irons. Did you talk to the shop about he broken coolent passage? I'd expect them to take care of that.
Last edited by logalinipoo; 09-01-2013 at 10:18 AM.
09-01-2013, 11:51 AM
#99
Listen...you smell that?
Thread Starter
Smutter,
Wow that sucks. I've seen a ton Of things that say the coating is only 5 thousands thick so I'd be cocerned about that and give some other shops a call. I wouldn't have worried about grinding personally. It can squeeze a few Hp out of good irons but if they are bad you should f ind good irons. Did you talk to the shop about he broken coolent passage? I'd expect them to take care of that.
Wow that sucks. I've seen a ton Of things that say the coating is only 5 thousands thick so I'd be cocerned about that and give some other shops a call. I wouldn't have worried about grinding personally. It can squeeze a few Hp out of good irons but if they are bad you should f ind good irons. Did you talk to the shop about he broken coolent passage? I'd expect them to take care of that.