Smutterbutter Build
 09-21-2014, 07:34 PM
#151
Listen...you smell that?
Thread Starter

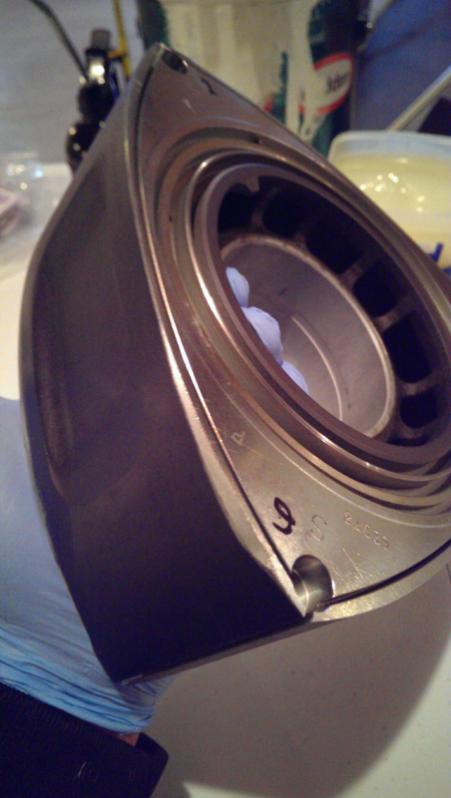
Hmmm...I'm gonna take that APV actuator off one more time just to double check and take a pic for you guys to see. The magnet on the apv actuator should be at about 2 o'clock from what I've read. Thats where its at with the valves in the position you see above.
 09-21-2014, 09:17 PM
#152
Driving my unreliable rx8

I tried that and it took some fine tuning. Post a pic and ill take my best guess. It took me a lot of time and playing. To the point i was ready to pull the engine and replace the whole manifold.
09-24-2014, 10:01 PM
#153
Listen...you smell that?
Thread Starter
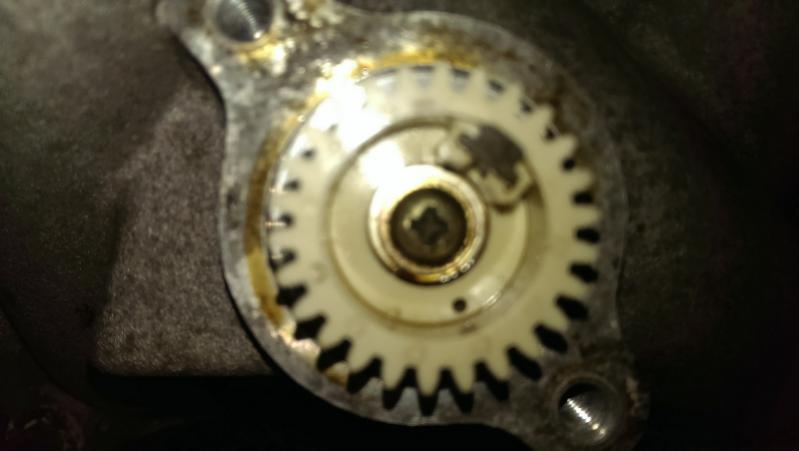
This is where the external gear sits with the valves closed and the internal gears in the position from the previous posts pics. There is definitely some slop with this assembly. I can turn the external gear a few teeth before the valves start to move.
09-25-2014, 08:46 PM
#155
Listen...you smell that?
Thread Starter
09-27-2014, 04:08 PM
#158
Driving my unreliable rx8
I couldn't get a pic of mine but it looks right. The magnet is right in the middle of the bolt holes. If its wrong you'll get a code quick. Its a real pain but i can explain how to fix it without pulling the engine. . It took me a few hours to get it fixed. And real tight working area.
09-29-2014, 01:45 PM
#159
Listen...you smell that?
Thread Starter
I think I've got it as good as it's gonna get. Everything seems to be lined up. My only question is that I can turn the APV external gear about 3-4 teeth before it starts to engage the valves themselves if I start with the magnet at 1 o clock. With the slack out the magnet is closer to 2 or 3 o clock but the valves would start moving immediately and potentially open more. I gotta be way over thinking this but if I can get it just right now I'm gonna do it.
09-29-2014, 01:47 PM
#160
Listen...you smell that?
Thread Starter
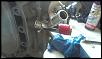
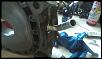
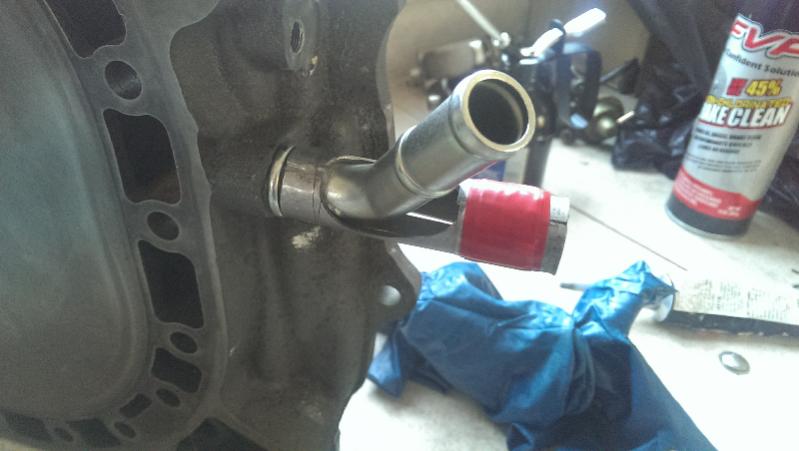
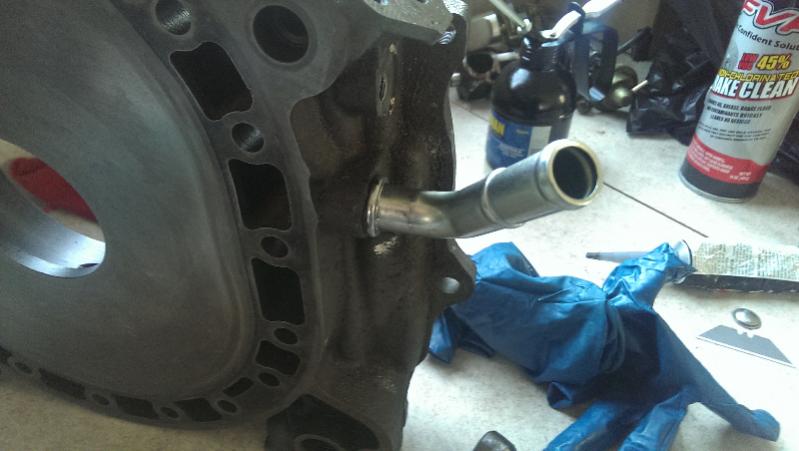
In the meantime I made a little tool to install that coolant pipe into the rear housing. Gotta give credit to racing beat for the tool idea. Worked like a charm!
 11-28-2014, 02:47 PM
#162
Listen...you smell that?
Thread Starter
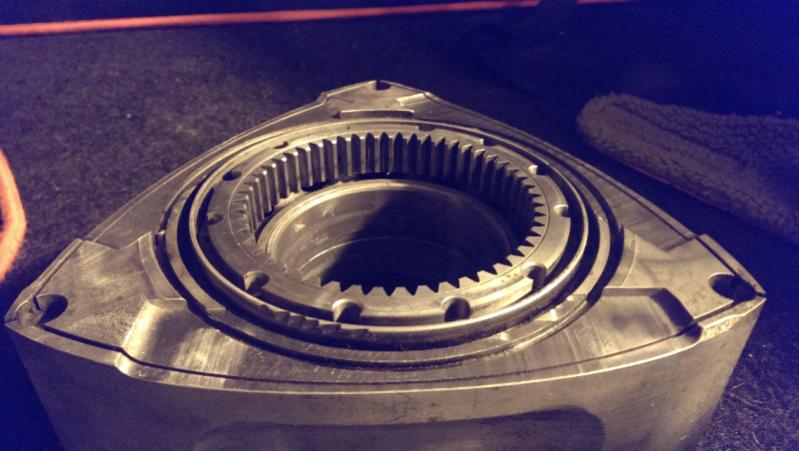
It's been a long, long, looong process but finally getting this party started! Got organized, clearances checked, got oil control rings and cut off seals installed into the new rotors. Baby steps... Corner seals and side seals tonight!
Last edited by Smutterbutter; 11-28-2014 at 02:50 PM.

 11-29-2014, 03:36 PM
#164
Listen...you smell that?
Thread Starter
The saying "The devil is in the details" definitely applies to assembling rotors. I thought I banged out getting all the oil control rings and cutoff seals installed pretty well. Today I had this funny feeling I missed something after reading through the manual again. Sure as ****, after taking the rotors apart I had mixed up some of the oil control ring springs. They're all labeled with white and blue paint but somewhere along the line I got all that " front face front rotor inner seal spring" wording mixed up. Glad I went back and checked. White springs face forward, blue springs face rear, is the moral of the story.
11-29-2014, 03:47 PM
#165
Listen...you smell that?
Thread Starter
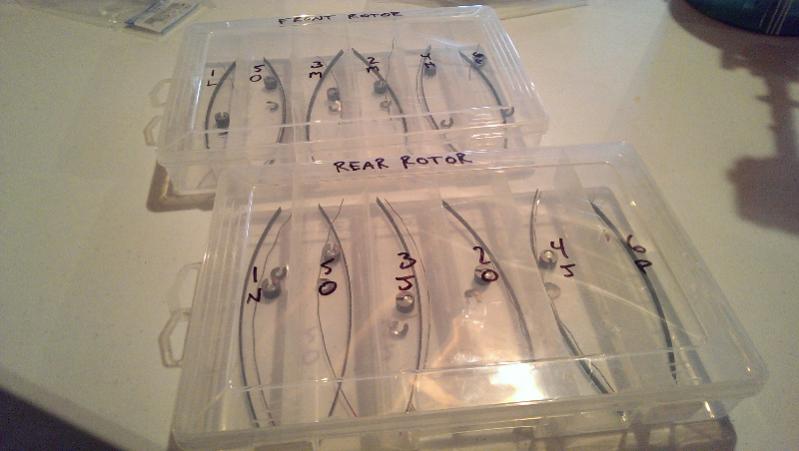
Another issue I have is that after getting all the corner and side seals installed with the OEM pre-cut sided seals, some of my side seal to corner seal clearances are too big most are borderline! WTF! According to the manual maximum gap is 0.016. Here's what I measured:
Listed by corner seal and associated side seal/stamp size
Front Rotor Rear Rotor
1L 0.014 1N 0.017
2M 0.016 2O 0.014
3M 0.018 3J 0.018
4H 0.016 4J 0.015
5O 0.014 5O 0.018
6P 0.016 6P 0.014
Listed by corner seal and associated side seal/stamp size
Front Rotor Rear Rotor
1L 0.014 1N 0.017
2M 0.016 2O 0.014
3M 0.018 3J 0.018
4H 0.016 4J 0.015
5O 0.014 5O 0.018
6P 0.016 6P 0.014
11-30-2014, 07:33 AM
#167
Listen...you smell that?
Thread Starter
I did consider cutting my own side seals but being a noob at rotary engine rebuilding I thought the more ways I can avoid screwing something up myself the better.
I guess I'm still surprised, even after reading about all the issues with Rx8 side seals, that NEW oem side seals cut to fit aren't even within their own clearance!
So I'm gonna stay with the precut seals but looks like I'll be ordering the next size up to replace the shorter ones.
I guess I'm still surprised, even after reading about all the issues with Rx8 side seals, that NEW oem side seals cut to fit aren't even within their own clearance!
So I'm gonna stay with the precut seals but looks like I'll be ordering the next size up to replace the shorter ones.
11-30-2014, 12:19 PM
#168
Driving my unreliable rx8
Well im not saying anything about them cut to the right length, but in a manufacturing sense close enough is good enough. It can only be as good as the guy measuring. To verify every piece and actually have everyone give a crap would cost 3 or 4 times as much.
But you also have to consider after x miles if each of your corner seals wallowed out just 0.001 than your new seal is too small by 0.002.
But you also have to consider after x miles if each of your corner seals wallowed out just 0.001 than your new seal is too small by 0.002.
12-01-2014, 03:16 PM
#169
Listen...you smell that?
Thread Starter
Ok, so, got off the phone with mazdaspeed. Turns out I'm King Noobian of Noobia, Lord and conqueror of all noobs. Re-measuring side seal clearances, again, the right way...
12-03-2014, 07:17 PM
#171
Listen...you smell that?
Thread Starter
The proper method is the one printed in the engine manual that I have in my possession and yet somehow missed the hugely important need to "preload" the seals by sliding a feeler gauge behind to push it up against the inner surface of the side seal slot which also brings the side seal closer to your corner seals. This made a big difference obviously, almost cutting my first set of clearances in half across the board!
12-03-2014, 07:34 PM
#172
Listen...you smell that?
Thread Starter
Second time around measuring side seal clearances the RIGHT way...
Just like above, listed by corner seal and associated side seal stamp
Front Rotor Rear Rotor
1-L 0.008 1-N 0.008
5-O 0.008 5-O 0.007
3-M 0.010 3-J 0.008
2-M 0.011 2-O 0.007
4-H 0.008 4-J 0.008
6-P 0.008 6-P 0.007
Curious that most clearanced at 0.007-8 EXCEPT for the two "M" side seals, coincidence? I'm still not really happy with the tighter clearances I got by measuring right. I'm leaning towards replacing them all with the largest pre-cut side seals Mazda makes. I think the R,S,T,U stamps. If each group increases in size by about 0.003in that should get me just about where I was hoping to be.
Last edited by Smutterbutter; 12-03-2014 at 07:38 PM.
 01-10-2015, 03:15 PM
#175
Listen...you smell that?
Thread Starter
Indeed. I knew going into this getting the side seals right with the "pre-cut" ones from Mazda was going to be a challenge but now having gone throught it I fully appreciate how messed up their system is. My idea to upsize the side seals that measured short to the next group was only successful on about 50% of the seals. The way mazda has one part number cover four different side seal lengths makes it an exercise of trial and error. By upsizing and swapping seals around I was able to get all the side seal to corner seal tolerances on the rear rotor to 0.002in. Then I ran out of options with what I had left for the front rotor. SOOOOO, as much as I was trying to avoid it, I ordered a bunch of the long "uncut" seals and will be grinding them to fit.