When you click on links to various merchants on this site and make a purchase, this can result in this site earning a commission. Affiliate programs and affiliations include, but are not limited to, the eBay Partner Network.
So the AC has been leaking for about 8 months now, around April I had it evacuated and filled with UV dye, and earlier this week I was finally able to take it in and have the leaking part replaced (it was the upper hose) so now my AC works!
Then today I took it in to have the second airbag recall done. Now, dealerships are obnoxious so naturally after doing the recall they pulled out my rear seat to see the fuel pump rings. Allegedly it's leaking (I highly doubt that) but according to them I need a new fuel line, so naturally I said "heck no you can't keep my car" (not exactly like that). The rep called back and said since the Local mazda rep was in a good mood and at that location today, Mazda was now offering to pay for a new fuel line, pump/housing, and rings for $135 labor.
I took the offer on the condition that I could have my old pump/housing back since it has the DW200 in it, but now I'm out a car until monday.
I have to admit, I love this thread. Very helpful. Thanks for doing all this work and keeping folks informed. I am at a place where I have to do some work myself and at this point, I would rather sell the car but who knows. Your thread kindles hope in me, again.
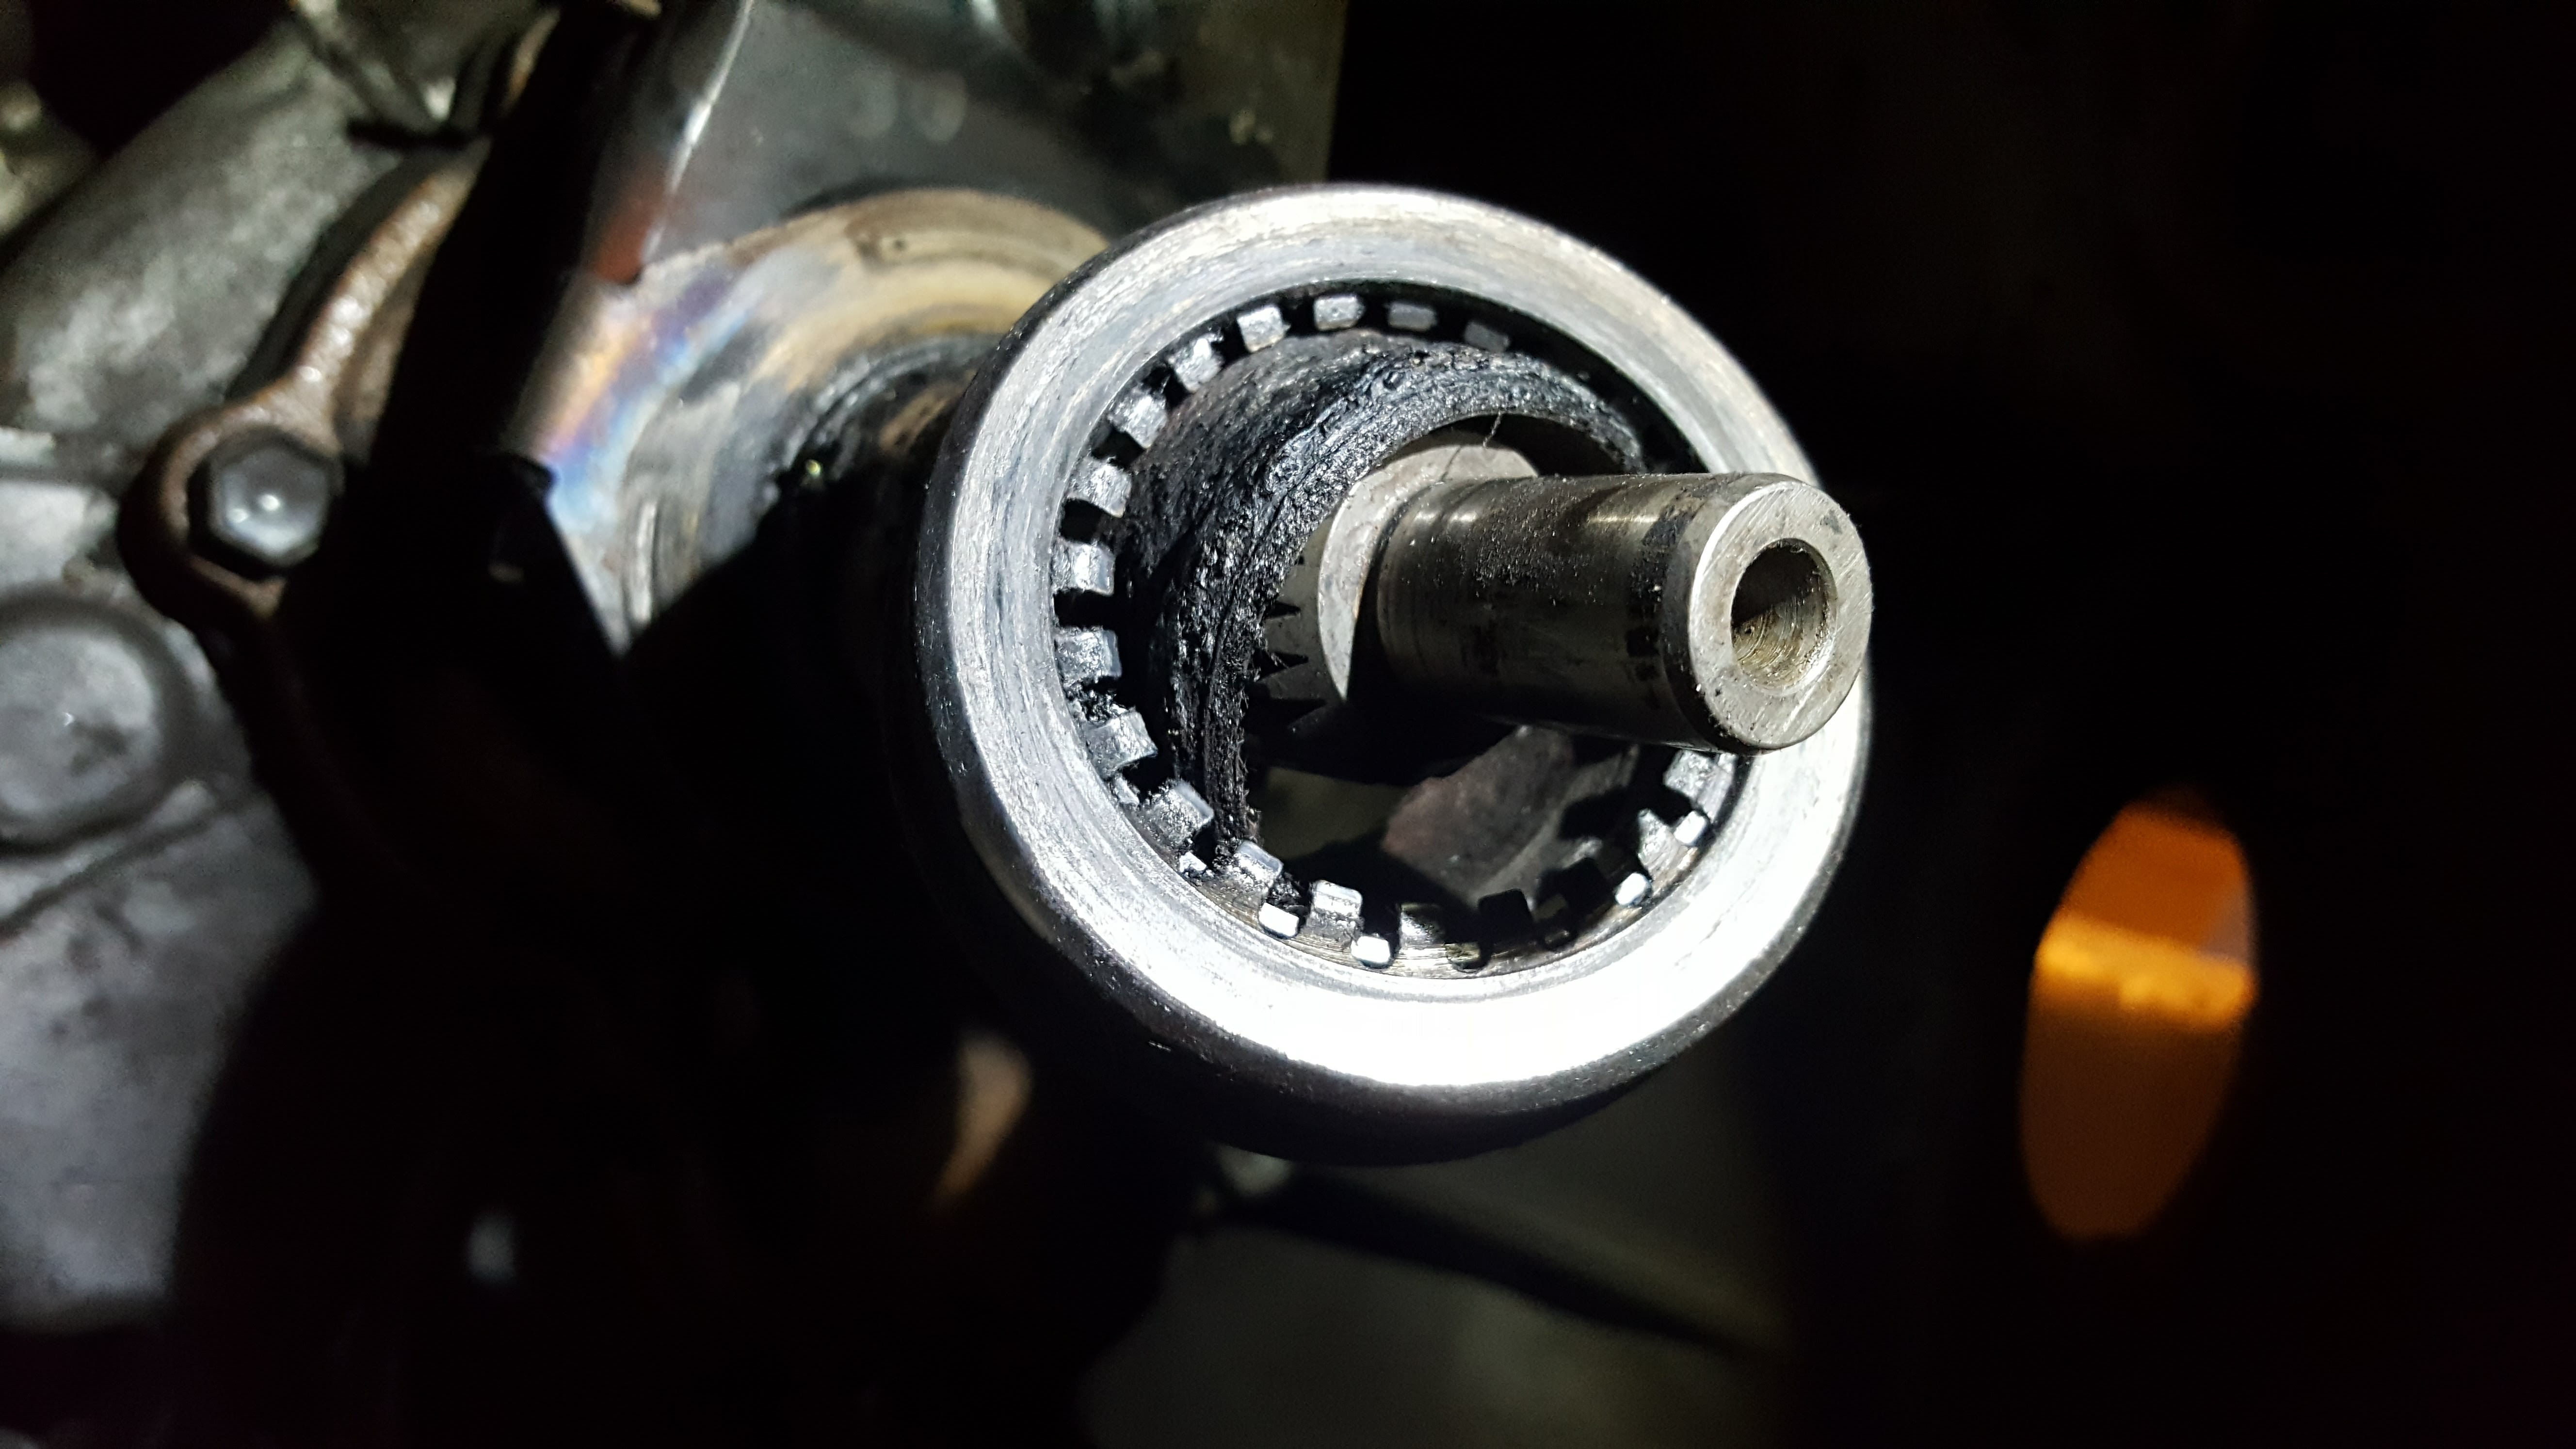
My clutch died Sunday night, not sure what happened there...
I got off the highway, then my clutch started chirping and only operating in the lower 2ish inches of the pedal movement (no spring back either), then as I came to a stop in neutral the car died and wouldn't start again.
I still need to pull it apart but for the moment we have a spare car that I can drive, I'll be repainting my wheels in a new orange, replacing my bad reverse switch (which was blowing a fuse and killing the car every time I went into reverse), and probably doing a full fluid change.
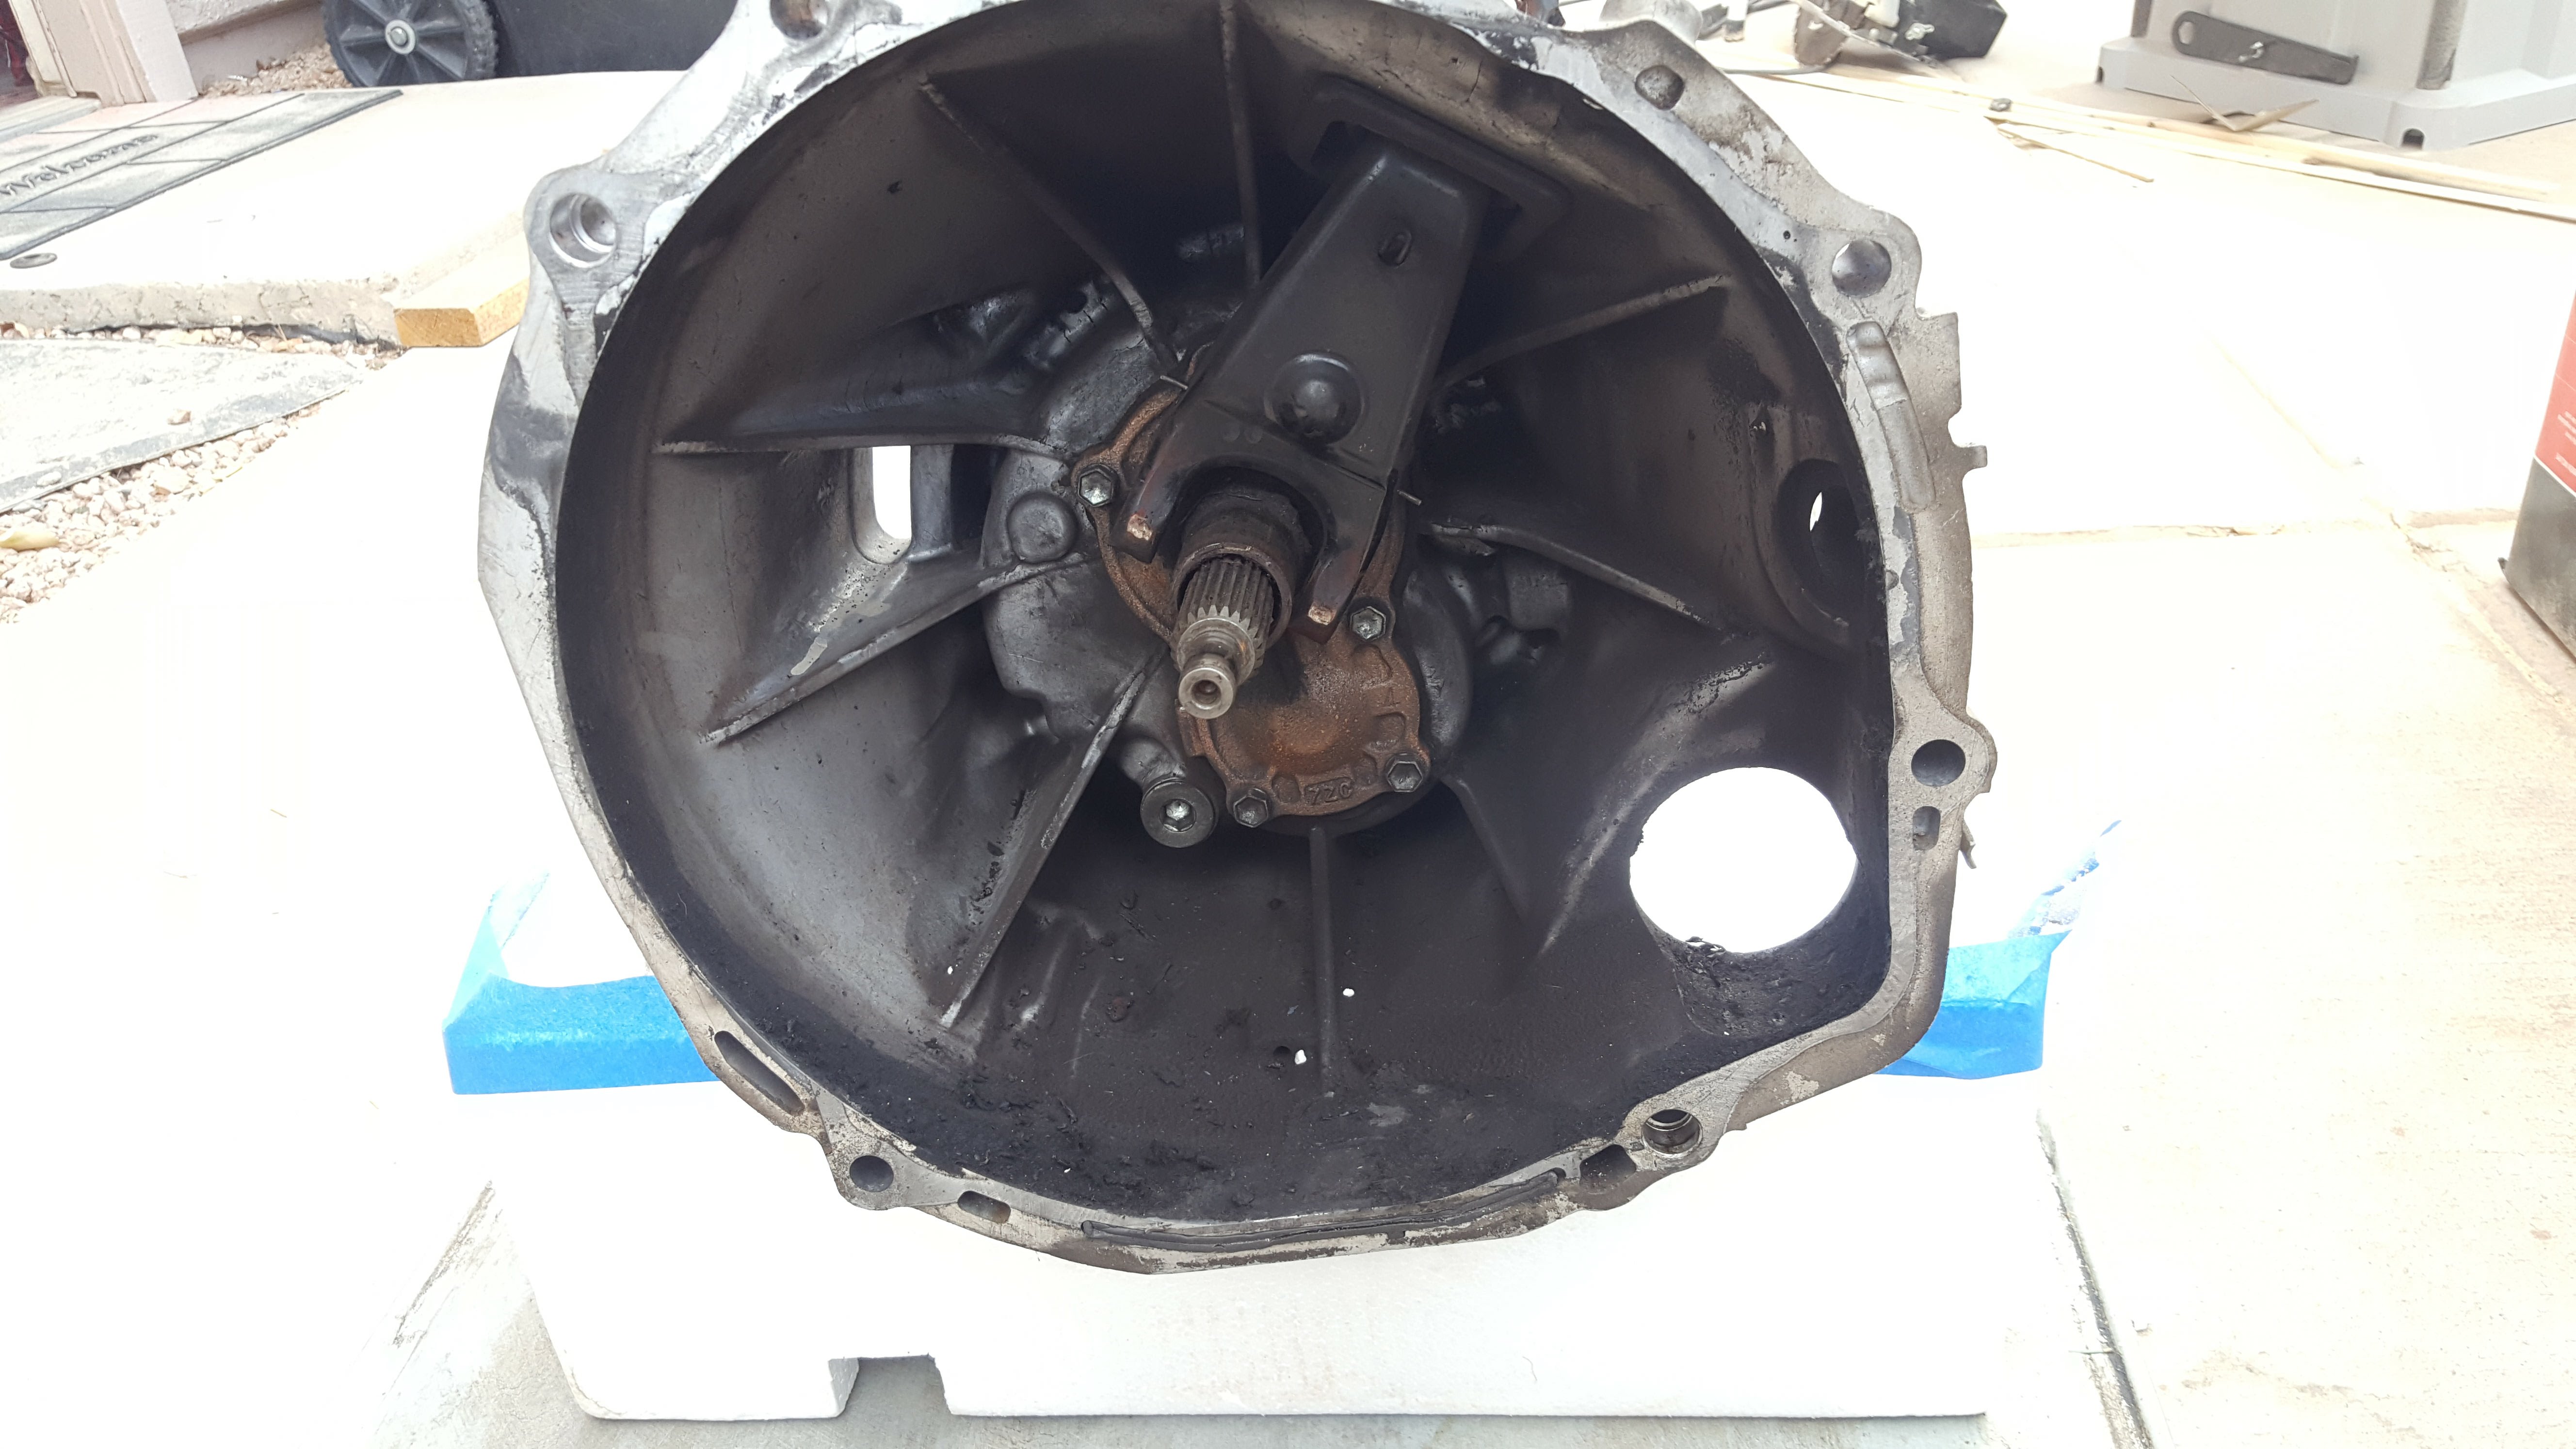
From how it happened and the apparent damage, it looks like it siezed then got torn apart while driving.
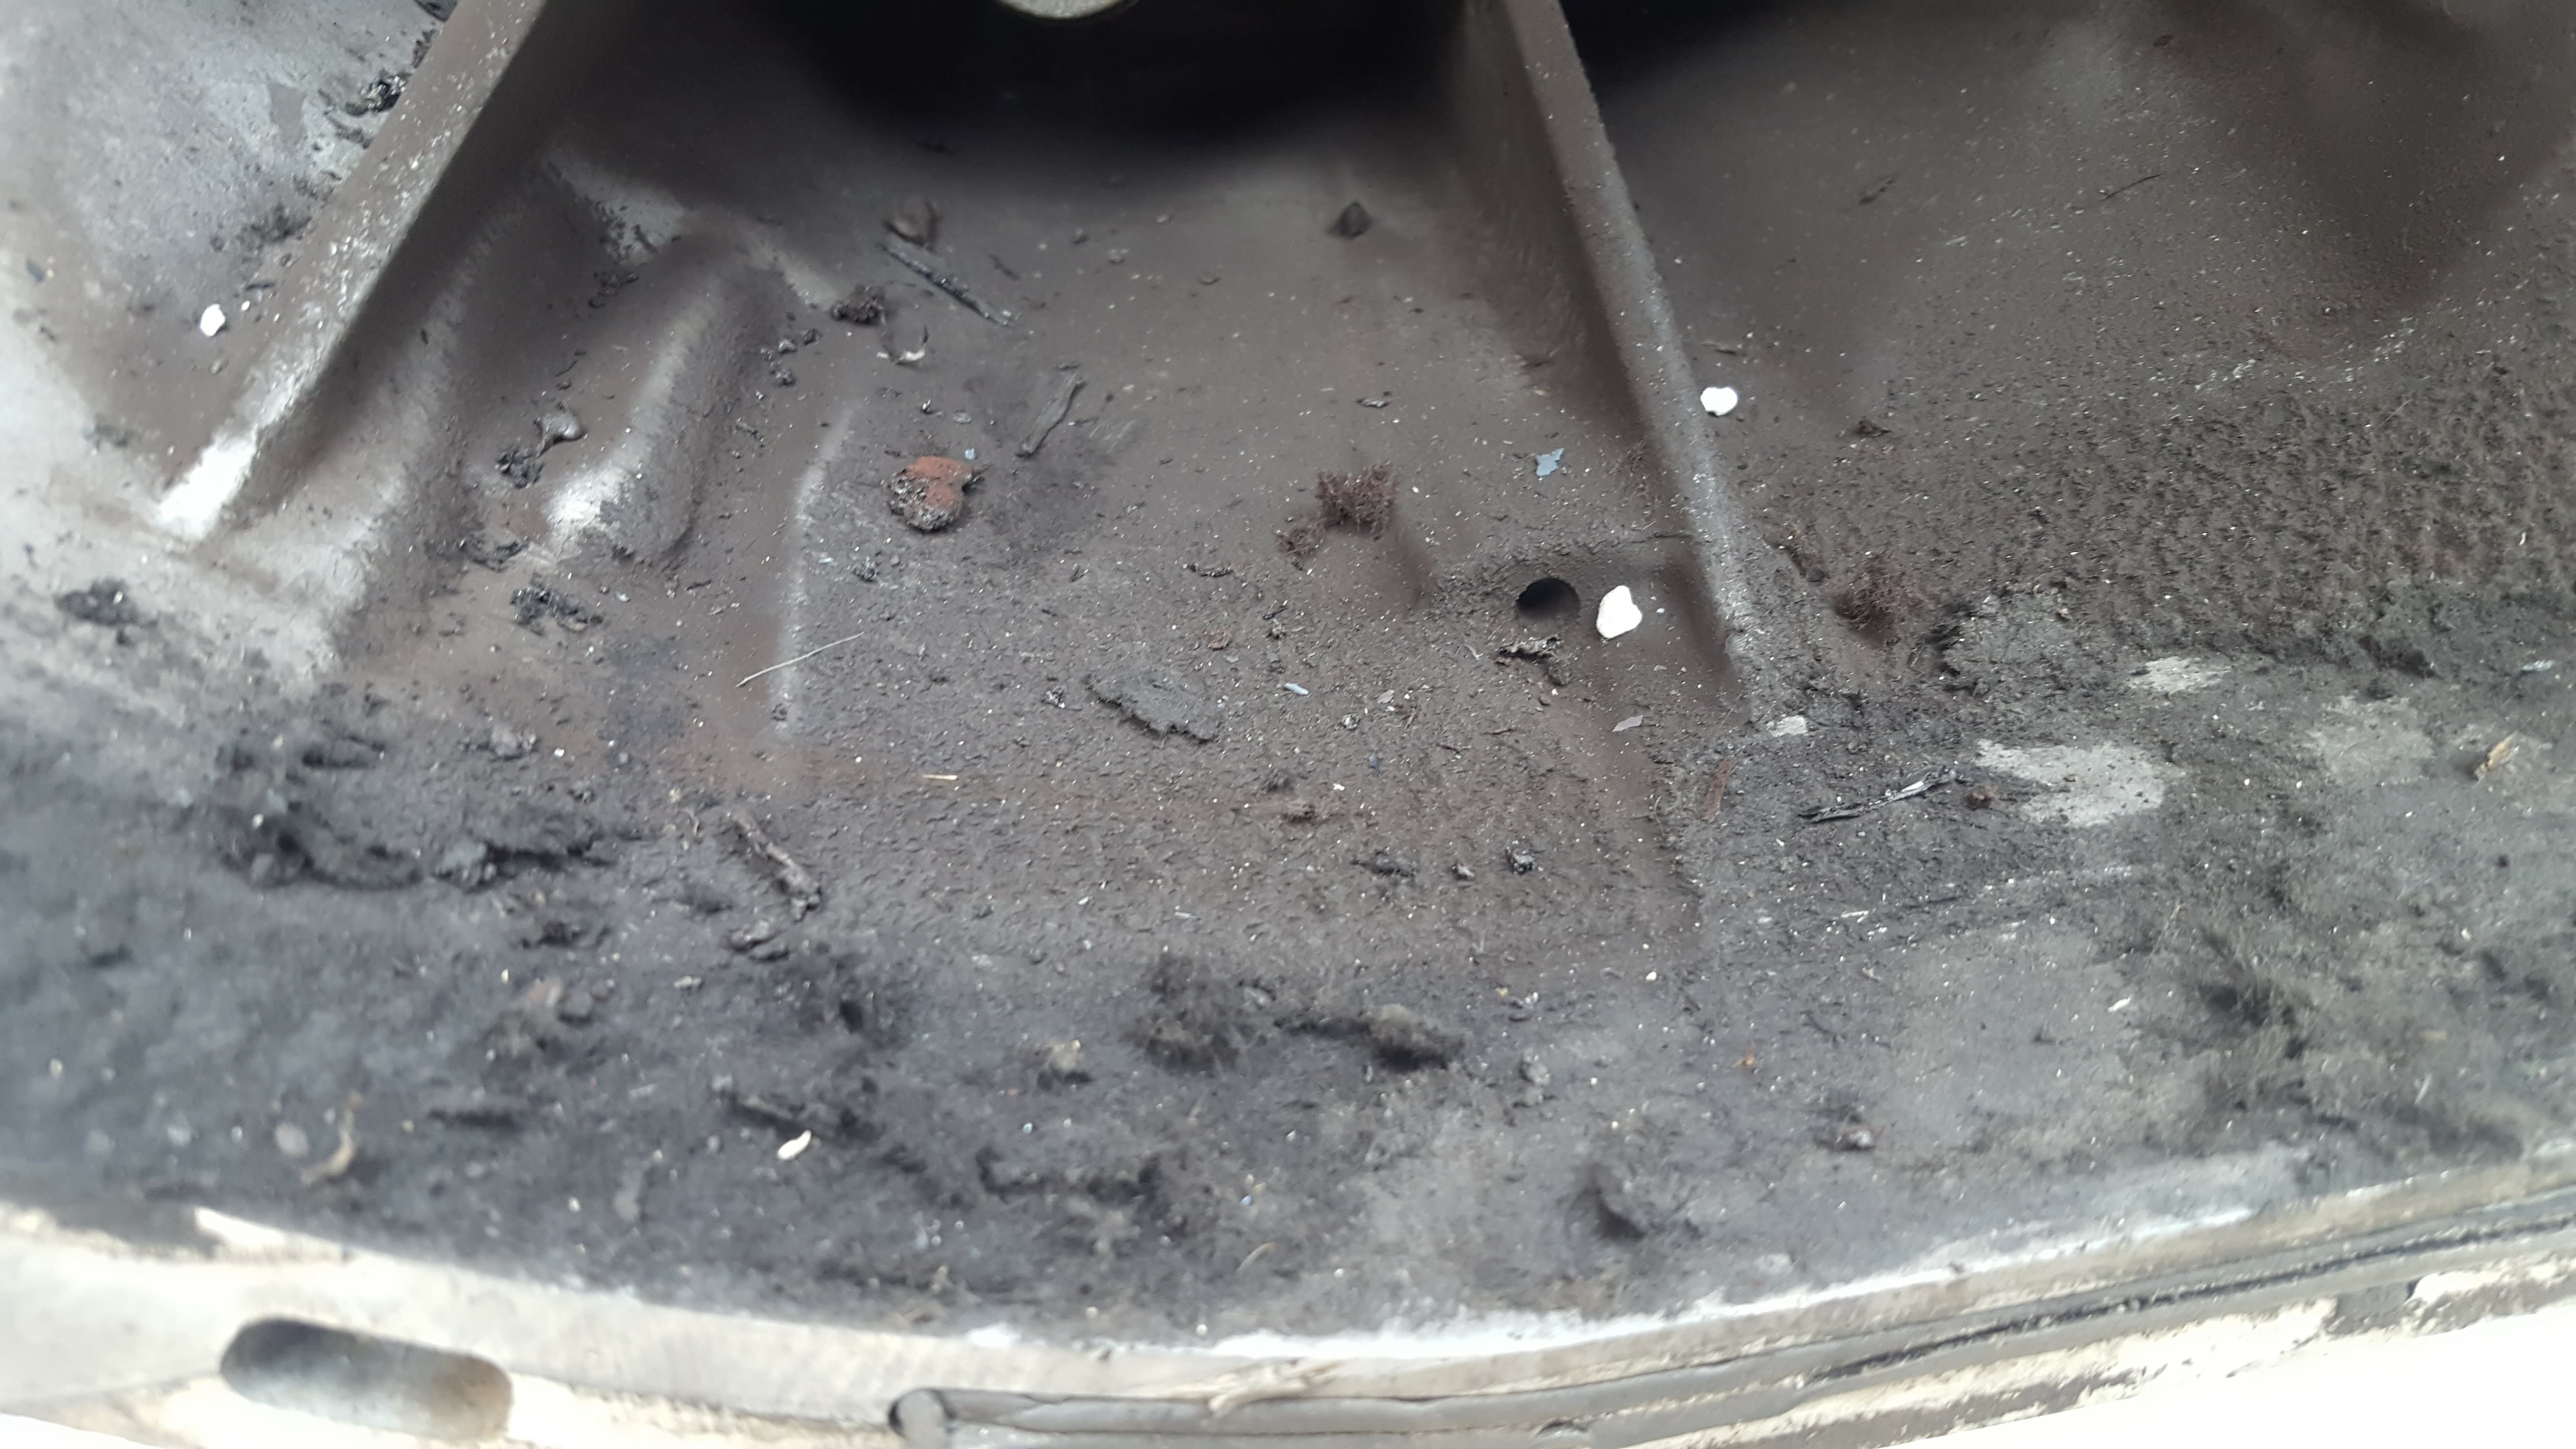
Also it caught fire when we started it in the garage and that left a whole bunch of ash and garbage inside the bellhousing.
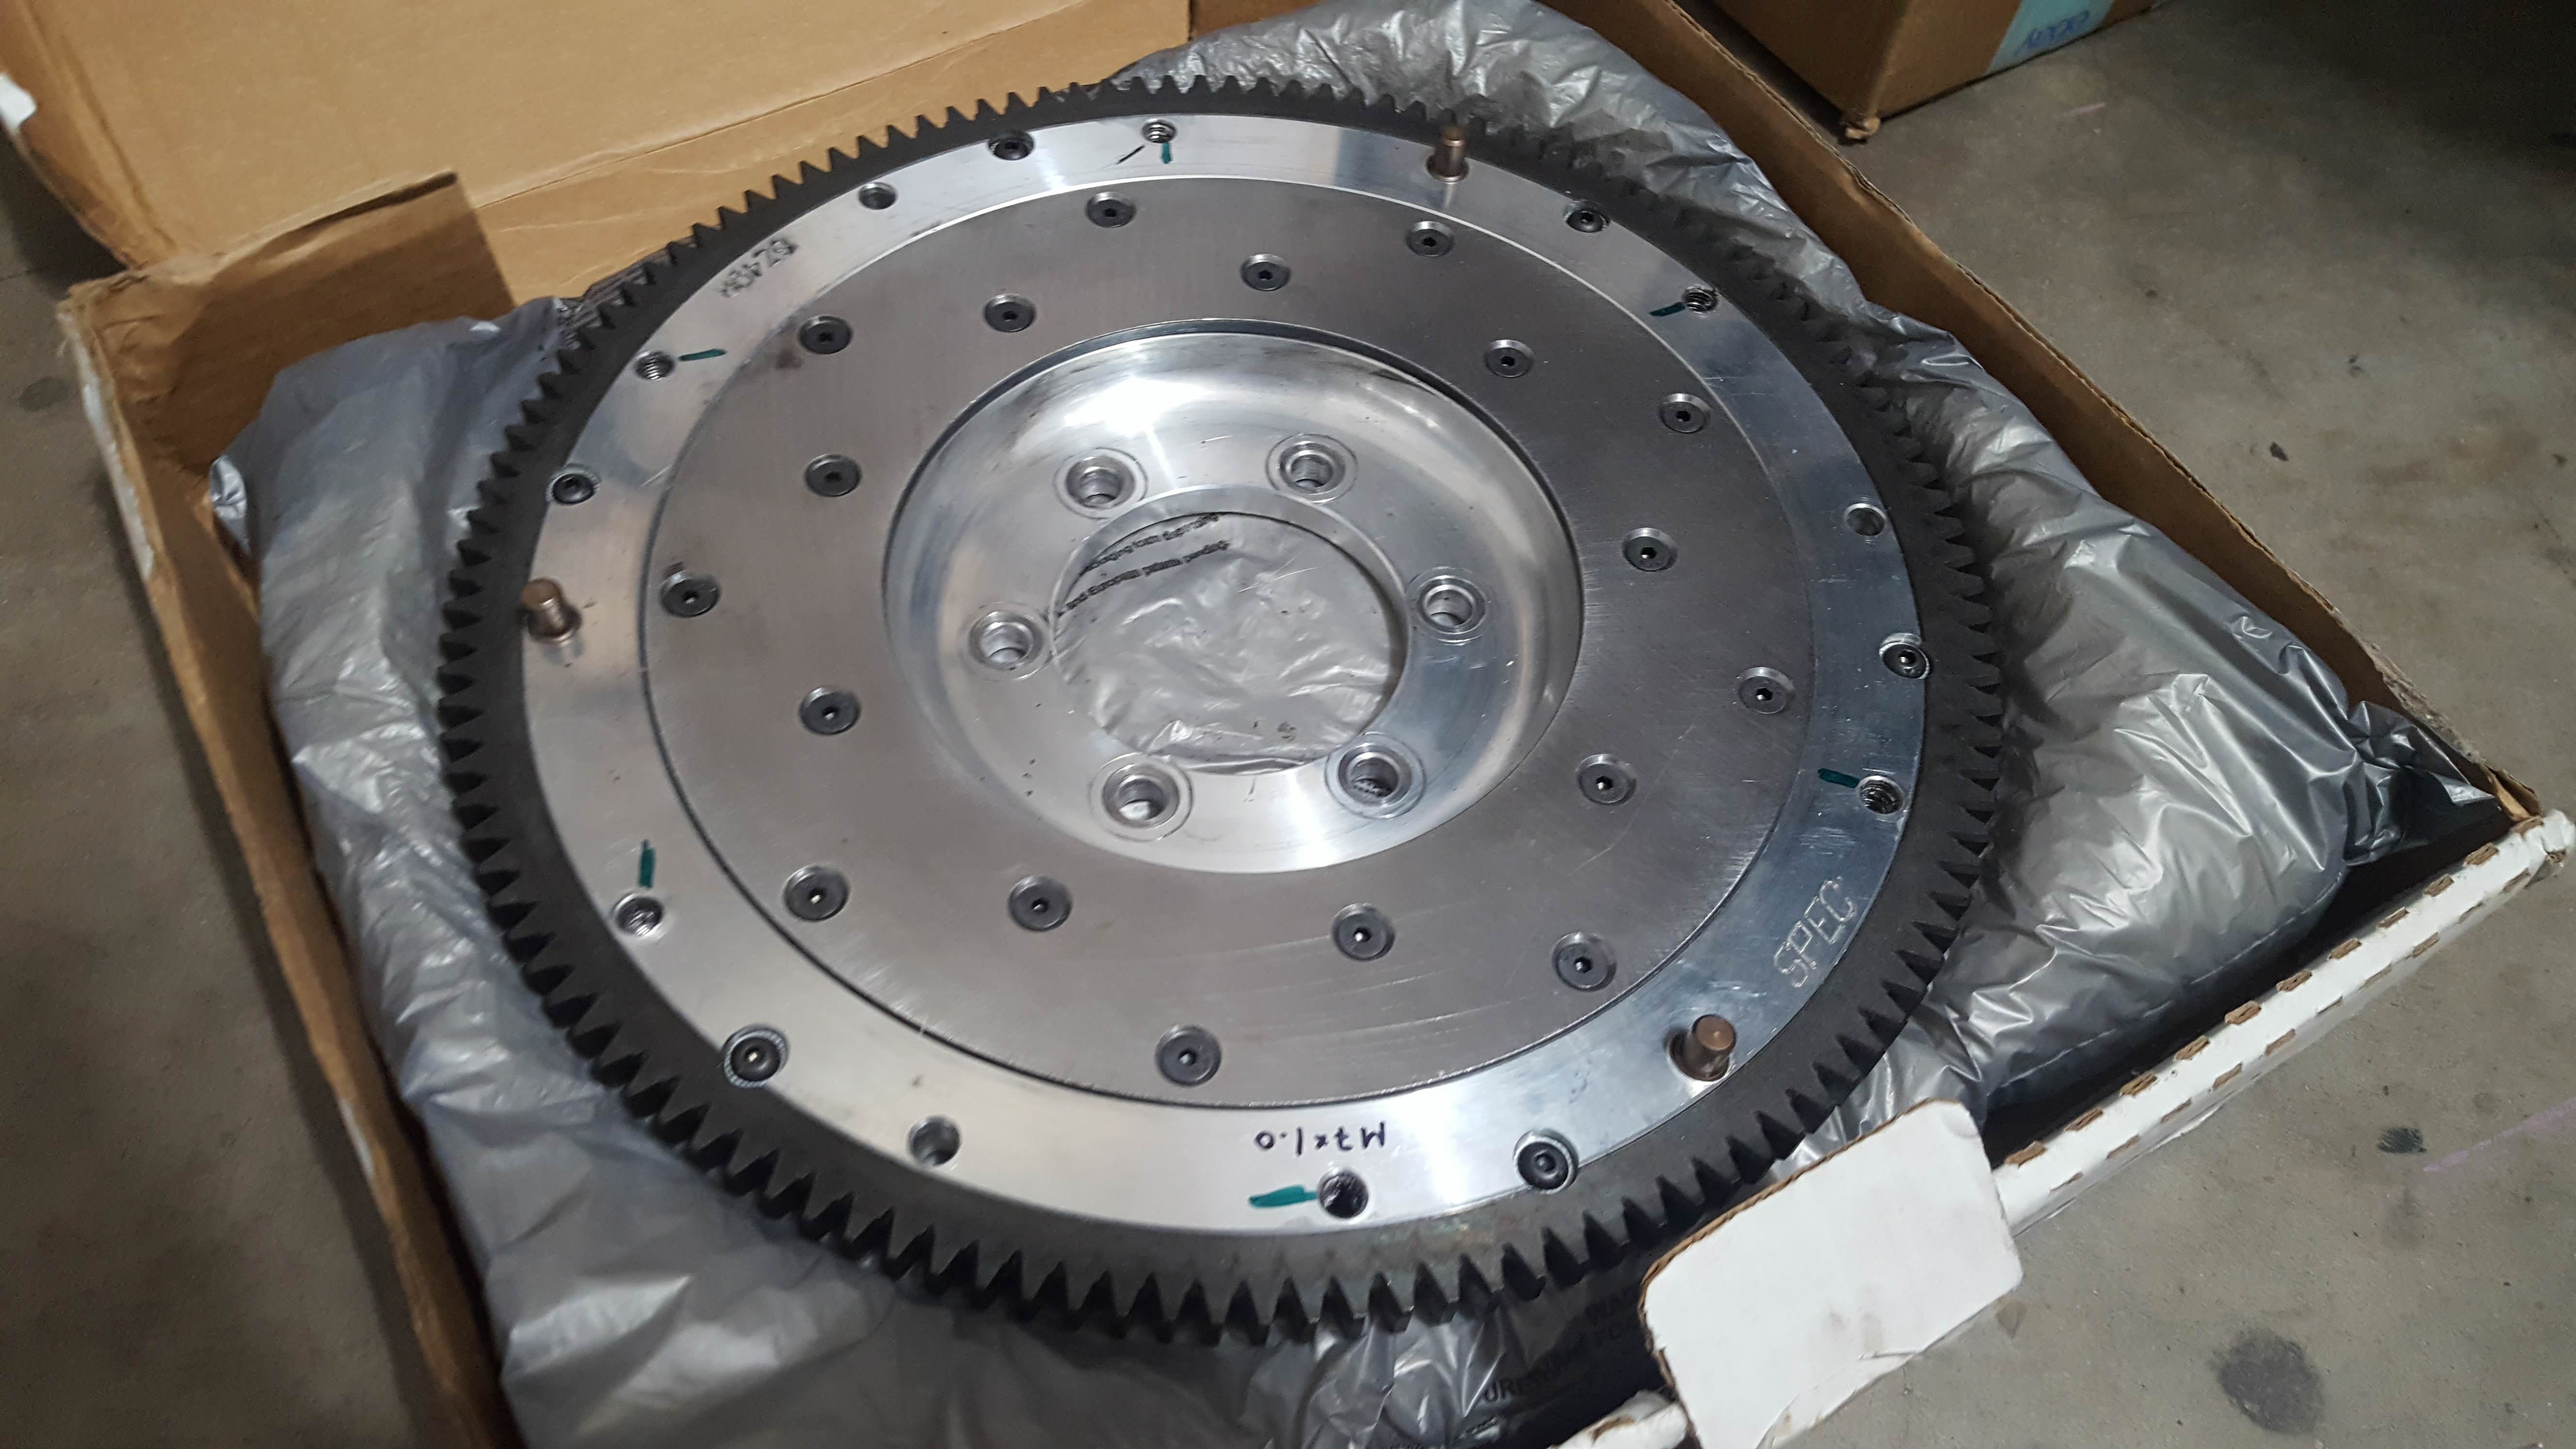
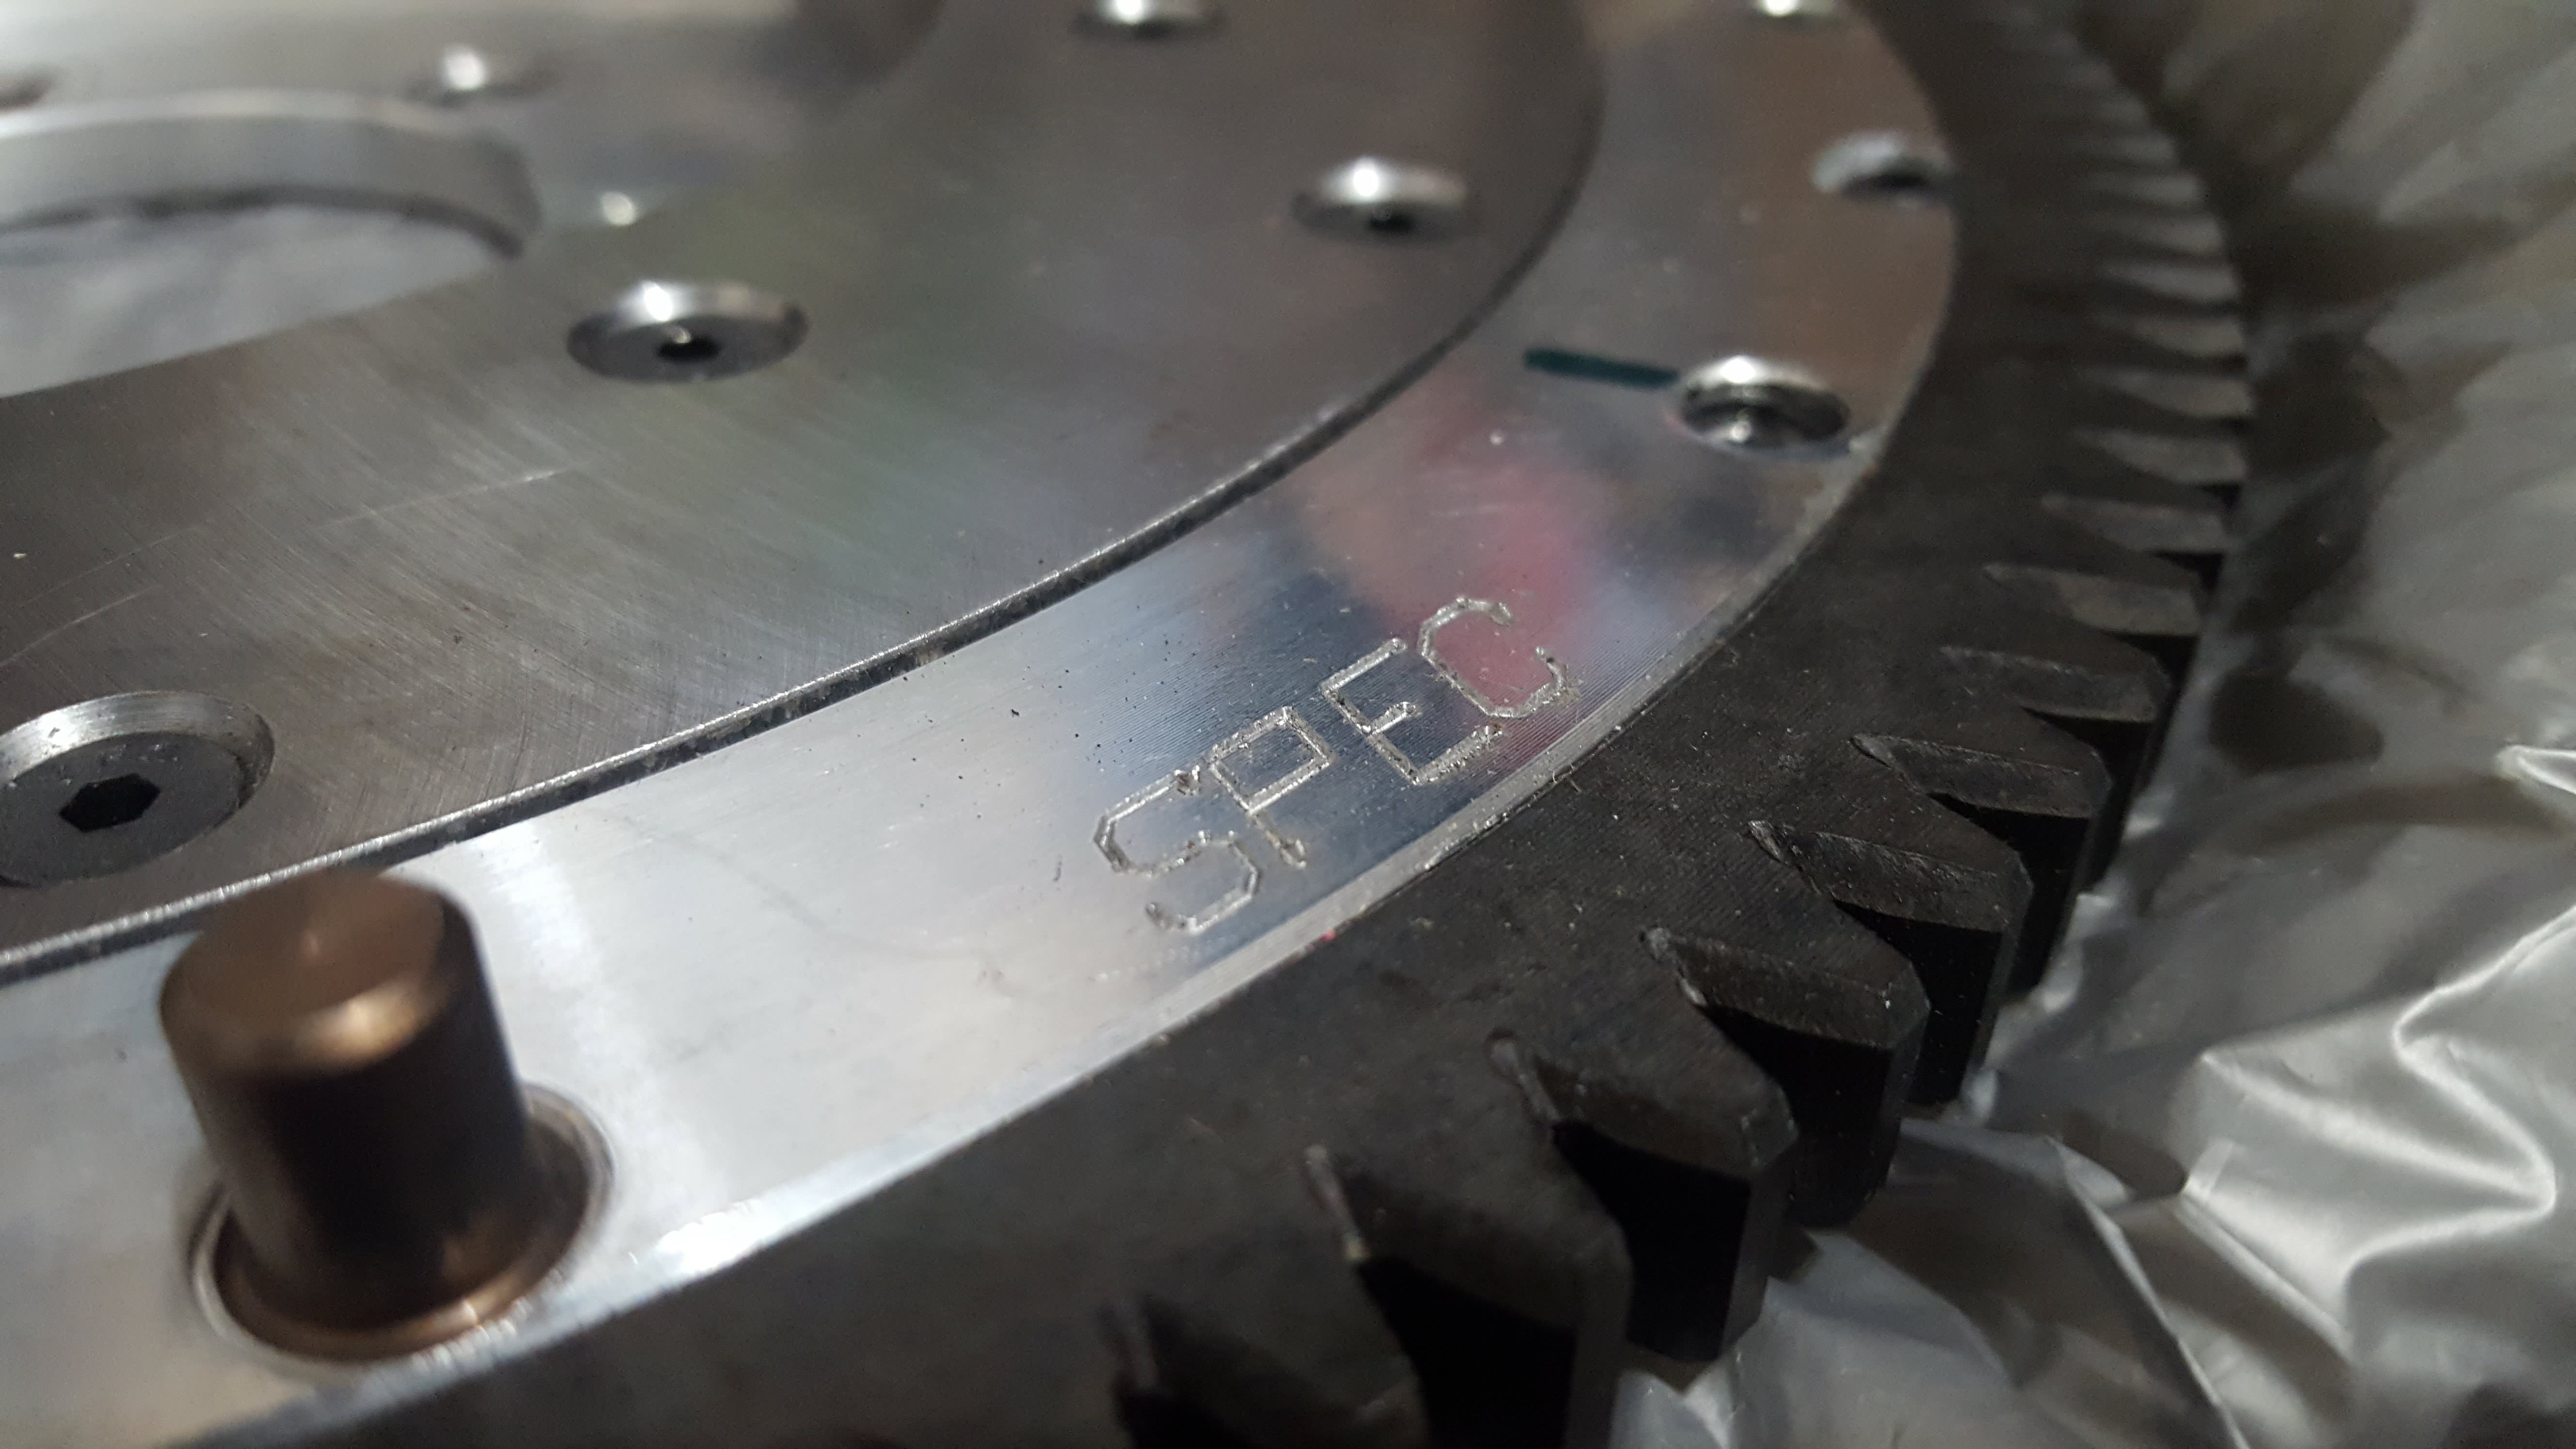
Now the normal thing to do in this situation is to get a new clutch kit and be done with it, but I hate to do all the work of pulling the transmission and not upgrading anything and have no money so naturally I needed to get a lightweight flywheel. I was able to get a beautiful lightly used one with stripped threads and the counterweight from Charles at BHR. I'm so excited for this thing!
If I can find some 8mm splined studs by tomorrow I'm going to press fit those in instead of just rethreading or using helicoils, and I do have some wiggle room with the repairs because the stock threads on the Spec Flywheel are M7, whereas the OEM flywheel uses M8.
New Flywheel and clutch are in. I might need to adjust the pedal because it feels really soft, but the engagement point is the same as with my old clutch.
I'm really liking the flywheel so far, it will take a couple days to get used to, but anyone who says one at this weight dramatically decreases streetability is high. Shifting is much improved (I'm not sure how much is due to the transmission oil or not, I'm currently running 75w140NS instead of the usual MT90.
I'm flushing the diff with walmart brand 80w90, but that will be replaced with Redline 75w90NS or something in a few hundred miles or so. I don't think that's been changed before now, the old stuff was pretty nasty.
I would strongly recommend changing to the Ford Motorcraft trans oil. While I did run the NS oil with some success for racing endurance, it’s not really the optimal oil choice as compared to the Ford oil.
The bolted together clutch and flywheel assy on my new engine weighs less than your bare flywheel ...
I would strongly recommend changing to the Ford Motorcraft trans oil. While I did run the NS oil with some success for racing endurance, it�s not really the optimal oil choice as compared to the Ford oil.
That's a valid point, I'll be switching to Eneos for both the Diff and Trans in the near future.
Originally Posted by TeamRX8
The bolted together clutch and flywheel assy on my new engine weighs less than your bare flywheel ...
.
I have a few things to add. I'll break it up a bit.
I needed new tires mid-2018, so I repainted my wheels with real automotive paints (previously they were rattle can orange on top of rattle can plastidip. If you're thinking about doing the paint over plastidip I'd suggest just spray paint it instead. The combo was a nightmare to remove all the way.
I forgot to add, in September-ish of 2017 I replaced my Shocks and Struts with a set of Bleistiens from an R3 with about 25,000 Miles on them. I don't seem to have any pictures of that, but it was a pain and I hate suspension work.
Mid-2018 the Throttle position sensor failed and stuck me in limp mode for a little bit. Let it sit for an hour or so and then it was fine, but I still replaced the throttle body with a good used one.
In January 2019 My clutch pedal finally failed, so I pulled it out and did some extremely functional but pretty bad looking welds. It's been working perfectly since then. There was significant cracking in several areas that hadn't failed yet.
Then in September 2019 my clutch started sticking. Ultimately it was a failed clutch master cylinder, but there was no way to tell until I replaced the clutch slave and pulled the transmission. Since the transmission was out, we figured that it would be prudent to give it a checkup at the same shop that rebuilt it almost 5 years ago exactly (I talk about it in the first few posts of this thread!).
Lo and behold it was fucked.
About Half of the rear main bearing ***** were missing and damage to teeth.
Giant chunks of what I assume are bearing and gear teeth.
So instead of fixing the old trans I bought this JDM 5 speed RX8 transmission locally from Arca on this forum. See his REW Swap thread here https://www.rx8club.com/rotary-swaps...w-swap-249808/
I went with the 5 speed because I wanted it. I'm super grateful because I didn't expect to find one and he was willing to give it to me for the price you can get one for on Ebay but without the freight shipping cost. His car is awesome by the way. It's not done yet but it is such a cool build.
Did more suspension work because I hate myself. Installed new polyurethane bushings in the front (haven't gotten to the rear yet). It was a miserable time and I can't imagine that it was worth the effort. On future cars I'll just replace the control arms, I honestly think it would have been easier to build new control arms from scratch.
They look pretty though.
Then I figured since the transmission was out for a second time I might as well get a rebuild. So I sent a text to get a price for a rebuild from CRH and he was pretty adamant that I could do it myself, and here we are.
Now a few things to note.
This is the first time this engine has ever been torn down, all of the parts match each other in wear and markings. This engine was still running at 150,000 miles. When I got the car nearly 50,000 miles ago it had passing, but not stellar compression tests results.
So a few things to look at. The black rotor shaped stains indicate a water leak that sat for a while. The car wasn't loosing coolant at any point (except for that one time I blew the heater core hose and made a huge mess of a walmart parking space). I'm pretty sure that I got a little bit of water into the intake ports when I washed the engine pre-teardown and it sat for a week, anyway its no big deal, they are purely cosmetic.
Another thing is the brown gunk in the coolant passages, this is what's left over less than a month after something like 20 gallons of coolant system flushing too. The brown stuff is aluminum oxide from the rotor housing coolant passages, and it's there because I've been running close to 90% water in the system for years. The particle size is very small so it won't really stick anywhere, but it does build up in areas where the flow is changing direction at lower speeds.
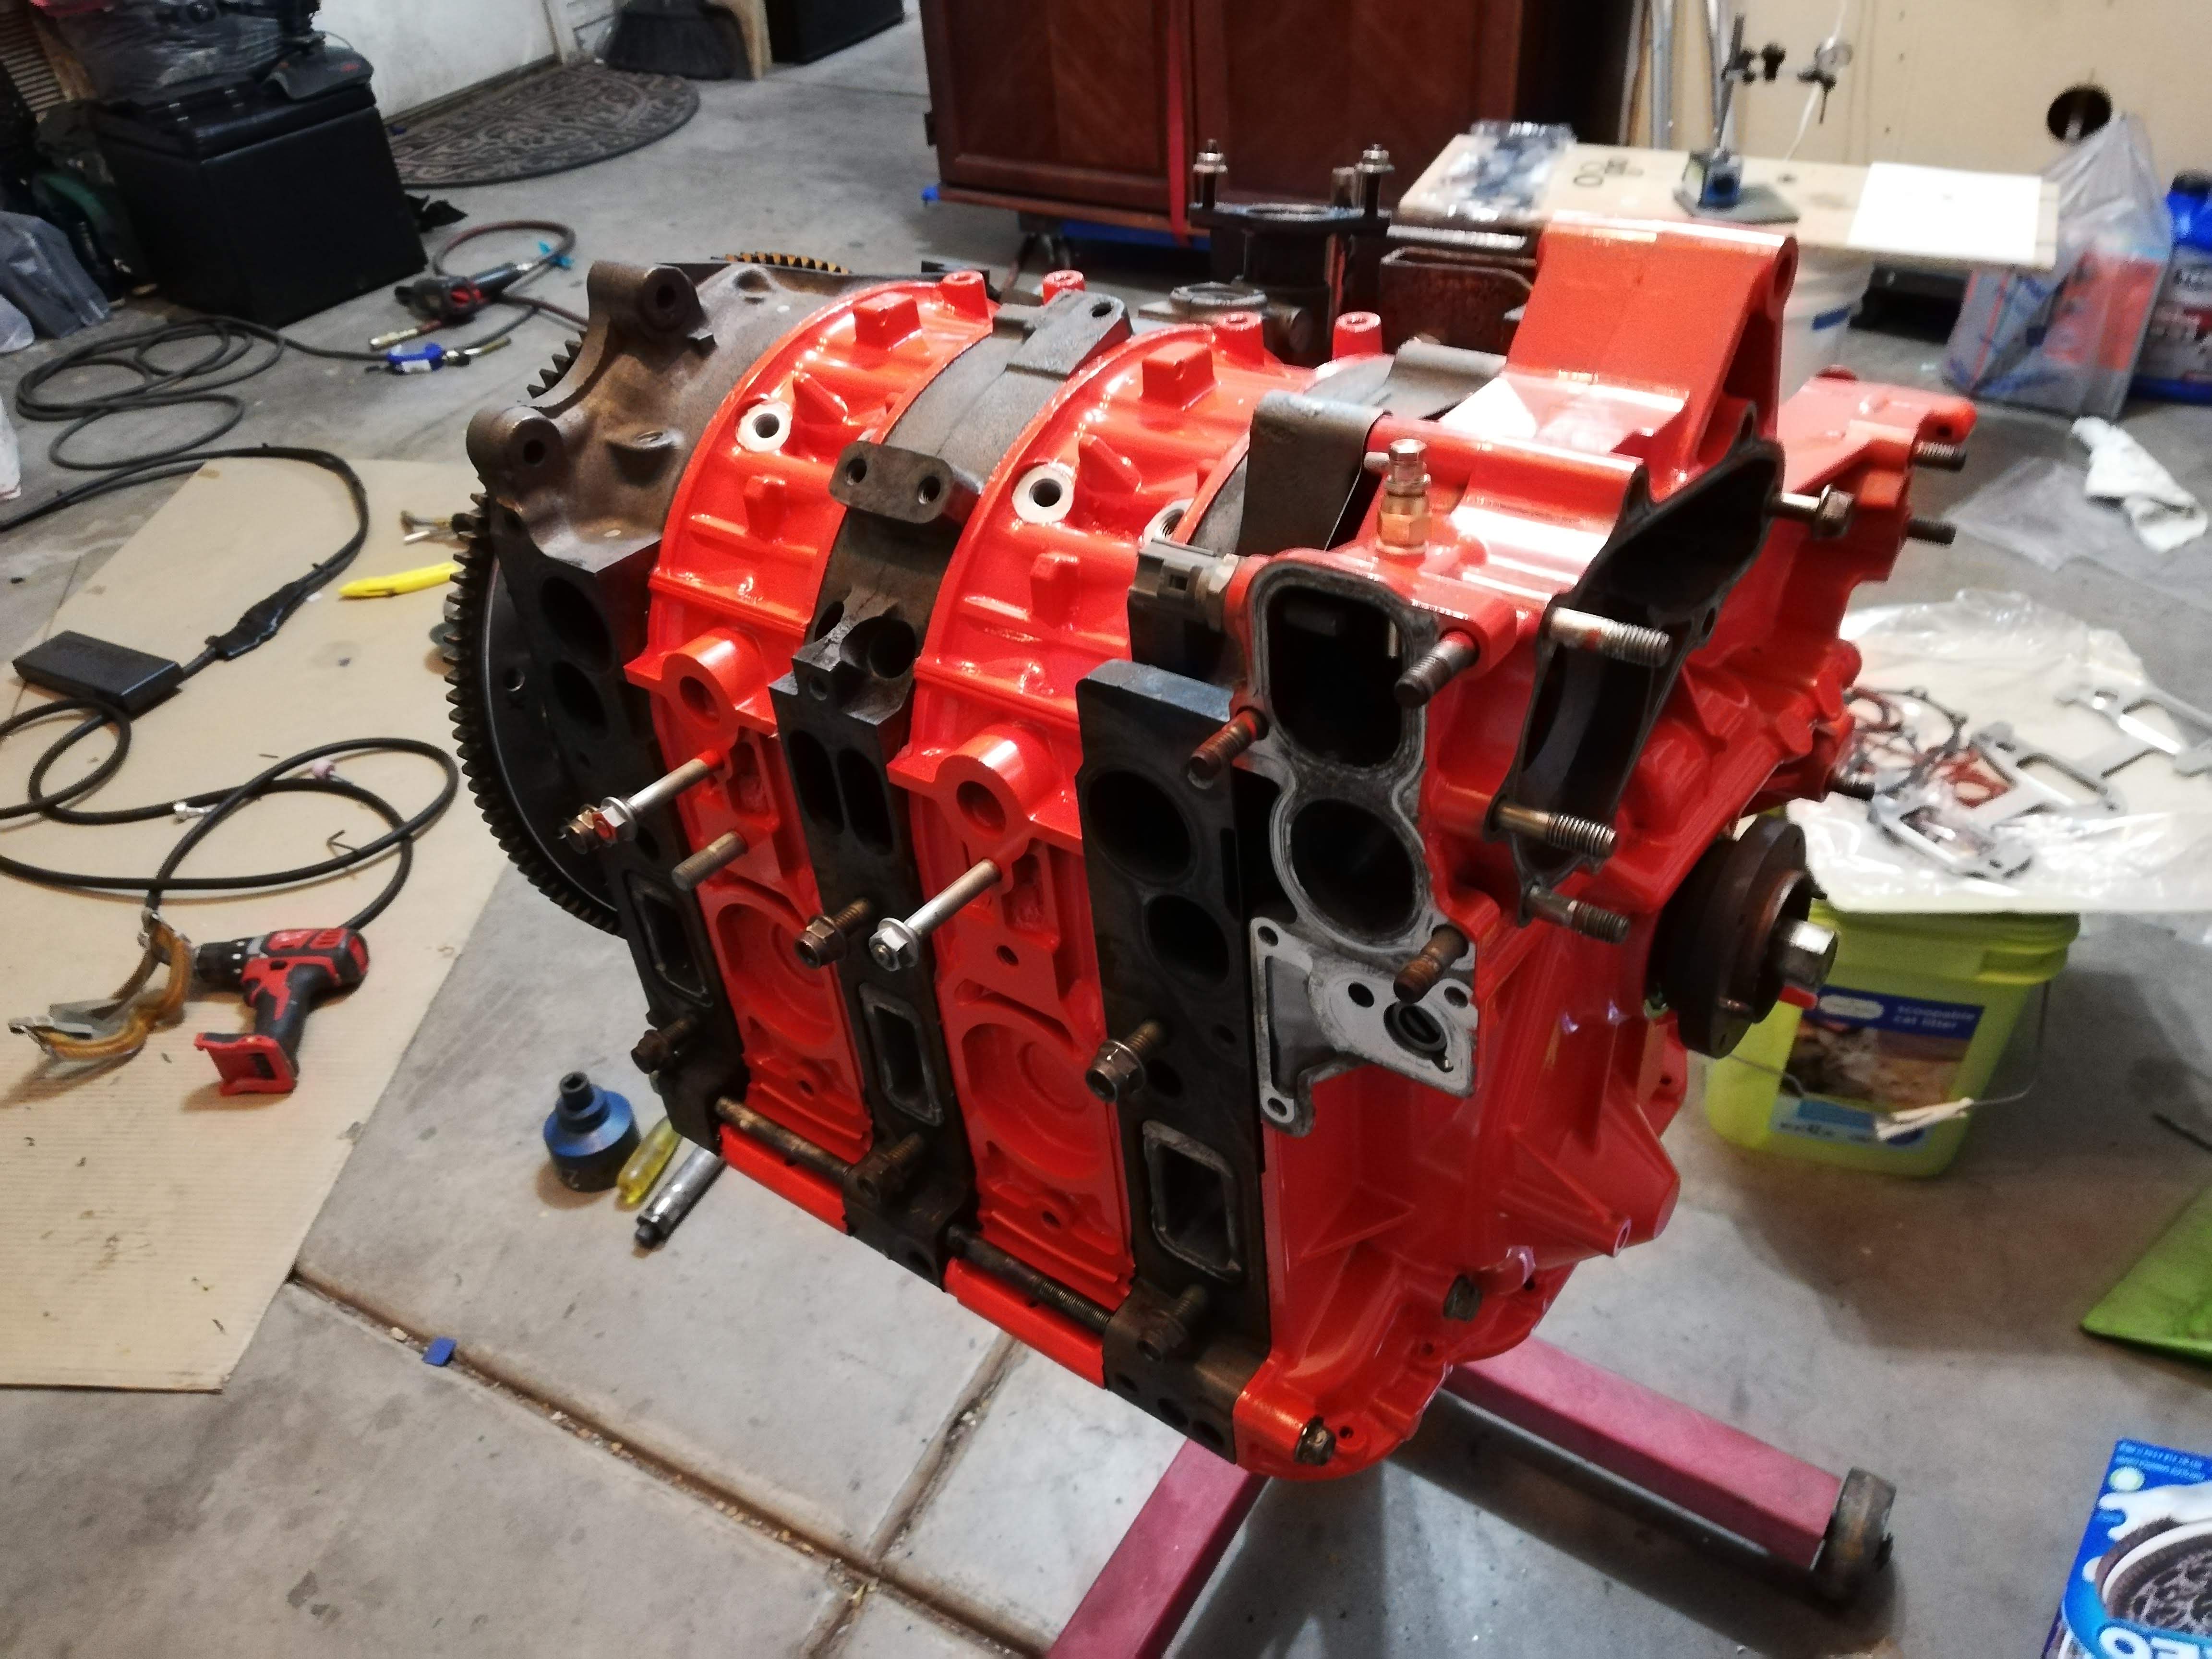
Rear Rotor Rear Rotor Front Iron Center Iron Front Center Iron Rear Rear Iron
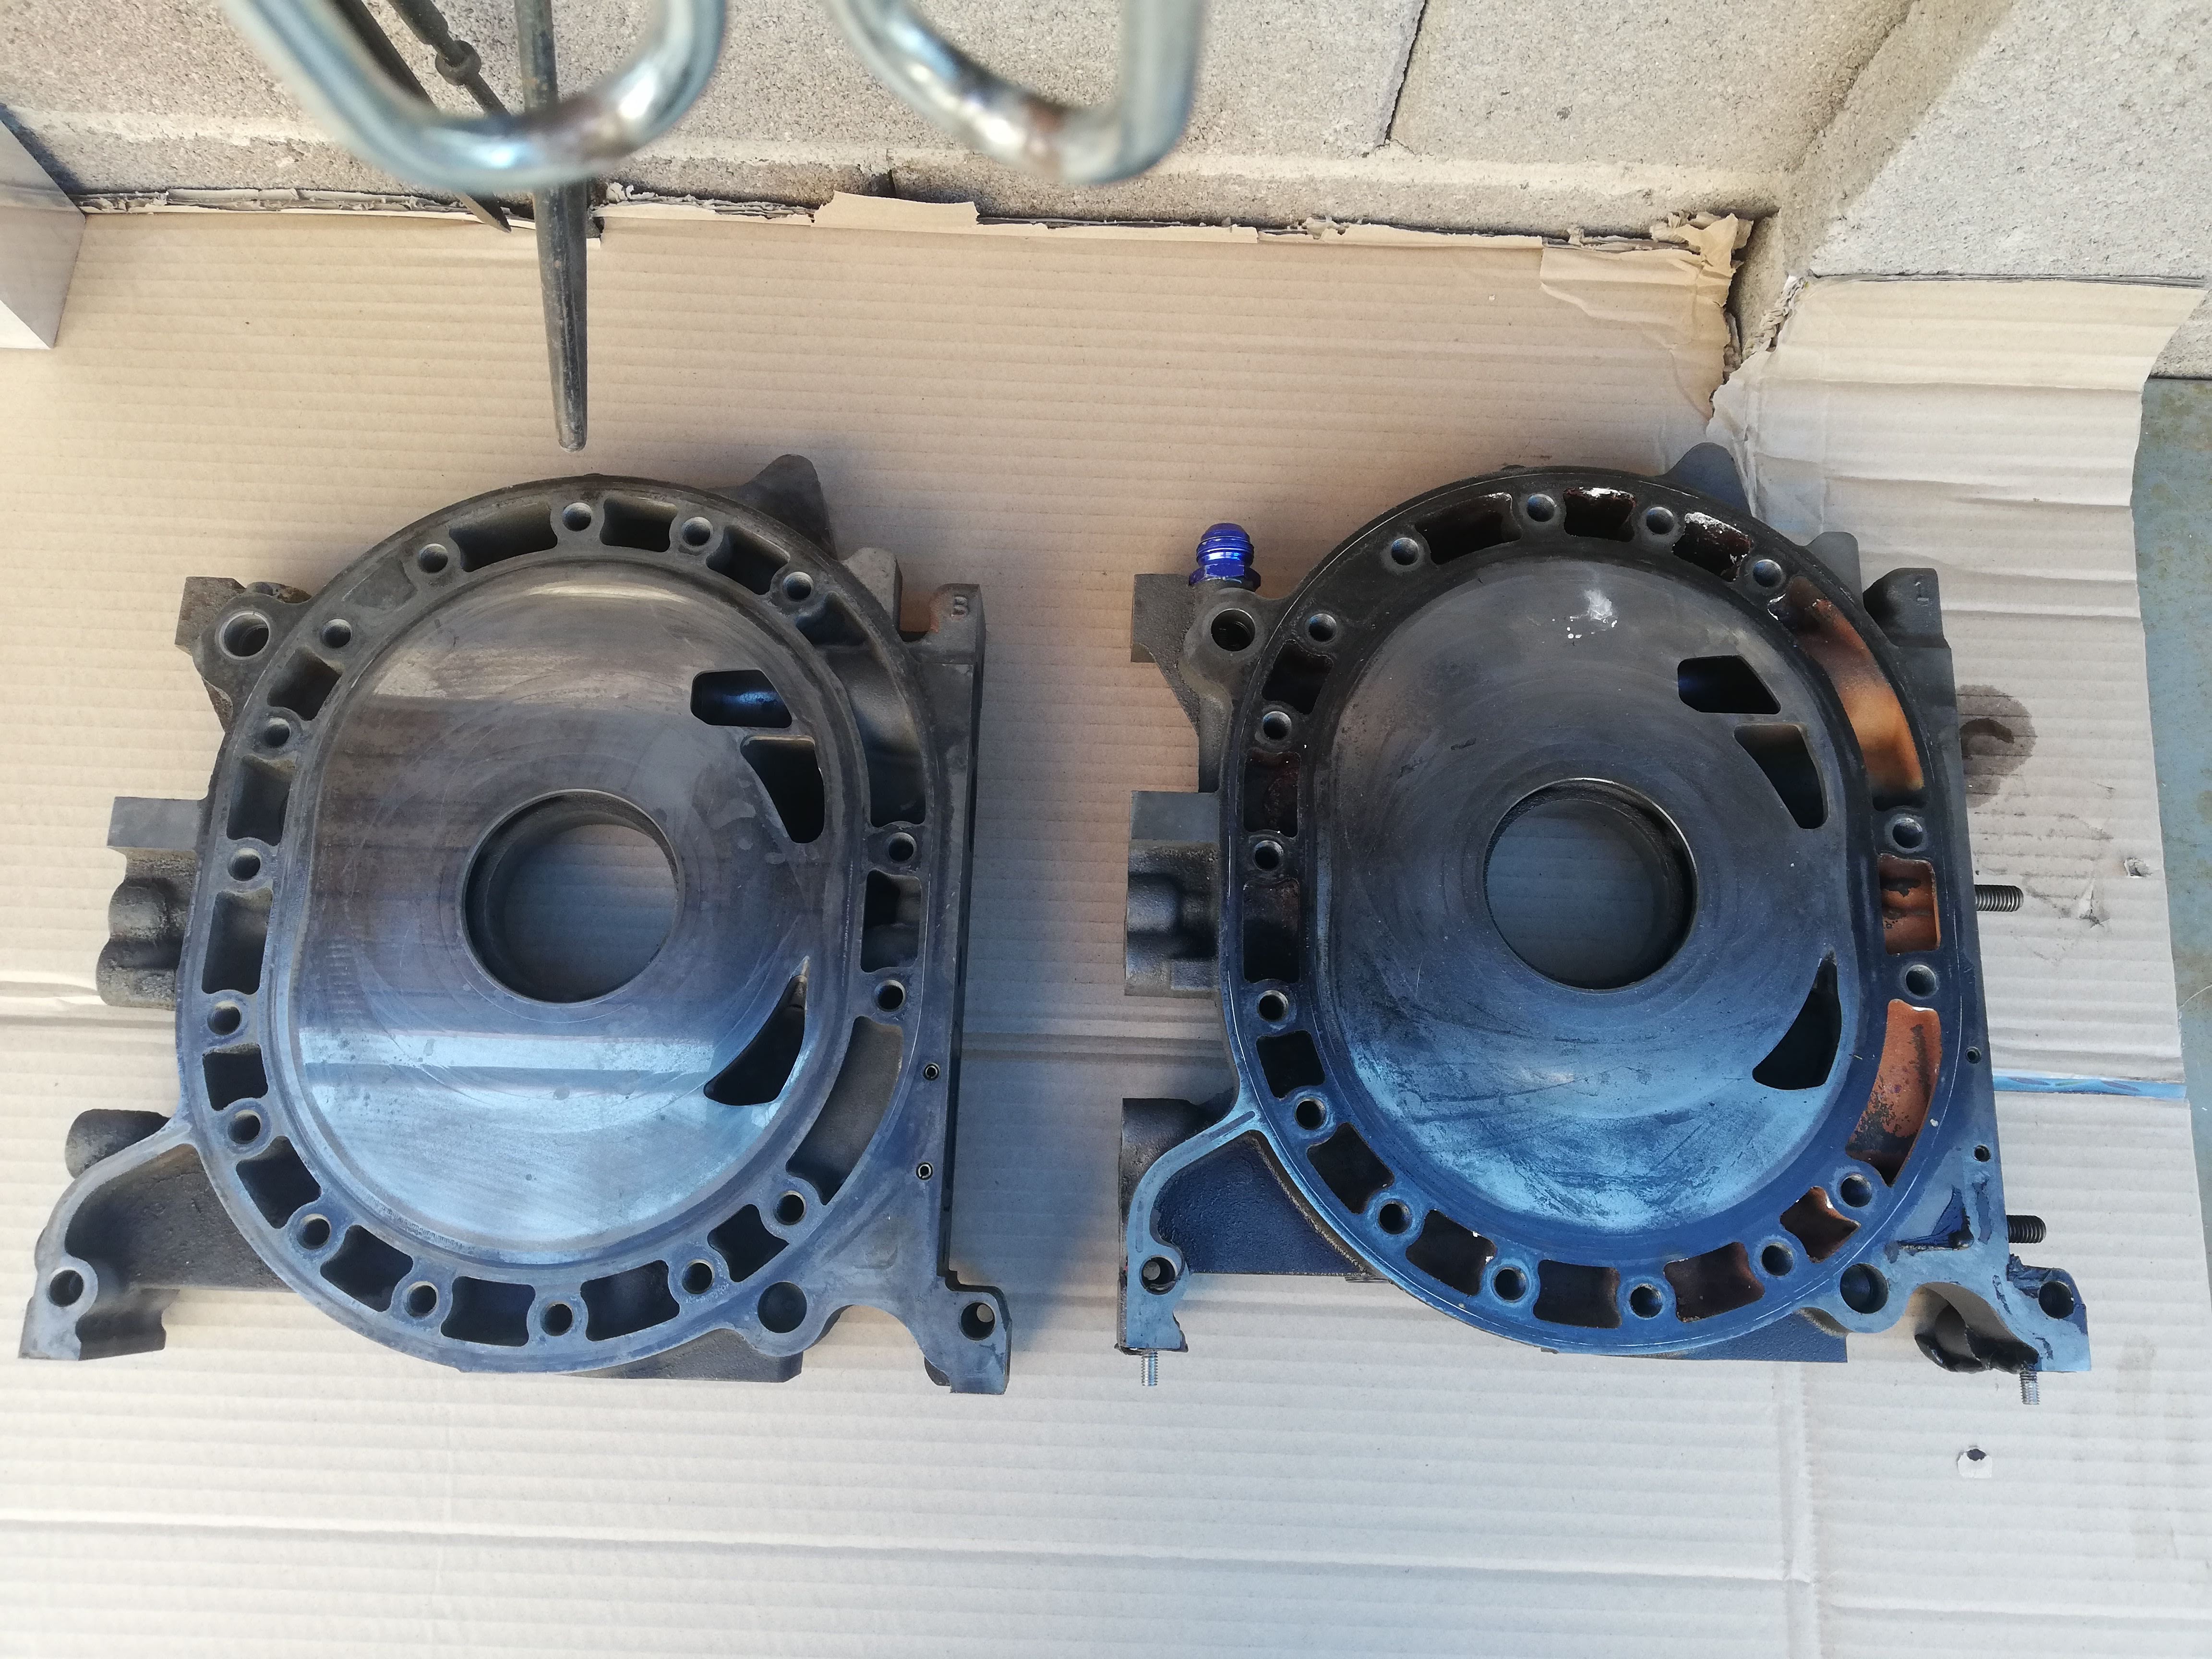
I got my rotor housings refinished by Goopy performance and they look very good. That being said dealing with Goopy was absolutely horrible, and it was and still is the worst experience I've had with a vendor in my entire life. Take a look at the thread I made about that here https://www.rx8club.com/good-guy-bad...rmance-270603/
Here are a couple pictures of the housings. Both looked pretty much the same. There is decent wear along the edges, but no flaking. The black that you see is carbon and came off with a fingernail (also the edges of the chrome liner are extremely sharp).
I have made more progress, but I need to take more pictures. I'll post those sometime soon.
I'm basically redoing the oiling system again. Last time I was only able to do the filter location and cooler, but now that the engine is out I'm modifying the system from the ground up. The oiling mods are EXTENSIVE and something I've wanted to do for a long time.
I'm sorry that the pictures are so freaking huge. I only just noticed after posting all of this. It can help to make your browser window less wide or right click and hit "open image in new tab" on the ones you want to see more clearly. I must be getting old to make that kind of mistake so many times...
Oh *****, I forgot to update this. WELL
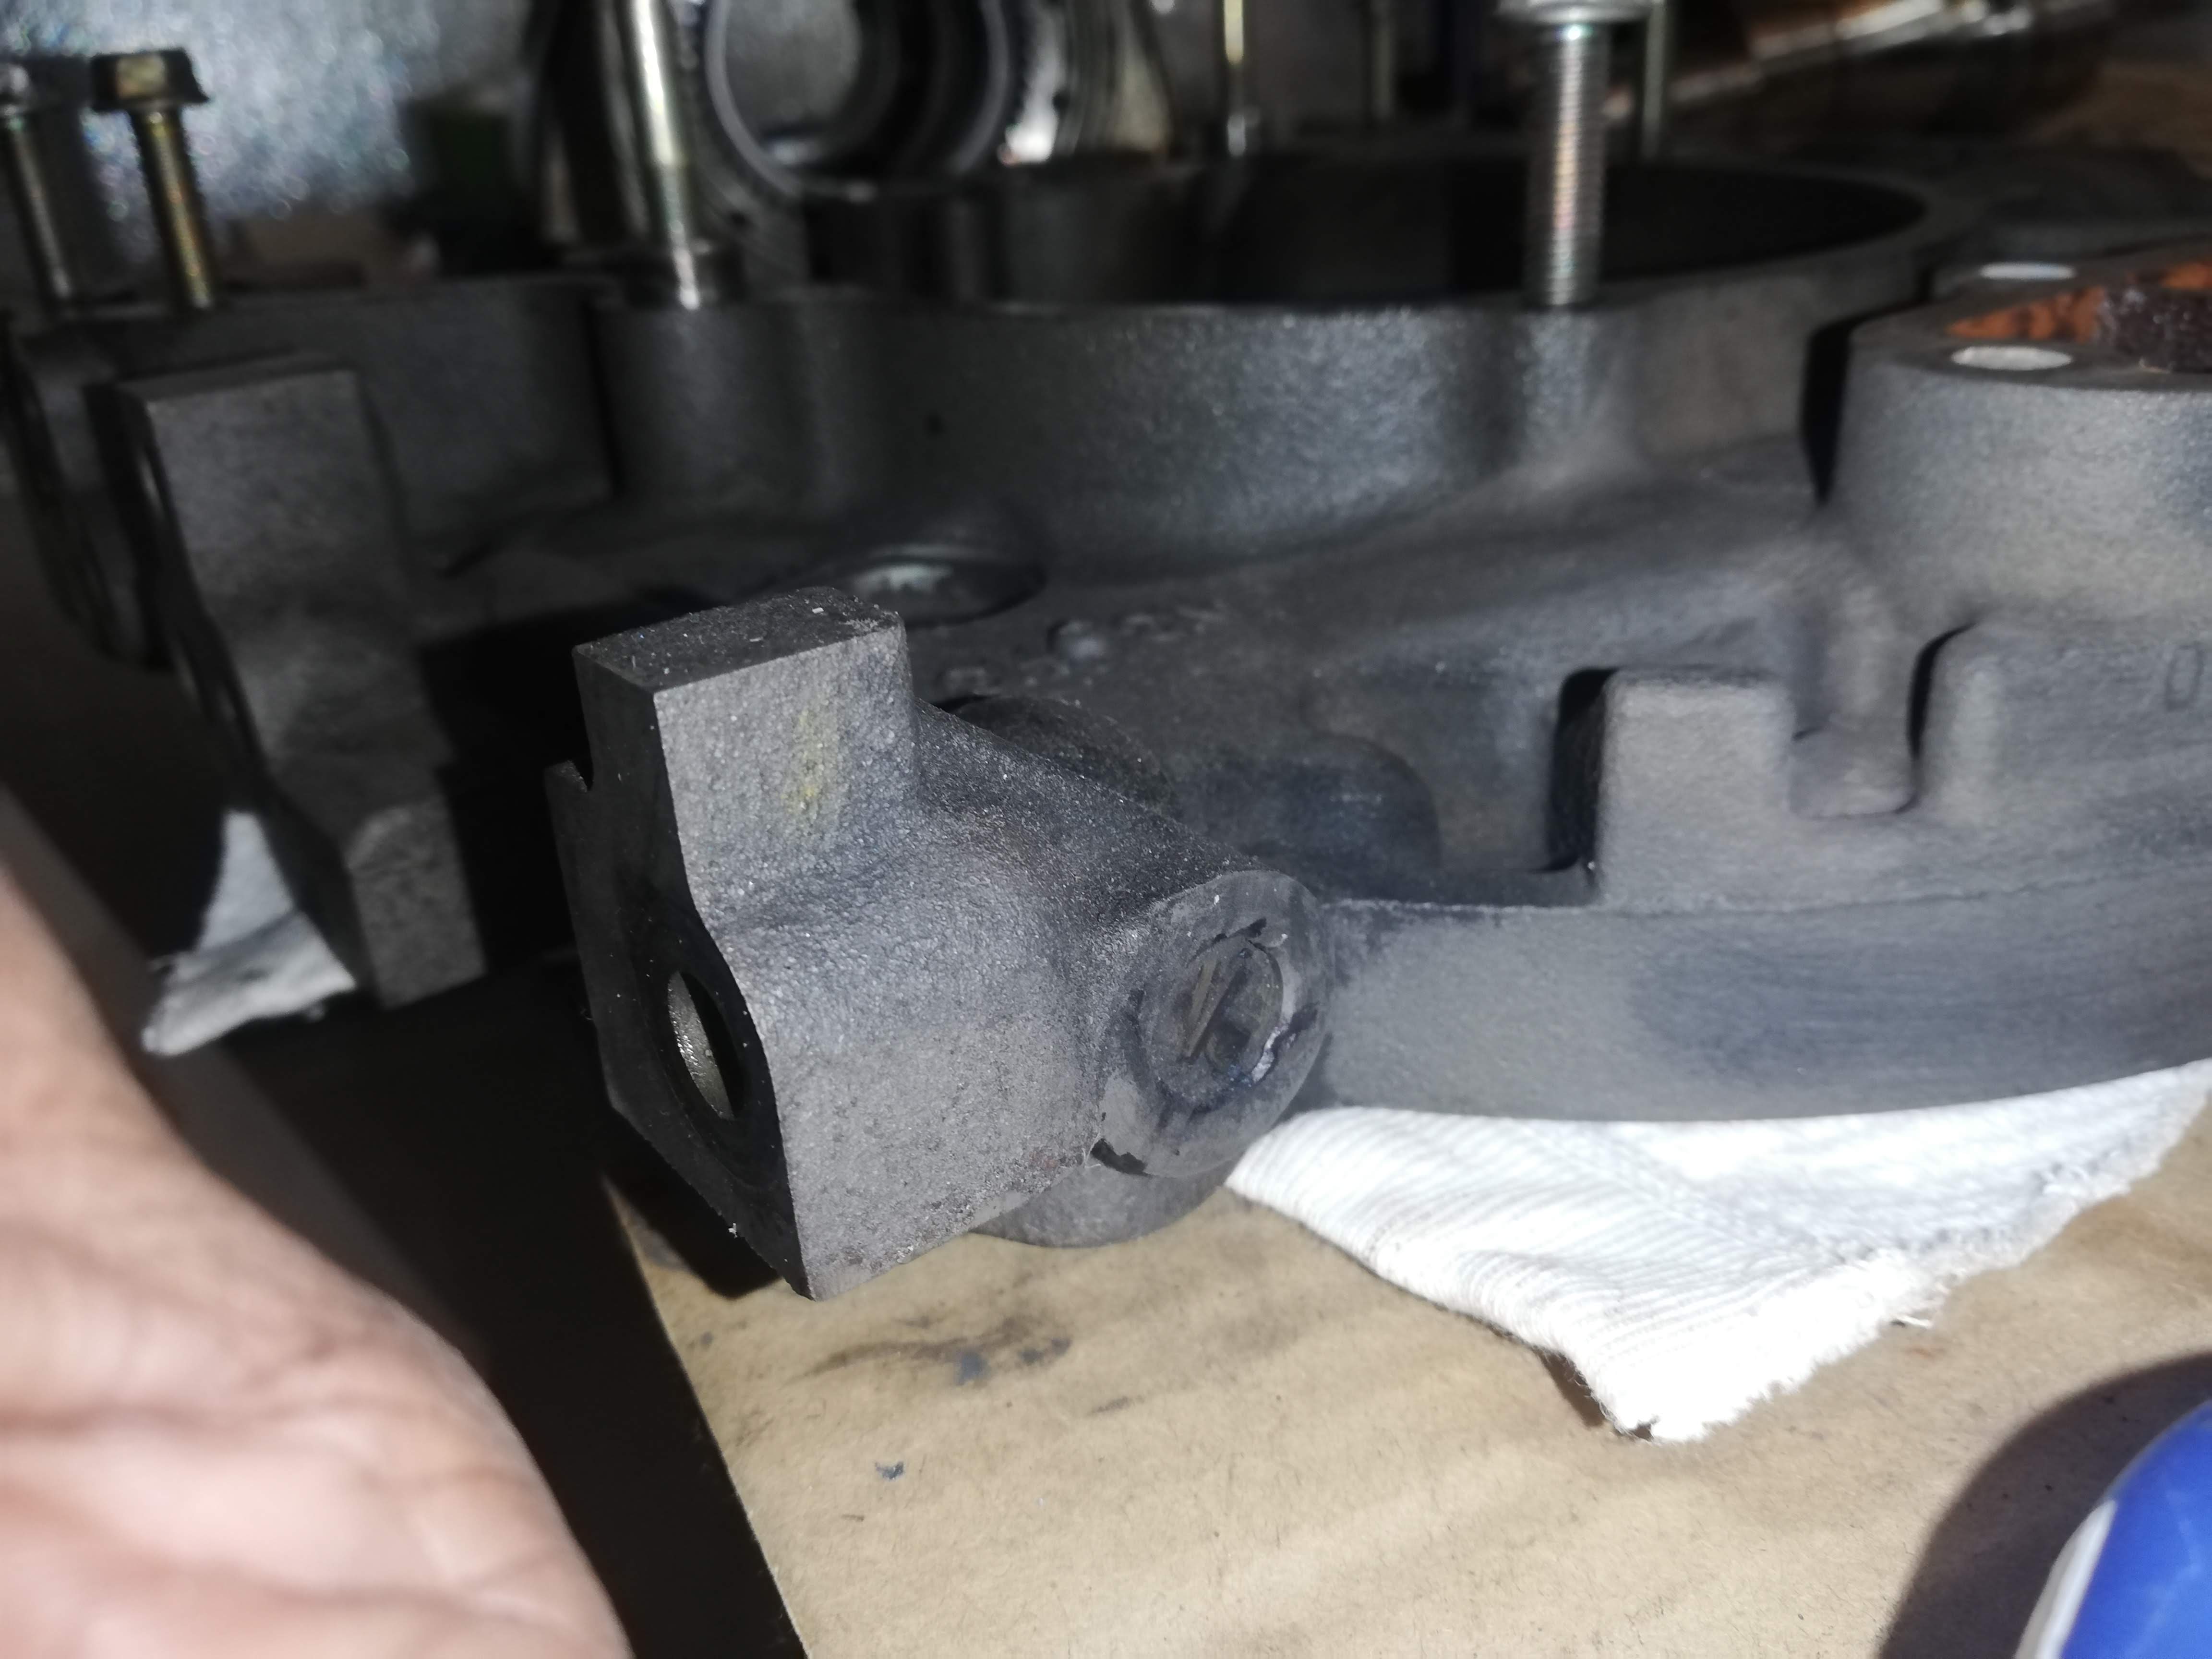
No pictures for some reason, but I cross-drilled the front bearing surface of the Eccentric Shaft for better oiling. Stock there is one oil inlet from the front bearing, this was done because there isn't a huge amount of oil flow through the upper dowel pins, and that is the only direct oil feed to the front bearing. Cross-drilling that hole drops the pressure significantly because of a lack of flow through the dowel, it's more of a supporting mod for the upper dowel bypass (which I've personally never seen on another RX8). My upper bypass uses a dash-10 hose directly from the oil pedestal to the vertical oil passage in the front iron, traditionally this mod uses a feed directly to the low horizontal passage on the front iron, but that would mean getting rid of the AC compressor and I'm not about that life. The metal around the vertical passage is very thin after drilling for an M18 fitting, but with care it is completely doable (I did it twice, more on that later.
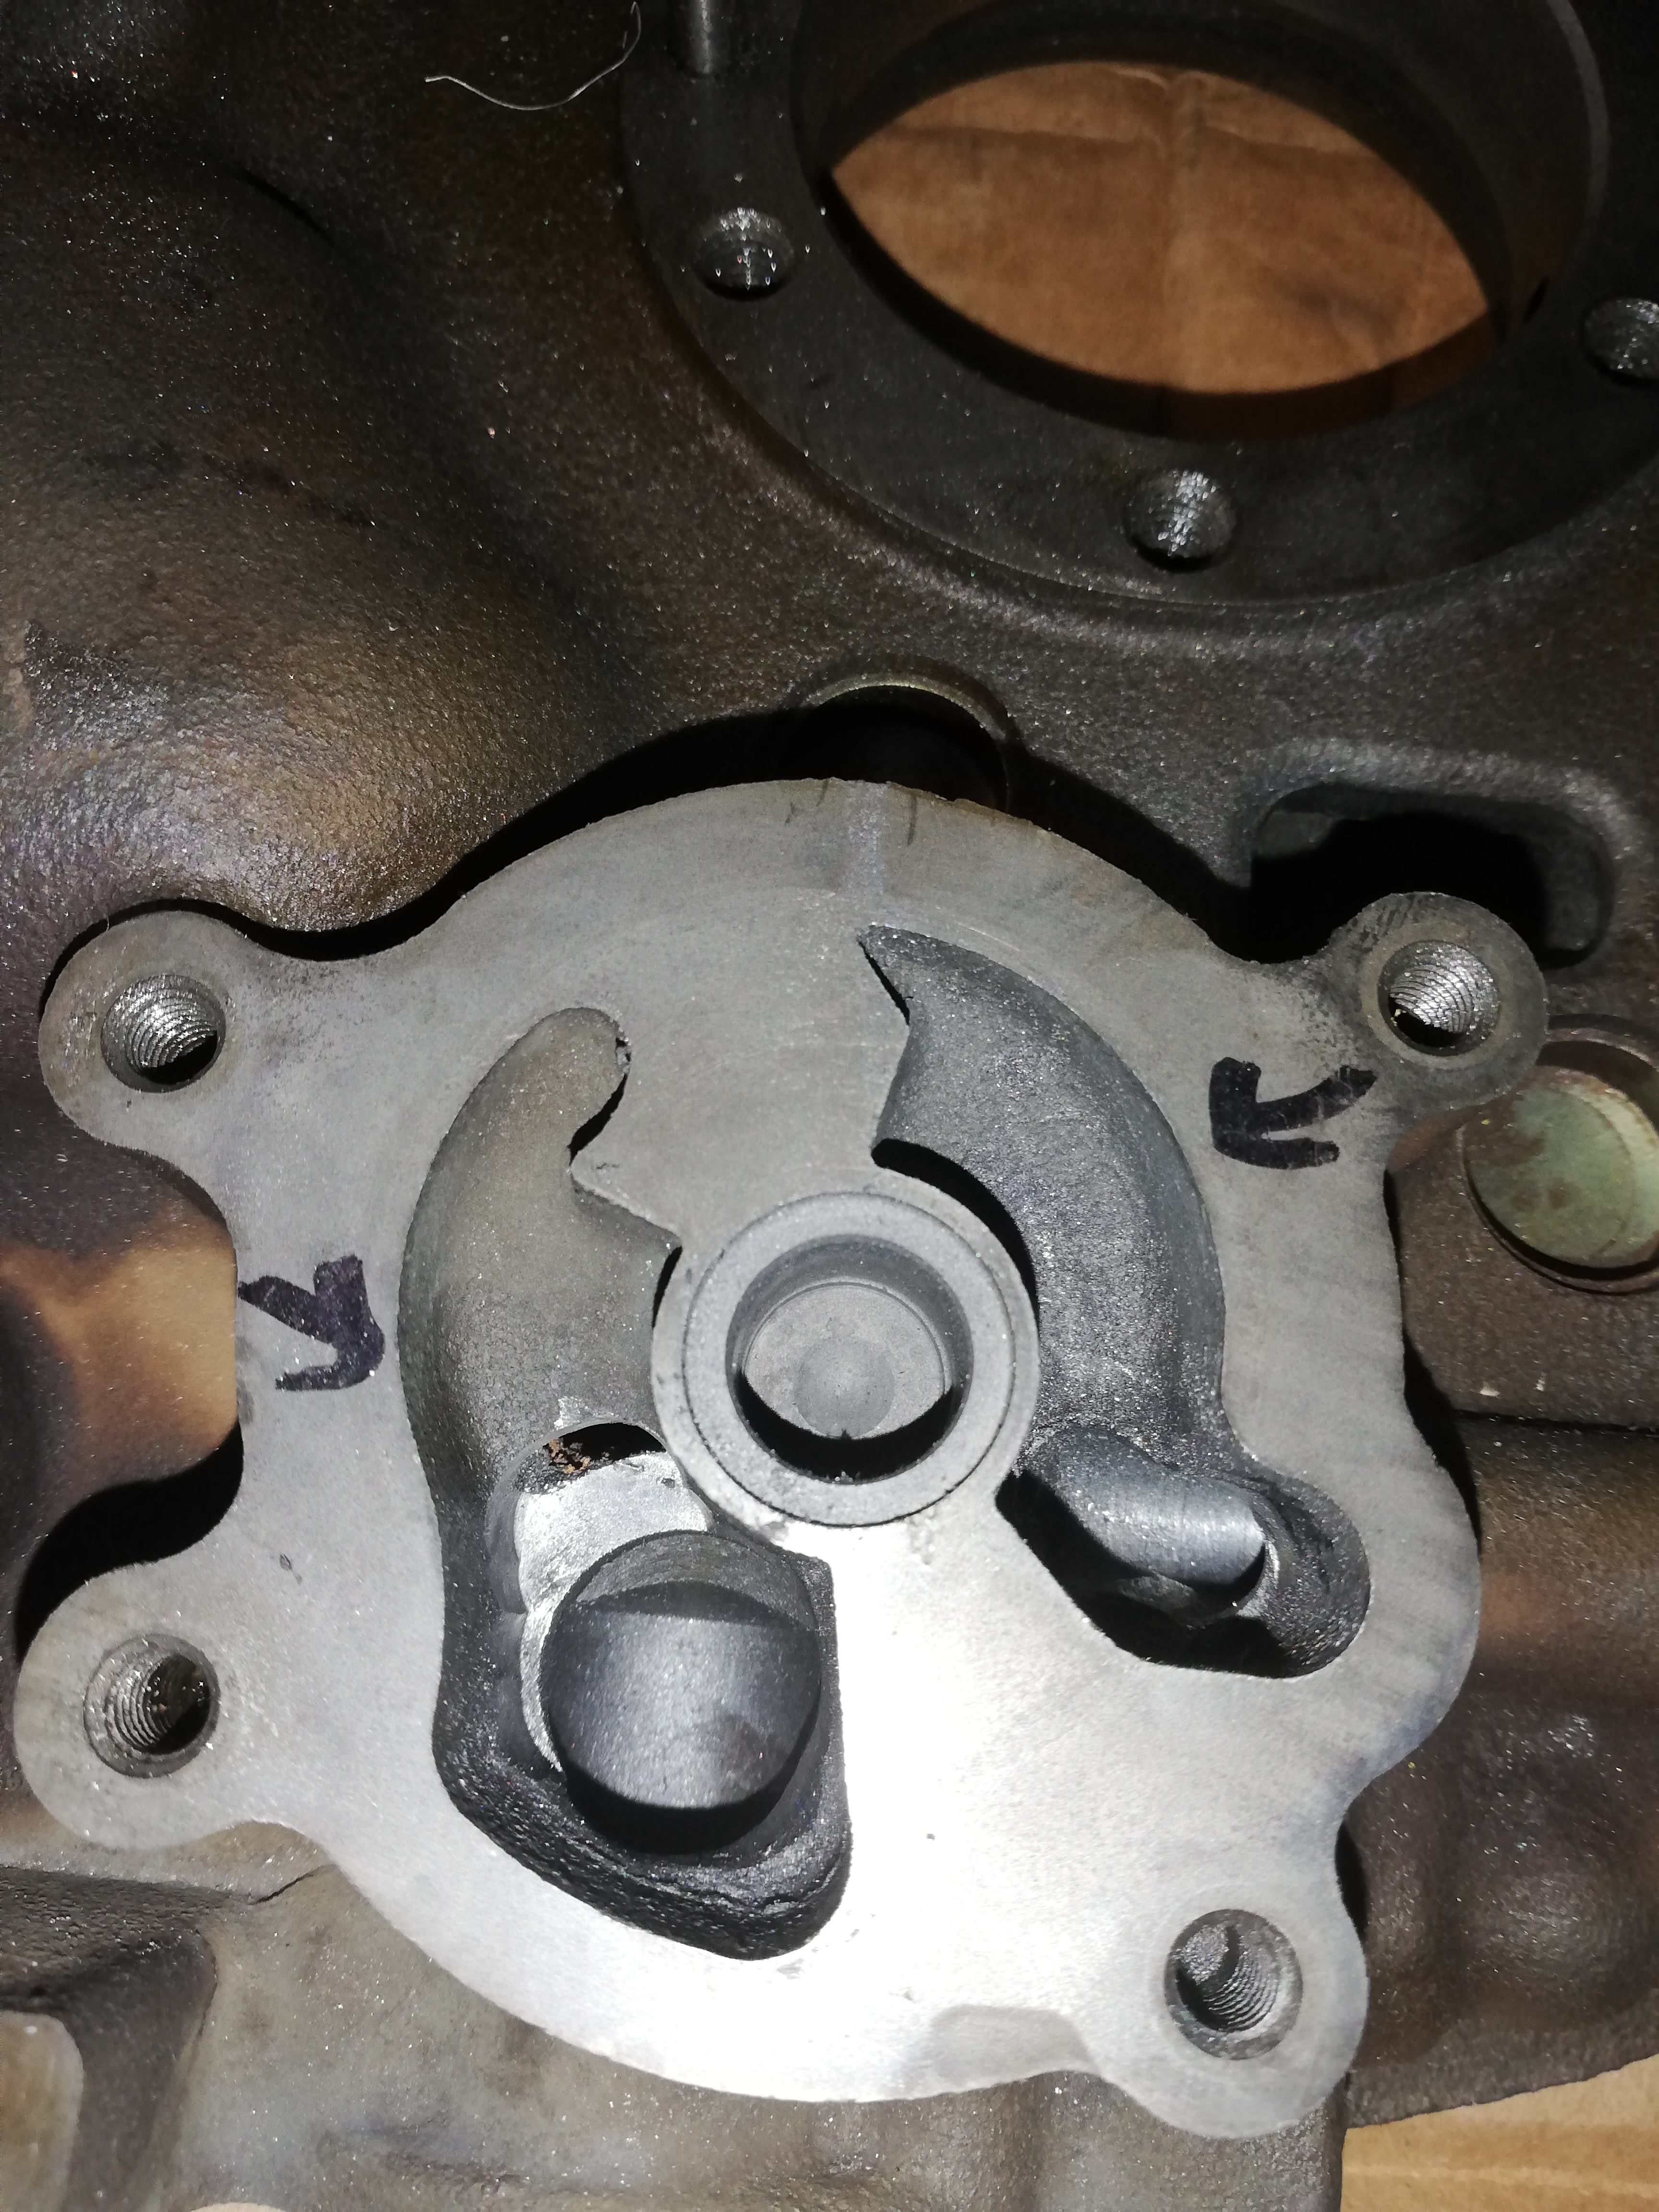
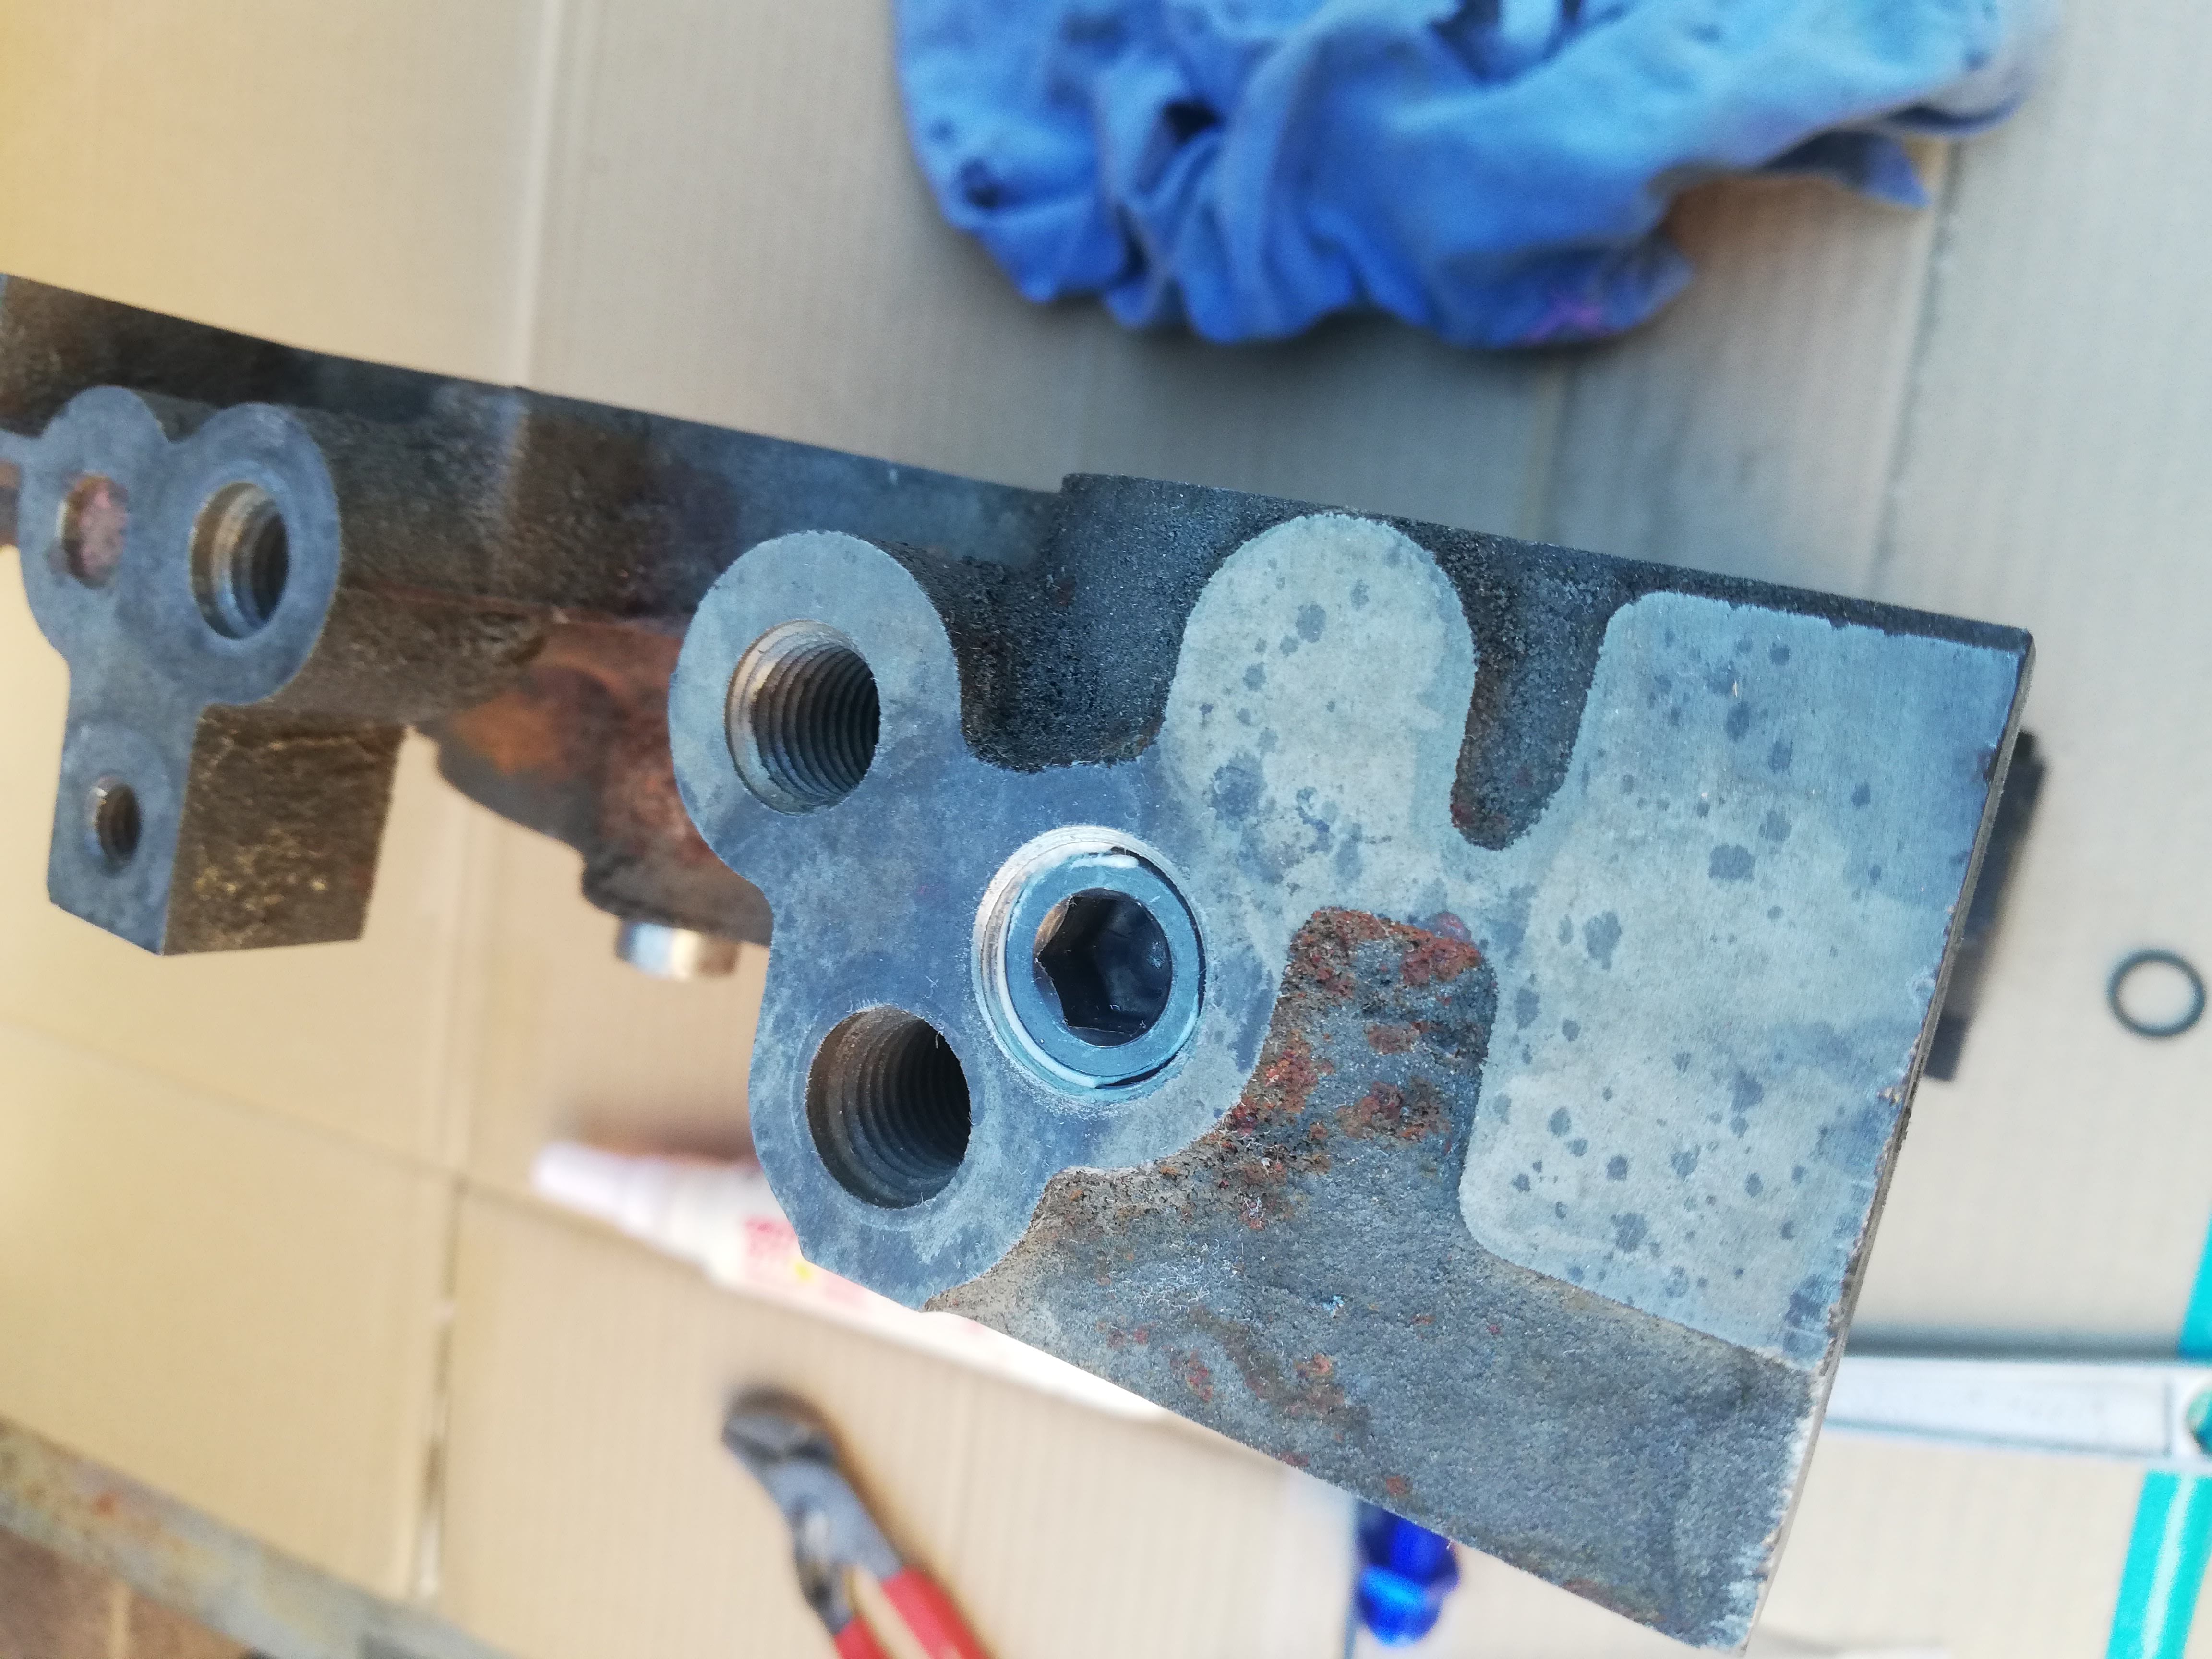
This is the location of that vertical oil passage on the front iron
I did some machining on the front Iron and Front Cover to expand the oil passages to 1/2" all around. This is the point where I fucked up the oil pump casting and broke into the coolant passage.
This is the Repair, Aluminum Bronze TIG.
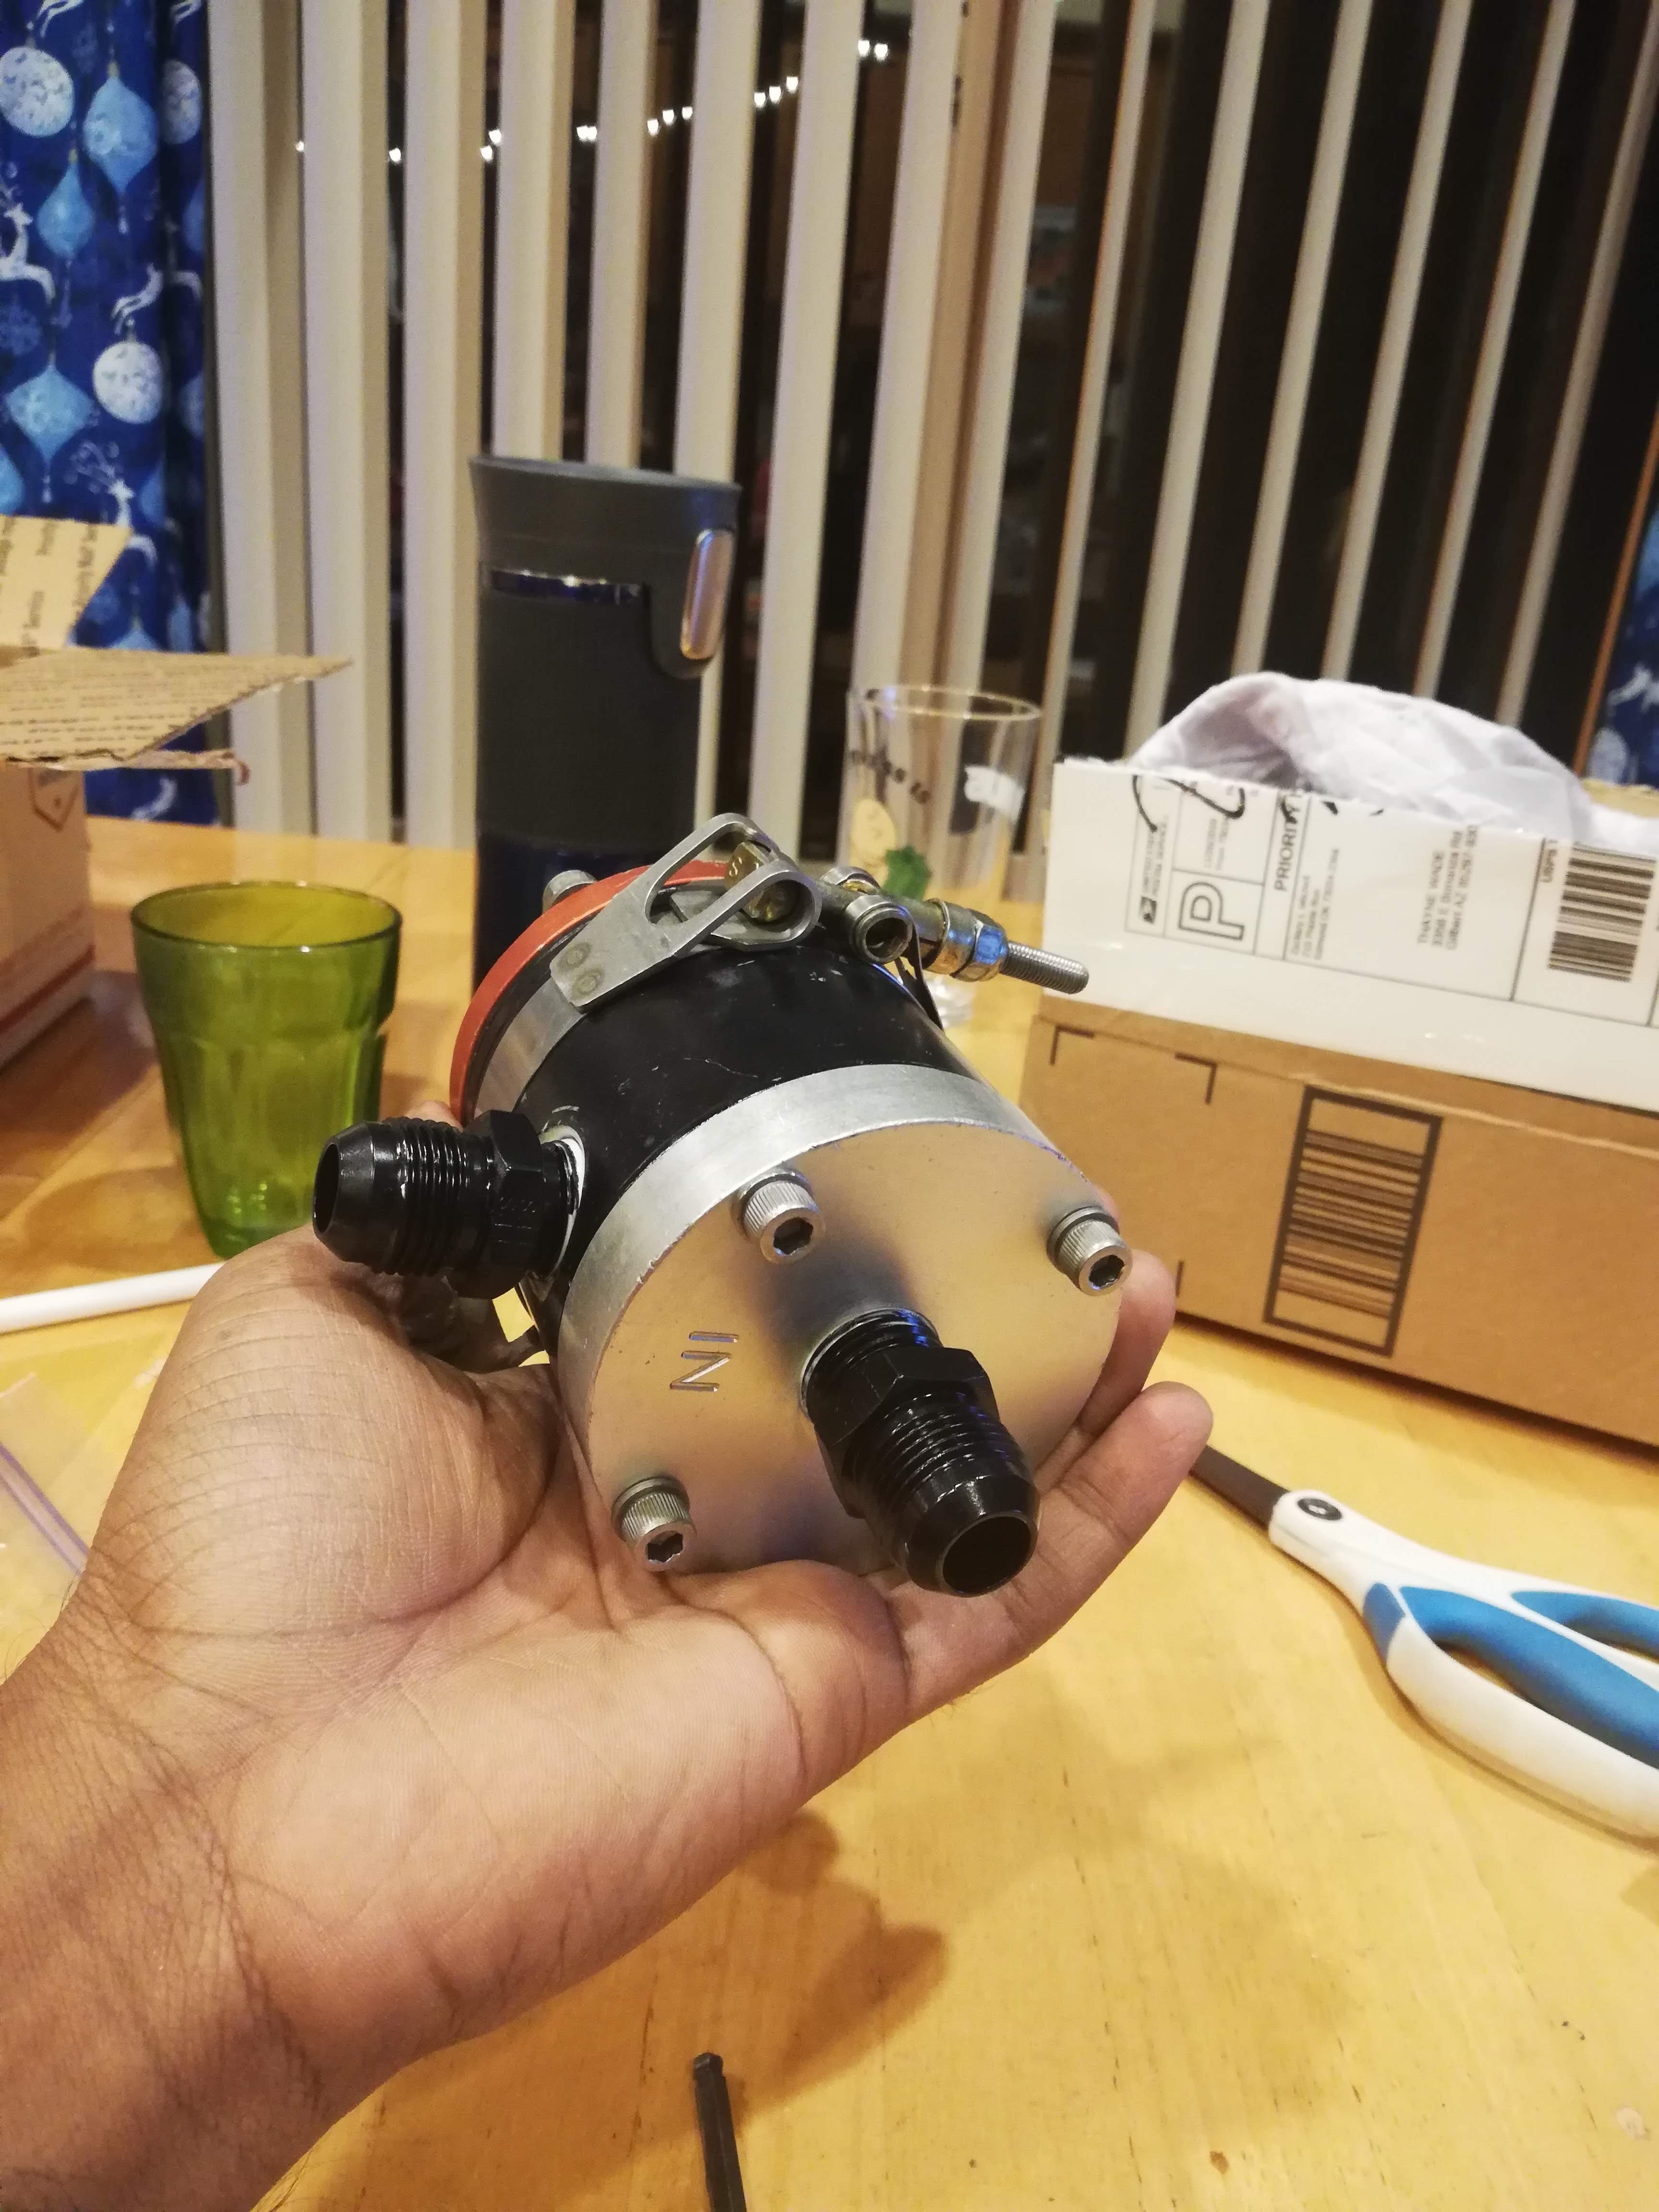
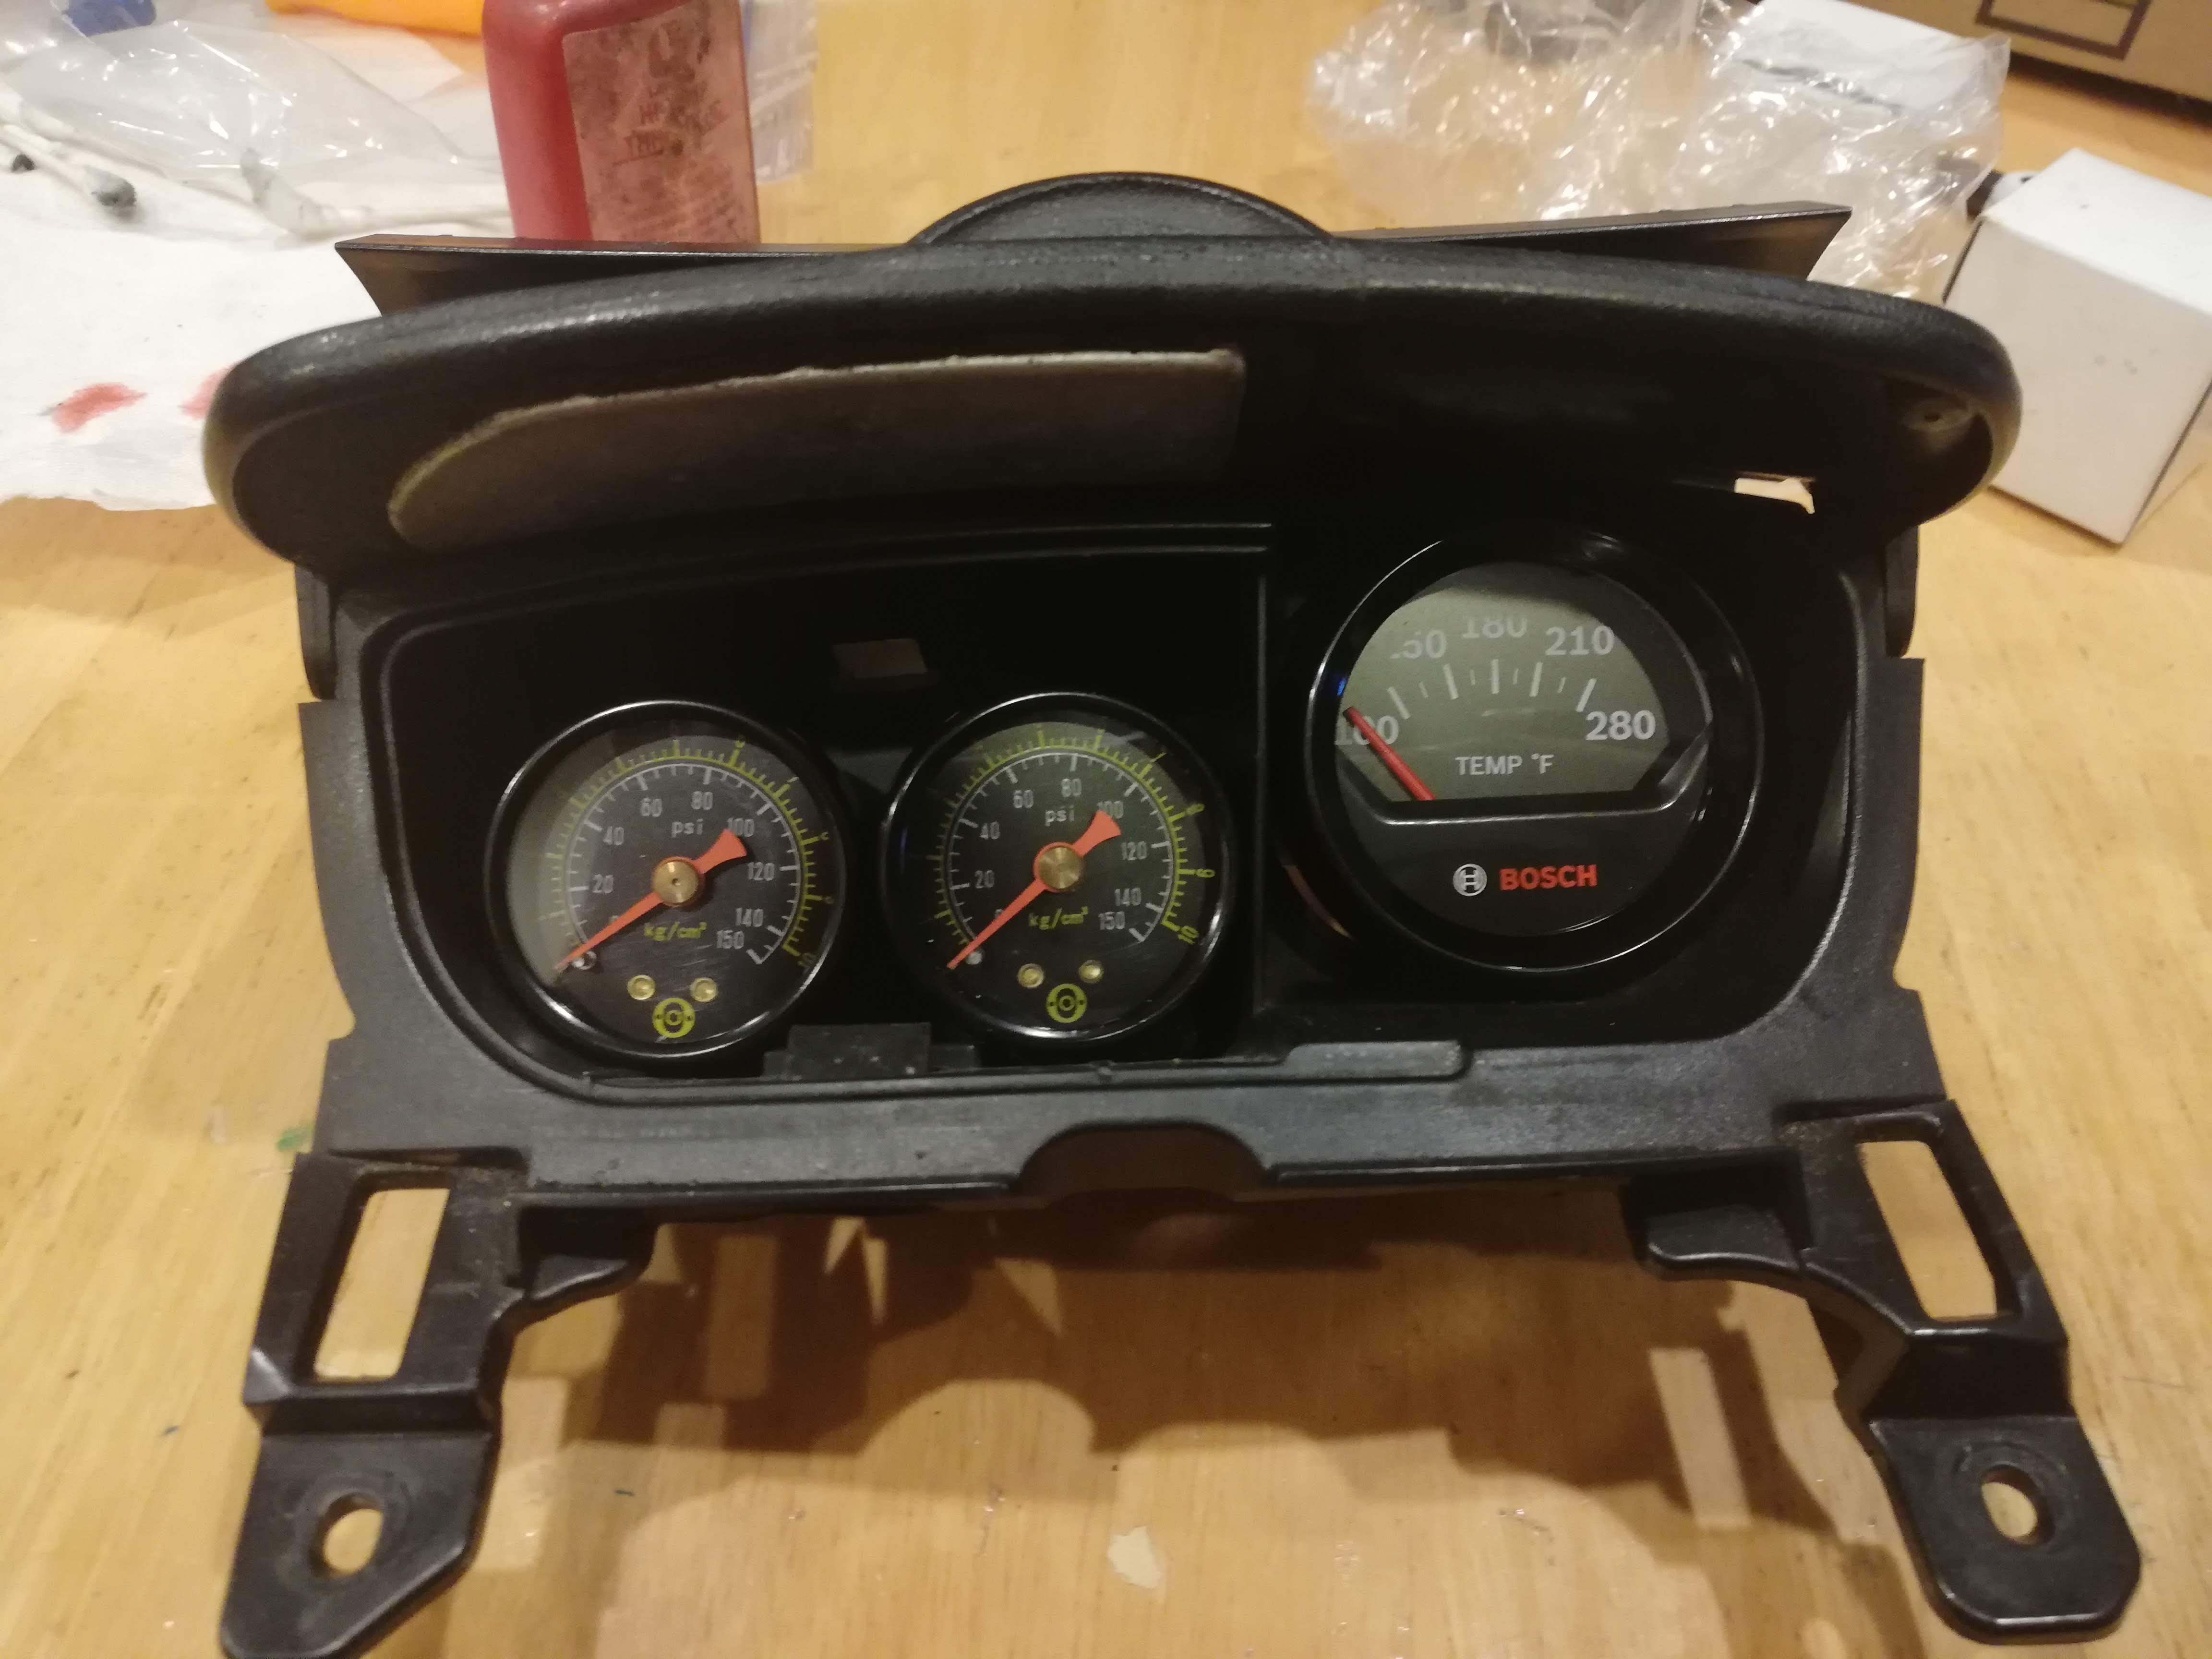
I got this Caton Racing Filter Unit and some new gauges so that I can read the differential pressure across the filter (this filter does not have the bypass) and coolant temperature from the upper passage on the front cover (near the OEM sensor).
Then after a great seal grinding lesson from Charles at BHR I clearenced the seals and built the engine.
Then I rewrapped the entire harness because one of the injector plugs crumbled, and I left some pigtails for the new ignition coil mount position.
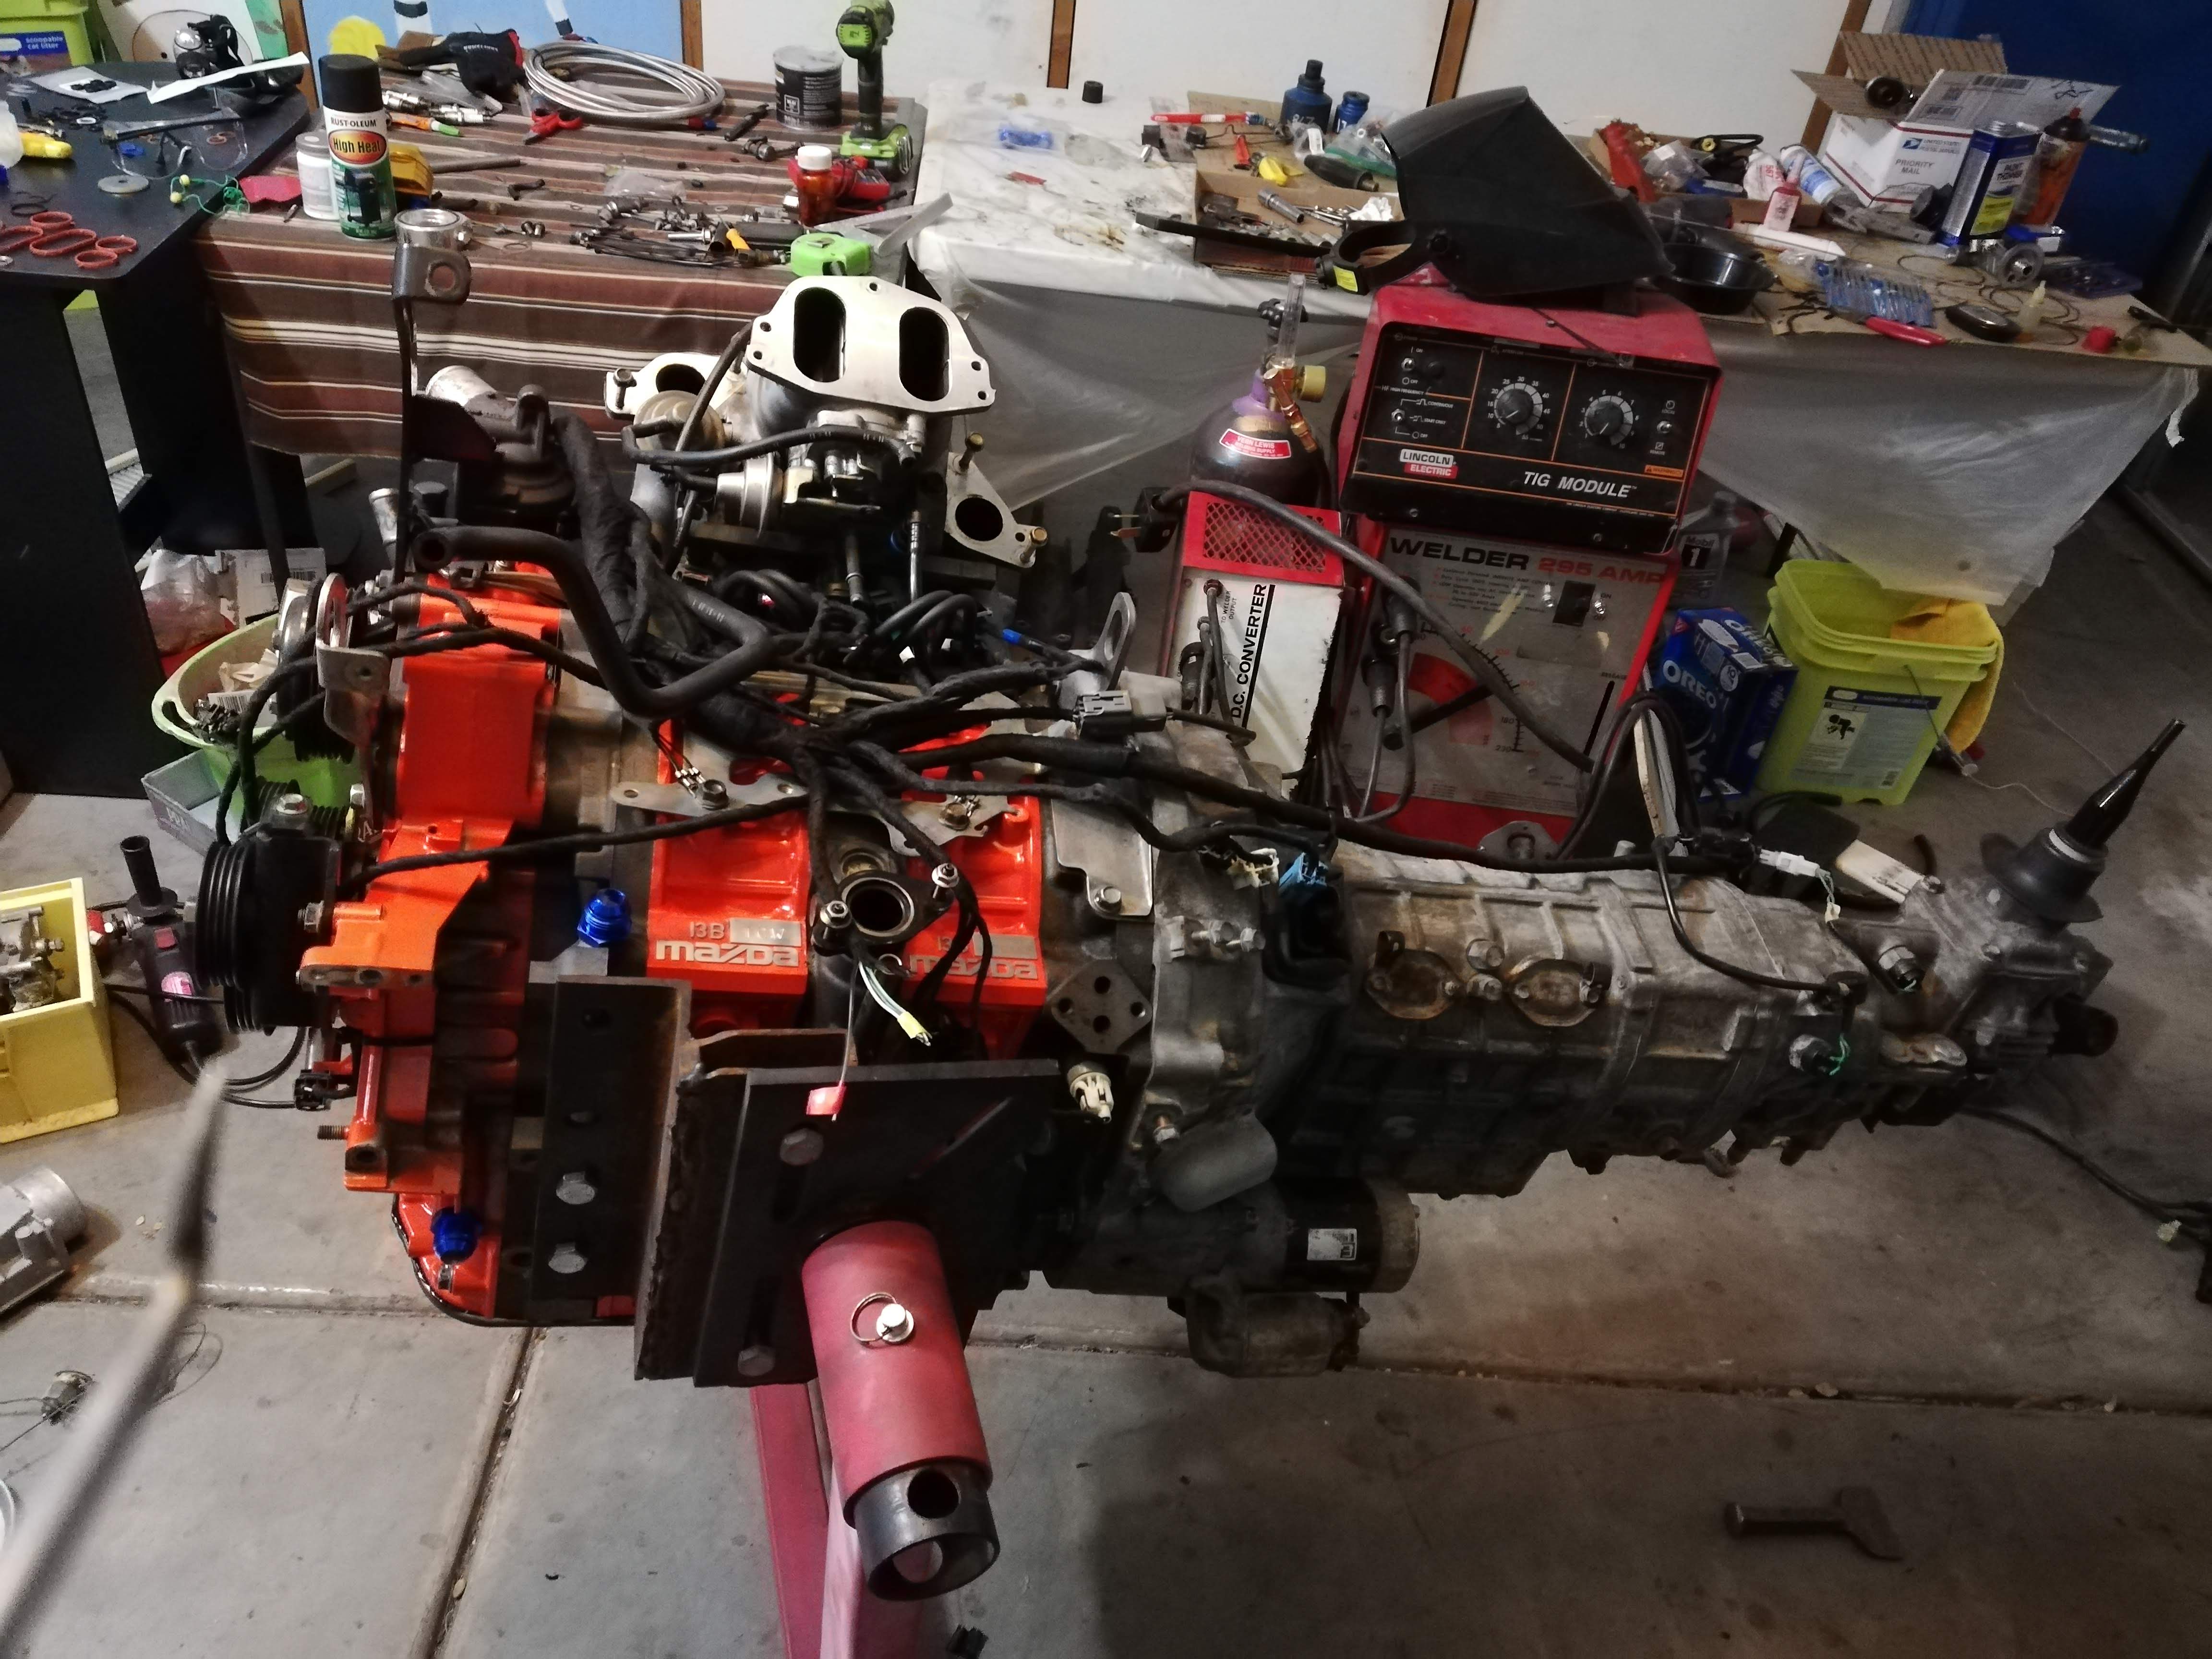
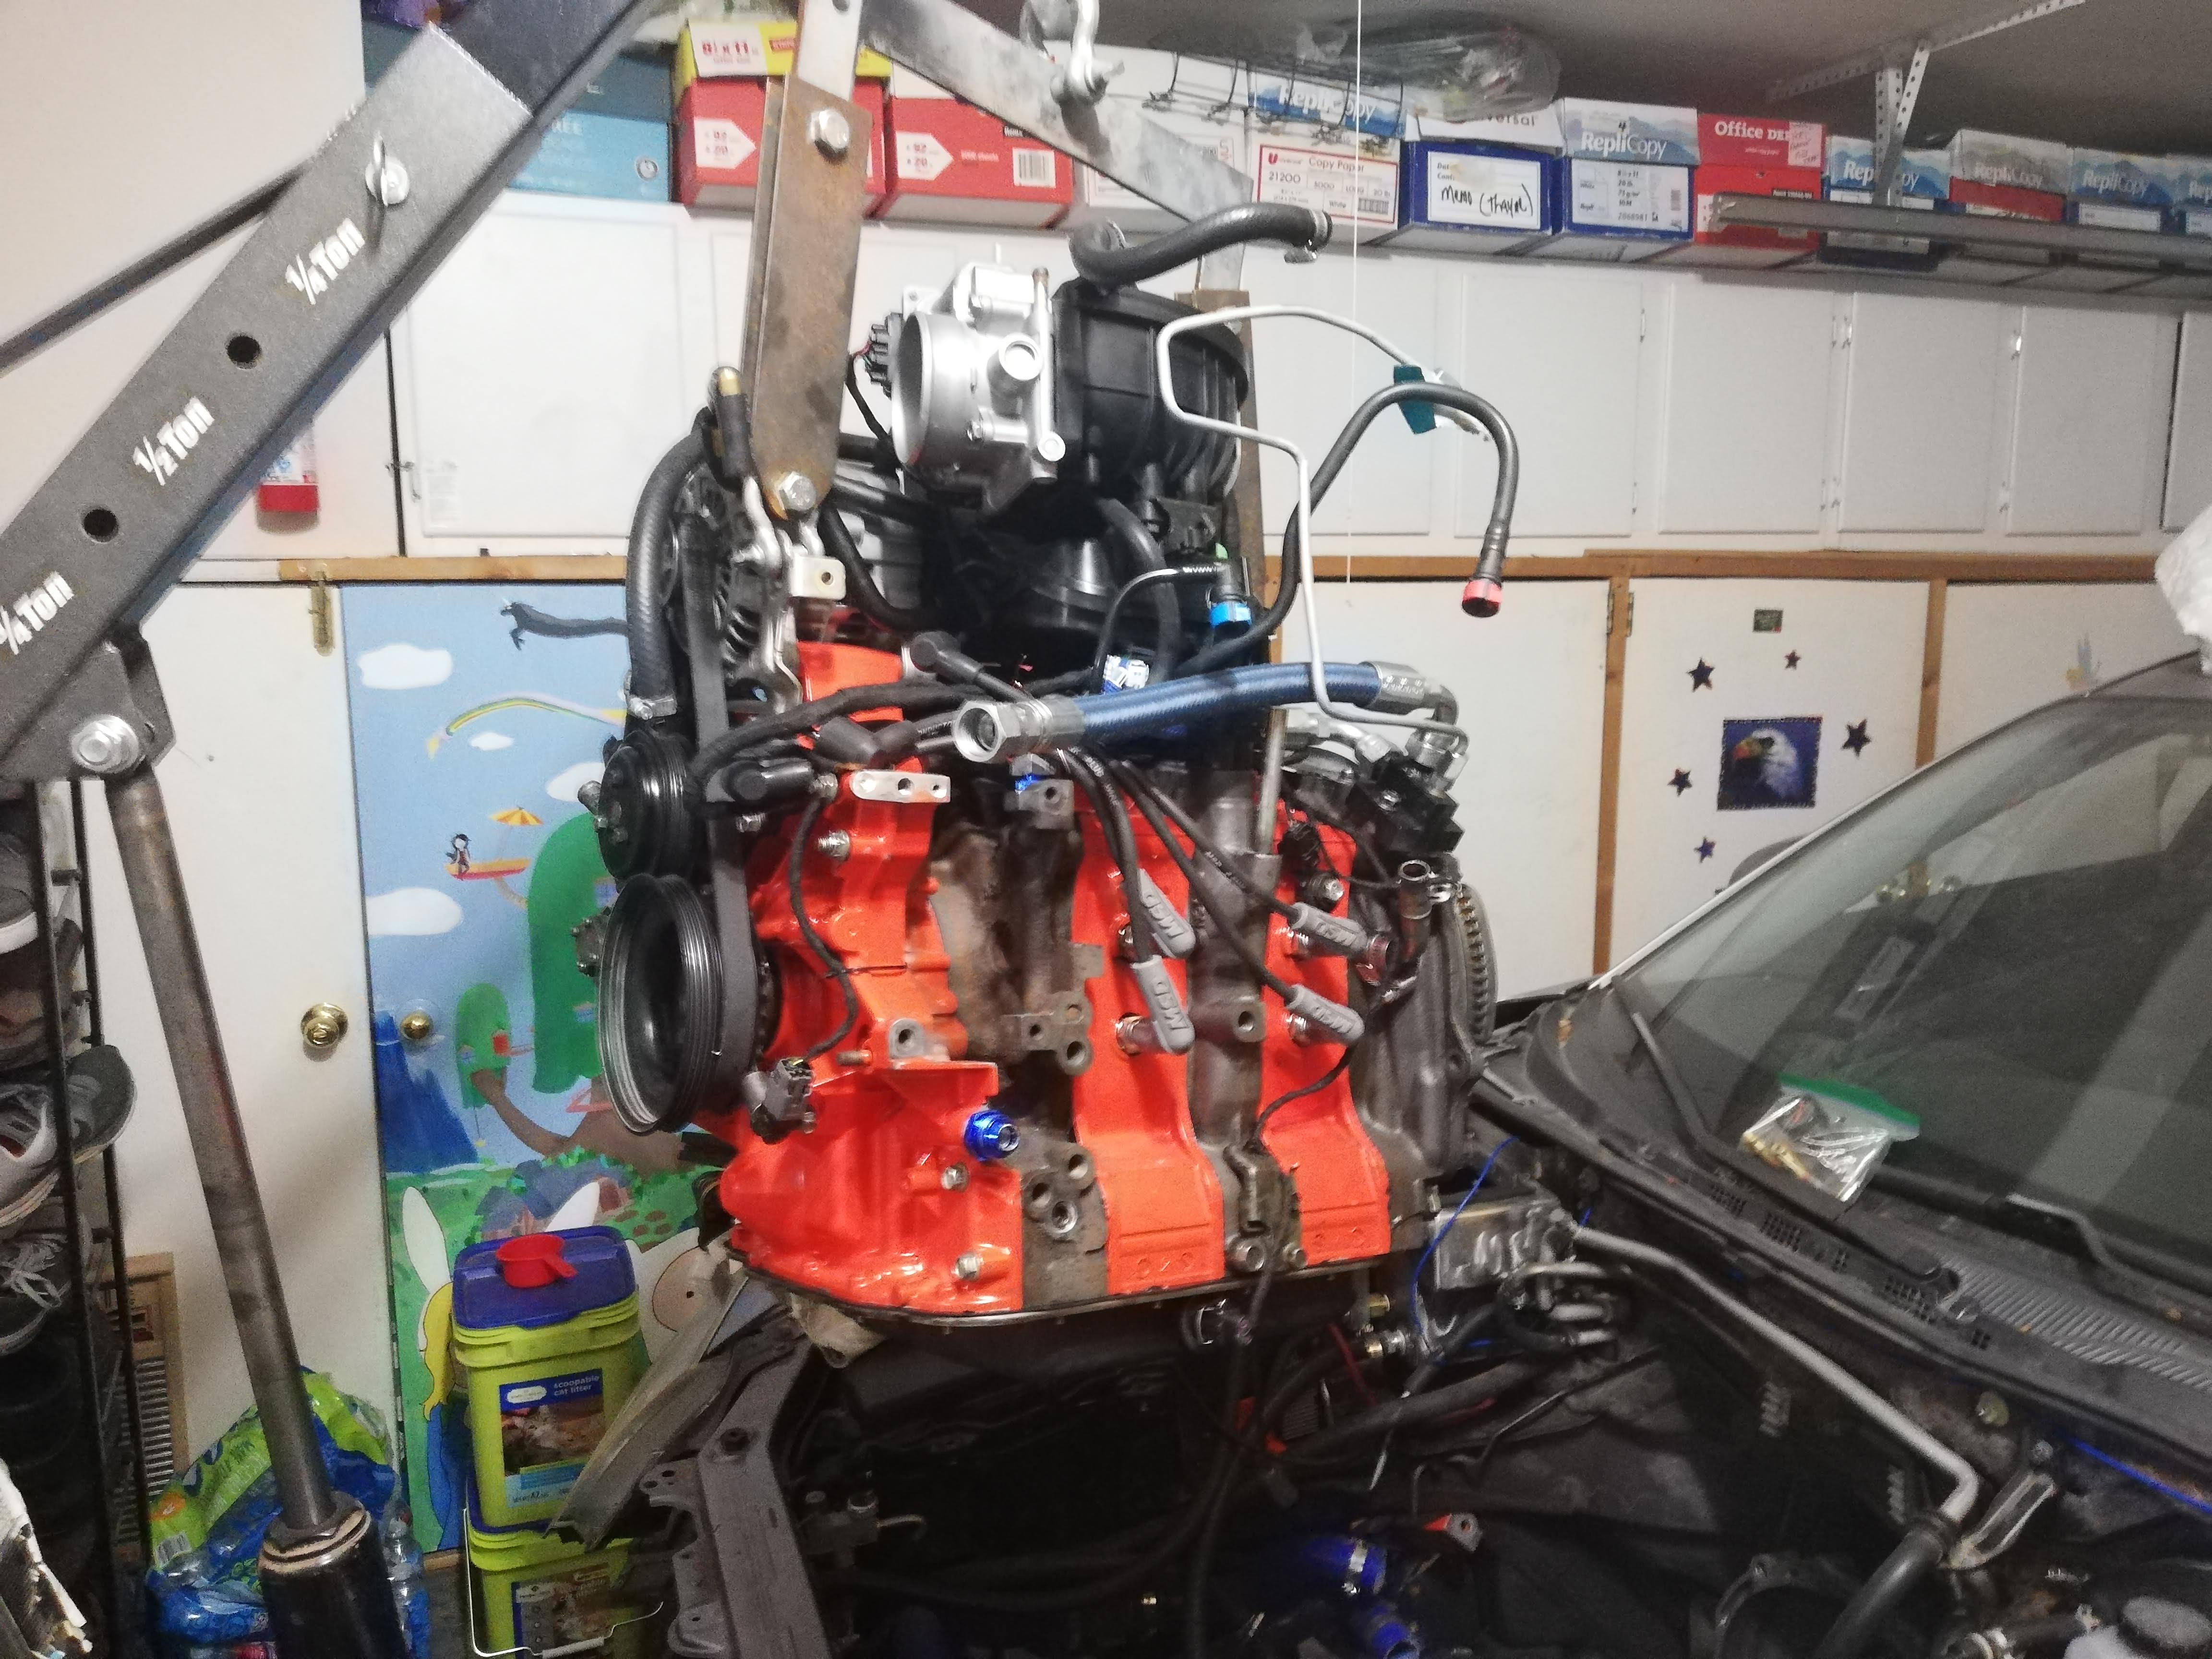
Aaaaannnnnddddd Dressed the Engine with everything but the oil pedestal.
After that we dragged the car back into the garage and installed the engine.
I wanted to get rid of the filter relocation, get filter dP, get and not have to deal with the stock filter position during filter changes.
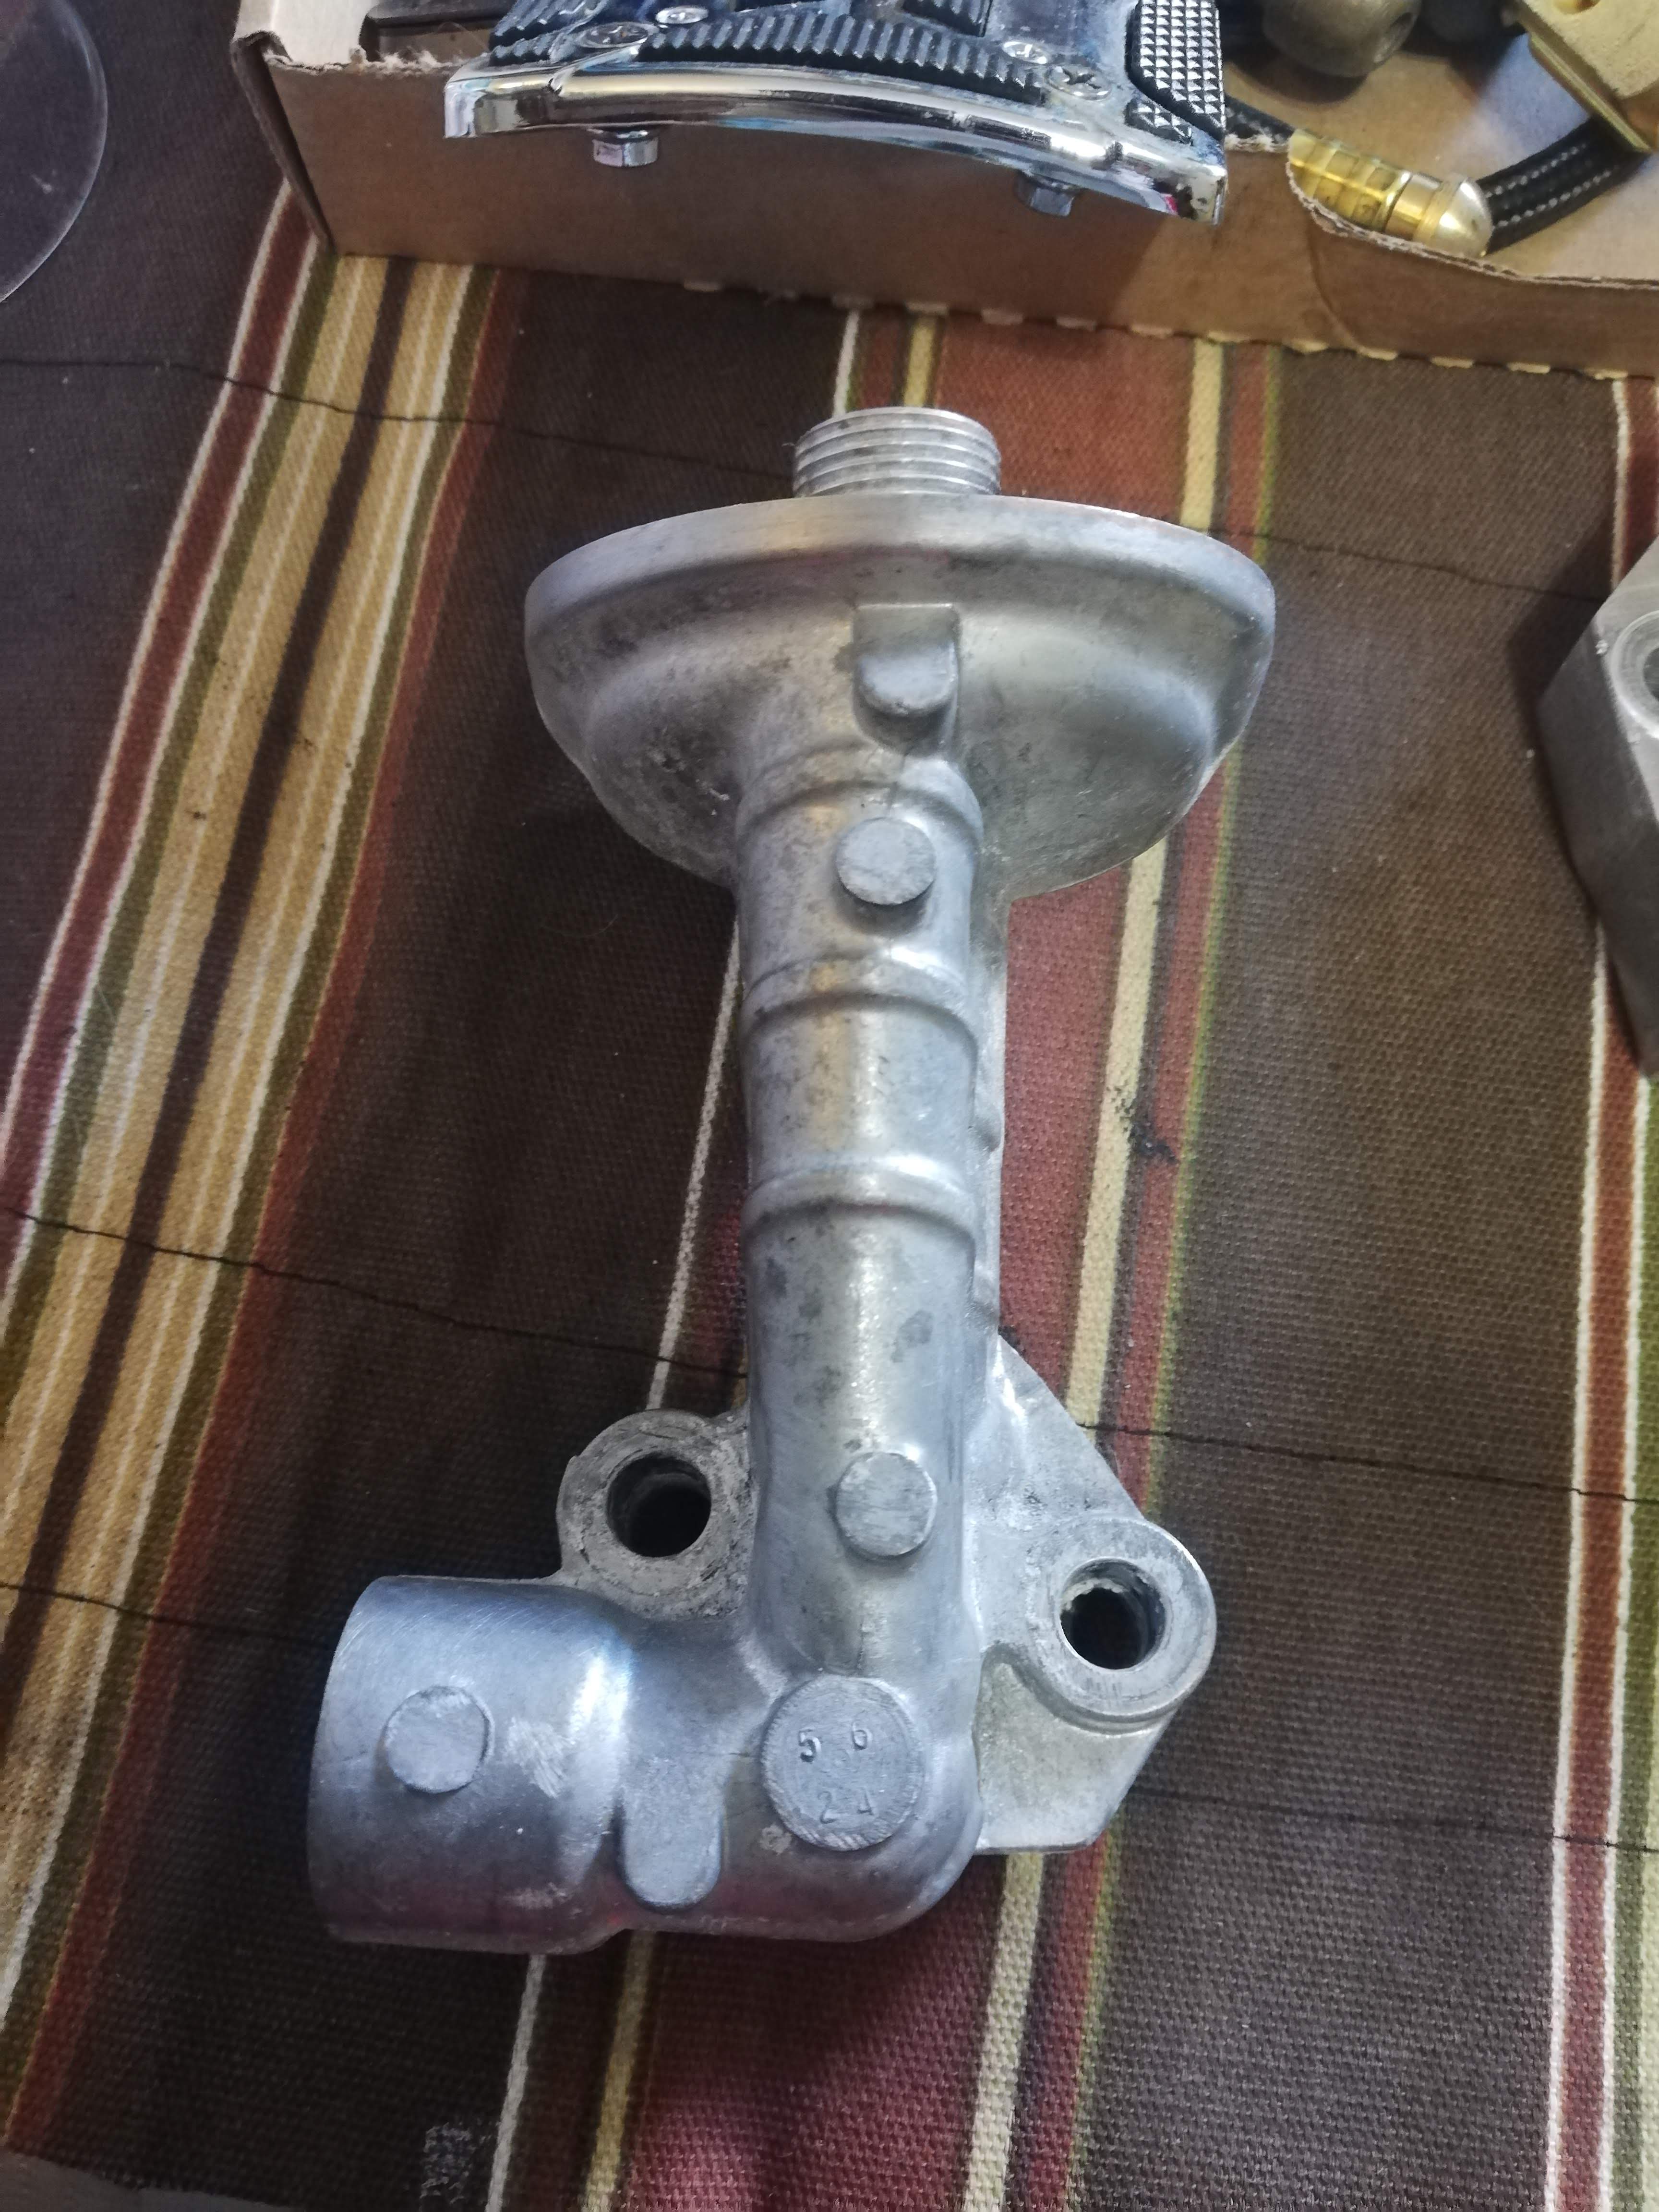
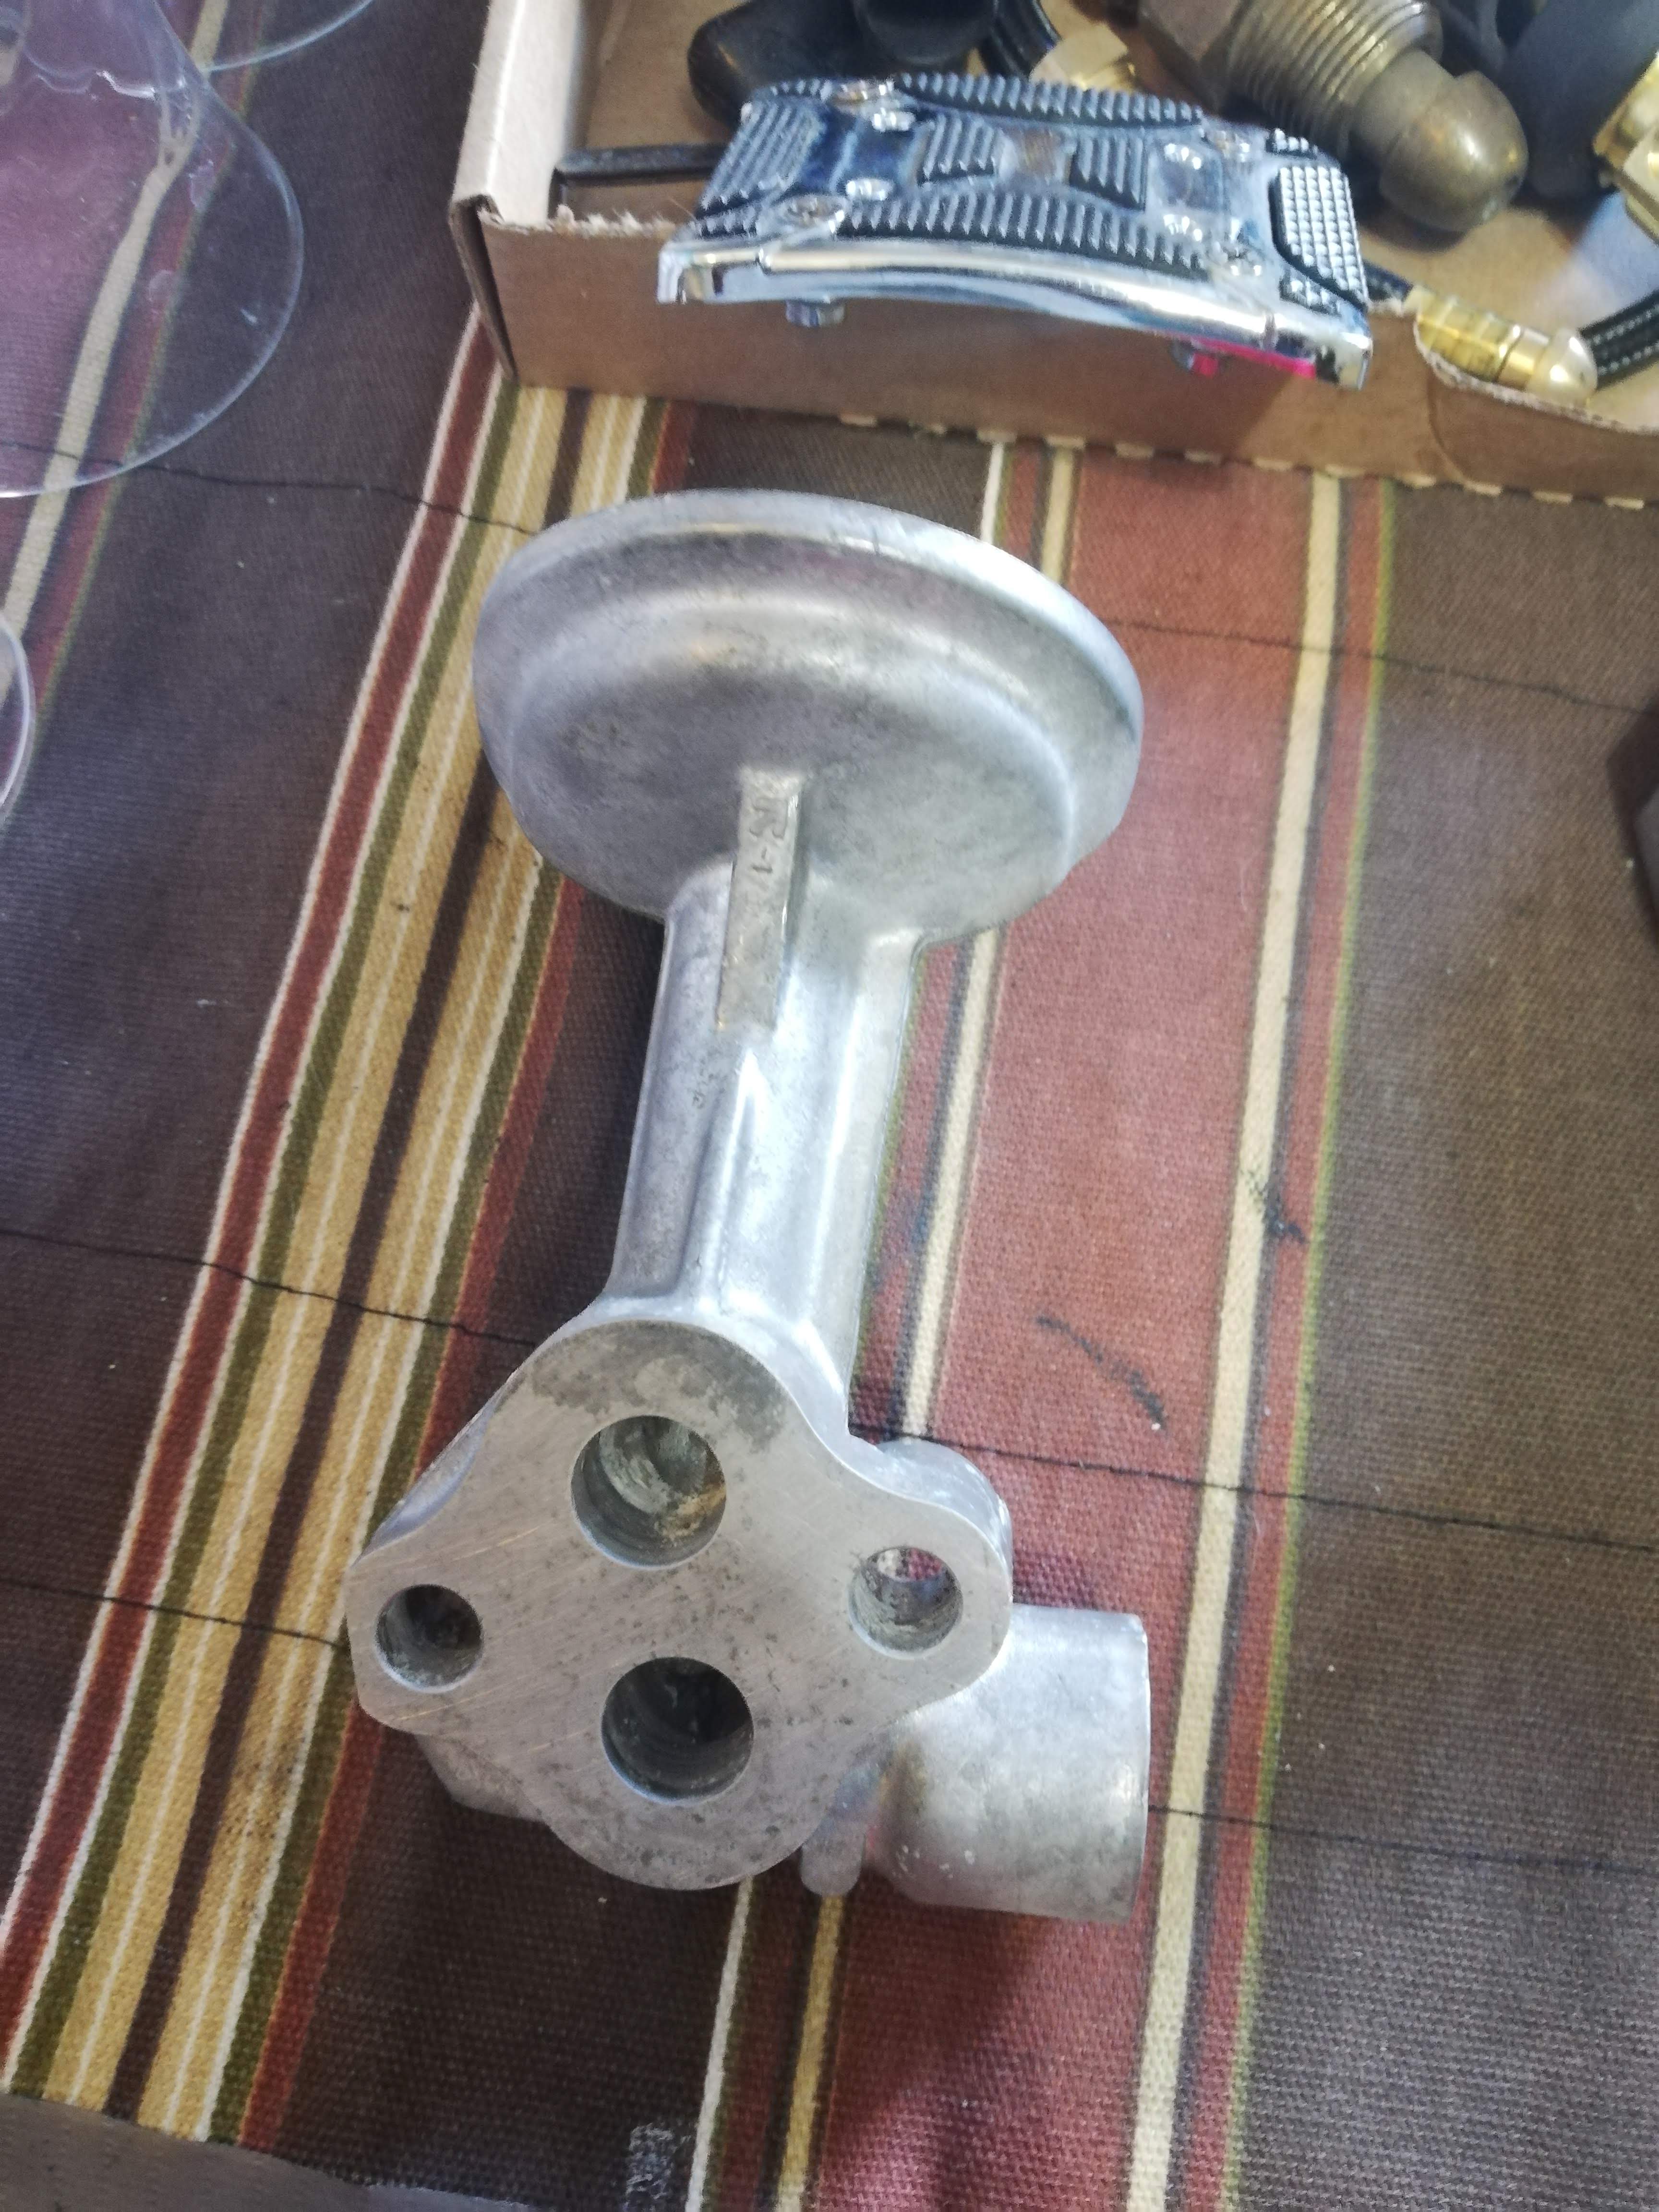
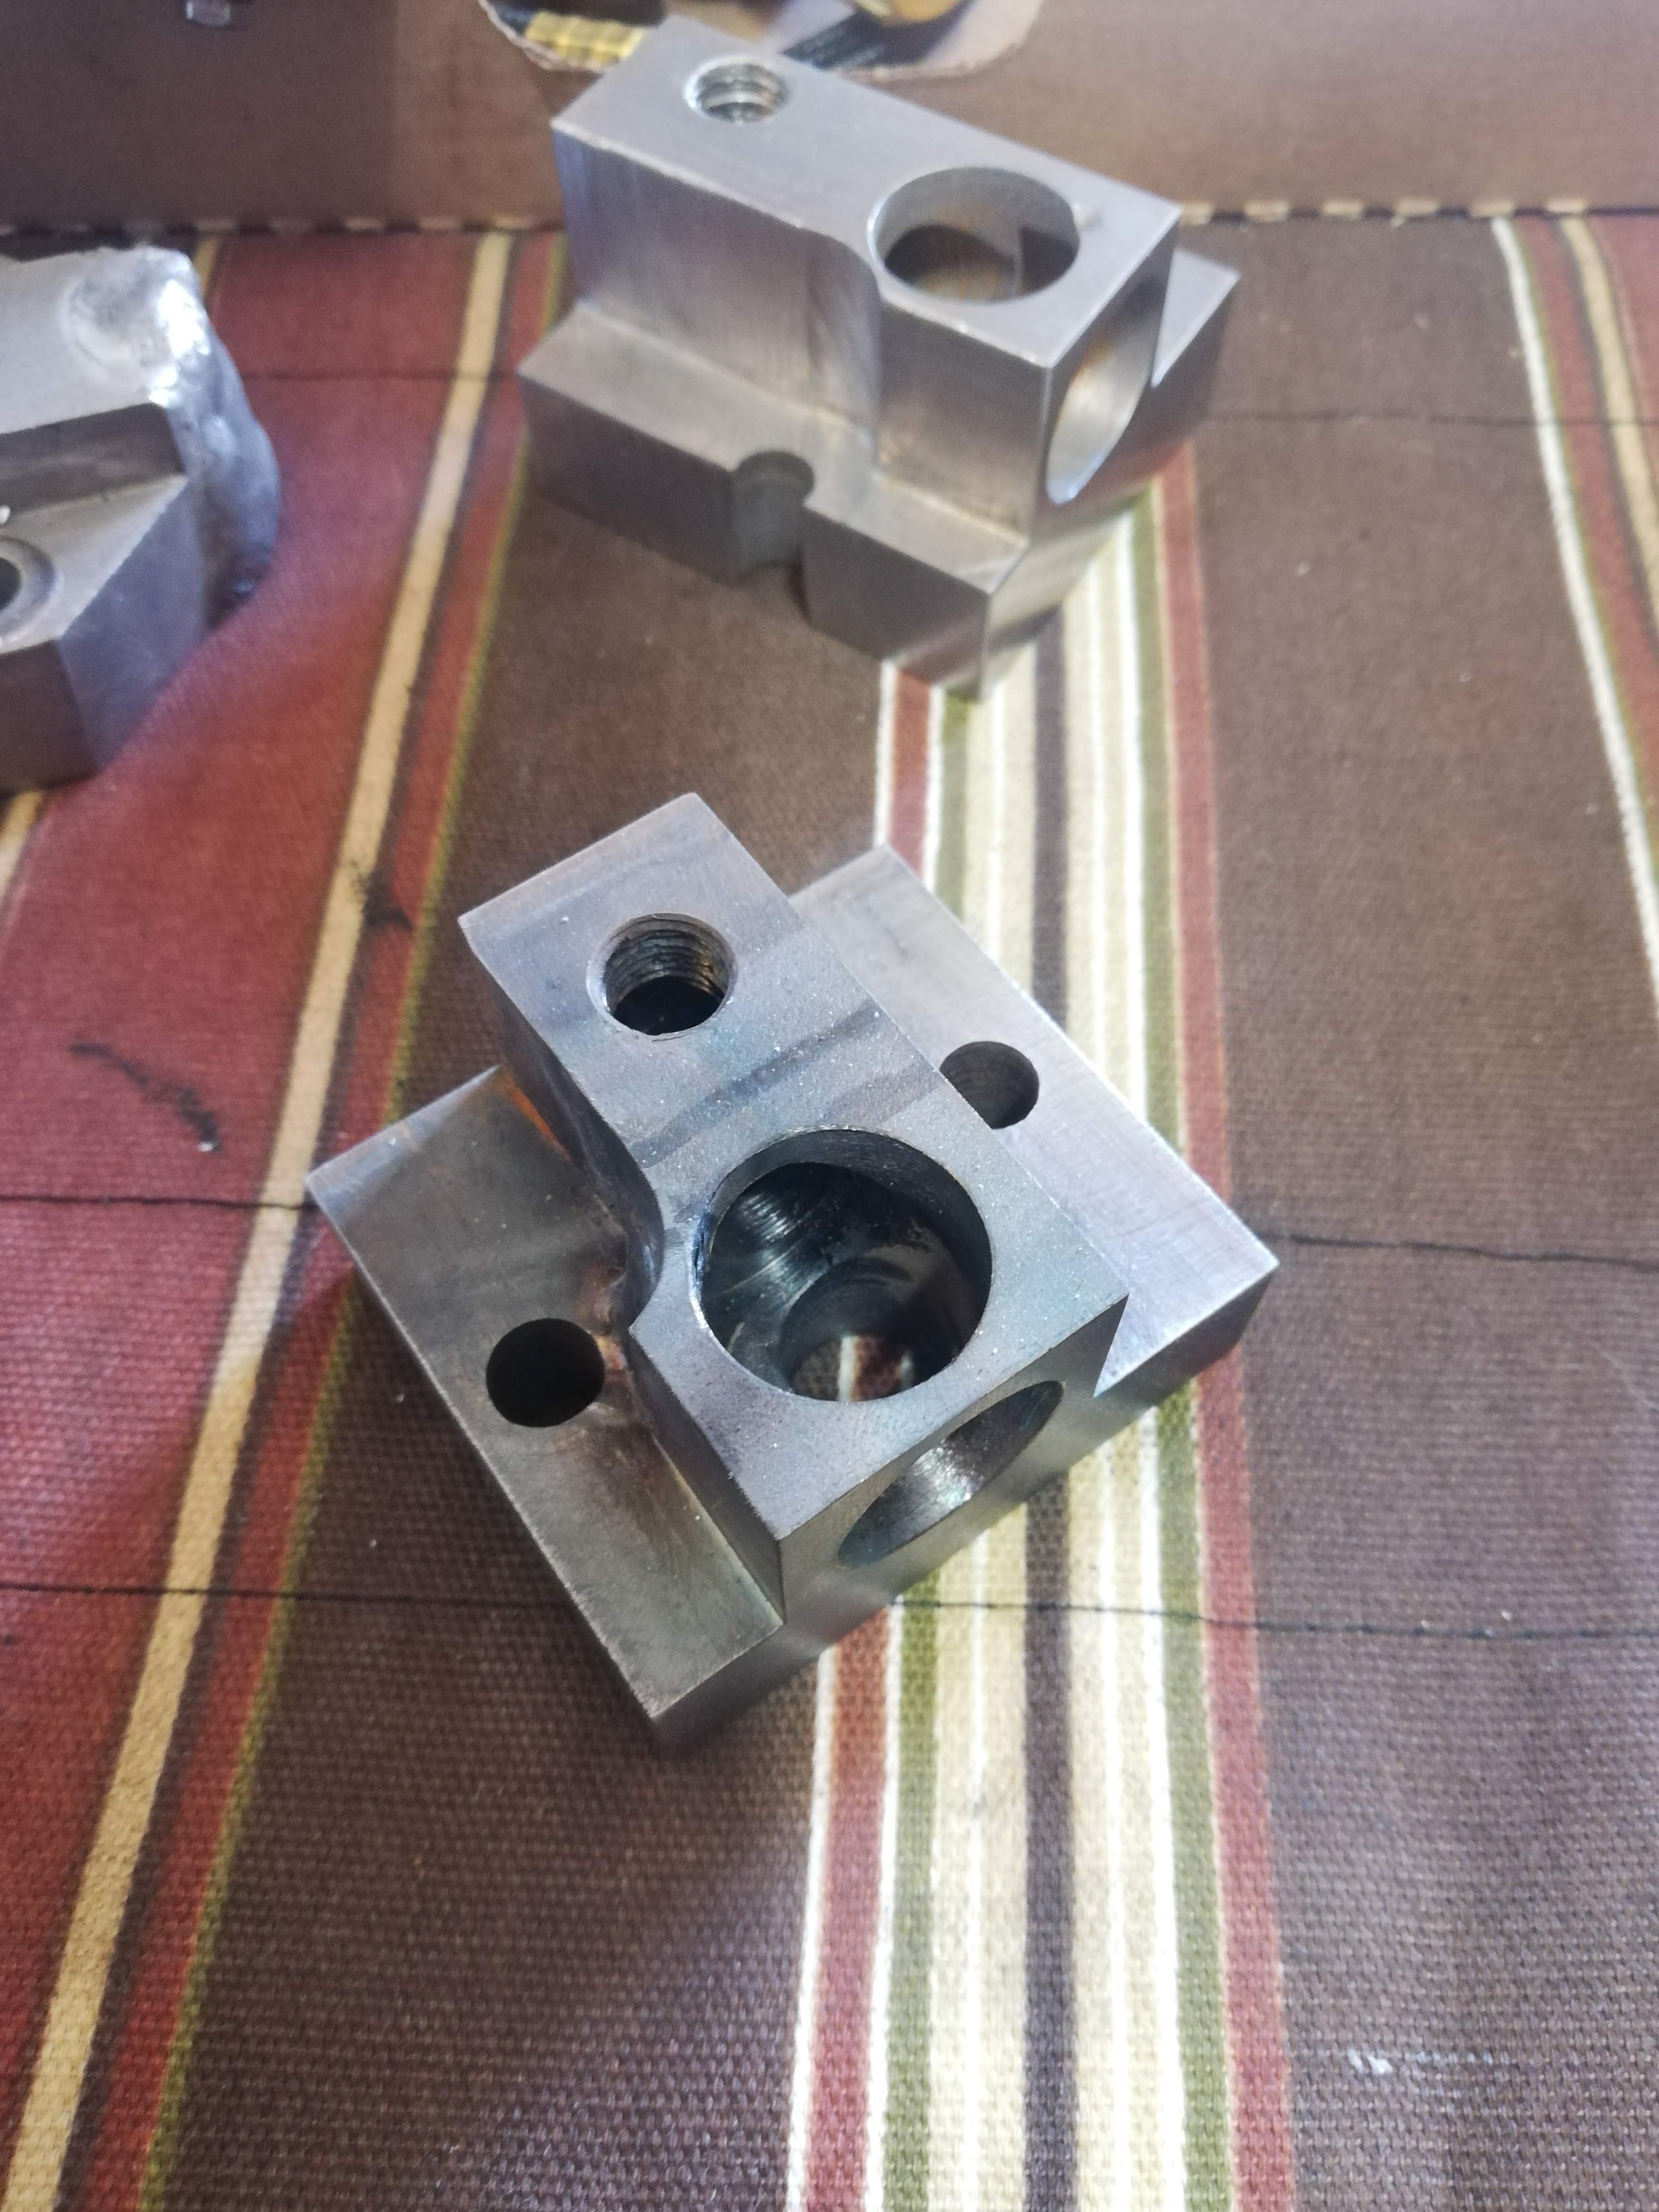
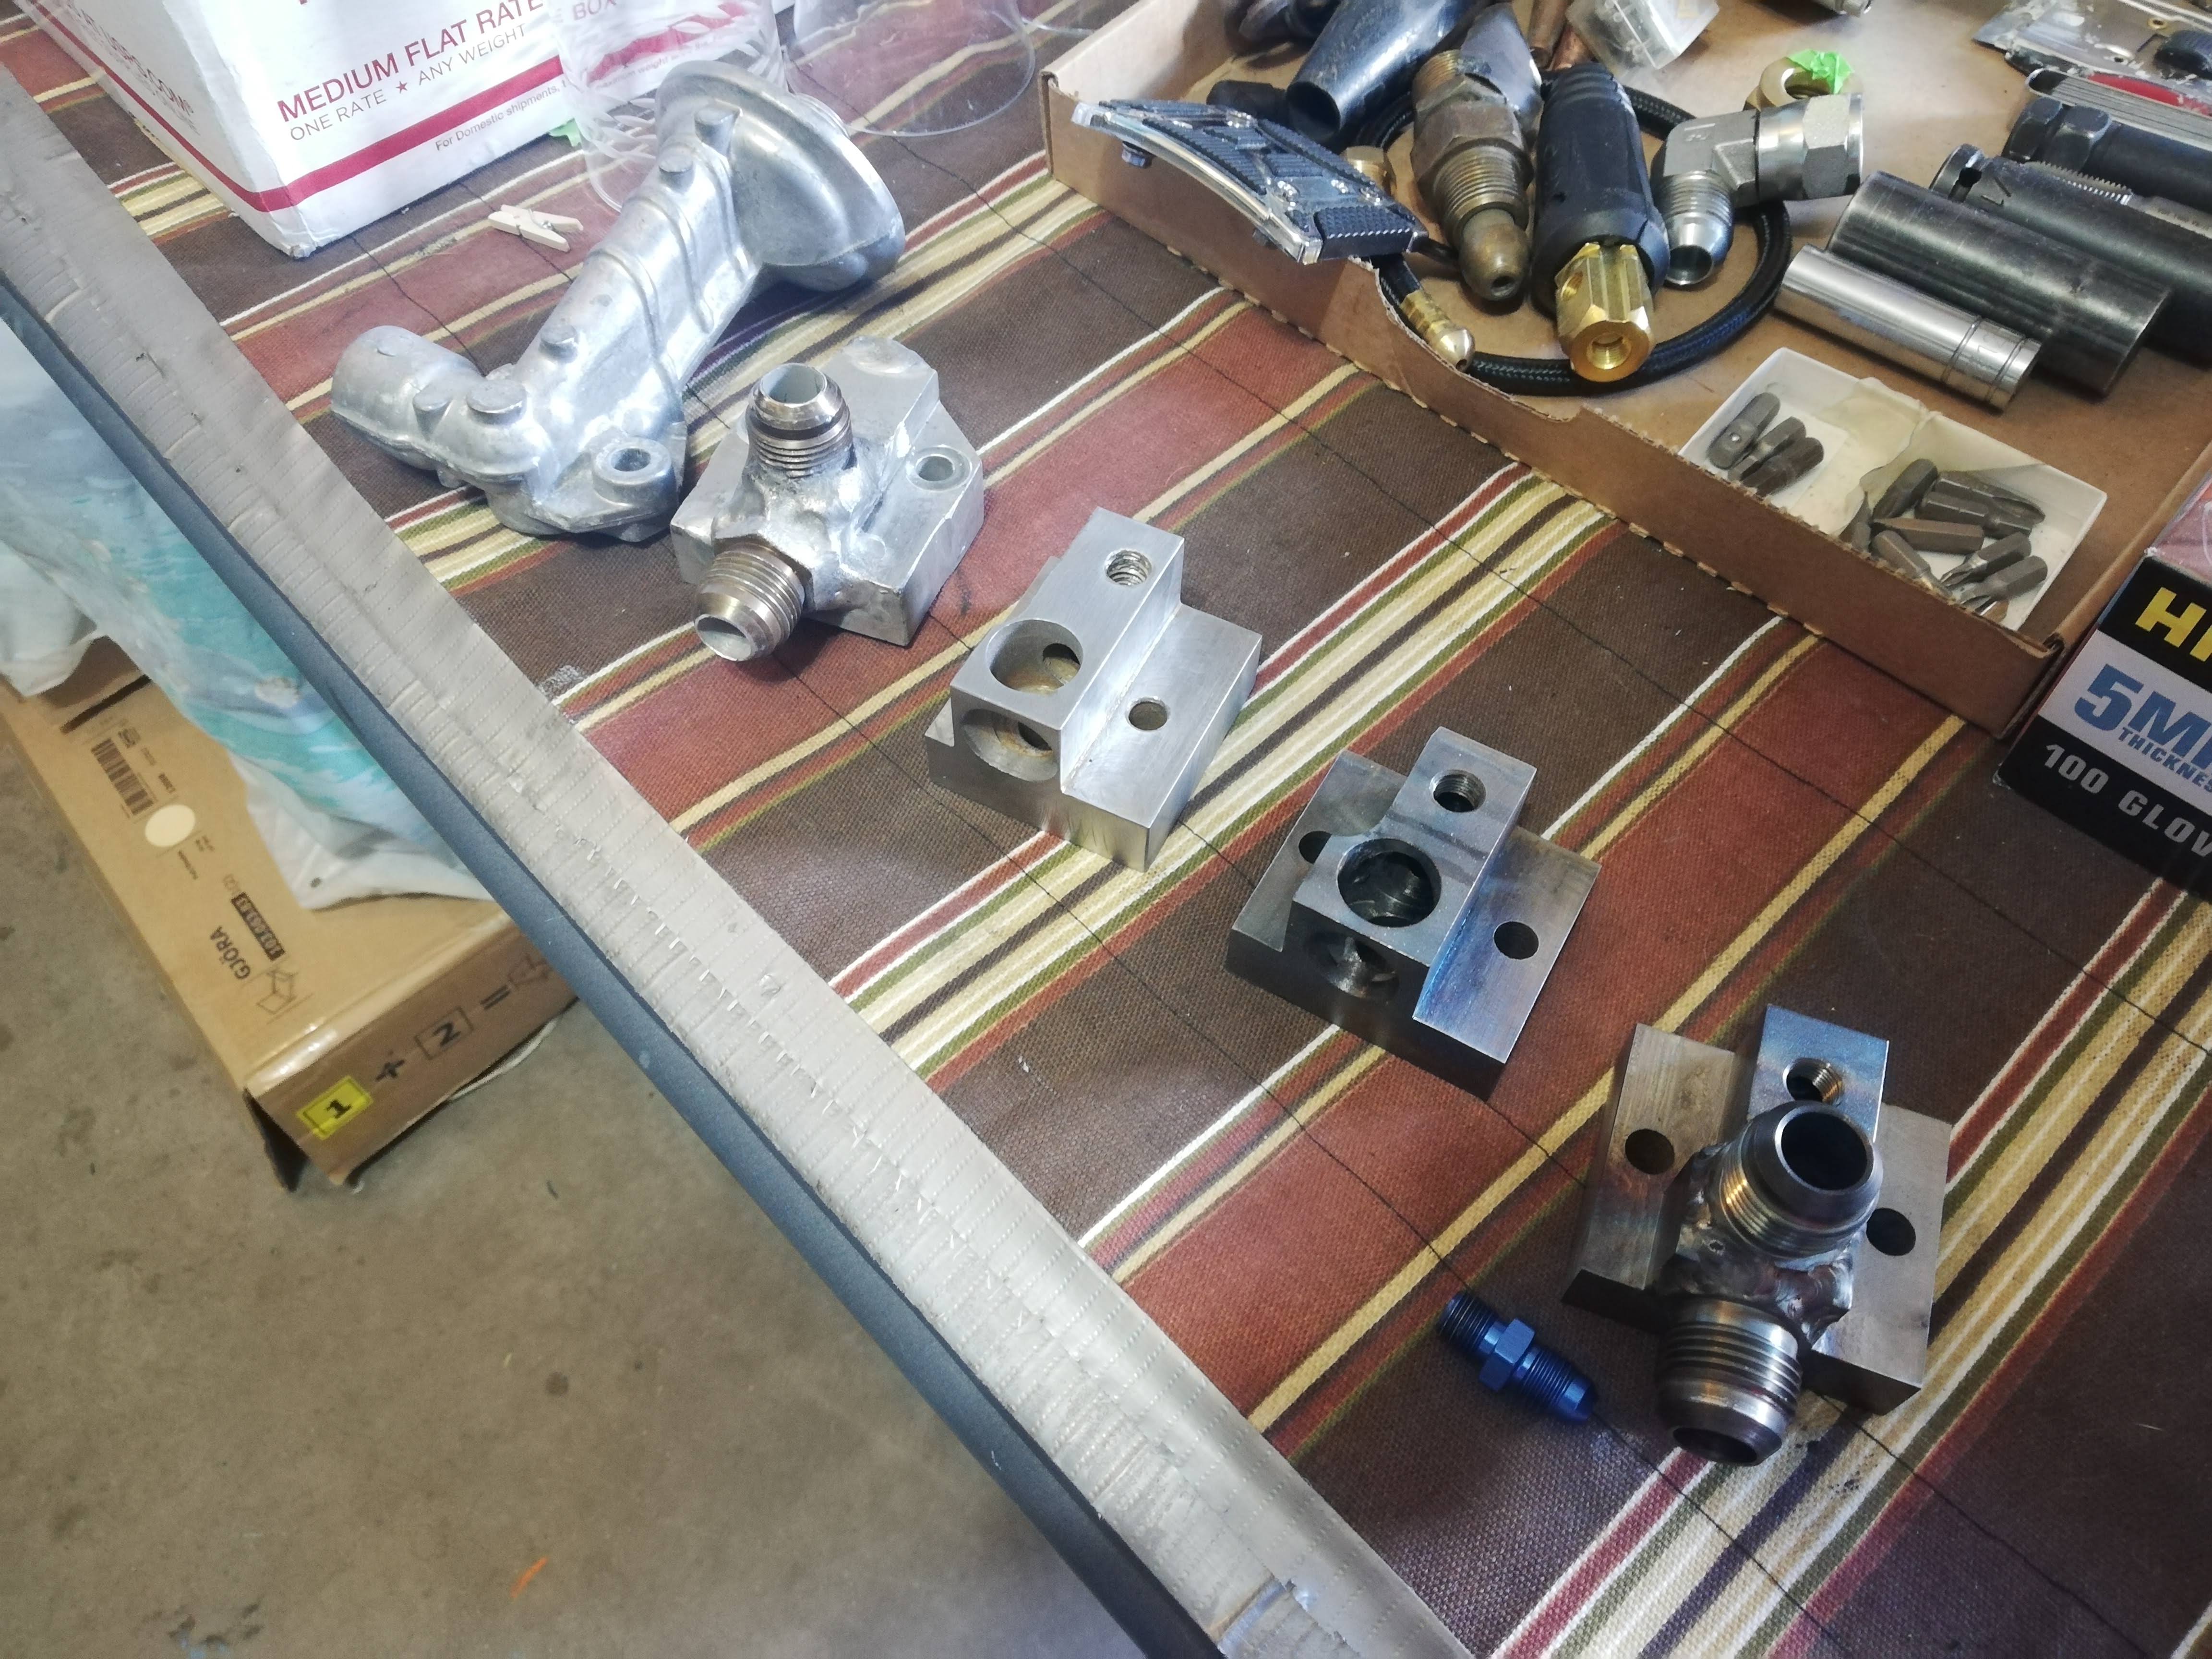
I made an oil pedestal adapter, here's the process I took.
This is the original pedestal.
First I made one out of aluminum only using measurements from the original, but it didn't fit on the engine so I cut it and tried a repair. It did not go well.
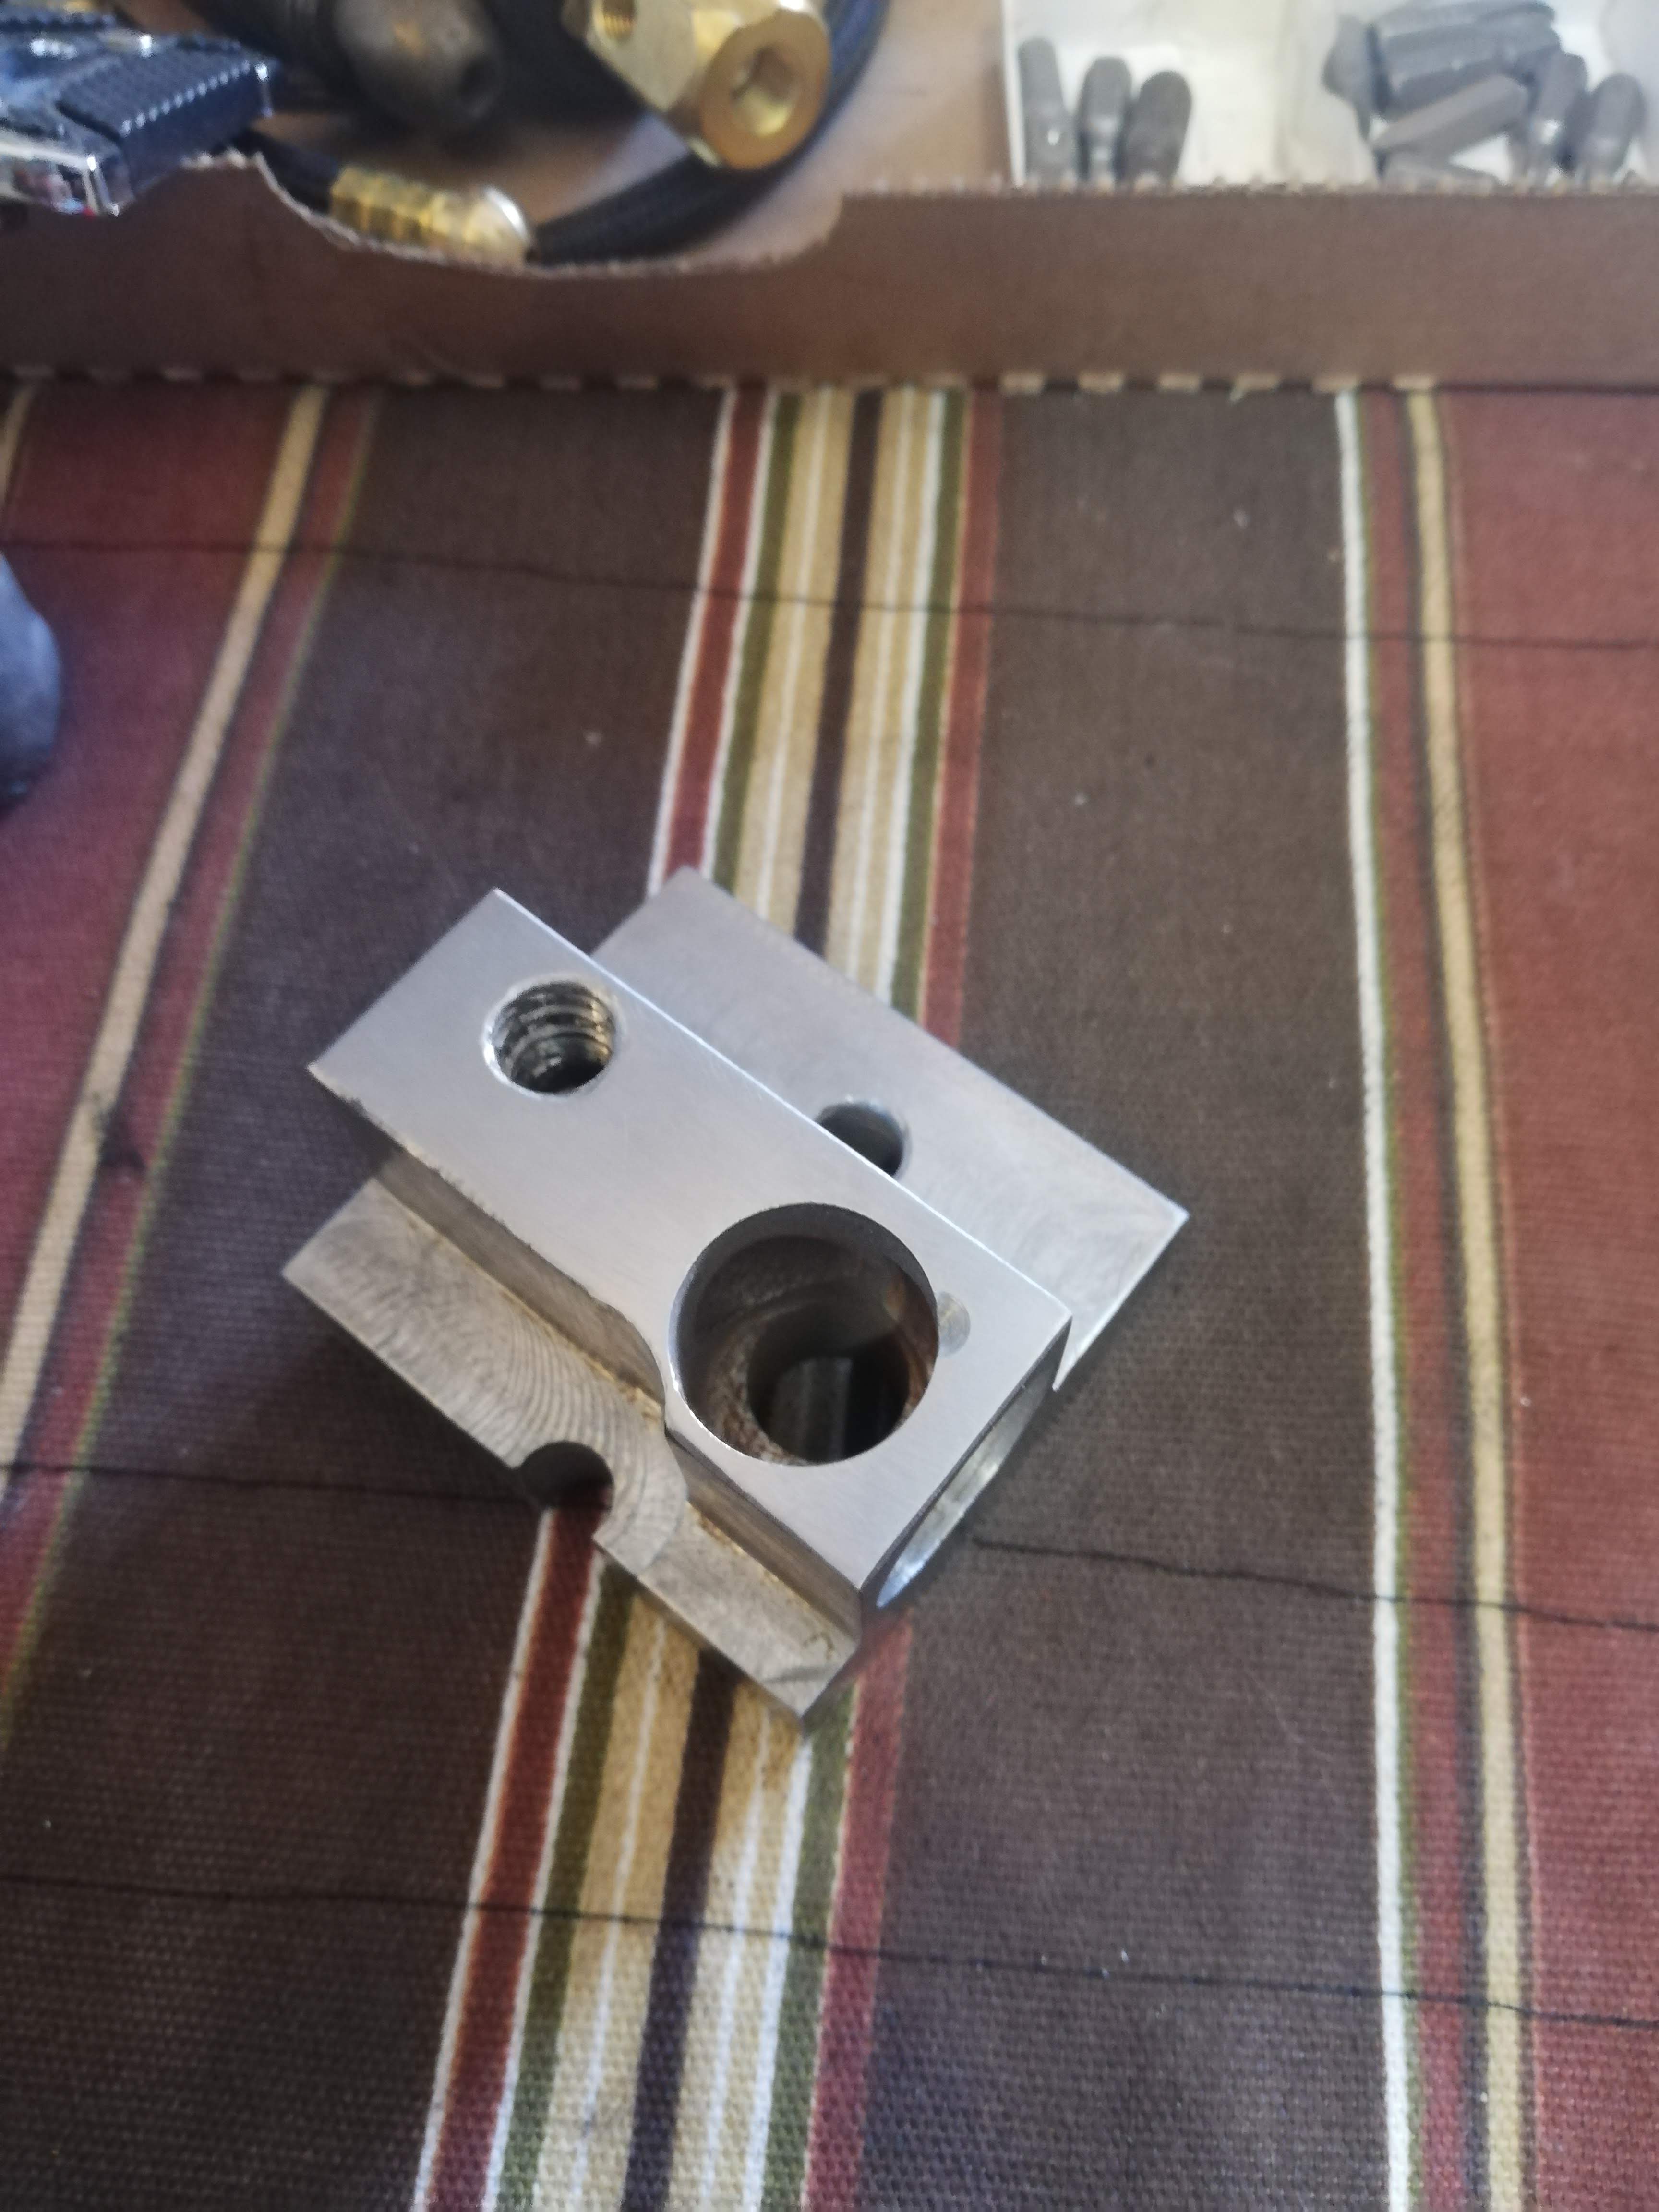
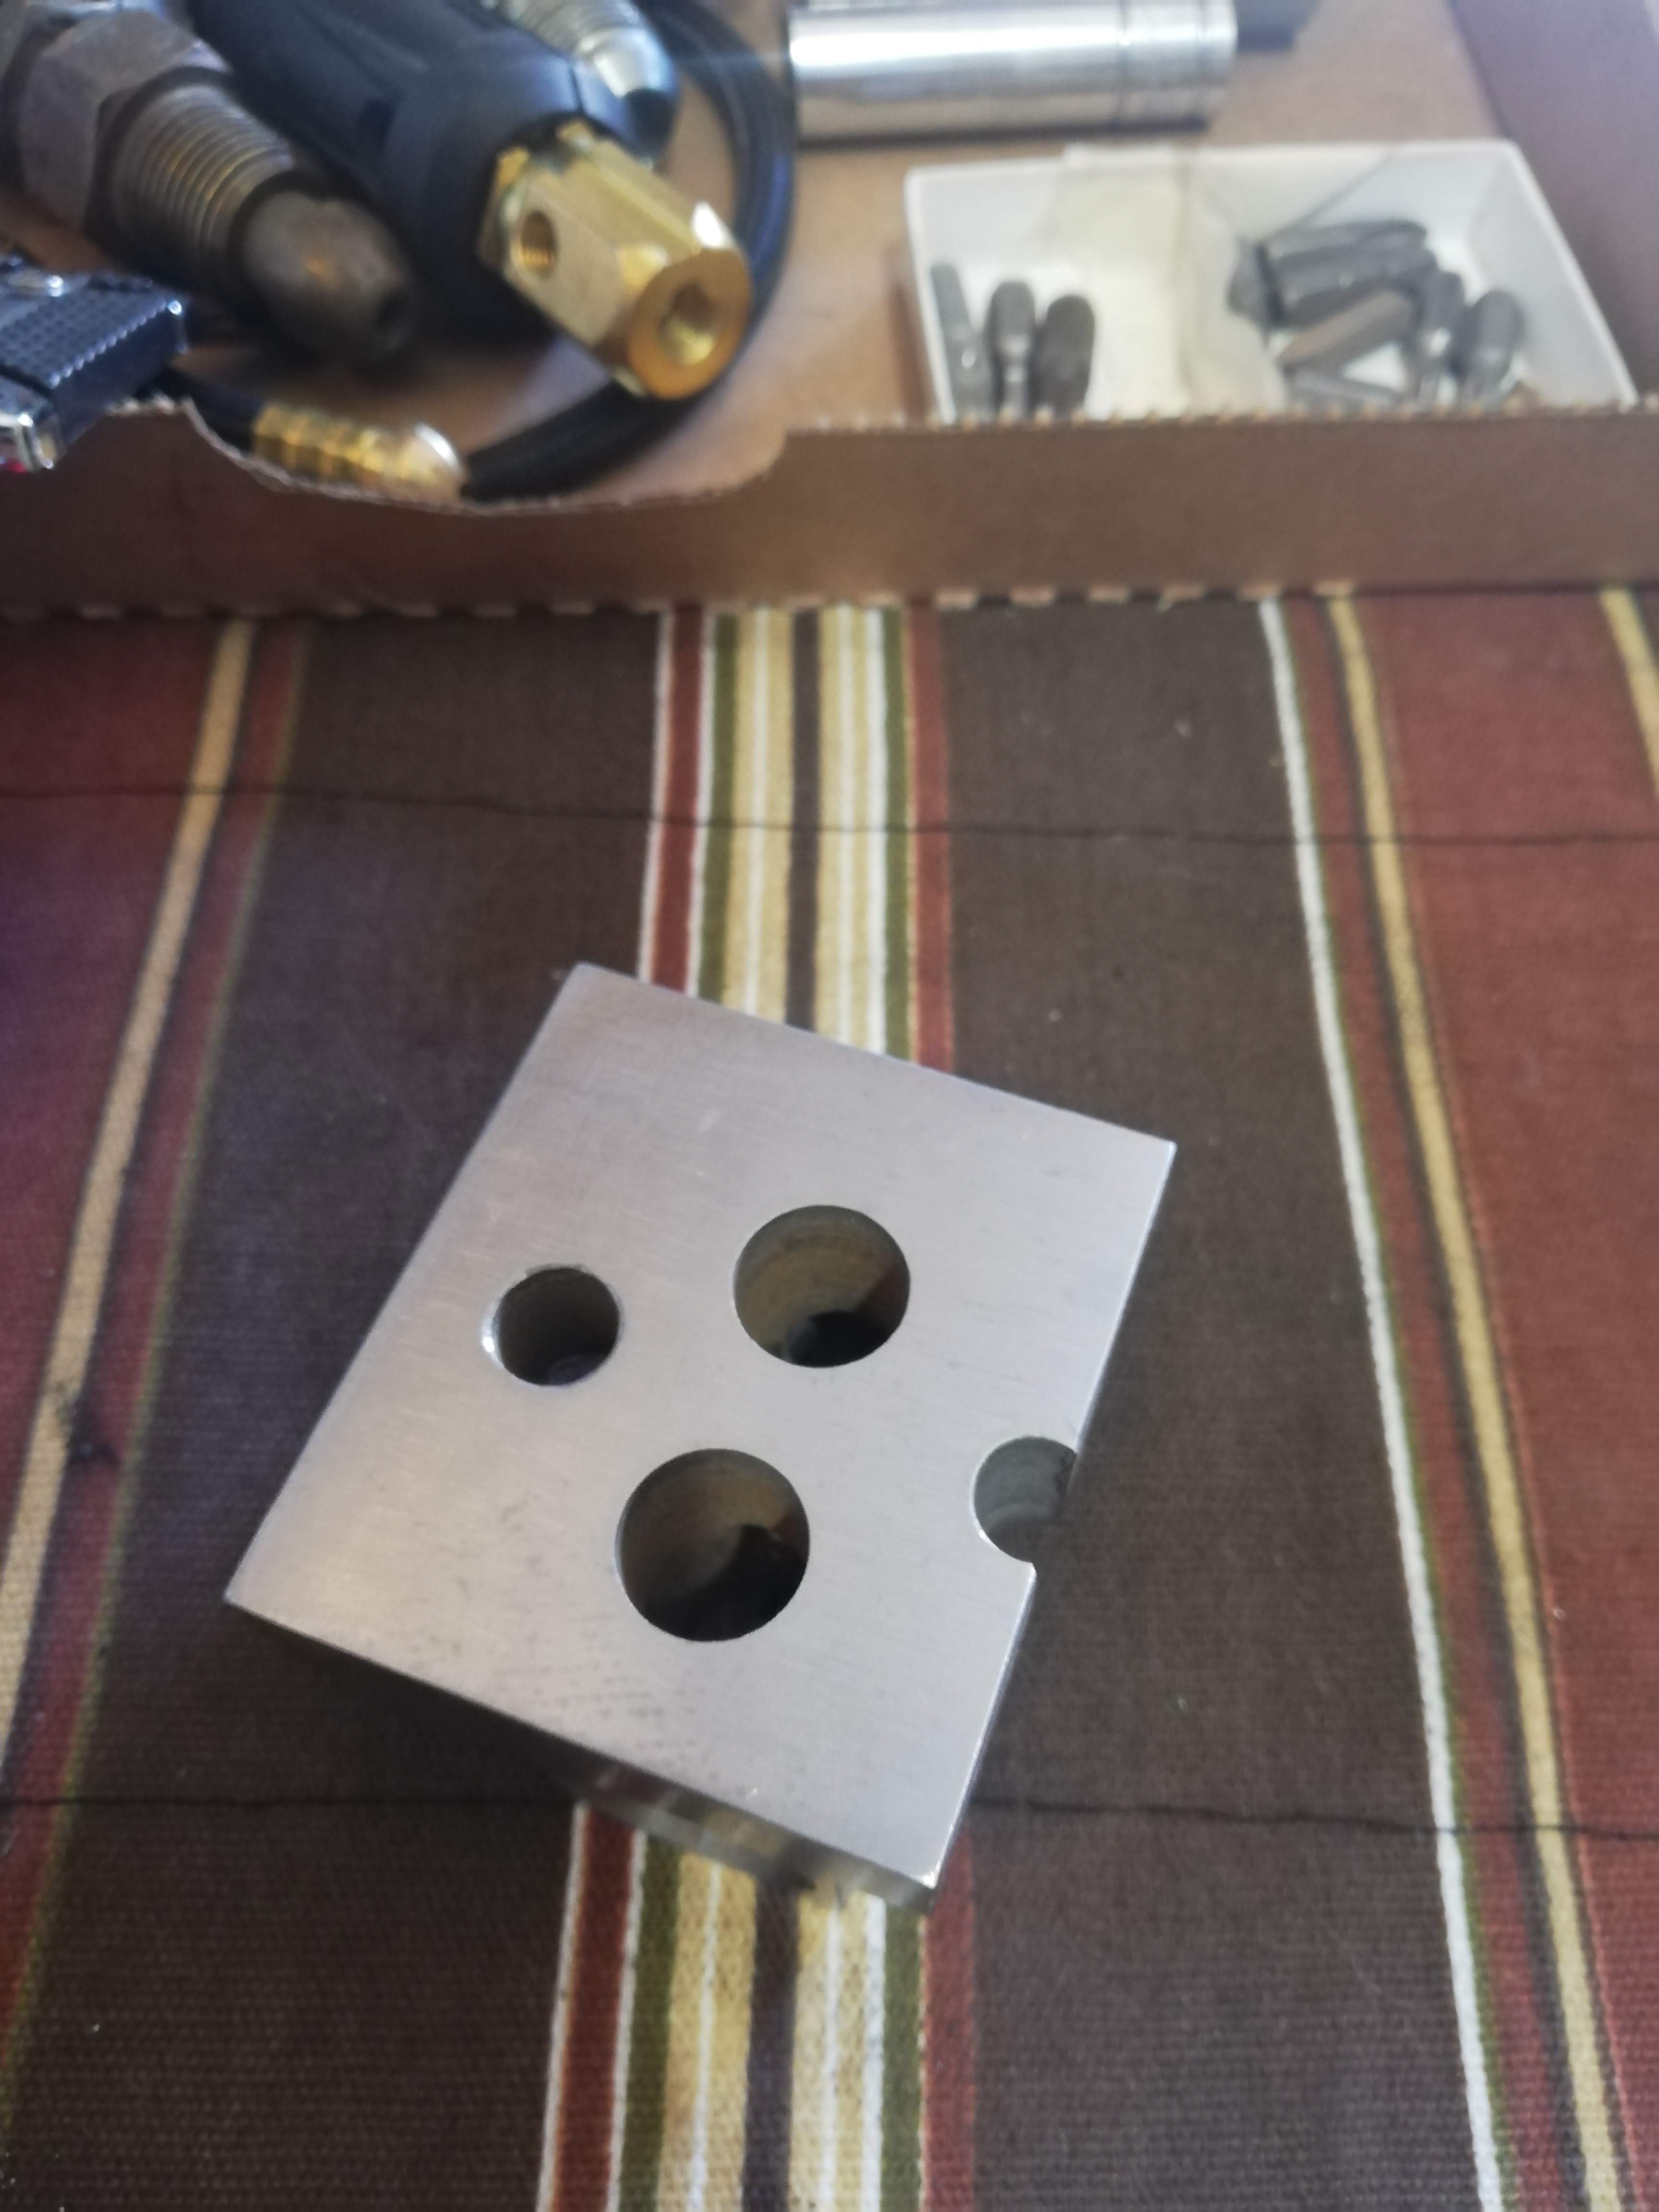
So I designed a version in cad and got a chunk of cold rolled steel. This one went well, but I machined it sideways, so it was longer than intended and not as wide. It fit, but I was not happy with it.
So I remachined it. I made two in case I made a mistake. (If anyone wants to buy one I made that's not as pretty as mine....)
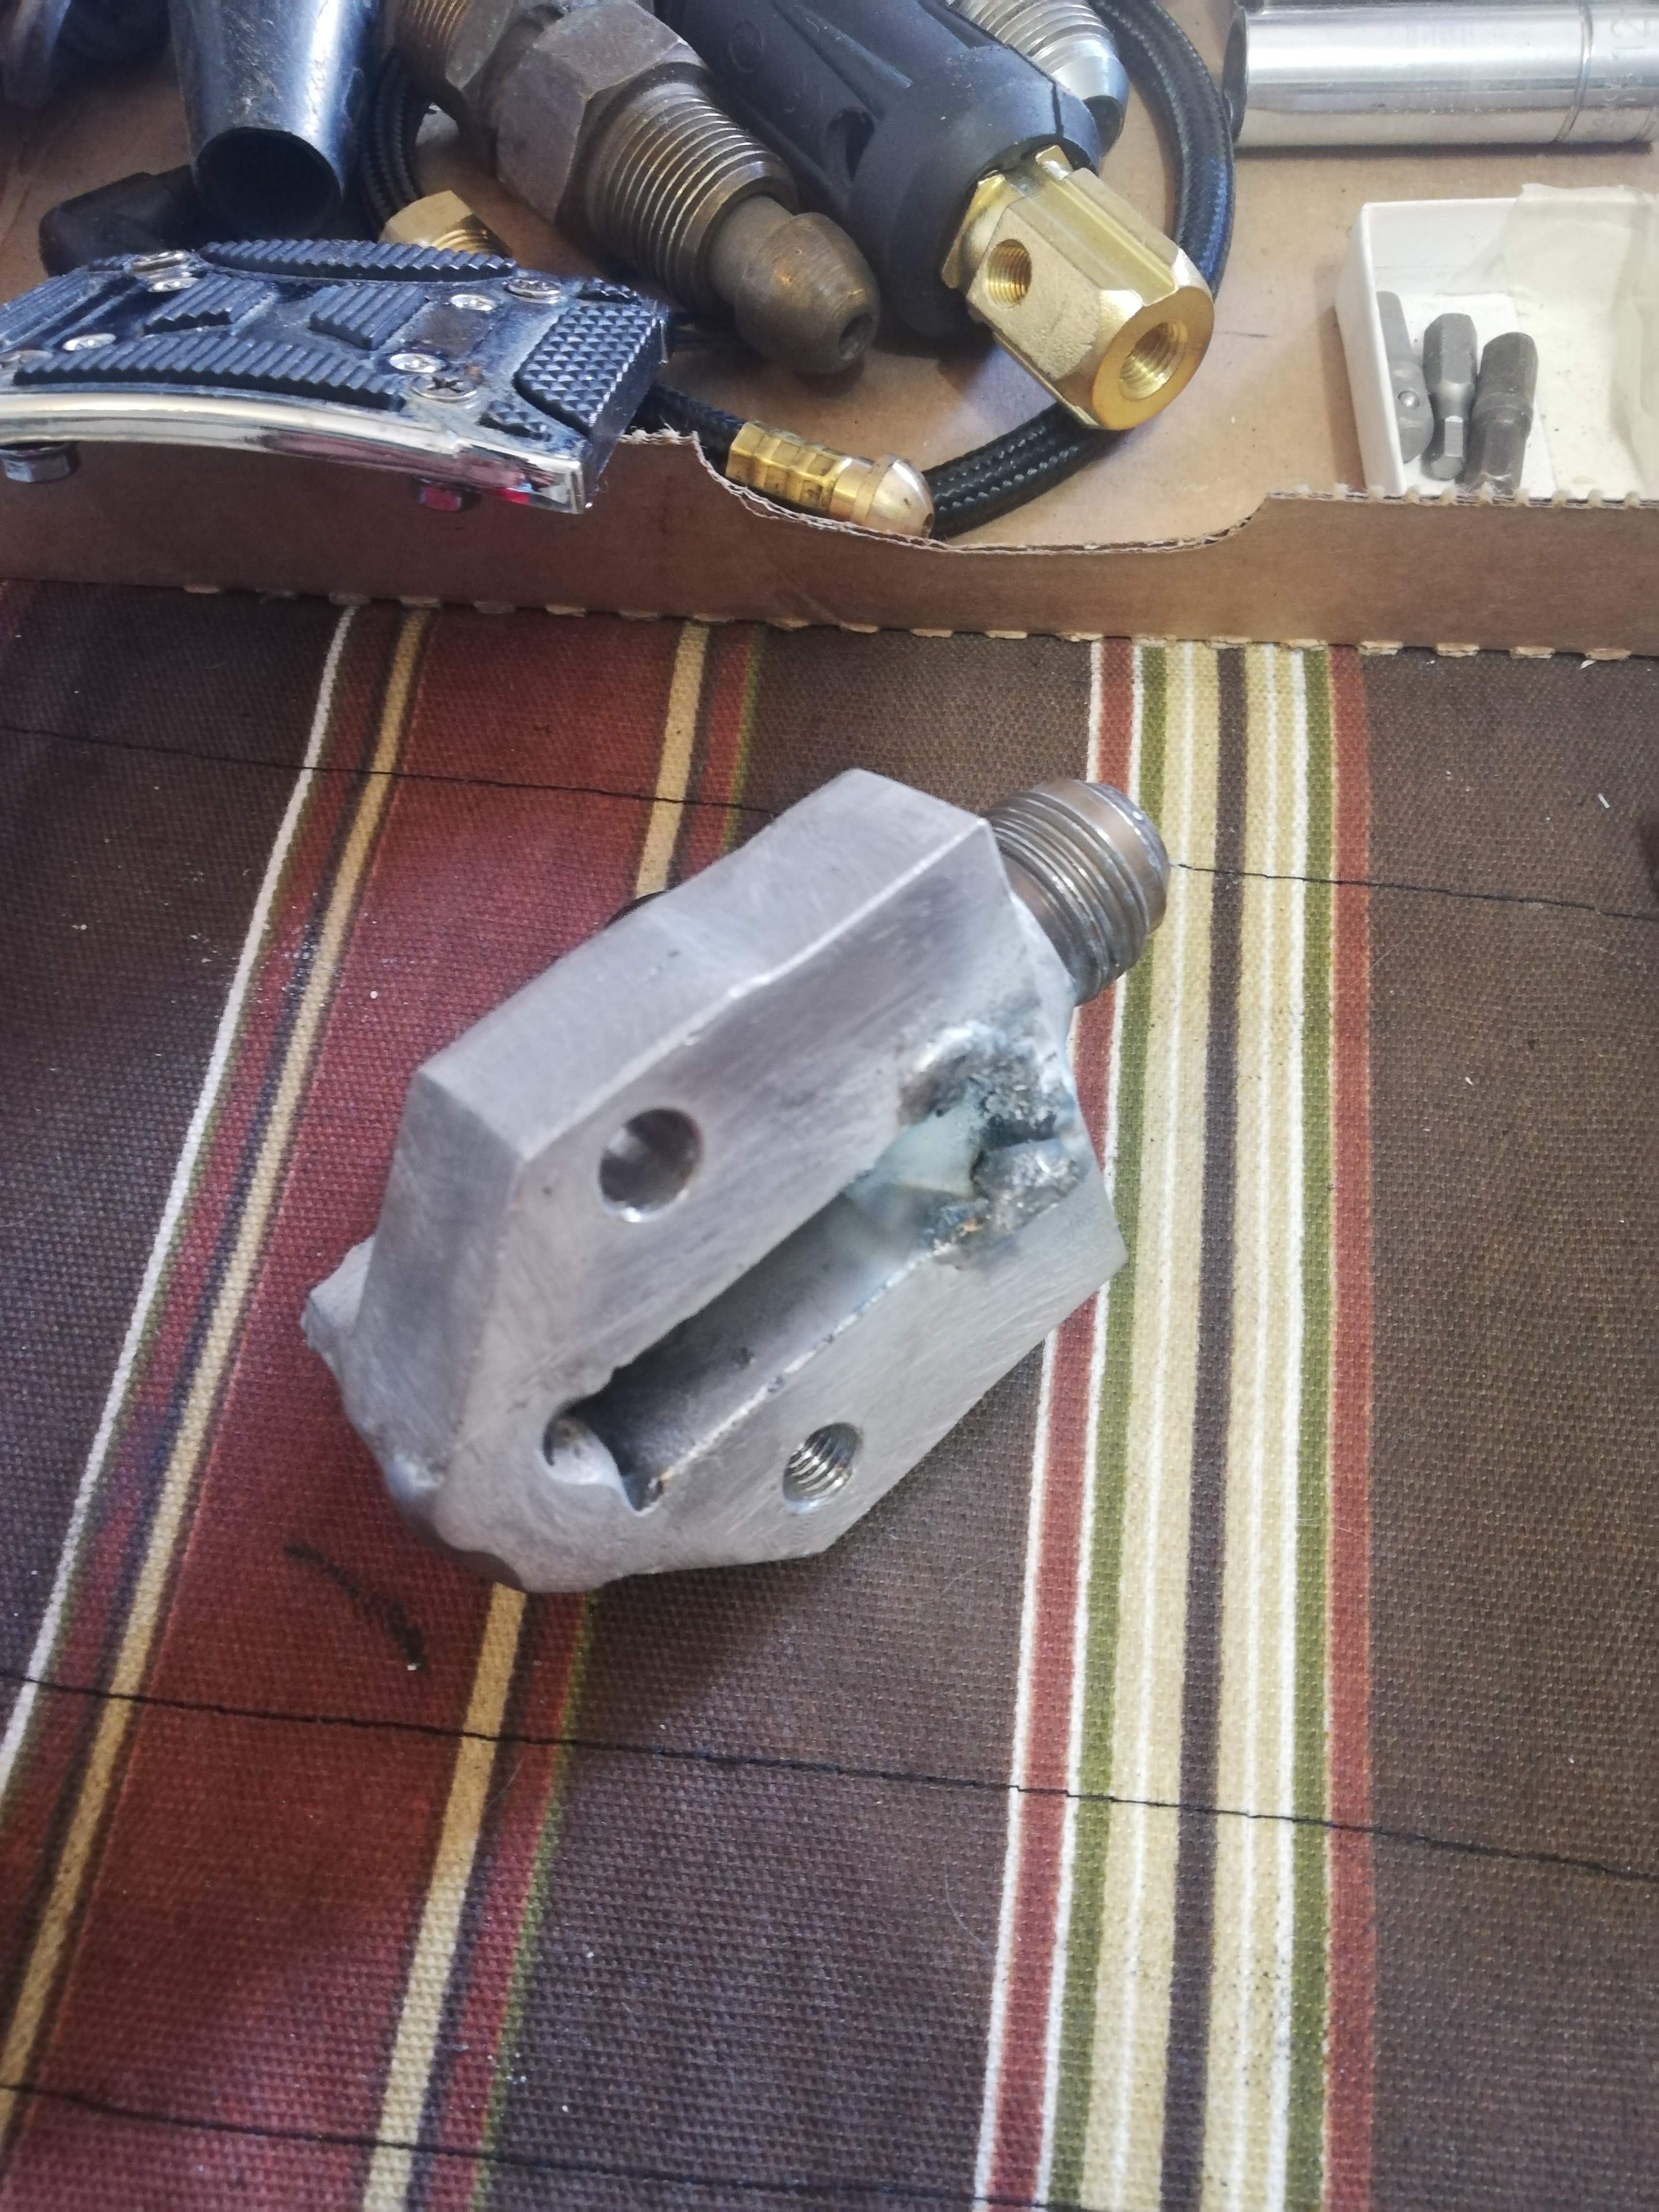
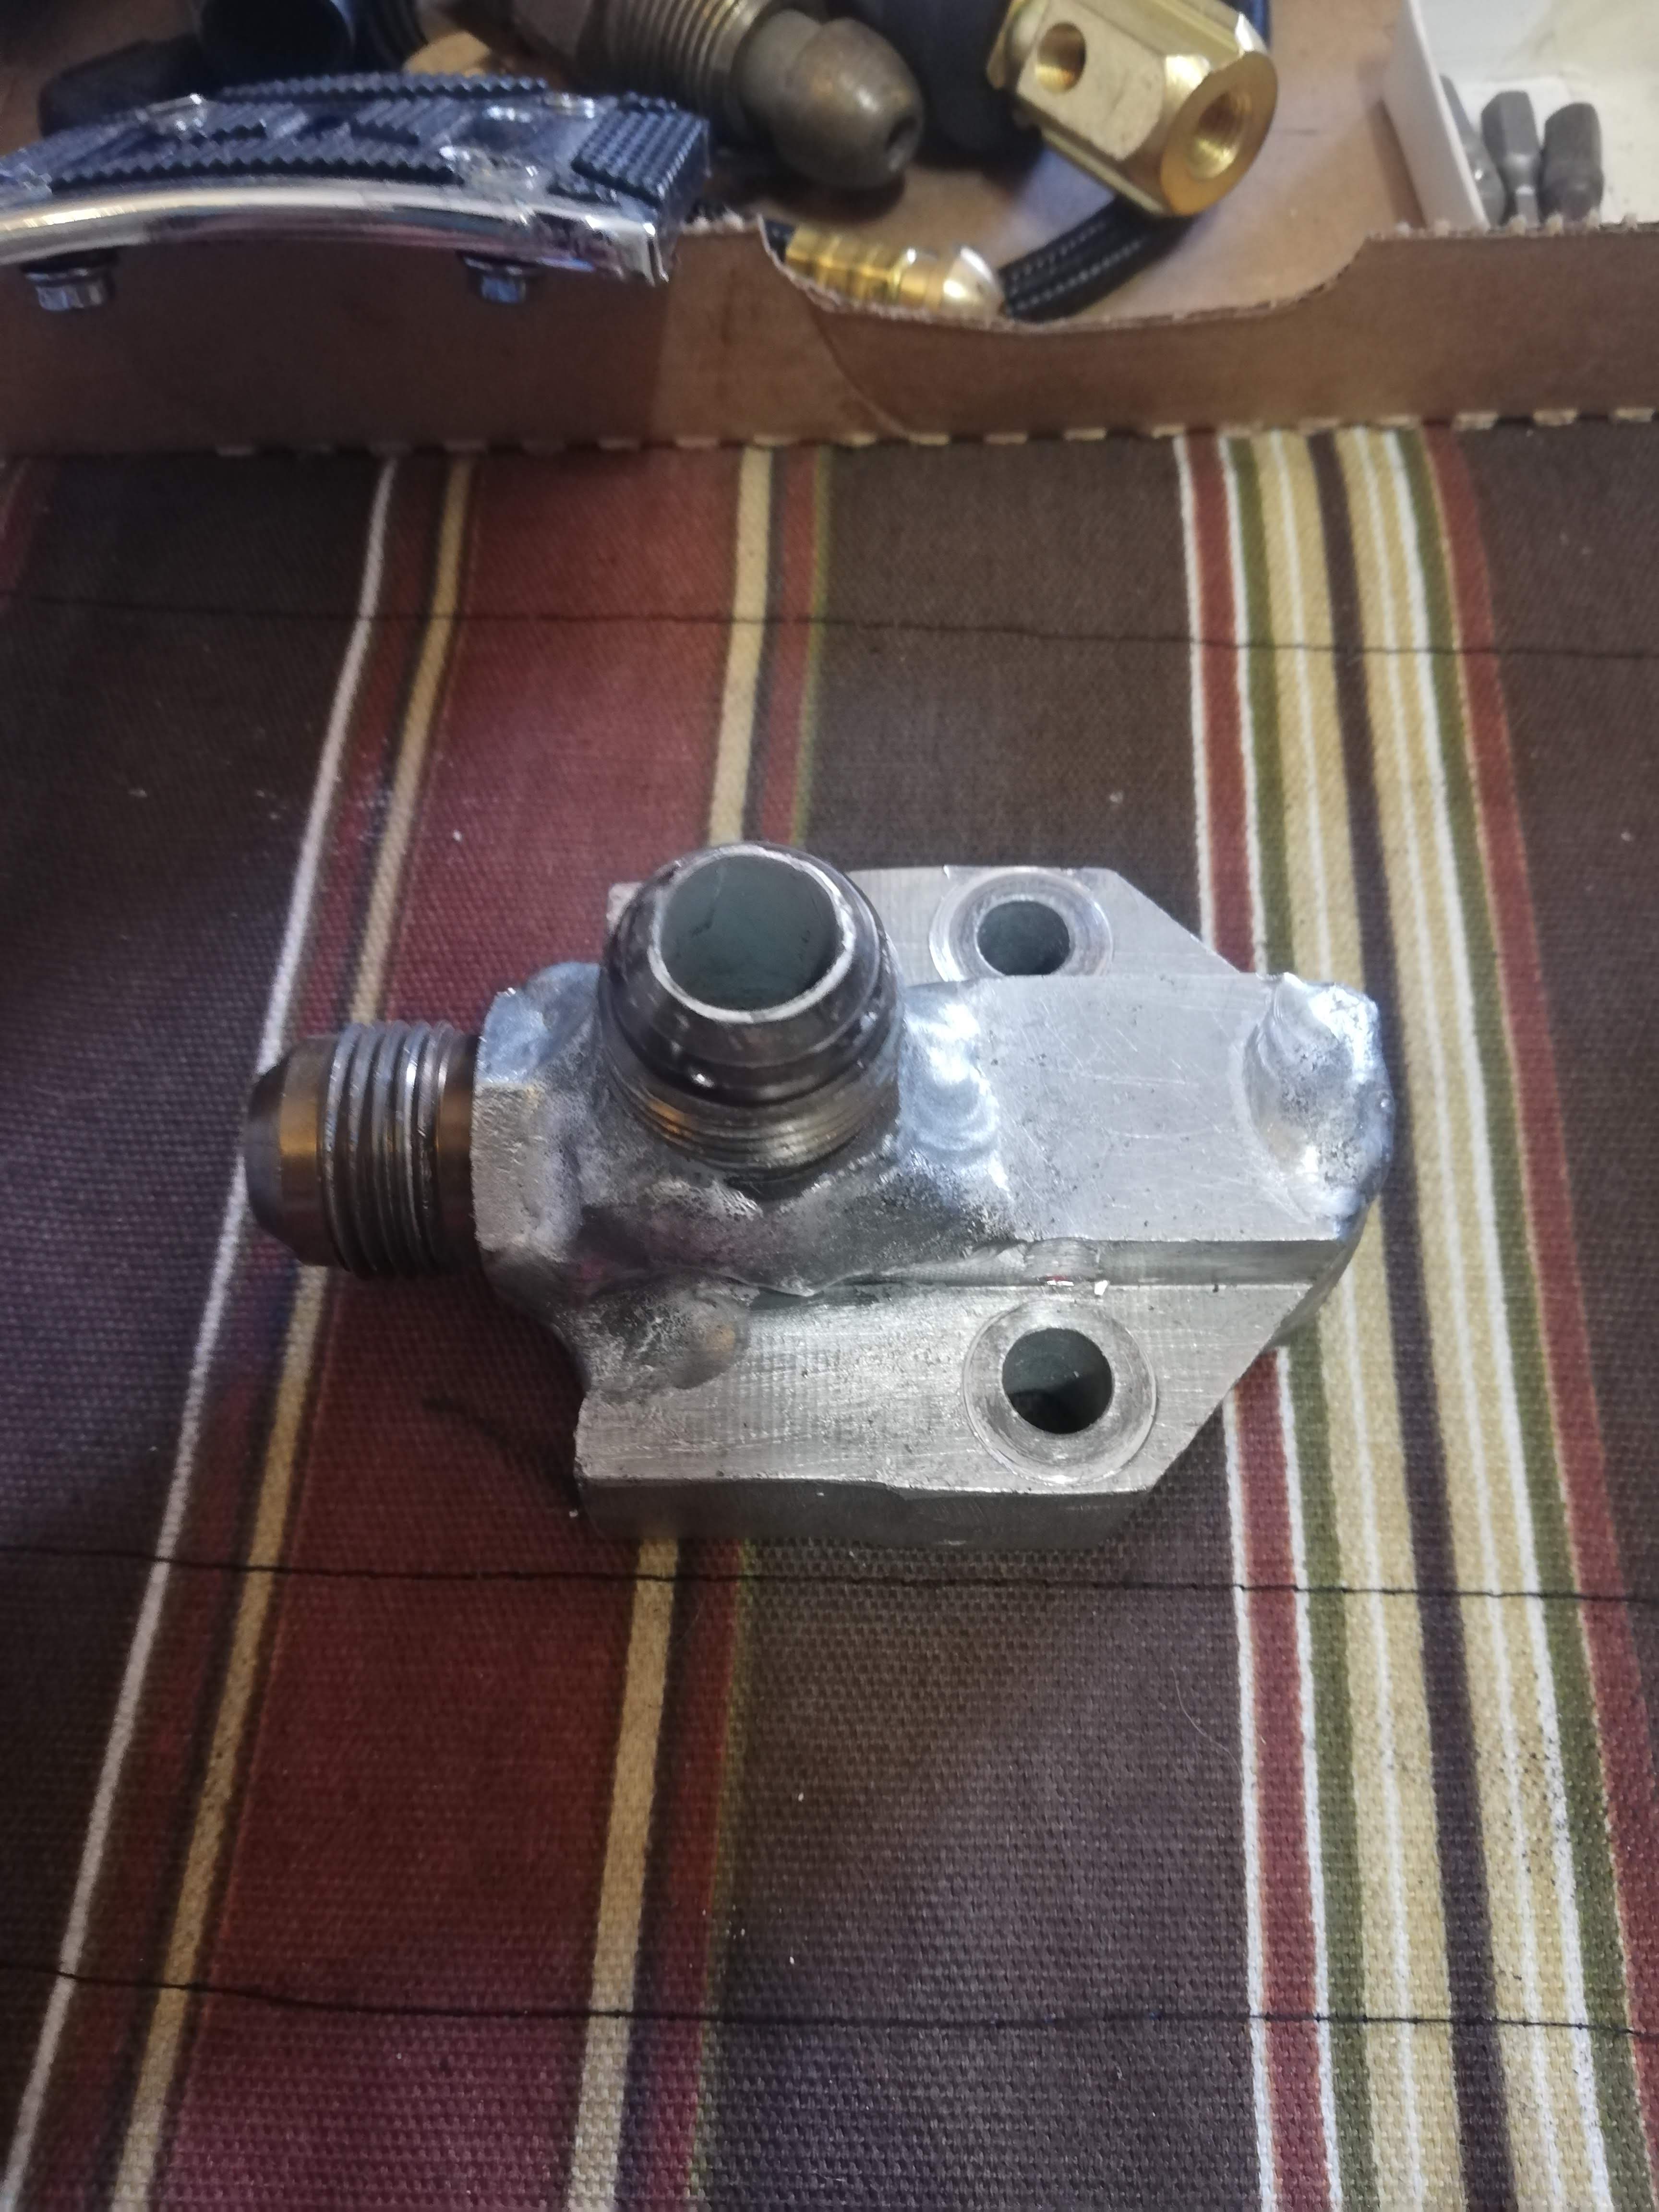
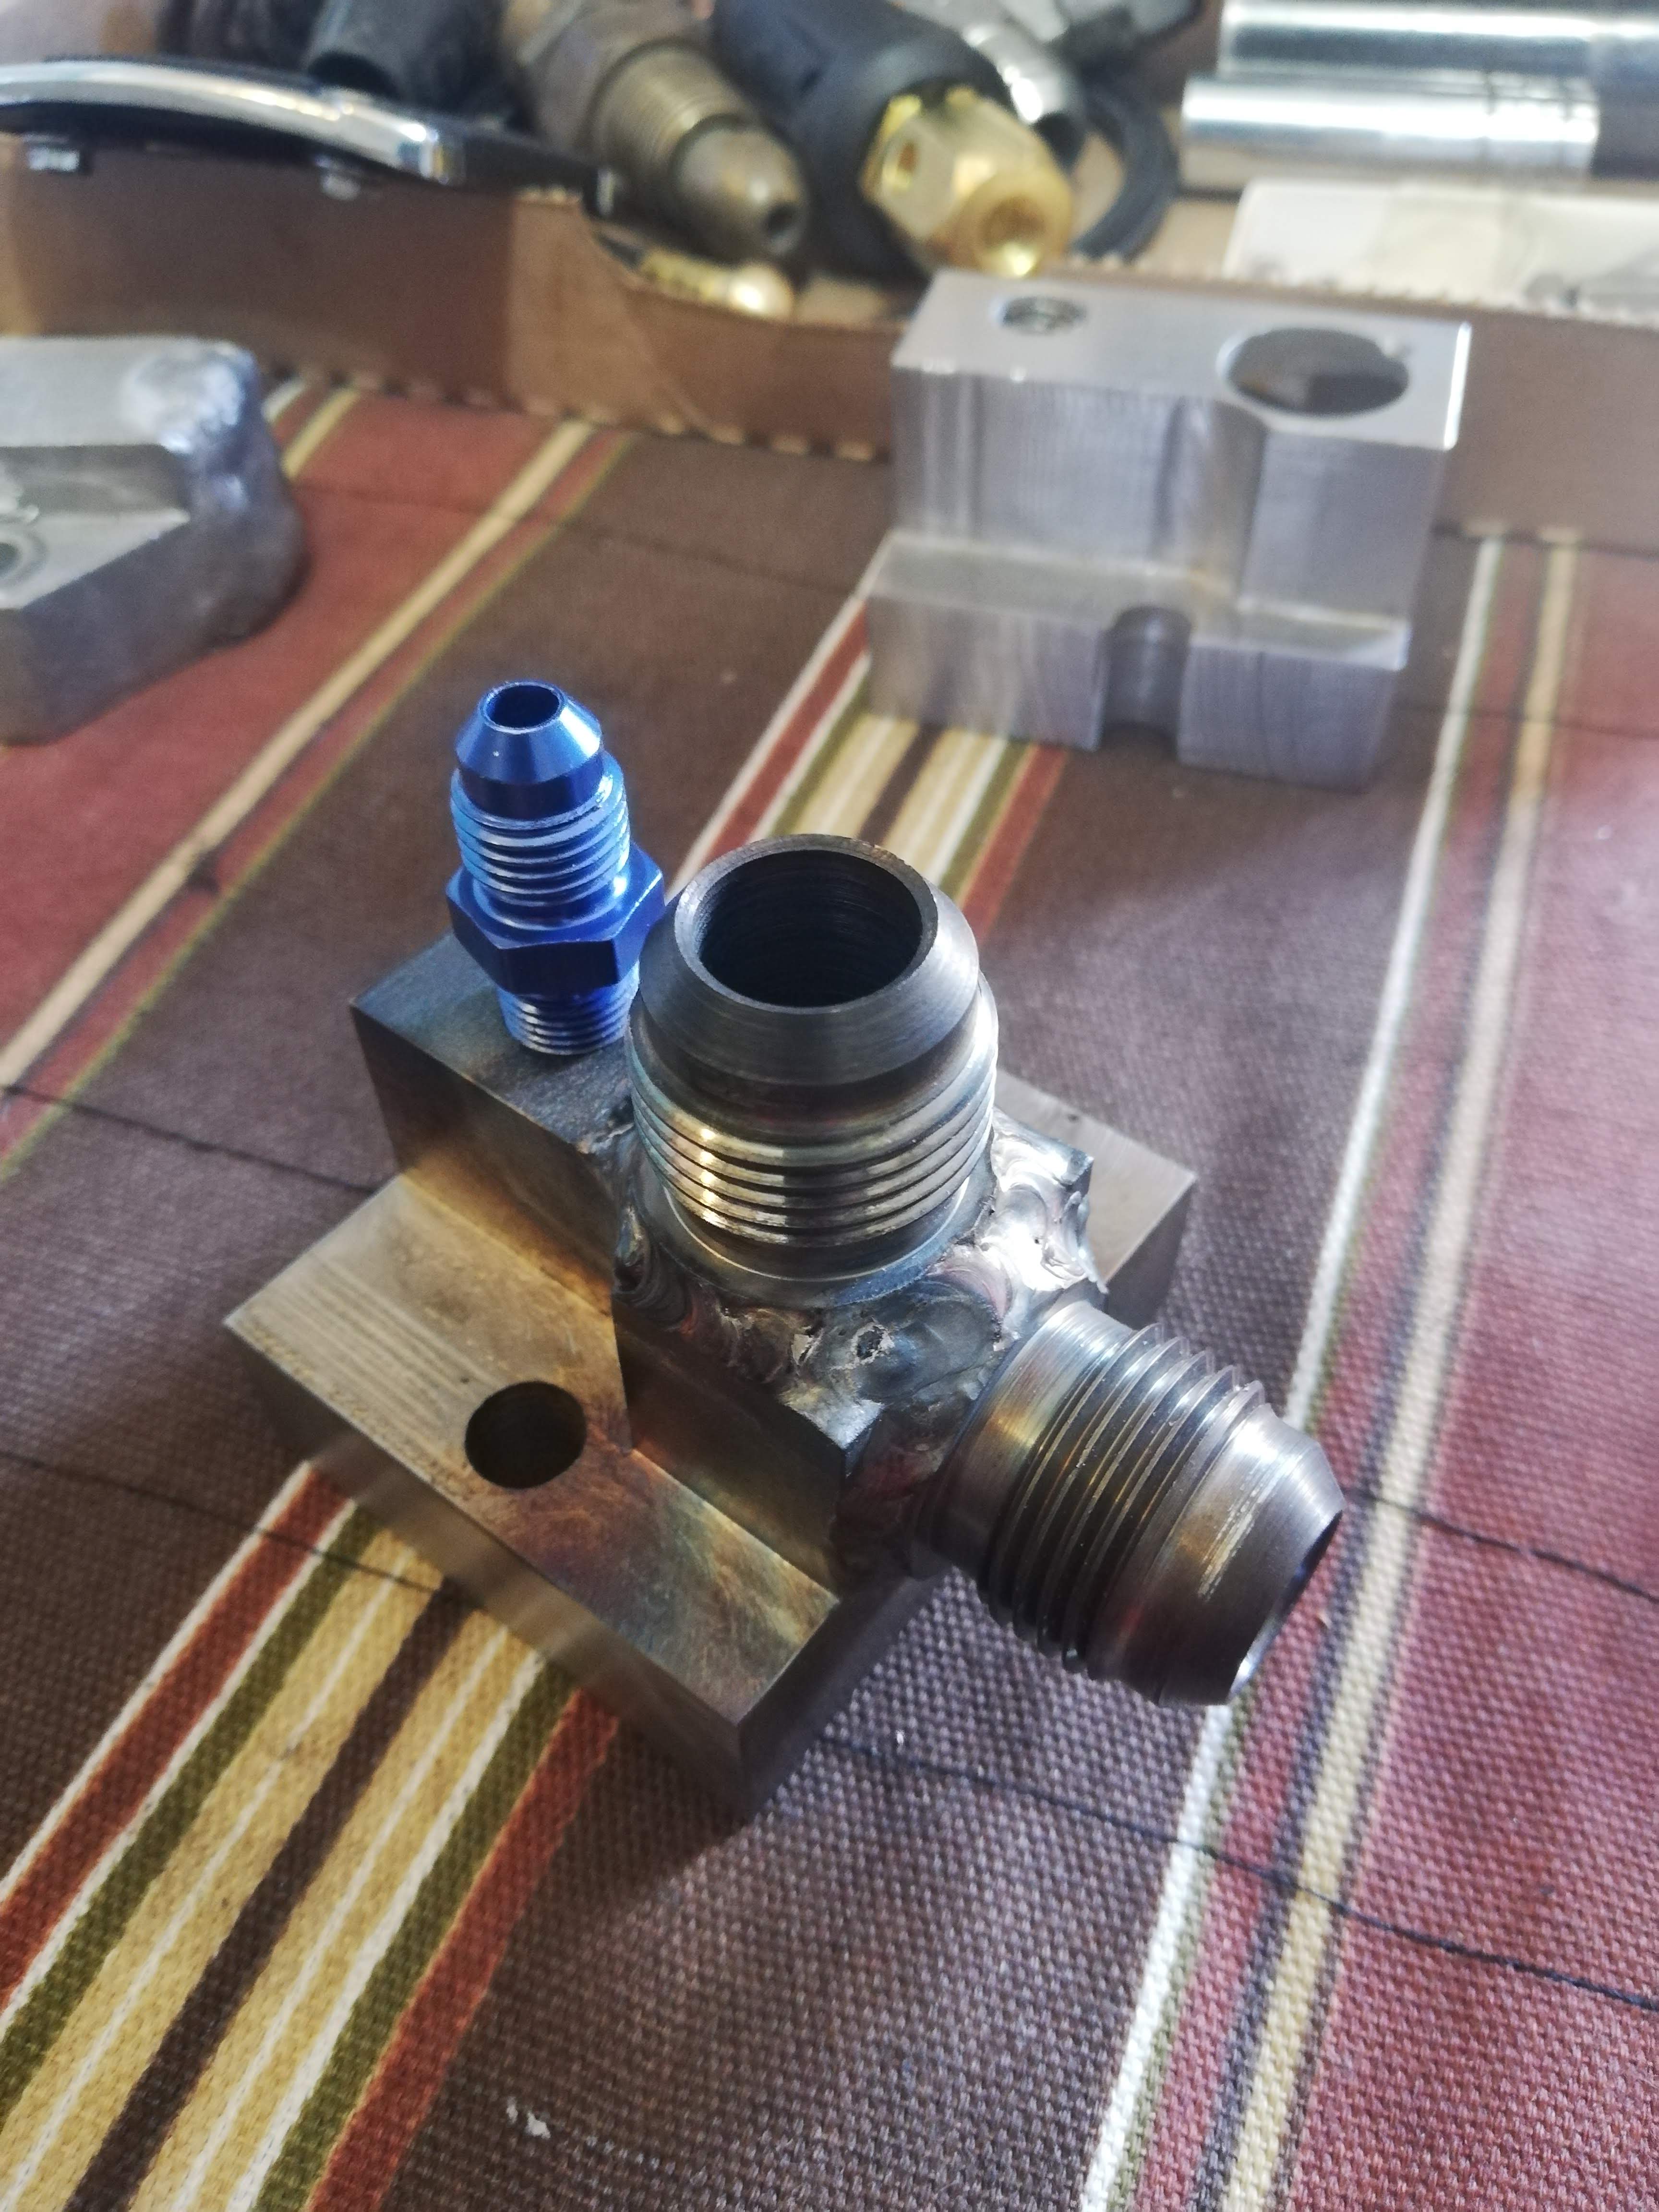
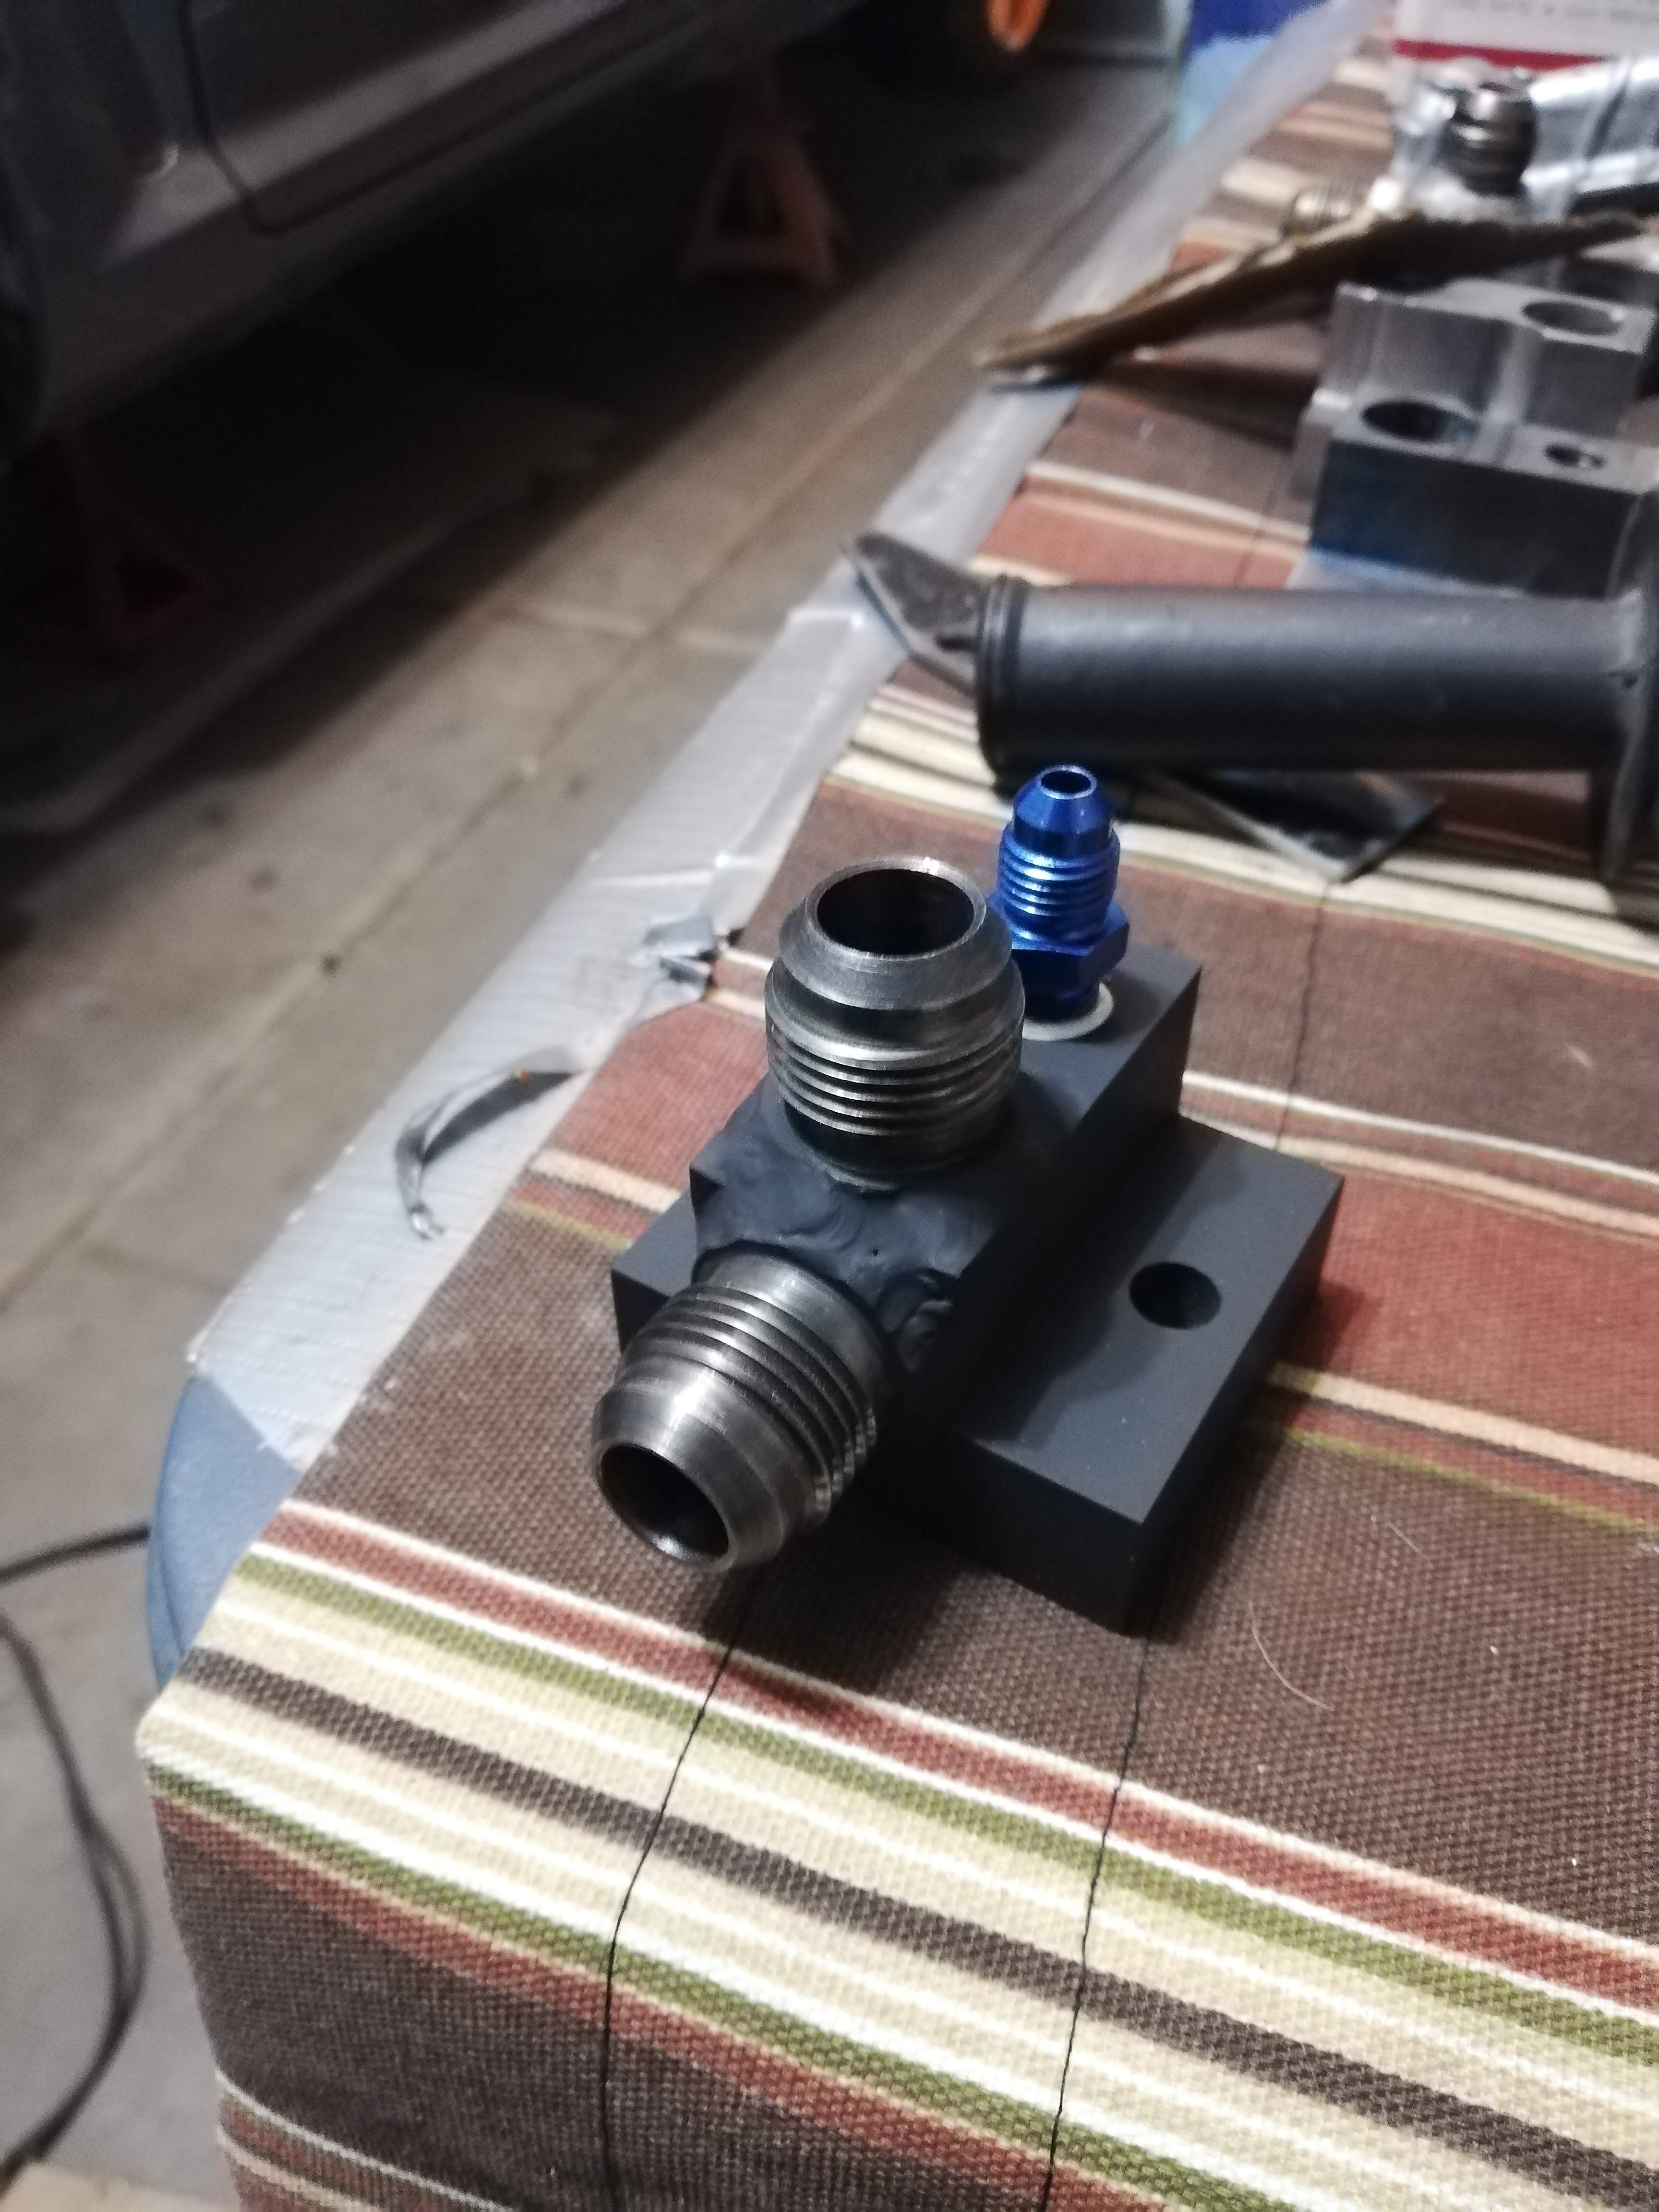
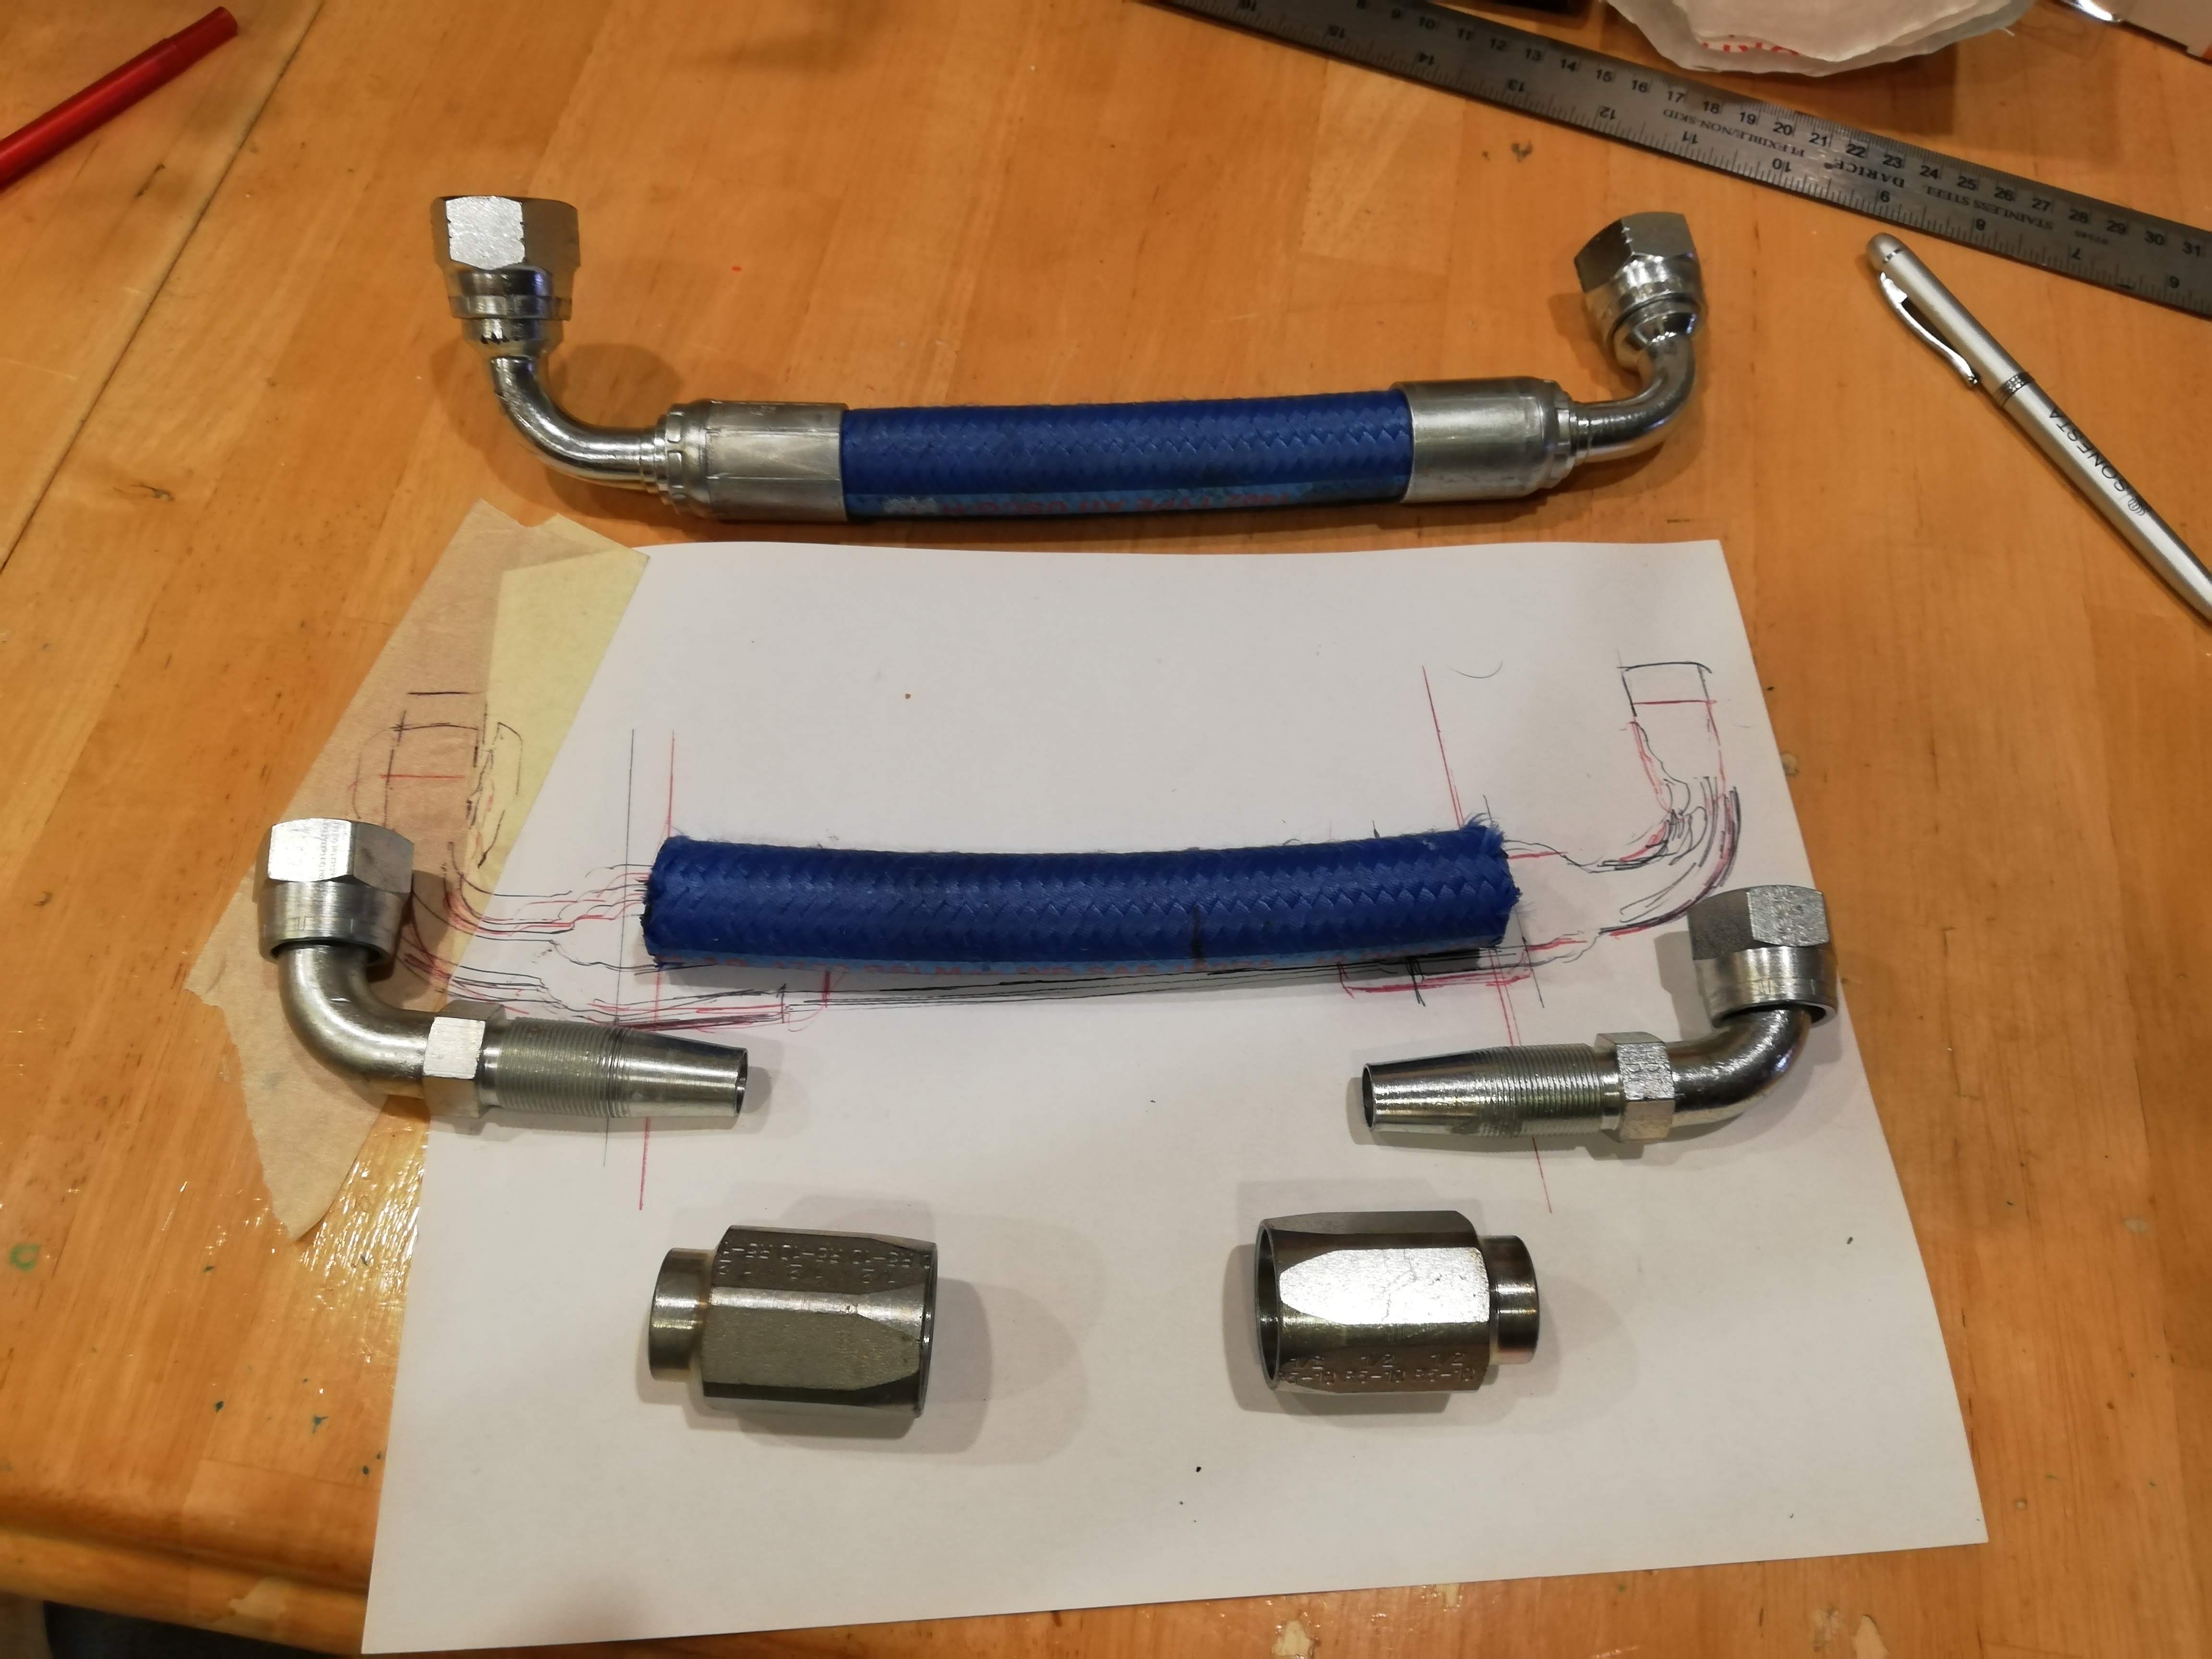
The fittings were then welded and threaded on. There is a -10 inlet (vertical), a -10 outlet to the front iron (horizontal), and a 1/8NPT thread (vertical) that has a -4 on it in this picture.
Later on I figured out that the -4 wouldn't work well for my gauge location, so I got steel tube/compression fittings. The steel tube was a pain and leaked a little bit, so later on I switched to PTFE tubing with brass compression fittings and a nice fixed firewall pass-through.
Here is the lineage of the oil pedestals.
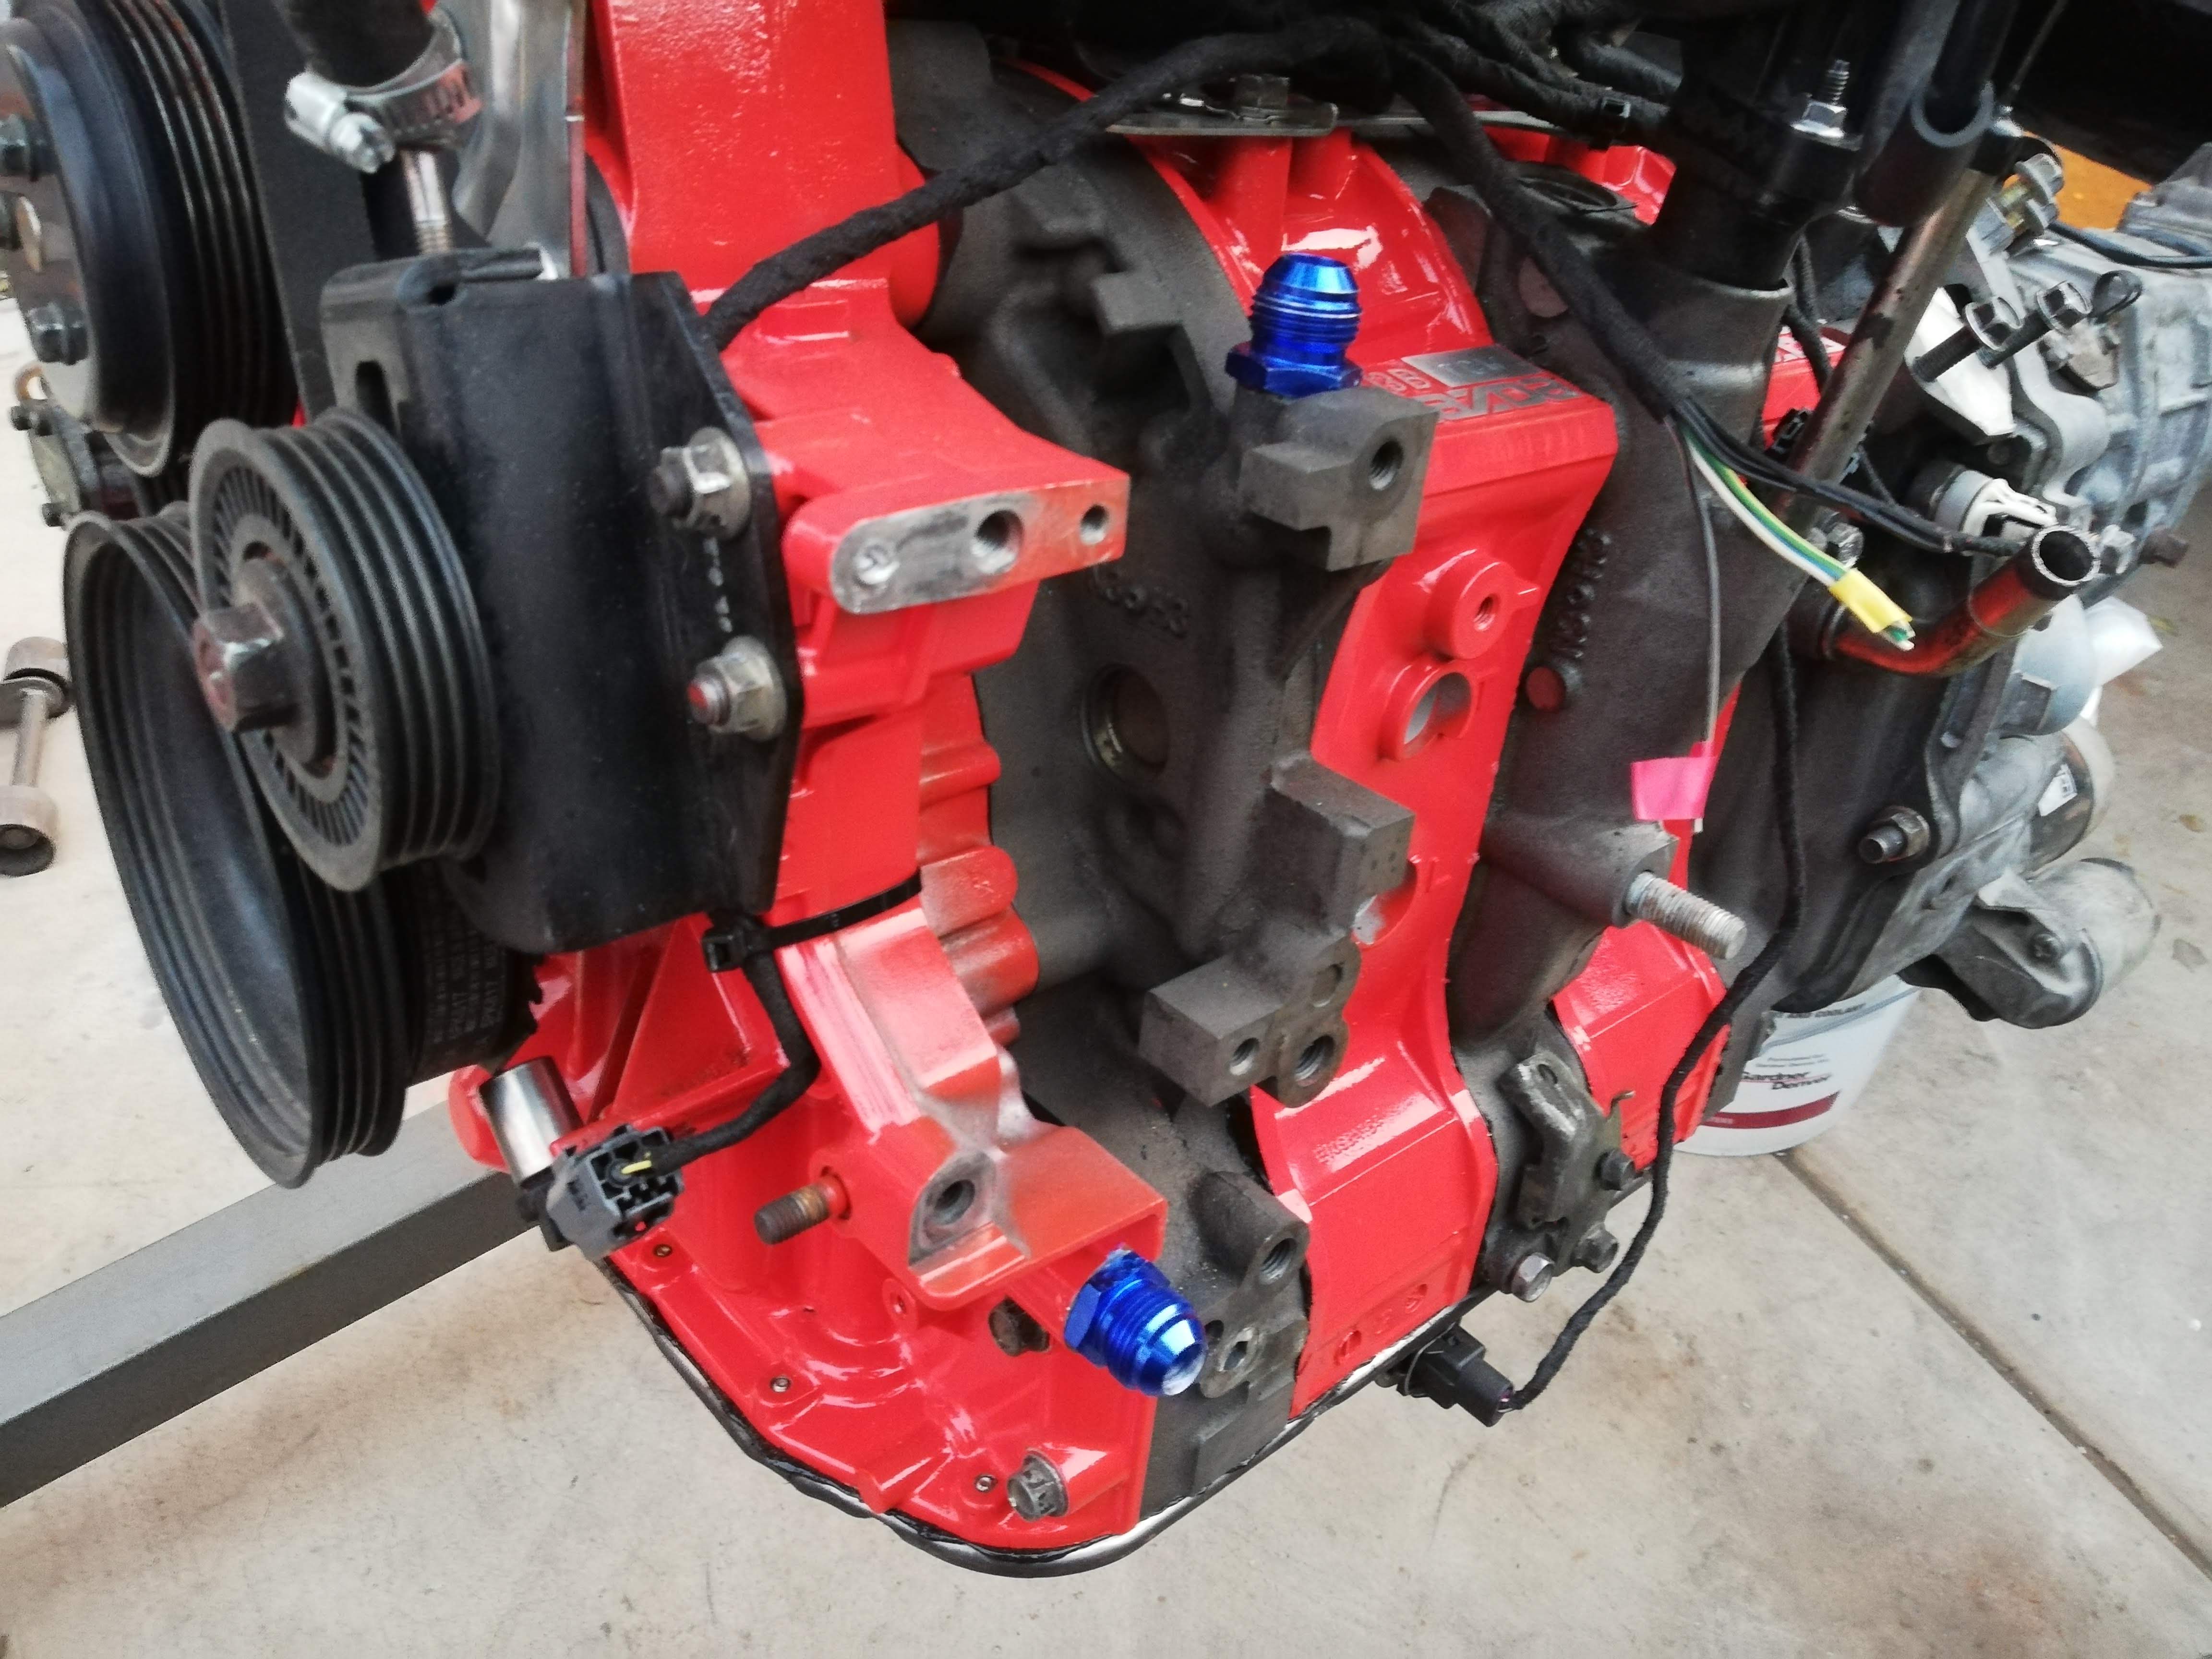
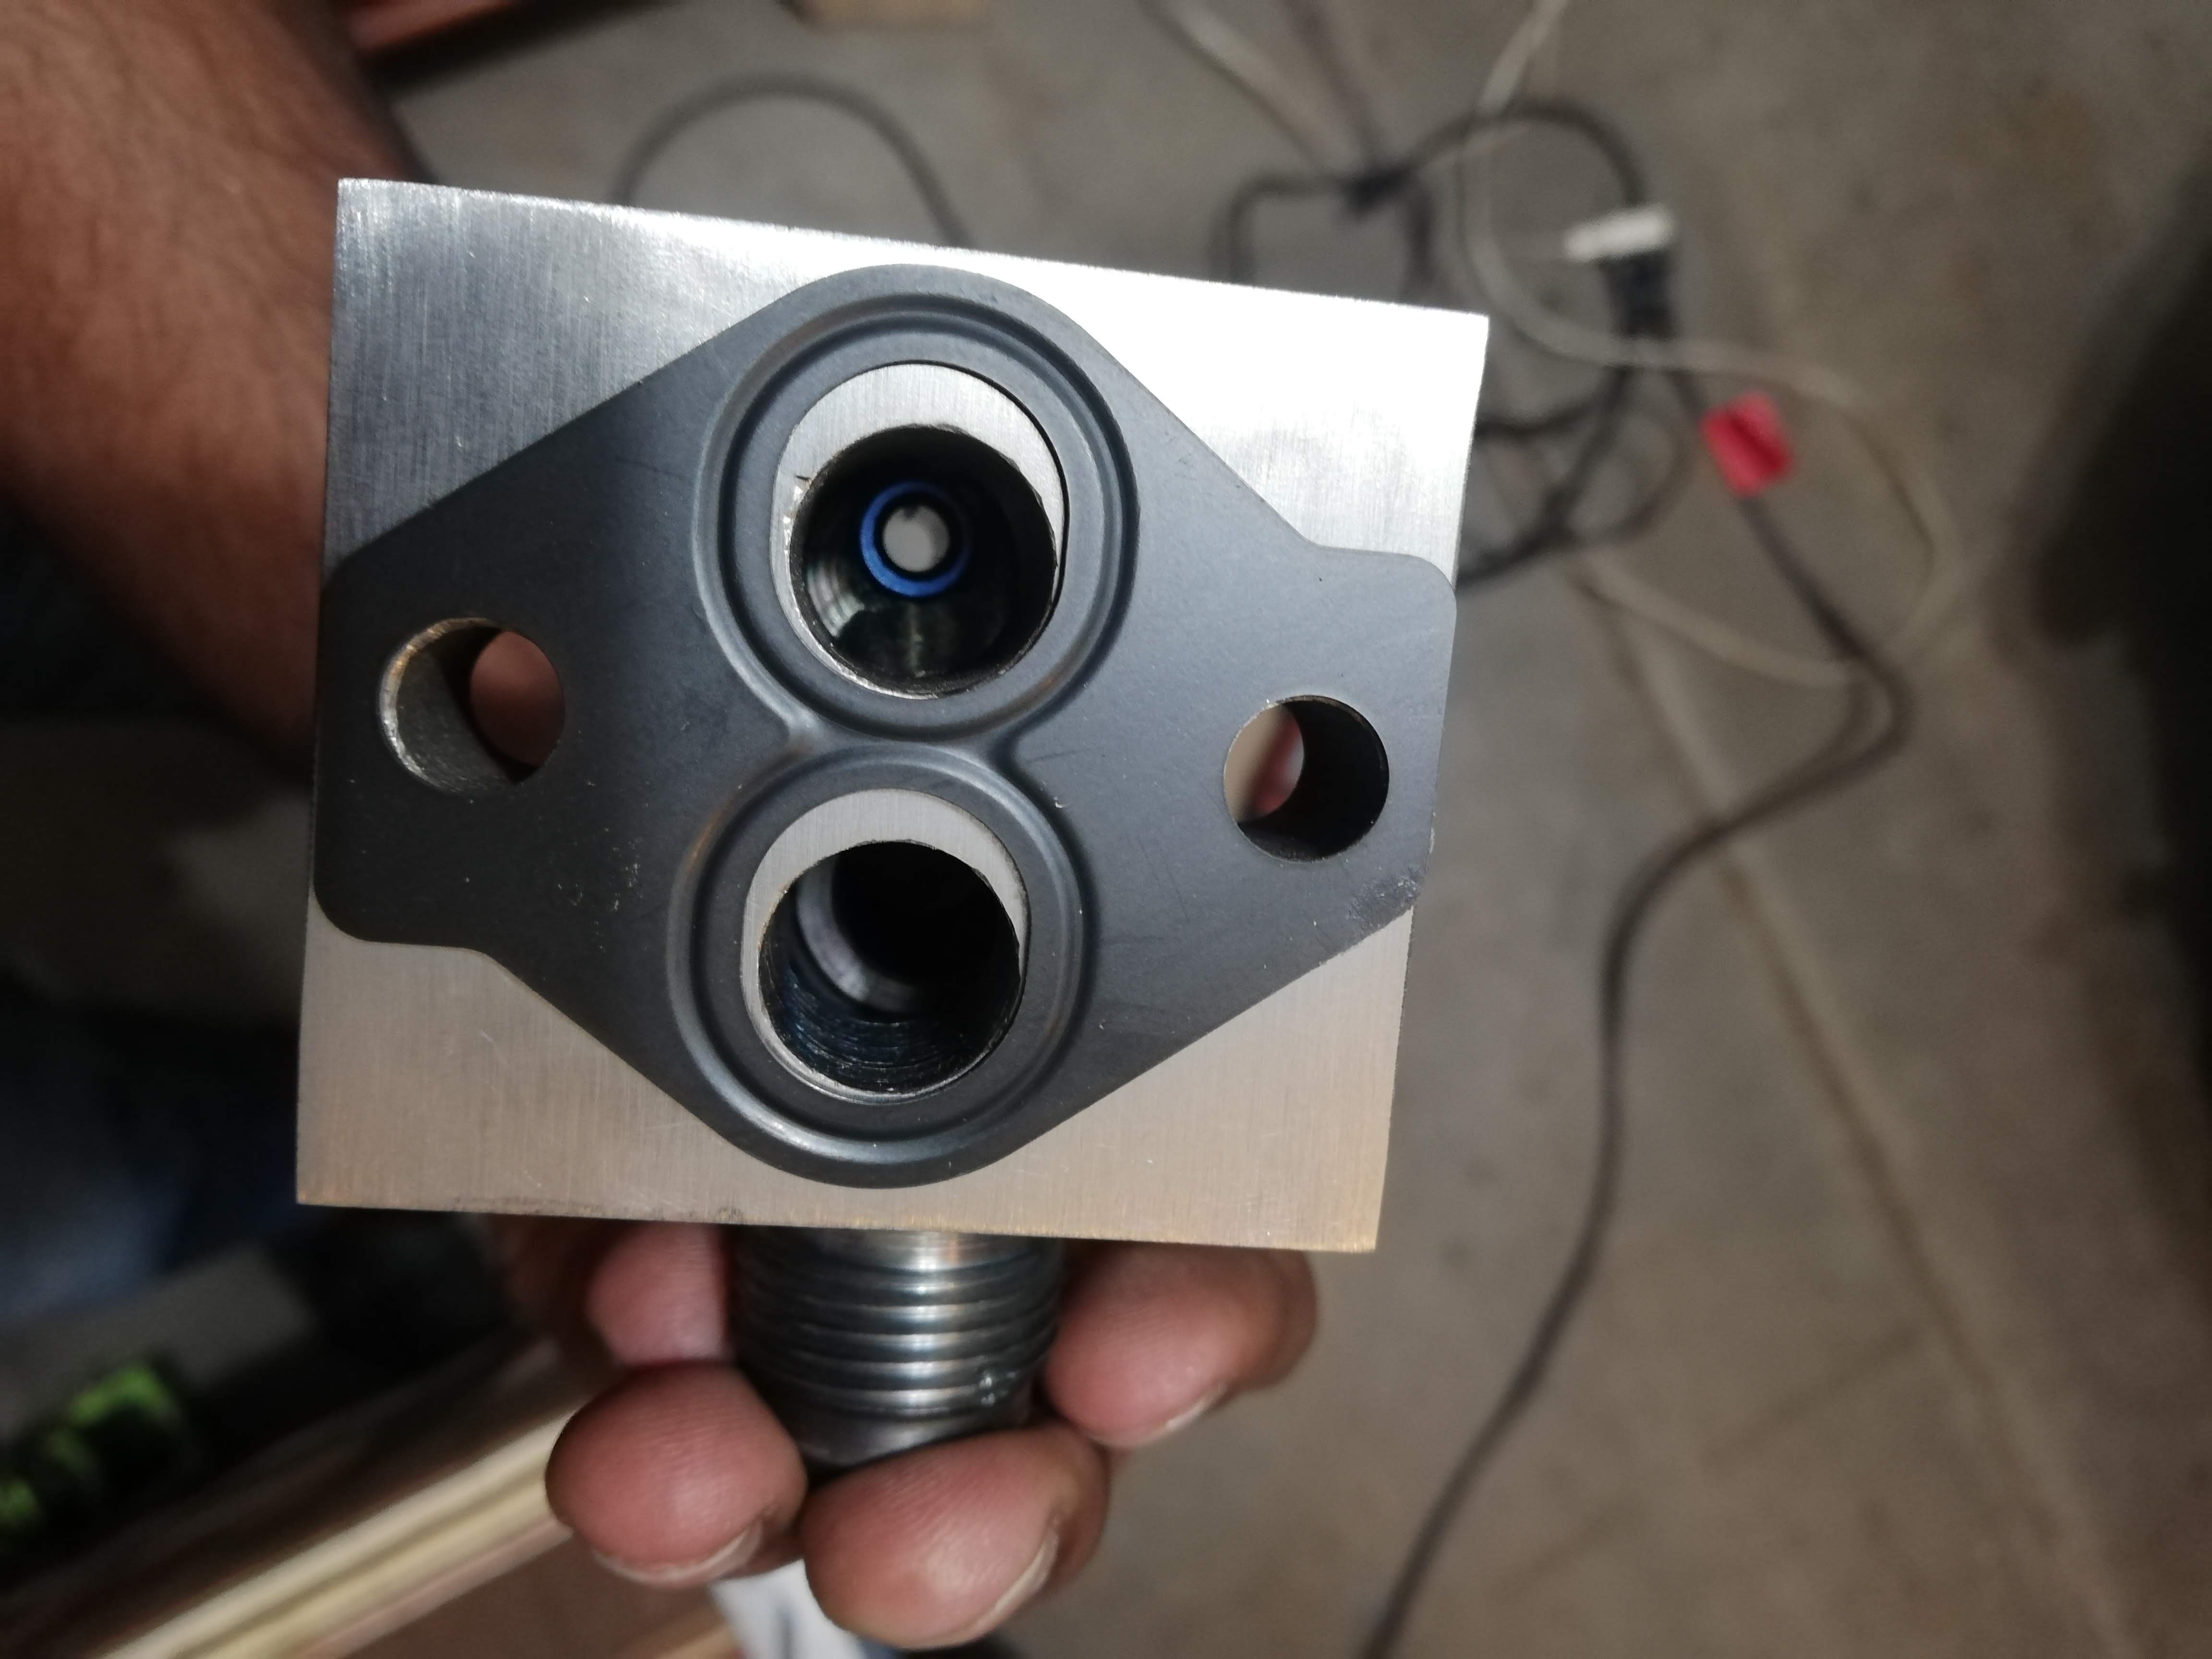
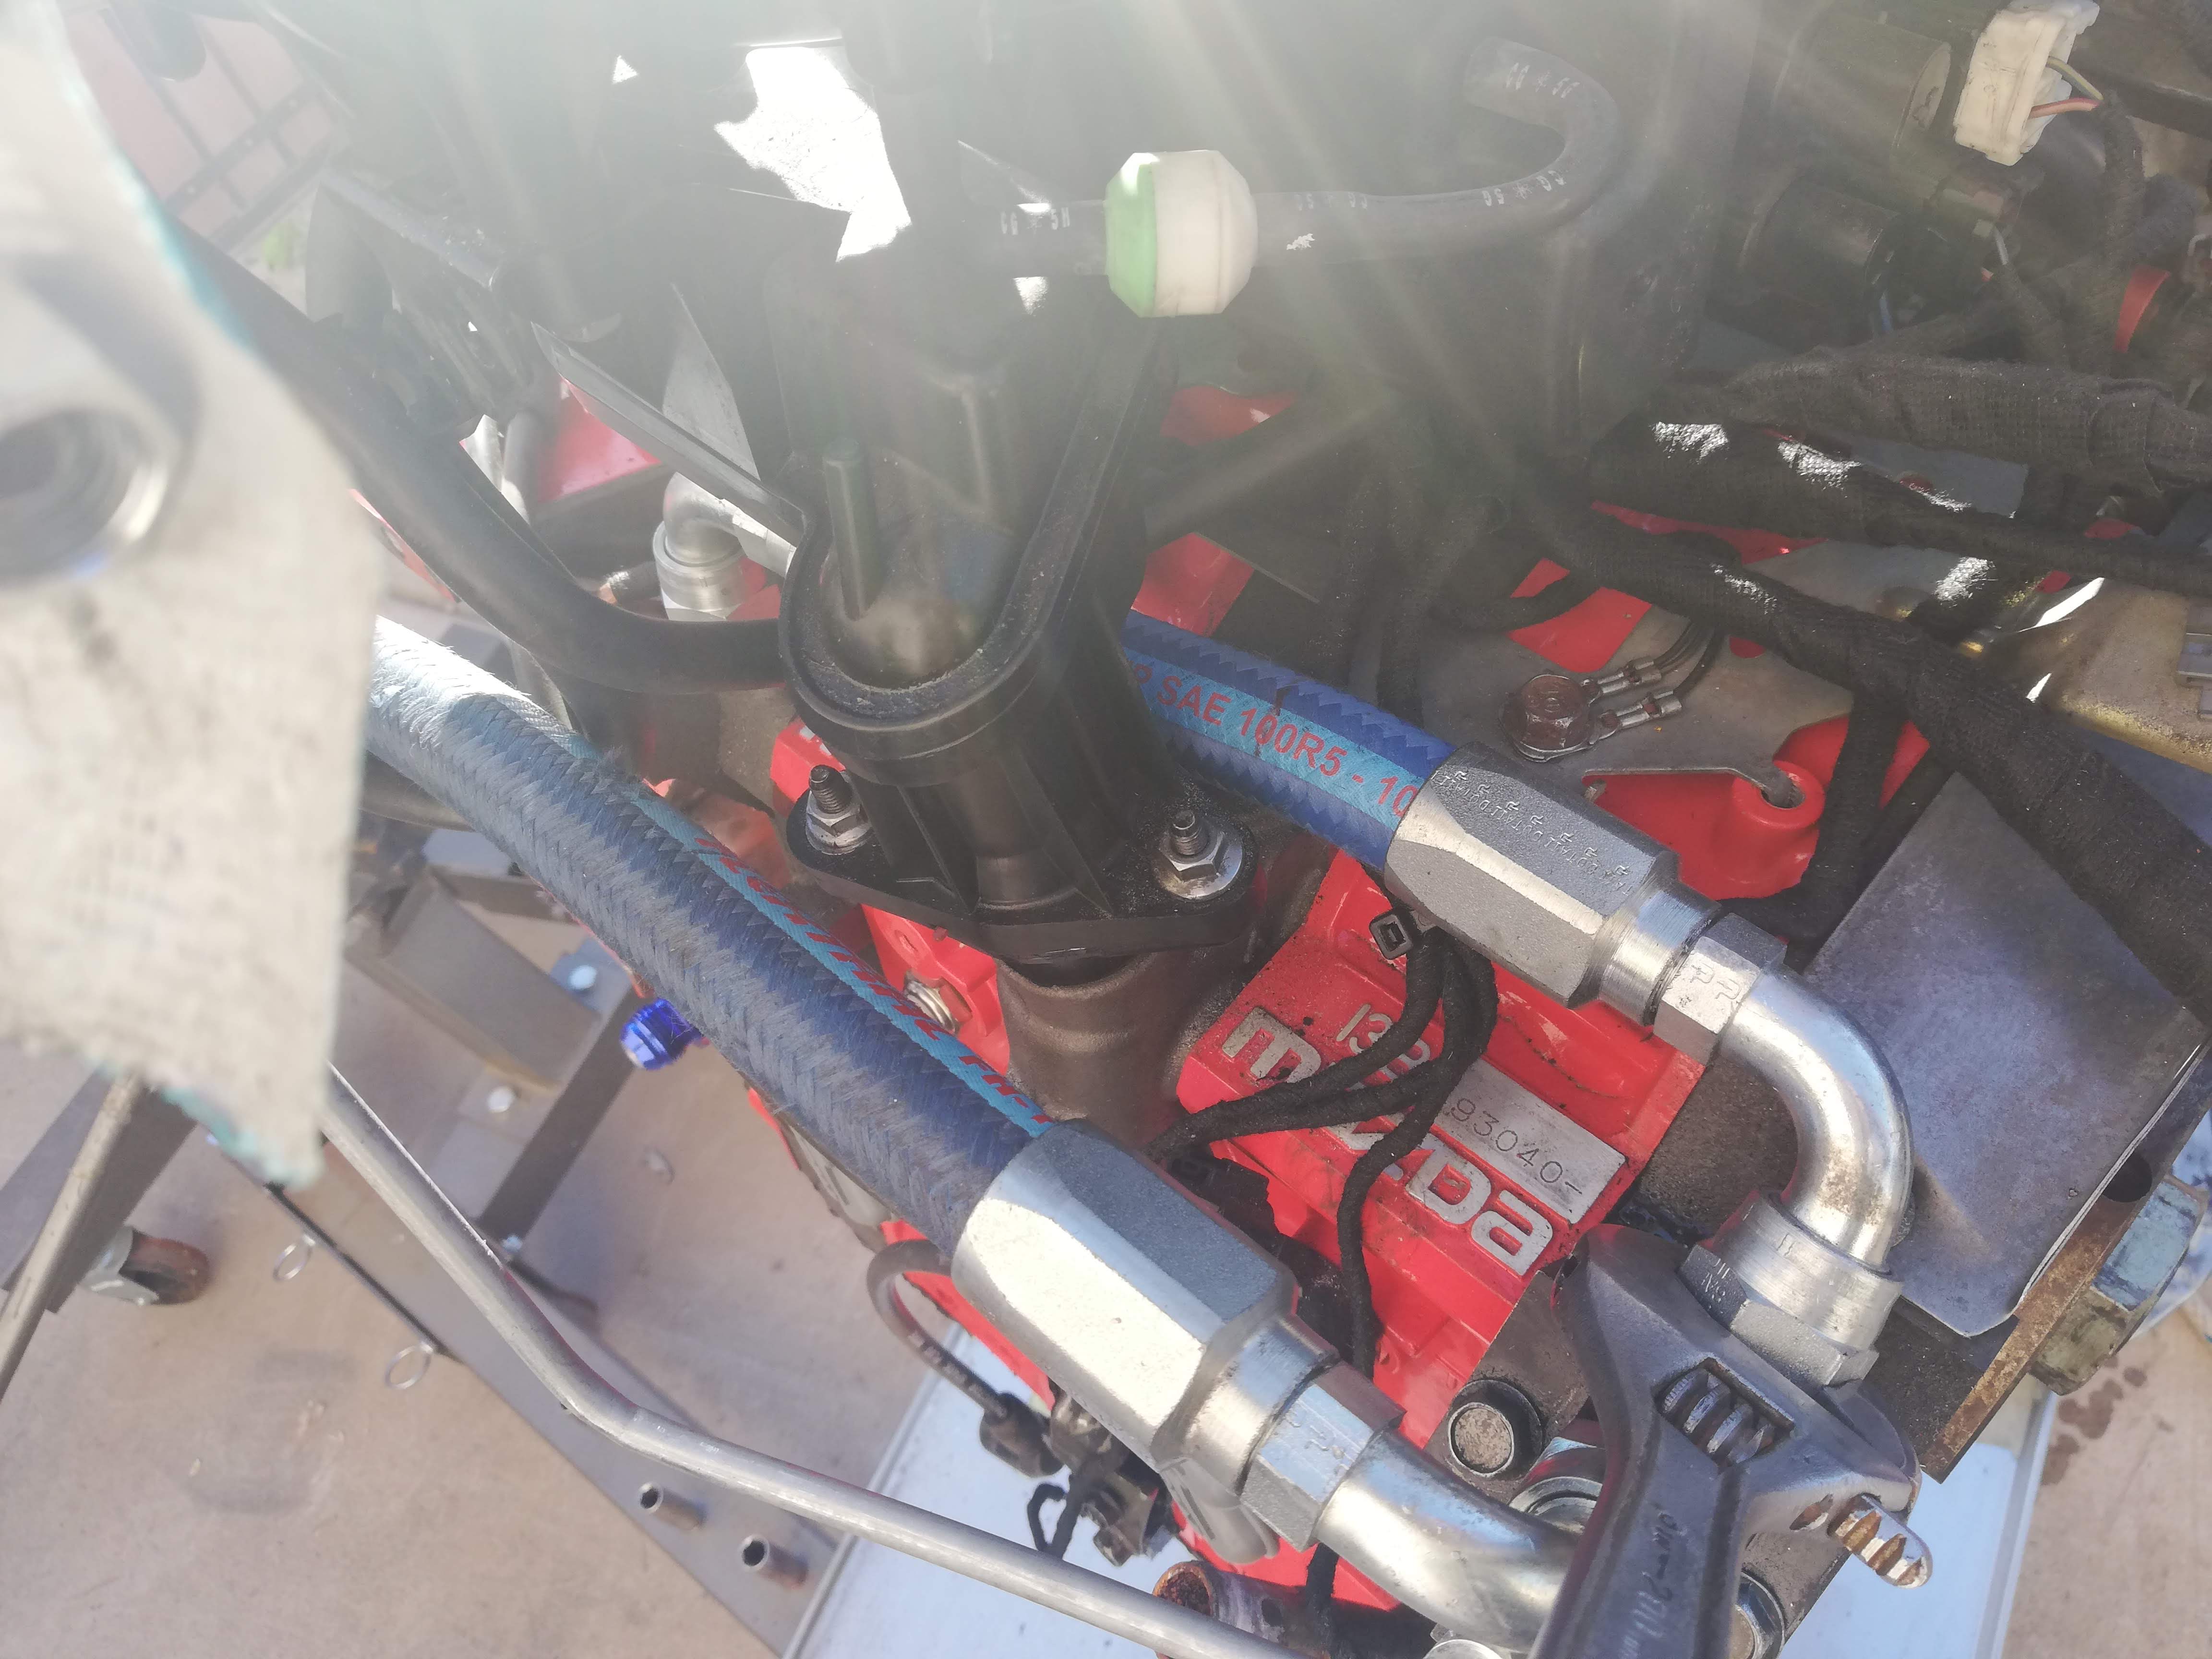
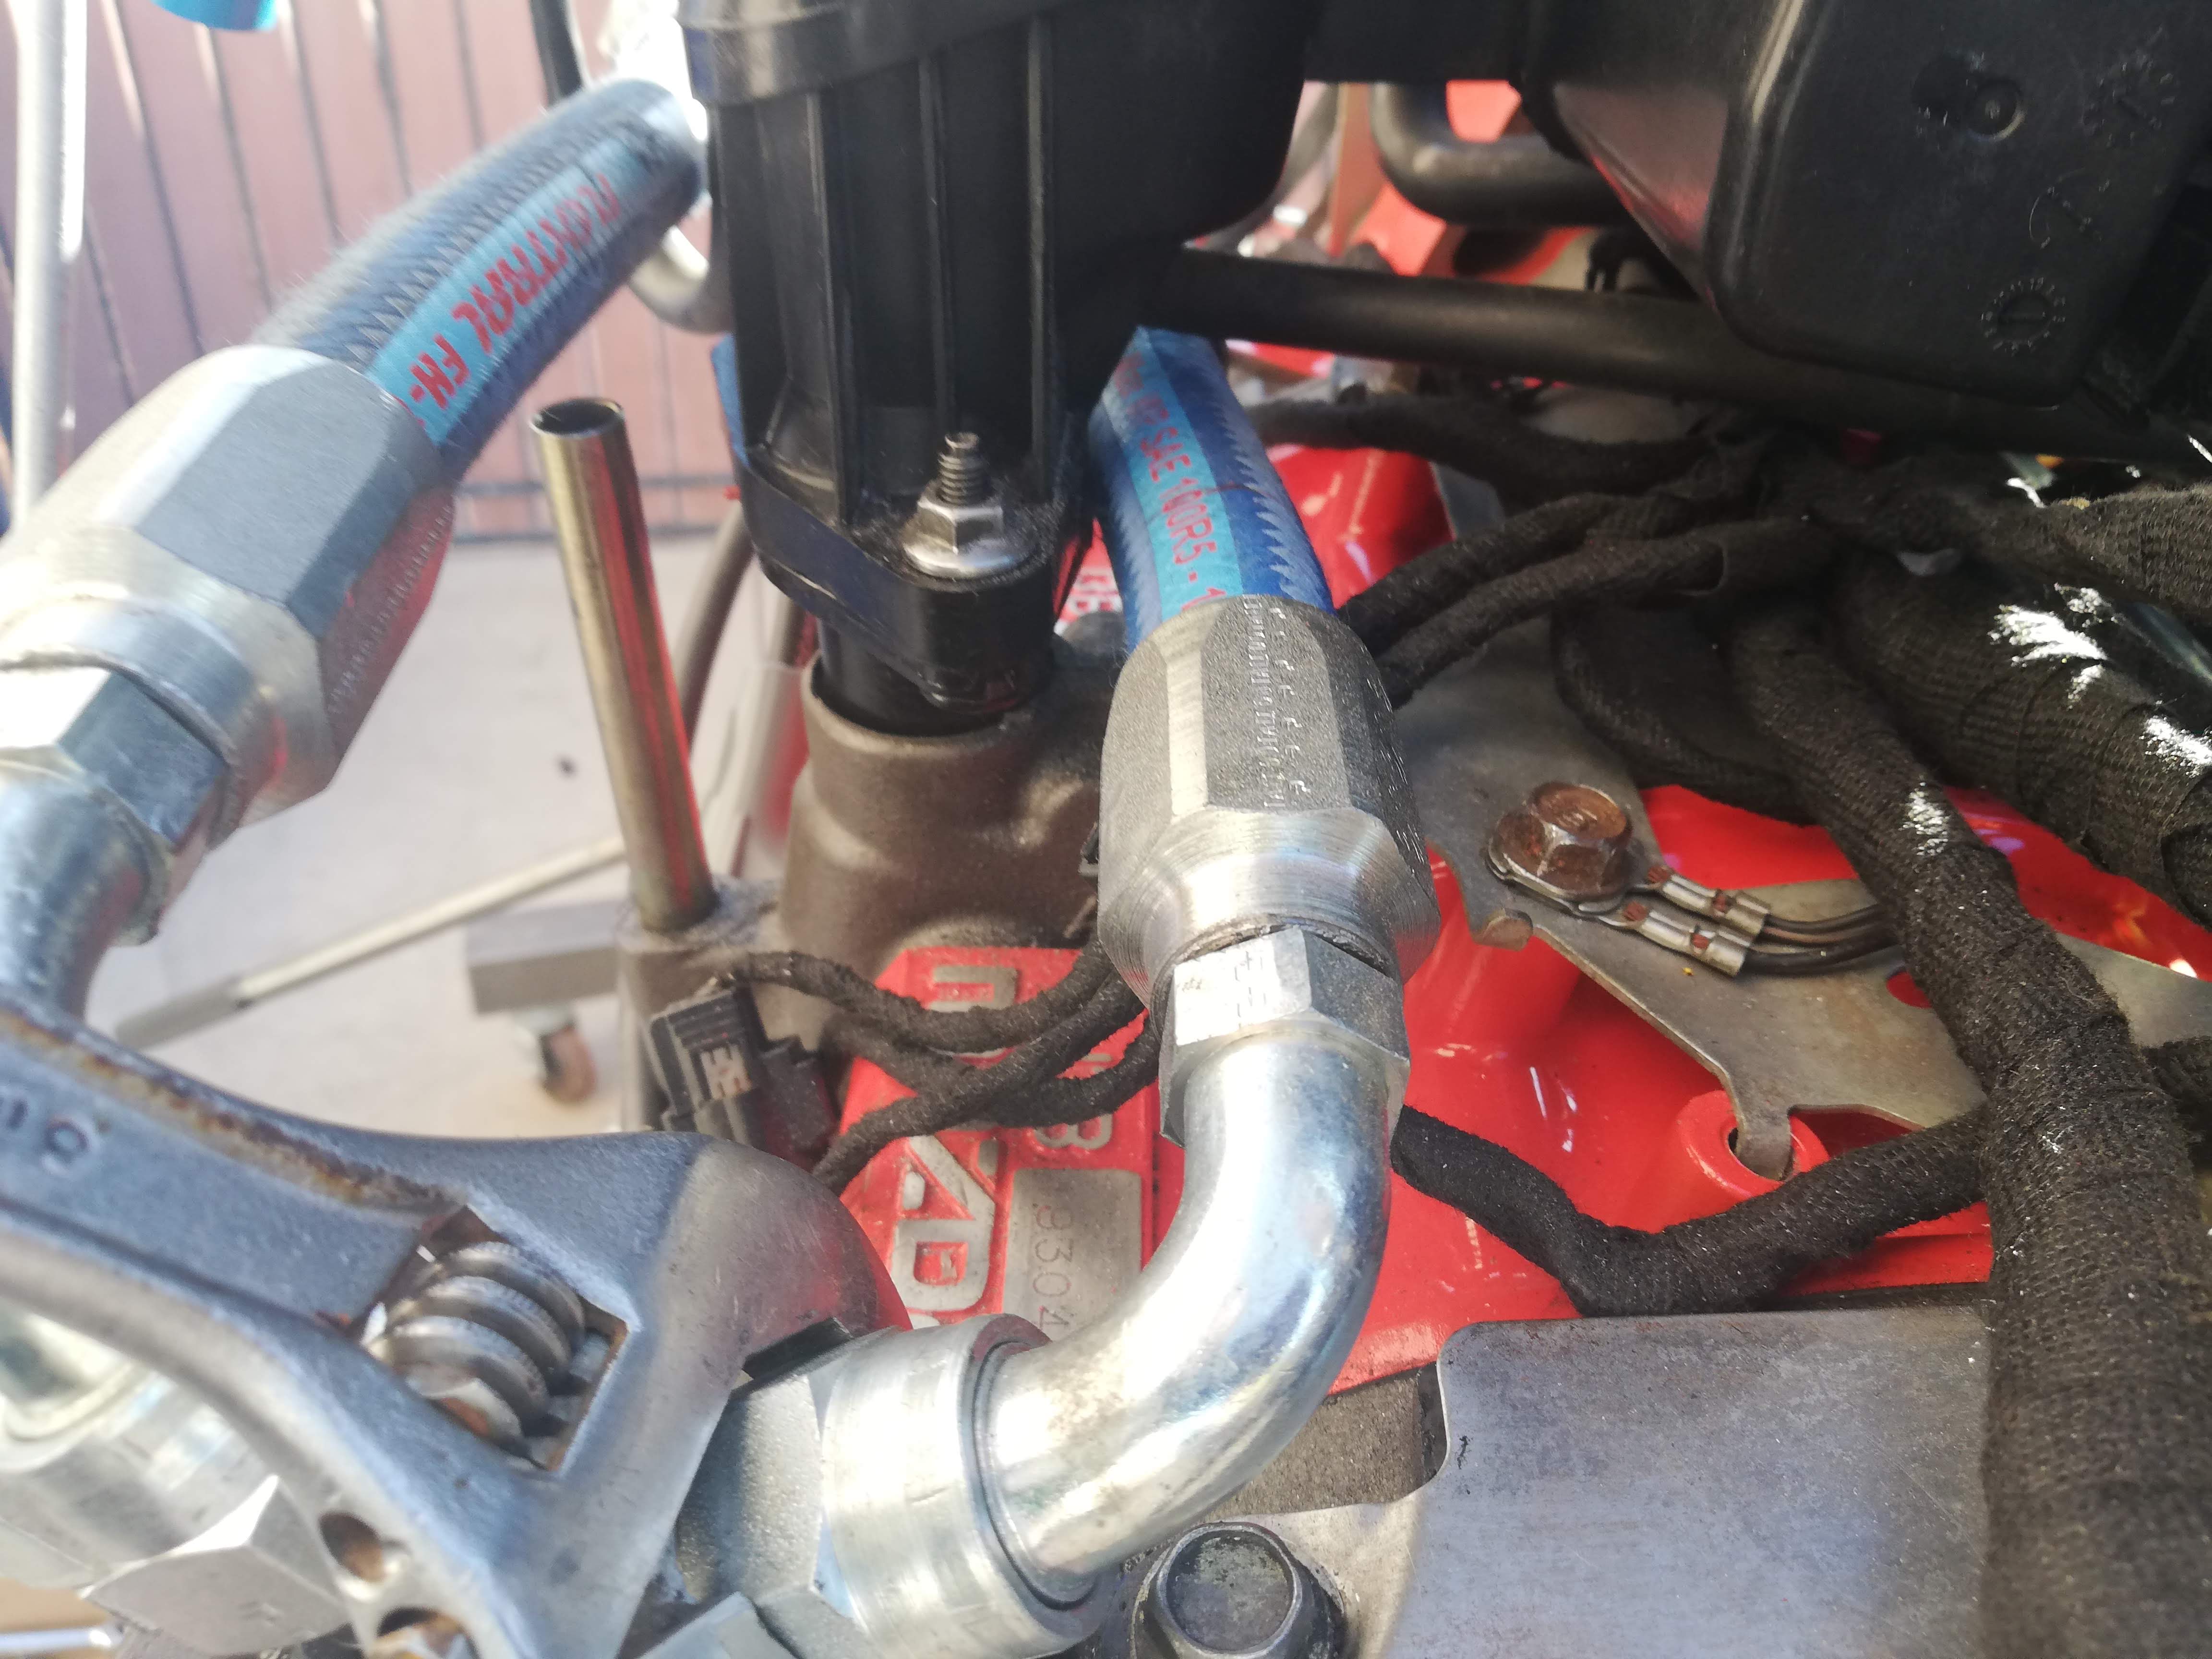
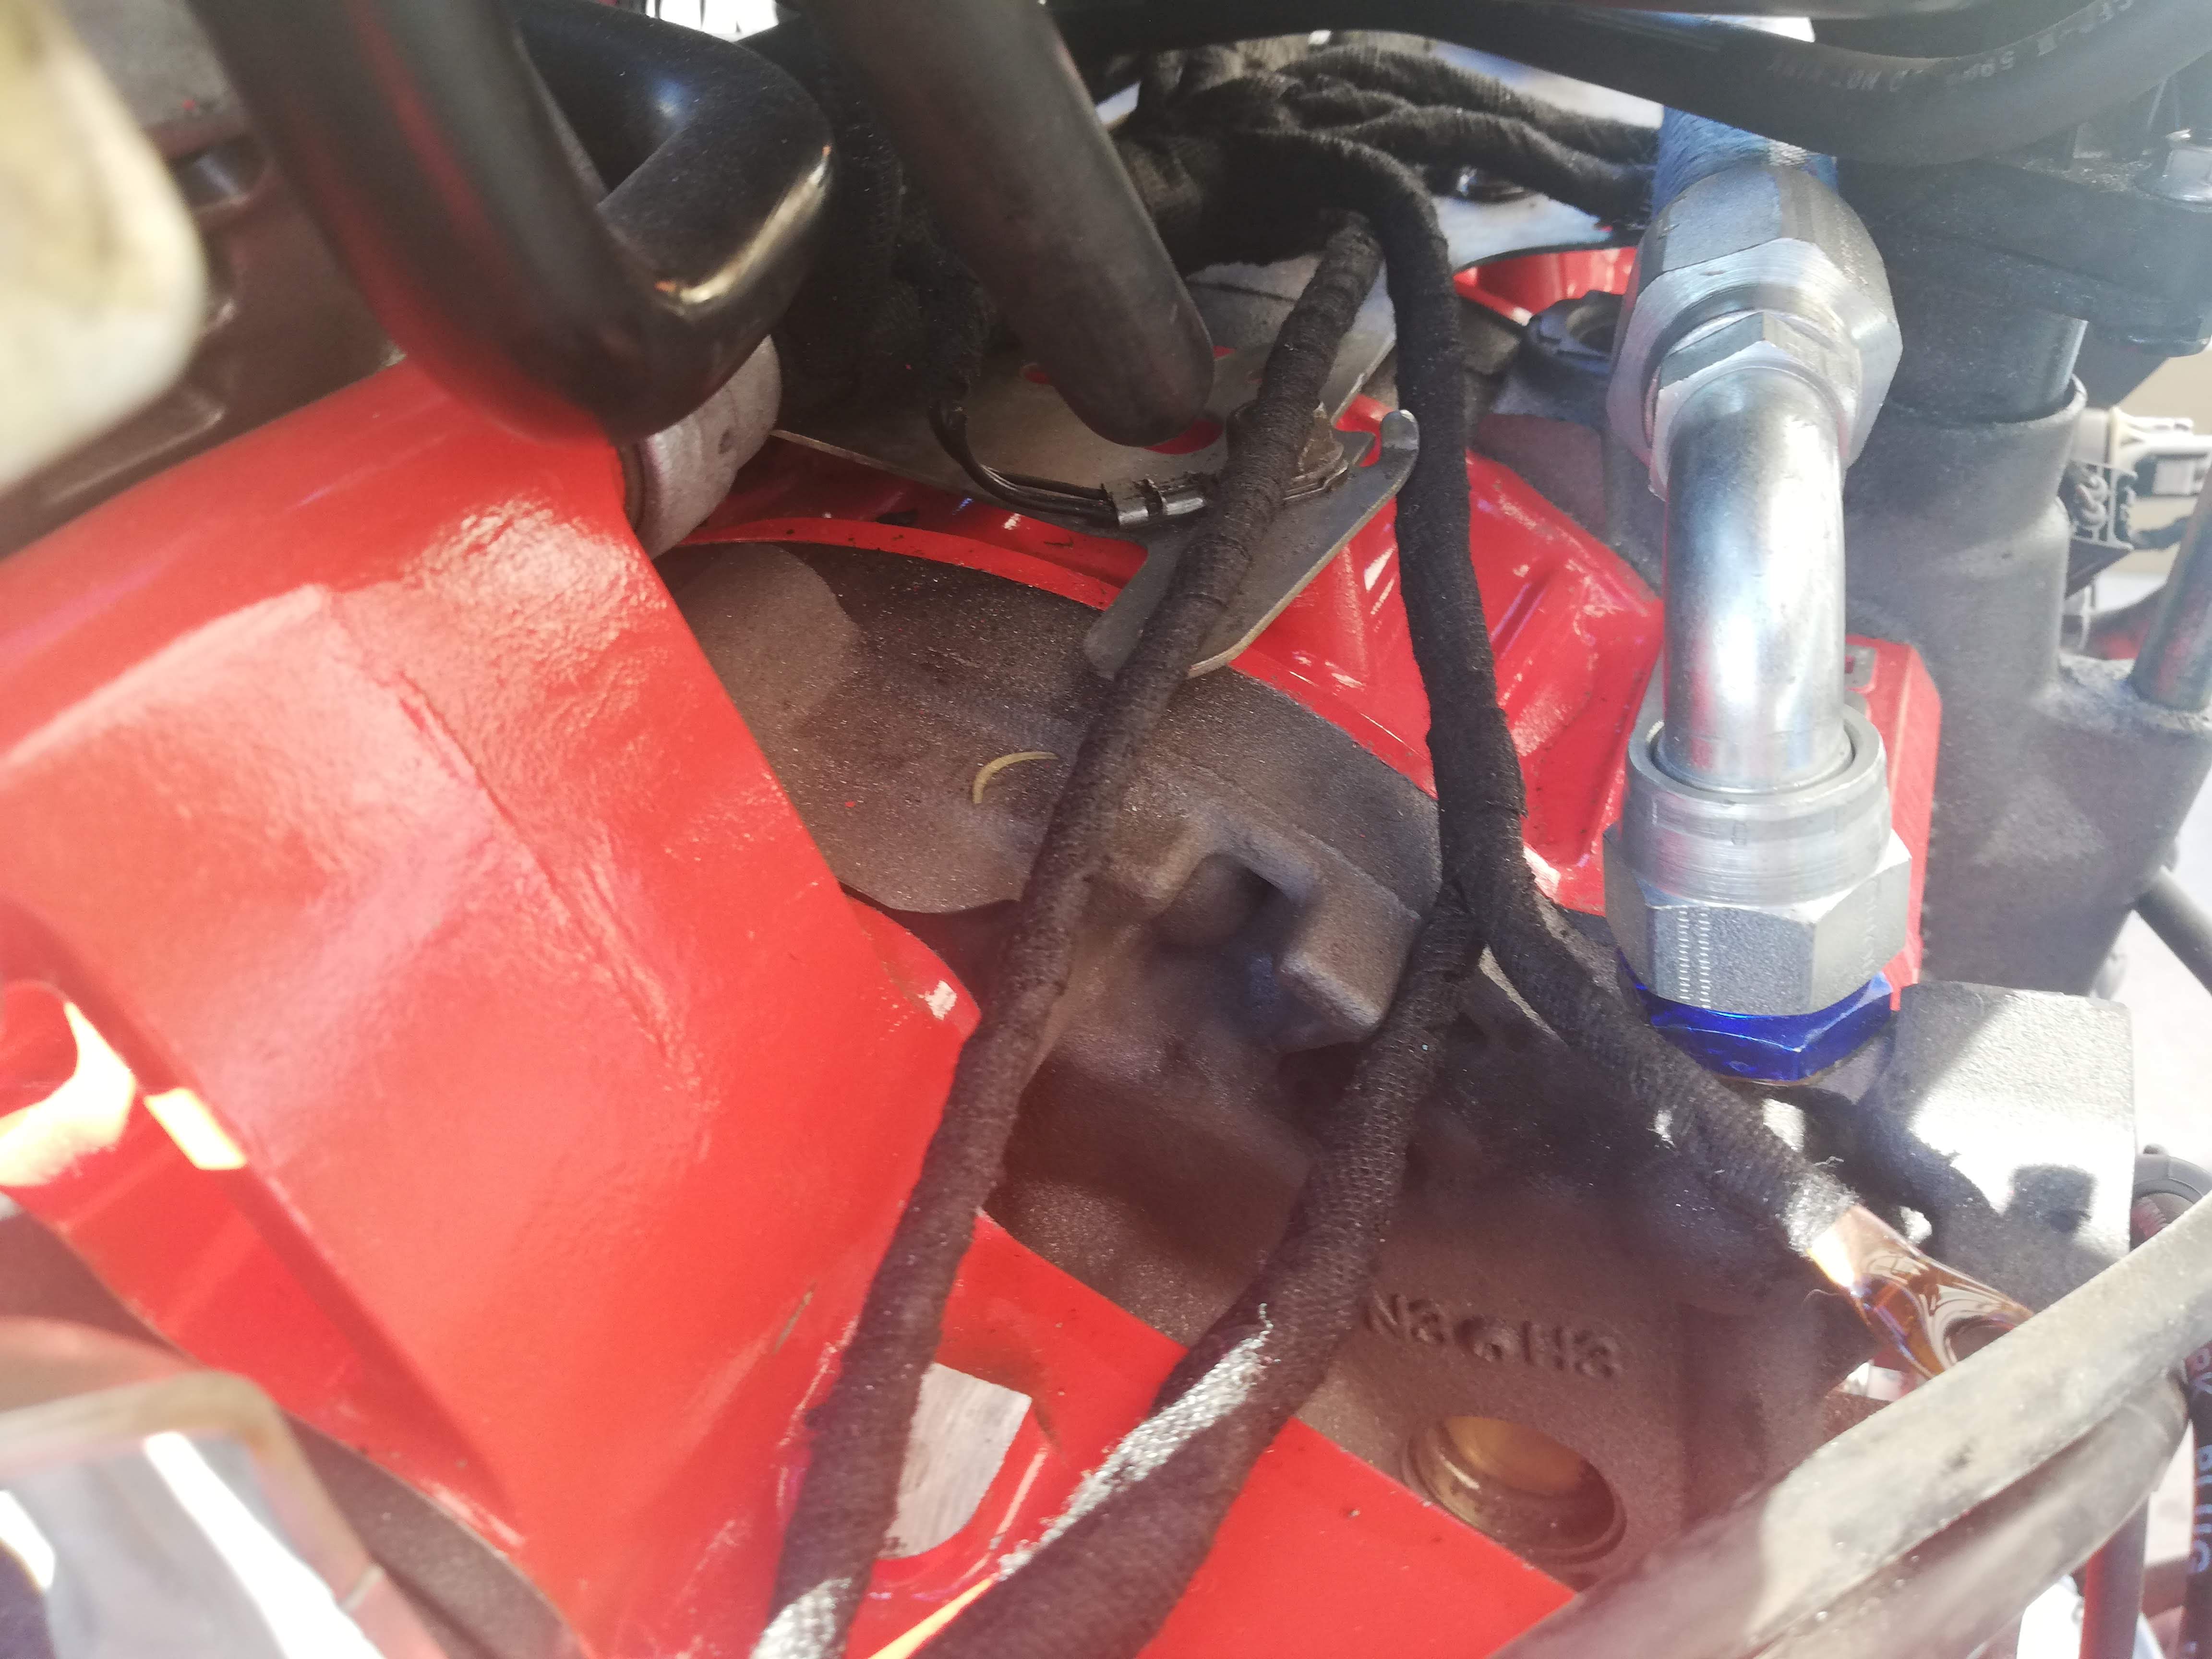
Here are a couple pictures from later on that show how the lines are connected to this block and to the front iron. The lower line goes to the filter outlet and the upper goes to new fitting on the front vertical passage
So then I had some misc bracketry and hoses to do.
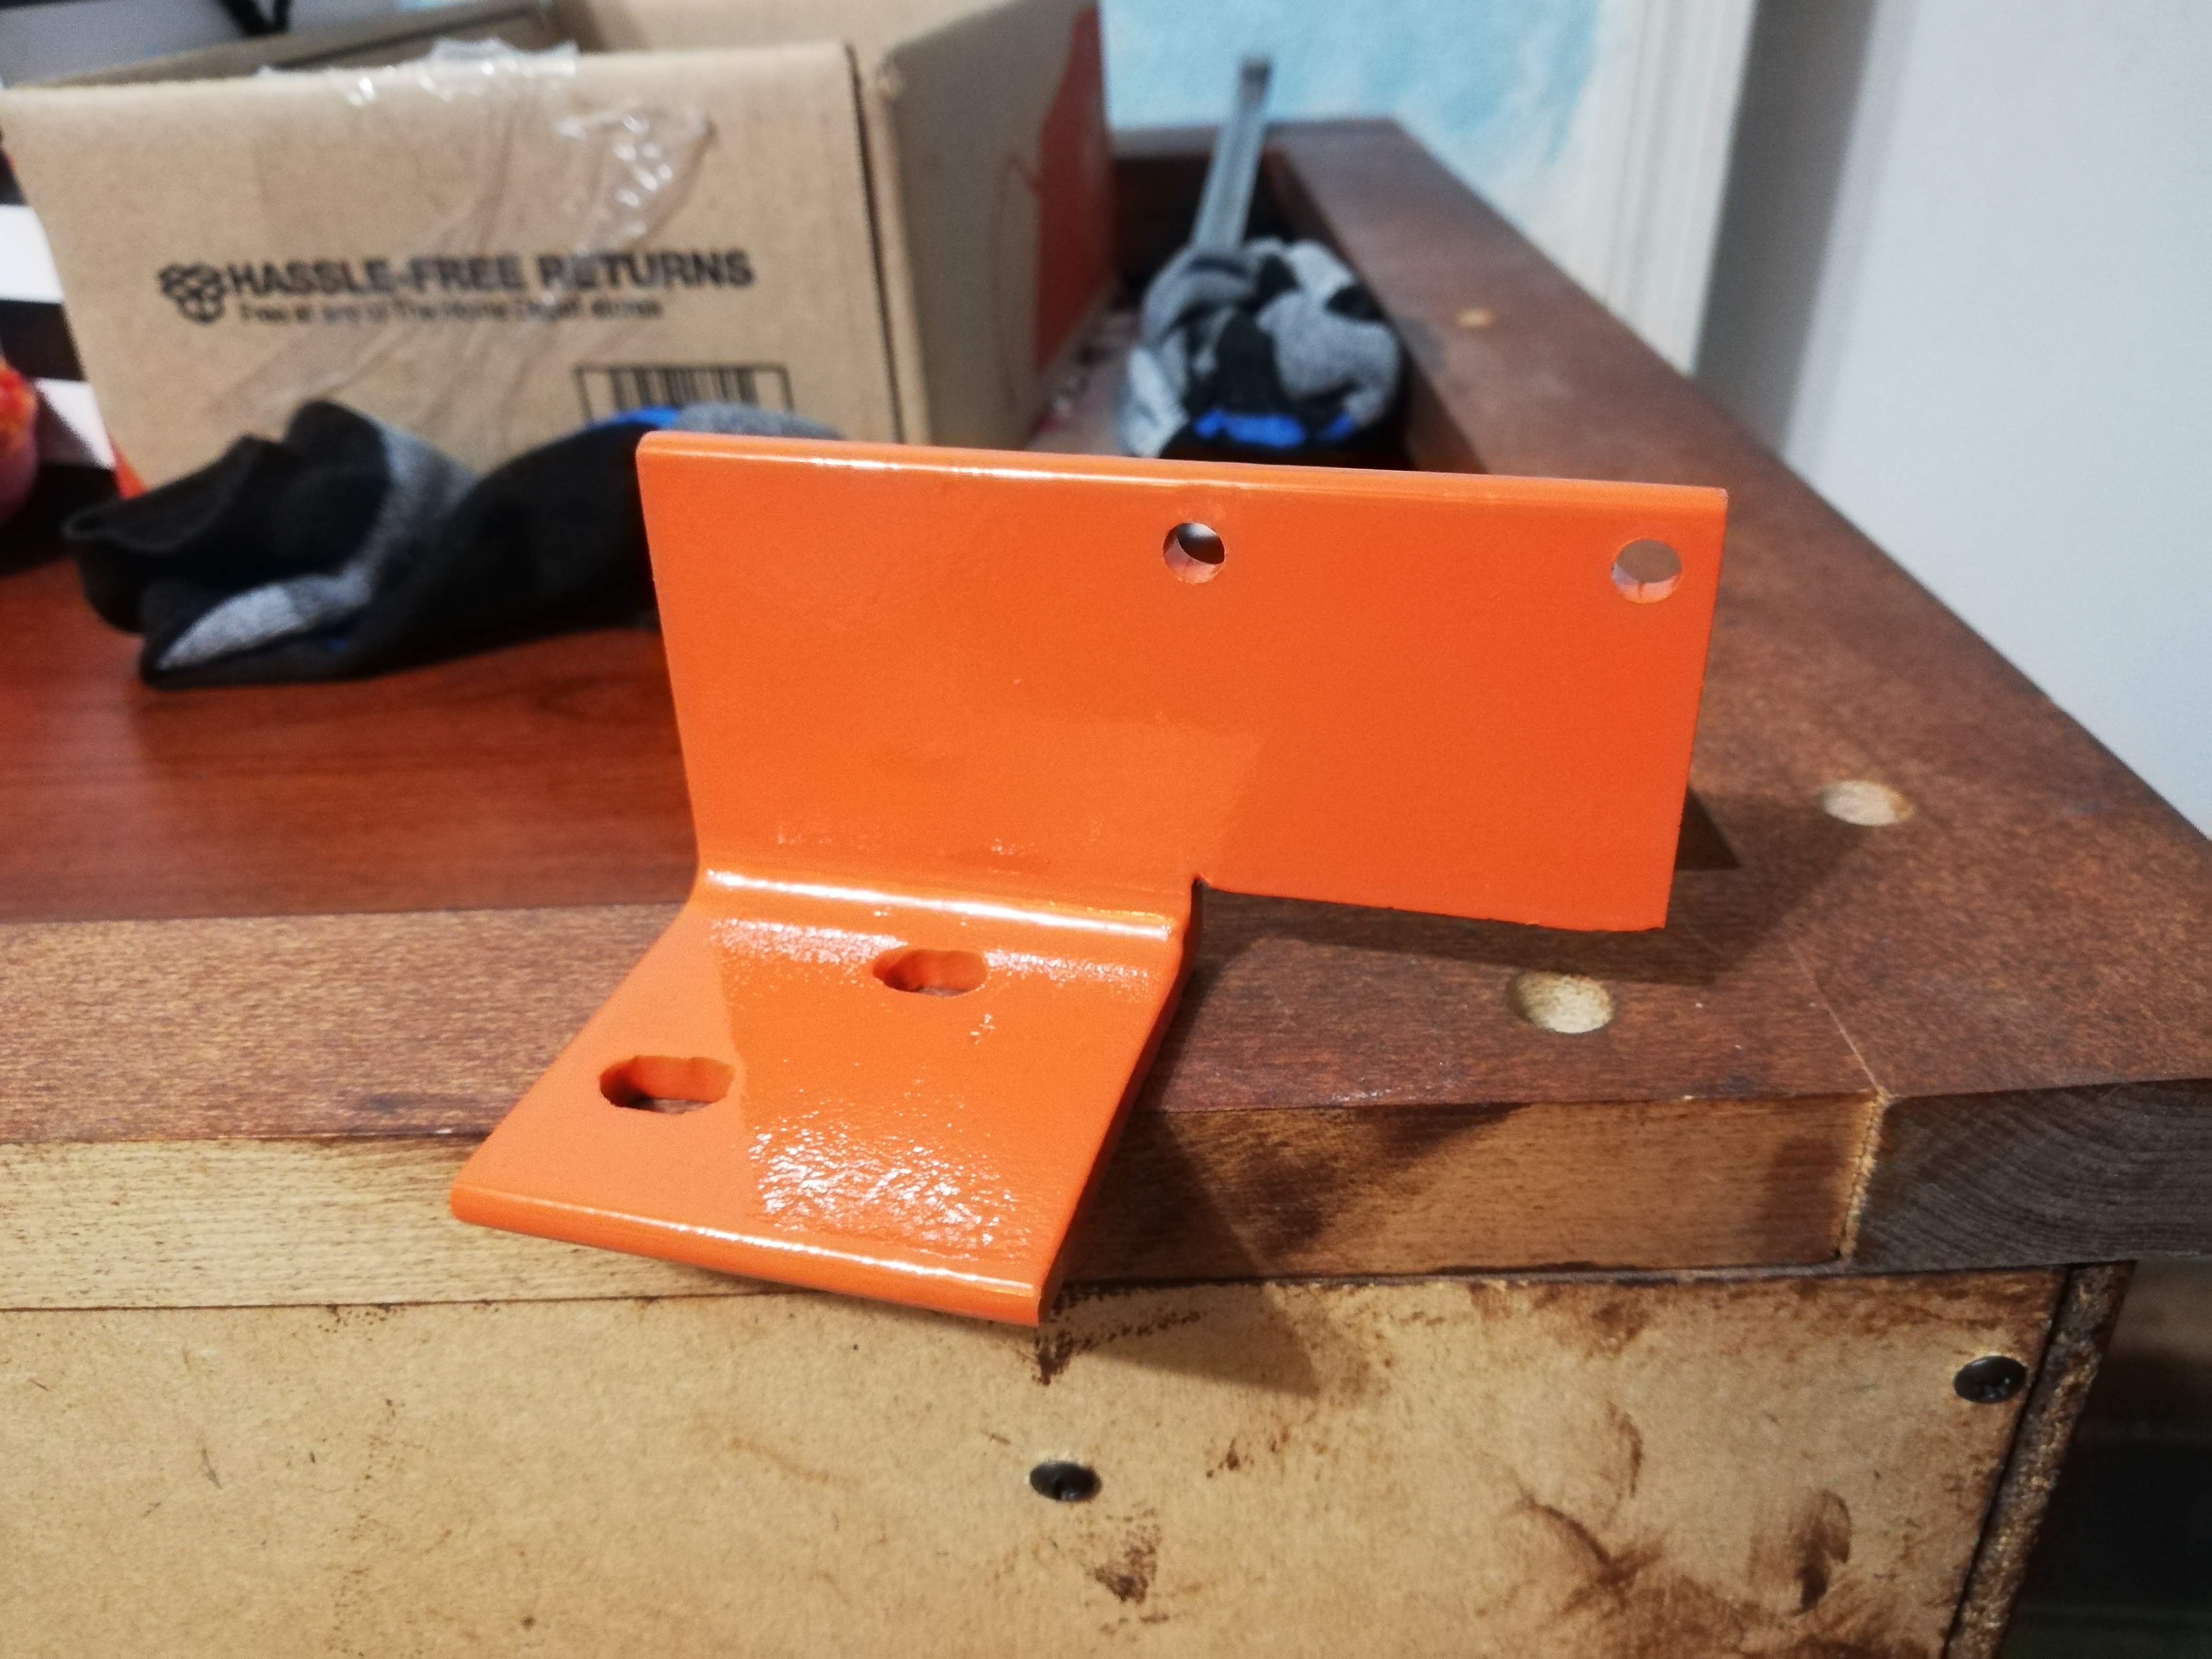
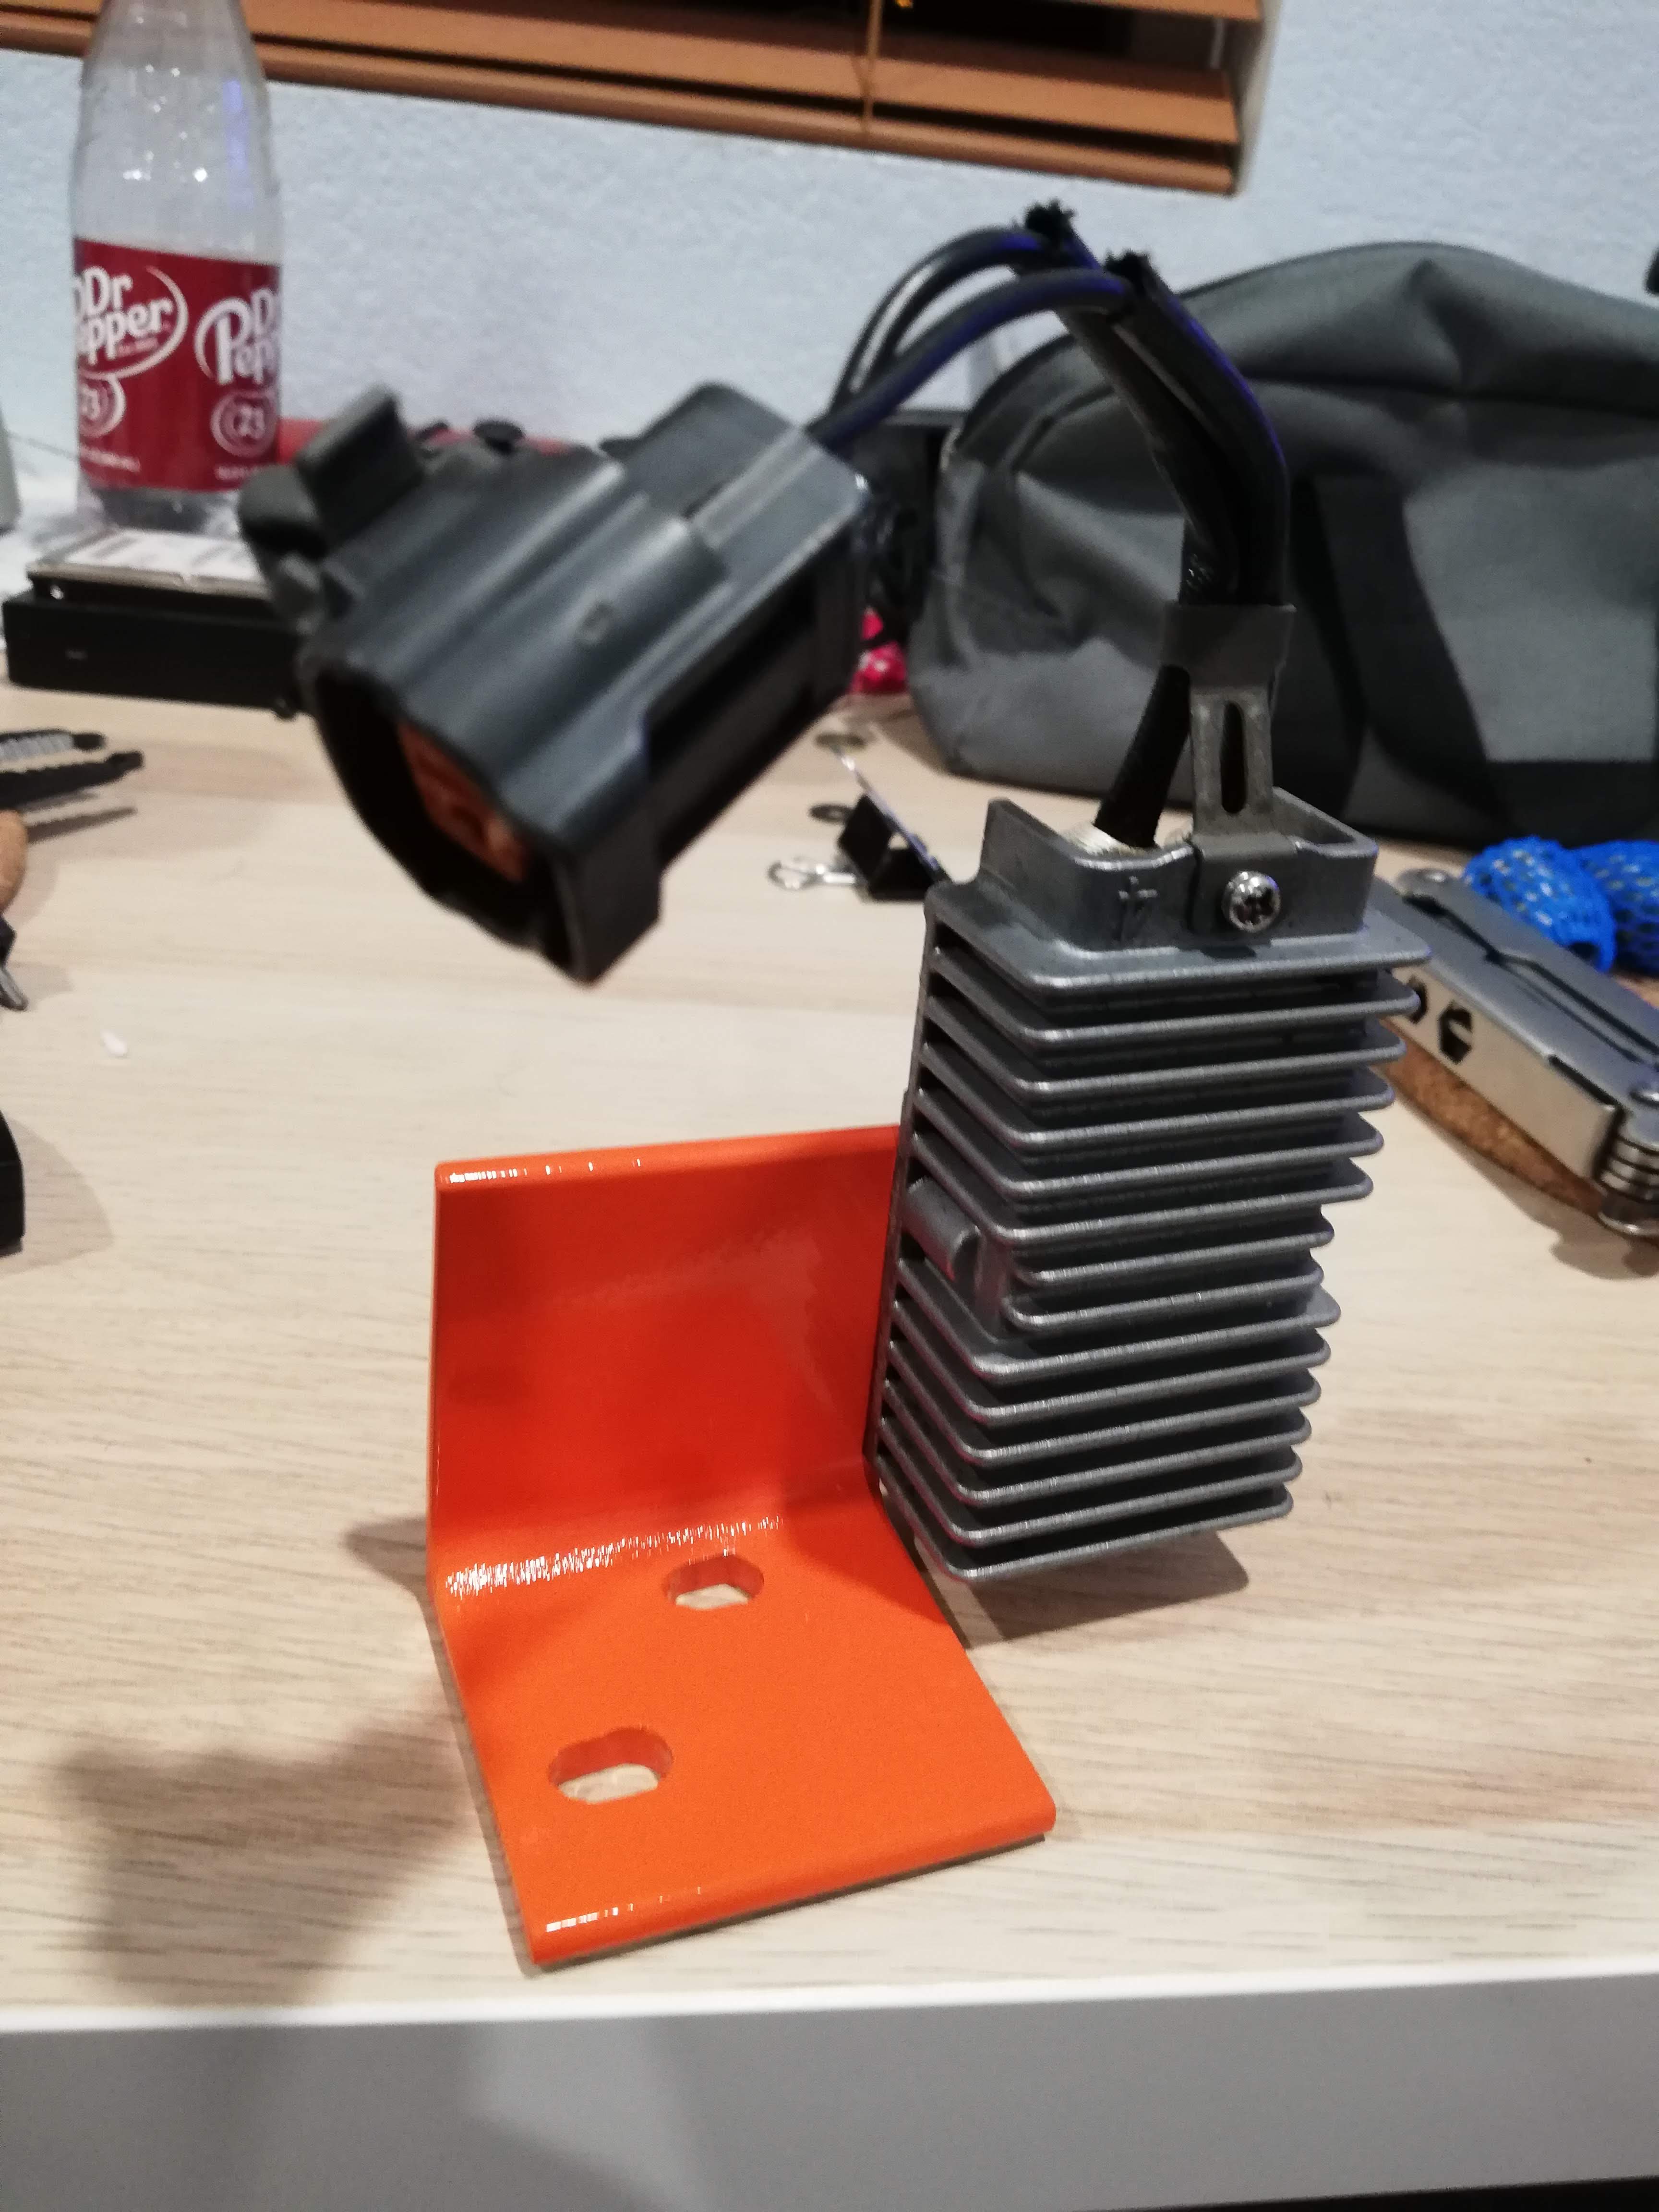
Fuel Pump Resistor
Upper oil bypass line
I built the pedestal adapter and the lines for it after the engine was in the car, and installing that pedestal was legitimetely the least enjoyable thing I've had to do with the car.
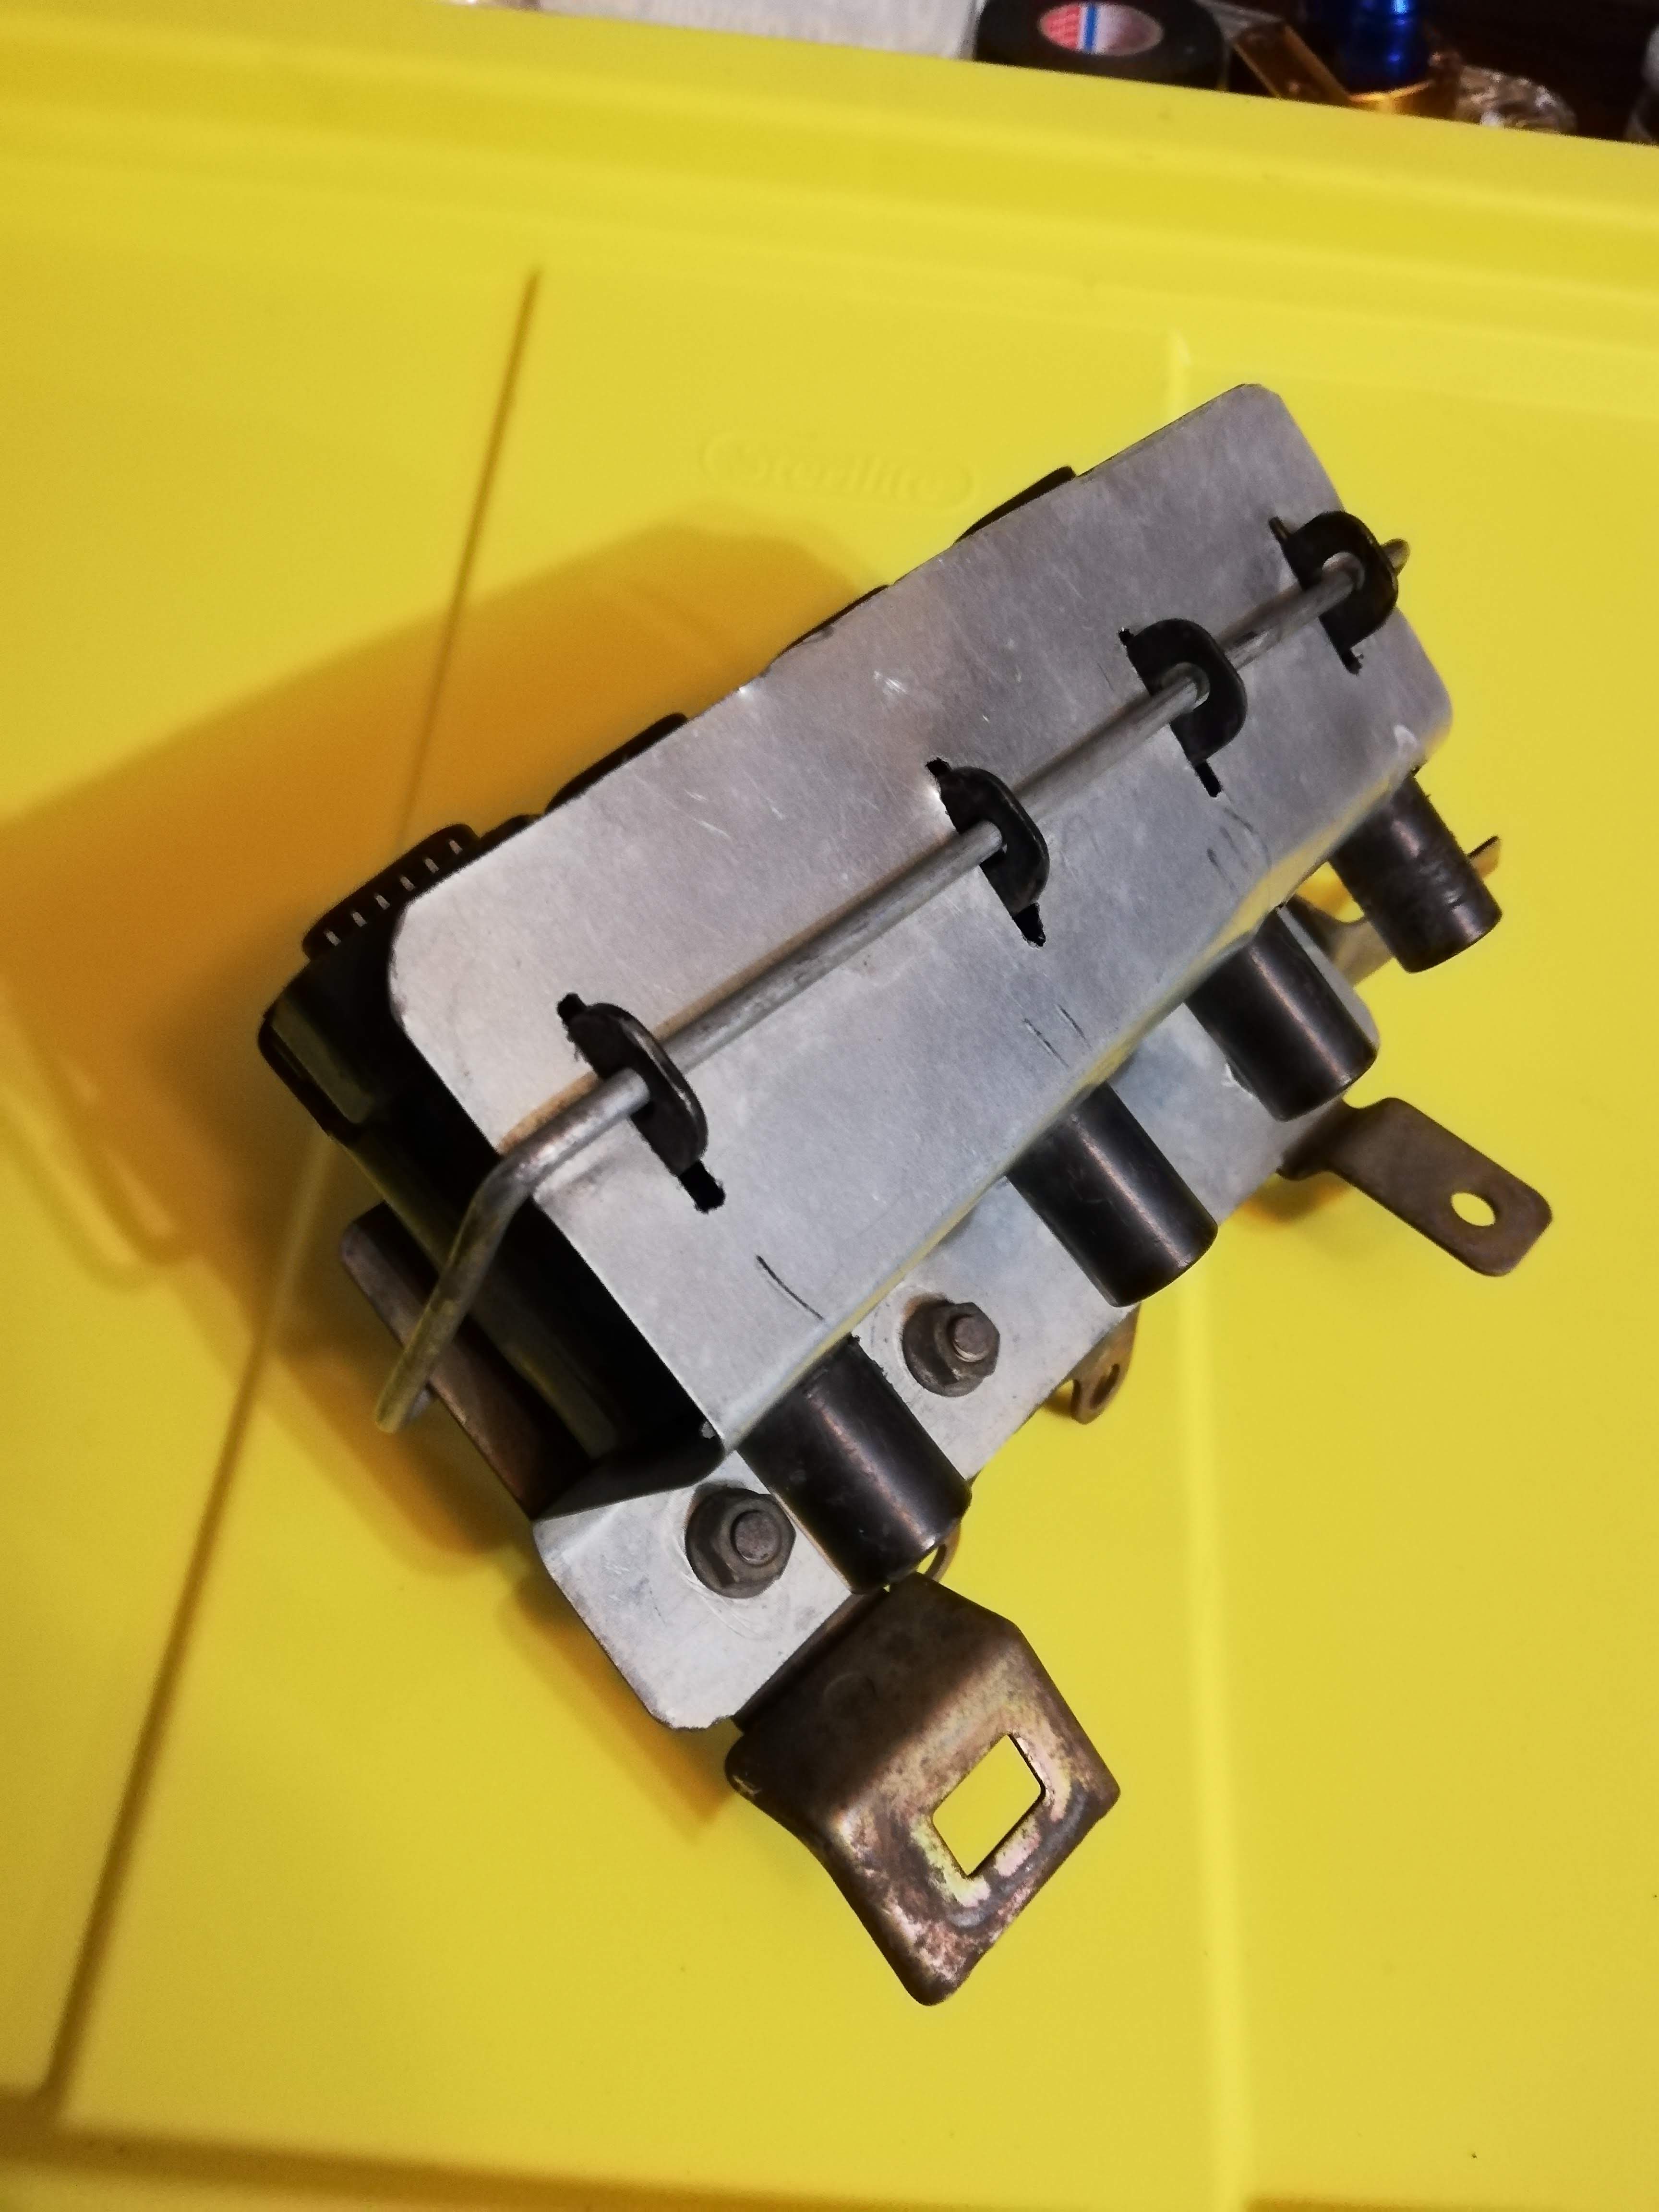
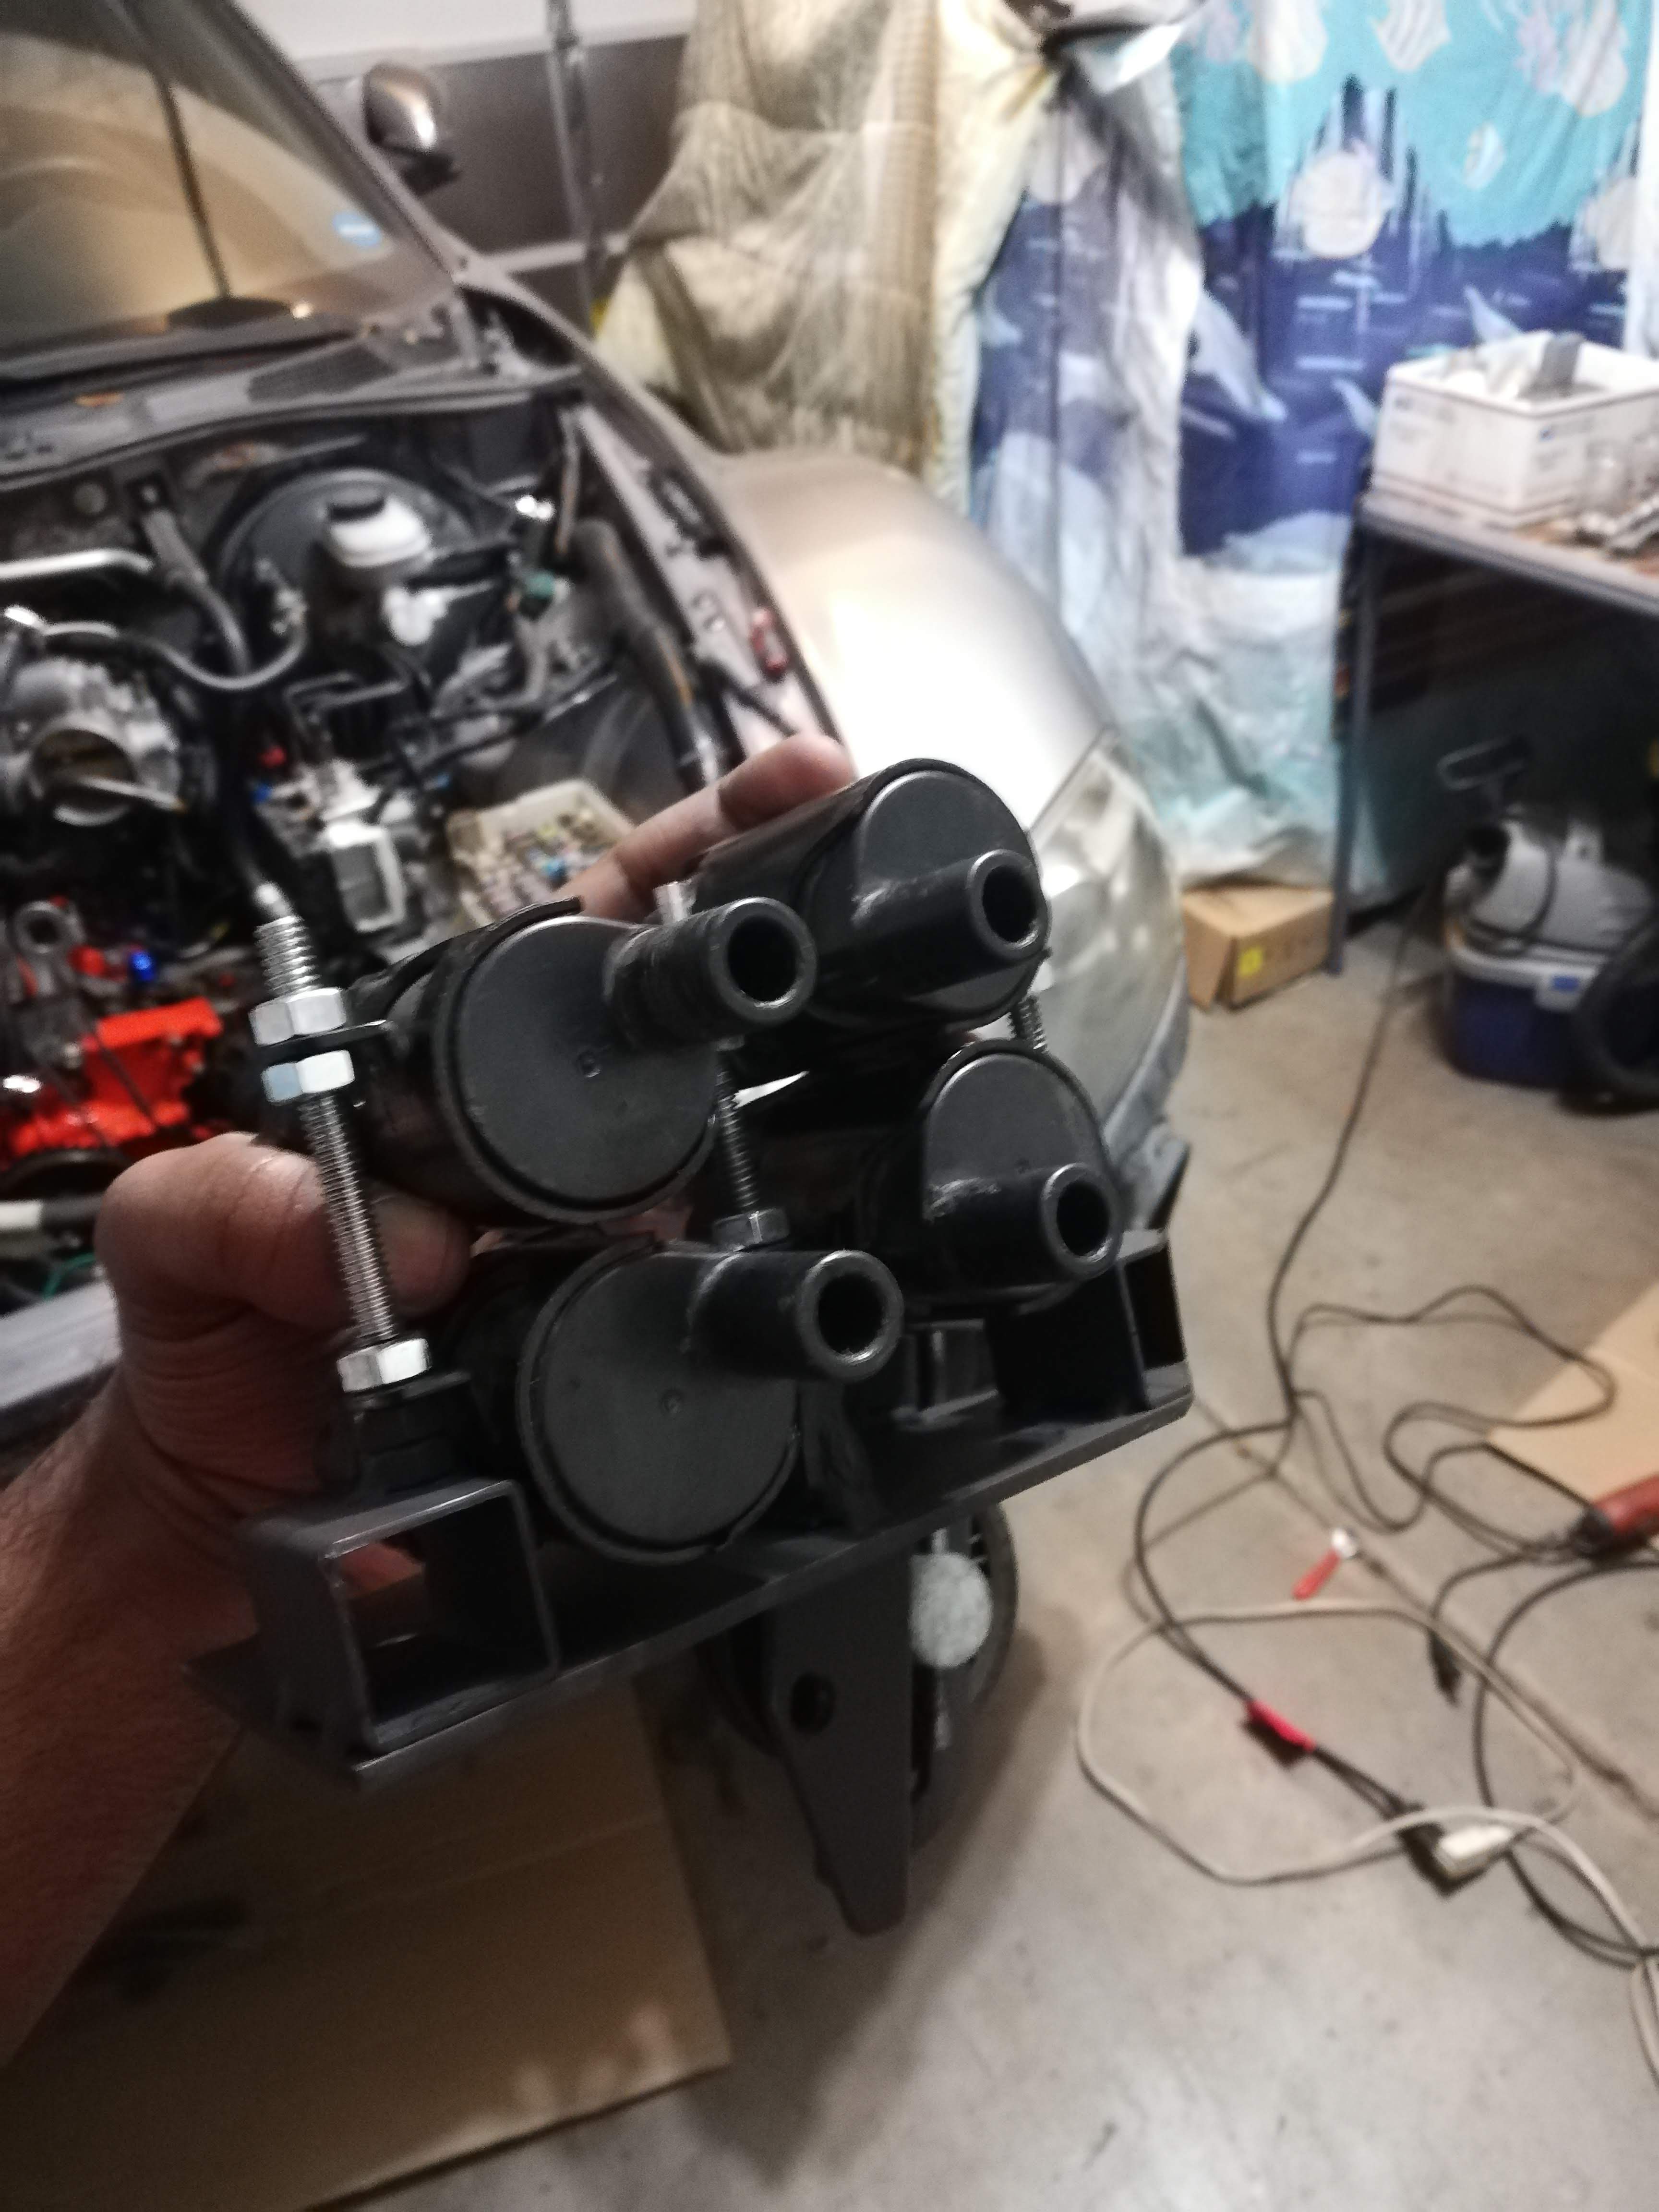
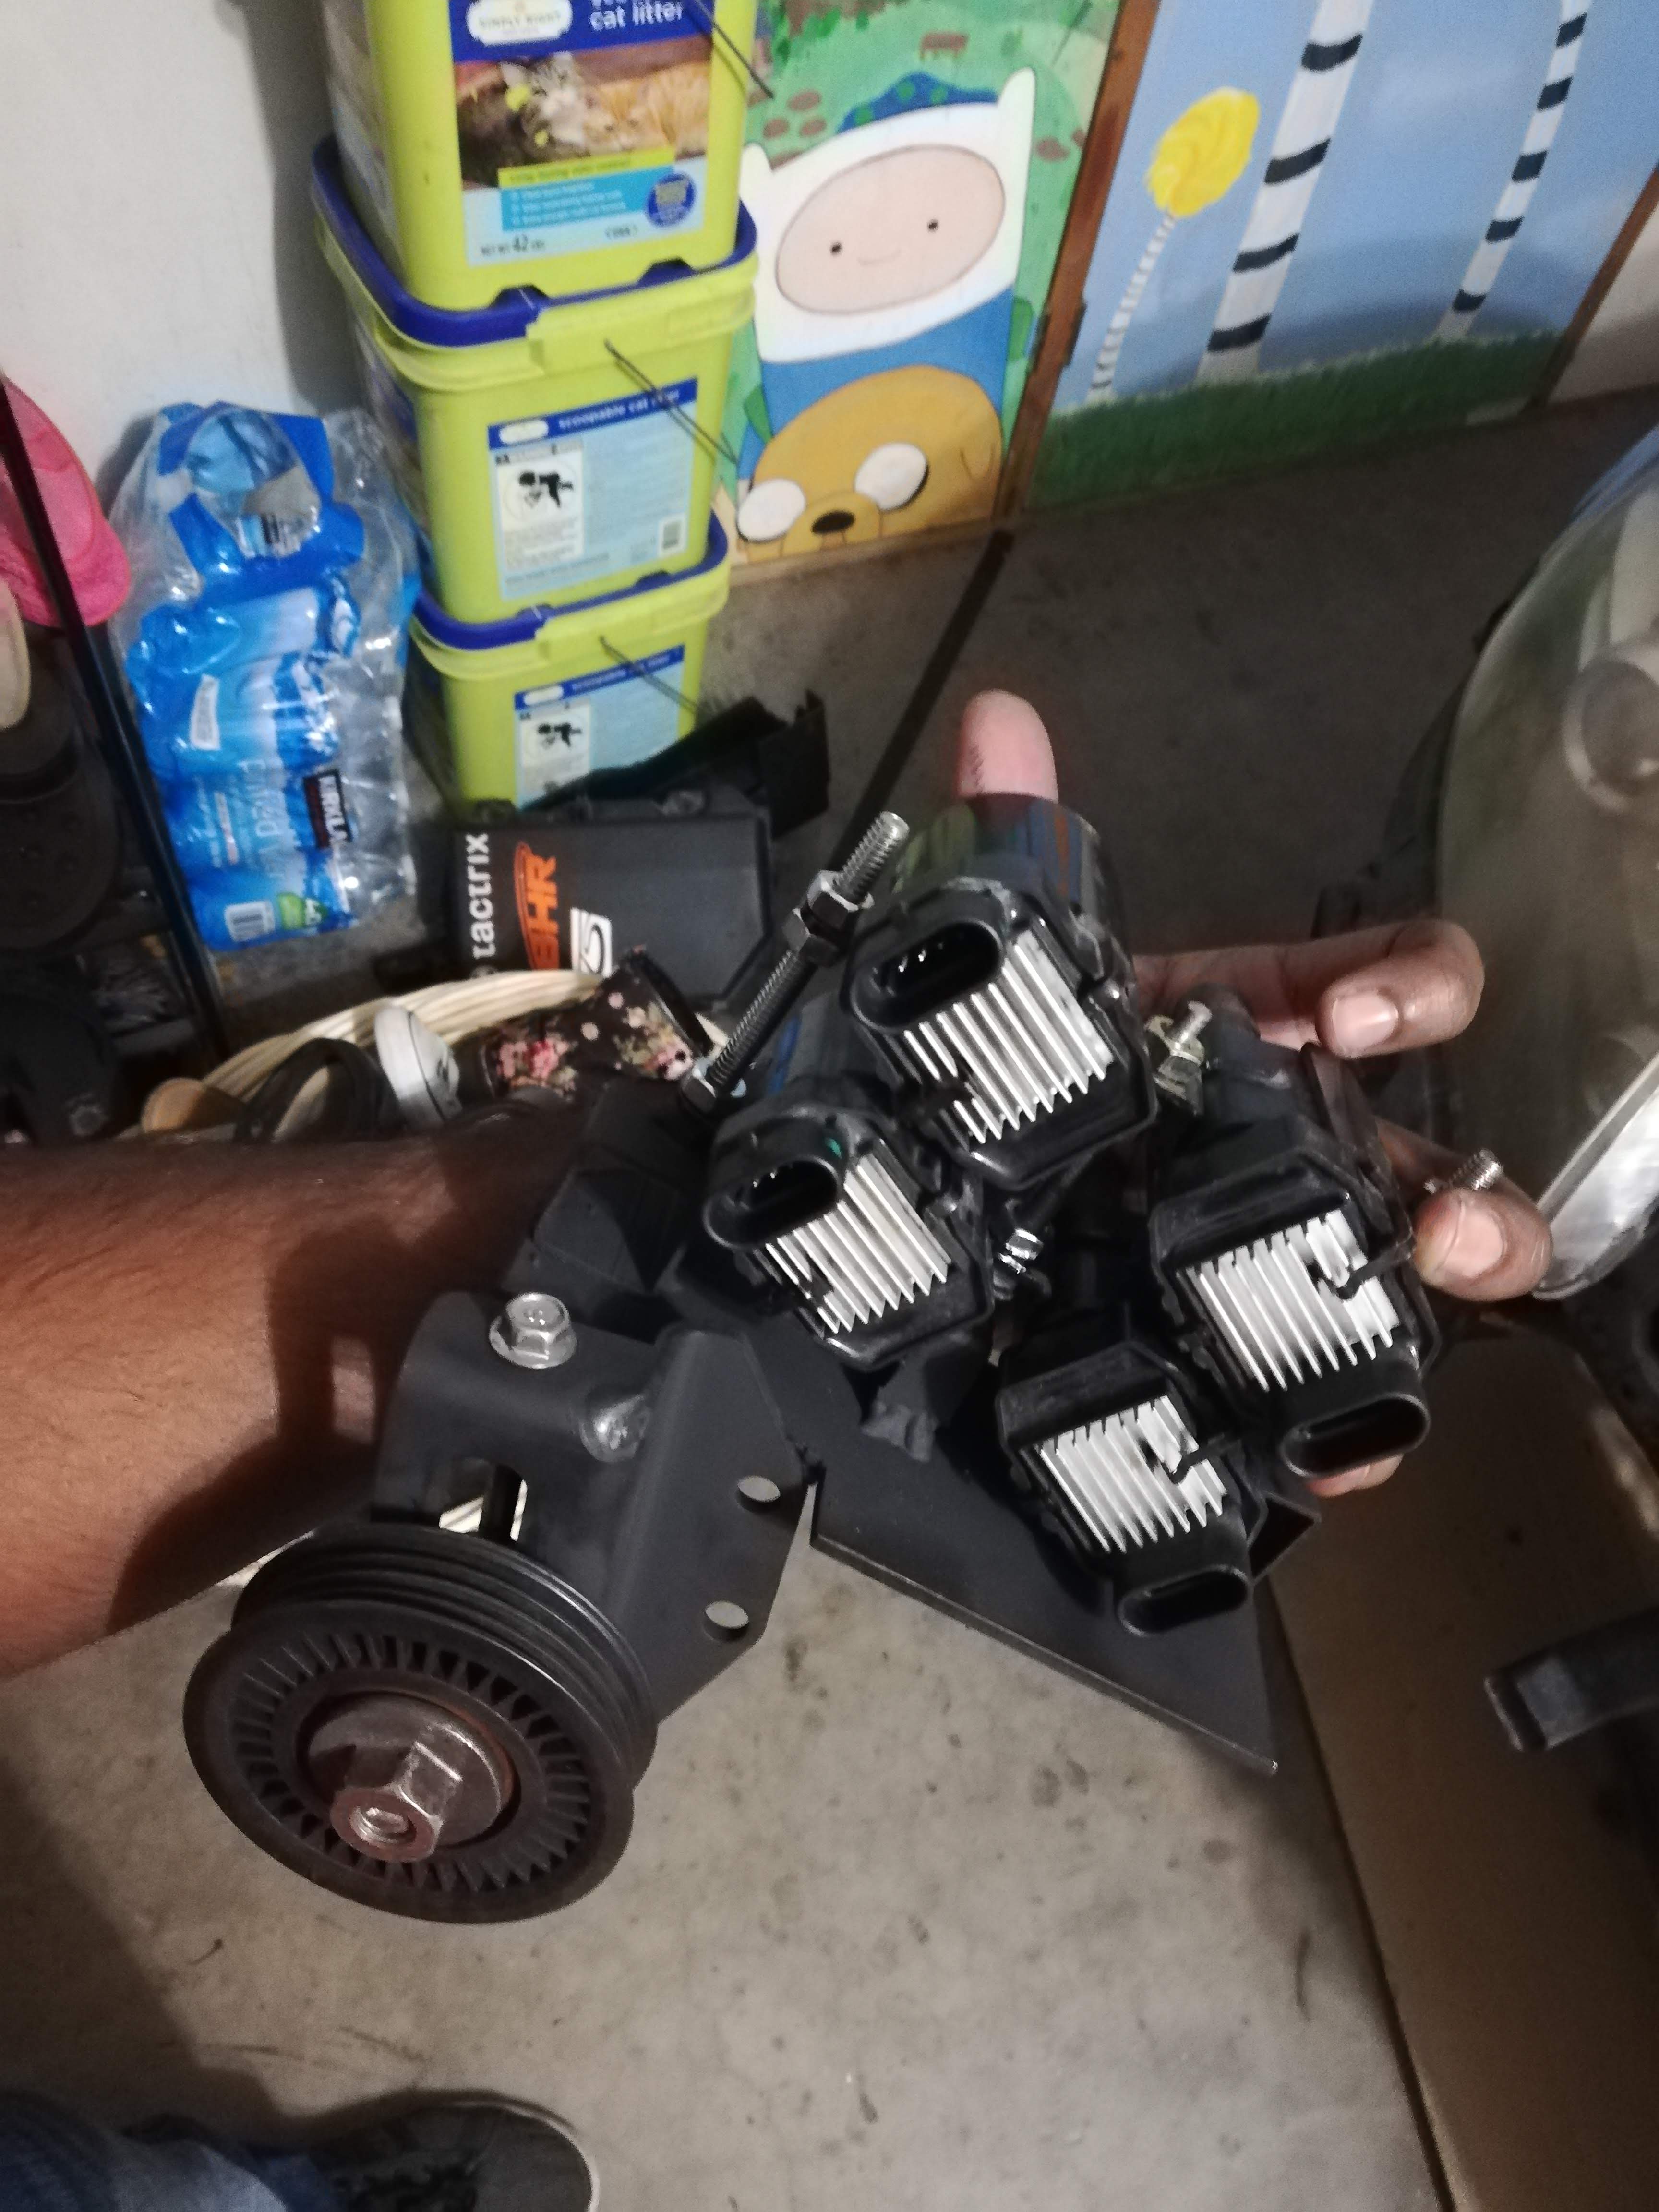
Now if you'll recall, one of the first things I did with my RX8 was to switch to D585s. Well In order to make space for the dowel bypass line I had to relocate the coils. This was my coil mount from all those years ago
And this is the new one that I made and welded to the belt tensioner. It works really well.
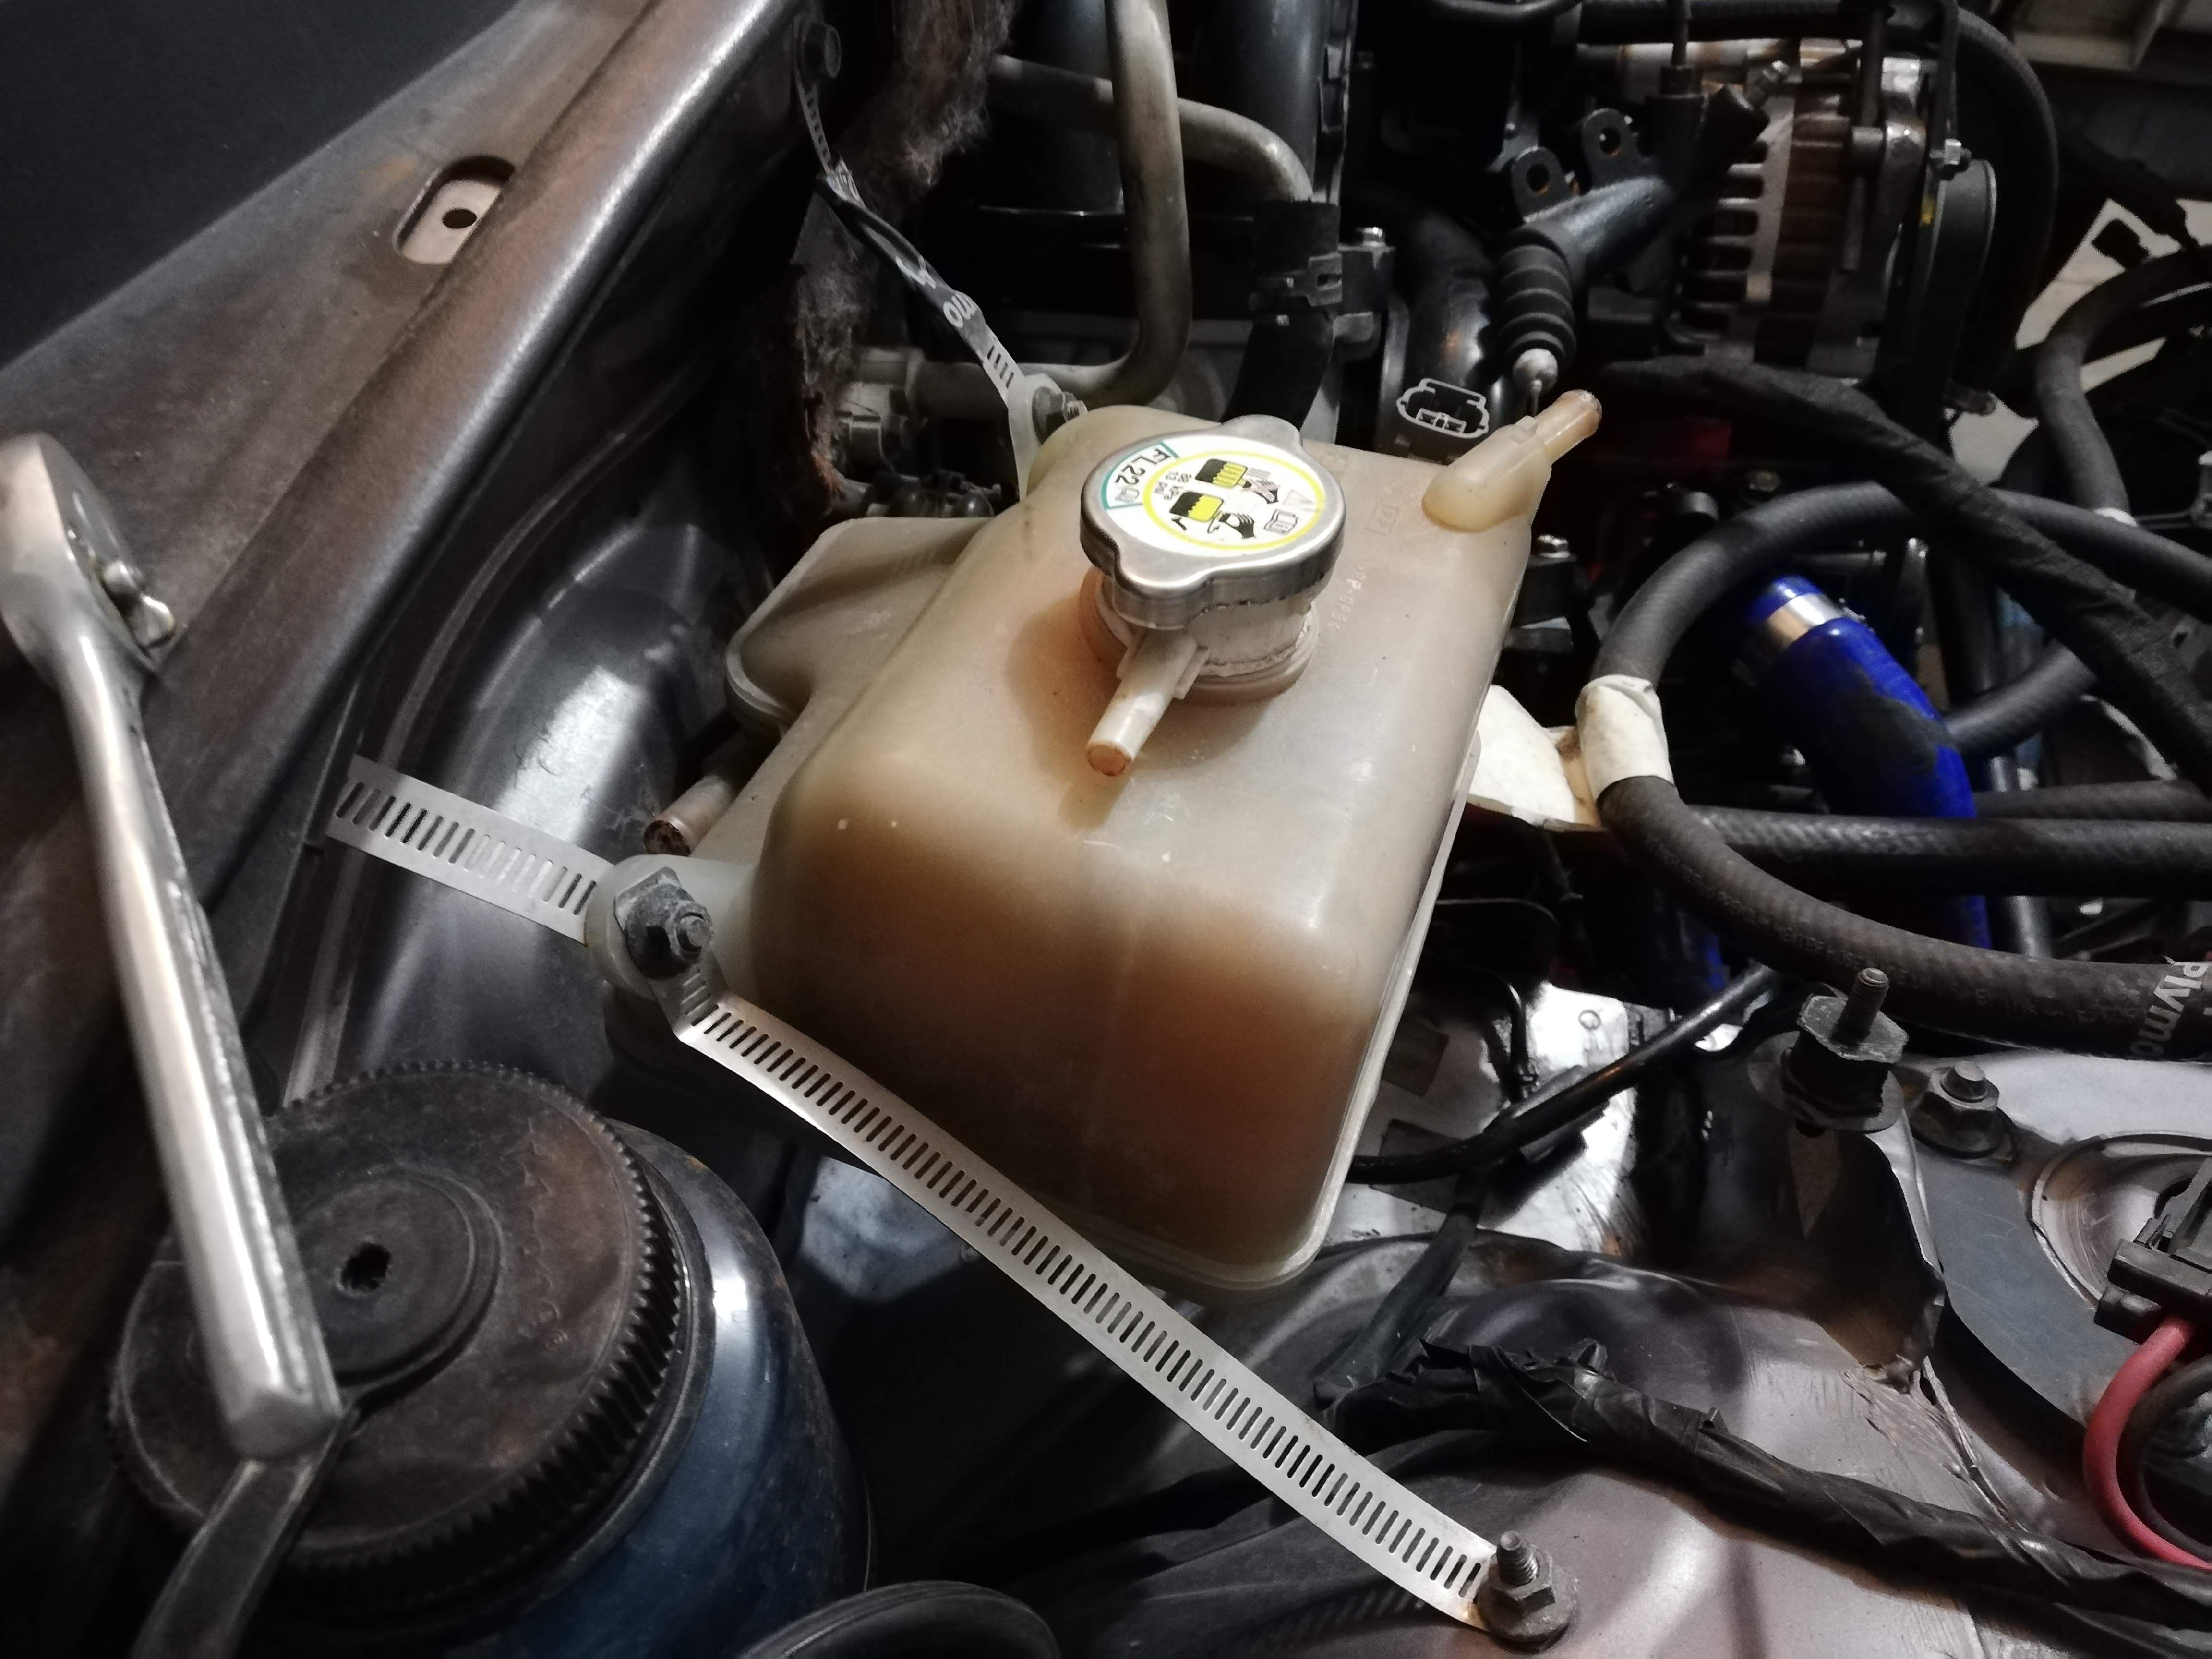
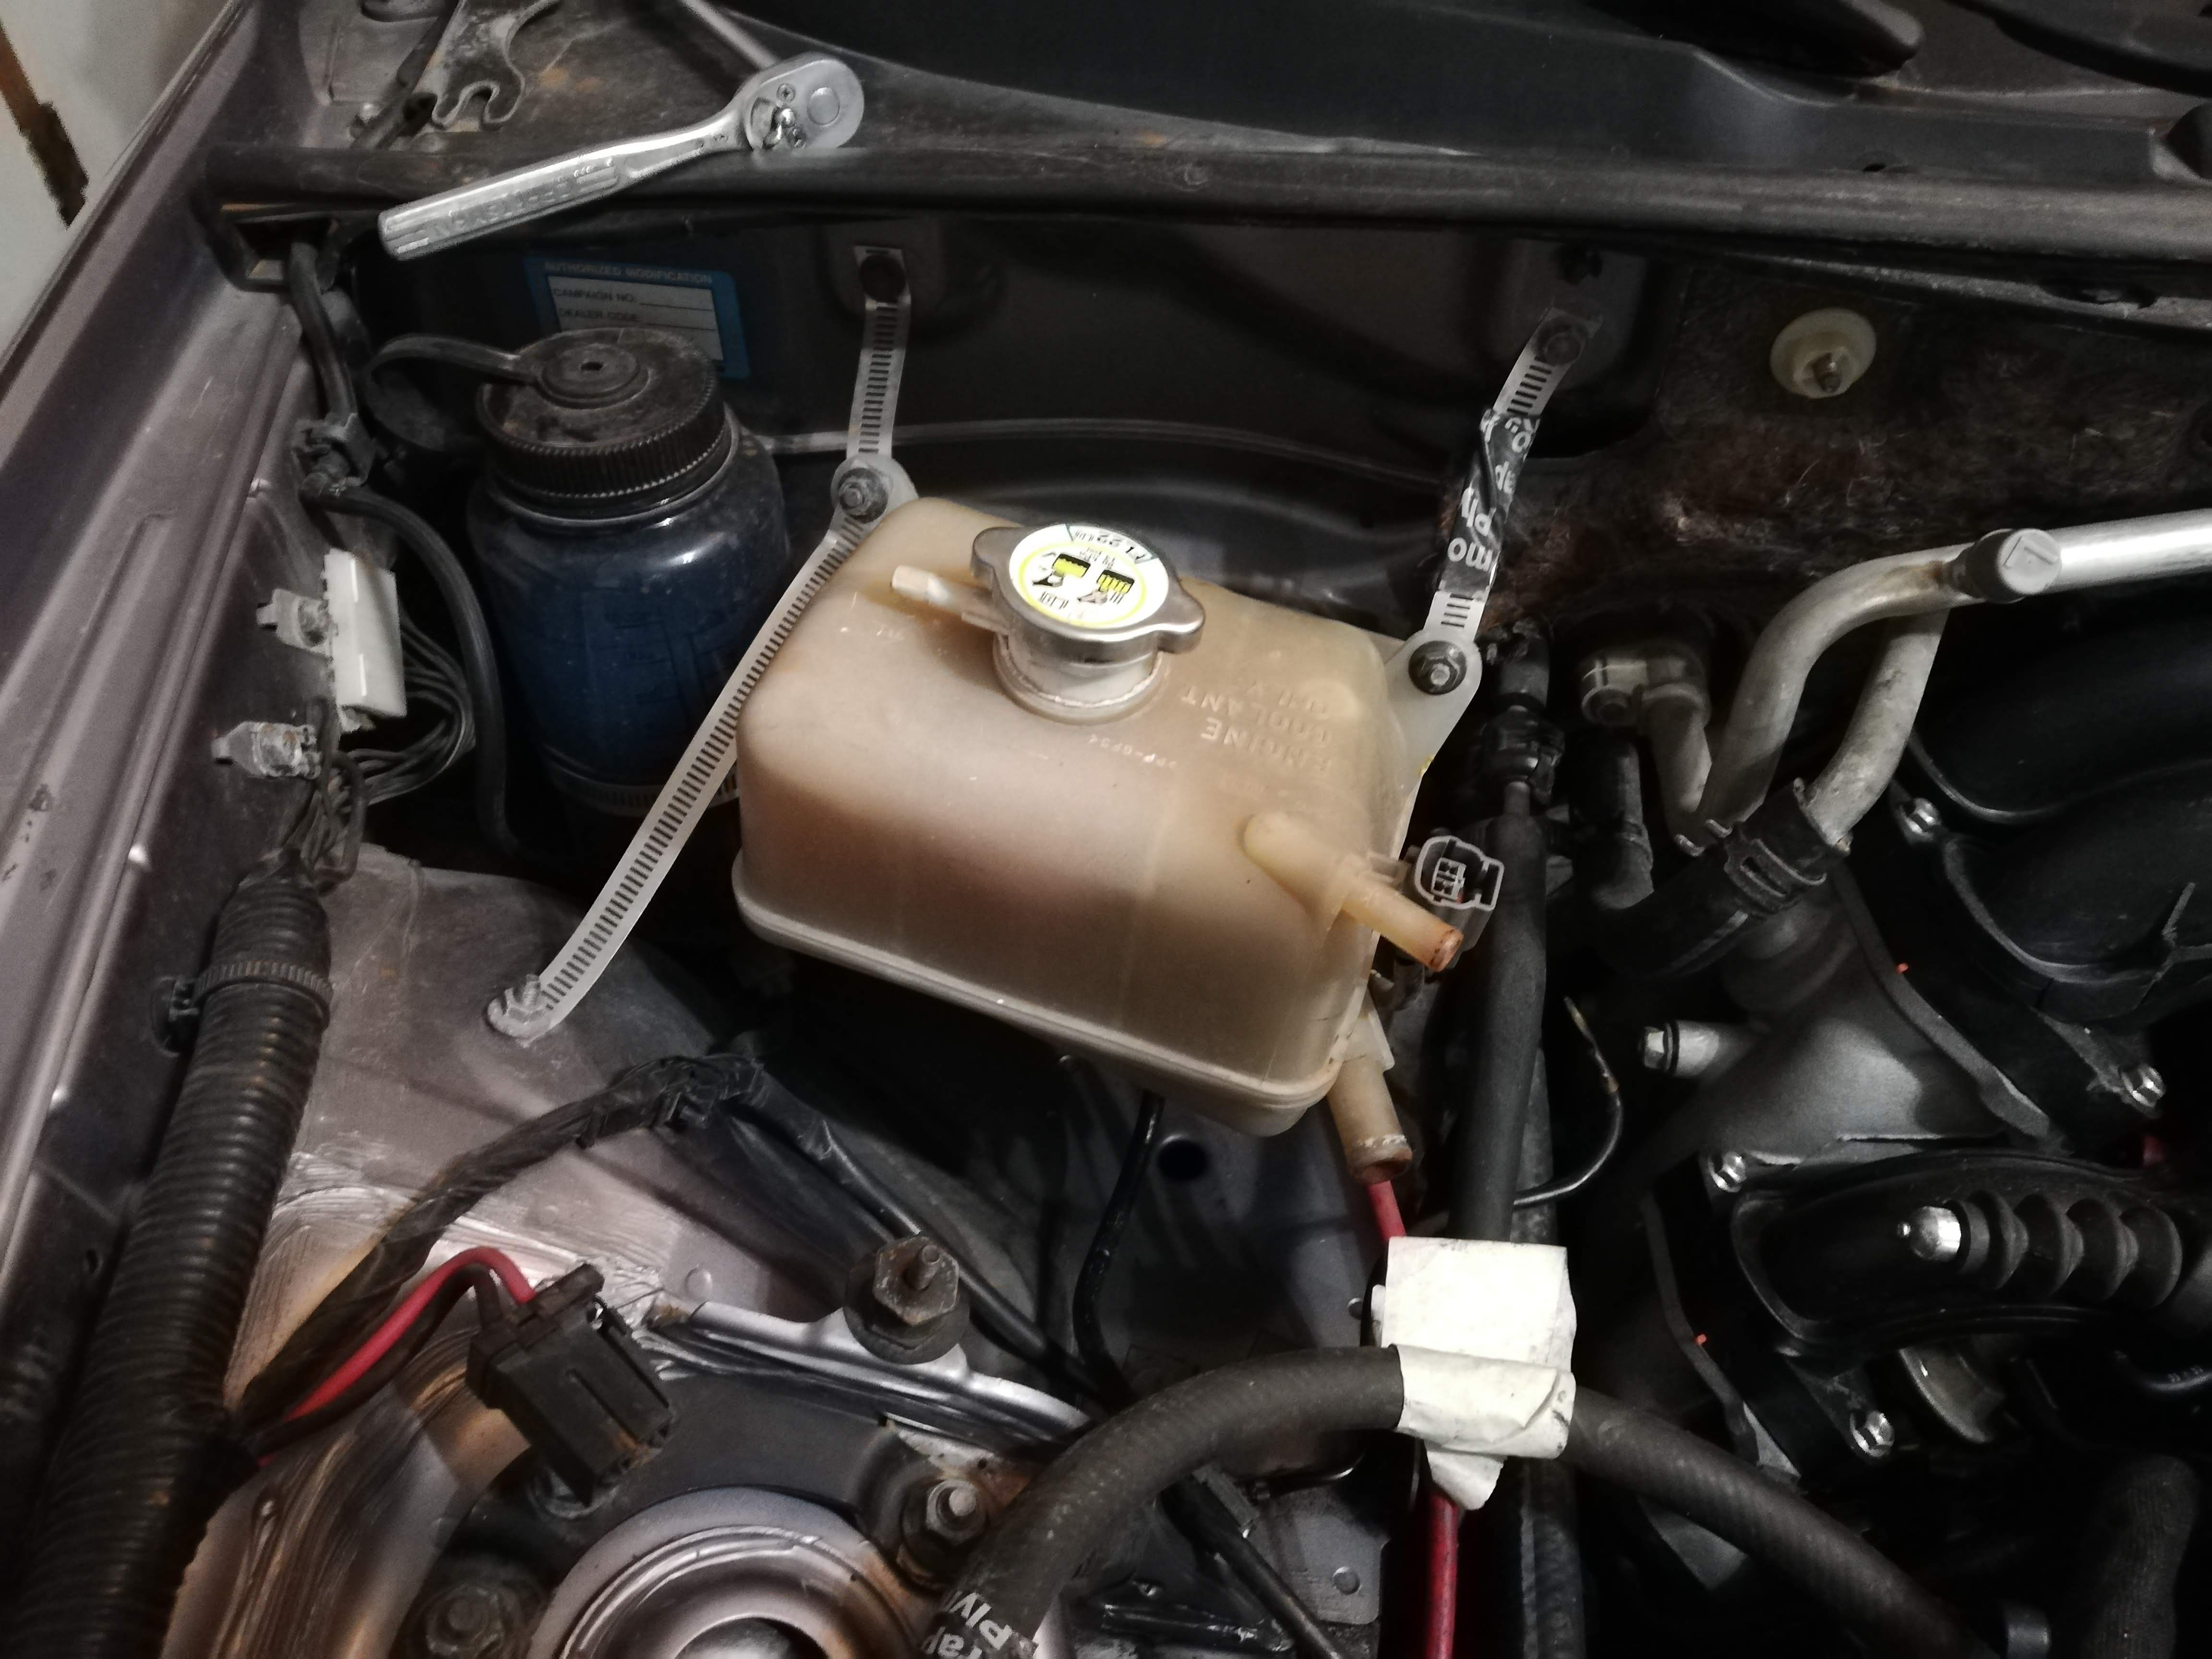
This is where I've kept the stock coolant tank for a few years. It works and doesn't look horrible, but it is an abomination and doesn't deserve to exist.
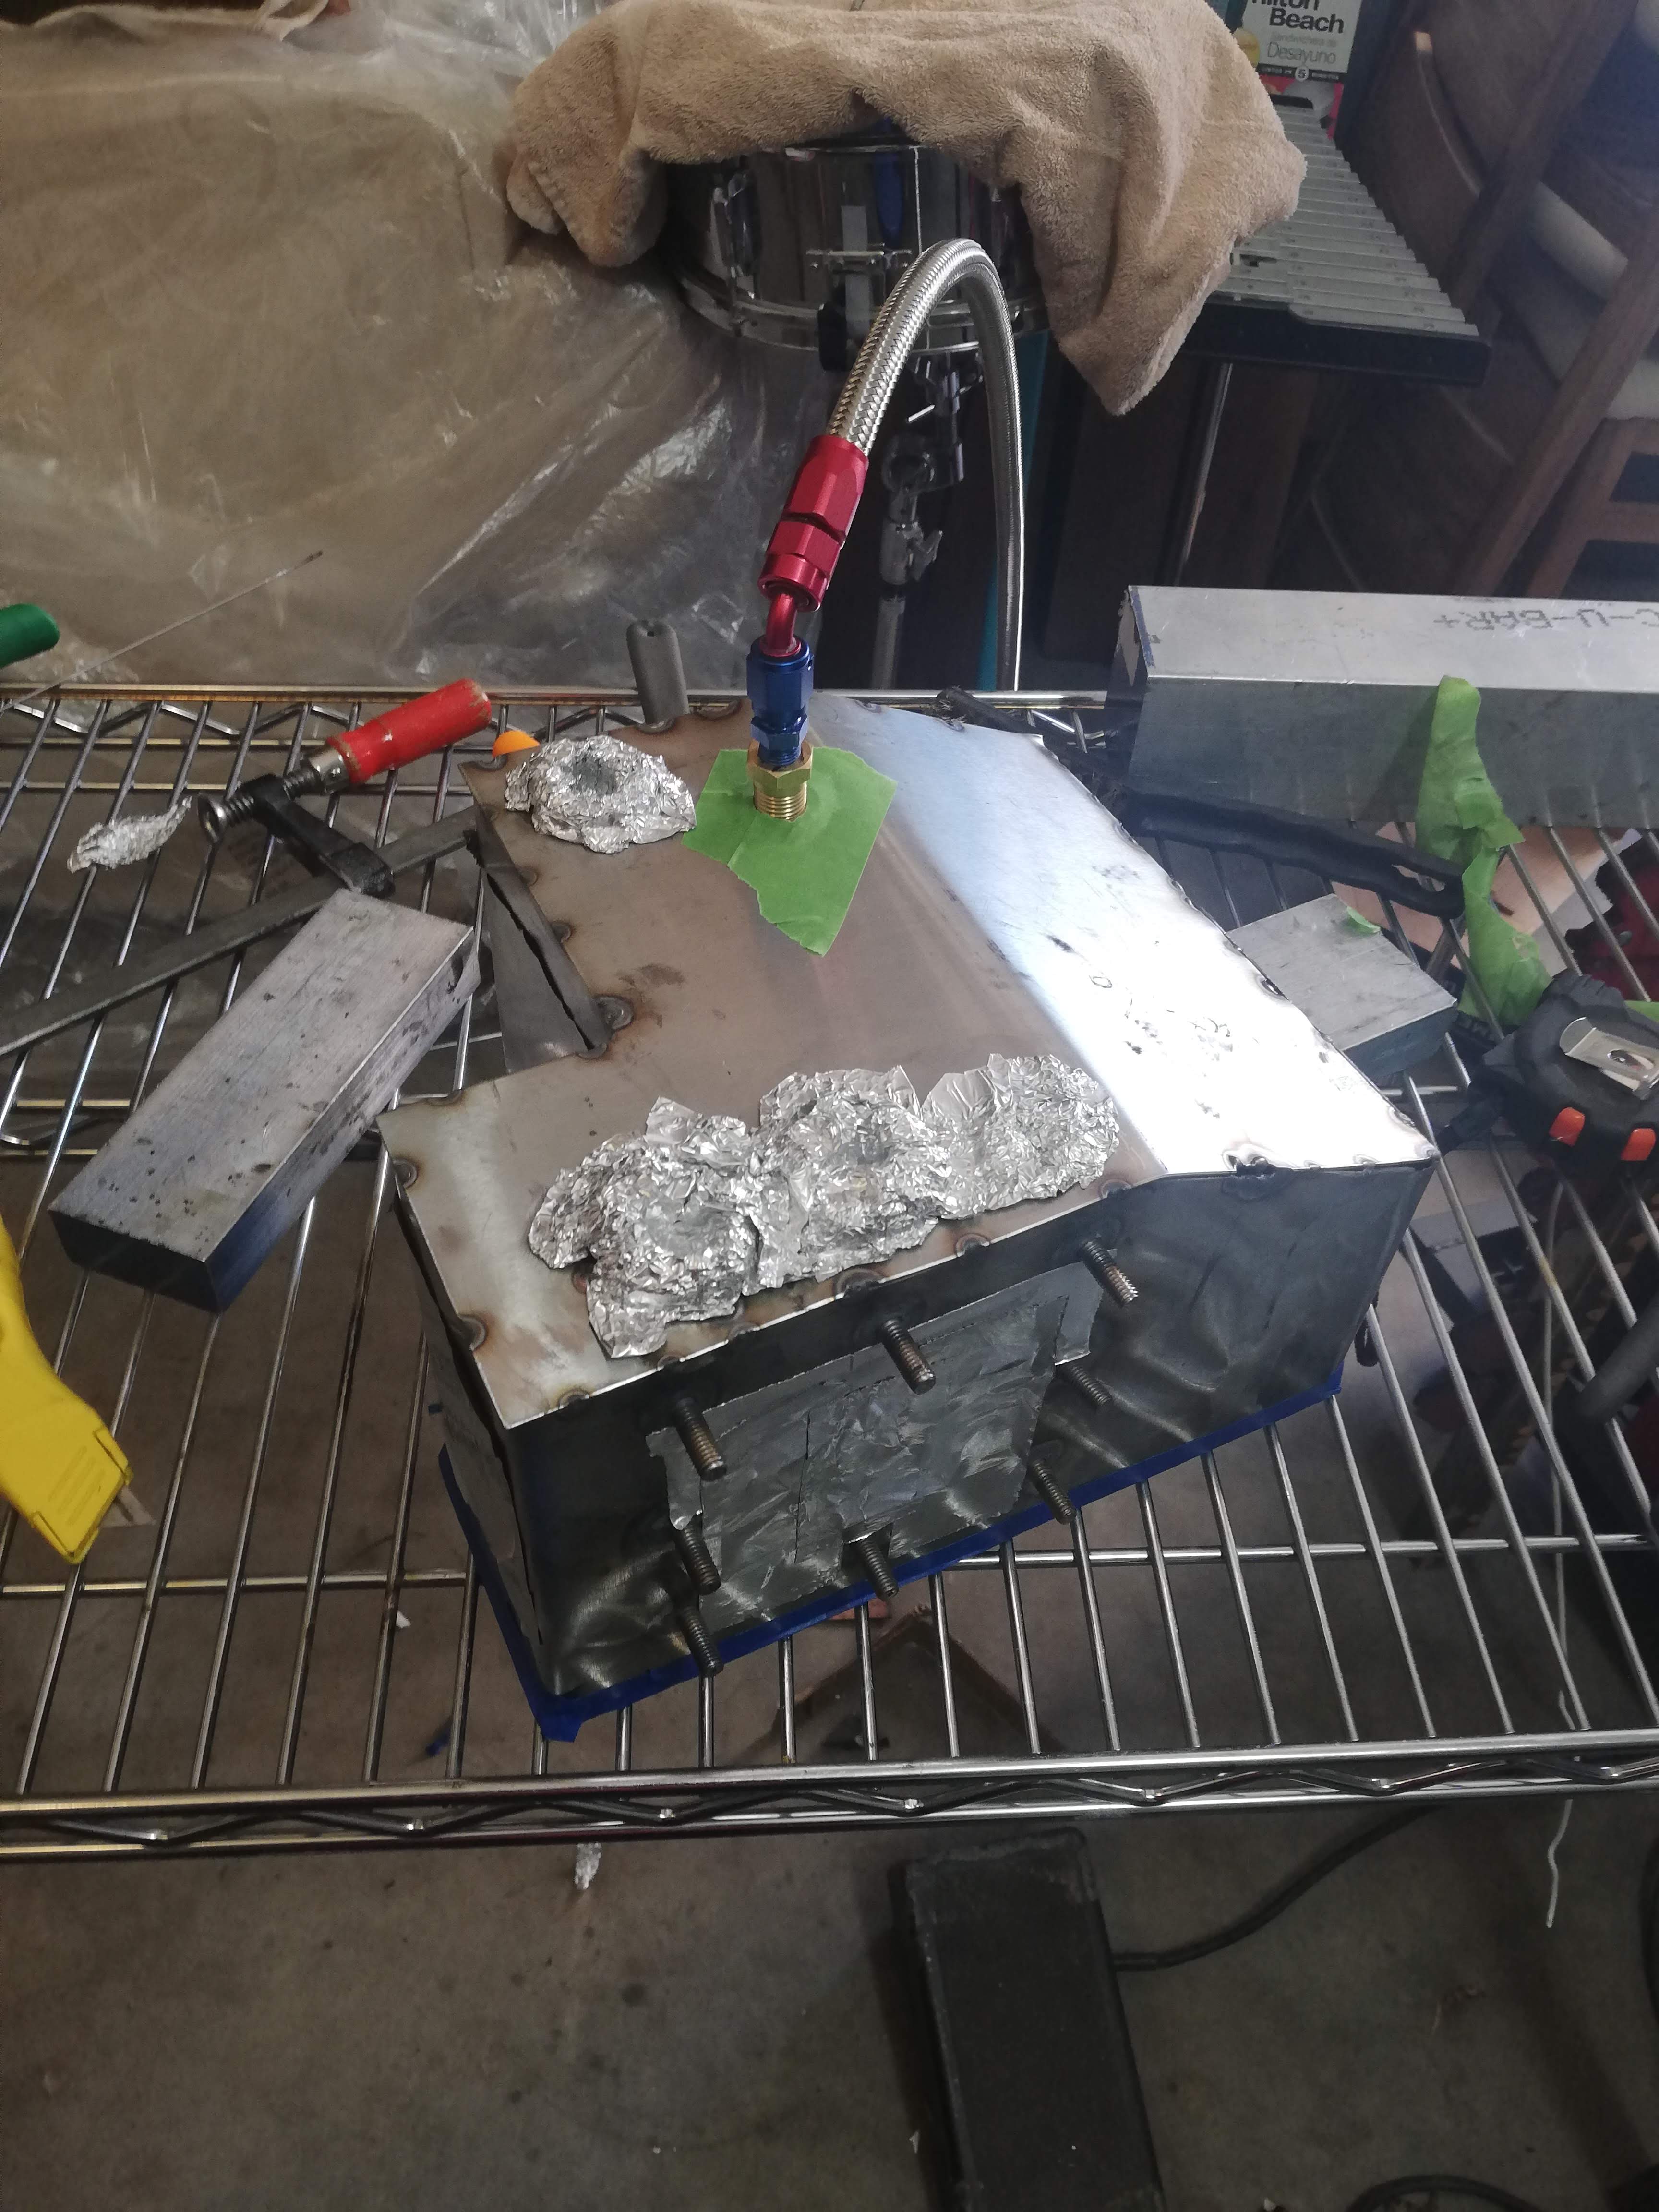
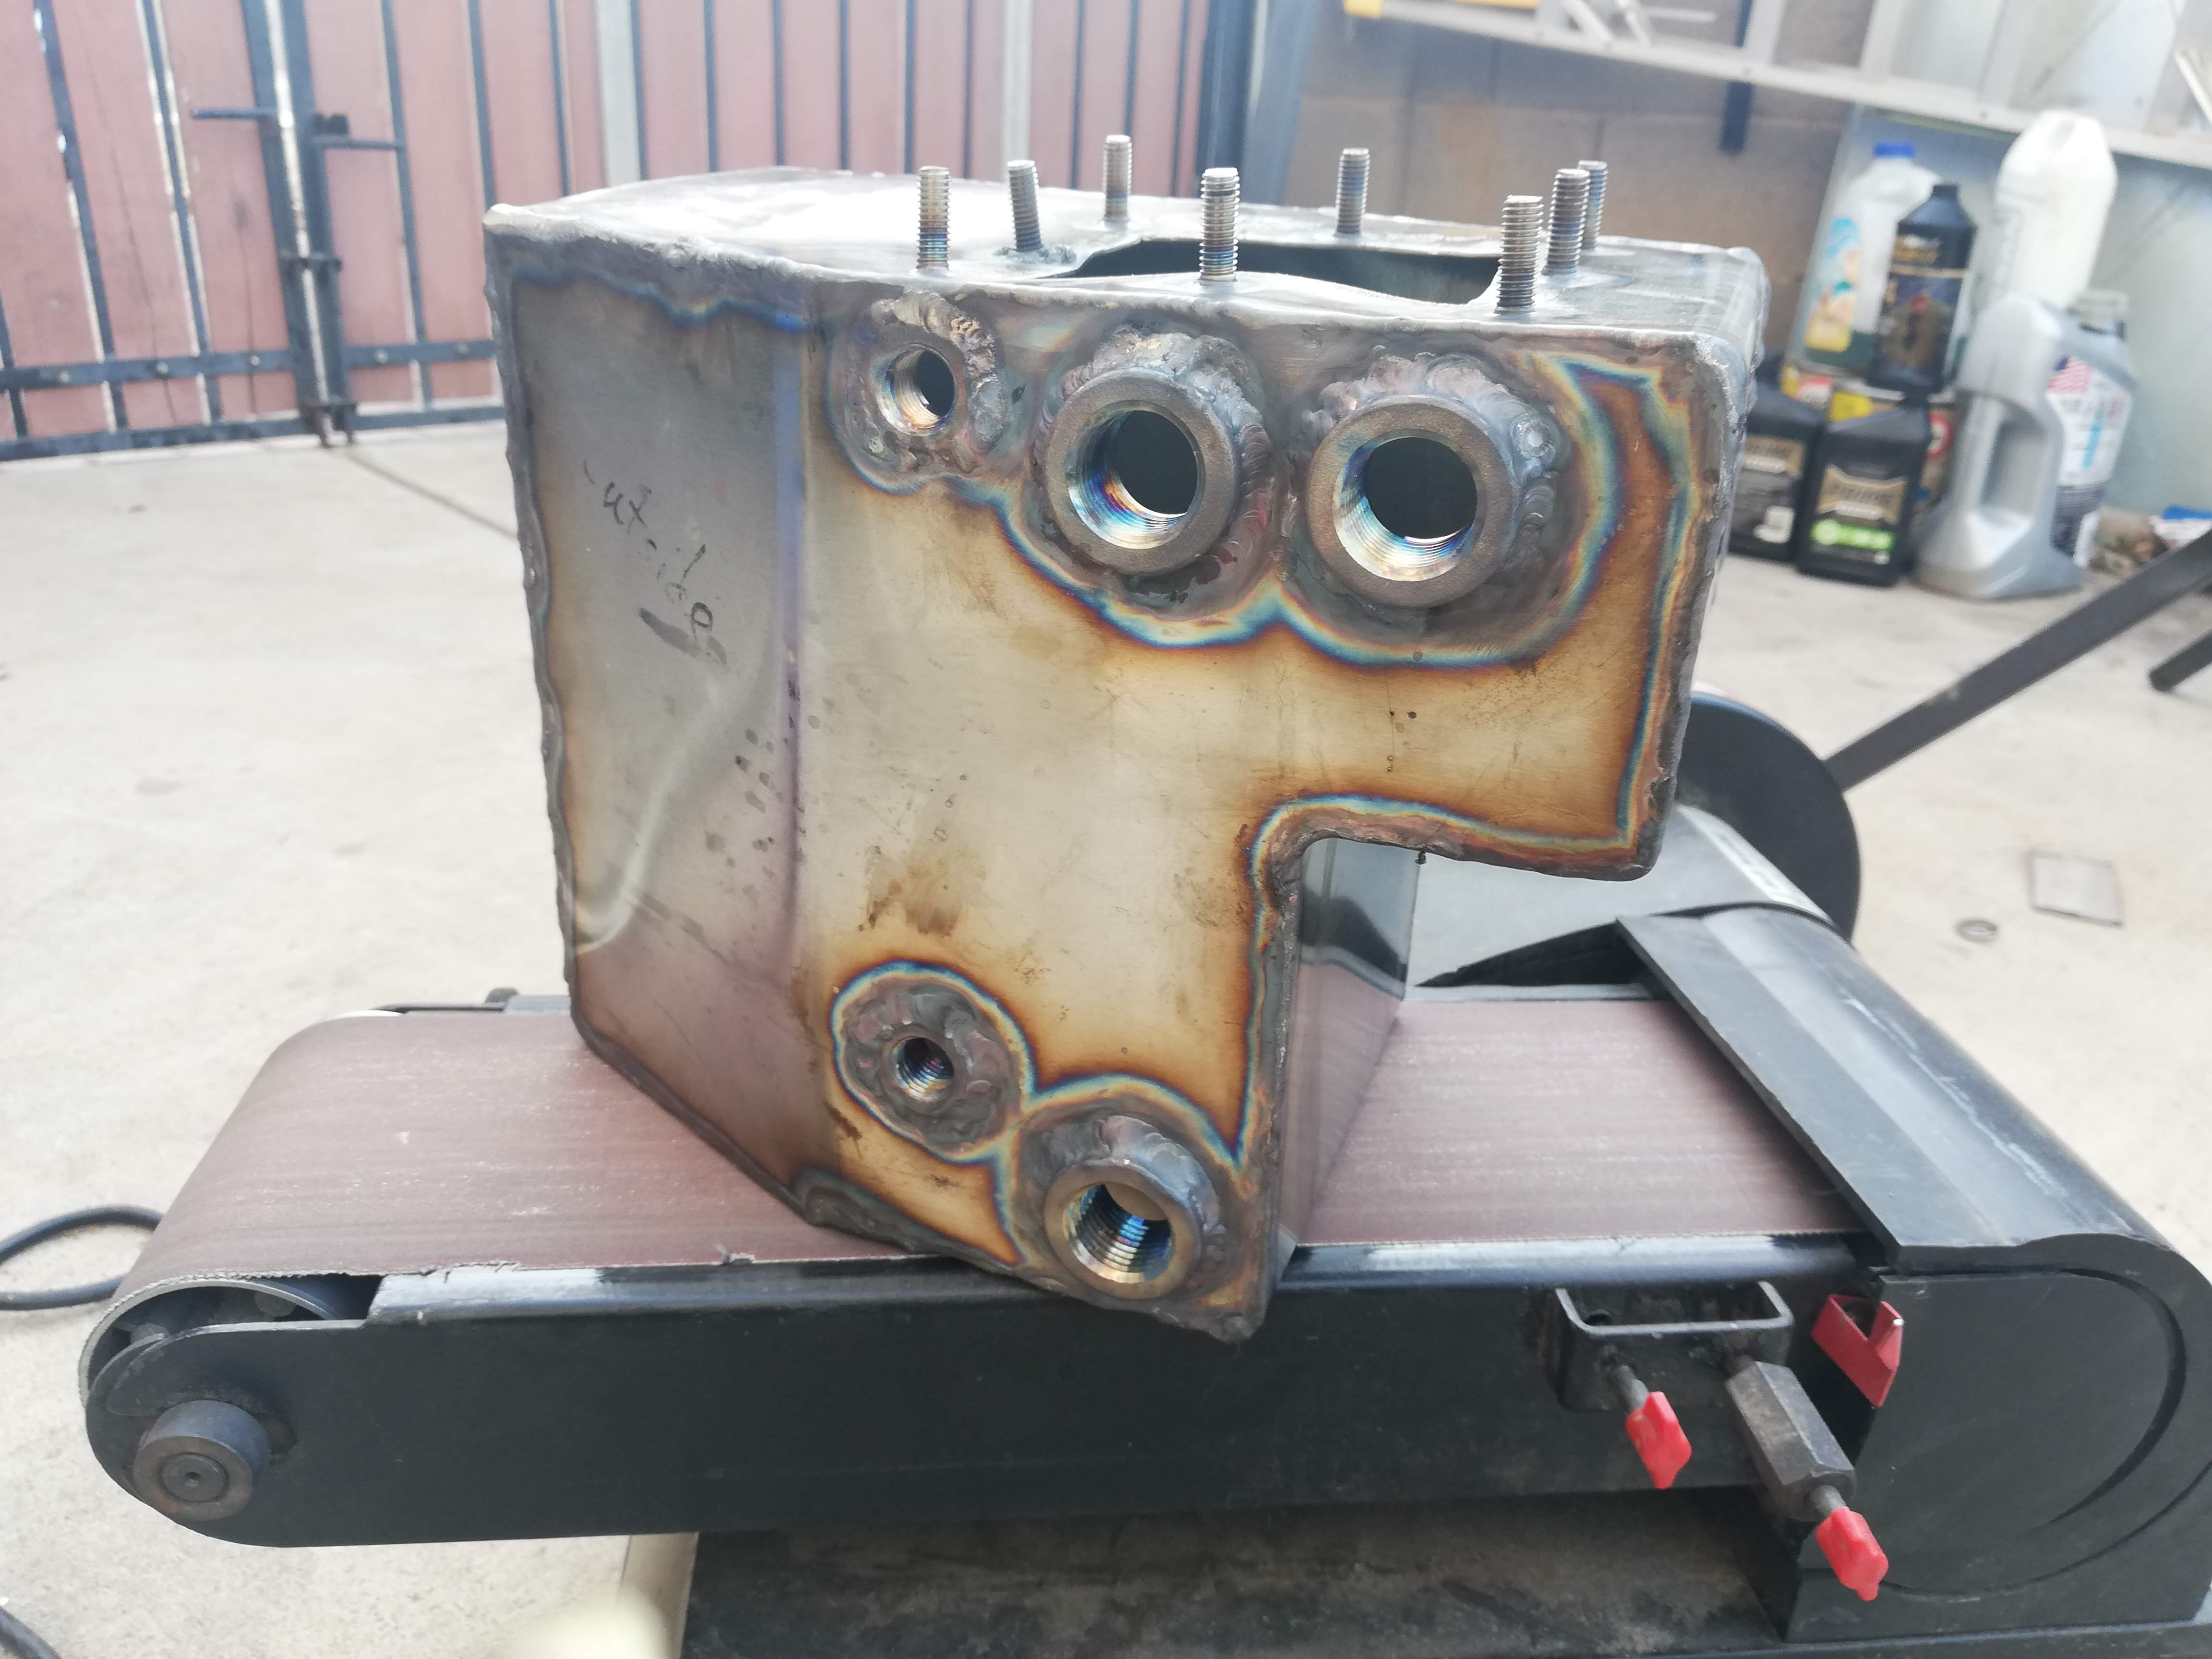
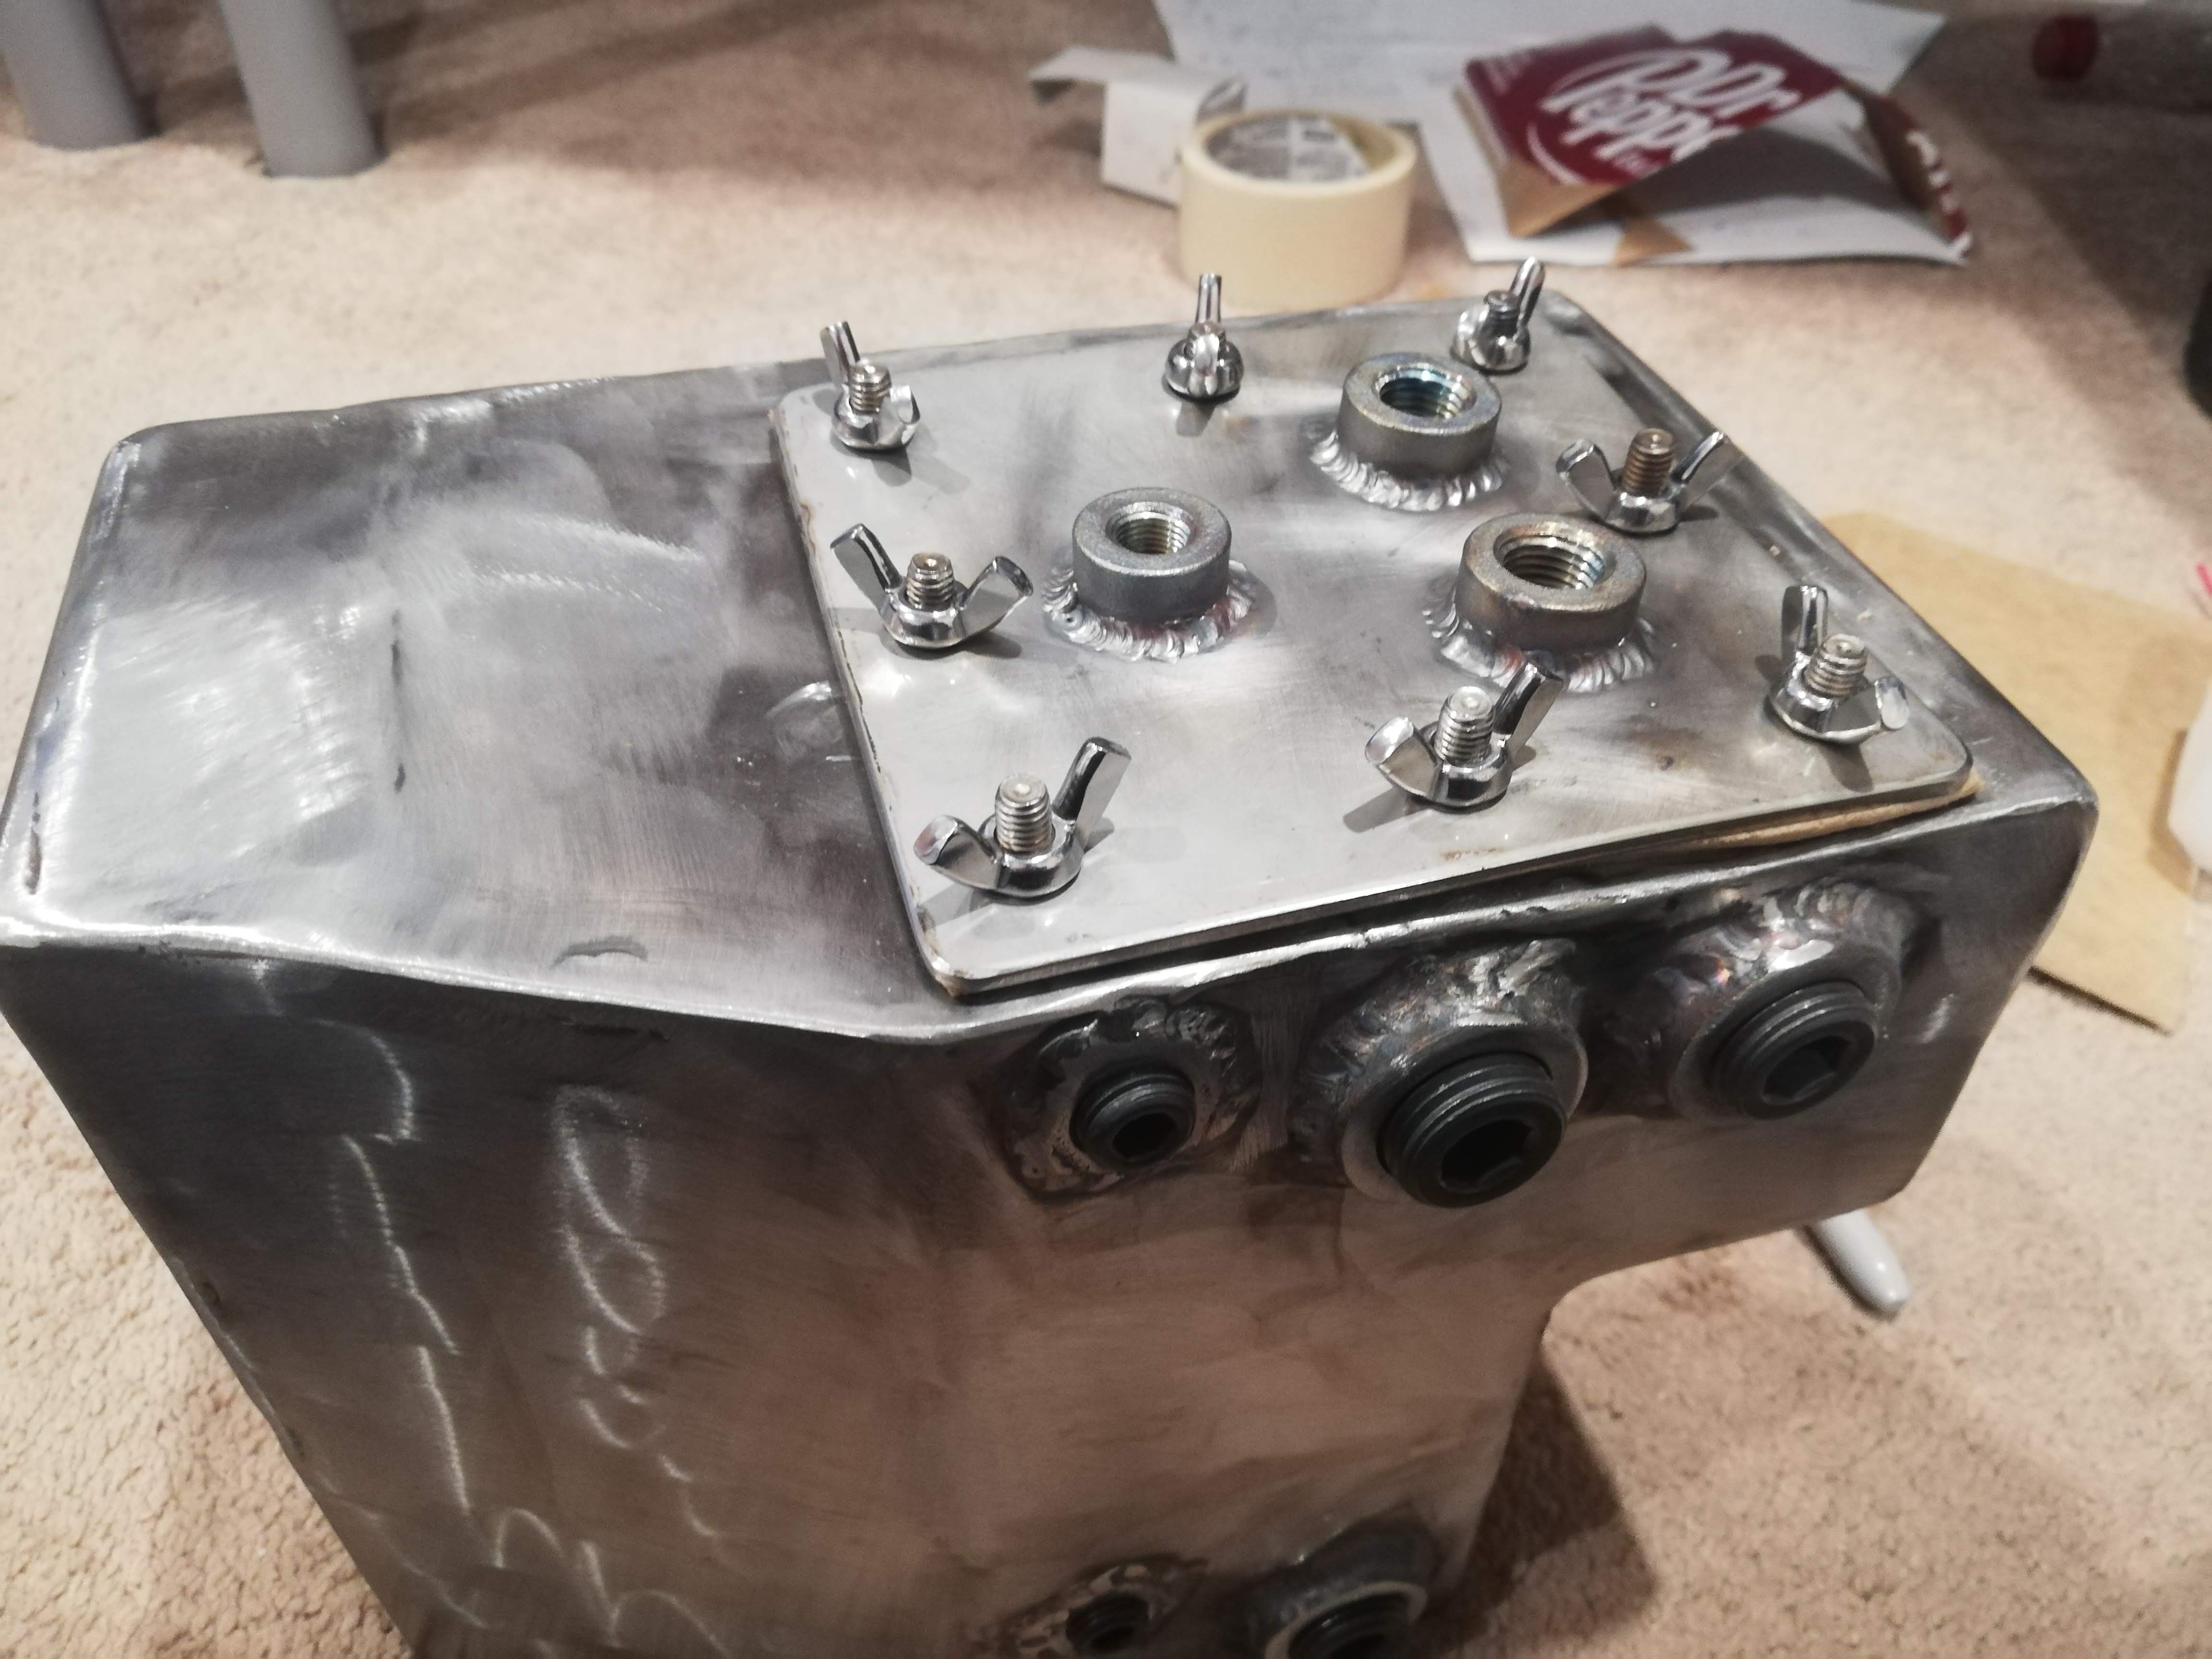
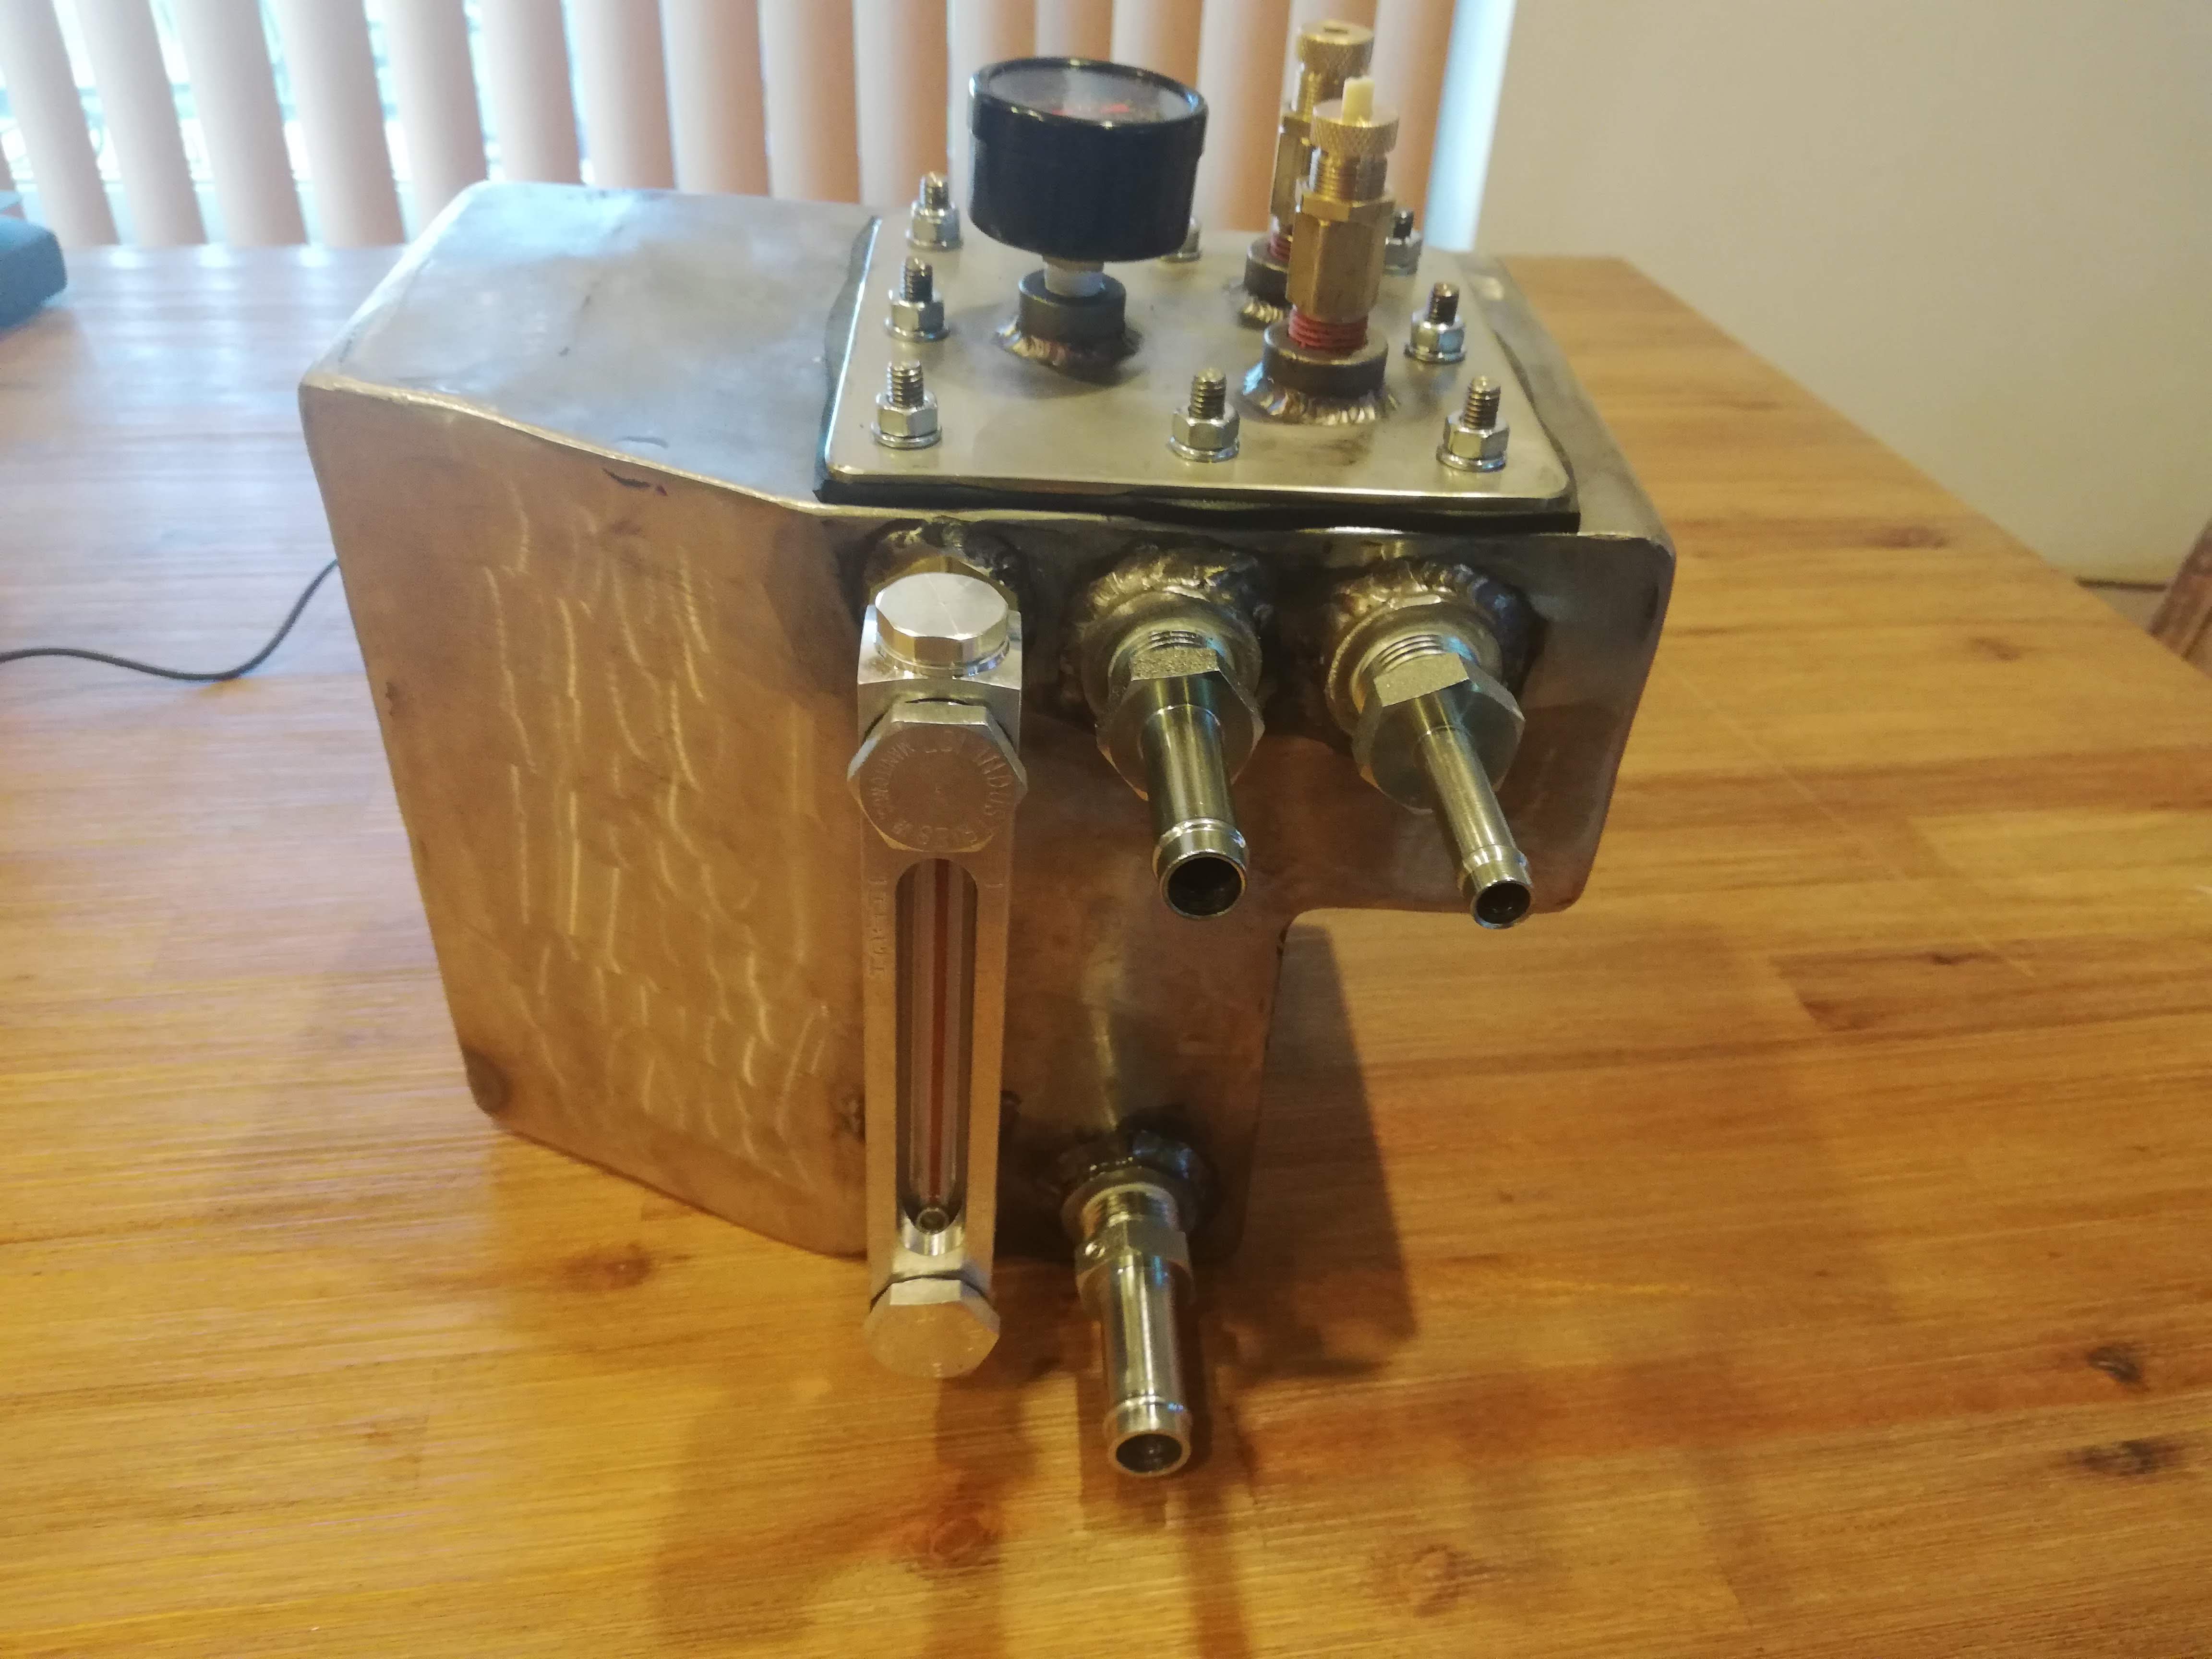
So I built a new coolant tank out of stainless steel. It looks a little rough in a couple spots, but there is pretty much no sugaring, it doesn't leak anywhere under pressure, and it fits perfectly where I need it.
To get the dimensions I made one out of cardboard and tape. I also made a tiny bending brake for this one.
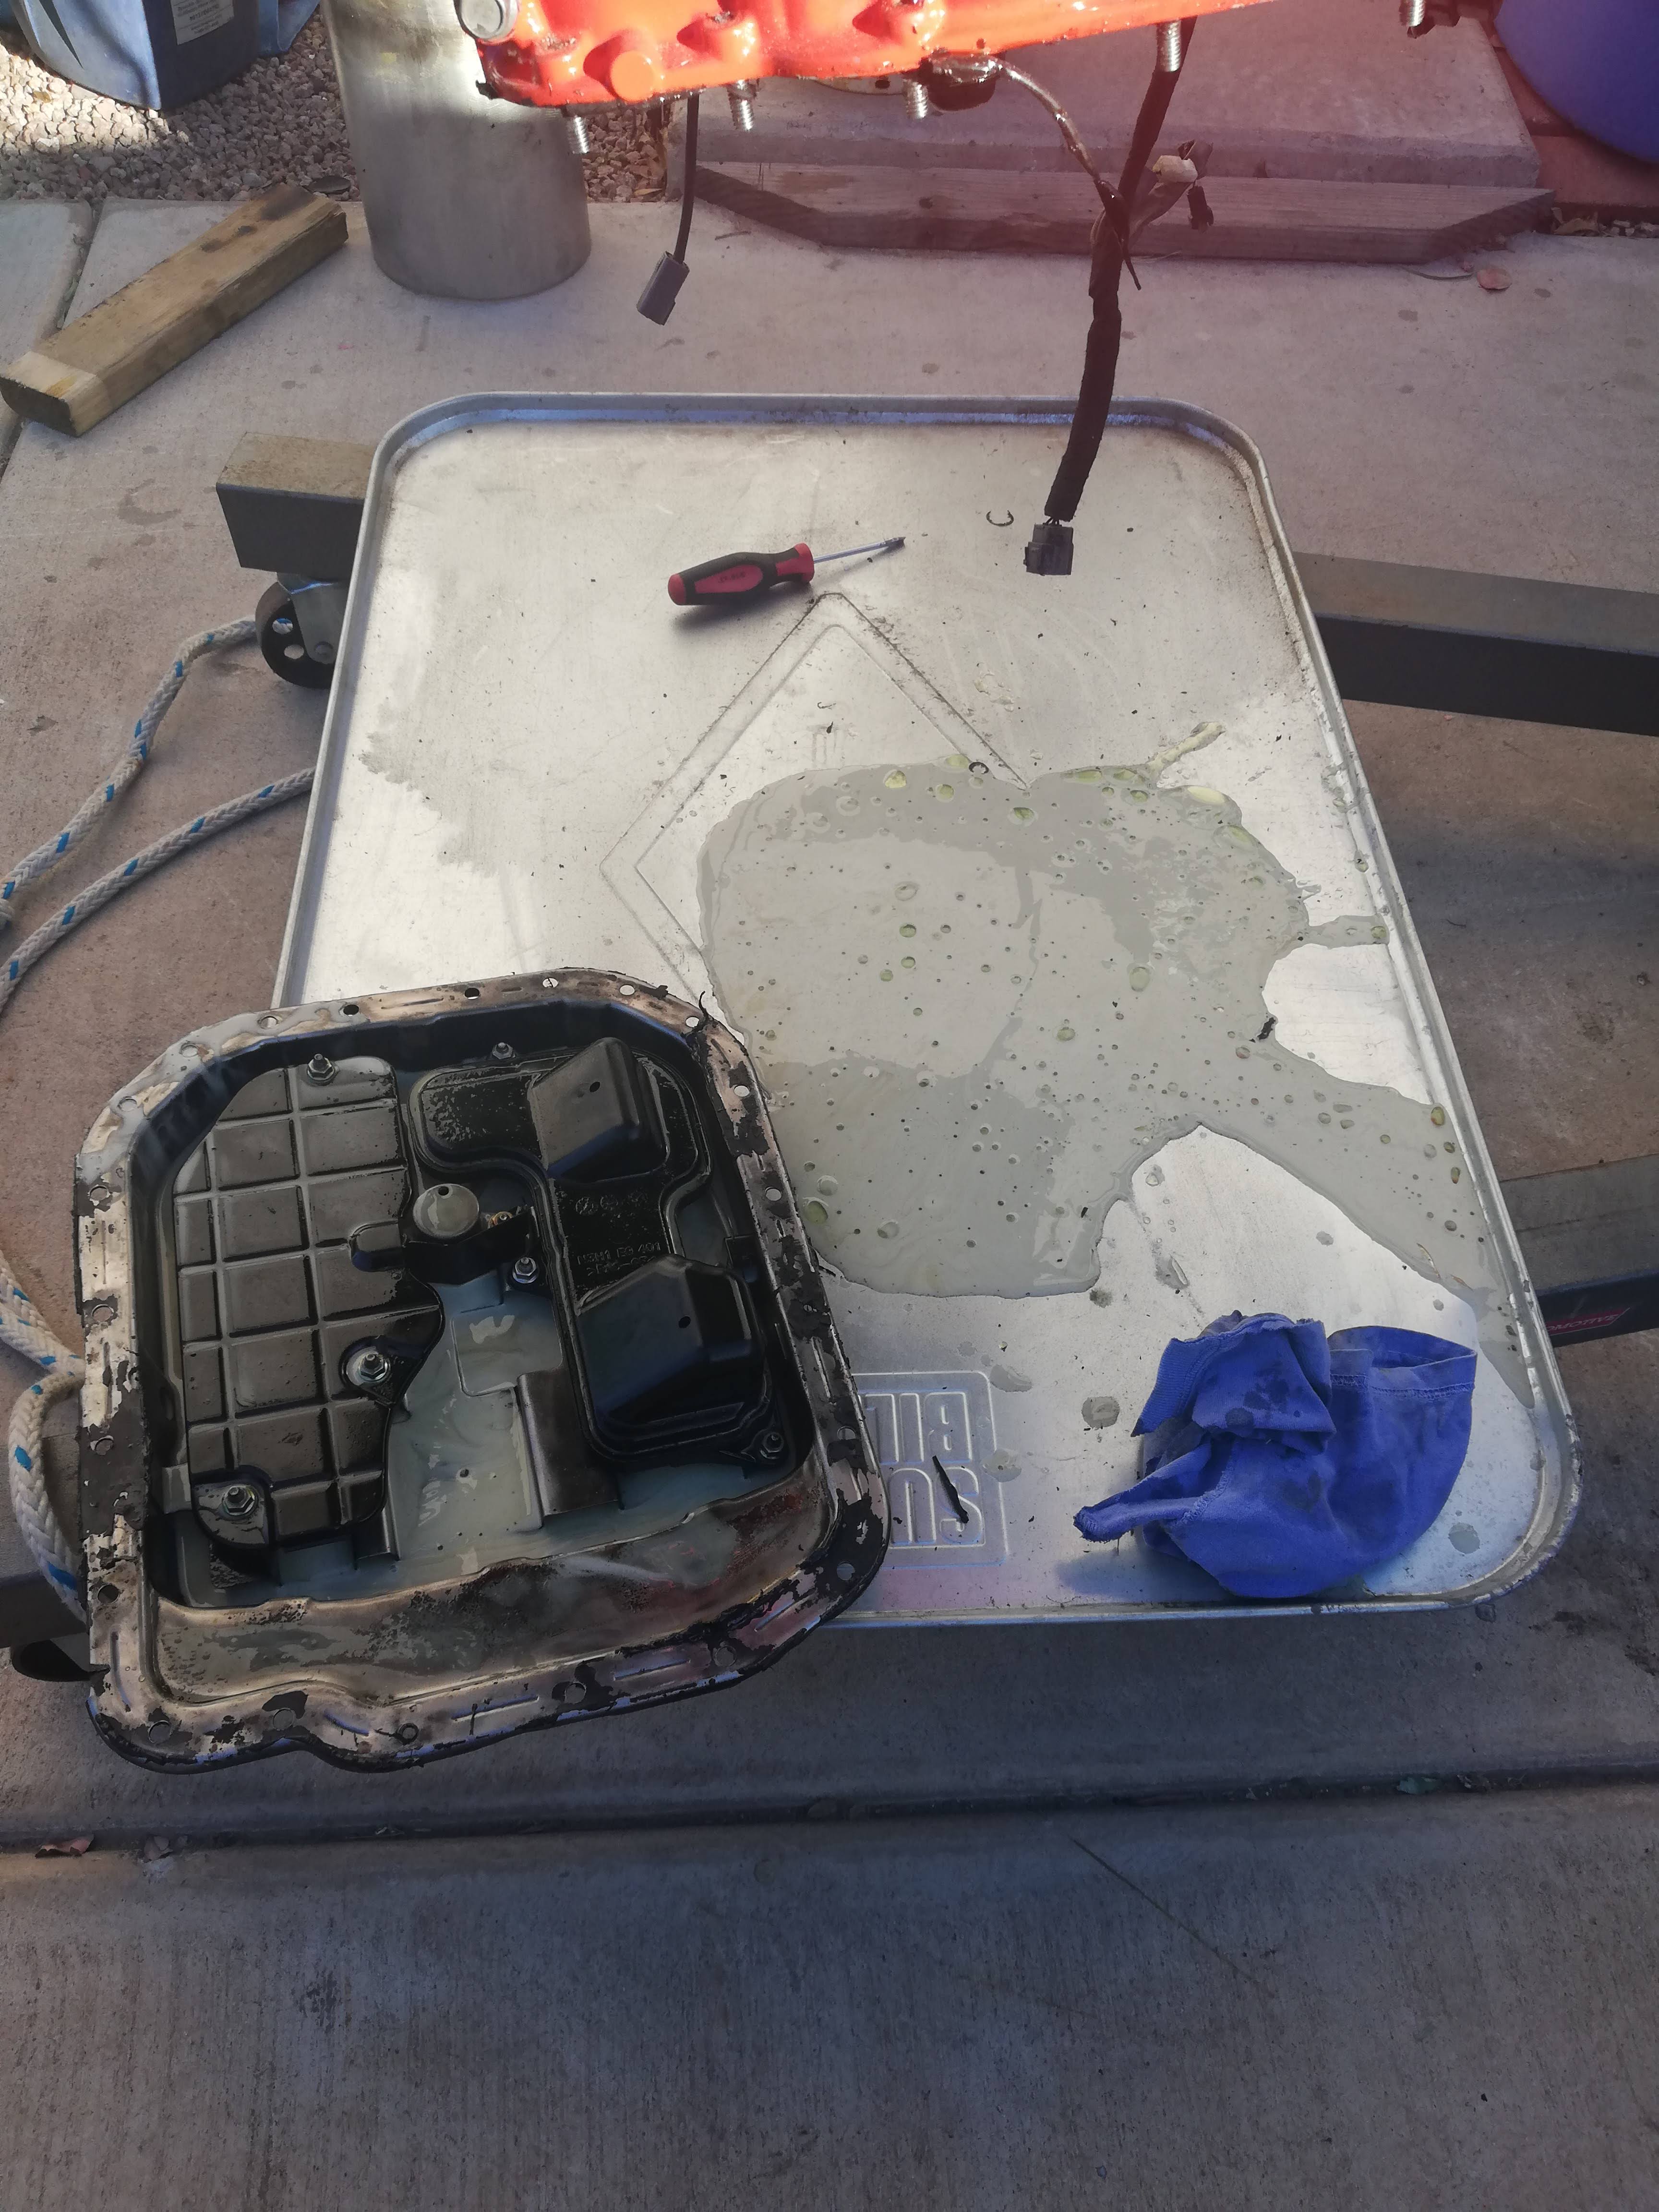
So I got all that in, then ran the engine, then I drained the oil and immediately pulled the engine.
Upon running the engine, the filter dP was all sorts of messed up, so checking the dipstick (while running) let it push out a ton of oily coolant emulsion. After letting it sit for a while I drained about 2 gallons of pure coolant out of the oil pan before I even saw more of that oily emulsion.
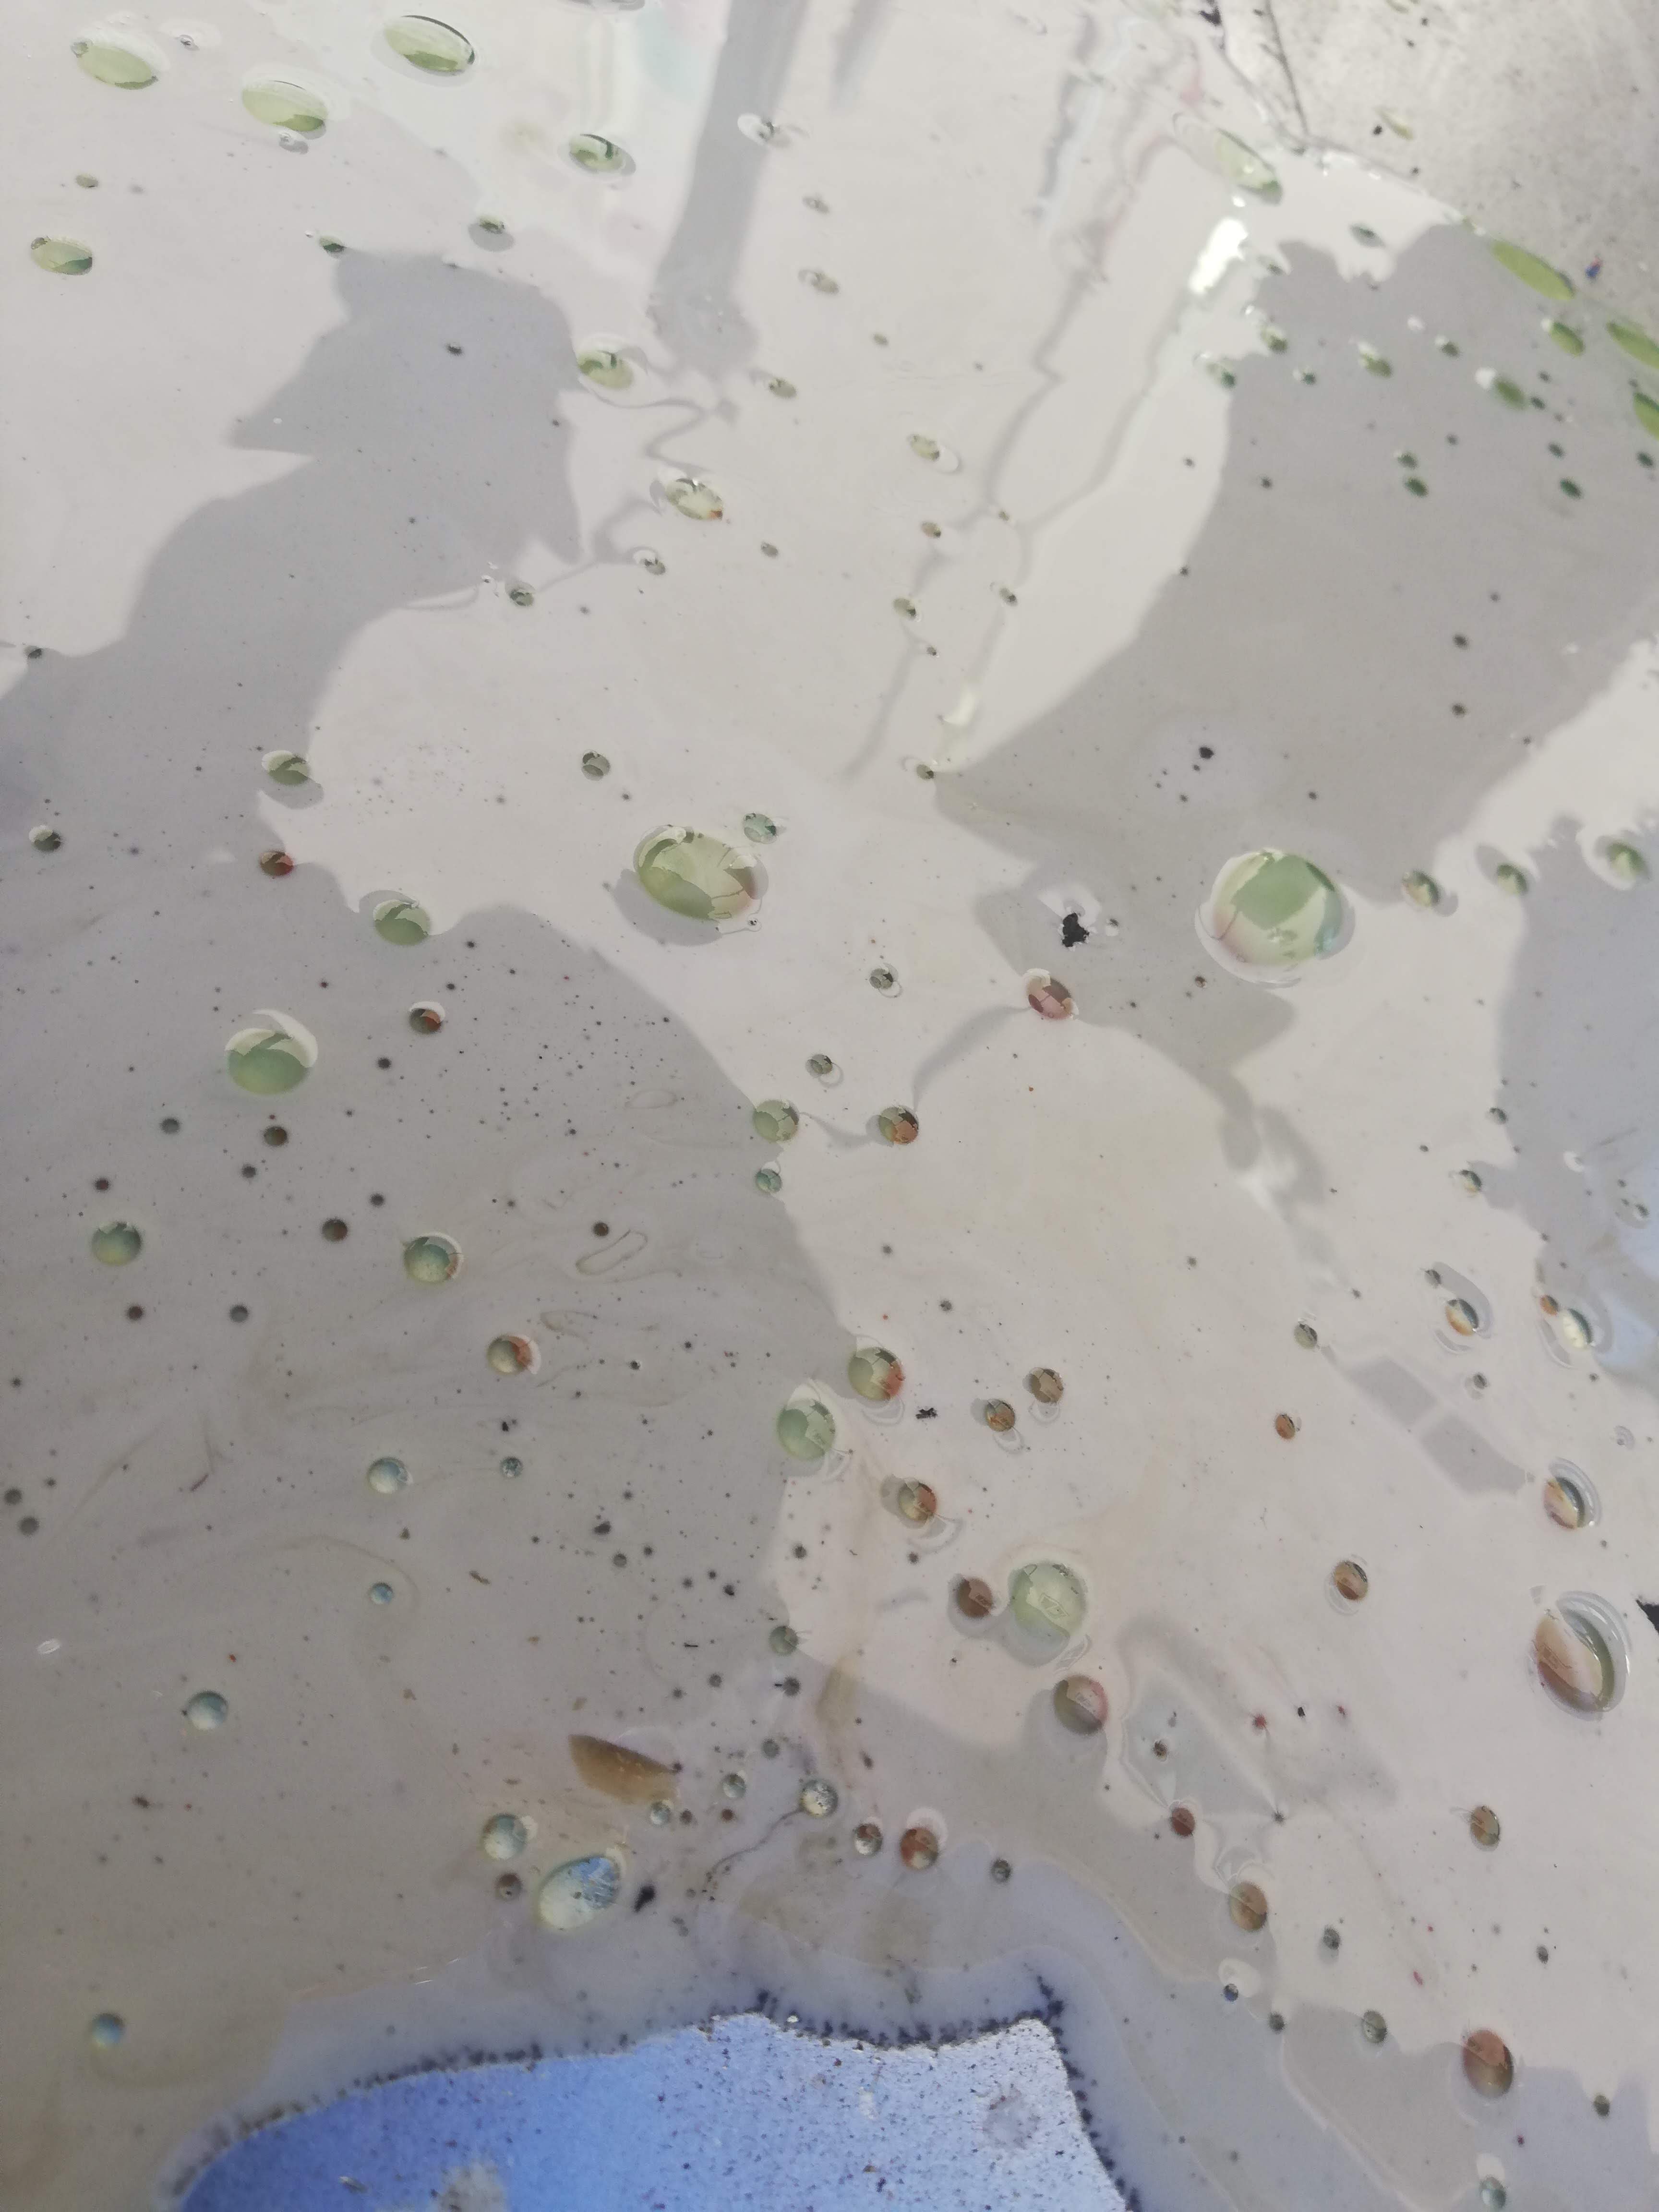
So yeah, I pulled the engine again and this is what was left of the stuff coating the inside of the pan.
As you can guess, it was the front iron oil inlet that I messed up. Its the only way you can get that much coolant in your oil in that amount of time. 10/10, would recommend.
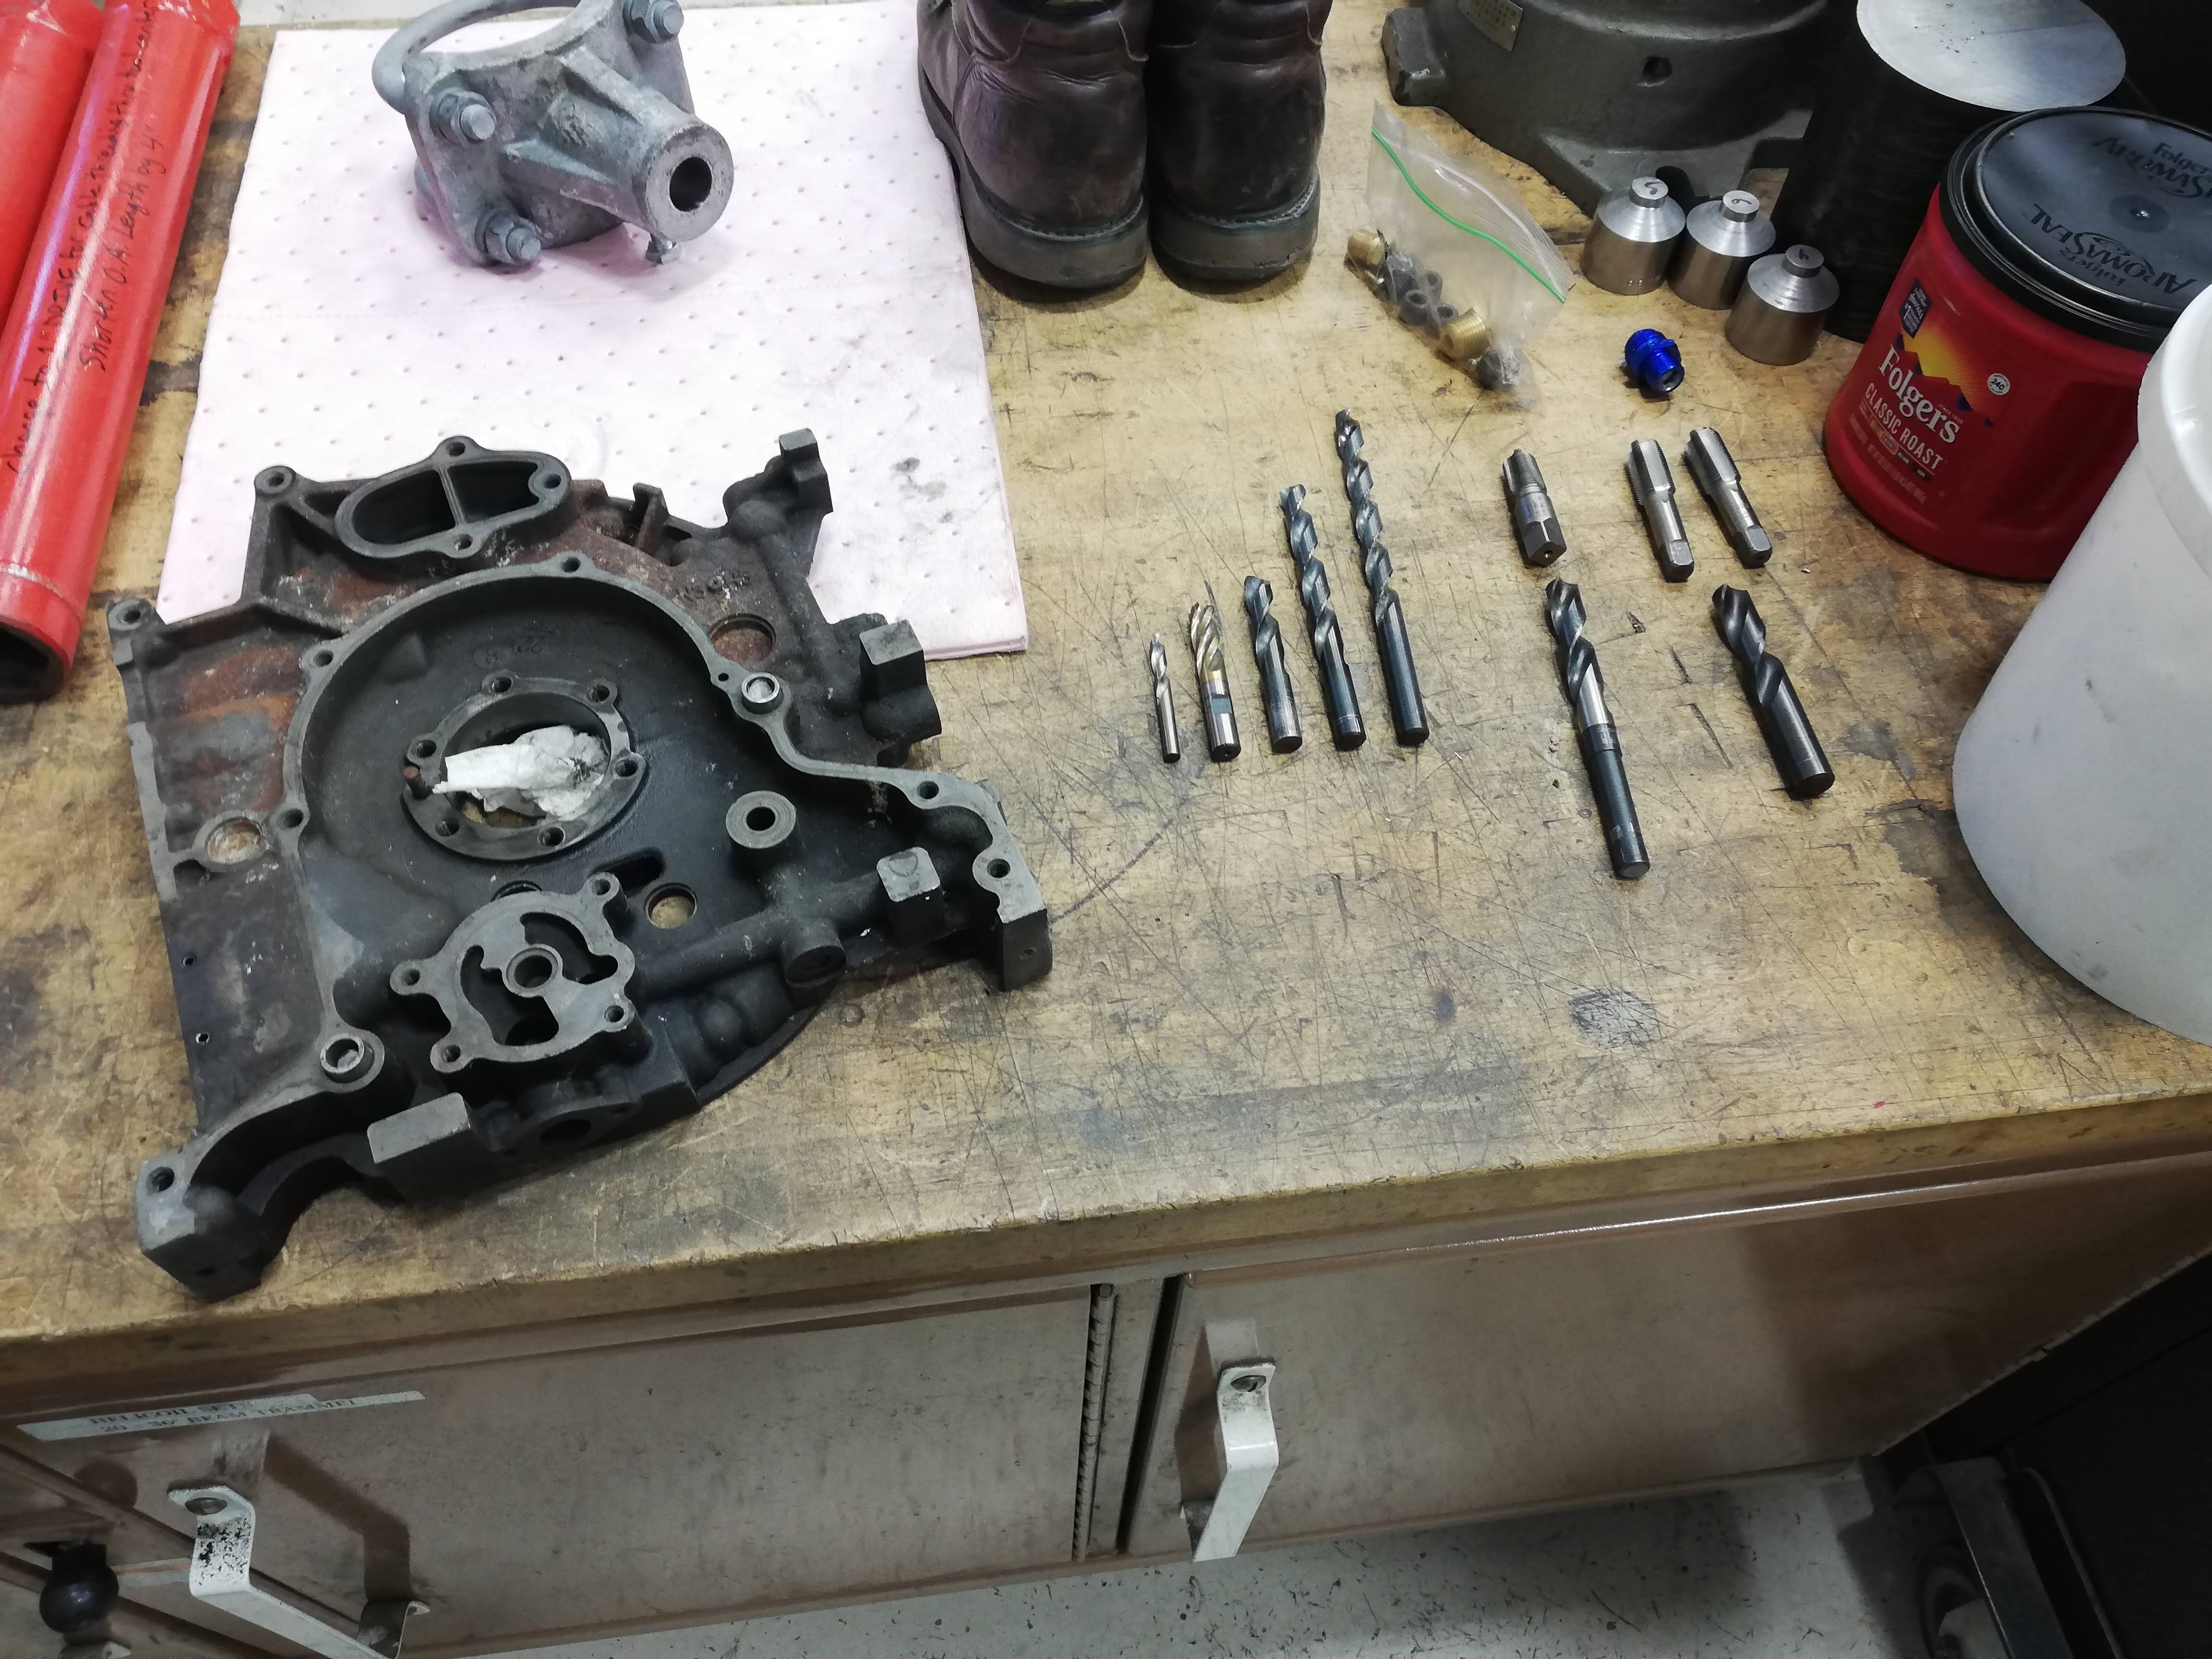
I got a new (used) front iron for $100 shipped in great condition (from ebay of all places) so I remachined all the three oil passages like I did before. I was a lot more experienced on the machine at this point so it went even better than the last time.
The car didn't run for long with that junk in the pan, so the bearings were all still good (thankfully).
Old and New Side by Side
Tools
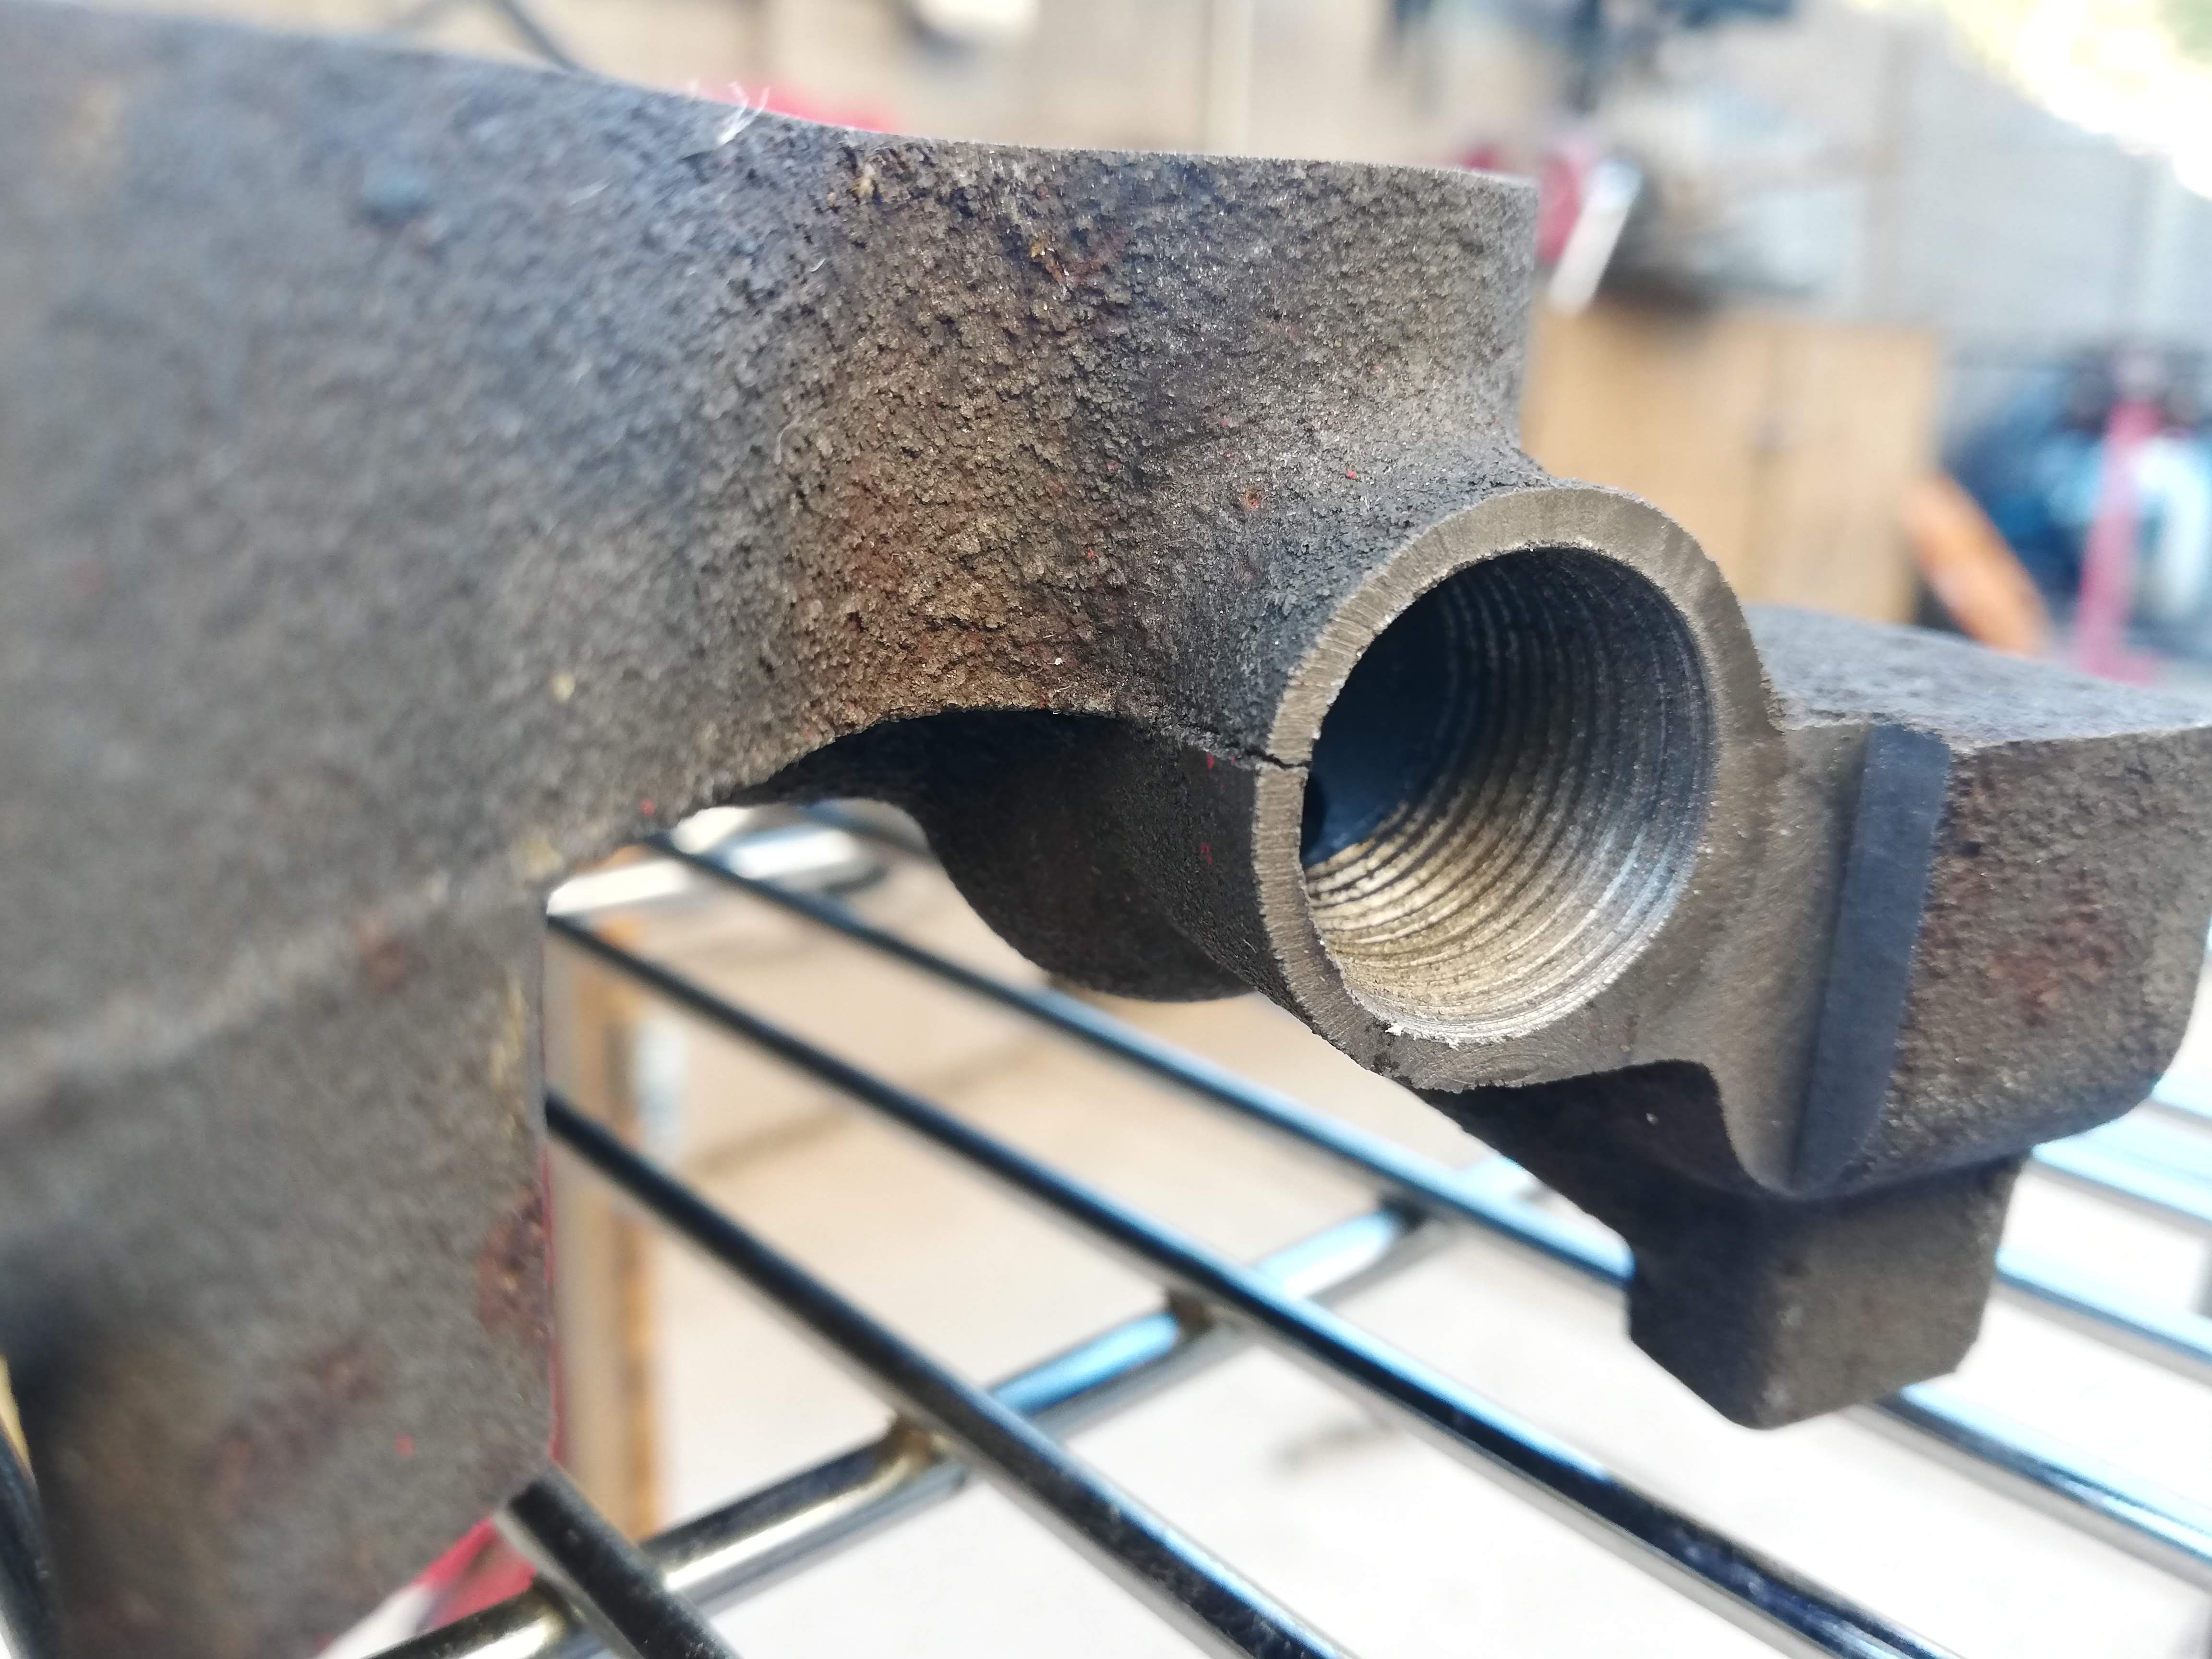
Finished and plugged horizontal pump outlet
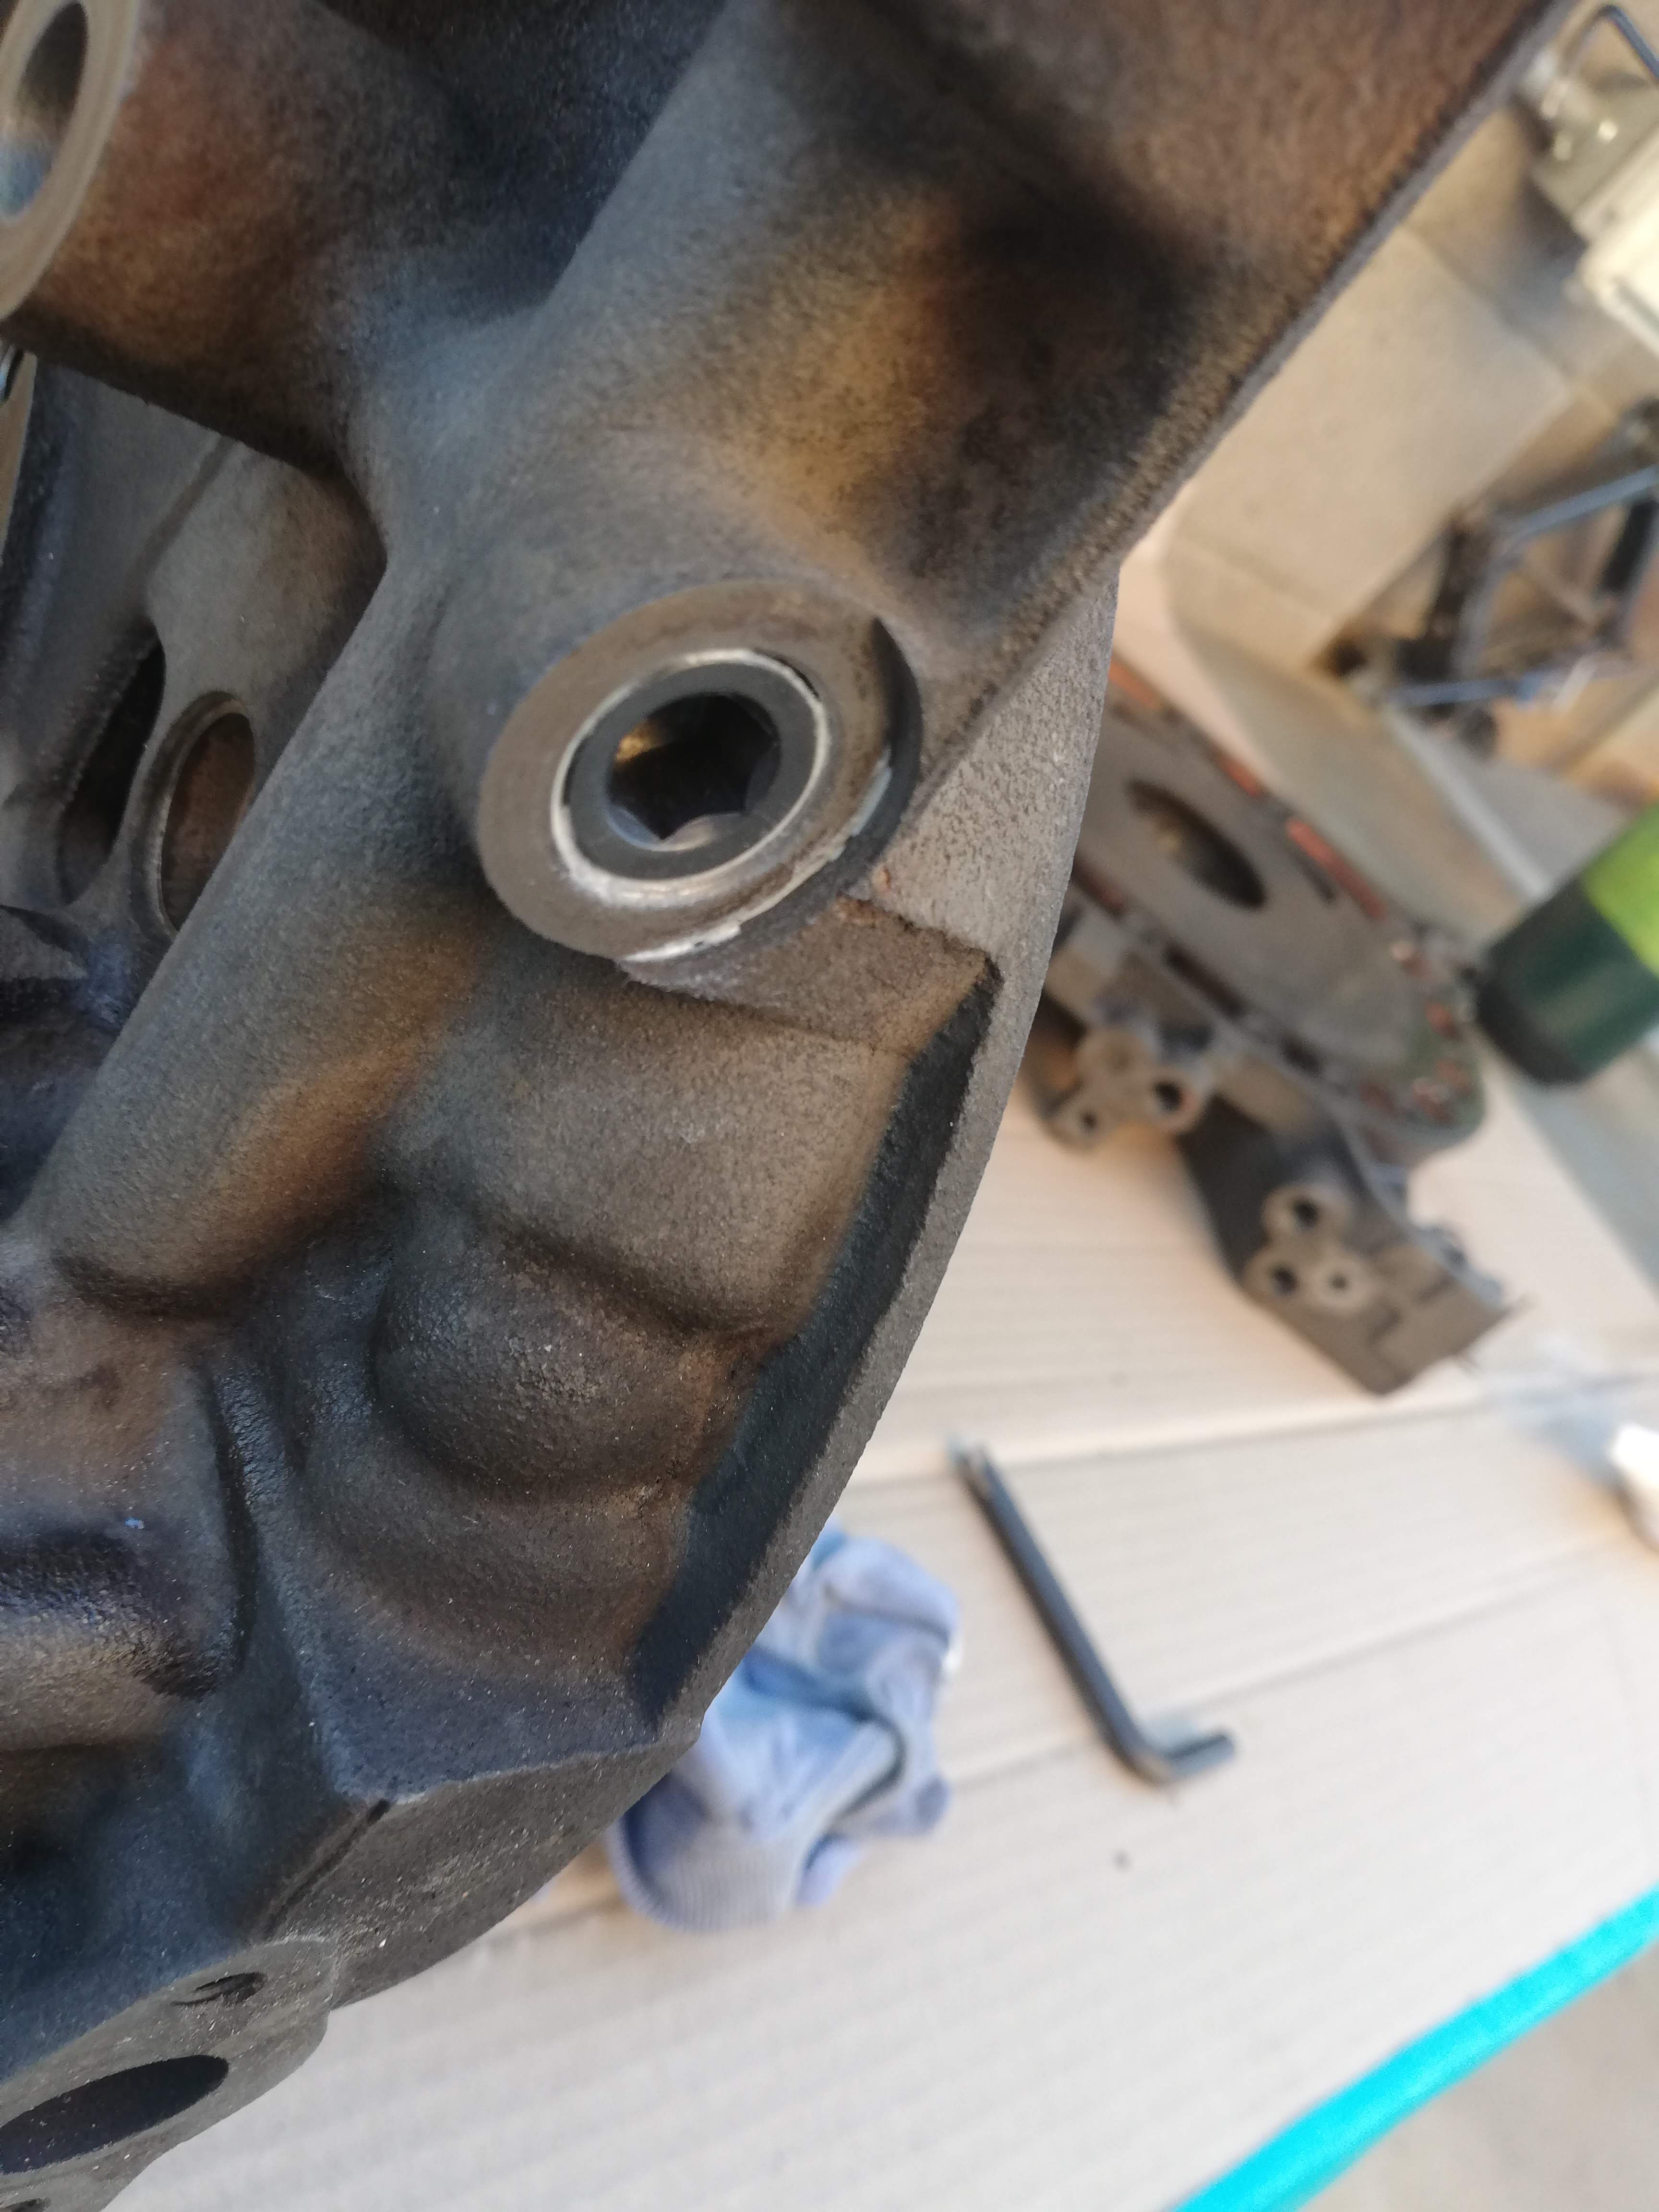
Finished and plugged vertical outlet to the front cover
This last one is the M18 threads for the dowel bypass. As you can see, there isn't a lot of wall thickness there, you have to be really careful with hole placement.
The other plugs are NPT because of the thickness of the casting in those areas but this one is M18 which is untapered. A tapered thread would crack this easily. Even without the taper, there's a crack that you can see on the left side of the hole that was just from the tapping forces. It was small enough that I was able to take a small drill and drill out the end of the crack, then very carefully TIG braze the crack closed with more Aluminum Bronze and retap to clean up the threads.
Tearing down the engine was a little tricky, and some effort was needed to keep the seals in their proper slots, but I did it and rebuilt it again with the new front iron in an evening. The outer water jacket seals had expanded enough to make them unusable, but I used an old trick that I got from Rob at Pineapple racing.
Let me save you some money.
The oem outer water seal will grow once exposed to coolant.
If the o rings have not grown too much, you can push the extra into the groove.
If too long:
The good news is that you can just cut the seal and super glue the joint.
Make sure the seal fits the outside of the groove and cut at a right angle to the seal.
If done right, the seal ends will just fit into the groove. This way the o ring is the longest length and still fit.
In the early days of working on these we would frequently do this on R&D engines to save money.
This was actually a bit of a pain, but I did it and its surprisingly effective. In the future I will probably do the outer coolant seals with cord-stock using this method.
I also got a viton oil pan gasket from Pineapple Racing. The recommendation is to still use silicone on one side or the other, but I didn't really like that so I just went back to gluing the pan on.
So now the engine was back together and we put it back in. It is about 5x more difficult to remove and install the engine with the transmission in the car, so if the engine ever comes out again the transmission is coming with it every time.
I'm sorry that the pictures are so freaking huge. I only just noticed after posting all of this. It can help to make your browser window less wide or right click and hit "open image in new tab" on the ones you want to see more clearly. I must be getting old to make that kind of mistake so many times...
So I put all of my stuff back in and its been running ok! We're still in the break in period, but the car is really smooth down to about 800rpm. I've been messing with the tuning a bit, it's not perfectly happy on hot days at idle with the AC on, but that is probably just a learning thing.
I have been having some relatively minor issues with the oil filter. One plugged up and blew out, and another plugged up on Monday and did not blow out, which left me with near stock oil pressures for about a 2 miles. After dealing with that plugged filter the gasket blew out and I lost all my oil on the road, so we dragged the car about 25 miles back home and it was up and running again the next day.
But yeah, that's where I'm at. Really happy with the new oiling and coolant setups, happy to be driving my car again, and happy with that new transmission.
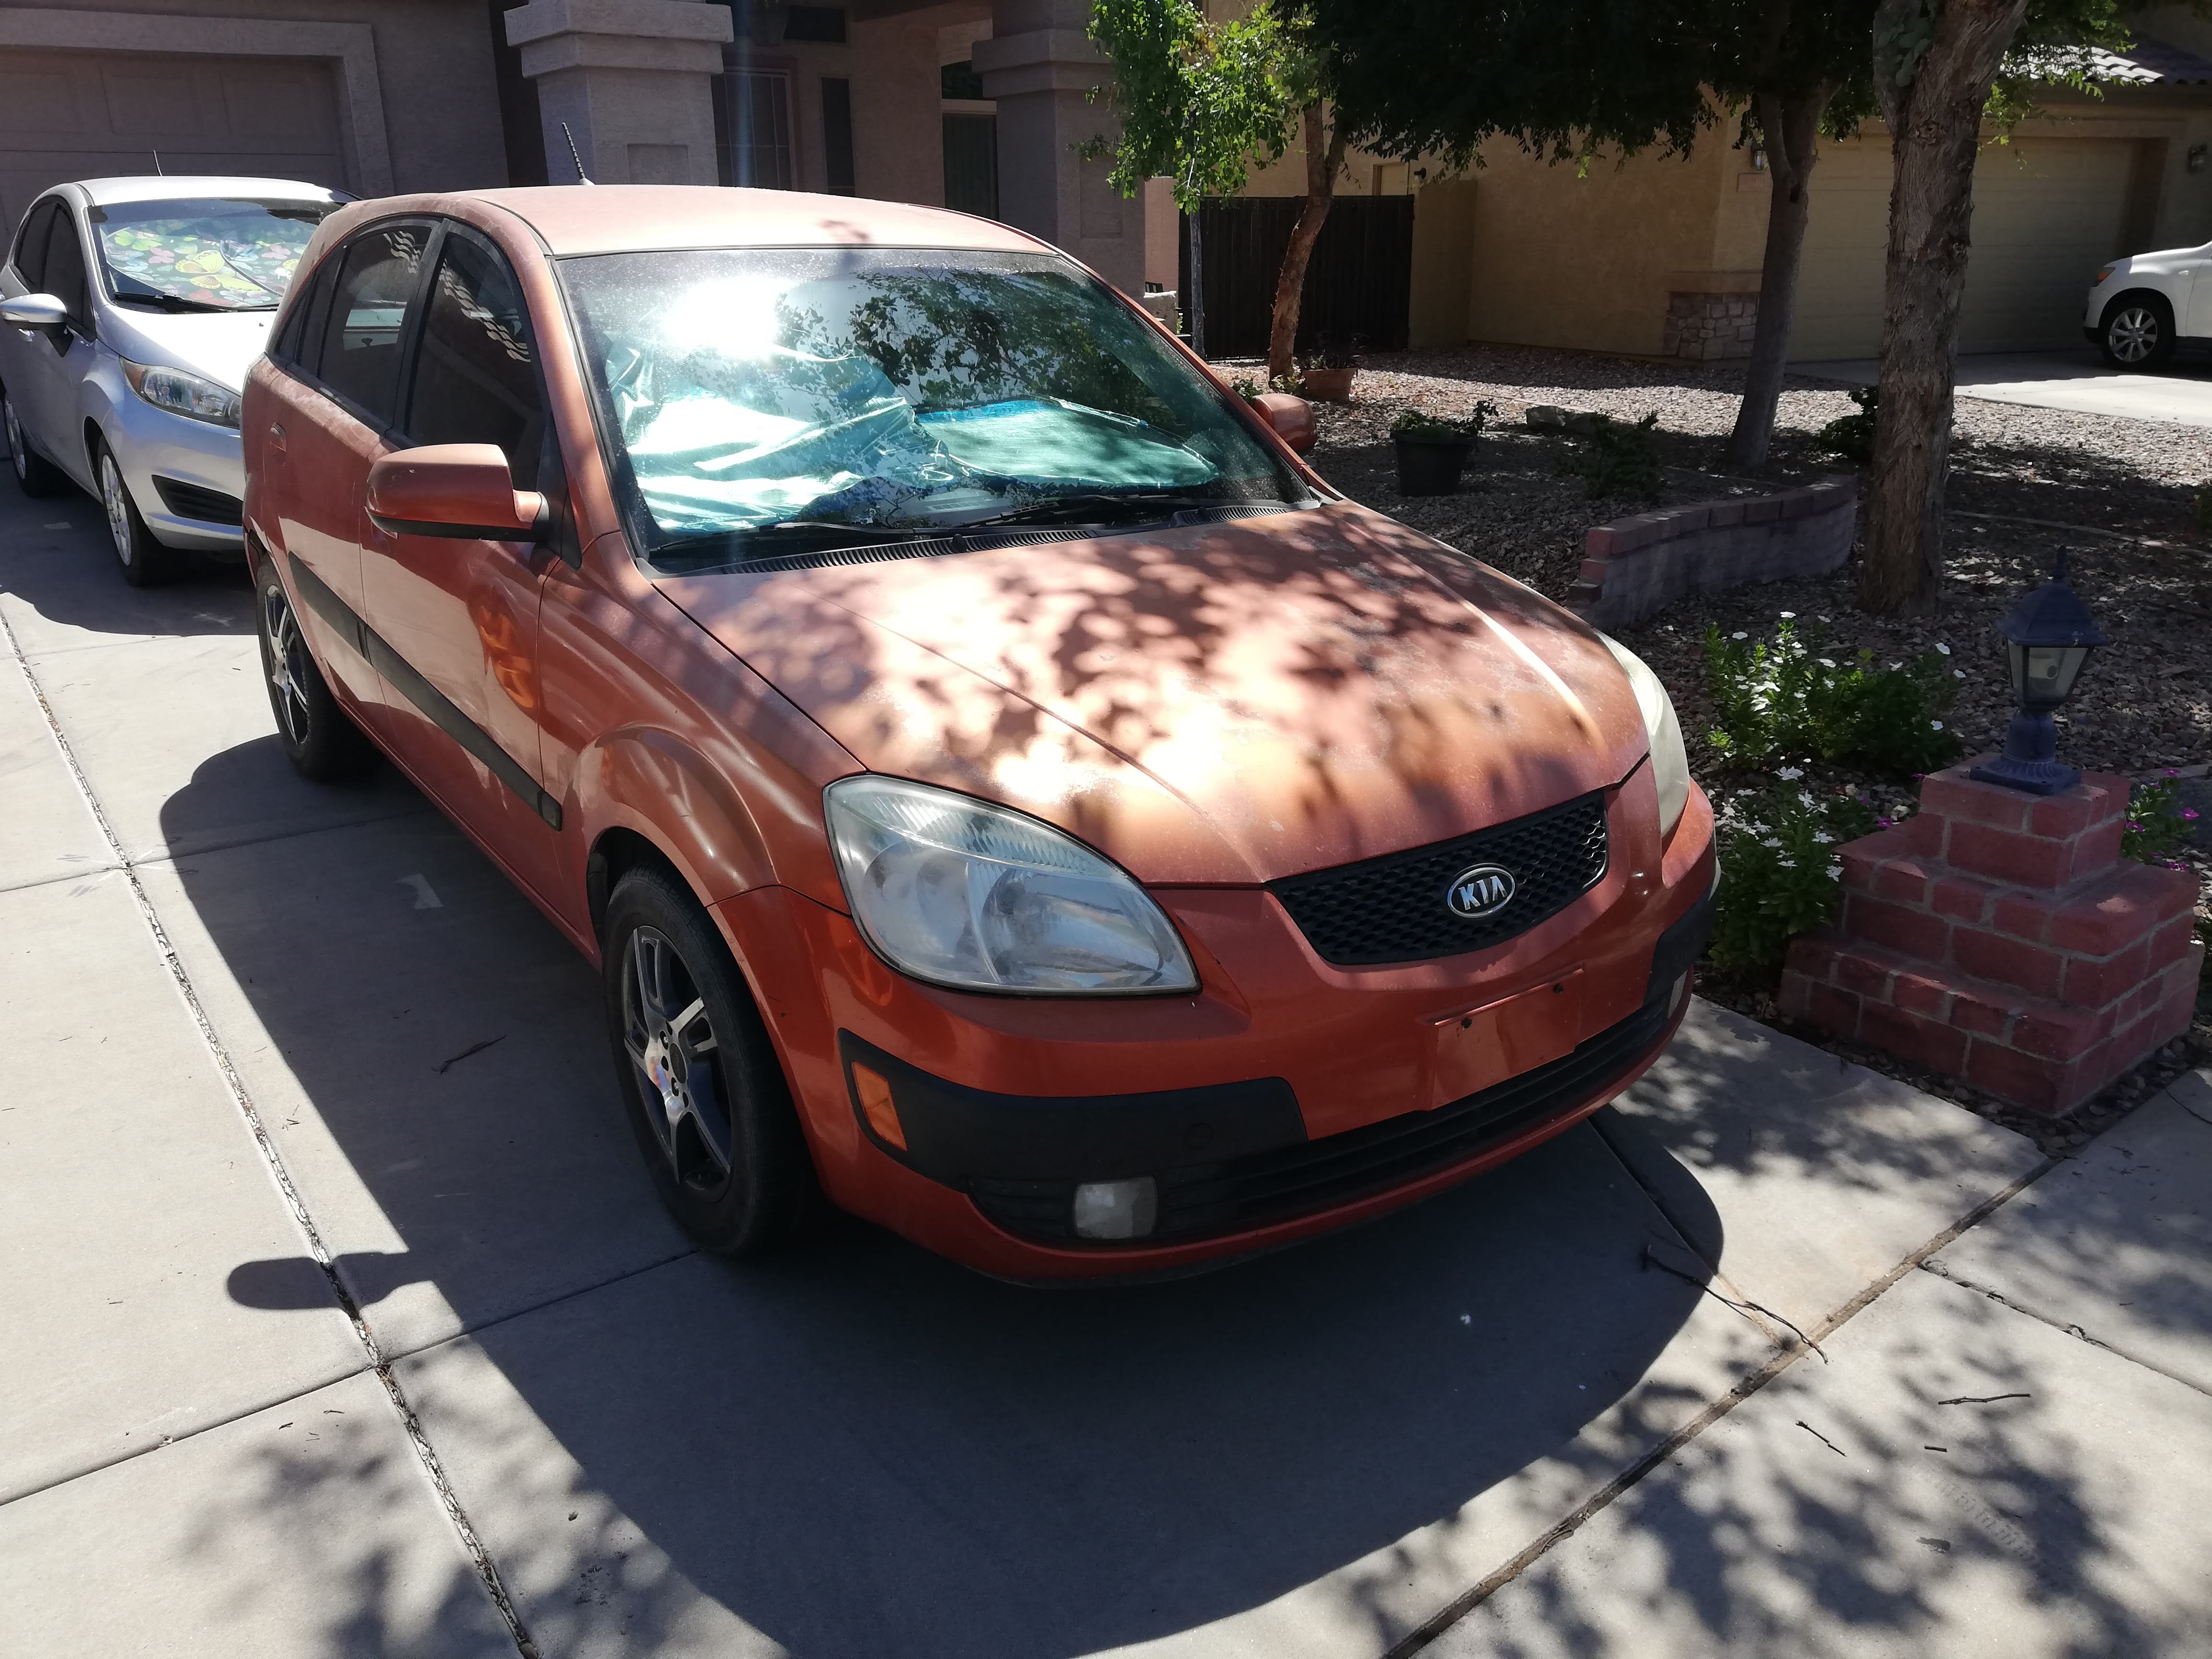
This is the Dirt Box, I was dailying that during this process. Its a 2007 Kia Rio5, and except for the paint and the fact that the AC compressor straight seized a couple weeks ago it's a fantastic little car and I'm very sad to see it go.
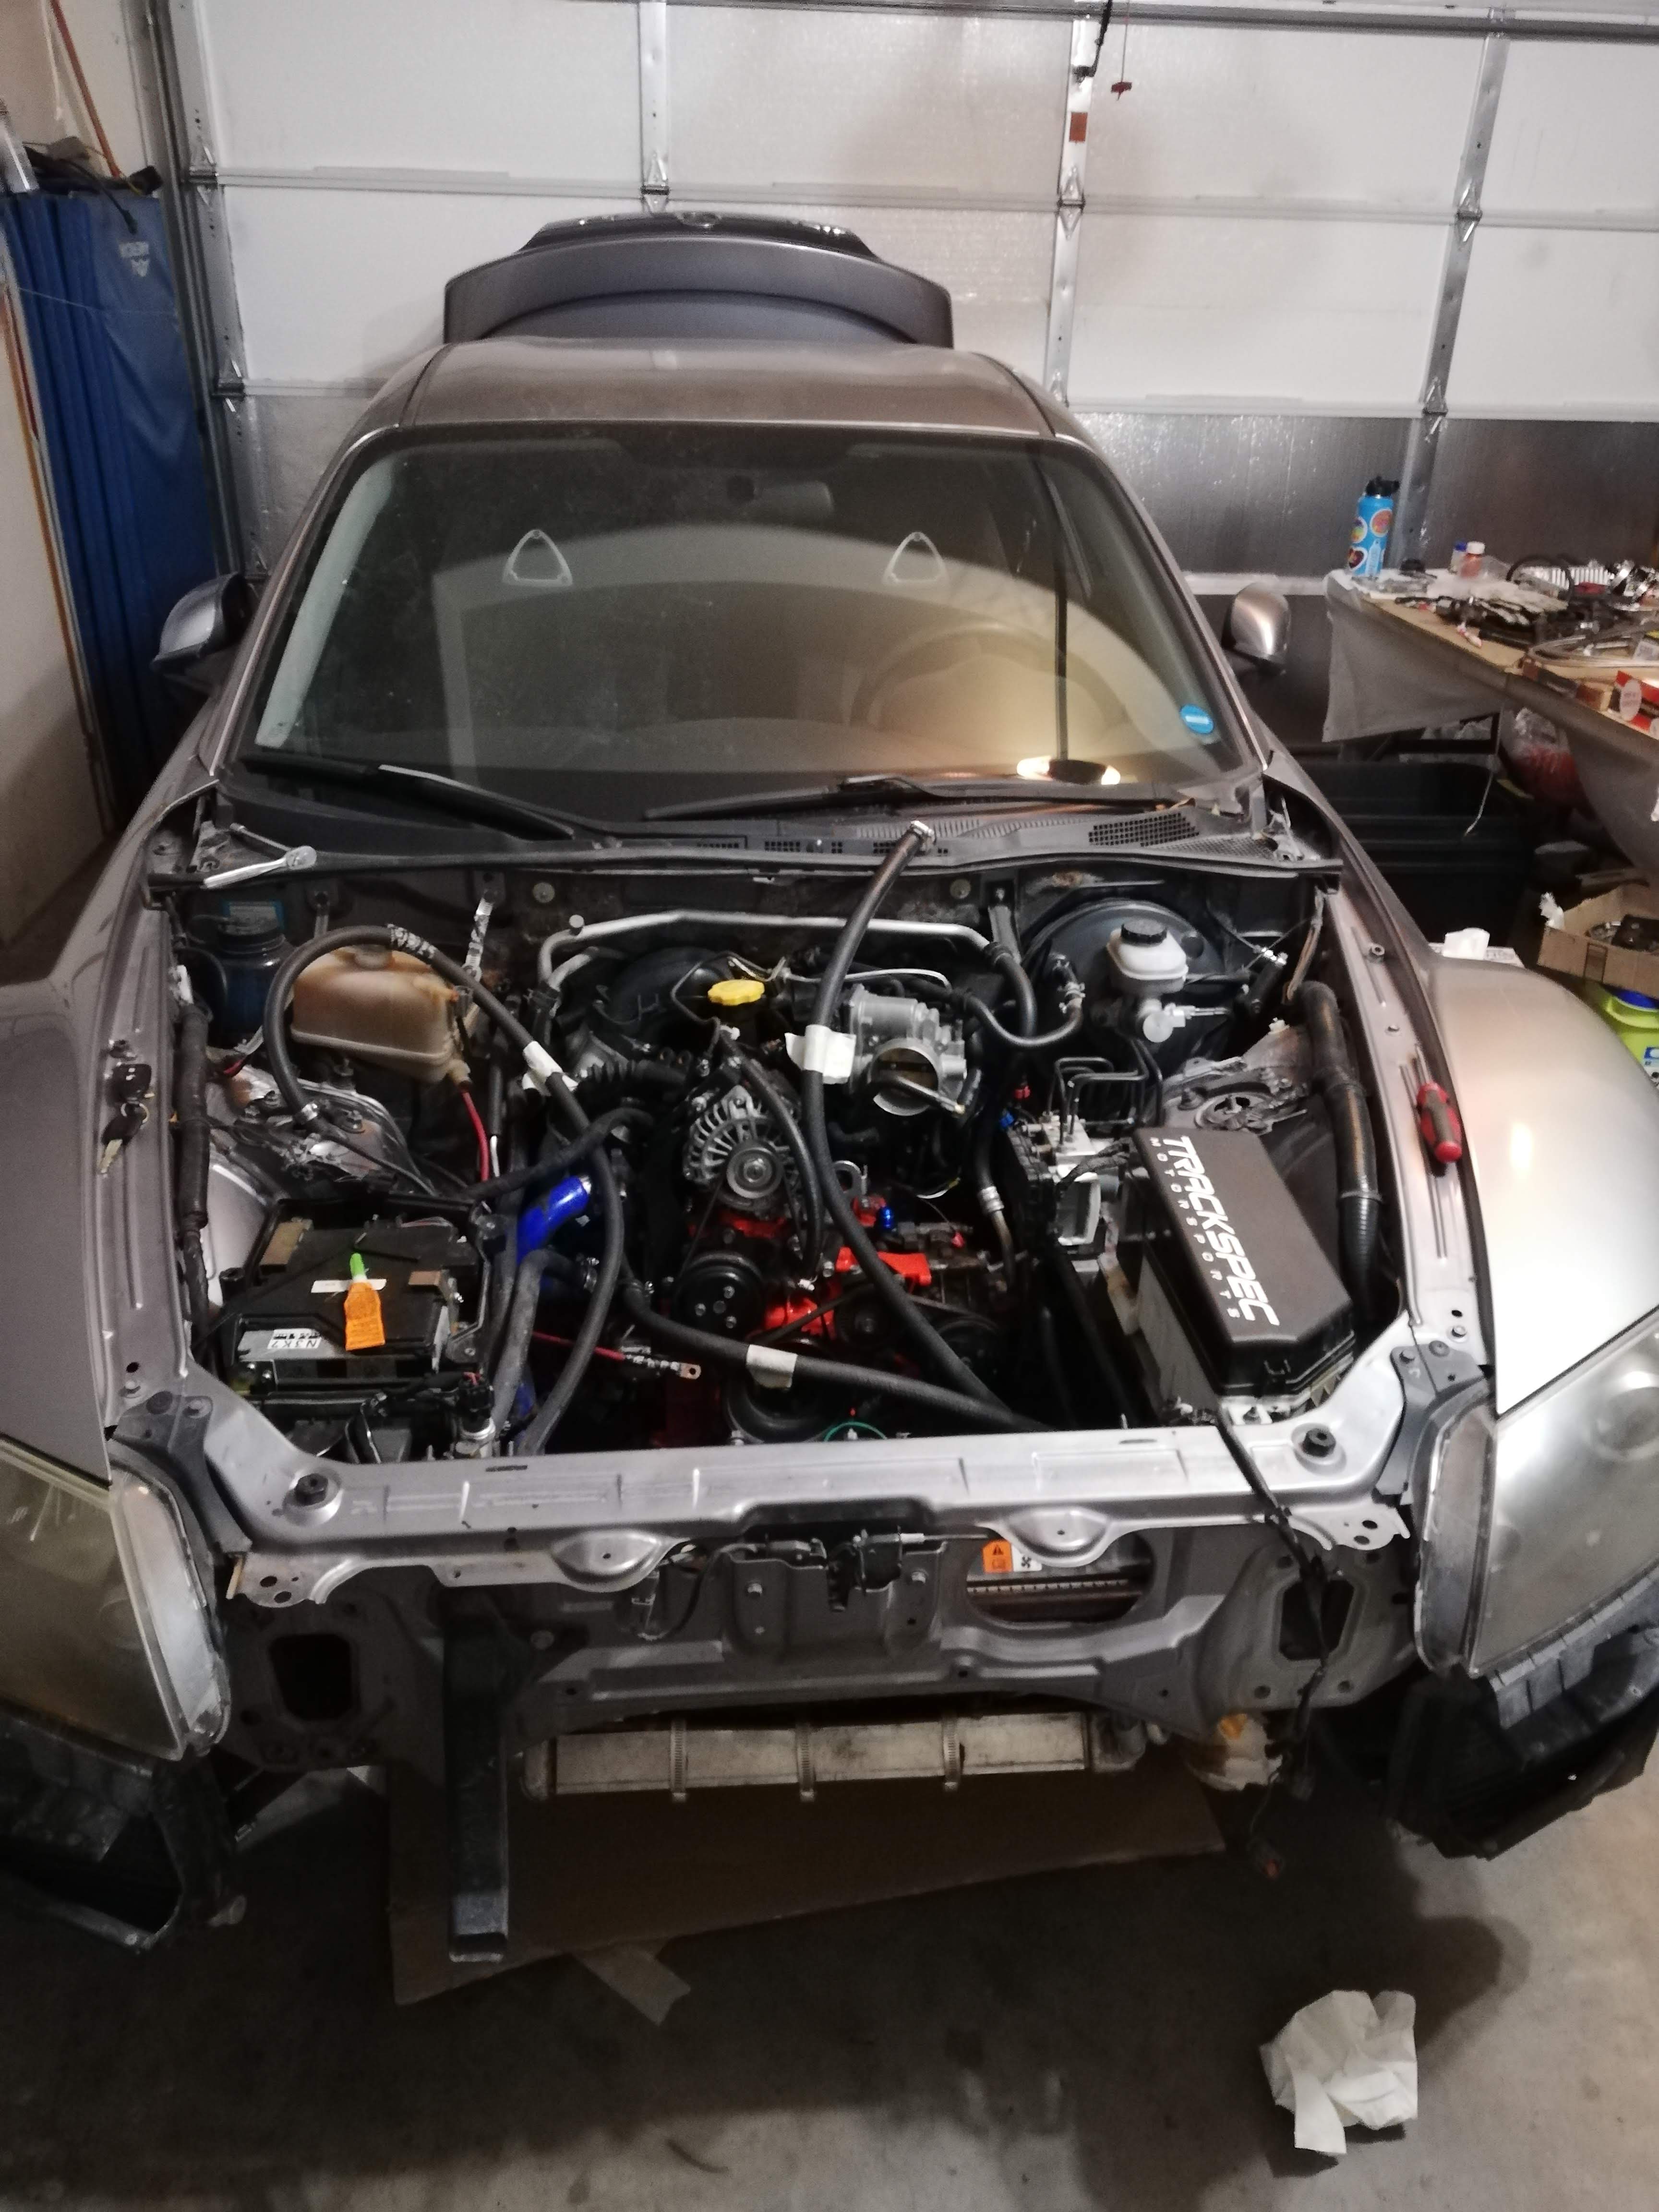
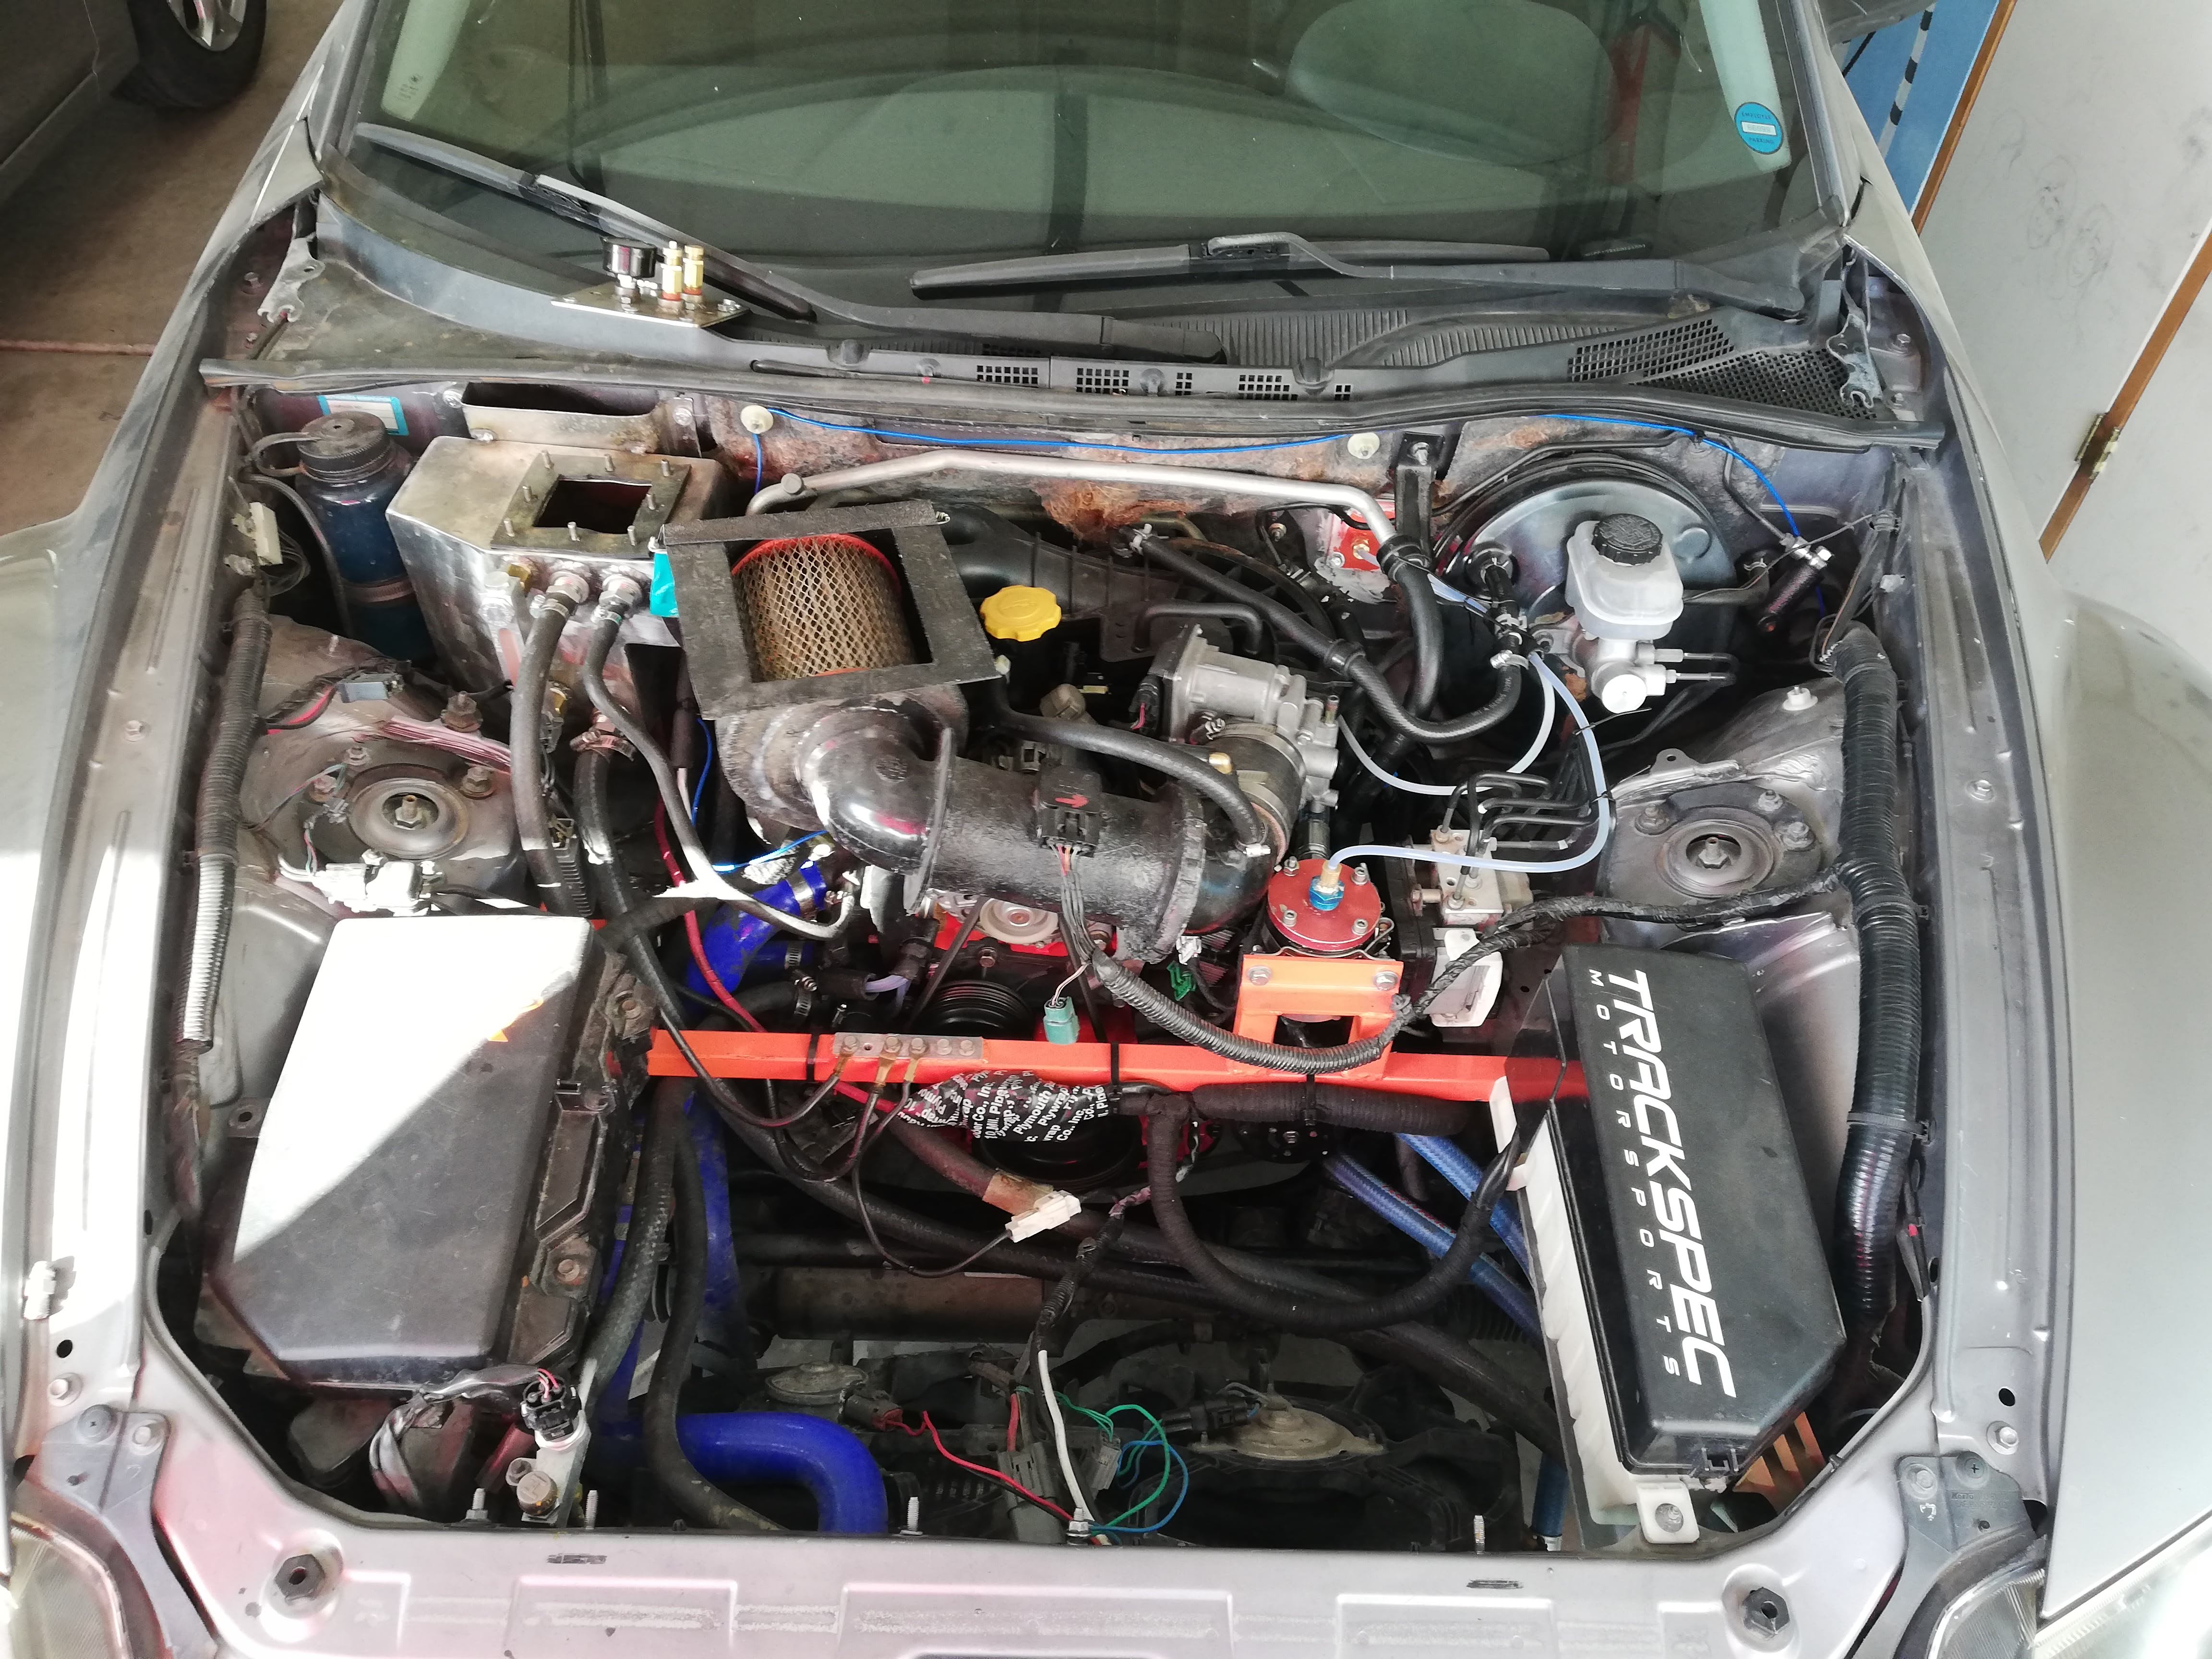
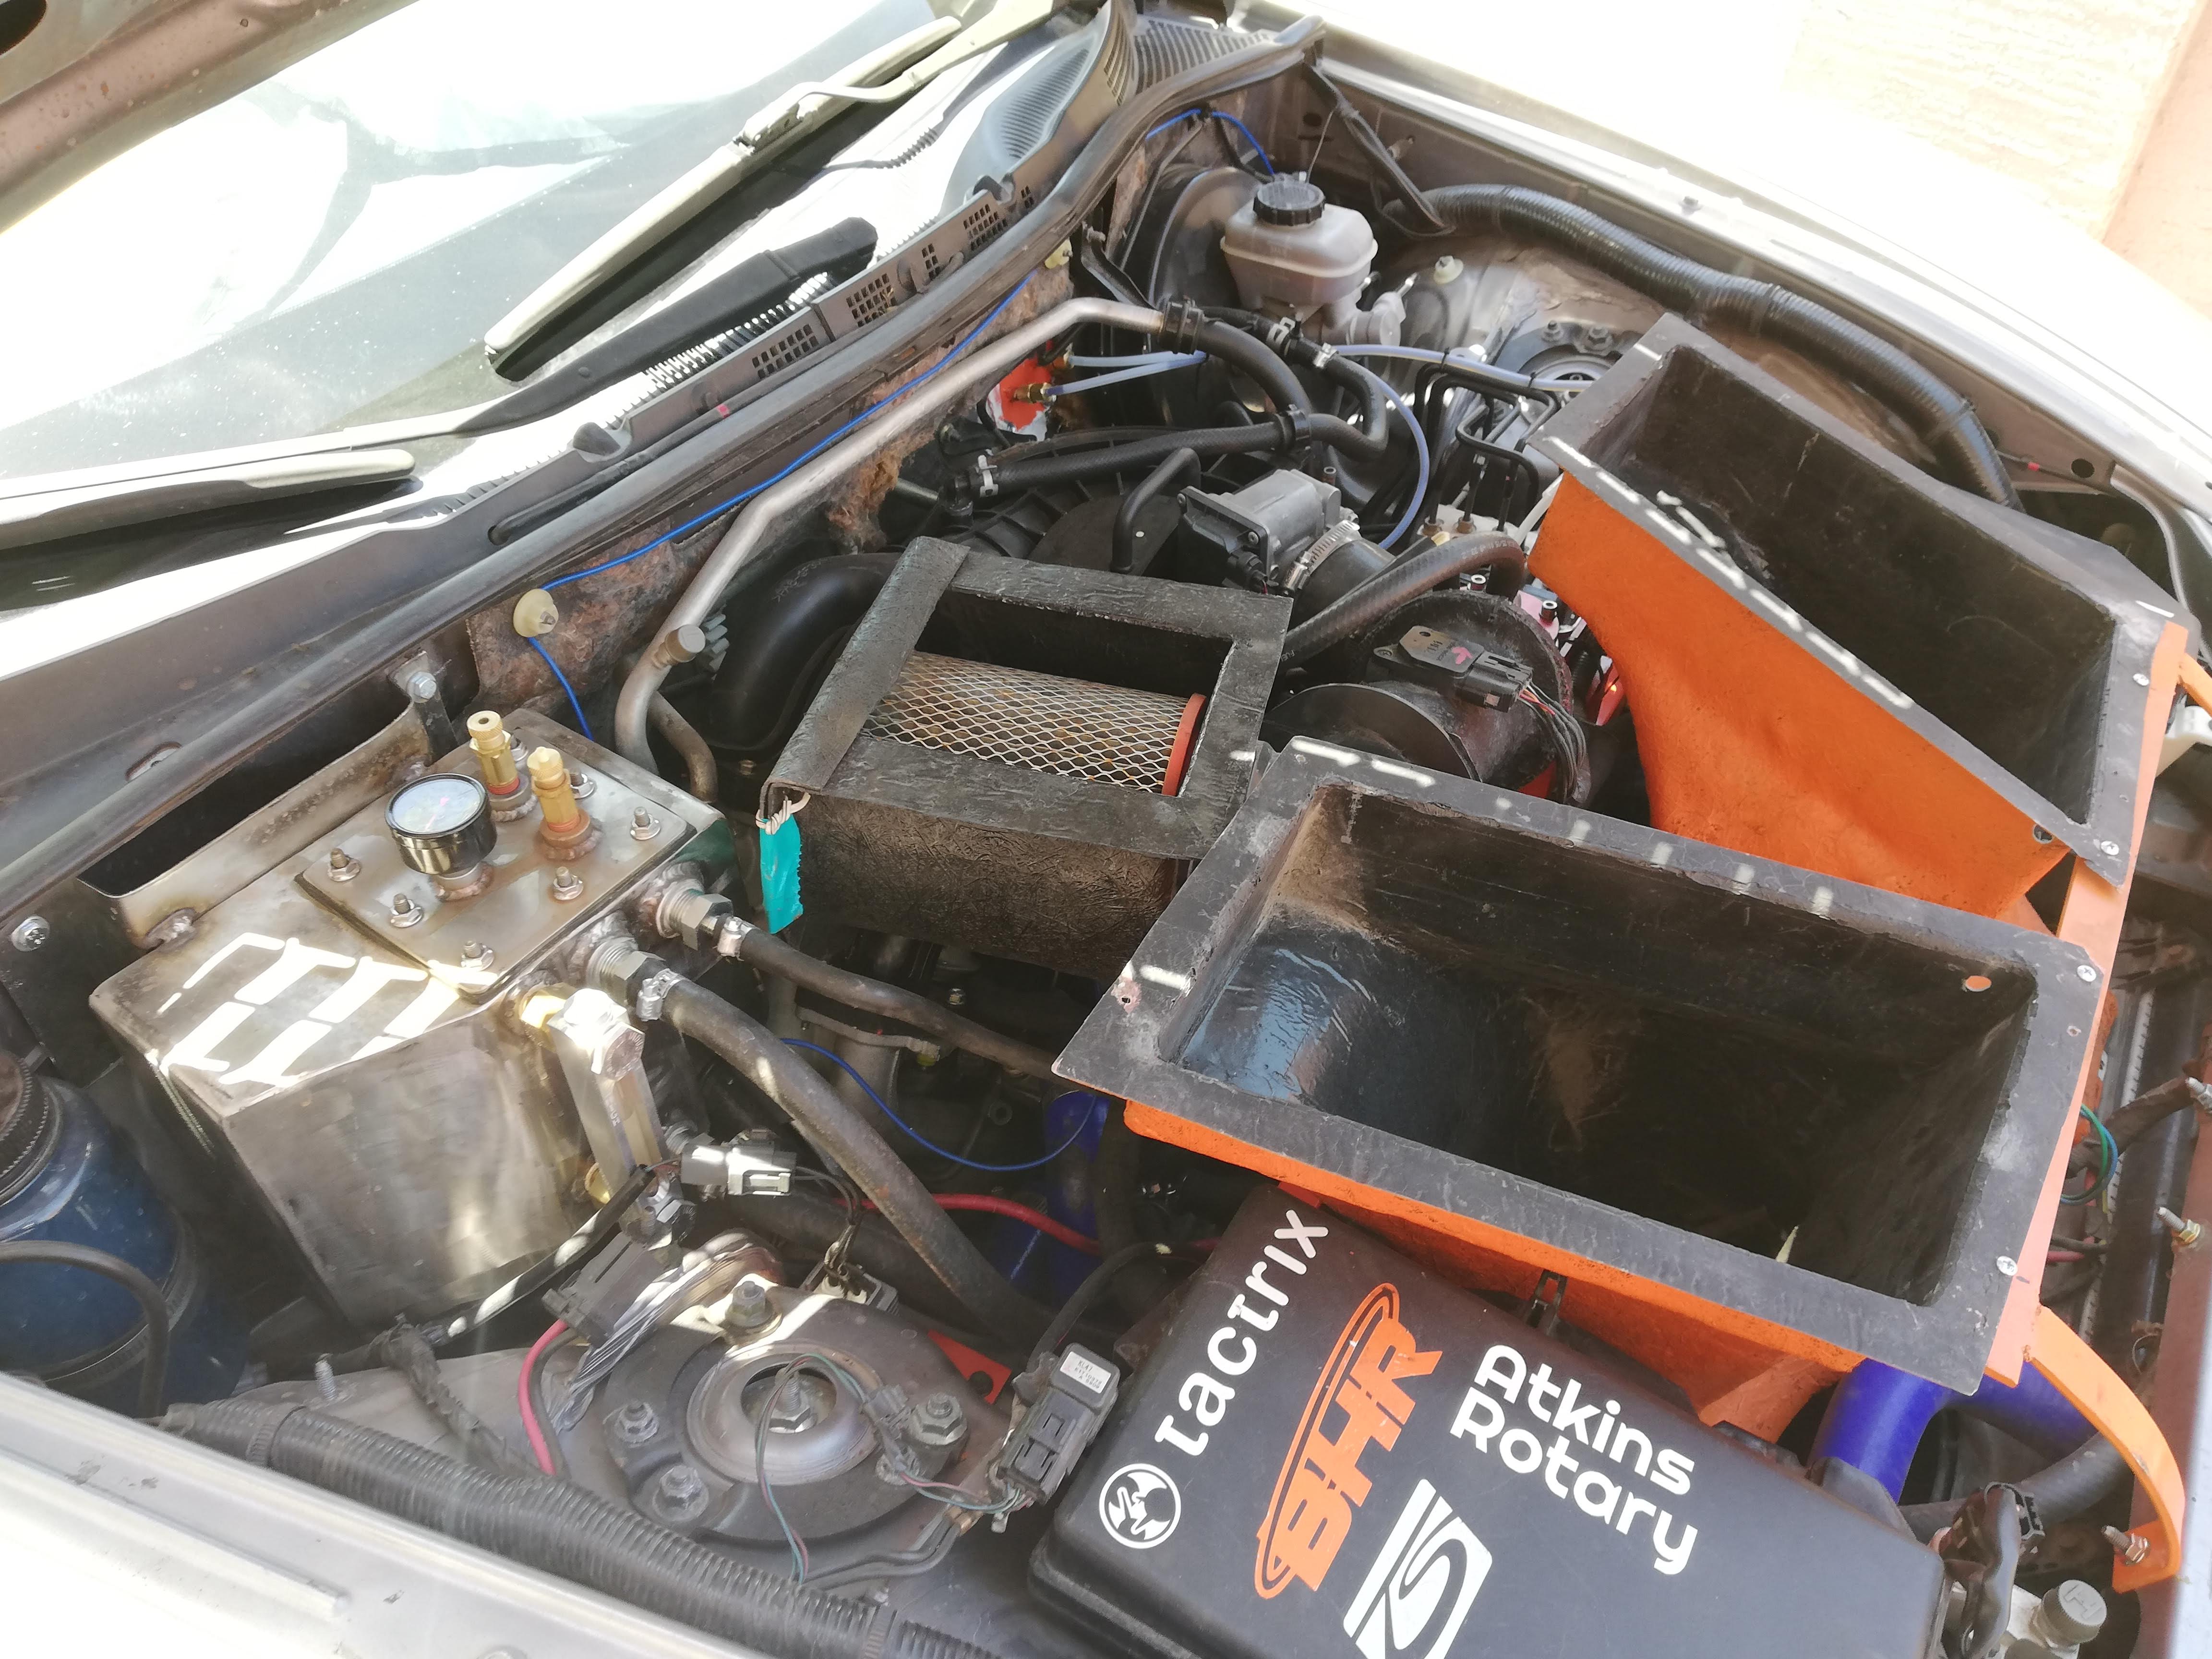
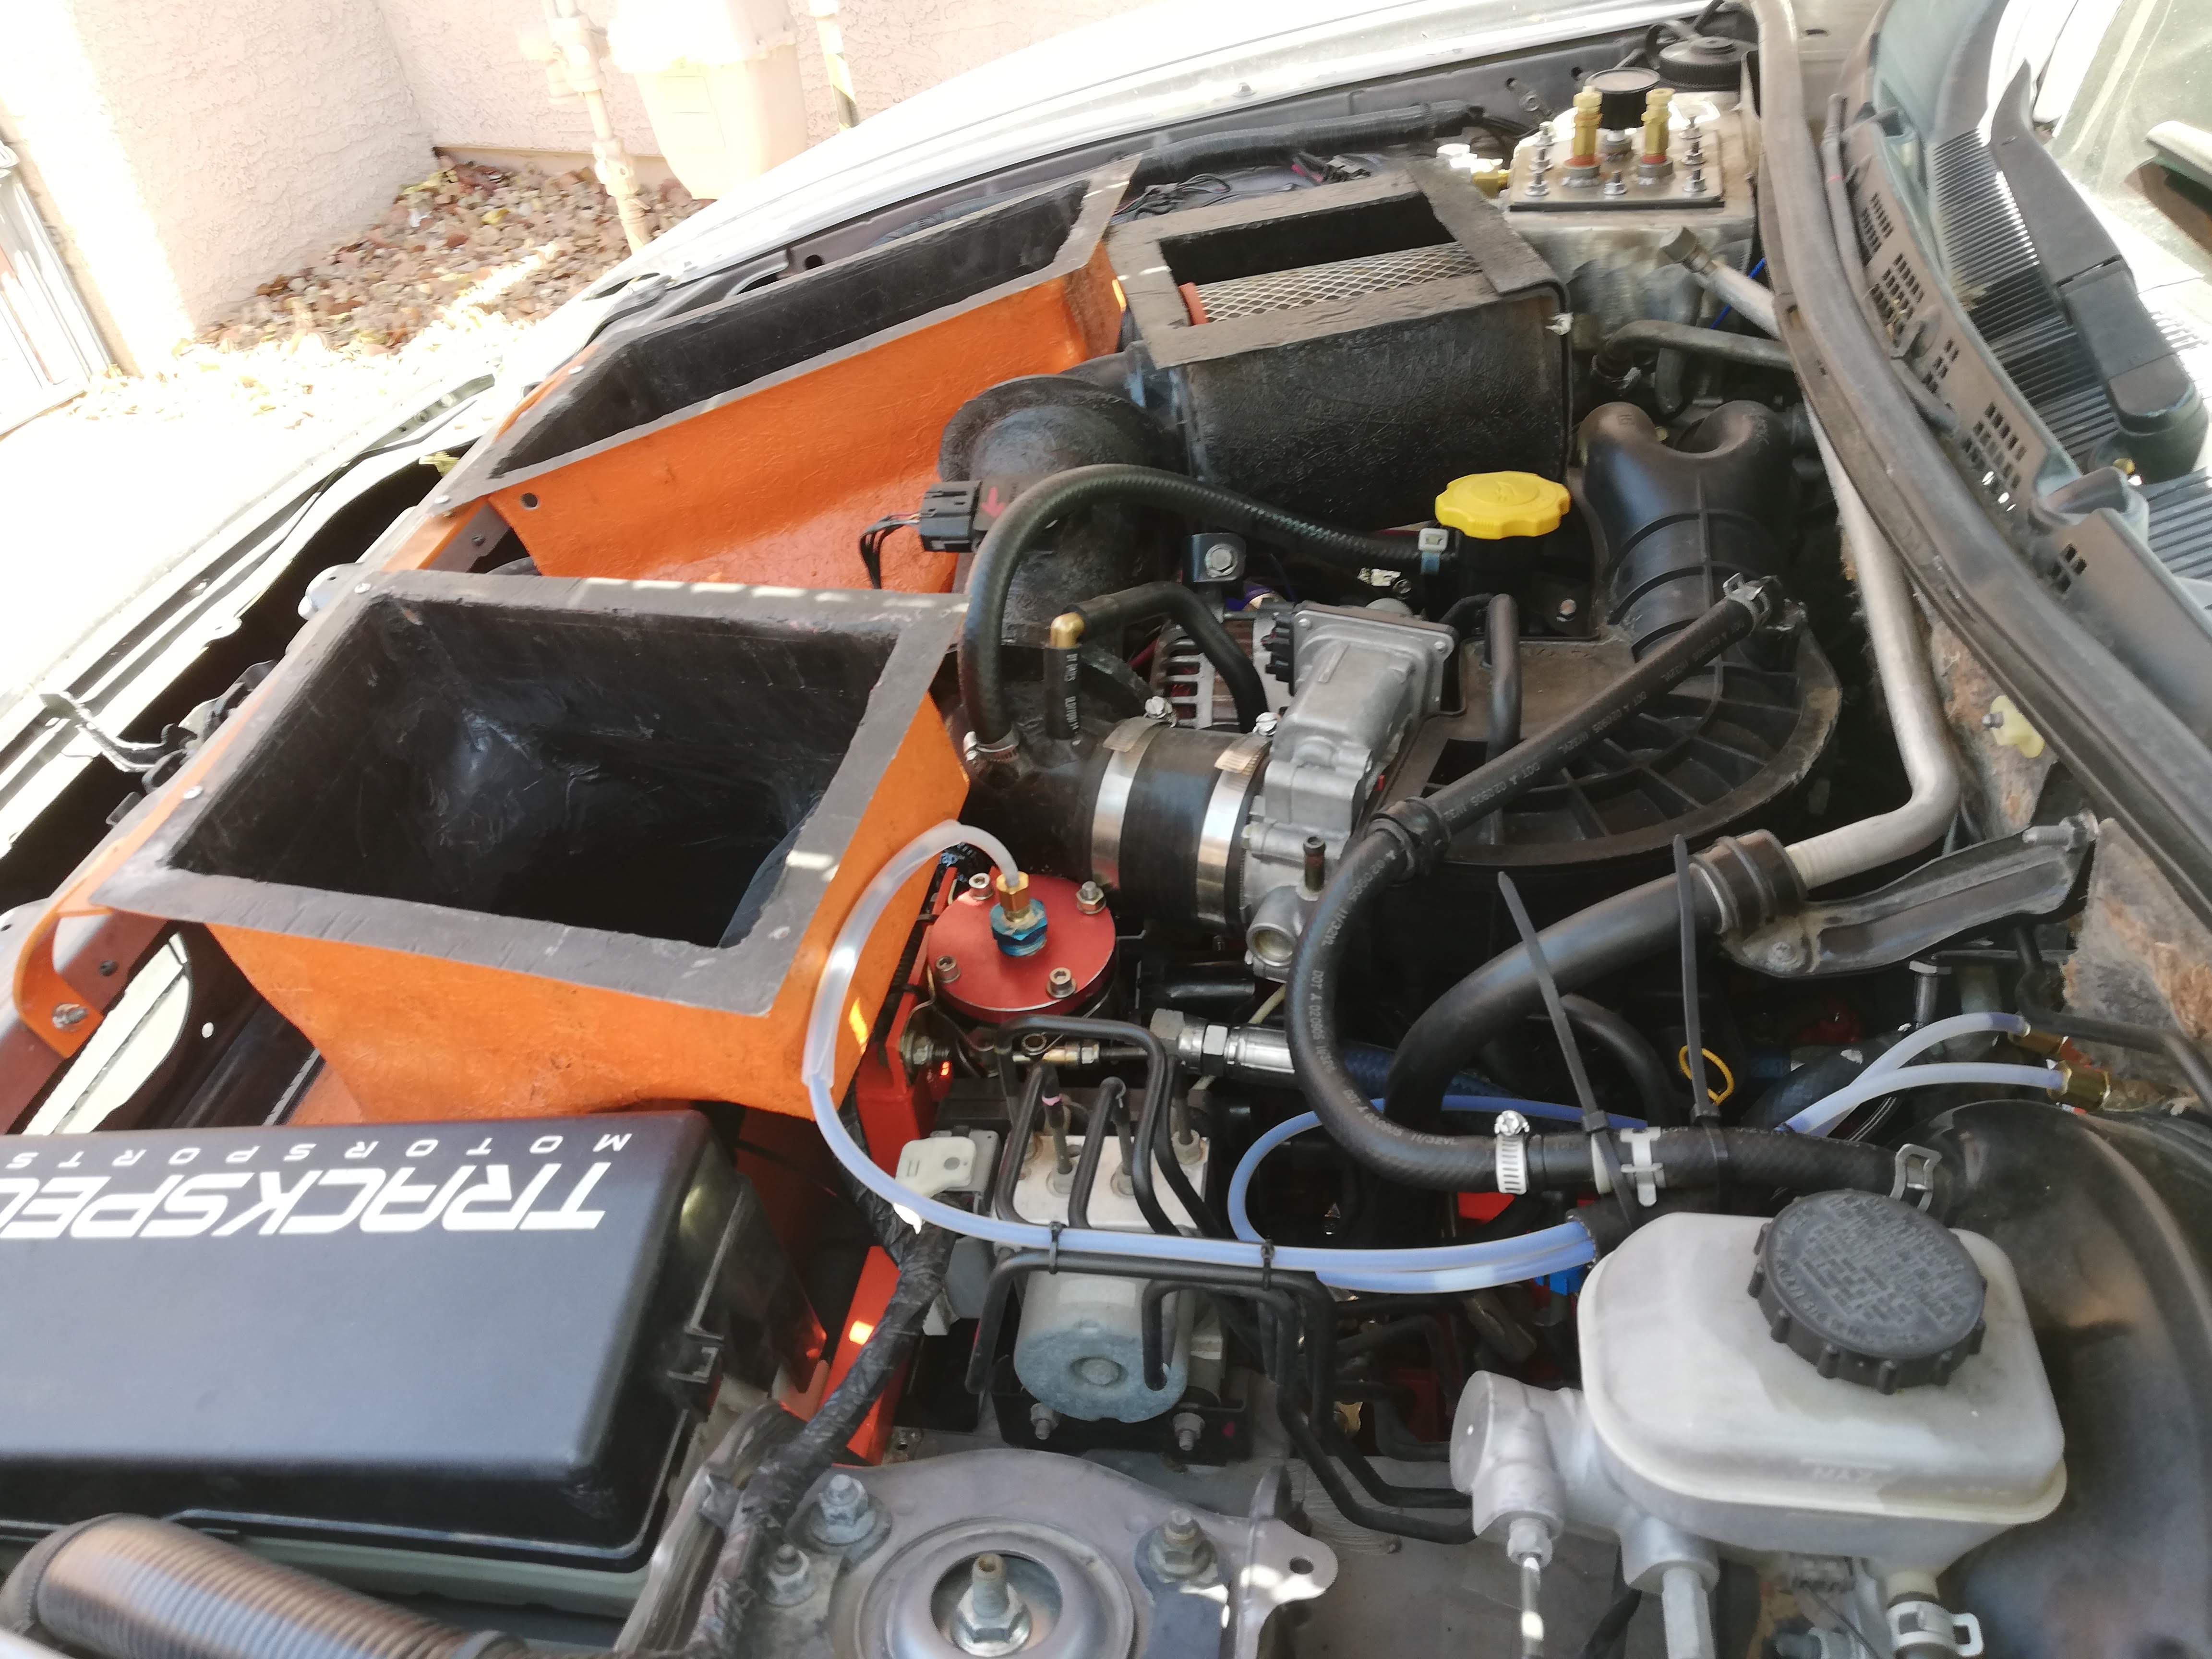
Here is what my Engine bay looks like at this point.
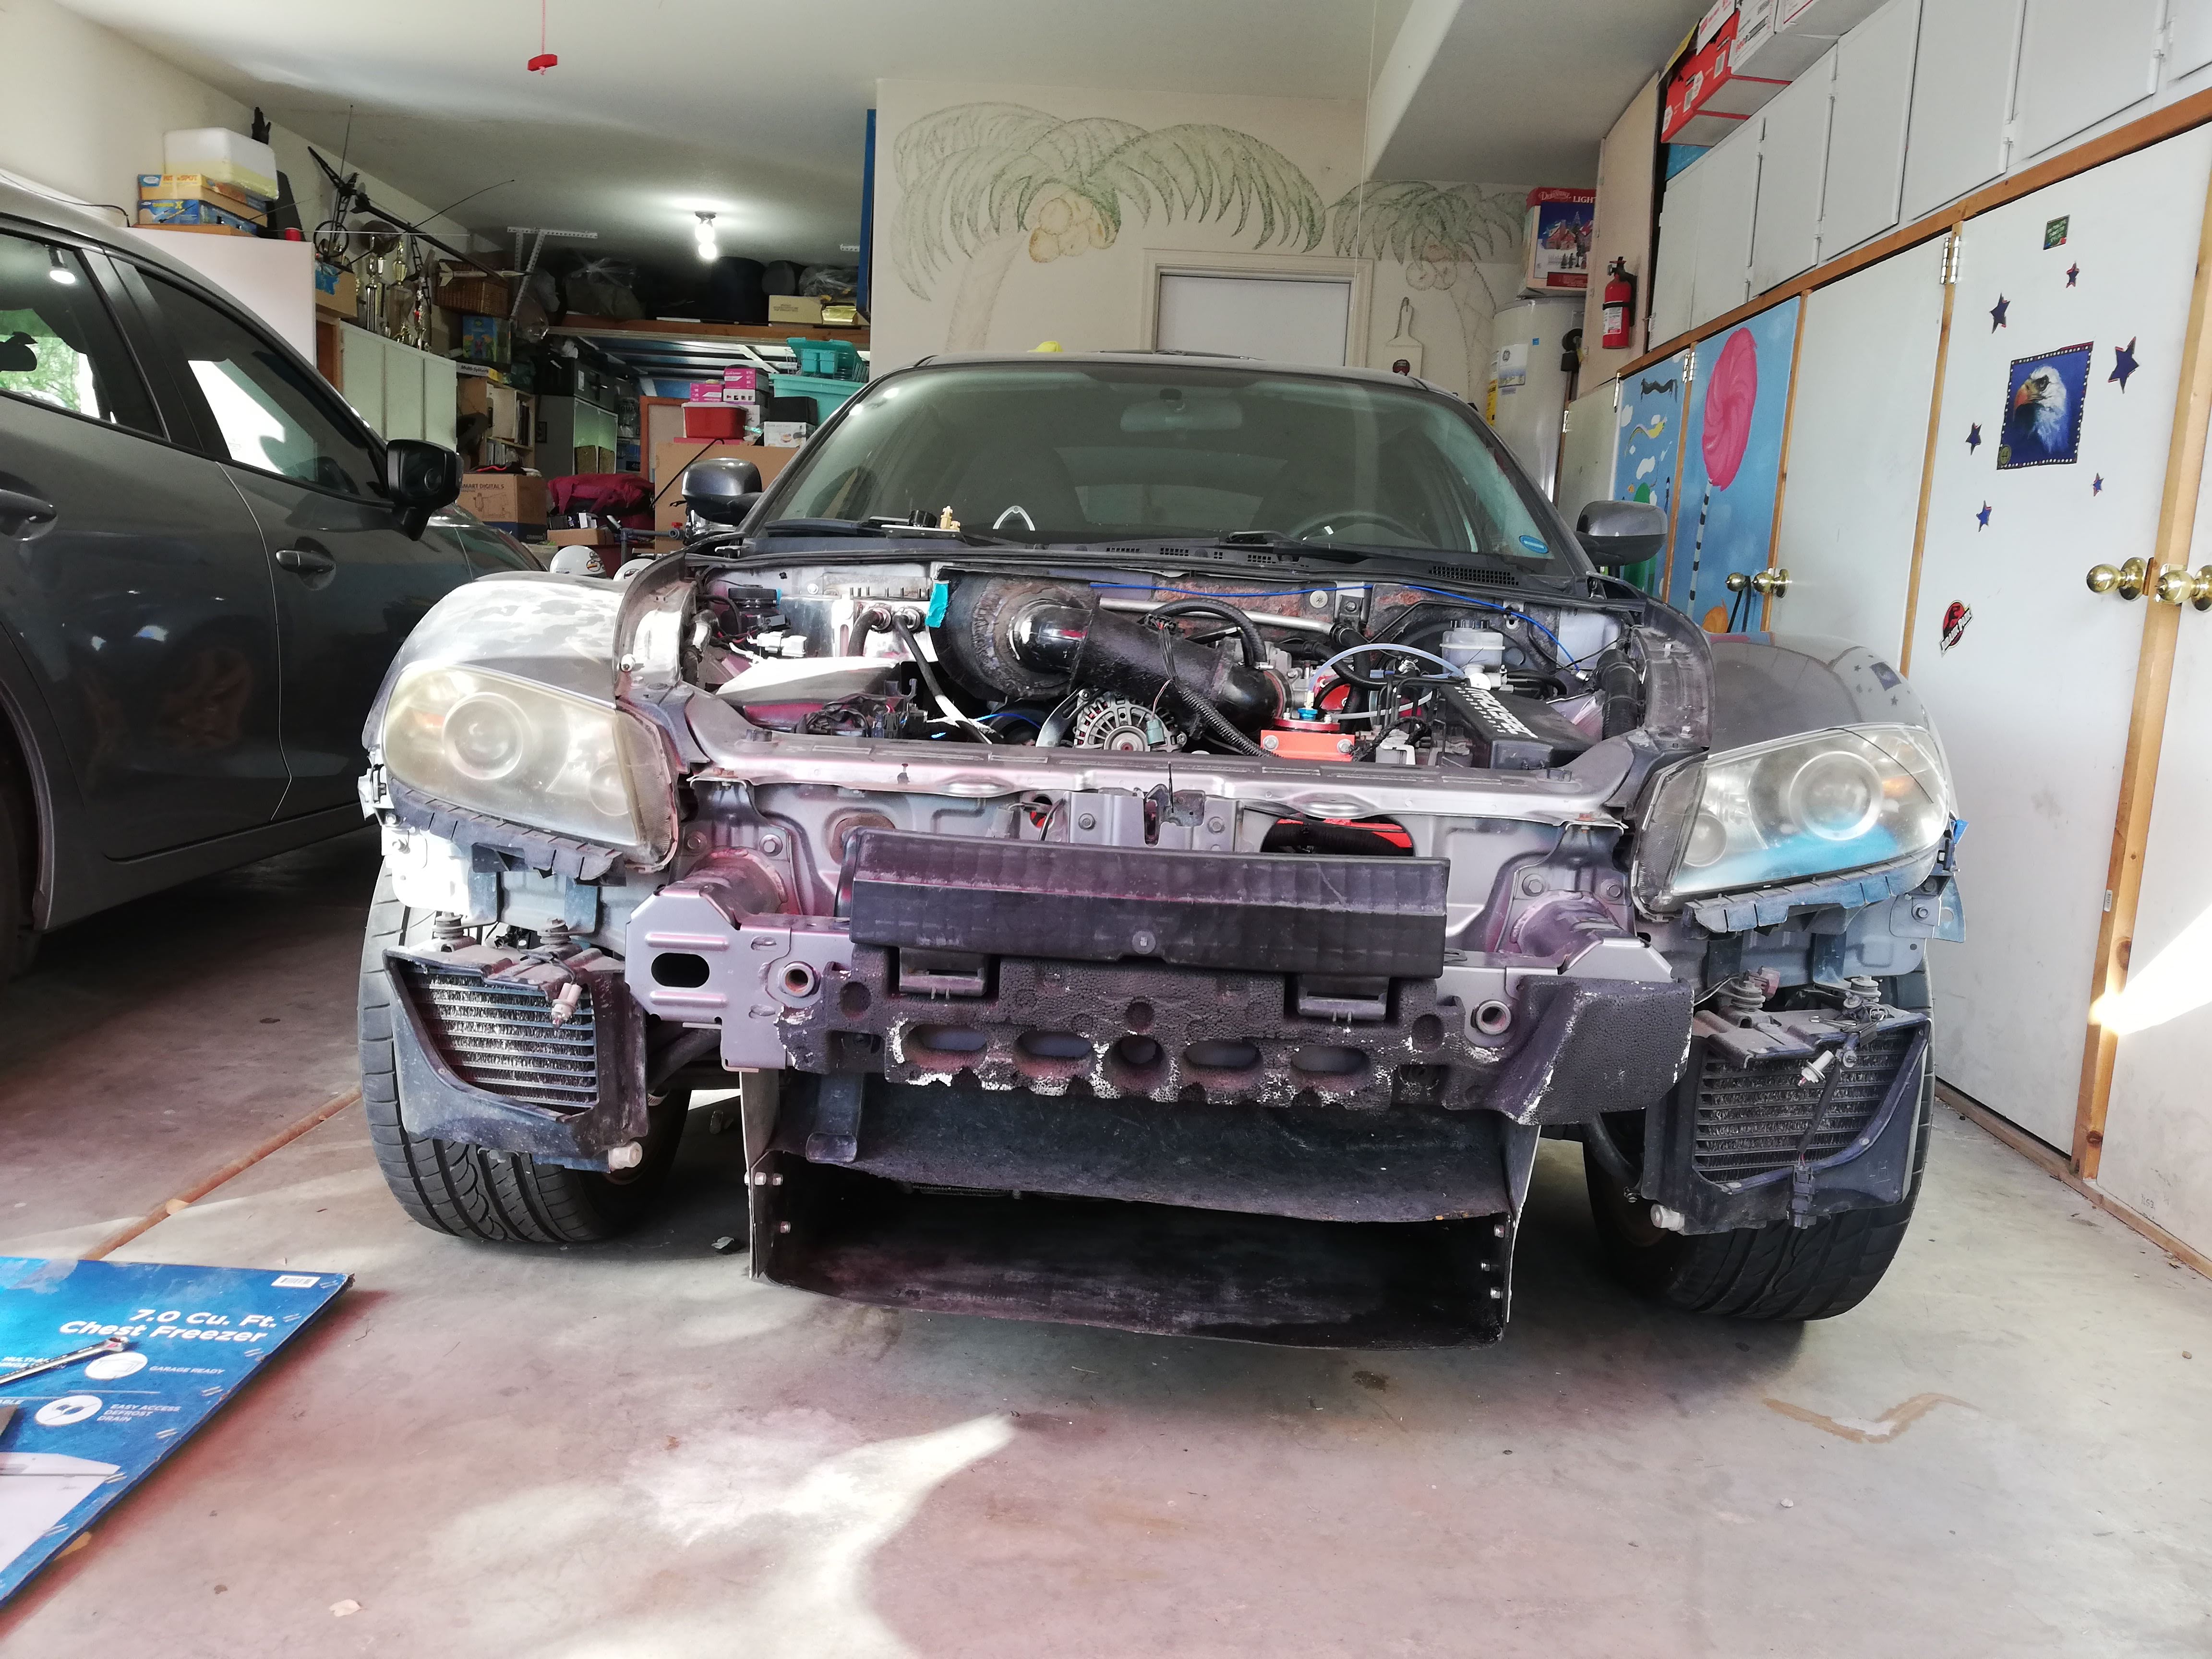
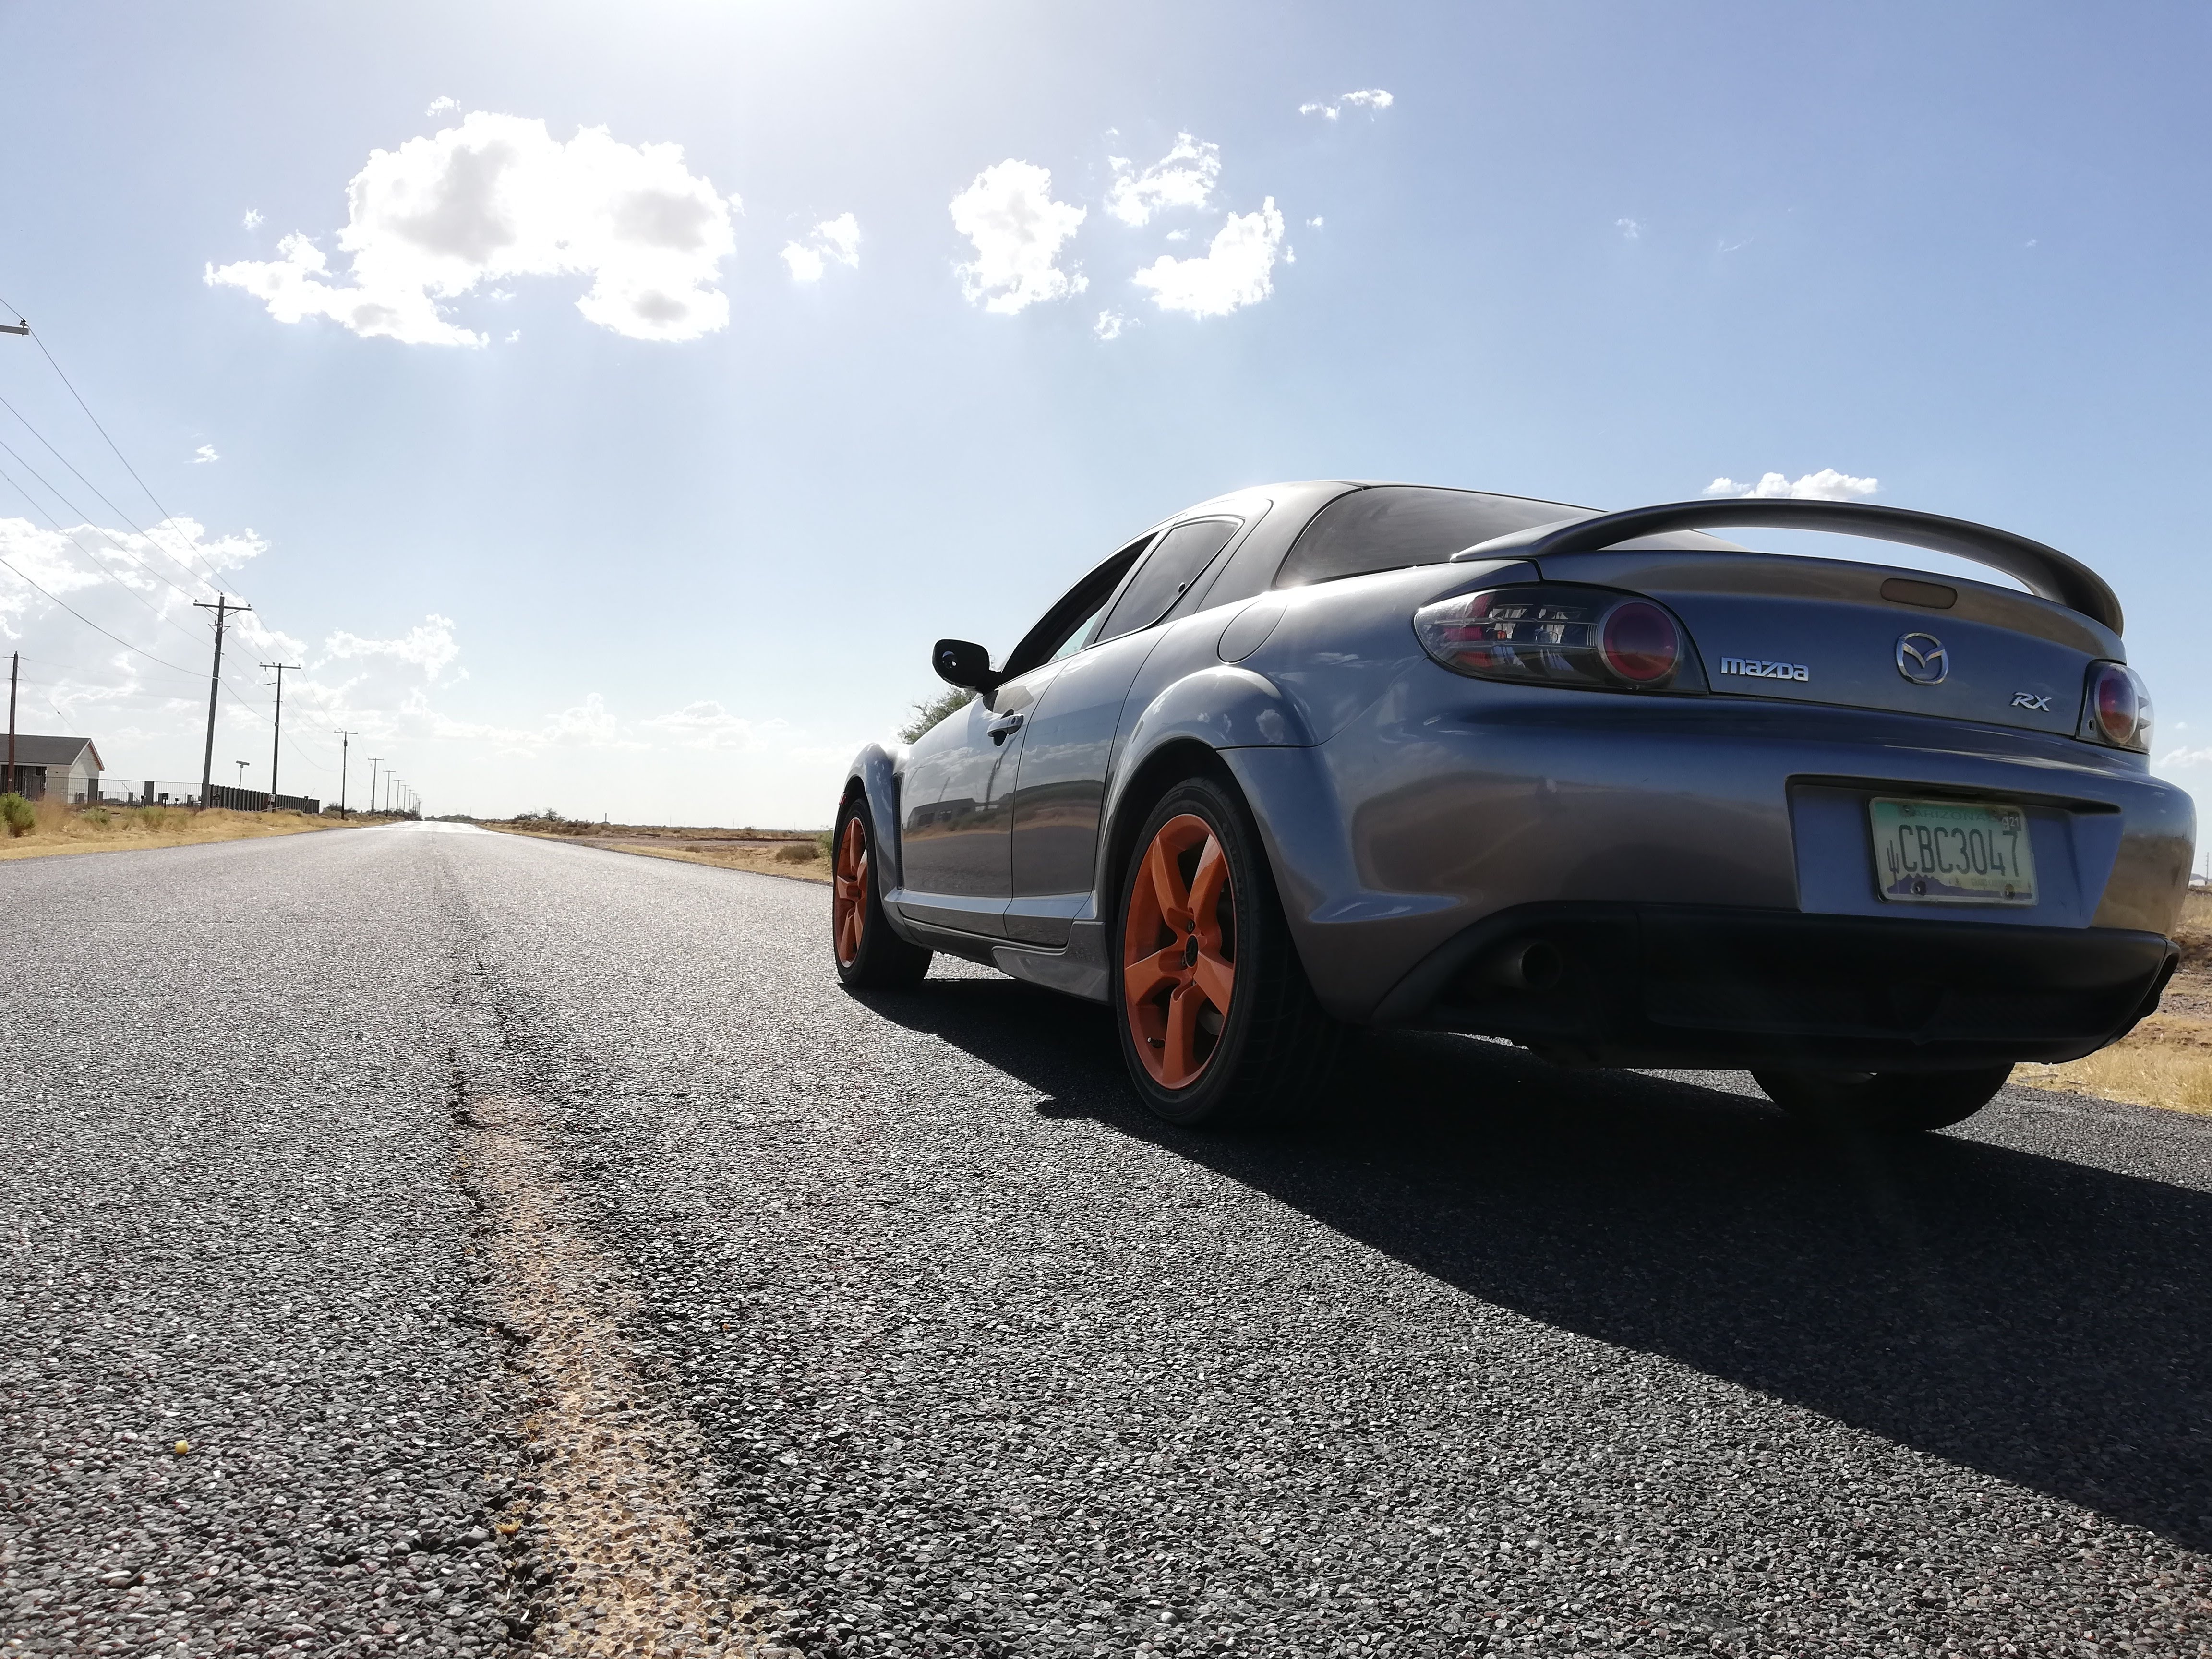
And here's the car.
Please ask questions, I don't post much here but I do check and I am over on r/RX8 and some people there even think that I know a little bit about what I'm doing!
 06-16-2017, 09:24 PM