
Esmeril Turbo Kit Review & Pics


Attracts tree branches
Joined: Jun 2004
Posts: 5,940
Likes: 3
It is outlined in the manual but if you follow static's diy you will be able to do it no problem...once you open up the pump assembly you will see the how easy it is to replace. The only only hard part is removing the ring that holds the assembly in the tank...be patient or get the tool...it will move, slowly but surely.
Our local dealers will lend out the fuel tank ring removal tool, some will only let you use it on site (in the parking lot for instance), some won't lend it out then you can do it yourself using the screw driver (or metal ruler, great idea static!) and a rubber mallet.
-Jason
Mazdaparts.com

Thread Starter
The Professor
Joined: Aug 2004
Posts: 3,479
Likes: 7
From: Omaha, NE
Thread Starter
The Professor
Joined: Aug 2004
Posts: 3,479
Likes: 7
From: Omaha, NE
DIY: Remove Air Pump
Step 1: disconnect negative battery cable if you haven't already.
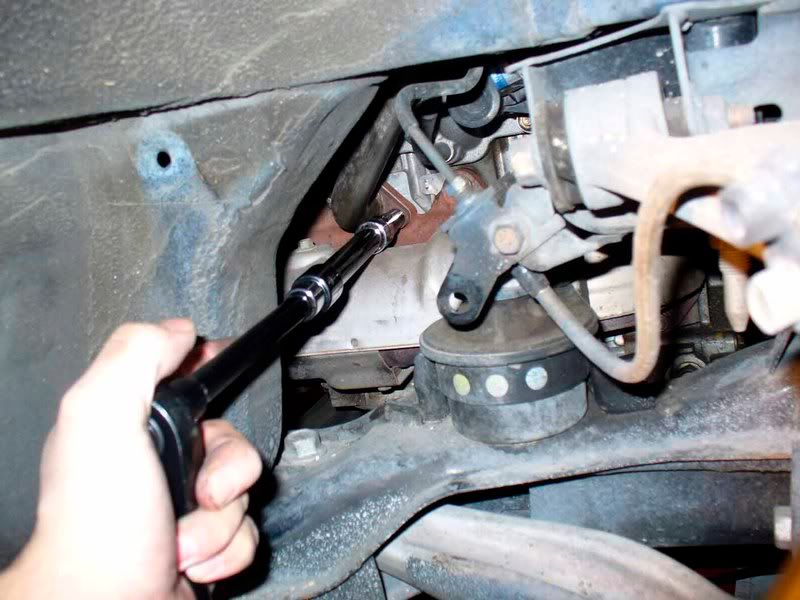
Step 2: jack up car and take off the passenger side wheel, and remove the little flap by the brake line and the two plastic pop rivets that hold it on.
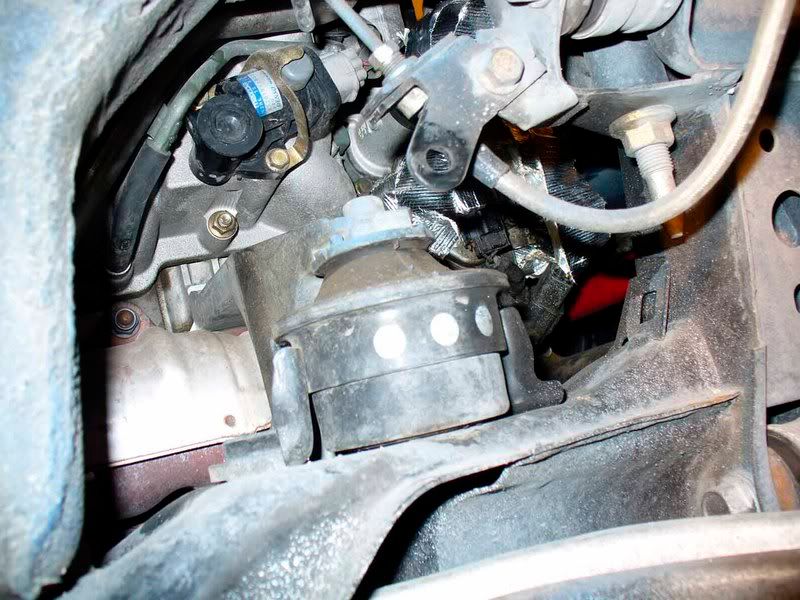
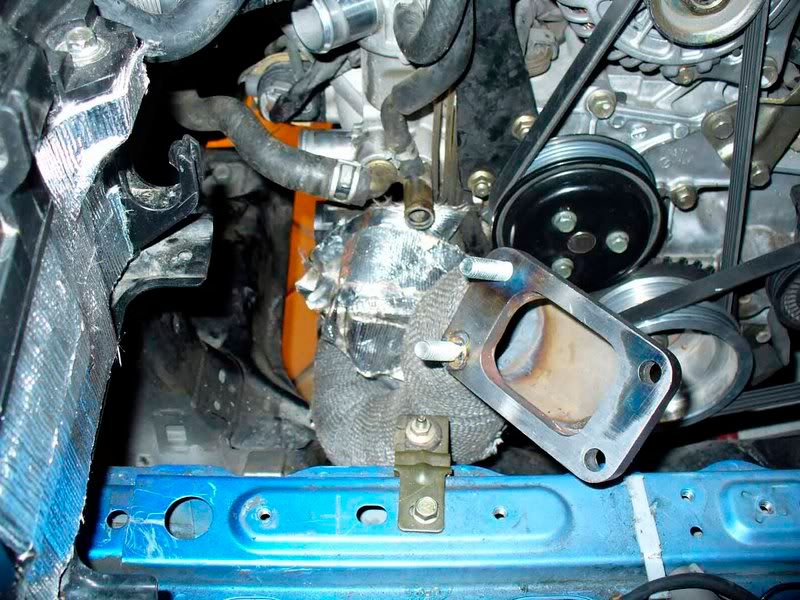
Step 3: remove the 5 or so bolts and one nut on the top of the black assembly and remove the hose connecting the air pump to the exhaust valve. (not shown)
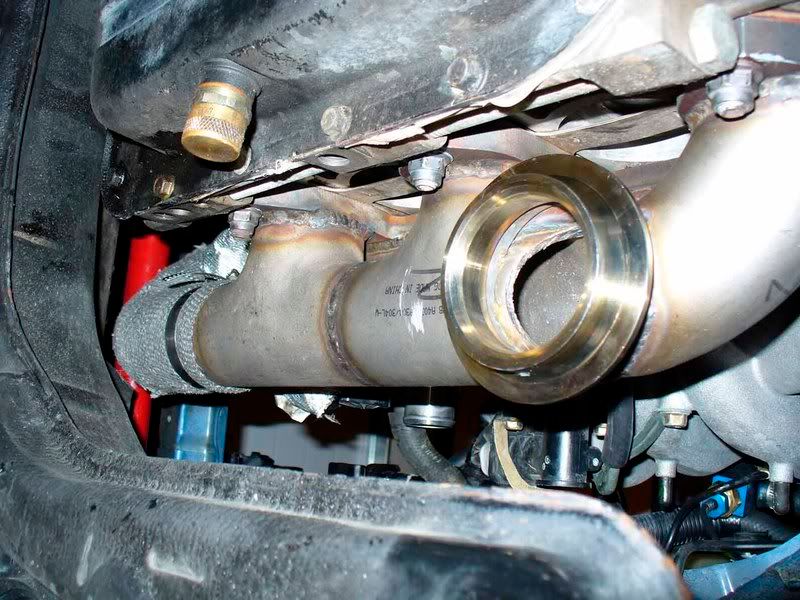
Step 4 unbolt the bolt at the top of the exhaust valve pipe and unclip the engine harness.
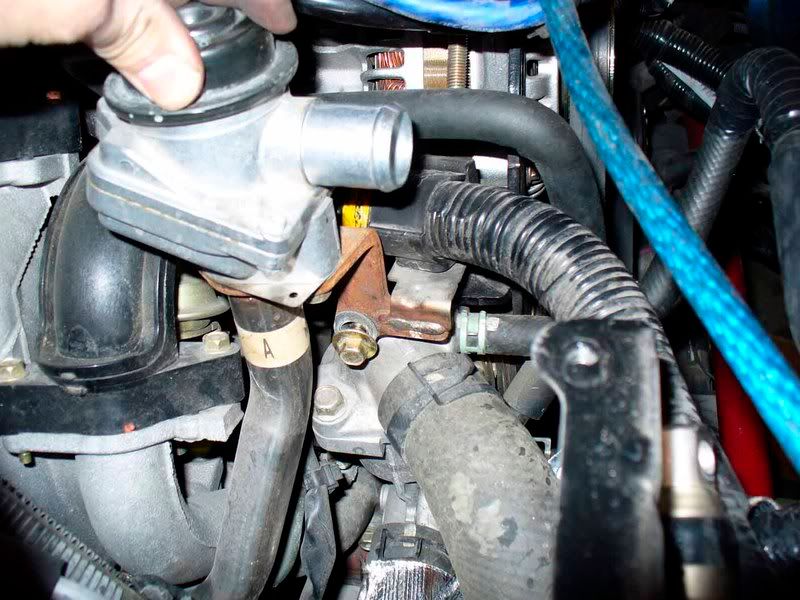
Step 5 remove the 2 10mm bolts from the engine manifold.
Step 6: pull the exhaust valve up through the engine bay.
Step 2: jack up car and take off the passenger side wheel, and remove the little flap by the brake line and the two plastic pop rivets that hold it on.
Step 3: remove the 5 or so bolts and one nut on the top of the black assembly and remove the hose connecting the air pump to the exhaust valve. (not shown)
Step 4 unbolt the bolt at the top of the exhaust valve pipe and unclip the engine harness.
Step 5 remove the 2 10mm bolts from the engine manifold.
Step 6: pull the exhaust valve up through the engine bay.


 If only my wife was as enthusiastic about it as me.....


werD?
Joined: Aug 2004
Posts: 394
Likes: 0
From: Fort Lee, NJ

then slide in the topic of "i really need turbo" and hope for the best

I gotta subscribe here, I think I want this turbo someday--not until after my warranty ends in Nov. I'm also hoping you have it done by the meet, can't wait to check it out! I'm not sure if it's a server problem or not, but I don't see any pics. Thanks for showing all of the DIY by the way...although if I order the kit one of these days I'll definately need help from somebody
I gotta subscribe here, I think I want this turbo someday--not until after my warranty ends in Nov. I'm also hoping you have it done by the meet, can't wait to check it out! I'm not sure if it's a server problem or not, but I don't see any pics. Thanks for showing all of the DIY by the way...although if I order the kit one of these days I'll definately need help from somebody

Attracts tree branches
Joined: Jun 2004
Posts: 5,940
Likes: 3


damn, im jealous
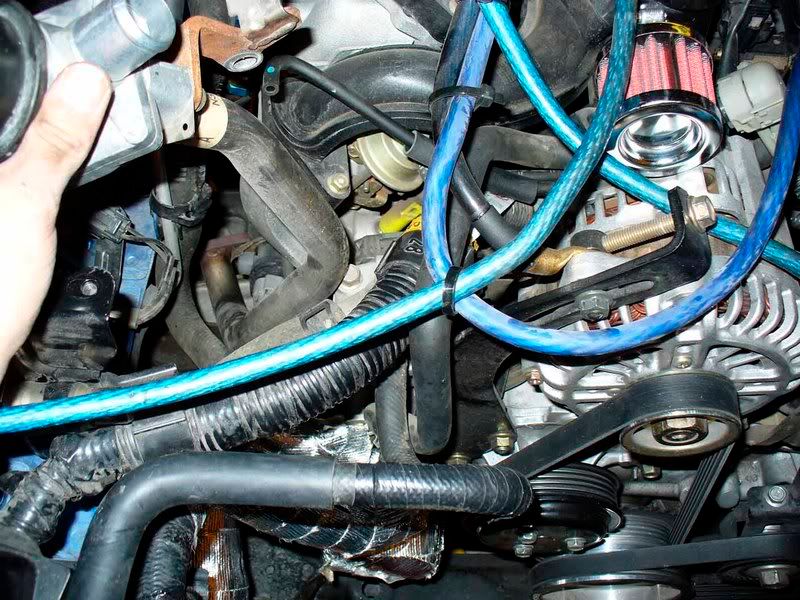
static, i can't tell from the pic, but did you heat wrap the OMP?
i wonder if there is enough space to fit the Sohn OMP. what do you think? probably will need the BHR one when charles gets it done.
static, i can't tell from the pic, but did you heat wrap the OMP?
i wonder if there is enough space to fit the Sohn OMP. what do you think? probably will need the BHR one when charles gets it done.
Thread Starter
The Professor
Joined: Aug 2004
Posts: 3,479
Likes: 7
From: Omaha, NE
There is not an inch of space around the piping. Its jam packed in there! The Sohn could fit but it would be a tight squeeze, I would wait for the BHR version just to keep its distance from the piping.


werD?
Joined: Aug 2004
Posts: 394
Likes: 0
From: Fort Lee, NJ
dang... amazing... ur well underway.
projected time when u think u'll have everything installed? =P
if you can get a dyno out, esmeril turbo would probably sell by the bundles lol.
ur doing a great service for us all =D
projected time when u think u'll have everything installed? =P
if you can get a dyno out, esmeril turbo would probably sell by the bundles lol.
ur doing a great service for us all =D