
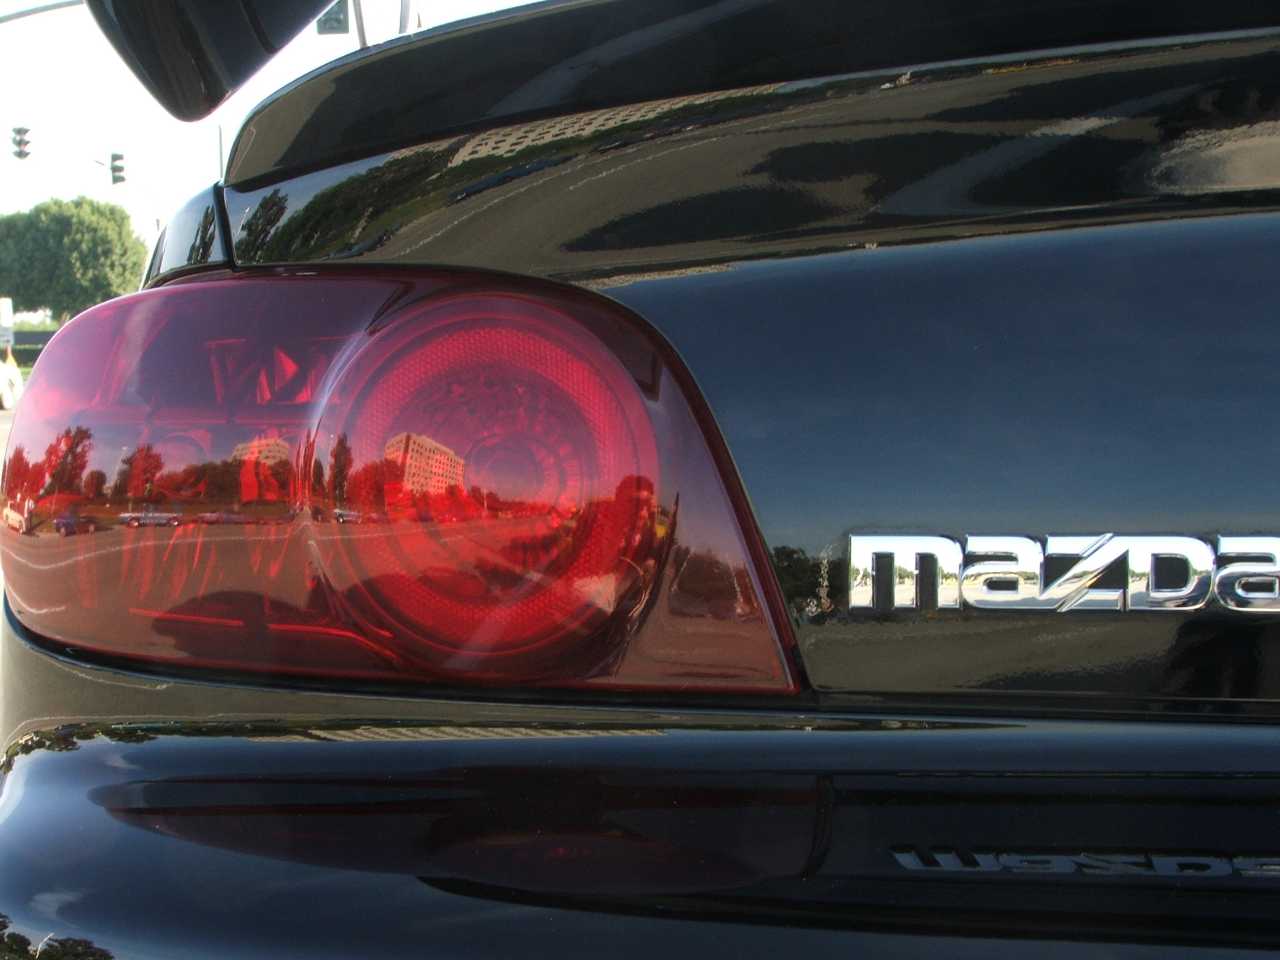
"Red-out" Taillight Film


Dawn
Joined: Dec 2006
Posts: 163
Likes: 0
From: South Jersey
im gonna attempt this tonight or tomorrow after work. i have the precut pieces and i picked up a window tint kit...spray, suquegee(sp?), and razor blade. from what im reading it sounds pretty easy just a lil time consuming. any other info i should know??

Bigboy in a little car!
Joined: Nov 2004
Posts: 1,276
Likes: 7
From: In So Cal.. out in BFE... but in the good part... but not really by Cesar, Keith or Loren...
Keith, have any idea where the pictures is that has all the corners (like above) with the added yellow on yellow?
I have it at home. but I am not home right now.
I think it is in the old SB thread..... which means we would never find it....
I have it at home. but I am not home right now.
I think it is in the old SB thread..... which means we would never find it....
Bigboy in a little car!
Joined: Nov 2004
Posts: 1,276
Likes: 7
From: In So Cal.. out in BFE... but in the good part... but not really by Cesar, Keith or Loren...
here it is....
Please keep in mind that the bottom right picture makes it look worse then it really is. when the car is outside in the sun it is a much closer match... not perfect, but not bad either. (I really should update that picture. )
)
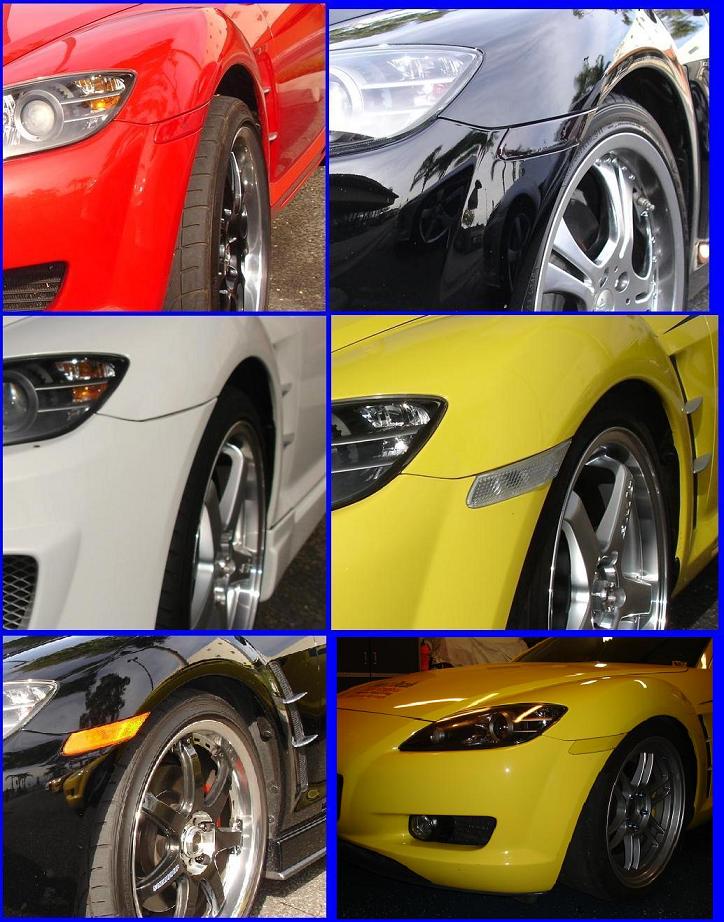
Please keep in mind that the bottom right picture makes it look worse then it really is. when the car is outside in the sun it is a much closer match... not perfect, but not bad either. (I really should update that picture.
)


Thread Starter
One ball, corner pocket
Joined: Apr 2004
Posts: 2,053
Likes: 1
From: Fontucky, right next to Patriotville
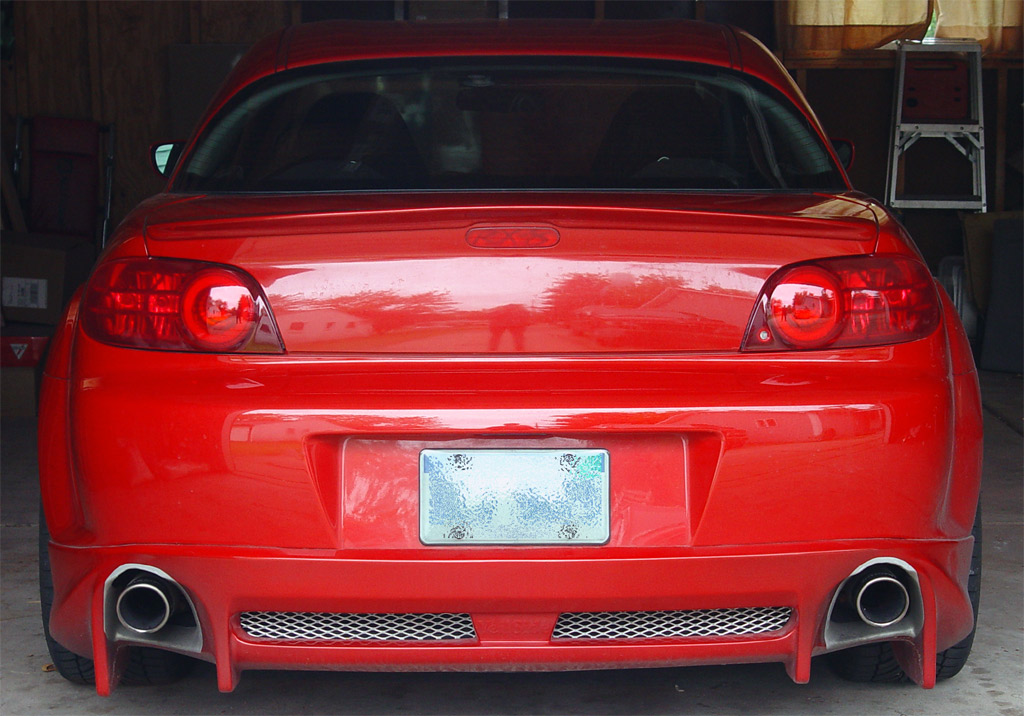
Paint or Film
SC's pics show that you can get about the same result from paint, as you can from film. Advantage of paint, no bubbles, complete coverage. Advantage of film, reversable upon fixit ticket, cheaper.
PAINTED
FILM OVERLAY
PAINTED
FILM OVERLAY
Thread Starter
One ball, corner pocket
Joined: Apr 2004
Posts: 2,053
Likes: 1
From: Fontucky, right next to Patriotville
Glad to hear that you were able to try this weekend. Please post up pictures so I can see how you did. I can't understate, how hard this is to do on our lights.
Thread Starter
One ball, corner pocket
Joined: Apr 2004
Posts: 2,053
Likes: 1
From: Fontucky, right next to Patriotville
when I first looked into doing this, there were threads of guys spraying their lights with "night shade" products, or other inferior paint products. The finished projects looked beautiful, but were not long term solutions. In one case, the paint cracked and fell off.
So, more info from SC-ed on the product used, and maybe the costs involved would be helpful.
So, more info from SC-ed on the product used, and maybe the costs involved would be helpful.


Registered
Joined: May 2005
Posts: 417
Likes: 2
Reverse light. Probably illegal. But if you get a ticket its easy to sand it down a little and reclear them. Have you seen those pink reverse lights from the factory on some cars?
One more advantage of painting process I used. You can play with the color mix - dark, light, pink, red whatever you want. First I tried some red I had in the garage on a piece of plexiglass, but it turned out pink. Didn't like it. So I had to buy a some dark red.
I have painted lights before and never had a problem if its done properly. First I wet sanded them with #2000 sandpaper. Mixed a 11 oz. can of Dupli-Color T125 clear top coat with about 2/3 5 oz. can of Dupli-Color DSGM380 Medium Garnet Red. Applied a good wet coat of the mix with paint gun. Wet sanding again with #2000. Then three coats of clear top coat. After 48 hours wet sanding with #2000 and polishing with fine cut 3M rubbing compound. Thats it.
Looks smooth and shiny now.
Last edited by SC-ed; May 22, 2007 at 08:47 PM.
sounds good. yes it is possible to fix them by taking off the paint, it's just more work in this case. I wish i had the ability to paint, i want a very light smoke over the taillights.
Registered
Joined: May 2005
Posts: 417
Likes: 2
I used a single coat of "night shade" and sandet it to get just that light smoke. Then clear coat. The hard part is to get even sanding with no dark/light spots which will be more difficult with the tail lights. The "mix" method will work much better. You can mix exactly what you want.


Last edited by SC-ed; May 22, 2007 at 10:16 PM.
Registered
Joined: May 2005
Posts: 417
Likes: 2
Don't be. I do all my painting. I'm repainting my vailside every summer b/c of the stone chips (two times already). The lights are peace of cake compared to matching that VR.
Oooh, and I'm not a painter.
All started 2 years ago when I was quoted $3000 for molding the sideskirts and painting the kit. It took me about $300 and a weekend in the garage.
Oooh, and I'm not a painter.
All started 2 years ago when I was quoted $3000 for molding the sideskirts and painting the kit. It took me about $300 and a weekend in the garage.
Dawn
Joined: Dec 2006
Posts: 163
Likes: 0
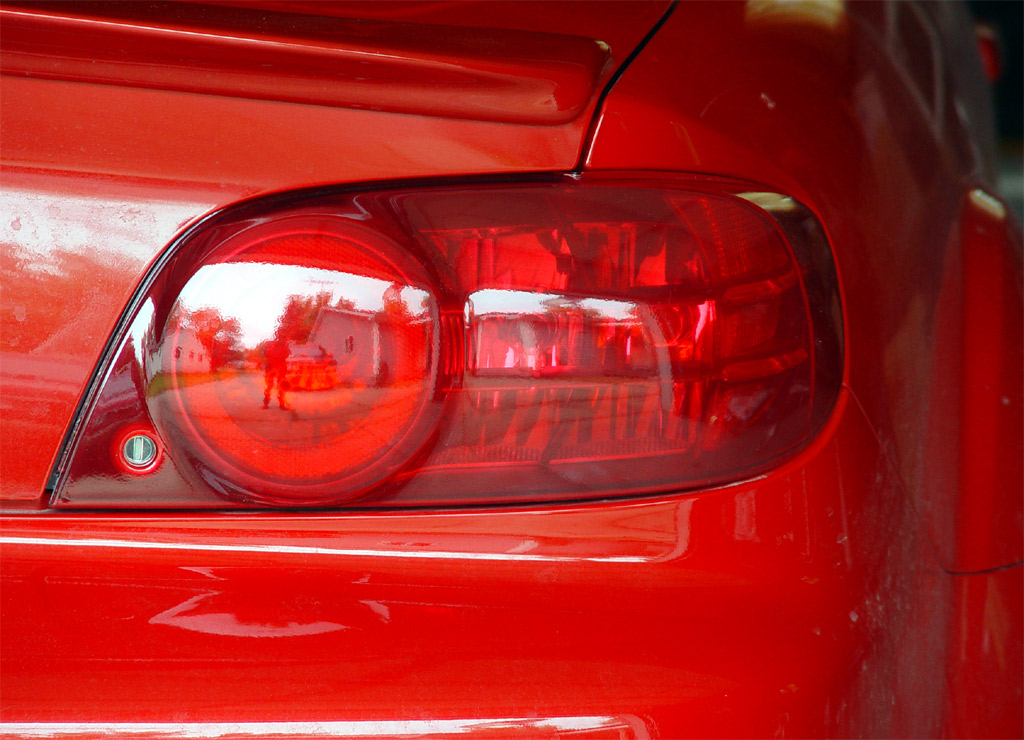
From: South Jersey
these were taken with my phone so not the best shot. anyways...i had a tint guy help me out with it. front turned out half decent but he suggested painting....most likely will redo it when i get the time!