When you click on links to various merchants on this site and make a purchase, this can result in this site earning a commission. Affiliate programs and affiliations include, but are not limited to, the eBay Partner Network.
Its super cool to see the rotation you're achieving on throttle with the cusco lsd vs before (at least I think its visible in the vids). Thats wicked. Also curious why you went with a MS front bumper instead of a KDB or something cheaper to replace?
Also with all of your CAN data, have you considered contacting Haltech in regards with what they have in the CAN database for the rx8? You may be able to contribute a lot for people putting Haltech's in and wanting to retain as much CAN ability as possible, or extras (brake pressure is a very cool input measurement to have on track for datalogging).
Its super cool to see the rotation you're achieving on throttle with the cusco lsd vs before (at least I think its visible in the vids). Thats wicked. Also curious why you went with a MS front bumper instead of a KDB or something cheaper to replace?
I can DEFINITELY feel the rotation, so if you can see it in the videos, I wouldn't be surprised at all.
I had a KBD bumper way back in the day.... but it was absolute trash. Didn't fit. Didn't have mounting points. Didn't have ducting, or mounting for ducting. Didn't work even at all. It was even heavier by a decent amount because of the trash can rubber they use. All in all, the cost vs bullshit I'd have to deal with ratio wasn't worth it. I've got plenty of money to spend on **** that actually works. I just hate spending money on stuff that is worse. It's definitely not a super budget option, but the amount it just works is worth it for my sanity.
Originally Posted by Fickert
Also with all of your CAN data, have you considered contacting Haltech in regards with what they have in the CAN database for the rx8? You may be able to contribute a lot for people putting Haltech's in and wanting to retain as much CAN ability as possible, or extras (brake pressure is a very cool input measurement to have on track for datalogging).
Love reading this thread, keep it up.
I've pretty much got the whole DBC for the RX-8 sorted.. there actually isn't that much data compared to other (read: newer) cars. There really isn't that much to figure out, so I am sure Haltec is on it if they needed to be. I'd imagine the volume of sales for RX-8s isn't very high. There has been a group of people, myself included though, doing some fun work on reverse engineering the Mazda ECU... as of Halloween 2022 I believe, there was a tool made to be able to dump a ROM from an S1 ECU with any J2534 adapter... SHAMELESS PLUG #1: https://www.romraider.com/forum/view...hp?f=47&t=1314. Working on some generic reverse engineering and a reflash tool as we speak. It's way too much effort for not much in return.
I have helped some friends setup some other ECUs for CAN output, and do sell some stuff that speaks Mazda CAN to bridge some of the gaps in Mazda CAN functionality in swaps that don't always use a standalone that has the ability to output arbitrary CAN (which is a huge miss in the market if you don't do this, IMO). SHAMELESS PLUG #2: www.facebook.com/GROMElectronics
There is also a bit of blend of some of this stuff with my dayjob, and dayjobs of the past, so I tend to not spend much effort giving out information at risk of a whole mess of paperwork I don't want to deal with.
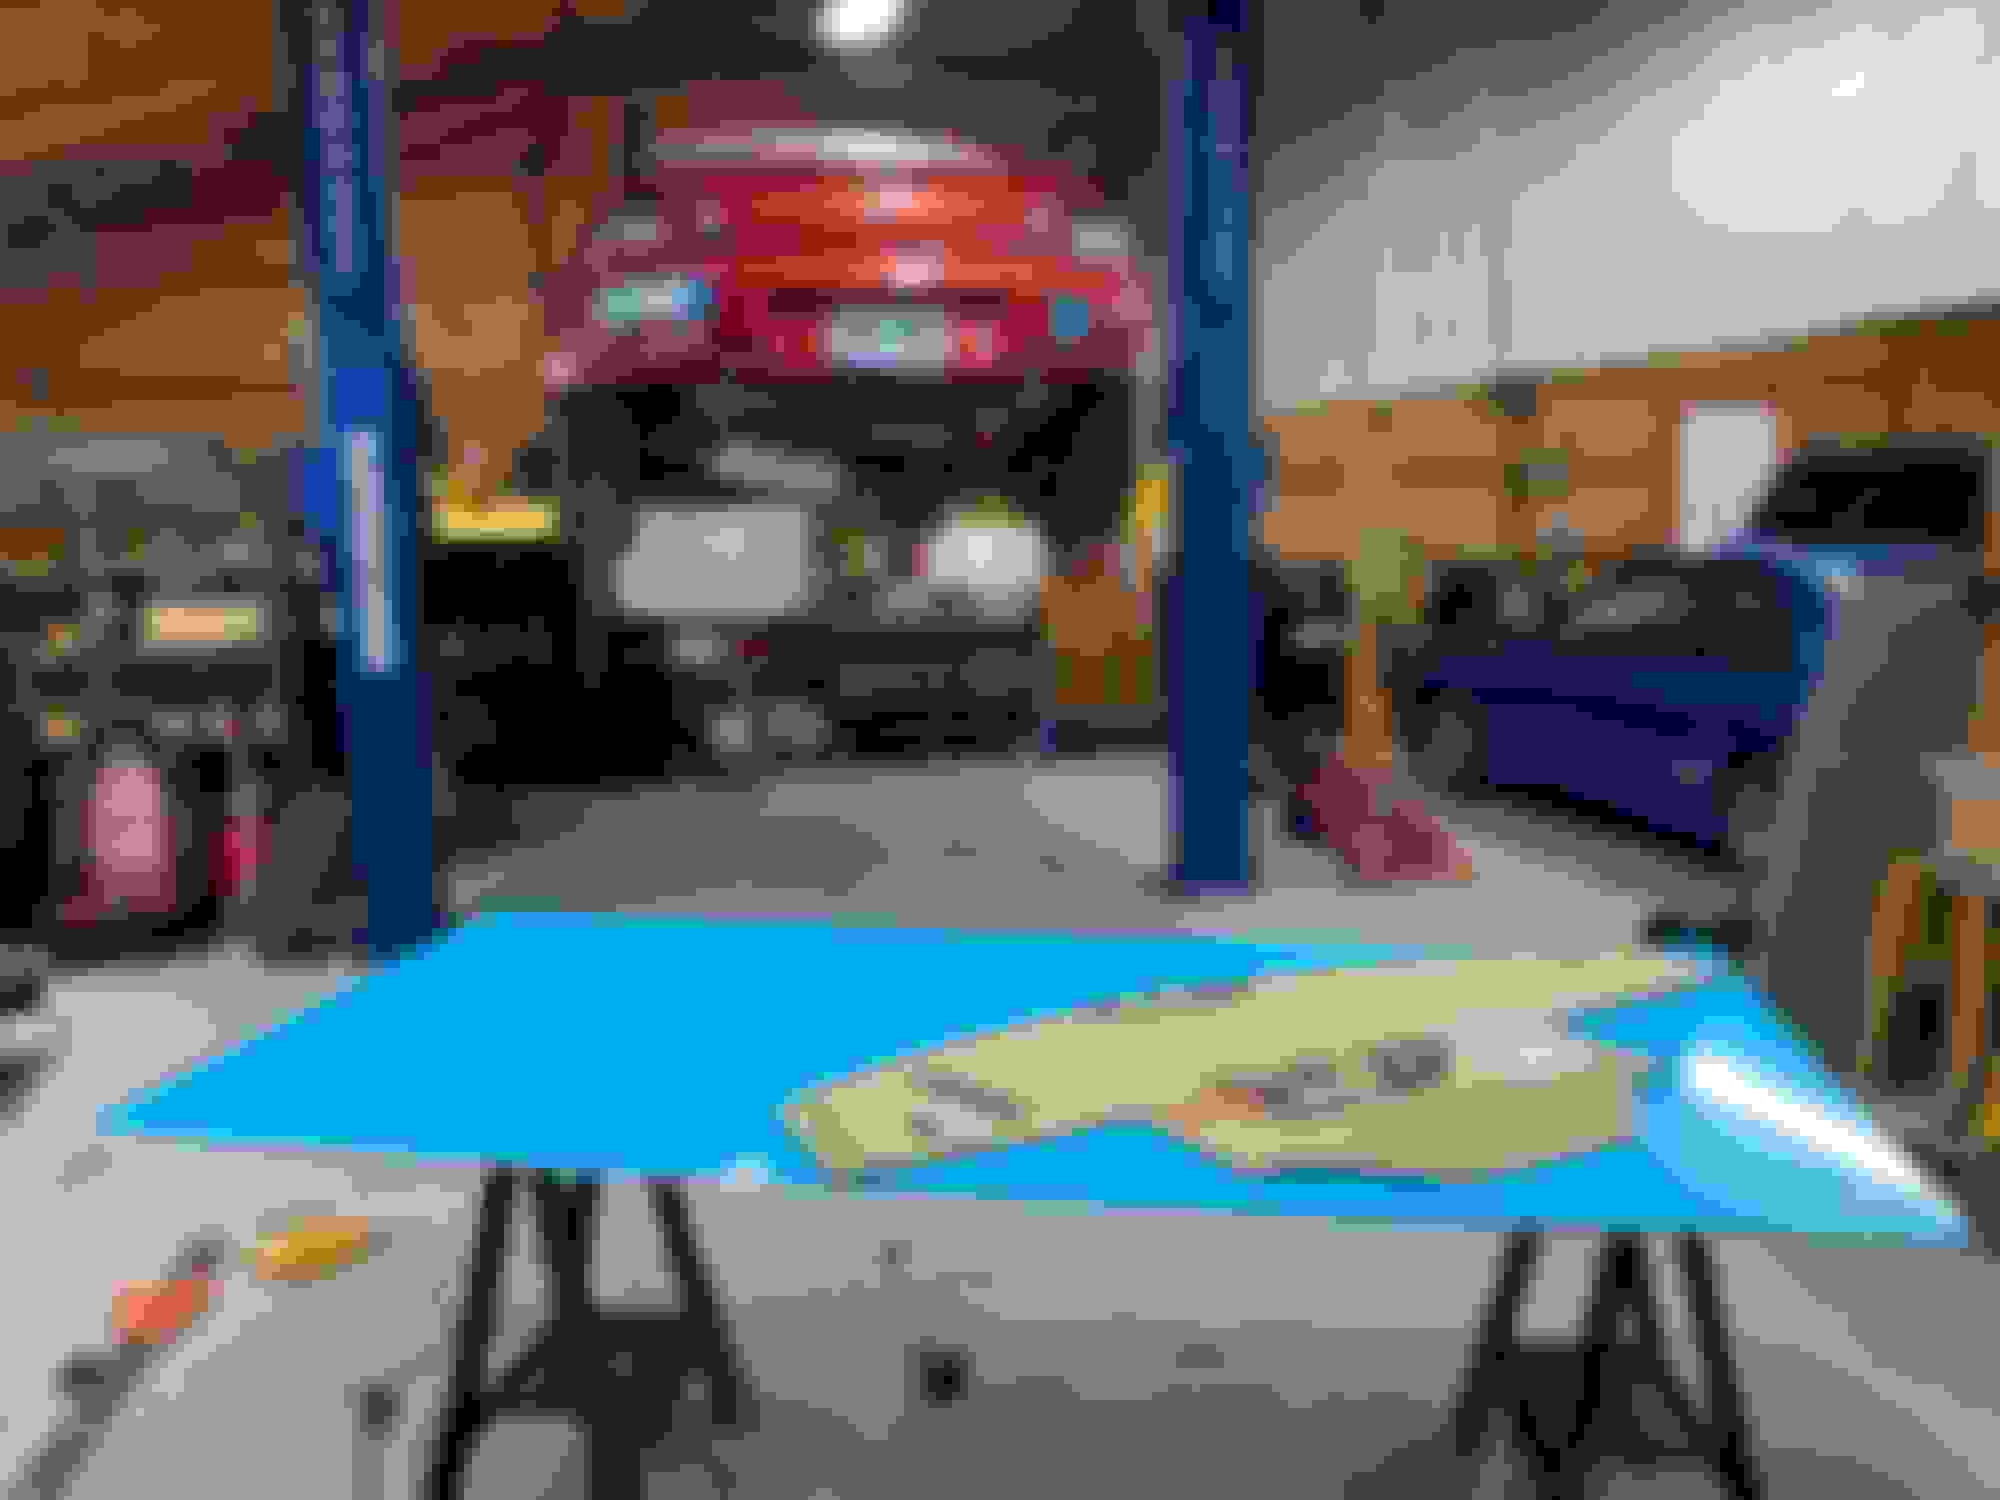
Heyo, I think we are on stage 3 tier weight reduction now? Sure. We can go with that. So here's the latest and greatest in Garrett bitches about how weight reduction in practice is way less fun and easy than they made it seem in Gran Turismo when I was growing up.
With the new rules being sent out for 2023 Club TR officially declaring no interior was really required unless it was a dashboard, I got to work on getting rid of some interior weight. The goal in mind was to reduce as much weight as possible, while still keeping the unfortunate functionality of "I need to drive this car to the track sometimes". The other stipulation was that per the class rules, if the car was ever going to be down towards swapped car minimum weight (2550 with driver), "gutted" cars would need to take a 100lb ballast minus the weight of a rollcage/rollbar. Seeing as my rollbar weighs ~50lbs, I figured if the interior I was gonna keep in was less than 50lbs, it was worth it to keep in order to not be declared "gutted" status.
So yeah, fast recap:
-Reduce as much weight as possible from the interior of the car
-Not want to totally die on the way to/from a race track
-Keep the car from being classified as "gutted"
Plan of attack:
-Remove it all
-Get rid of harnessing, wires, modules that were no longer needed
-Get rid of interior components no longer needed
-Get rid of ALL sound deadning
-Keep heater + blower, and break down as much as possible
-Find other ways to reduce weight in there
This whole effort took place over the course of a few weeks, so this post may sound a bit out of order and frantic.
Started out by getting the dashboard, dash bar, and hvac out of the way to be able to rifle through the harnesses going back to the Bose amp and SAS related components. Hindsight, I should have pulled the dashbar/HVAC/dash harness out all as one as they are really a full unit, but hey.. haven't ripped apart an RX-8 down this far so those are the things you learn. Assembly was much easier.
While I was in there, the firewall sound deadening came out, carpets came out (sound deadening ripped off, they were likely going back in), and harnesses started getting torn into.
The entire right hand side harnesses running down the bottom of the car could be removed, as it was ALL audio stuff. This allowed me to removed two full connectors from the main dash harness as well. The goal was to make as little cuts as possible, and depin content to keep it all clean, as well as know that I was pulling out stuff I didn't need. No cutting first and figuring it all out later.
I pulled open the main dash harness only about half way to pull the 90% of harnessing out, and then did cut some wires.. but it made more sense to not rip apart the whole harnesses for 4 connections. All in all I was able to remove:
-Full SAS unit + wiring
-Full audio wiring
-All seat related wiring (heater, heater buttons, power seat wiring, airbags)
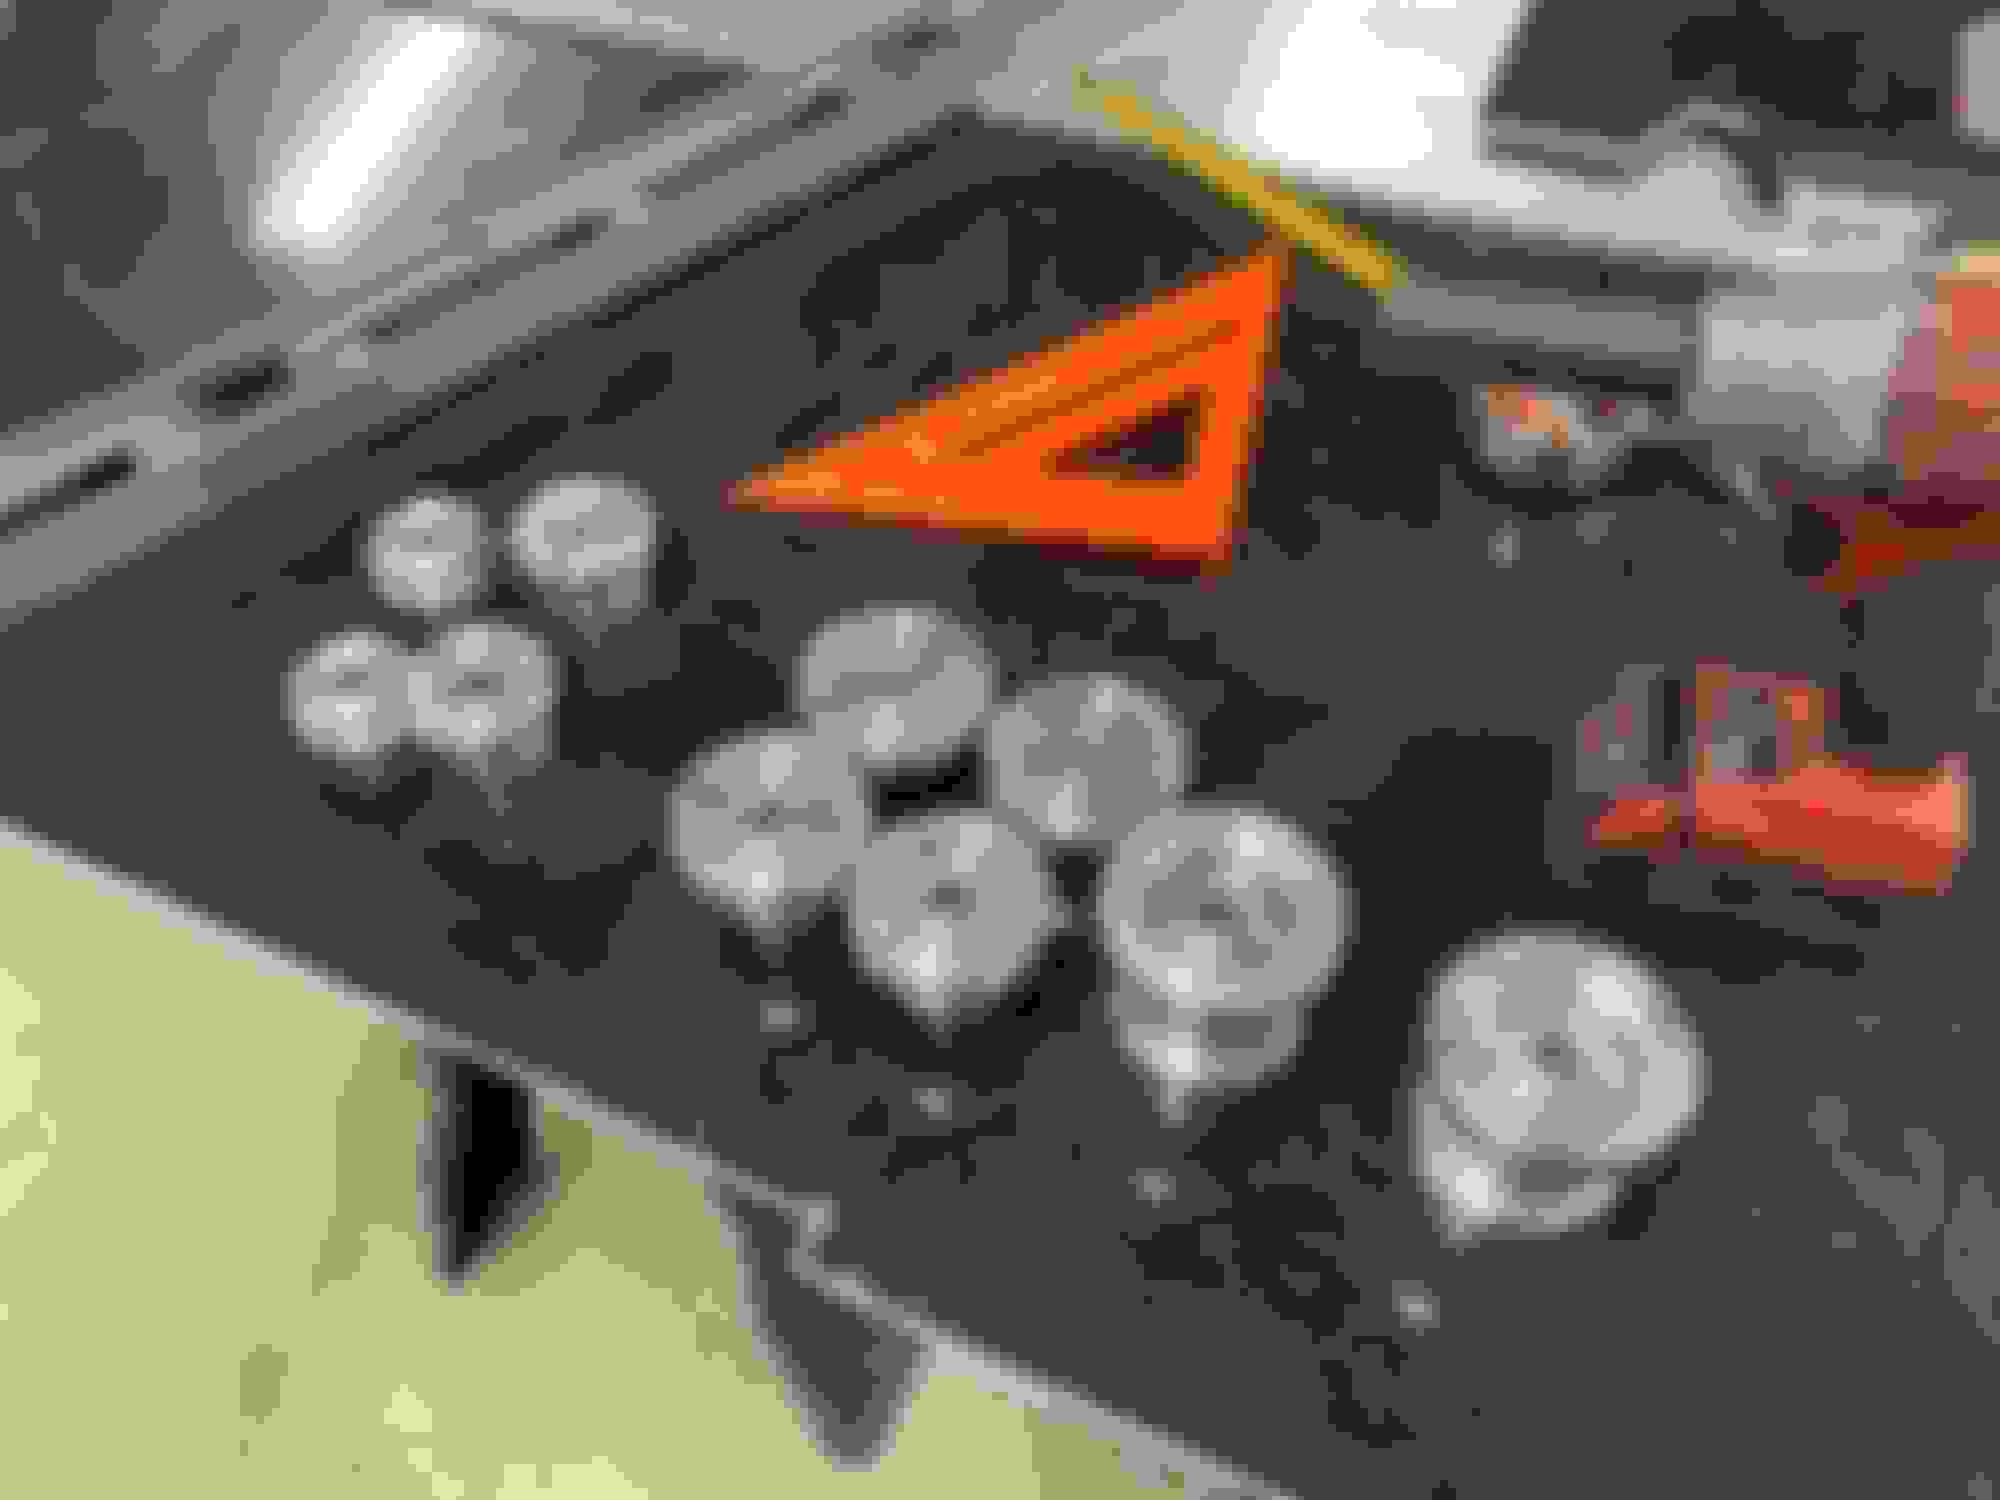
-Rear trunk lightning
-Portions of the keyless system, needed to keep it operational to not **** off the immo.. some day I'll disable it but for now, meh
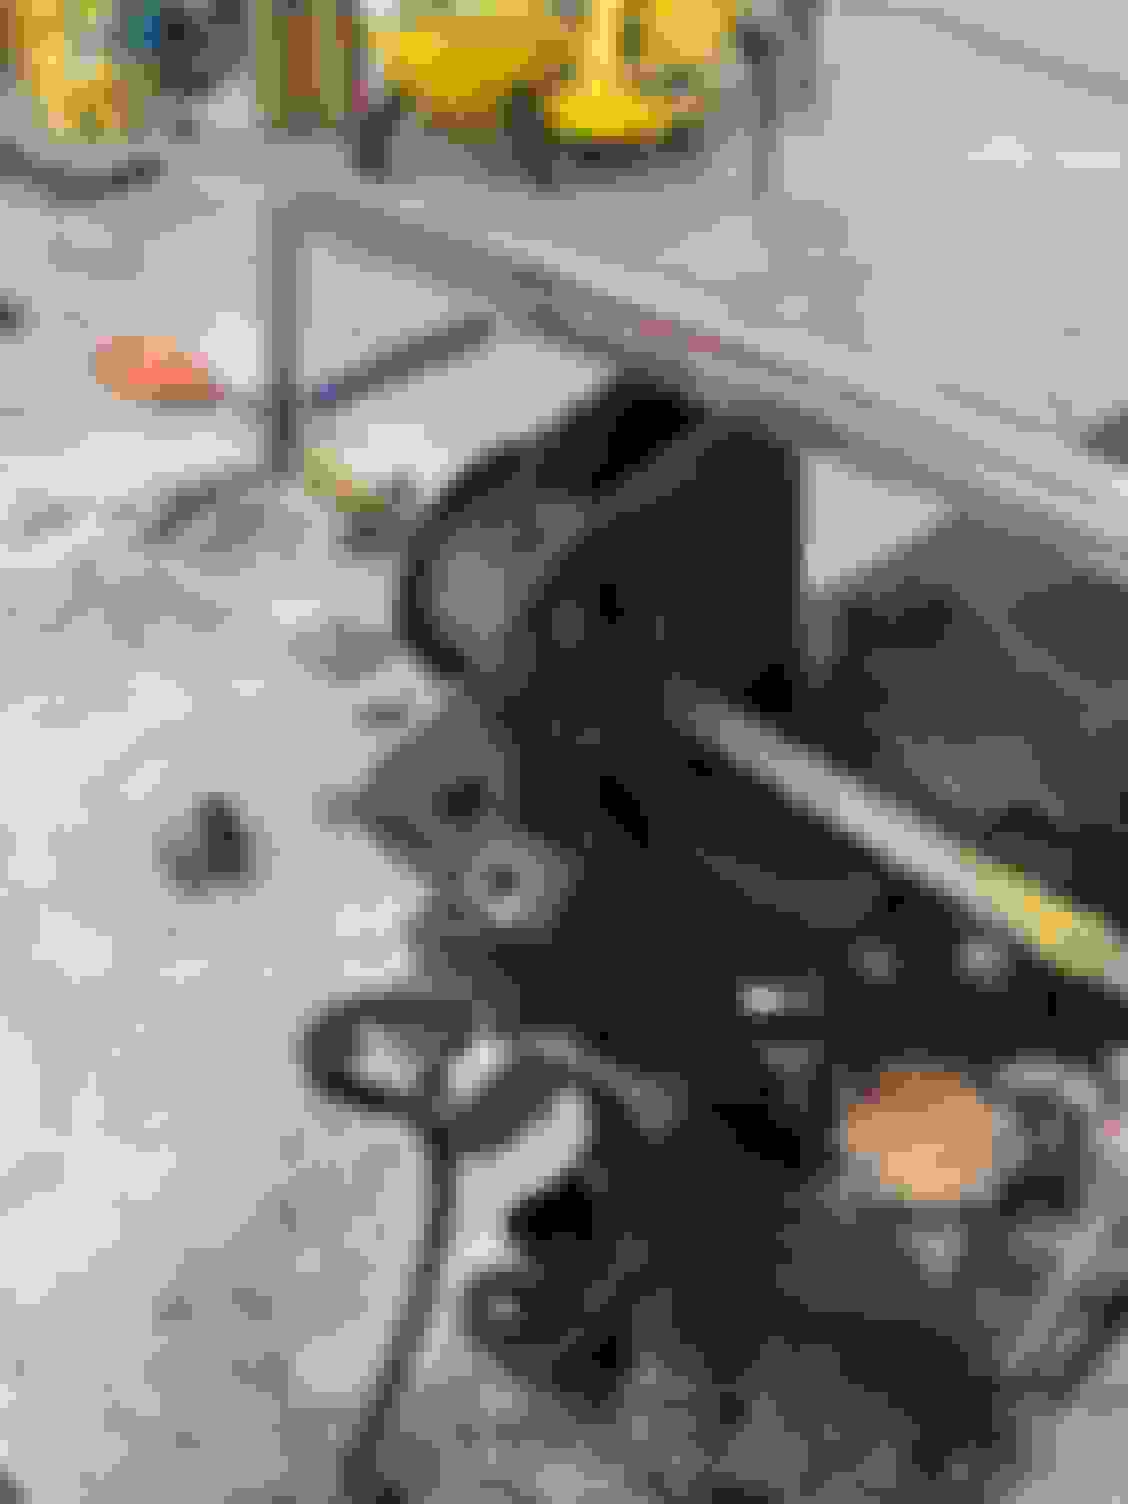
Next up was to decontent the HVAC boxes of the TXV and evaporator. Taking apart the HVAC unit brought my back to my days of working quality engineering in Denso's plant in college. Evaporator + tar + txv + lines is about 4lbs in case anyone is counting. I tried to keep tabs on weights of things I was removing.. but all in all it made more sense to weigh things at the end of it all. Kicking myself for not doing a direct BEFORE weight to accommodate for fuel level and such.
Heater core/box/blower stays because it gets COLD at the racetrack sometimes. When I have my own separate transportation for the track, all of this will be removed, but these are the confines in which I operate in now.
With most of the wiring stripped, and HVAC ready to go back in, it was time to address the tar. Contrary to popular belief, it was quite easy to pull up. No weird dry ice techniques required... though I do attribute this to the thickness of it in the rear, the already cold ambient temp here in Michigan, and then the underlying rust that clearly helped pop some if it up.
To address the newly found, and oldly assumed rust I ground it down and threw 2 coats of POR15 on it. Biggest concern was the rust near the harness mounting.. if I see that ever get any worse it'll be time for a new shell or to weld in new pieces. For now.. hopes, dreams and paint was the plan.
Total tar weight was ~20lbs
This was my "definitely not going back in pile as of this point, as I didn't know exactly what I'd have going back in until I started to do it.
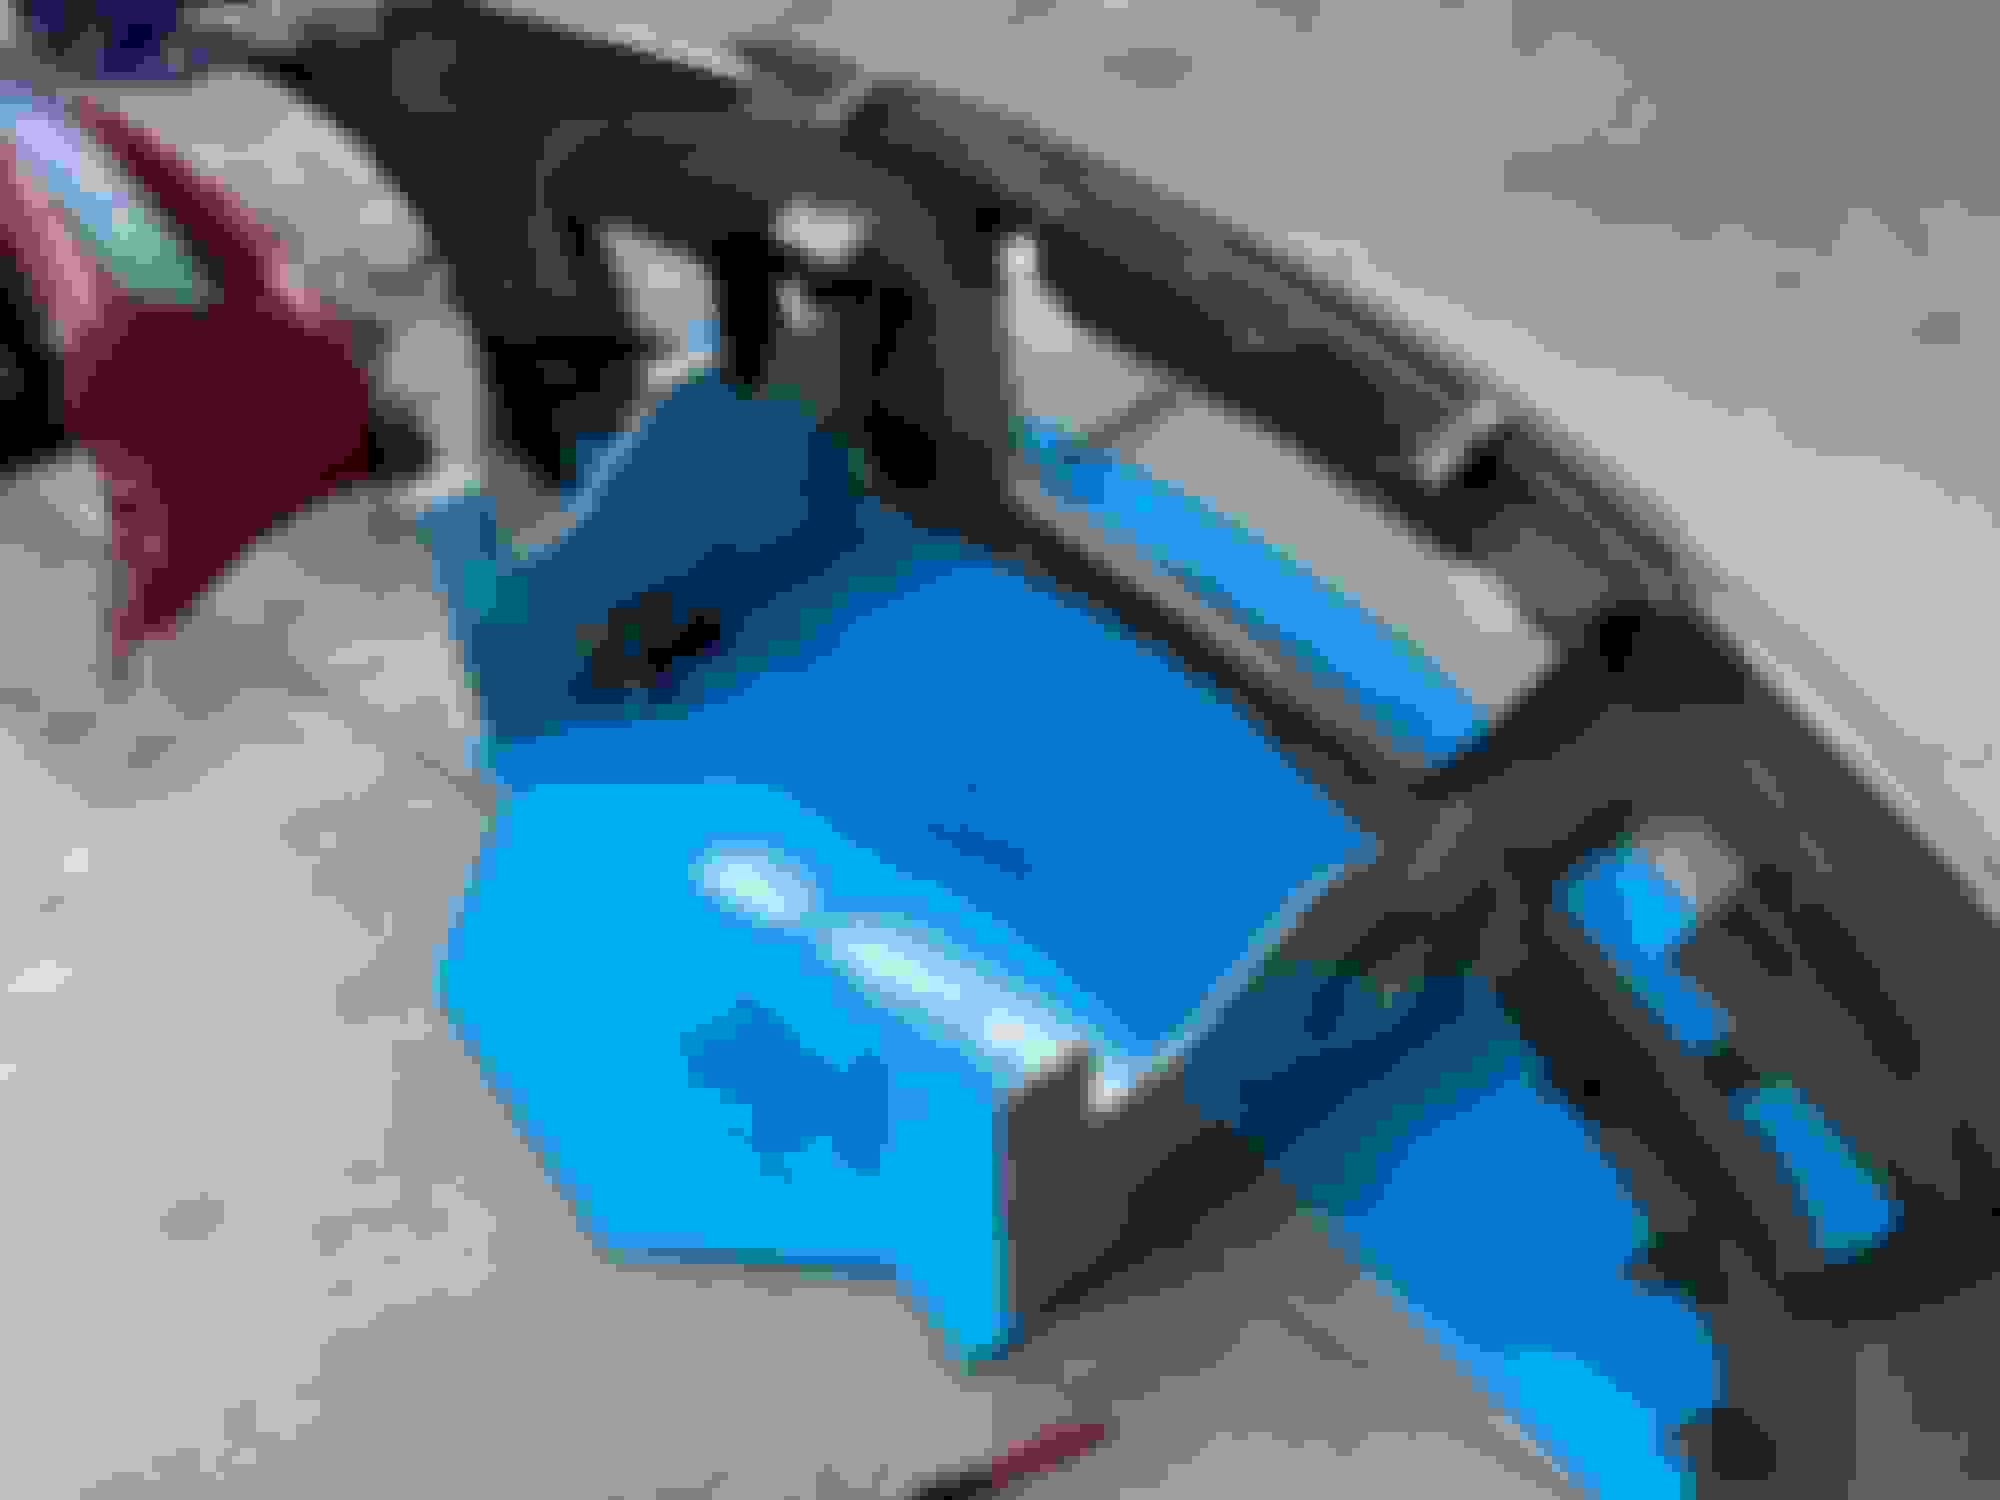
I also swapped the rearview mirror to one from a Millenia with no auto dimming. Overhead wiring could go away for the high price of $7
With the wiring out, car prepped for it to go back in, I got to routing and taping. I also used this as an opportunity to redo some old wiring for sensors I had done, as well as pop my components into the OEM CAN bus via the factory jumper connections. Cleaning things up, reducing wiring, and adding more room for expansion felt PERFF. Didn't take many great photos of wiring.. because it was time consuming and sticky, but I assure you it's great. Still hooks into almost all the OEM points (this is a good thing for wiring) and is nicely retained.
Before everything all went back in, I did notice this part of the car in the passenger footwell (near the exhaust) that looked quite crispy. The sound deadening near it was also a bit melty and not in great shape. Got me pretty worried about starting an interior fire, so I'm hoping to get some heat to stay in the header, as well as add some heat reflective stuff in this portion of the body under the car? Will it help? No clue.. but it's probably better than letting it burn the thing.
Dash went in, carpet went back in (all sound deadening removed) and I was trying to figure out what all else I could not use. After weighing the components, it was only like 20lbs worth of trim pieces and such, so being a "gutted" car made no sense. I tried to keep the front looking stock, while the rear was full on party mode. I've made an RX-8 mullet.
For the HVAC/radio controls.. likely going to just use a Metra kit with some blanks. I tried to delete the OEM HVAC controller and just use some buttons for hot/cold and blower settings.. but it's waaaay to much effort for not much benefit. I also need to make some block off plates for the bottom HVAC box bits that route to the rear seats since those are removed. Little things I can do when it gets REAL cold here.
I also am not sure if I am gonna put the little flip up ashtray back in just yet... again would really like to just make a block off plate or something with some switch power coming out of it.. so little things like that I am gonna keep working on.
I did leave the center console in, again... we aren't gutted... and the cup holder. Cup holder is pretty paramount in storing things when driving to/from track.. so it stays for now. Once that contingency is gone.. so will all of that.
My "definitely not going back in" part pile at the end of this.
I still need to go through the front/rear doors and find some stuff to cut out.. but I am also treading a bit carefully with the "gutted" car thing until we see where the weight is at. Things may change a bit more as time goes on as well, and things like the TPMS, auto leveling, and DRL modules aren't shown.. and some may still go back, but they are on the shelf for now.
I did do the dummy test of "does the car still start", and she's all happy after I reset the clutch switch. The brake lights seem to always be on when the battery is one, but I also assume this is just a switch needing to be reset as the pedal boxes were all out. with the offending modules also out of the way, I can write a little bit of software to kill the dash lights.. because smoke em if you got em.. and it should create a great experience for driving.
Things to still do:
- Adjust the steering column, doesn't line up quite right after it was dropped.. just need to get it on the hoist and mess with it from under
- Few other various trim peices
- Weigh the damn thing!
If all of this manages to lose 100lbs, I'll be pretty damn stoked. Next up.. engine bay things!
Cool, didn�t realize you were the grom guy.
I just started in on the can stuff on my car. I have an lfx swap and had a realization that the gm can data isn�t doing me any favors. However the mazda abs system data is pretty handy for data logging. Also abs warning lights and activation lights on the aim dash are nice.
Woah! Excellent job! And funny you swapped your rear view mirror, me too.
You should've totally bought my carbon junkie dash. I would've cut you a sweet deal and would not only have looked awesome but also saved additional weight. Good call on keeping the blower, my plan was to do the same. Just a handy thing to have onboard for various reasons.
Regarding passenger side exhaust heat, you can run a thermal blanket on the inside of the trans tunnel area (what I have, helped greatly imo). I've also seen lots of guy gut their doors with very positive results (still looks aesthetically pleasing) and it's prob one of the most common diy weight reduction mods I've seen on more budget friendly builds. You know I have fully prepped F/R FRP doors that I'm practically giving away, yeah? Still have them if you're interested just PM or text me.
Anyways, keep up the good work and I can't wait to see your next installment hopefully with your new curb weight posted.
curious on what that bumper ended up costing after shipping from JP. I need that bumper in that exact color lol. You use Byee?
Planning to wrap it, so it'll stay that color hah! I think it was just under $1000 shipped from Japan.
Originally Posted by Mike D
Cool, didn’t realize you were the grom guy.
I just started in on the can stuff on my car. I have an lfx swap and had a realization that the gm can data isn’t doing me any favors. However the mazda abs system data is pretty handy for data logging. Also abs warning lights and activation lights on the aim dash are nice.
Its me!
I'm HOPING to MAYBE have some stuff up and running start of the new year that lets you do CAN gatewaying really simply.. potentially open source or VERY easy and open as to how it works configuration... so GM CAN may become useful to ya.
Originally Posted by Fickert
I always love seeing a racecar get gutted.
Also any thoughts on a racing beat gauge pod for the ash tray holder? make use of the space if your OLED isn't giving all the data you'd like.
Not too many things I really need that aren't already there to make driving choices from.. I really just need a place to run USB cables and other aux power for random stuff in the car. Maybe a baby low power PDU can go there hah!
Originally Posted by Federighi
Woah! Excellent job! And funny you swapped your rear view mirror, me too.
You should've totally bought my carbon junkie dash. I would've cut you a sweet deal and would not only have looked awesome but also saved additional weight. Good call on keeping the blower, my plan was to do the same. Just a handy thing to have onboard for various reasons.
Regarding passenger side exhaust heat, you can run a thermal blanket on the inside of the trans tunnel area (what I have, helped greatly imo). I've also seen lots of guy gut their doors with very positive results (still looks aesthetically pleasing) and it's prob one of the most common diy weight reduction mods I've seen on more budget friendly builds. You know I have fully prepped F/R FRP doors that I'm practically giving away, yeah? Still have them if you're interested just PM or text me.
Anyways, keep up the good work and I can't wait to see your next installment hopefully with your new curb weight posted.
Unfortunately I have to keep OEM material doors and an OEM dash for the class, otherwise I'd definitely consider that for weight reduction. I think I could probably gut some metal out of the doors/etc, however without a full roll cage in the car I'm not too sure how I'd feel safety wise. I'm pushing enough luck as is with just a rollbar.
Def am gonna do something like that about the trans tunnel, just need to car up on the hoist to dig in!
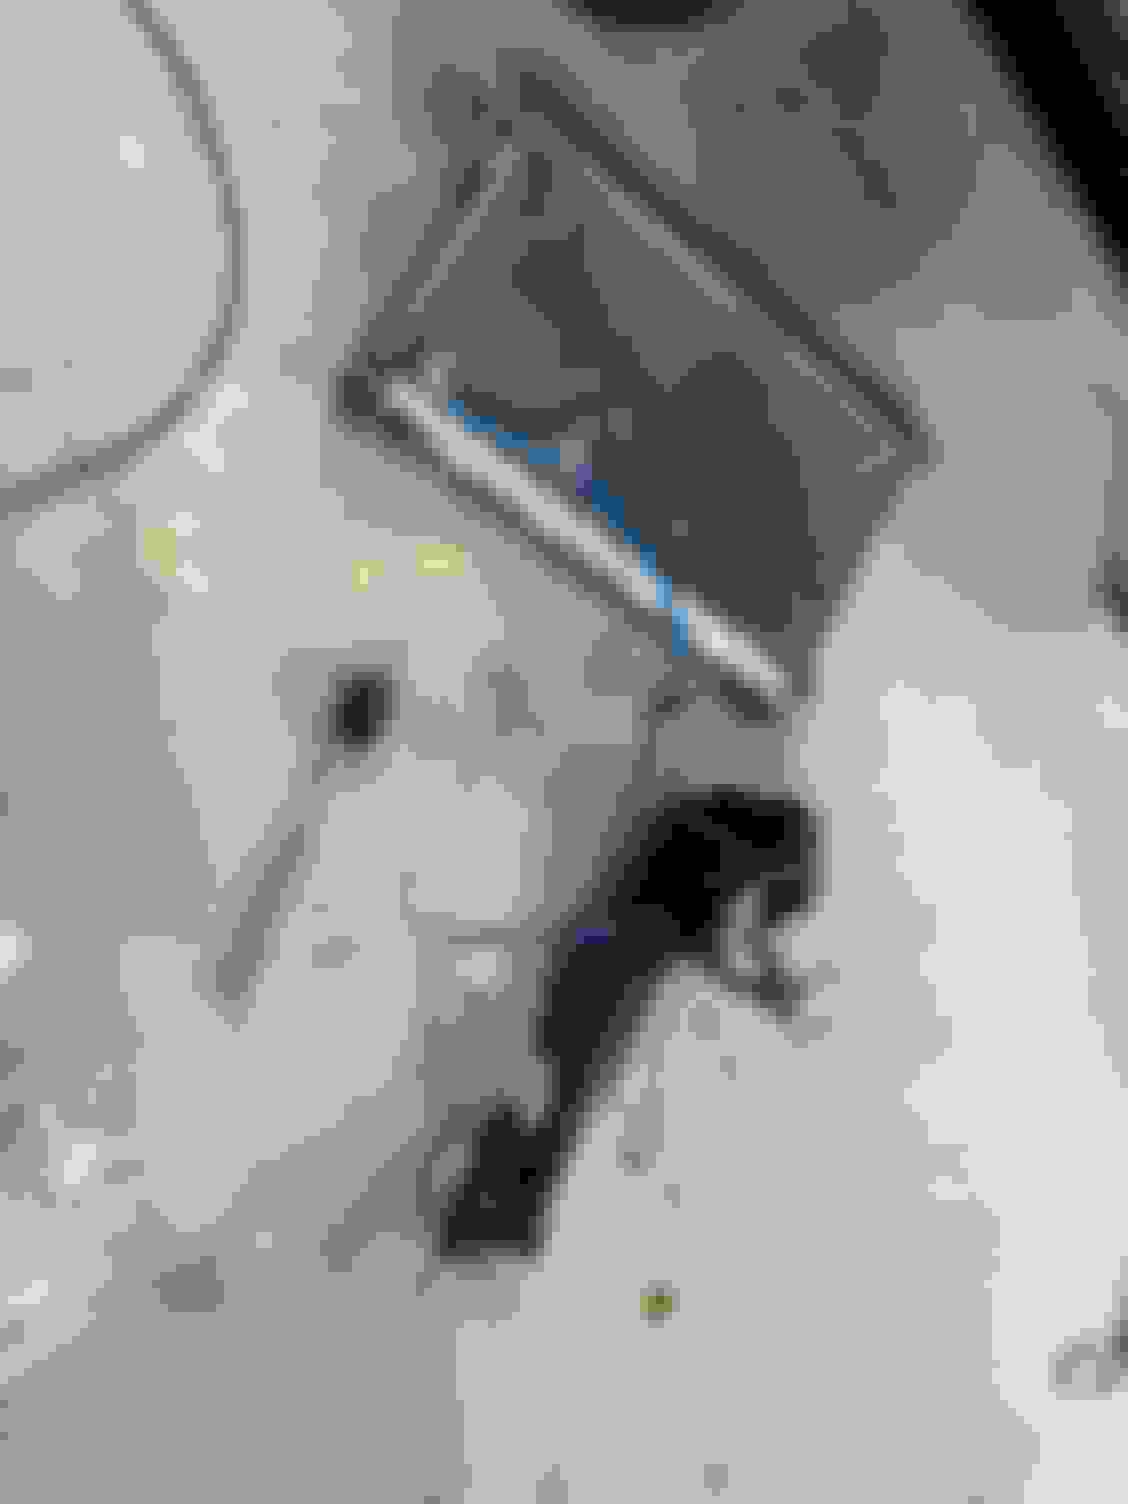
Pretty simple. Wanted less weight, more ****. Not too sure if this is gonna give me more downforce, but it's definitely going to give me less weight. Coming in at 10.6lbs with the risers and all hardware, it's 7lbs lighter than the CWest Aluminum one, so for that I'm stoked. I'm sure there's better aero out there, but with everything else I am trying to do running an aero development program isn't something I am trying to do at this point in time.. so for where I am right now I think it's perfect.
Install was easy, sans a bit of weirdness that I wouldn't really have expected from an application specific wing from APR.. mounted up the uprights, and bolted up one side. Went to fix up the left side and noticed the natural resting position of the mounting threads was like and inch right of where the upright was sitting in the stock holes. I know how these aftermarket parts work, and gave it a nice grip n' rip, and got it bolted up.. but the trunk mounts sat a bit odd.
I am sorta chalking this up right now to my trunk, as it's been warped and dented from the old wing, as well as been a bit crunched before I got the car. The plan to get a new trunk lid anyways, I just got the wing in before I got the trunk. Will re-asses with a clean trunk.. if that's not the fitment issue.. bit disappointing as it was a specific application kit... but not surprising for aftermarket stuff and it'll work just fine. Being a little nitpicky.
Those things aside, just tossed it on and will make adjustments as needed. Pretty happy with the product overall aside from the above issues. Looks like a 3D wing on a car.
The dash doesn�t really weight anything so no harm in Keeping it. Personally I like the look/feel of having a dash however I didn�t keep mine because it�s soooo much easier to do thing with it out, especially track side.
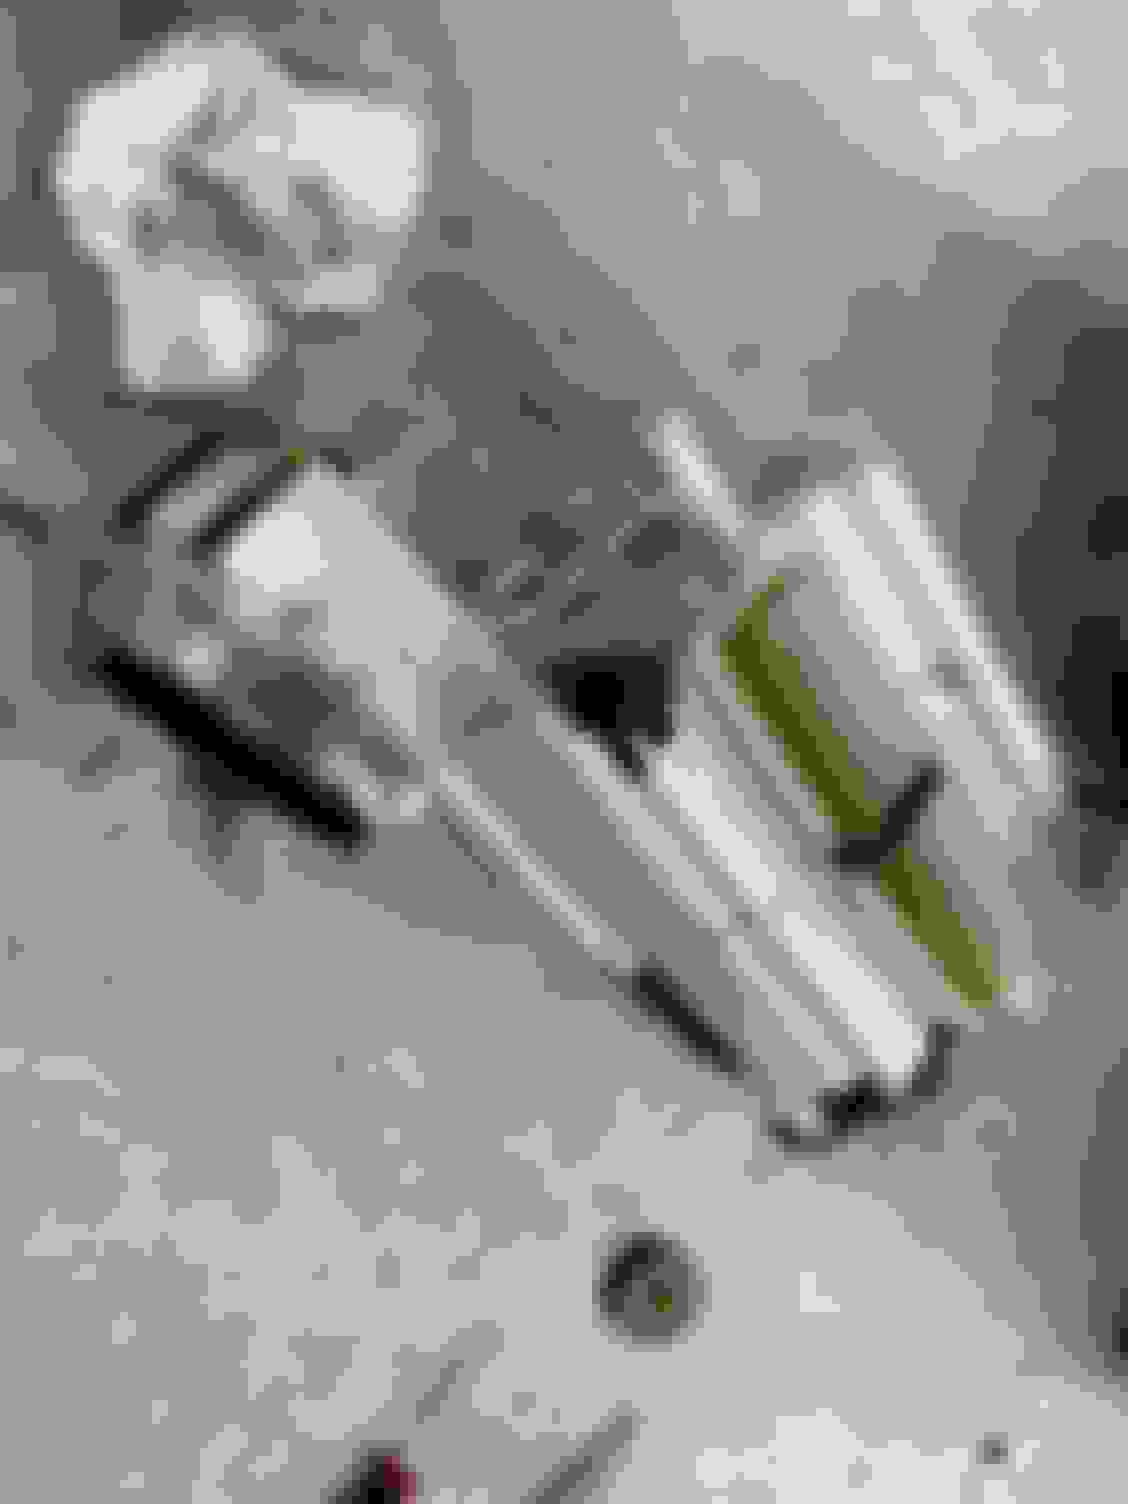
Pretty straight forward. Bought a full poly bushing kit for the car. Seemed to be a cost effective way to do a lot of this, and got to use some new press tools I got.
OEM bushings were pretty new, but all just glued in. Press dyes took easy care of em in a vice, and new bushings popped in nice with the press. Bit of a pain in the *** to do the lower trailing link poly bushing as it had no steel case, but combined with the leftover glue and such still in there I think this was the case.
I didn't do the trailing arm as it's already a pillowball aftermarket unit.. and I've still got the front to do, but... should be nice!
While doing the passenger side I did notice that the lower camber arm was separating at the metal crimp to the ball joint. I think this is mostly because of me smashing it with a hammer to avoid damaging the threads on the mating end to the knuckle in an attempt to get it out, but either way in lieu of trying to recrimp the link in the wrong position or not as properly without the right tools, I decided to just buy a new one. $140 beats a failure because I'm bad at something. Once that's back in the rear will be a fully poly kit on the suspension arms. Let's start the squeakin'
EDIT: Ended up just welding the link into place.. hopefully it stays!
surprised you didn't just go with a fully adjustable rear set of arms from P2M. IMO would have been a bit better cost effective solution. Unless you didn't know about them.
you should install all new bearings and seals as well
my recommendation is the OS Giken, but make sure to use their specific OSG oil for it regardless of what you read on the internet
or don’t, nobody listens any more on that than the number of times I explained on here that the OE suspension bushings are a very unique design. Replacing plain old rubber bushings from the 1990s with urethane is a step up, but not compared to the RX8 OE bushings, quite a few which transverse through 3D motion arcs.
.
surprised you didn't just go with a fully adjustable rear set of arms from P2M. IMO would have been a bit better cost effective solution. Unless you didn't know about them.
The P2M stuff was double the price for just the rear links than the full bushing kit was (I still have to do some of the fronts). Willing to upgrade in the future if that's the hold up later on. Full spherical bushings sets would obviously be better, but were the same price as P2M stuff.
Also, I'm just not a huge fan of needless adjustments in stuff.. just more stuff to rattle loose, and I am pretty happy with the amount of camber I can get in the rear... may change with rates and weight.. but.. it's all a fun tuning game. :shrug:
Originally Posted by KSr7
Is possible to replace LSD without
removing ring and pinion?
I was pretty happy how stock unit performed . Was ,because after many years started making strange noises and became “ open” .
I’m looking something for replacement. Low maintenance and good performance.
Most of the time car spends on tracks or autox in STX.
Thanks for tips .
You can replace the LSD without removing the pinion, but the ring gear will need to come out. At that point, it's more than likely you'll need to reshim the thing too as the tolerancing in the LSD is likely different, so it's best if it all just comes out to set up. I know a ton of people that slap in an aftermarket LSD without checking lash and pattern, and they make the most unfortunate clunking sounds ever. Will it work? Definitely. Is it the best for low maintenance. Likely not as every time there's a torque crossover it's gonna thunk and bash gears with a point load.
again, if you’re smart and not trying to modify your rear diff on the cheap, you’ll go ahead and put new bearings and seals in while it’s out and open and do it right for the long term investment you’re making. Or not, do as you please.
.
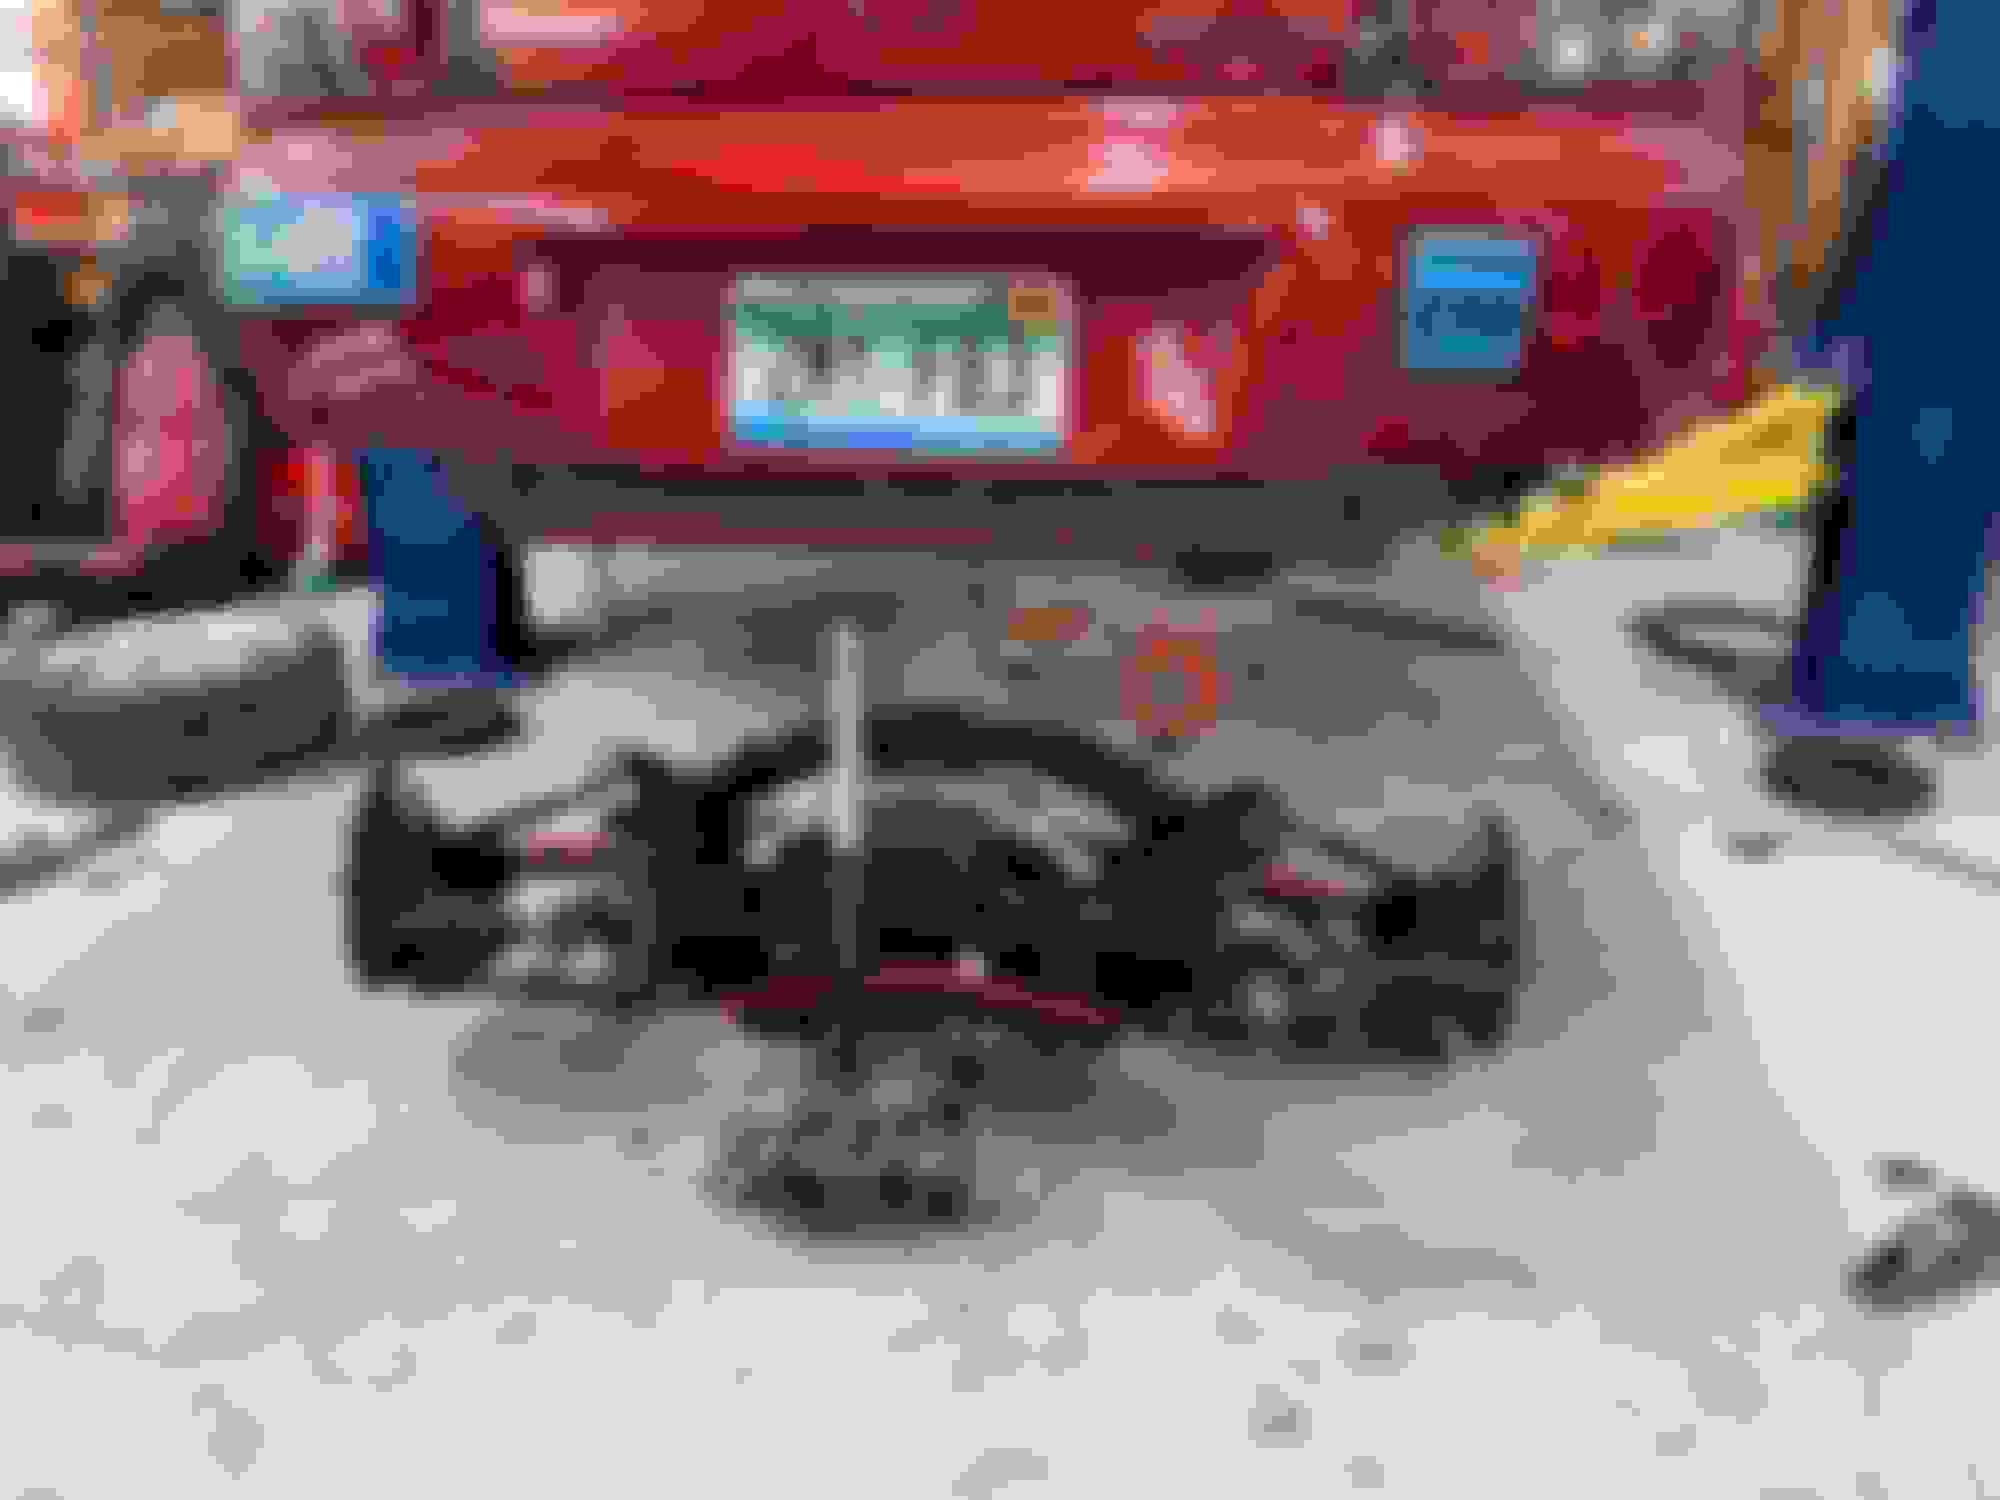
Just like the last time I made a splitter, I've spent WAYYYY too much time on this, and the results don't really show that. In lieu of absolute results though, I can appreciate the delta between the two versions and confidently say there has been massive improvements in splitter 2.0.
I knew I had needed to make a completely new splitter with the addition of the Mazdaspeed bumper, so I got to thinking about the things I liked about the old splitter, and things I really didn't like. I knew I didn't like my weak threaded rods holding the thing up.. it basically just deflected and got gummed up in the shitty quick connects, so that was going to definitely be a line item to fix. I also didn't like having the rods on the outside of the ducting as it made it impossible to run brake ducts or anything else in that space. Another bad was that the splitter was essentially held on by screws into the bumper on the front, which basically again just deflected. Not ideal. The things I did like about it were that it was really easy to take off and put on, was attached to the bumper as a whole unit, and quickly hooked in to the plastic ducting which always held on. So the next version would fix most of the issue, and keep the good things.
To fix the issue of the front being help up by screws into the bumper, I was going to use some splitter rods. With easy access to the bumper beam with the Mazdaspeed bumper, this made life easy. To fix the issue of the shitty quick disconnects, I was going to get some Professional Awesome rear mounts so the quick connects would be beefier, internal to the ducting, and probably not get gummed up. Overbuilt? Yes. Way too expensive? Always. But this wouldn't be this car if it wasn't over budget with too much time spent on something for a worse product.
I didn't really know how all of this would fit together when I started, but the first order of business was to get some more Alumalite... which already proved to be a bit annoying. The company took orders for both matte and gloss black, as well as a red... which were out of stock after I ordered as was refunded. I did find some white stuff, and just figured i'd paint or wrap it later. Whatever. It was here.
To try to mate the new bumper to the old splitter pattern, I took my old OEM undertray and the broken uprights and put them on the Mazdaspeed bumper, which I could then line up to the original holes of the old splitter cardboard (always keep your templates around kids!) as I used the OEM undertray and reference points for it. Using the old template on top of some new cardboard, I could tell how much bigger this splitter was, line the bumper up to where it would be in vehicle, and trace out a new basic template. Results were honestly really amazing for the hour it took.
With that in place, transferring to the new alumalite was as simple as tracing and cutting. As with last time, I did a basic trim on peices I knew weren't exact just yet, as the left/right/forward/backwards would change juuuust a little bit as fitment went on.
With a basic rigid shape in place, I started to mock up the splitter rods. I bought some FS Performance rods, which work really well. The only thing I don't like about them is that they use Imperial sized hardware. Everything else is metric in every car ever... but nope 1/4 20 bolts and 7/32nds hex bolts and 1/2 nuts to adjust... c'mon.. really annoying to have to carry specific tools just to play with that stuff at the track now. Stupid. Do better.
Either way, rivenutted in some mounts, and lined up where they were going to land on the front.
The easy part of this was now sorta done.. the hard part was going to be uprights. I didn't originally intend to make my own uprights for ducting and such, but the Mazdaspeed bumper sat so much lower that is was basically impossible to not. I started with some spare alumalite traces to get distances correct.. but then I knew I would move on to some thick aluminum with welded on brackets to mount too.
Got some aluminum in the mail, cut everything out and it was really occurring to me that it was quite heavy, and that the M6 fasteners were definitely not gonna be beefy enough. Luckily, the original splitter design I had planned to make some M10 encapsulated nuts and weld them into the frame, but then gave up on the idea after it was a bit too hard to do properly in the time I had between races. Luckily, I did already have the nuts I tigged up still, and my friend who is a professional welder who wanted to help me. Takes a lot for me to ask for help, but when someone gets just as jazzed about an idea as you, it makes it WAY easier.
We took a hole saw the size of the nuts to the 2 M6 bolt mounts on each side, and then to the two plastic fasteners holes on the bumper beam. I held the flashlight and let me buddy do his thing. The results were fantastic especially considering the rust on some of the mounts, and the tight areas.
When everything was cooled off, I ground down the welds and was left some some beautiful flush encapsulated M10x1.5s. Threw some POR15 on, mostly because it was the paint I had laying around.
Next up now was to get the aluminum brackets in place. I needed to weld on some 90 degree mounts, and i haven't welded much aluminum myself almost ever. Booted up the TIG and gave it some practice welds on some 1/4in pieces I had scrap. After 4/5 welds and some really good advice from my friend, I was able to get the brackets welded on with confidence they were going to stay on. a 90 degree bend probably wasn't the best solution for this mounting strategy, but I think it will be good enough considering the aluminum is way too thick for the job.
Sidenote: Photo of my best weld on the brackets was of course a pretty proud moment.. right up until I realized I had welded the 90 degree bracket on the wrong side of the upright. Cut it... reweld it... sigh...
Like I had mentioned, the brackets were REALLY heavy and unnecessarily so. They also made the mounts really difficult to get in place because the splitter mounted parts would get jammed up on the wrong side of the aluminum or something.. so they needed to be cut.
The idea was to cut them on roughly the line drawn, and to mount other (lighter and more flexible) ducting using the M10 on the bumper beam, and then affixing to the splitter mount with velcro or the like. It would be impossible to come off, it would duct better, and it wouldn't flop around. I am still working on this, though felt it was out of the scope of this post which is why I am writing it up now.
Didn't take any photos of the cut mount out of the car, but the one I did take is a good talking point too.
Another part of this project was needing to be able to detach the splitter. The Professional Awesome mounts have little holes in the latch pieces to mount things like pull cables and such. My idea was to get some cable and PTFE tubing on the splitter to create a really easy pull that came out in the mesh of the front bumper. When I crimped the cabling and attached it to the latch... only then did I realize:
1. The preload on the latch when affixed is quite high
2. I'm REALLY dumb, because the cables need to stay with the car and cannot come out the bumper
Oof.
I then tried to run some 90 degree cables around where the hood latch was with a pivot in the PTFE tube. Didn't work. 0/10 and even if it did, the cables still got caught up in the latch when attaching stuff. Way too over engineered and bad. The next idea was to chop out a lot of the chicken wire on the front bumper to just be able to go into the ducting area and unlatch the splitter mounts with your hands. I was trying to figure out a way to still keep as much mesh as possible though, because tire debris, rocks, car parts from other people, etc would surely make their way into the bumper and lodge themselves in the radiator. Not ideal. I was struggling to figure out the simple task of unlatching the splitter and bumper when it was on the car..
Luckily, my buddy is smarter than me and said "oh easy" and just quickly mad a little pull tab tool from thick welding wire. Pop it in, pull, take everything off.. mesh can stay on. Genius!
With all of that sorted, and everything attached up... is it really even a splitter if you didn't take a photo of you standing on it???
I'm pretty tiny though, so I'm sure the alumalite wouldn't fair as well for an average sized adult.. but it holds up well!
Final bit to do was attach the bumper to the splitter itself. I just drilled some M6 sized holes and attached it with bolt. I need to get some flush ones for final install, but for now it's attached and everything comes on and comes off as one unit. Made the final cuts to meet the 3in from the bumper class rule, and here we go!
I still need to peel the protective film, fill in the honeycomb on the front with some sealant, and then wrap/paint the splitter something not white, but it's fully functional as is. SUPER happy with the design compared to the last rendition and it I think still has the standard issue jank that comes along with a software engineer trying to make parts to mechanically fit and work.
Very nice! Any considerations of adding 1/16 steel square sheets to the underside and topside of the splitter where the rod mounting points are? I don't have first hand experience with it as a splitter but when we used it for manufacturing a new product design I was working on at work, it seemed as soon as you weakened the aluminum around some of the flutes, it would easily collapse. It would be an easy way to spread out some of the clamp load and ultimately the downforce / bottoming it out on stuff. On second look I do see larger washers there and maybe that would be enough.
Very nice! Any considerations of adding 1/16 steel square sheets to the underside and topside of the splitter where the rod mounting points are? I don't have first hand experience with it as a splitter but when we used it for manufacturing a new product design I was working on at work, it seemed as soon as you weakened the aluminum around some of the flutes, it would easily collapse. It would be an easy way to spread out some of the clamp load and ultimately the downforce / bottoming it out on stuff. On second look I do see larger washers there and maybe that would be enough.
Just figured I'd ask from the experience I had.
Yeah, the rod's washers are pretty good for distributing that load. Is it enough? Probably.. but in that same vein I also have no idea. Iteration seems to be the easiest way forward. I was pretty surprised how well the old alumalite stood up after being run over a few times, and bouncing under a chassis, so talk about a compression load.. lol
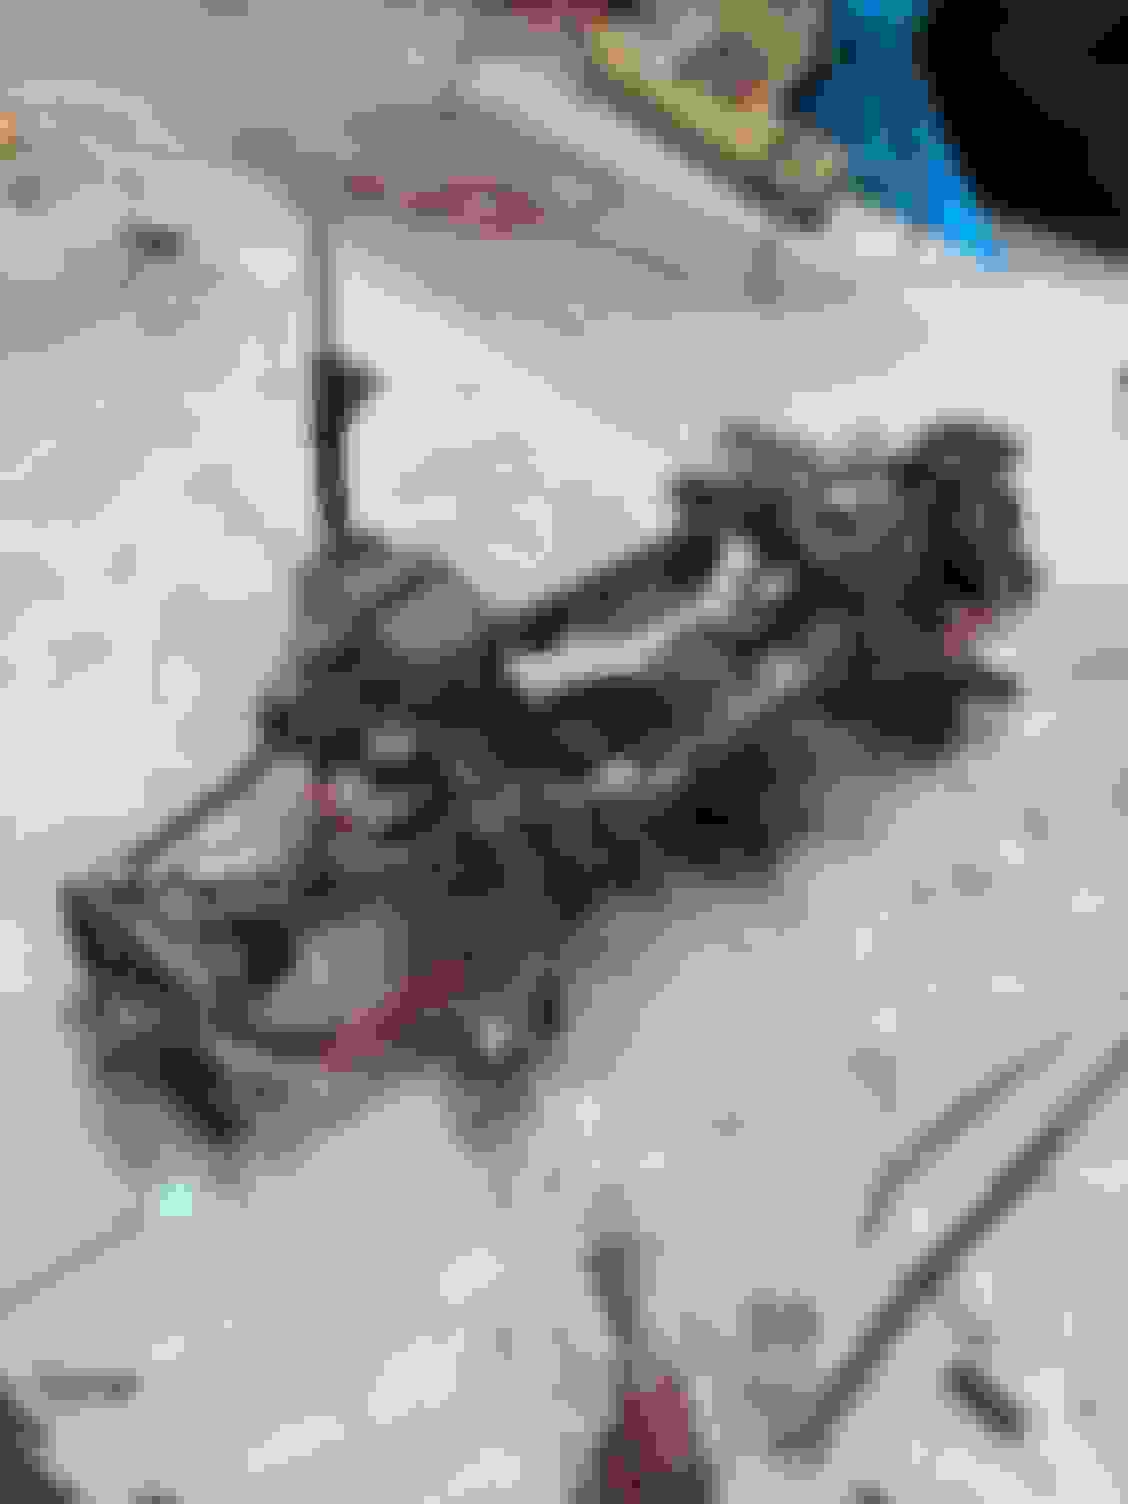
Sikky Solid Subframe Bushings + New subframe + diff bushings
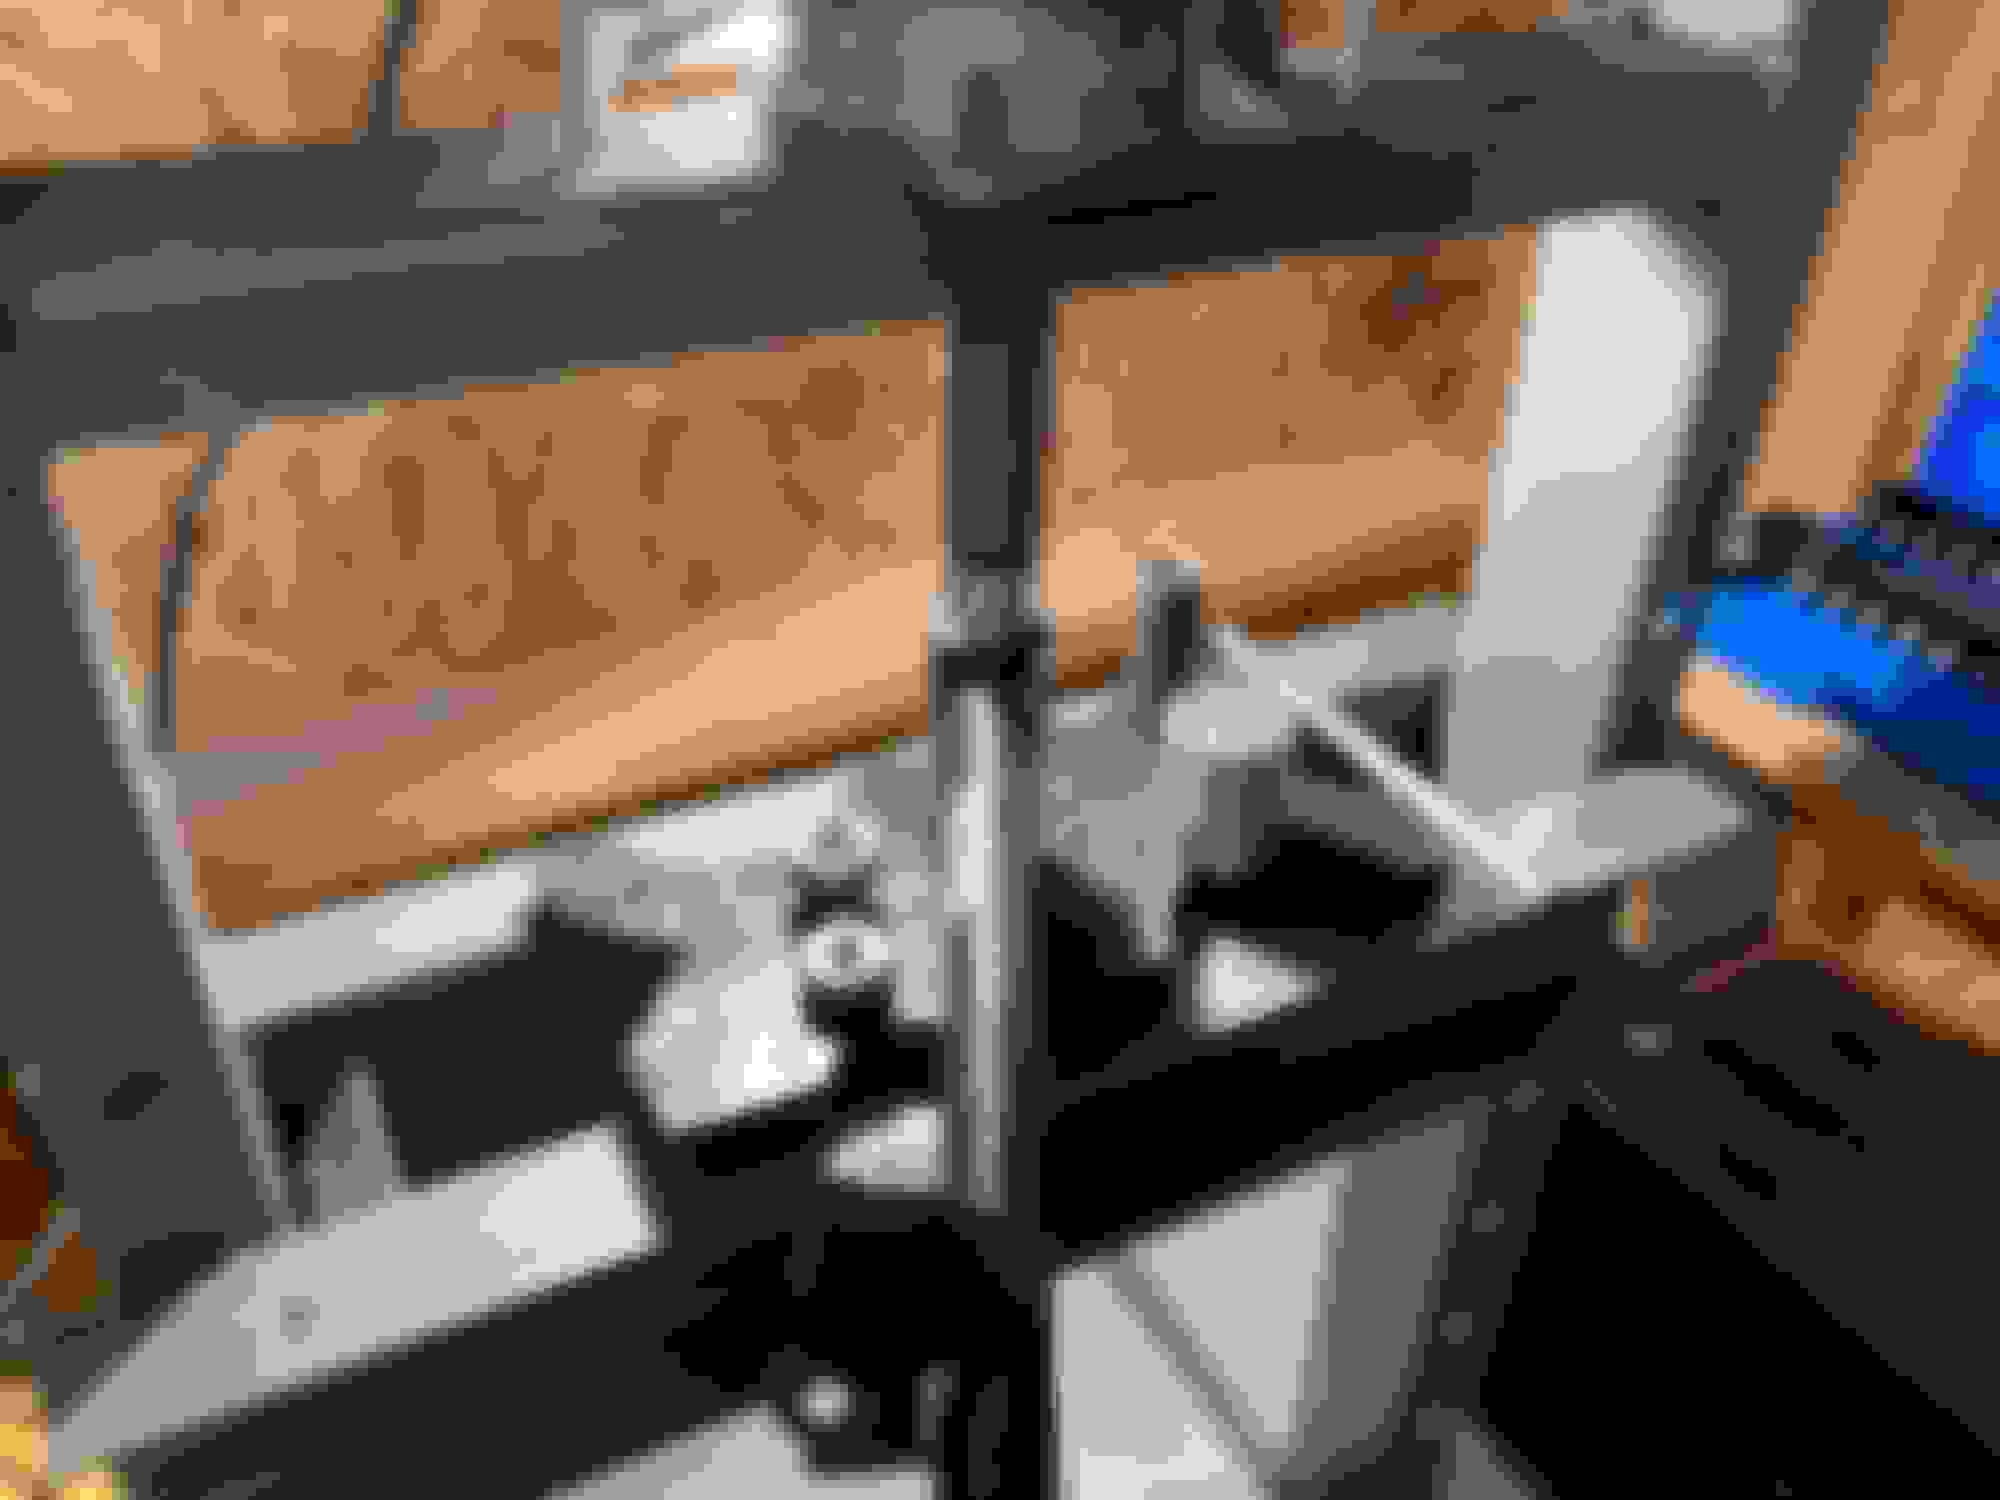
Well, this turned into a whole damn thing. After 3 weeks away from the garage (yay winter testing for work!), I finally was able to get some work done.
Ordered some Sikky solid subframe bushings to add in alongside the diff bushings that came in my big kit.. and it went a bit as expected.
I actually started this around when I was doing the splitter, but broken bits and work got in the way. First thing to note on the bushings is that it's quite difficult to tell which bushing goes where, and there was no install guide on their website.. or delivered with the bushings that I could find. Little bit annoying, but not the end of the world. I do think you can fairly easily install these improperly though on two of the bushings, so it would be really nice if some clarity was given from Sikky. Other than that, so far no complaints.
To do these bushings along with the diff mount bushings, I was gonna drop the whole subframe. Easy enough, undo some bolts, get the jack, then lift the car up. The hardest part about this was getting the calipers ziptied up after I had forgotten they needed to come off to not crack the brake lines when letting the subframe down. All that to say, it's an easy job if you're not an idiot.
First on the menu was the diff mount bushings as I figured they would be easier. Whelp.. the first round of rusted to hell parts came to get me, as well as my own impatience. I tried to use a jig saw to slot the old bushing to get it out.. aaaaand... yeah..
Everything really is an easier job when you're not an idiot.
I decided after that to move on to the subframe bushings and get on the computer later to get a new diff bracket on the way. I knew the subframe was going to be bad and in my mind I already thought about just buying a new one anyways. I decided to give it a shot on my rusty one, because worst case the end result was the same path. After realizing one of the bushing types was an encapsulated bushing, the first tingle of heading on over to ebay hit me after I blew the inner bushing out and had NO hope at getting the race out from the one side it needed to due to the rust and bad access.
In the usual fashion, I just moved on to the center bushing.. seemed like the easiest one to get at, and I needed an easy job at the moment. Even after hacking a slot in the bushing to make pressing out even possible, I still could NOT get it to move on the rusty subframe, and decided to full send it with my bushing press kit to see just how stuck it was going to be.
Survey says, quite.
So the next obvious step was to hop on ebay, find a subframe from the south and get it on it's way. Luckily enough I found a southern subframe with a diff mount with it for a banger deal and I sent my money on it's way.
The subframe was meant to be delivered while I was going to be up north for winter testing on a work trip, and while that trip was delayed I was still working 10000 hours. The only thing of note there is that they shipped it just by slapping a label on the actual subframe, so not only did the semi-encapsulated nuts fall out, the poor mail guy had to haul around an RX-8 subframe to my porch. Funny enough, the yard I got it from must have dropped some hardware inside the steel tubing of the thing because I heard a rattle when I flipped it over. Random bolt made it's way from Texas to Michigan without falling out of the tubes. What a weird thing to type more than one sentence about...
The subframe say in my garage until I got back filled with a wealth of knowledge from my trip, mostly learning that if you had enough cows mooing outside your Air BnB at 2am, they can be mistaken as a snowmobile and you're not the only one that thought so.
Drilled out the rubber material, hacksawed the bushing sleeves, hammer/press tool and bingo bango she's good to go.
On the encapsulated bushings it was a bear to get the insert out, so I sorta fucked up everything a little bit. I ground it down juuuust a little and I think it was acceptable. Only minor scratching on the bushing mating surfaces anyways. I did have to cut into the encapsulated bit just a tad to get at the sleeve, but the new bushings sort of sandwiched it, so I don't think anything of value was messed up and it just feels messier than it is.
Boom, solid bushings done. On to the diff.
This time, no jigsaw was involved.. and I think I did a much better job. Sidenote... I should really fix my vice so that I can lock the turning ability on it. Don't let your friends be dumb like me. Hacksawing a moving object is stupid.
With the new bushings all finally in place, it was time to remove everything from the old subframe and swap it over to the new one. Super easy with full access to everything. I love the transformation of rusted trash to slightly less rusted trash, and this was where I would realize all the work.
Putting the subframe back in the car was a bit of a pain until I realized I could shove some 4x4s under the subframe and just lower the car on to it from the lift. Balancing it on the jack is a bad time. If I didn't have the lift, I definitely wouldn't have built it all up on the ground.. but I think it still would have been better to do it that way... I just wasn't in the mood to get covered in Cusco LSD oil, so it is what it is.
Gotta tighten everything up and clean up the mess of a garage because it was nonstop garage until it was non stop work and my entire life is a mess.
Getting closer to my whole winter list being crossed off, and I cannot wait to drive this thing.


 11-28-2022, 06:01 AM