


Renesis NC Track Car - In the Build

Thread Starter
Registered
Joined: Mar 2007
Posts: 212
Likes: 0
From: Brisbane
Today was indeed a "Milestone" for the Renesis NC project with the installation of the supercharger kit getting underway.

First up this morning was the removal of unnecessary components and cleaning of the engine in anticipation of the supercharger installation. The engine is from a FY 2005 JDM RX-8 and has 33,000km on it. It has been in storage for almost 12 months so it was pretty dusty. A quick hit with citrus cleaner and a pressure washer was exactly what was required as I couldn't let the engine detract from the awesomeness that was about to be bolted to it.

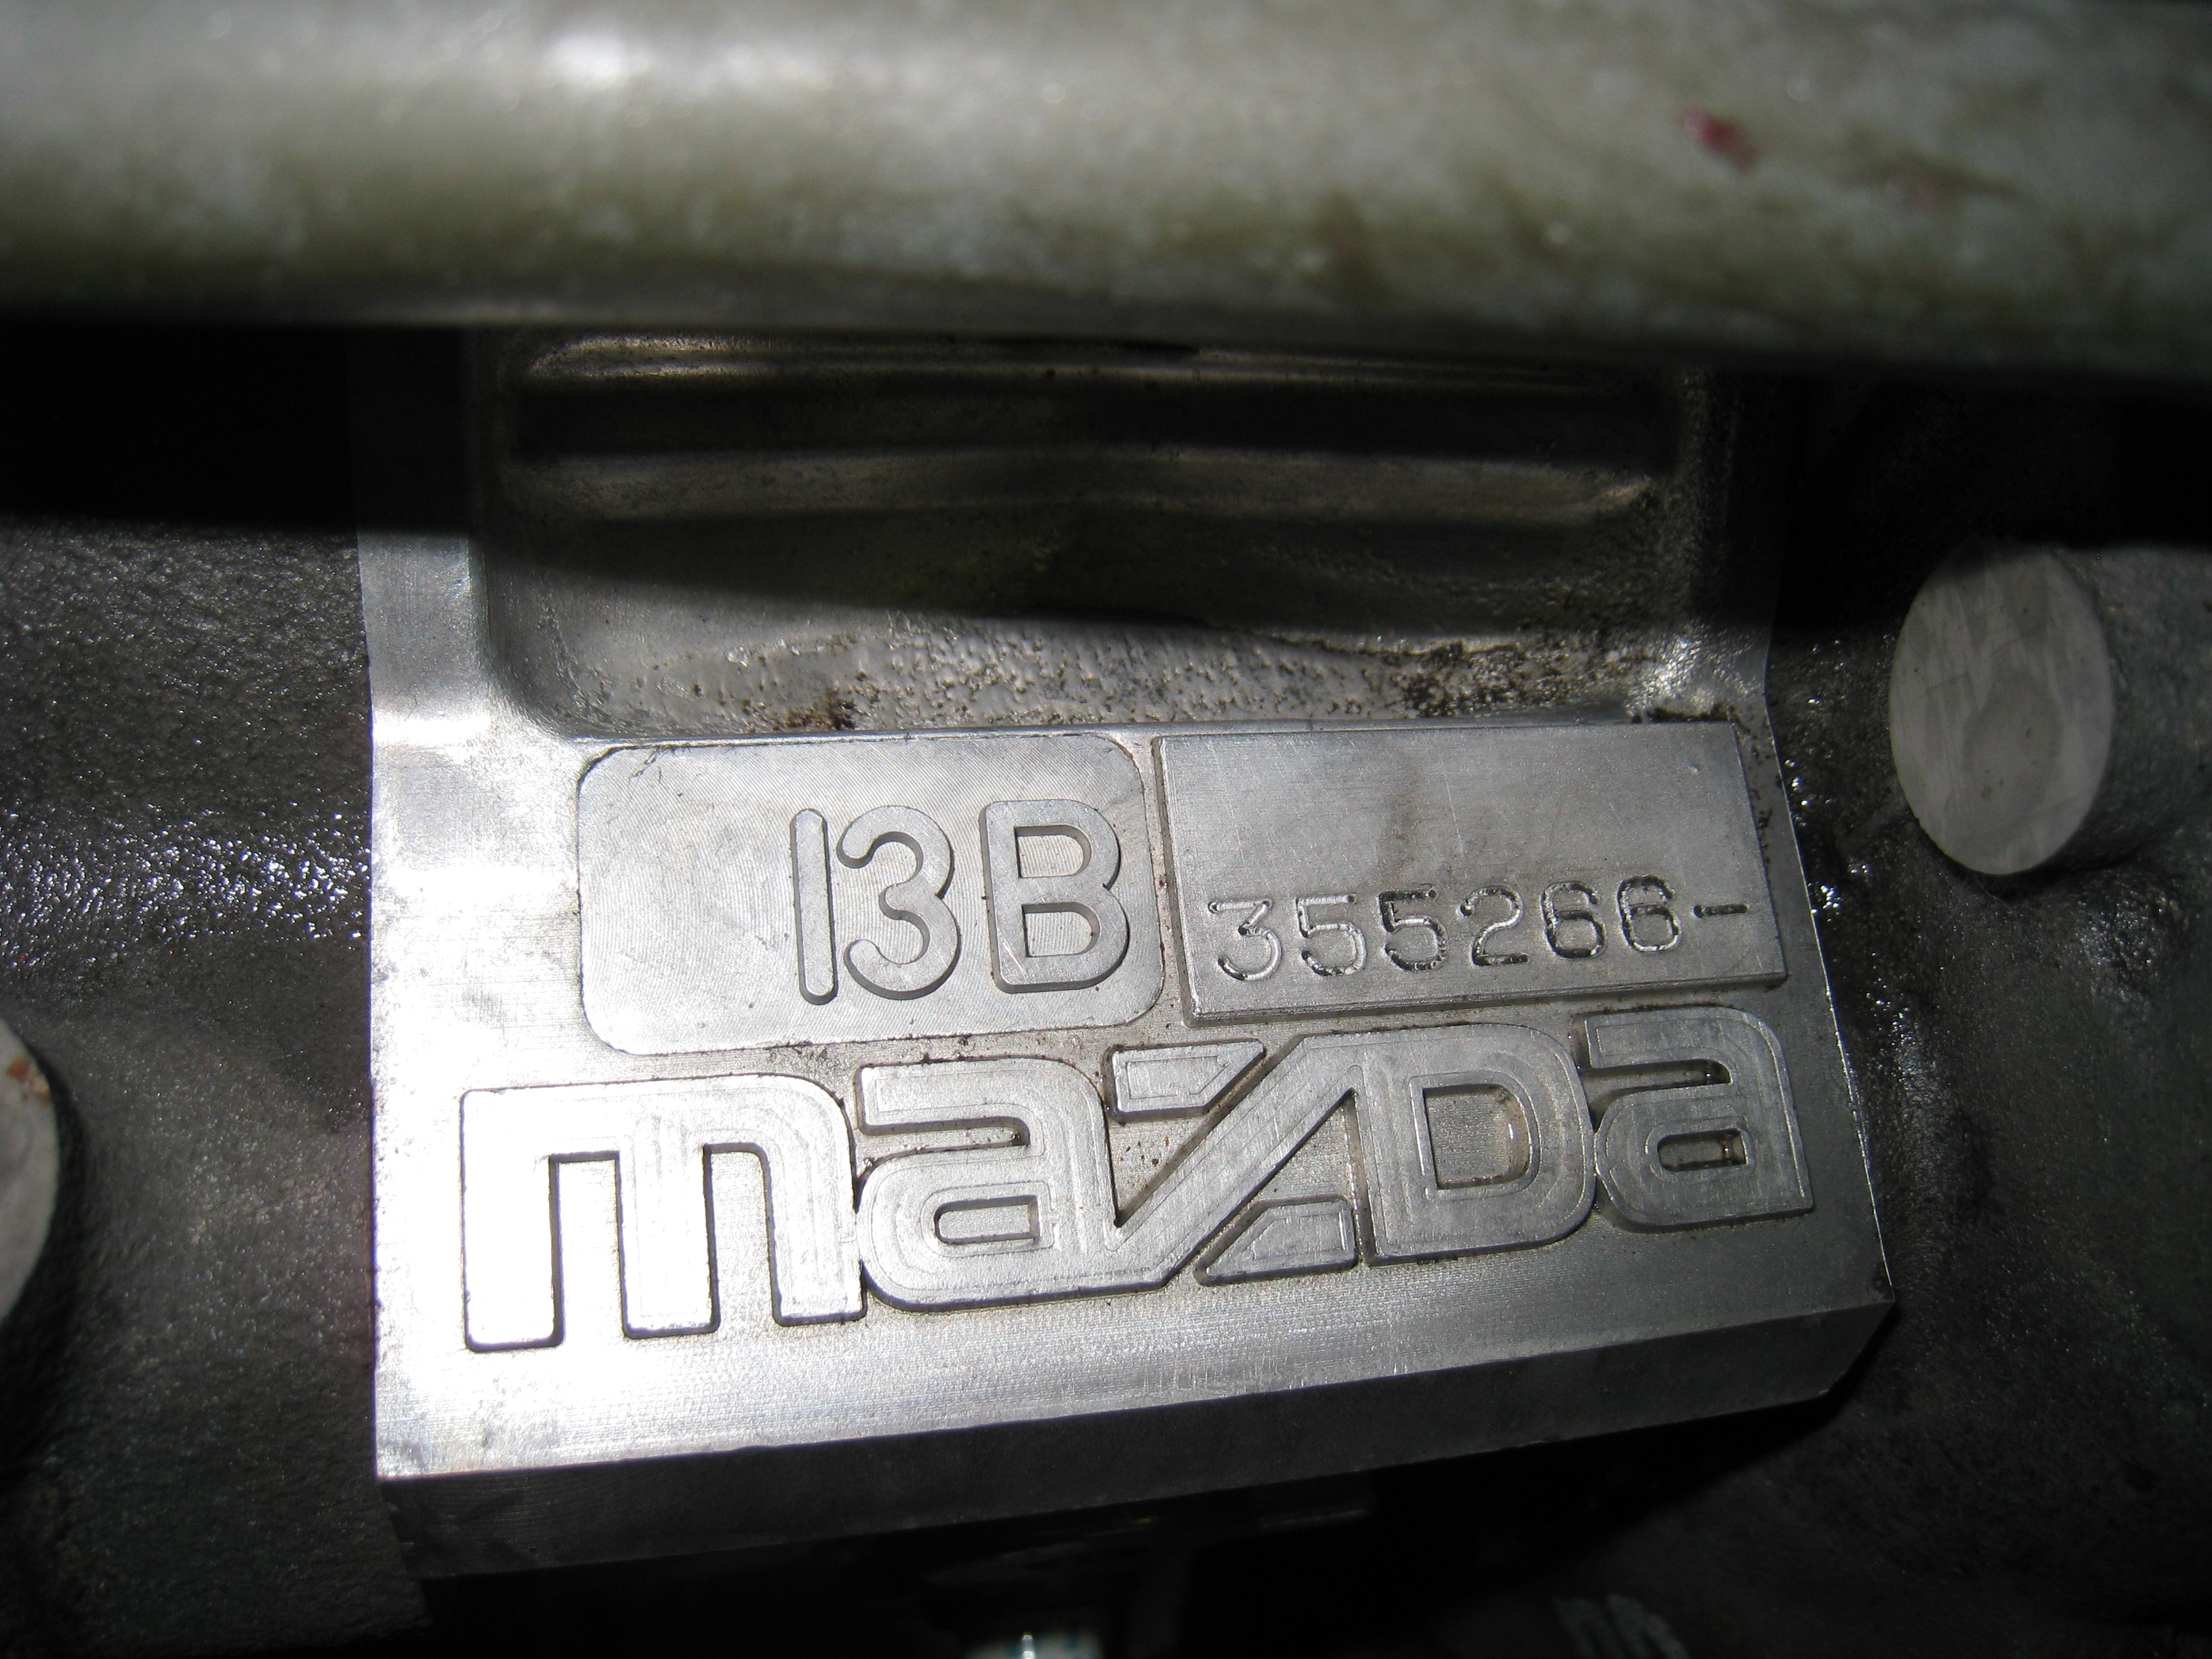
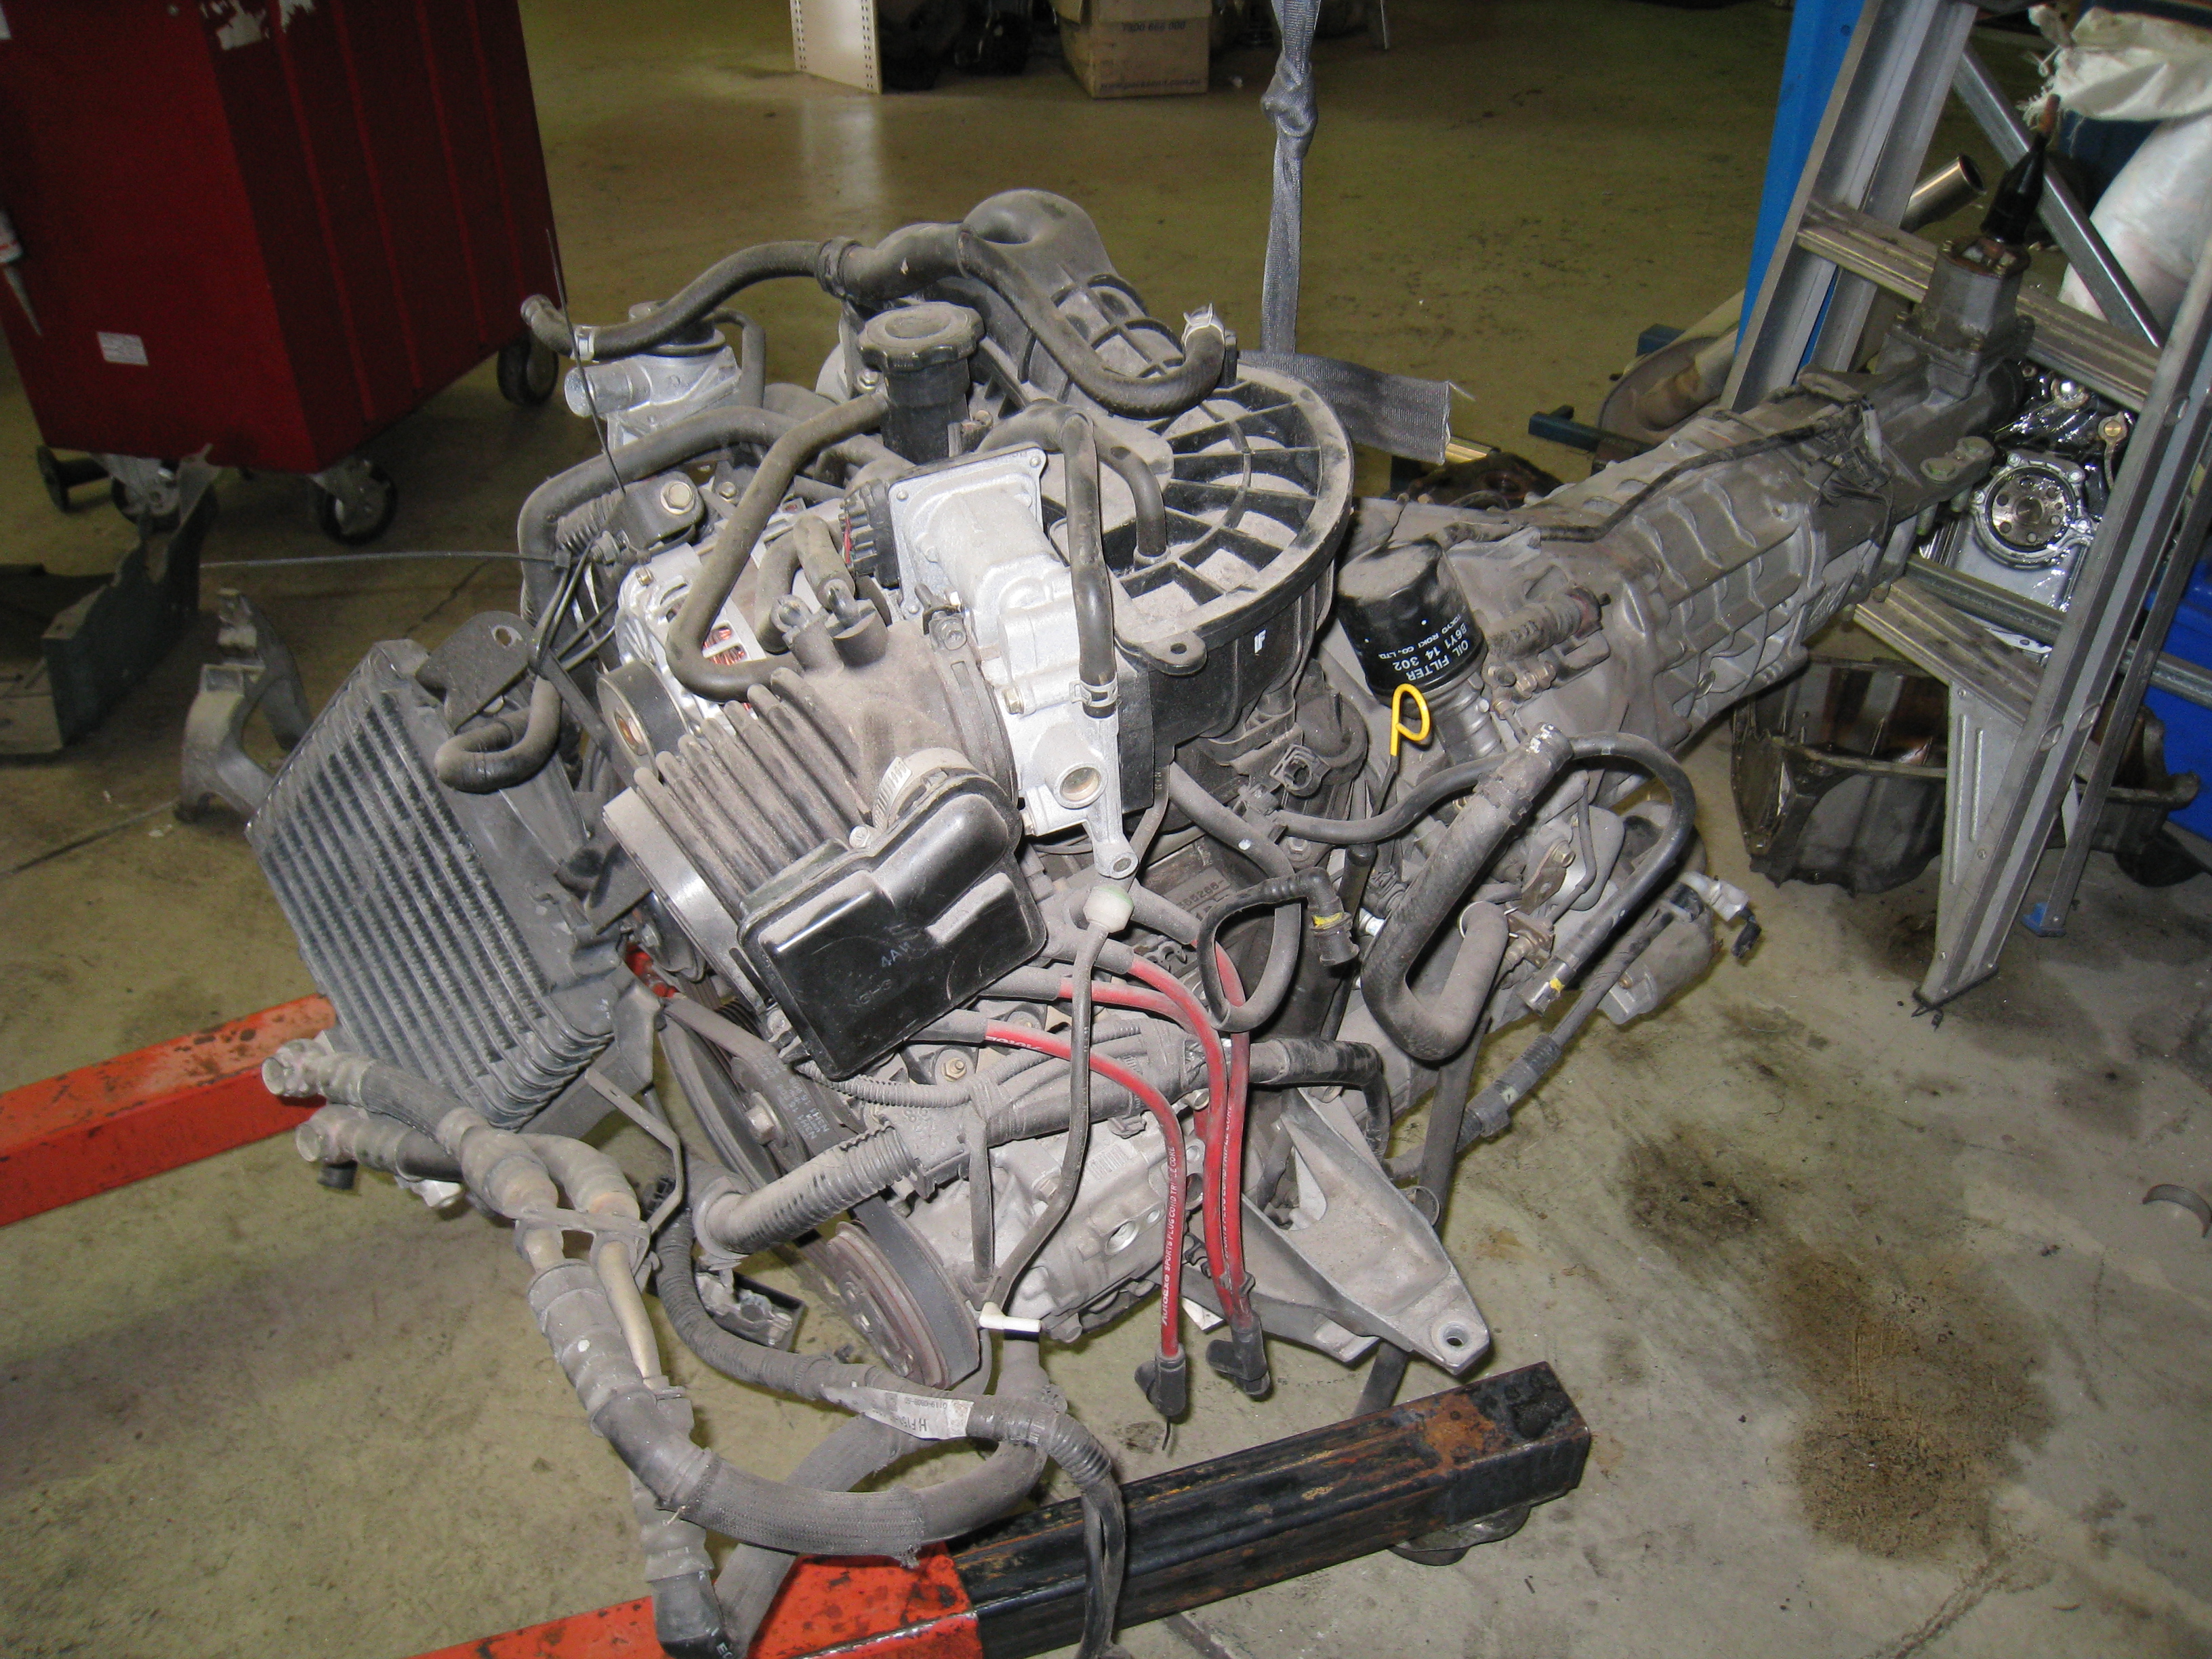
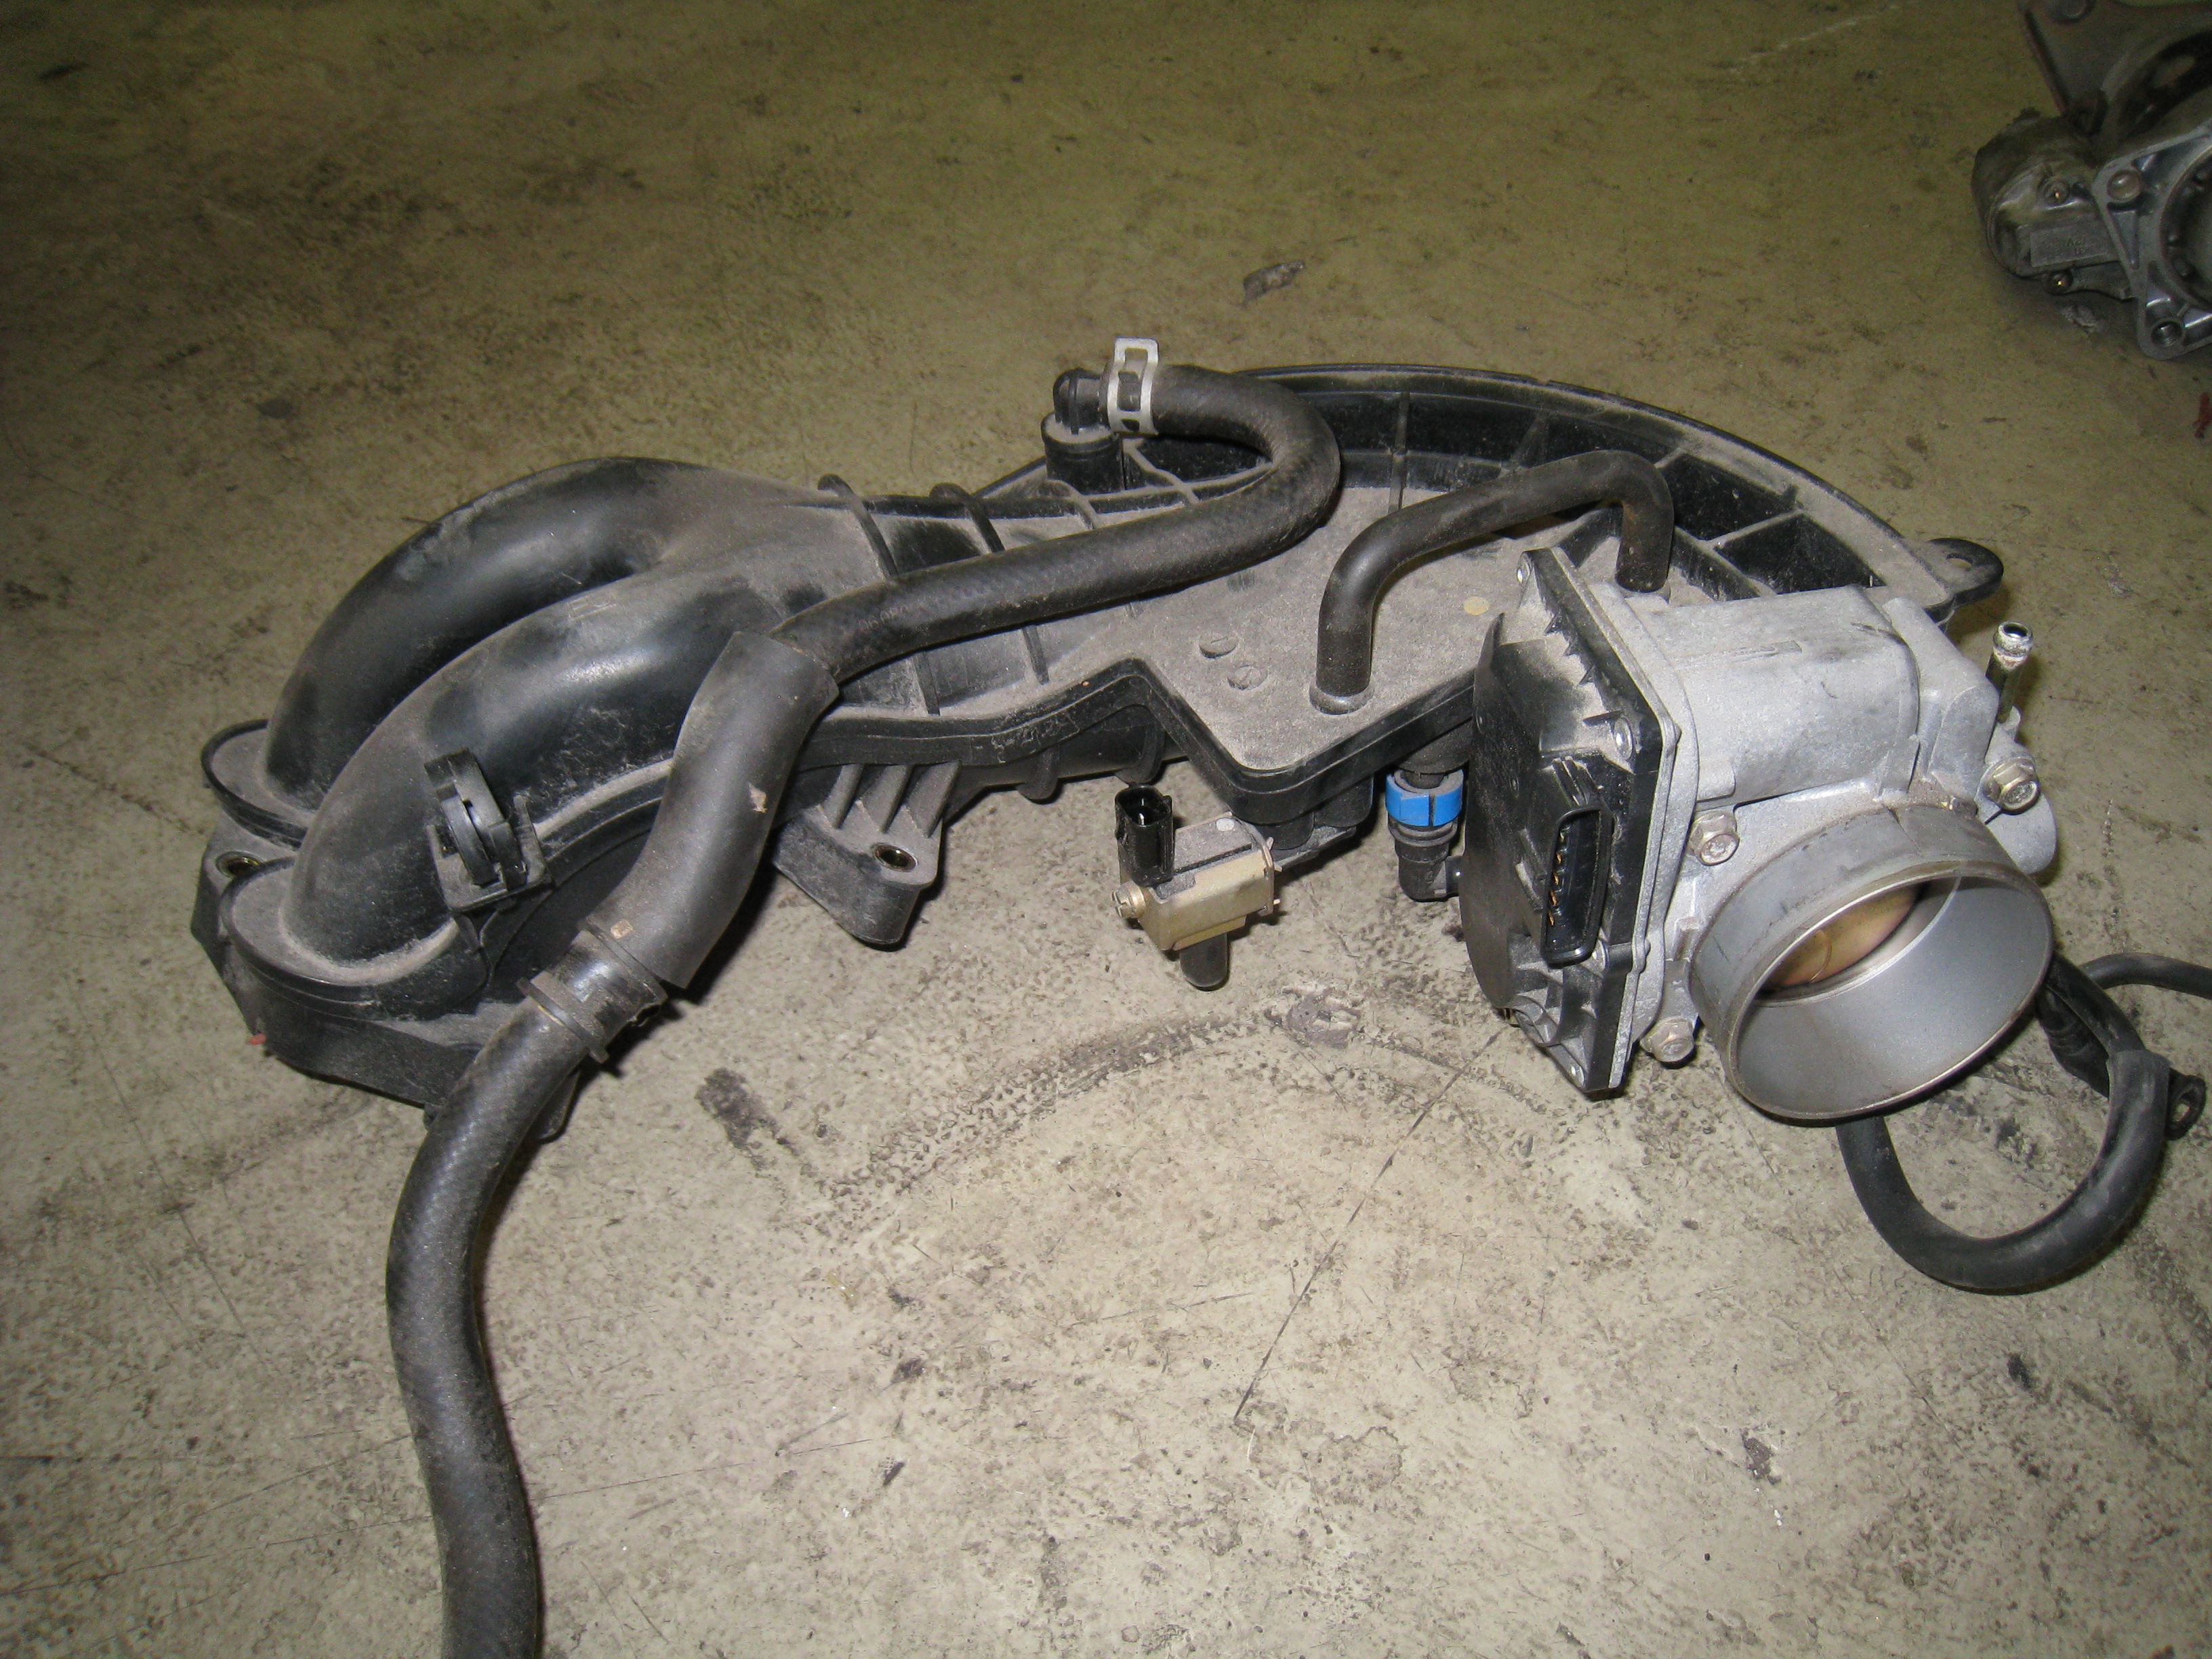
Upper section of inlet manifold including throttle body removed.
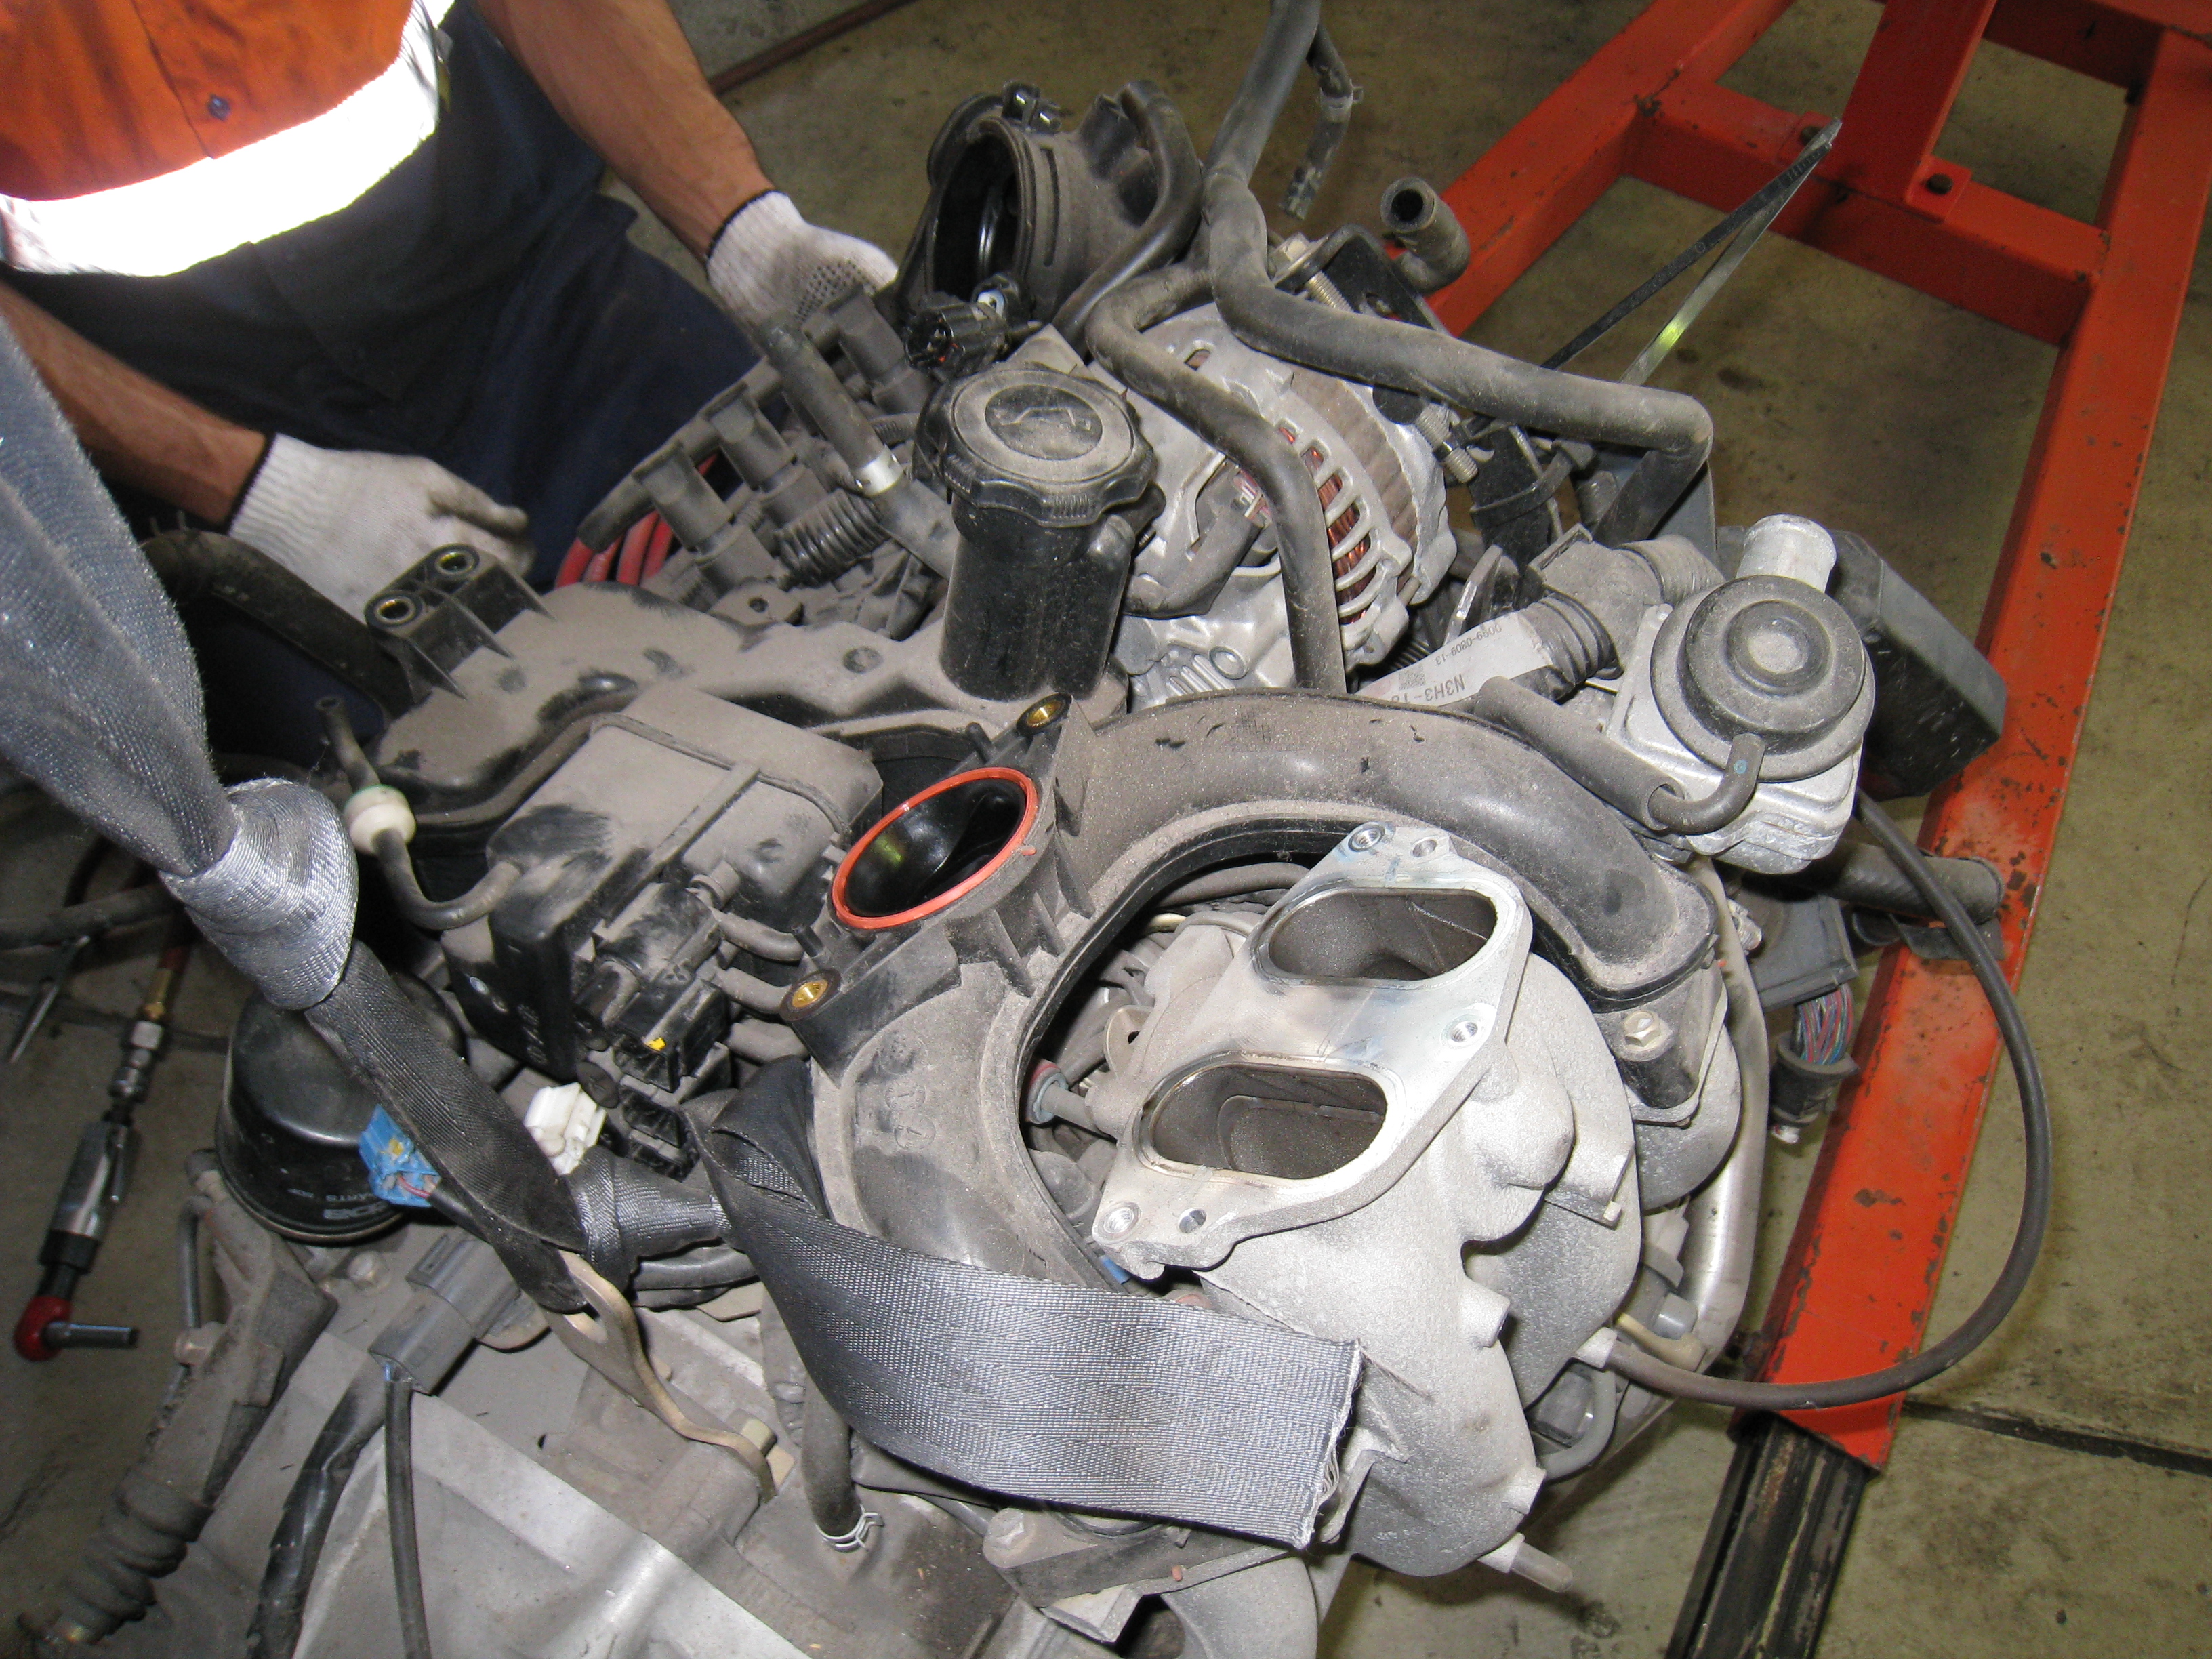
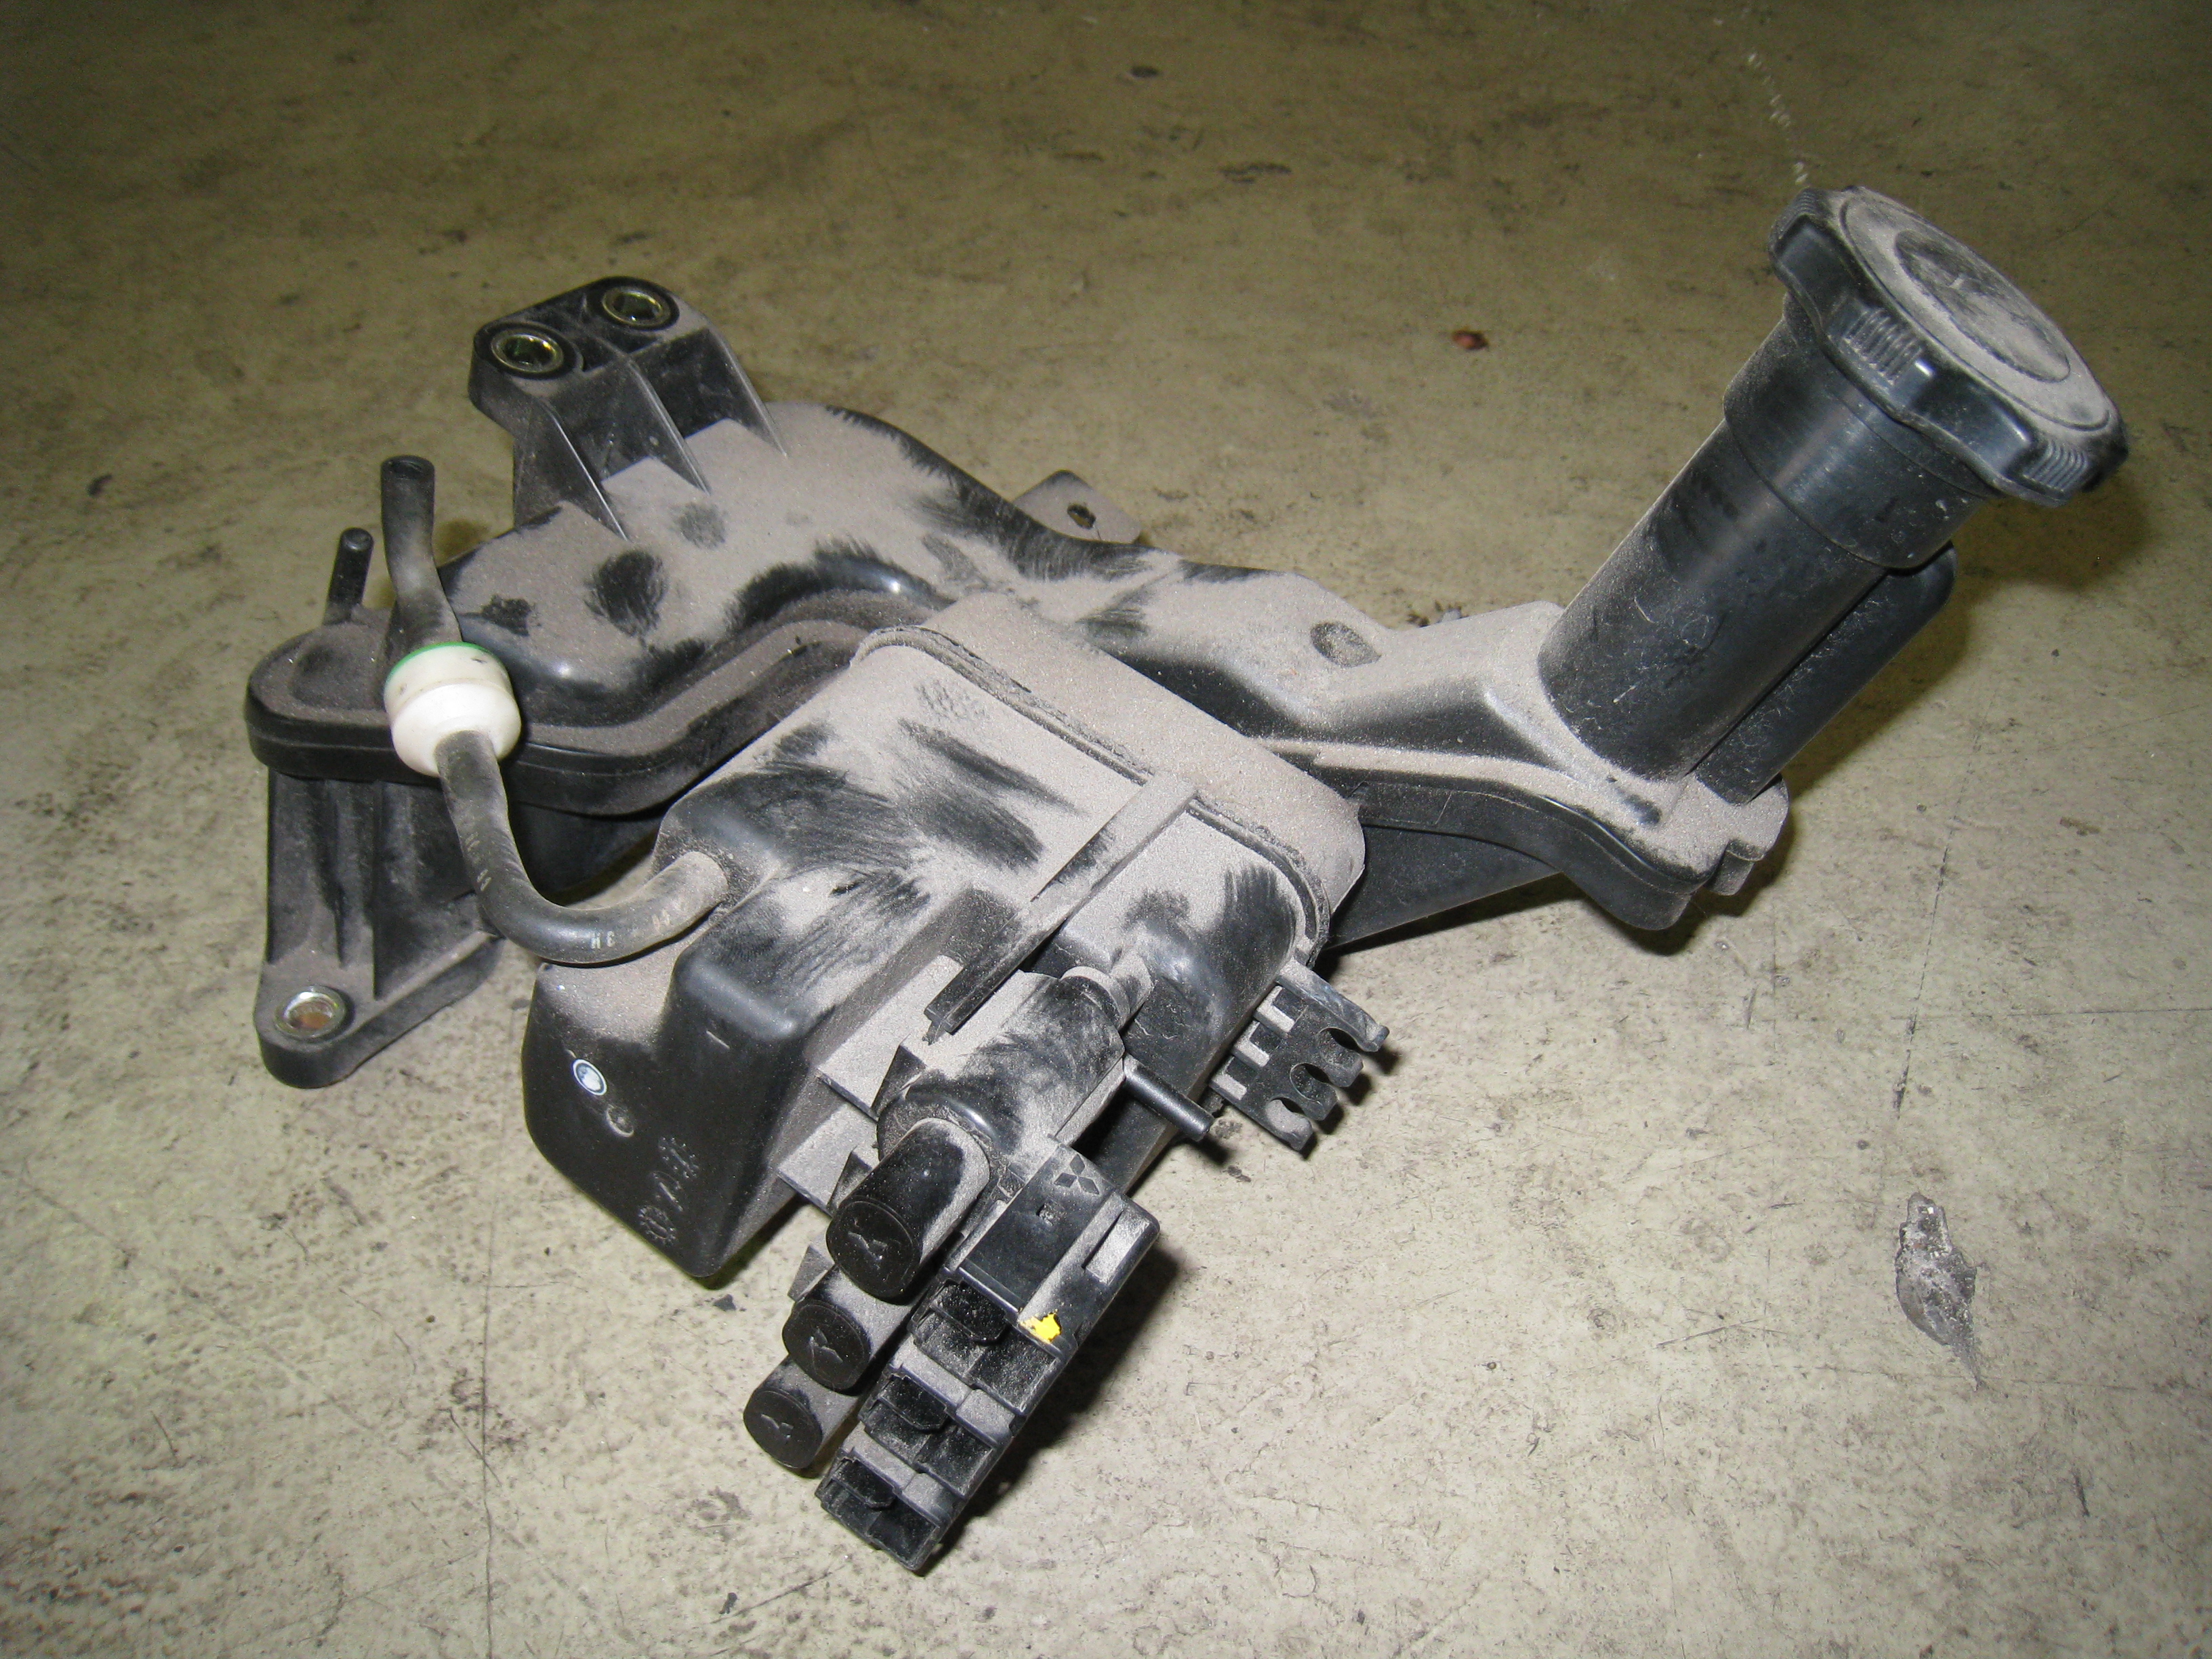
Removal of the oil filler neck and vacuum reservoir assembly. The vacuum reservoir and components will be reinstated at a later date.
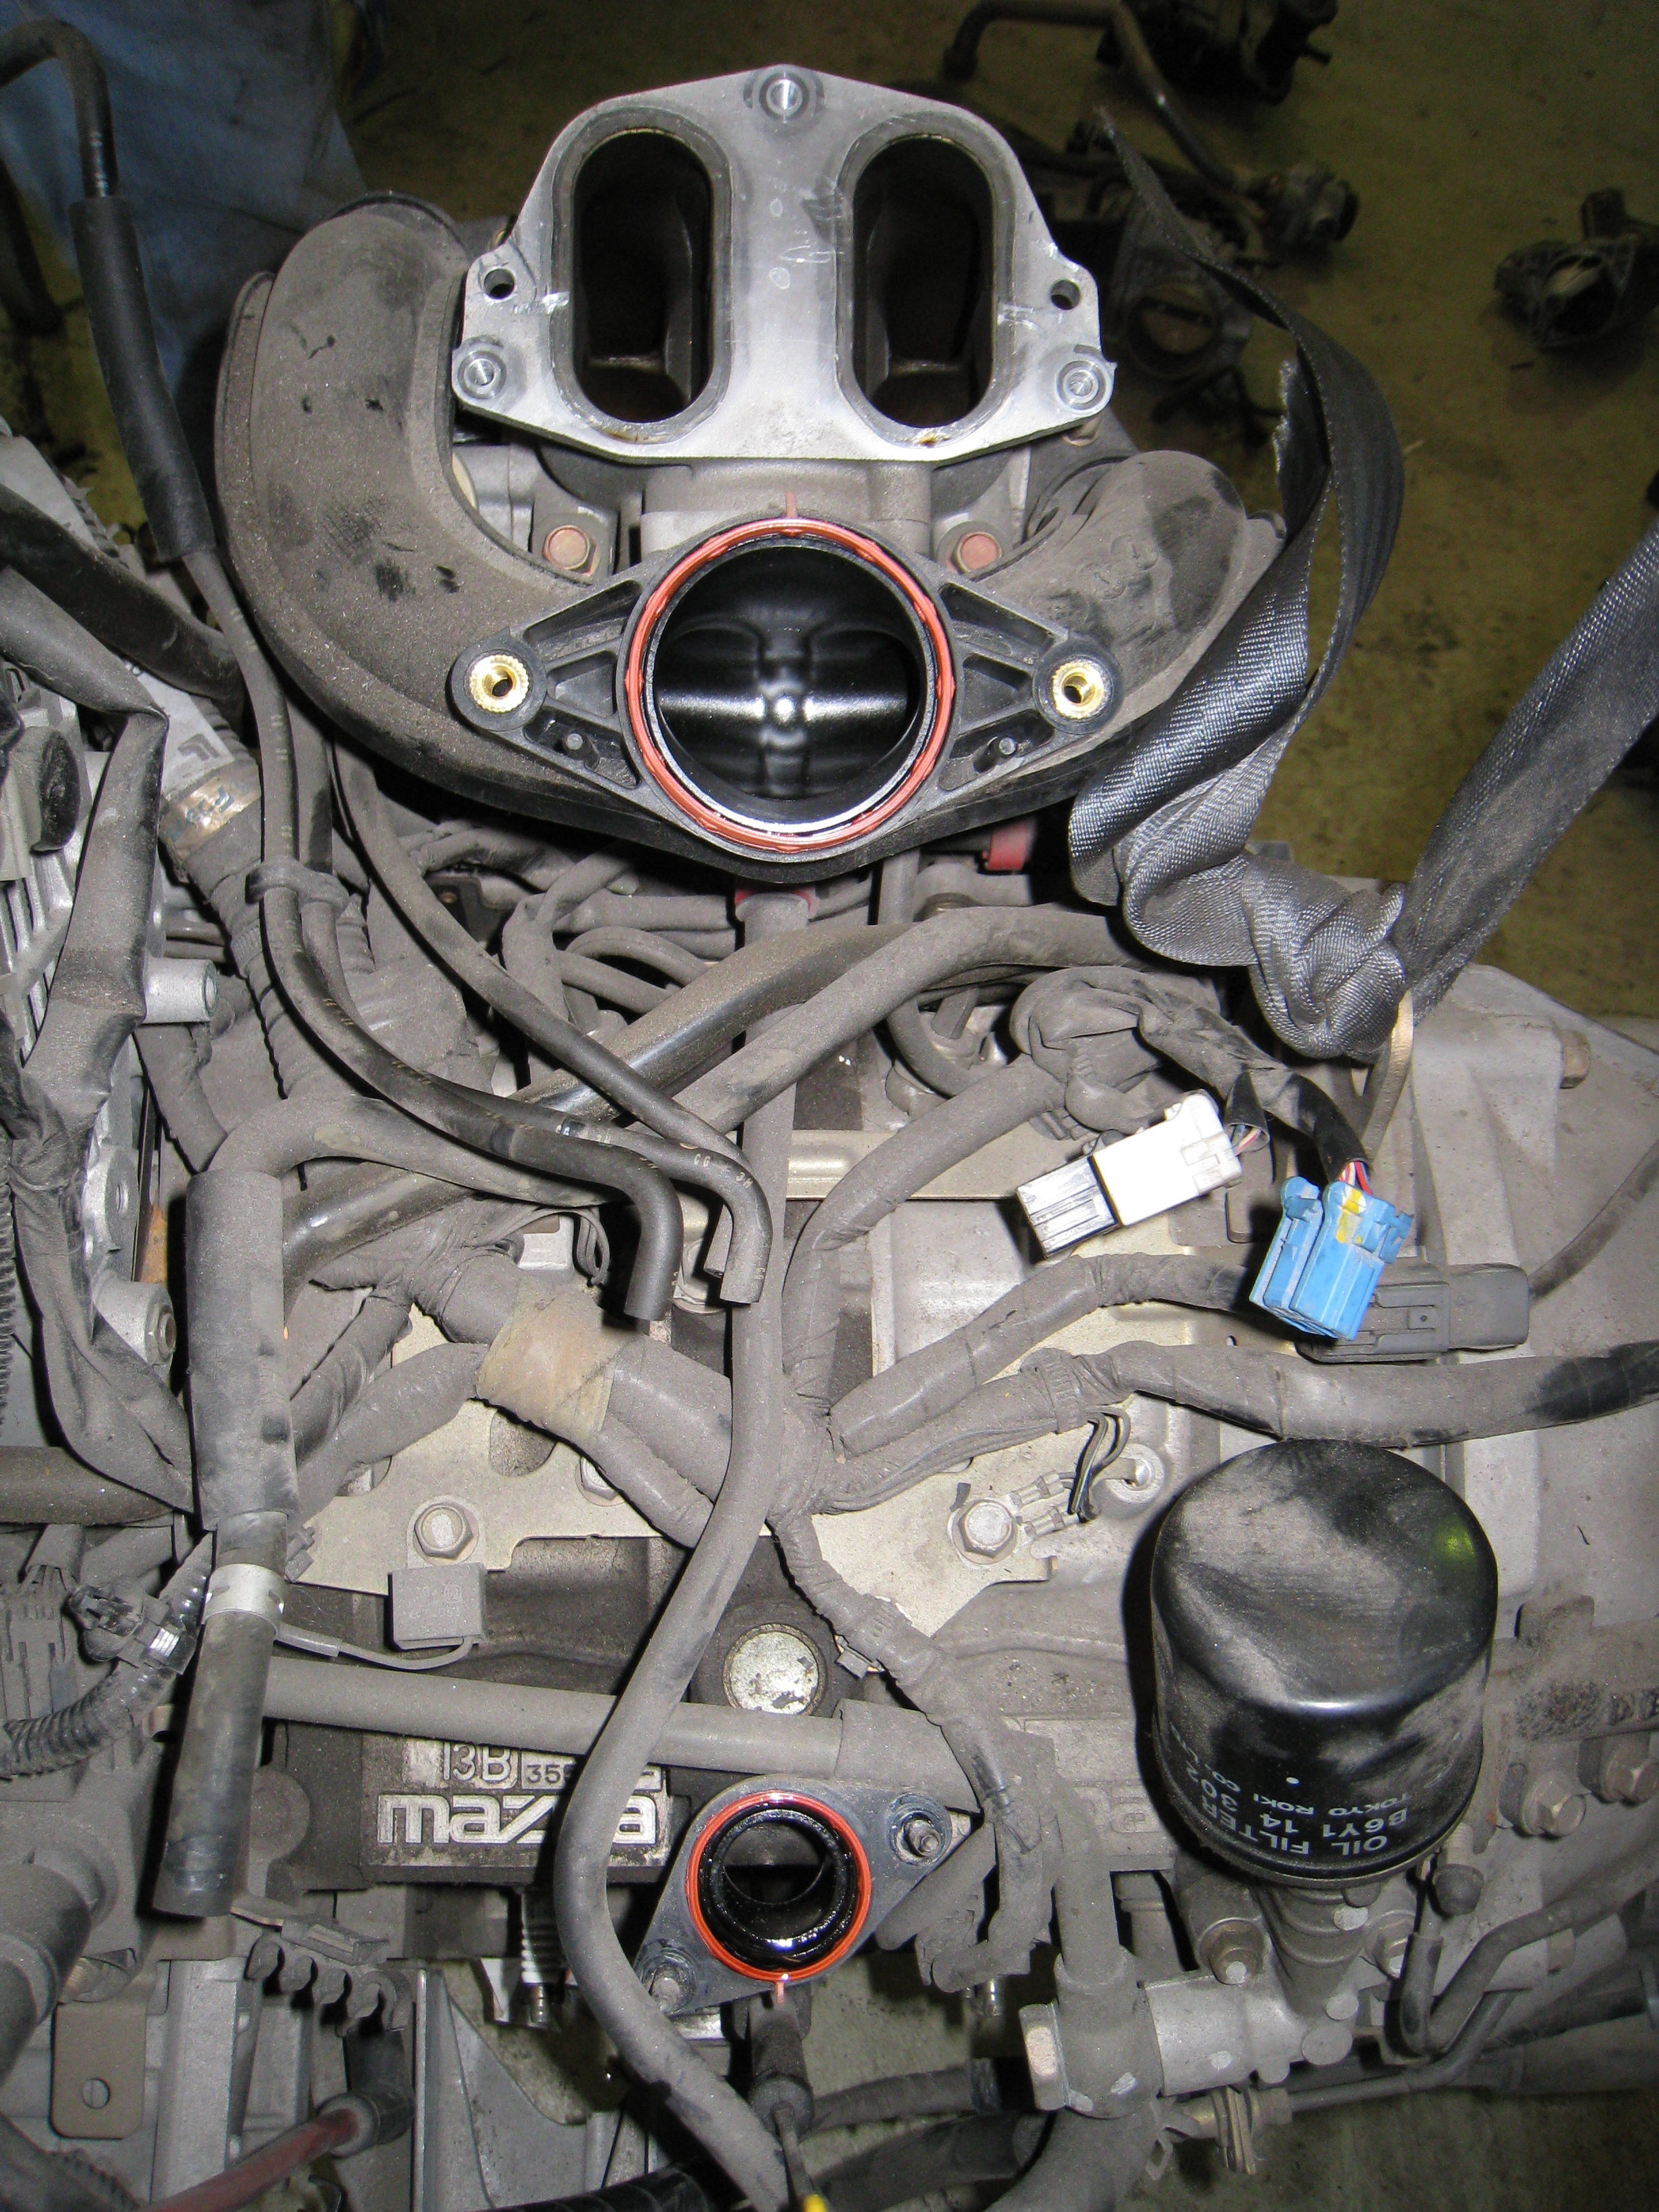
After all the orifices were suitably protected the engine got washed and came up looking like it was on the Mazda production line awaiting fitment.
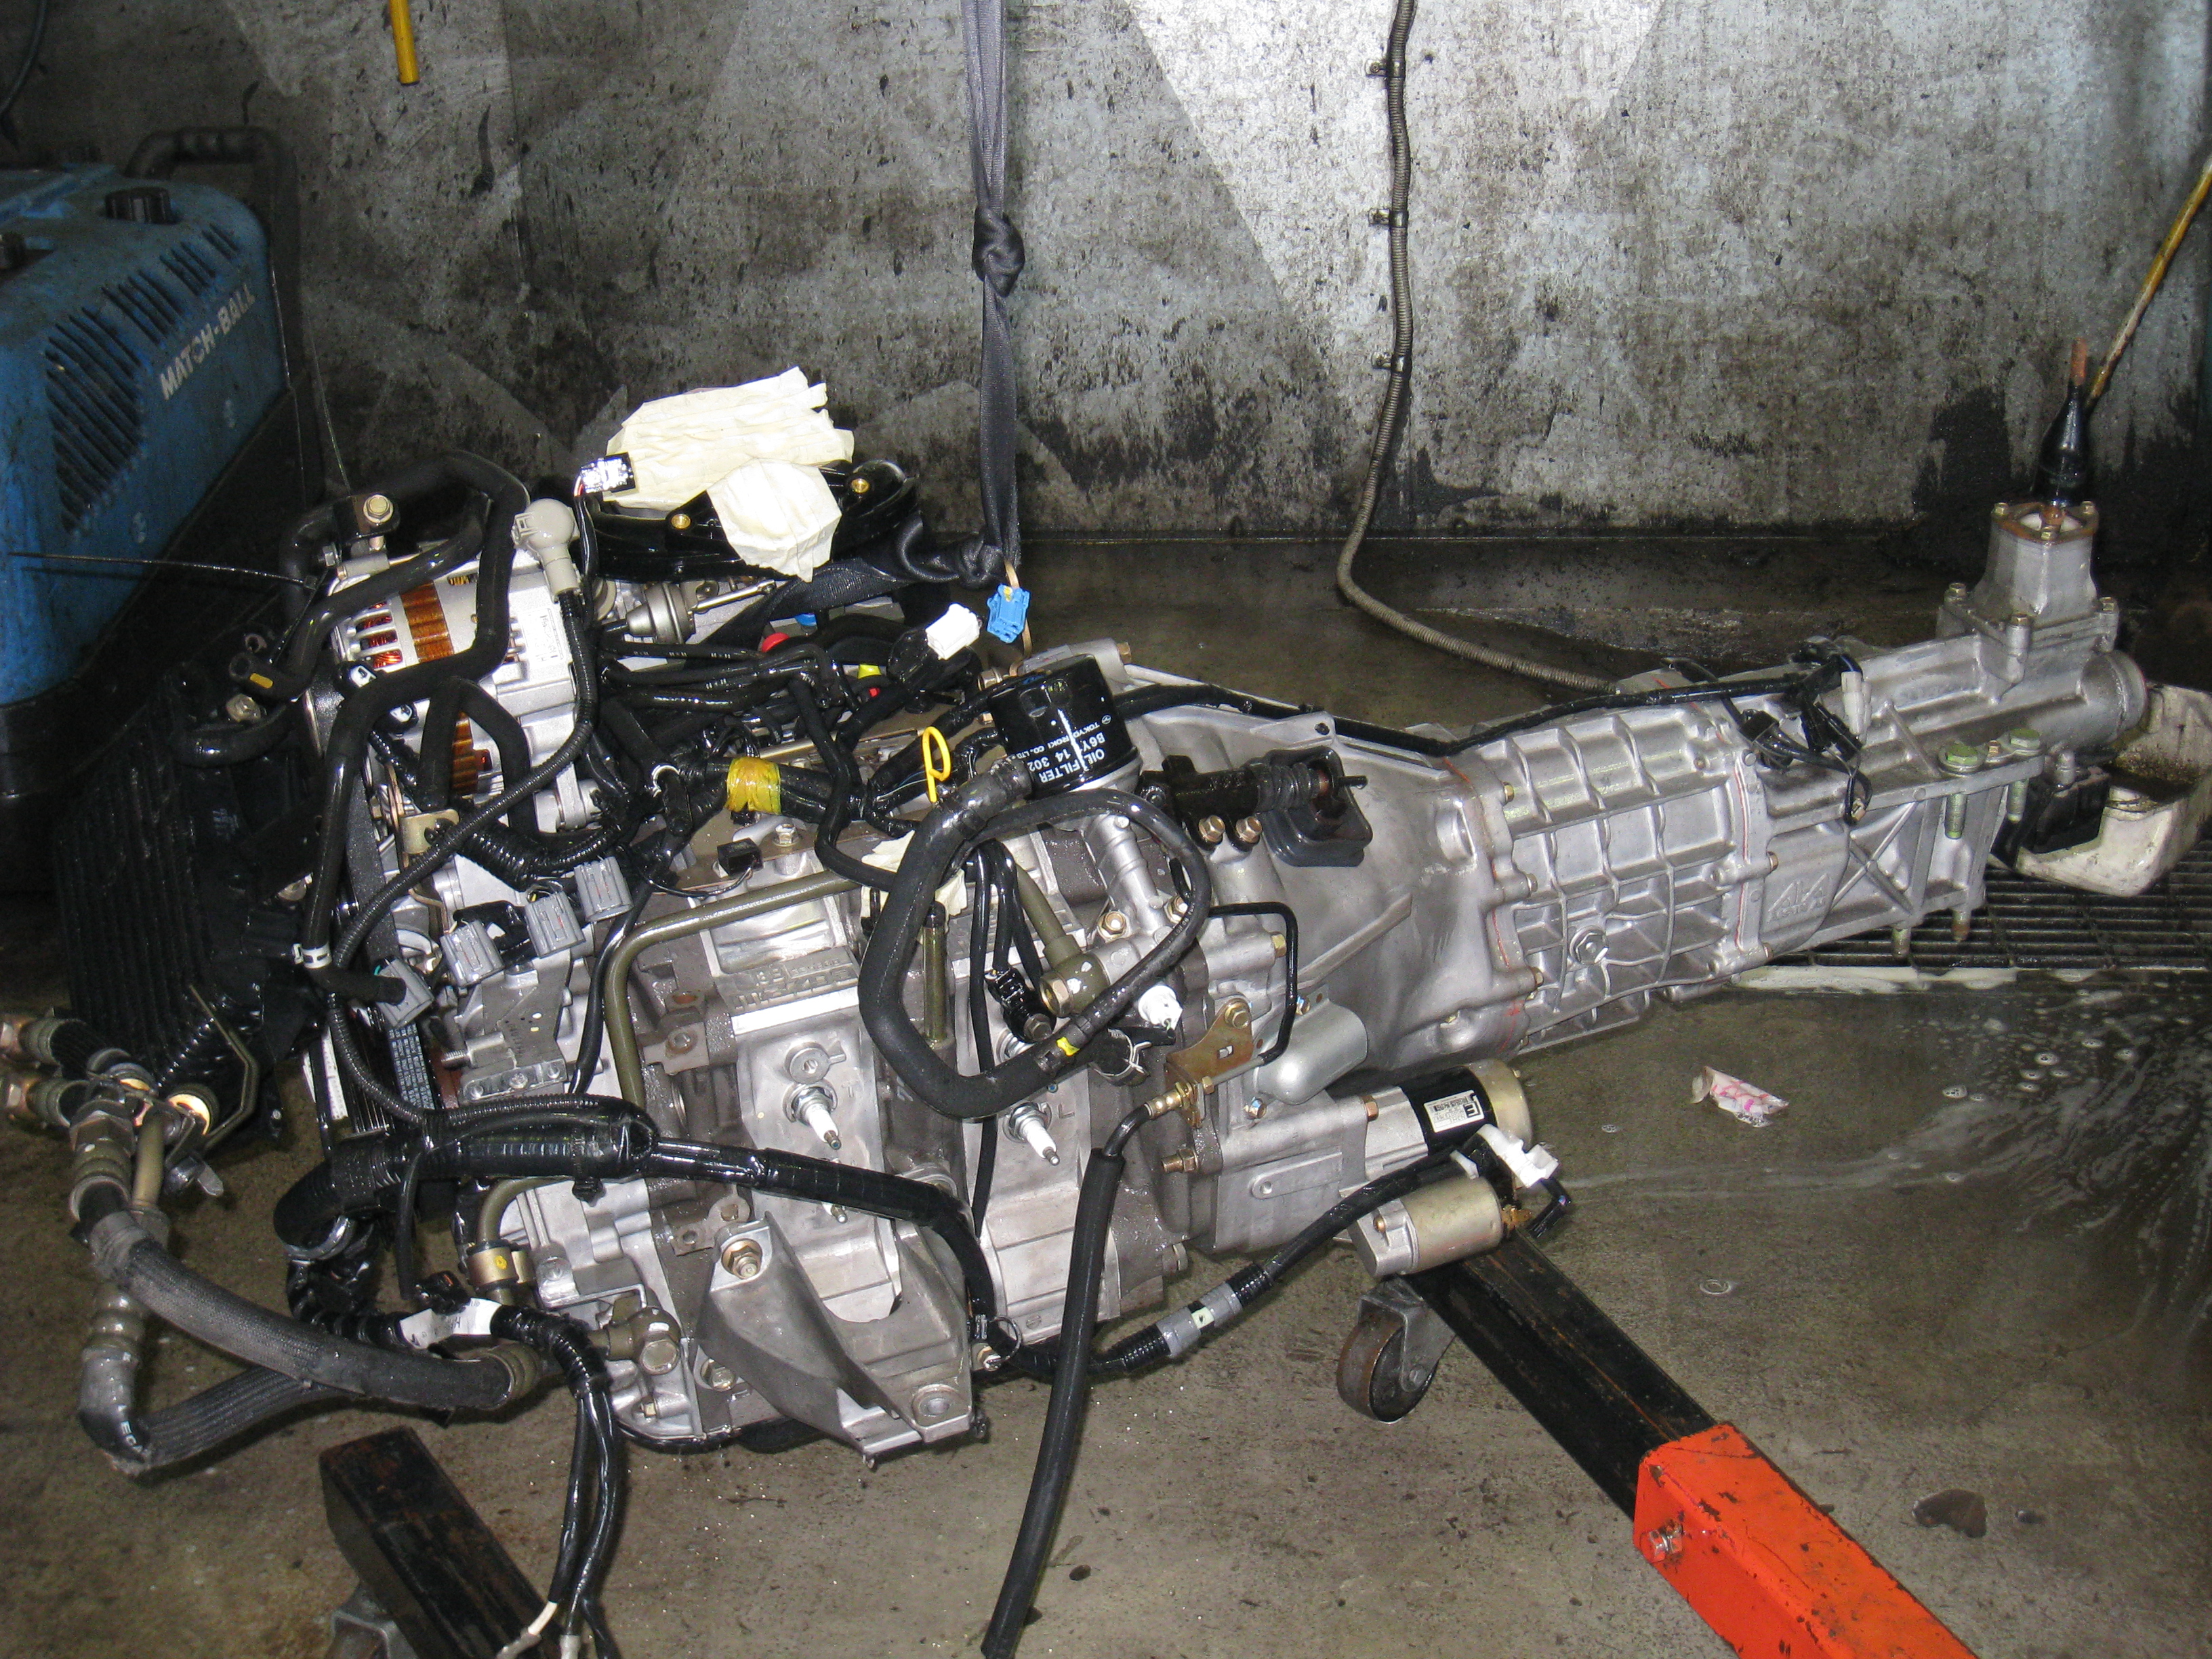
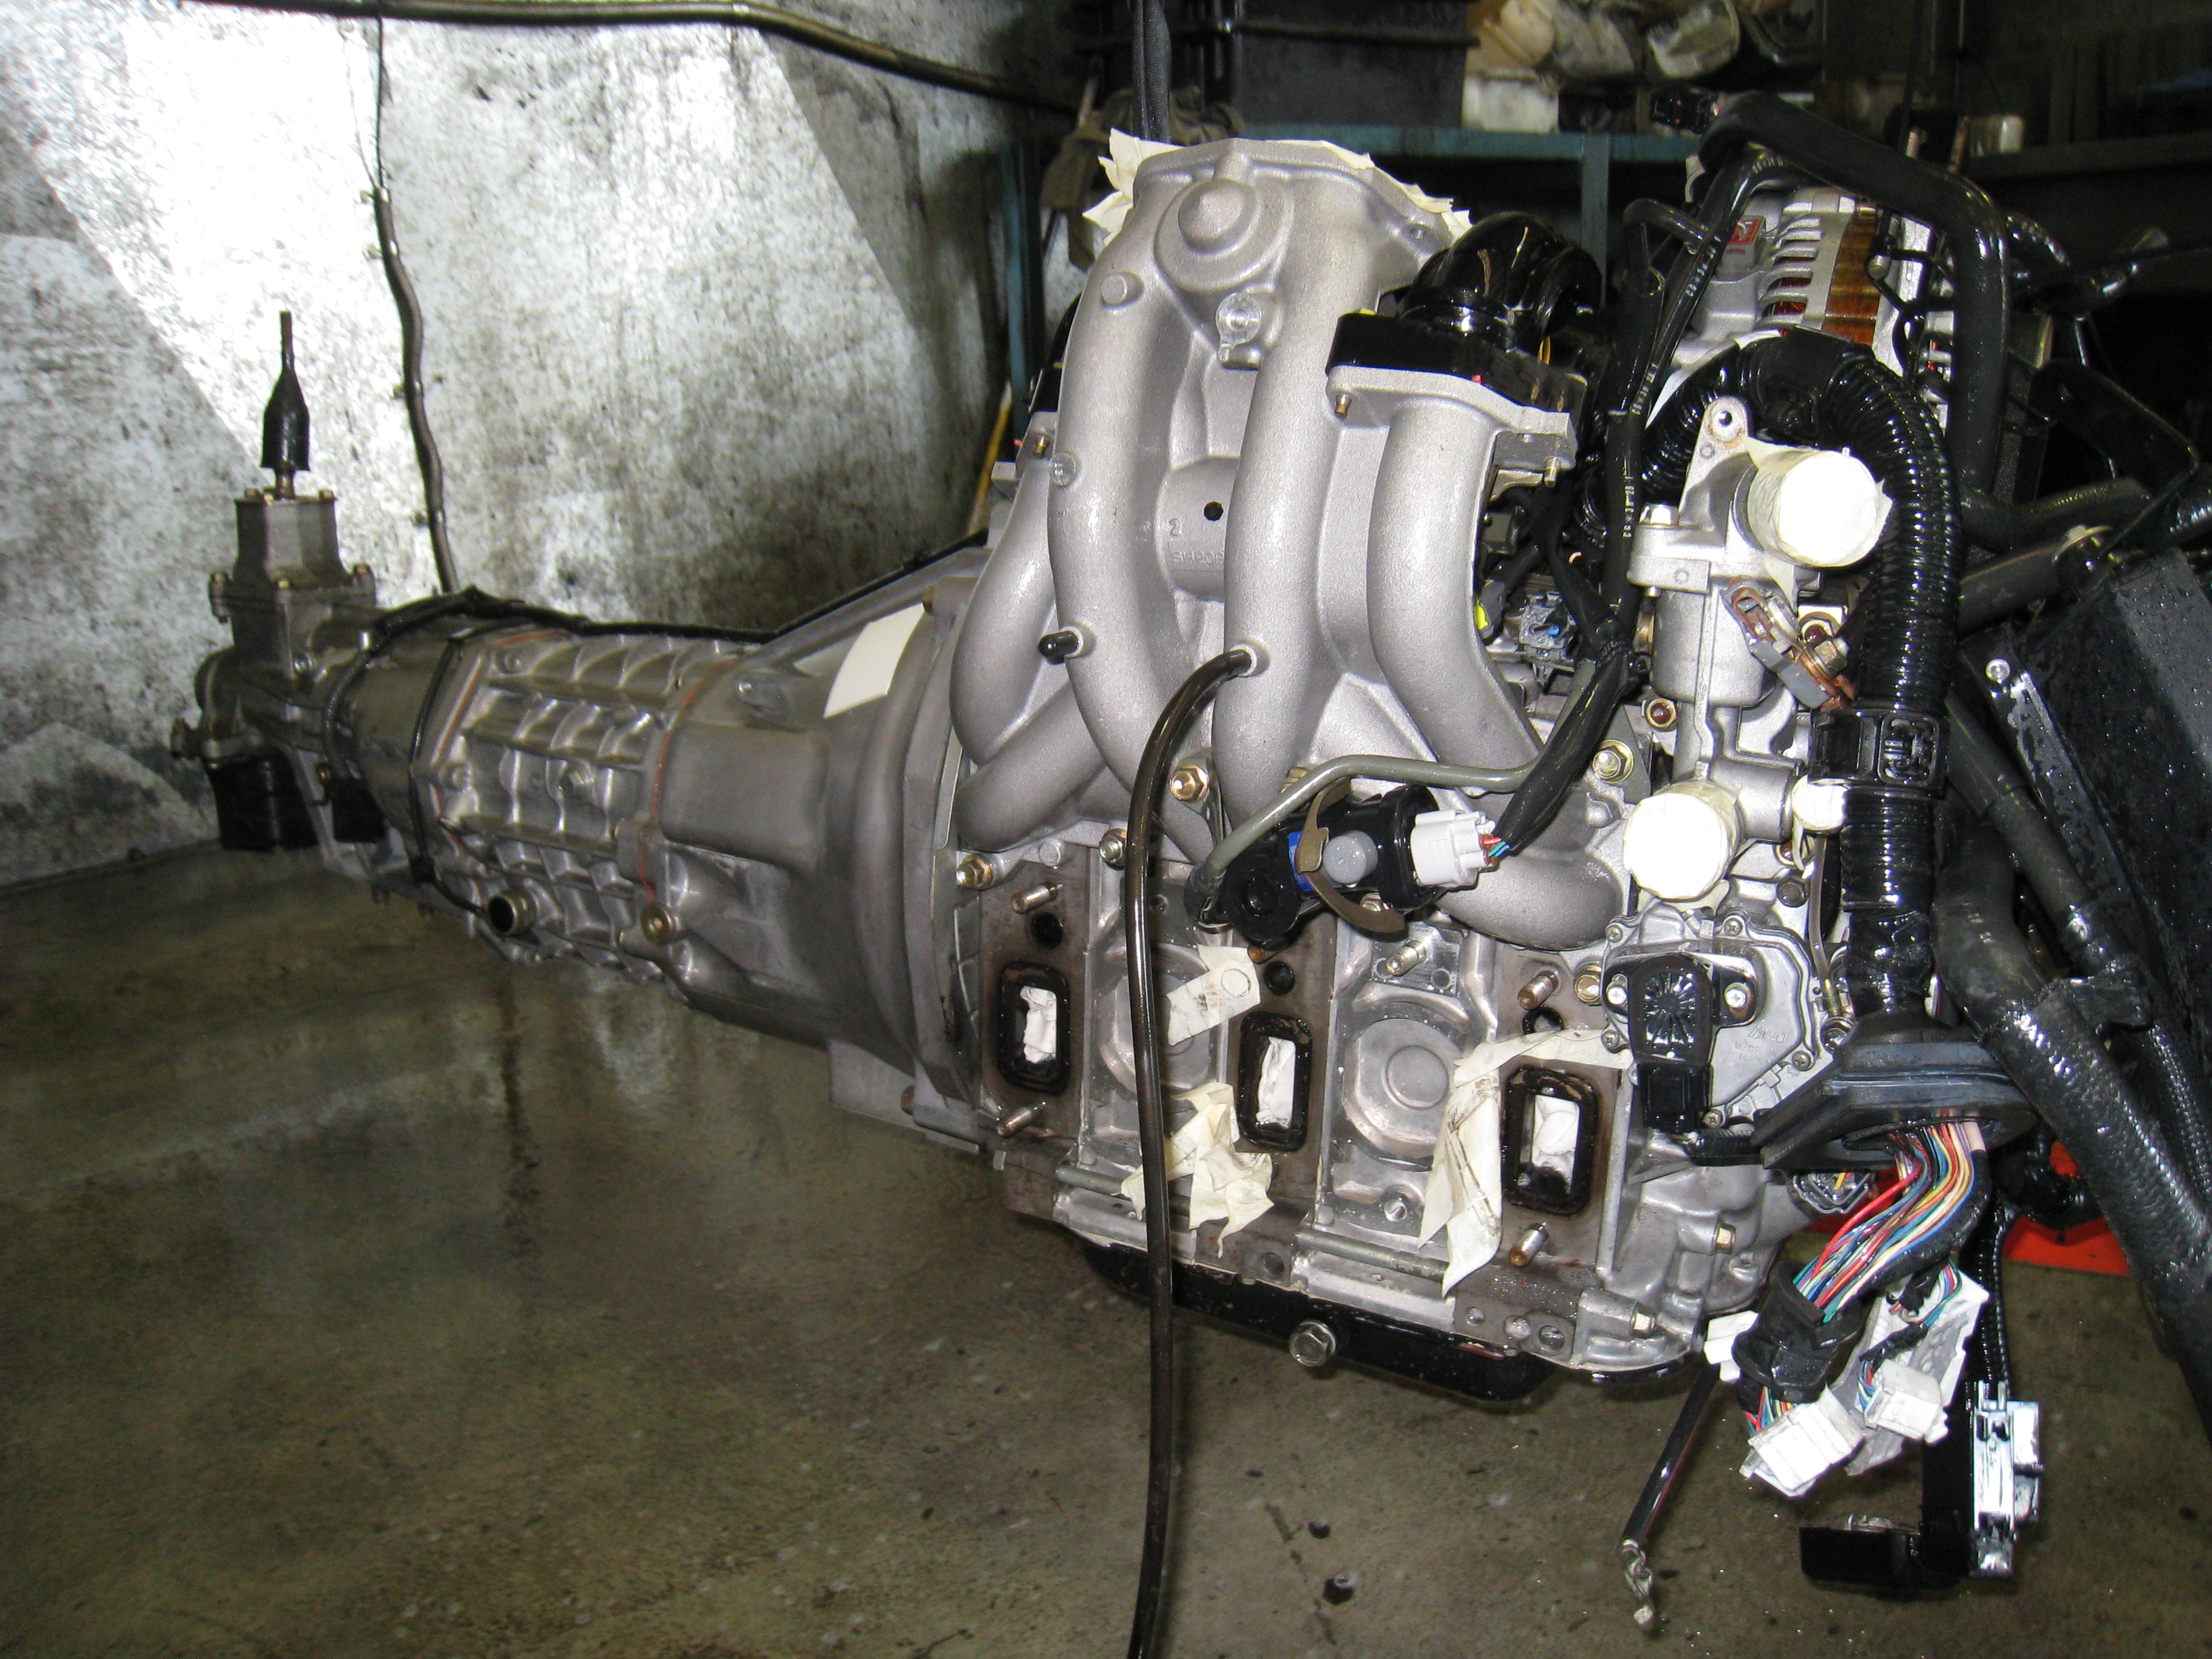
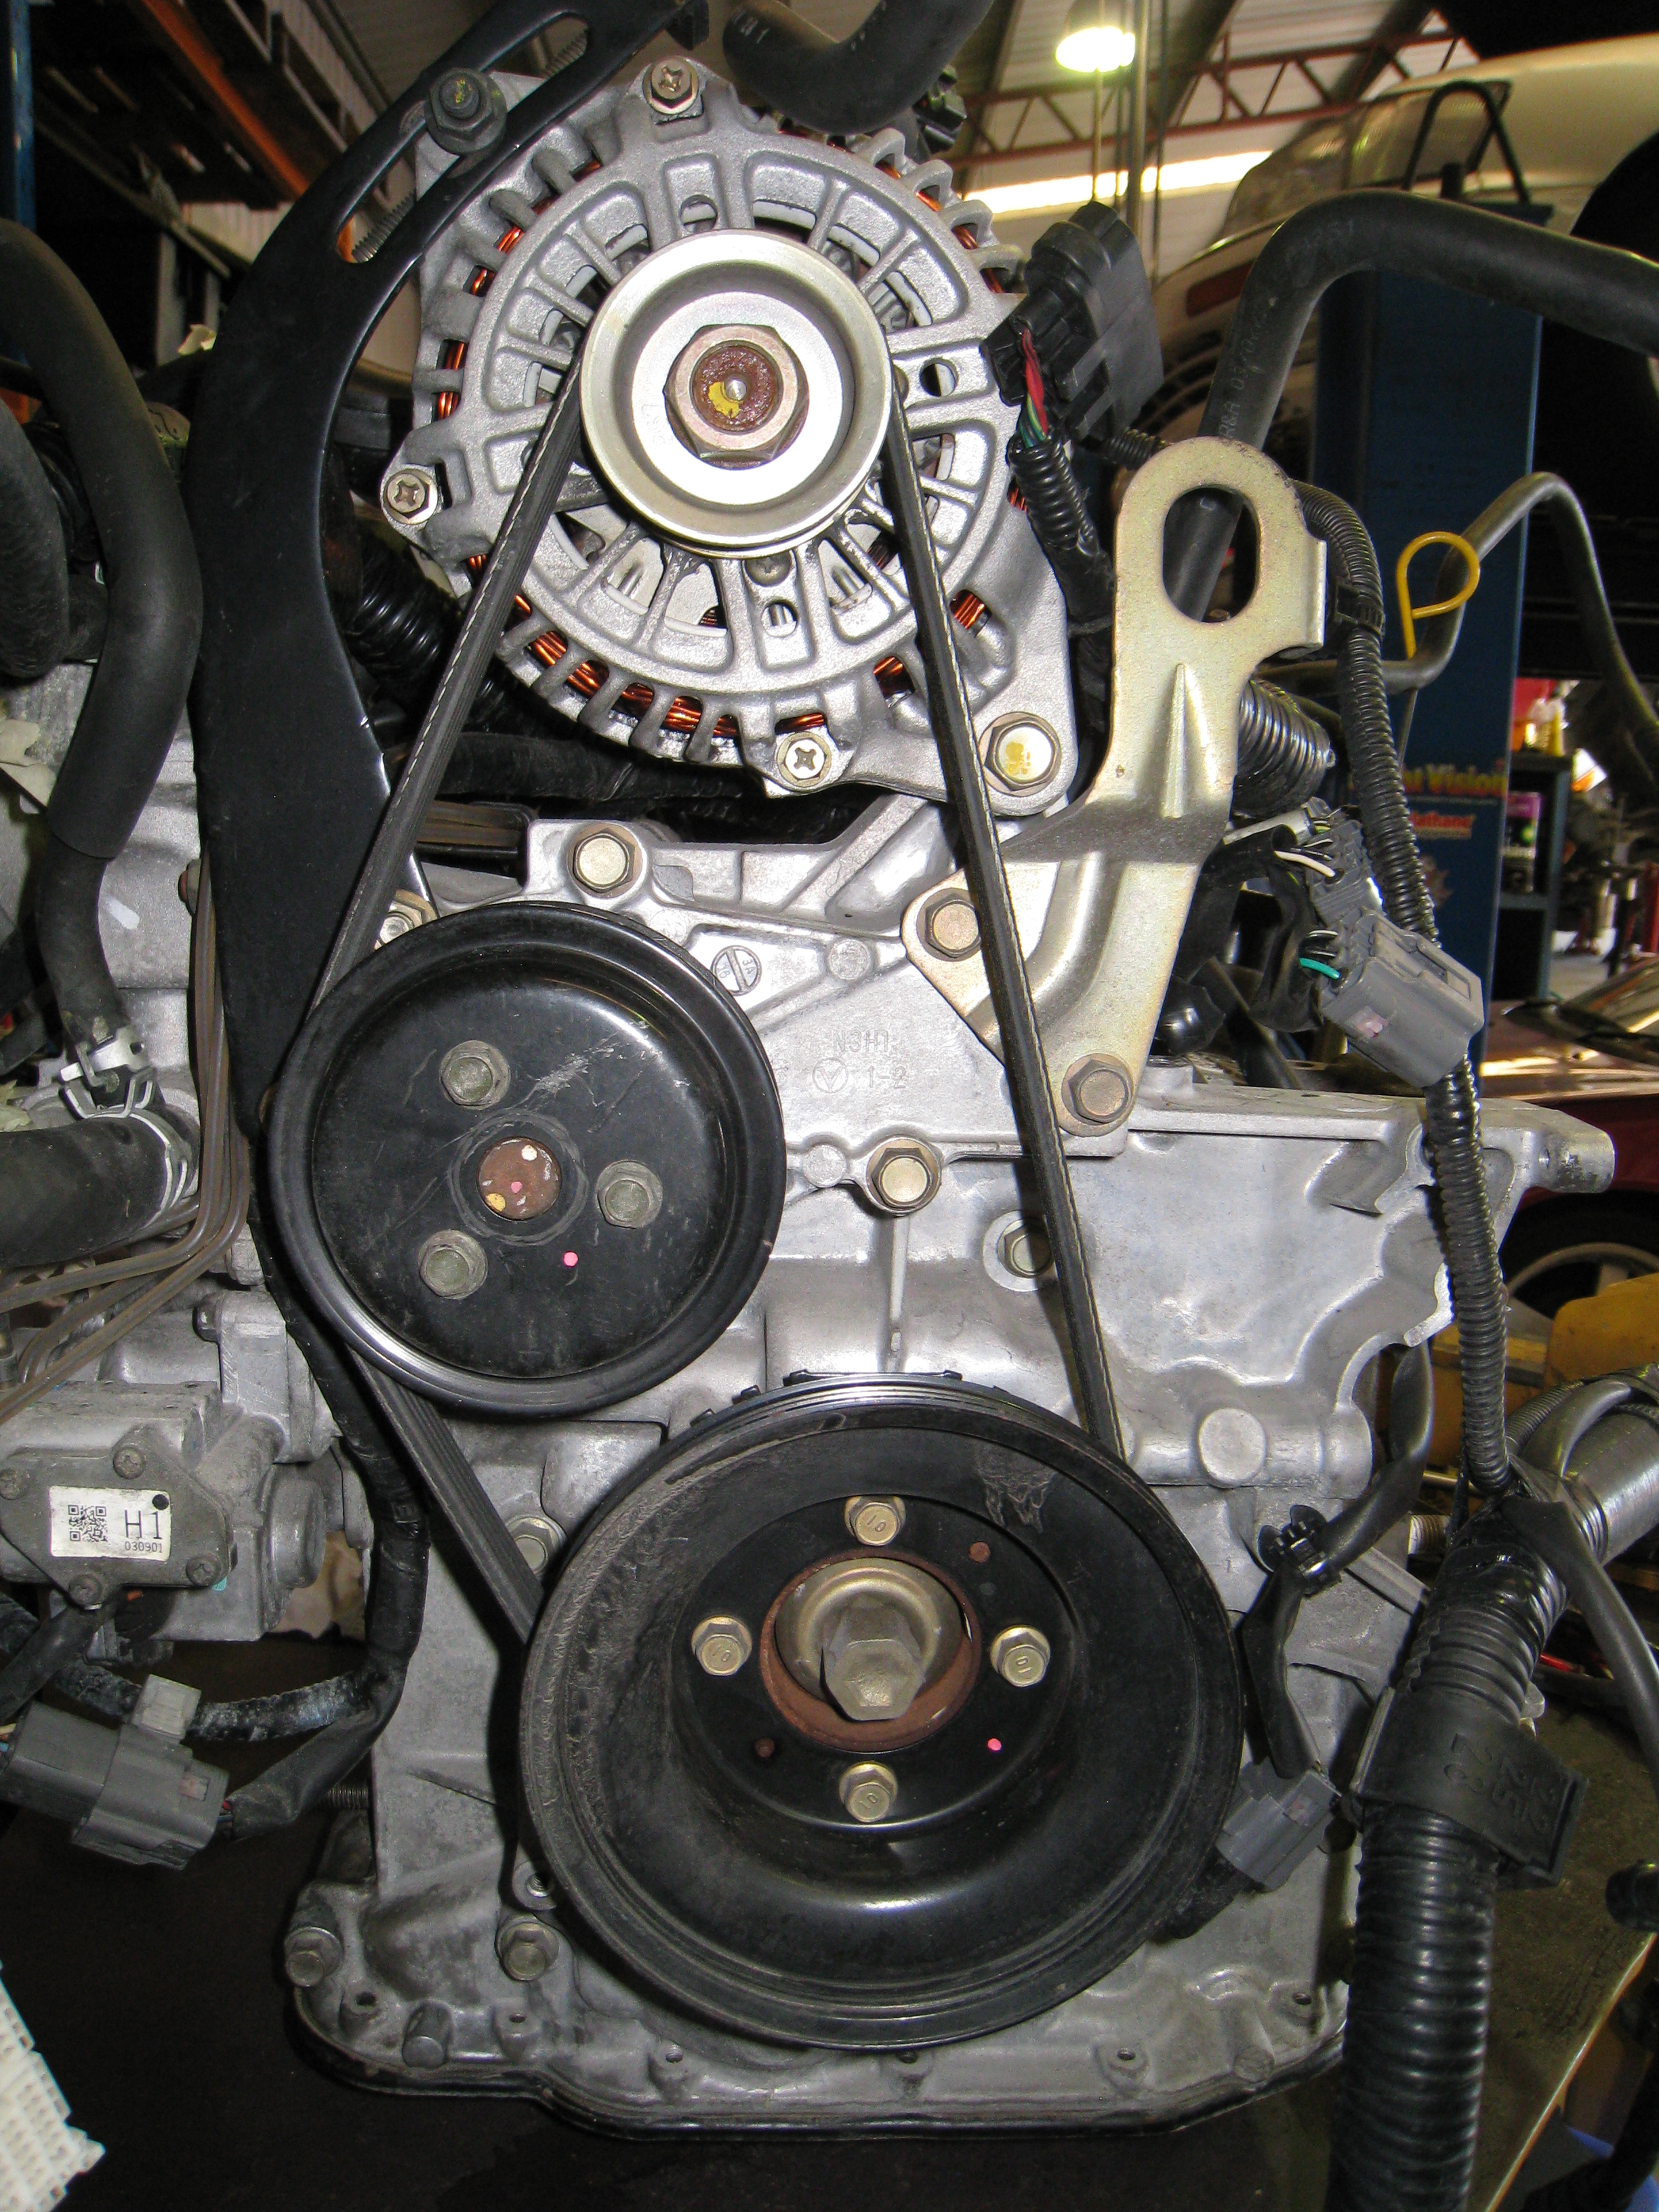
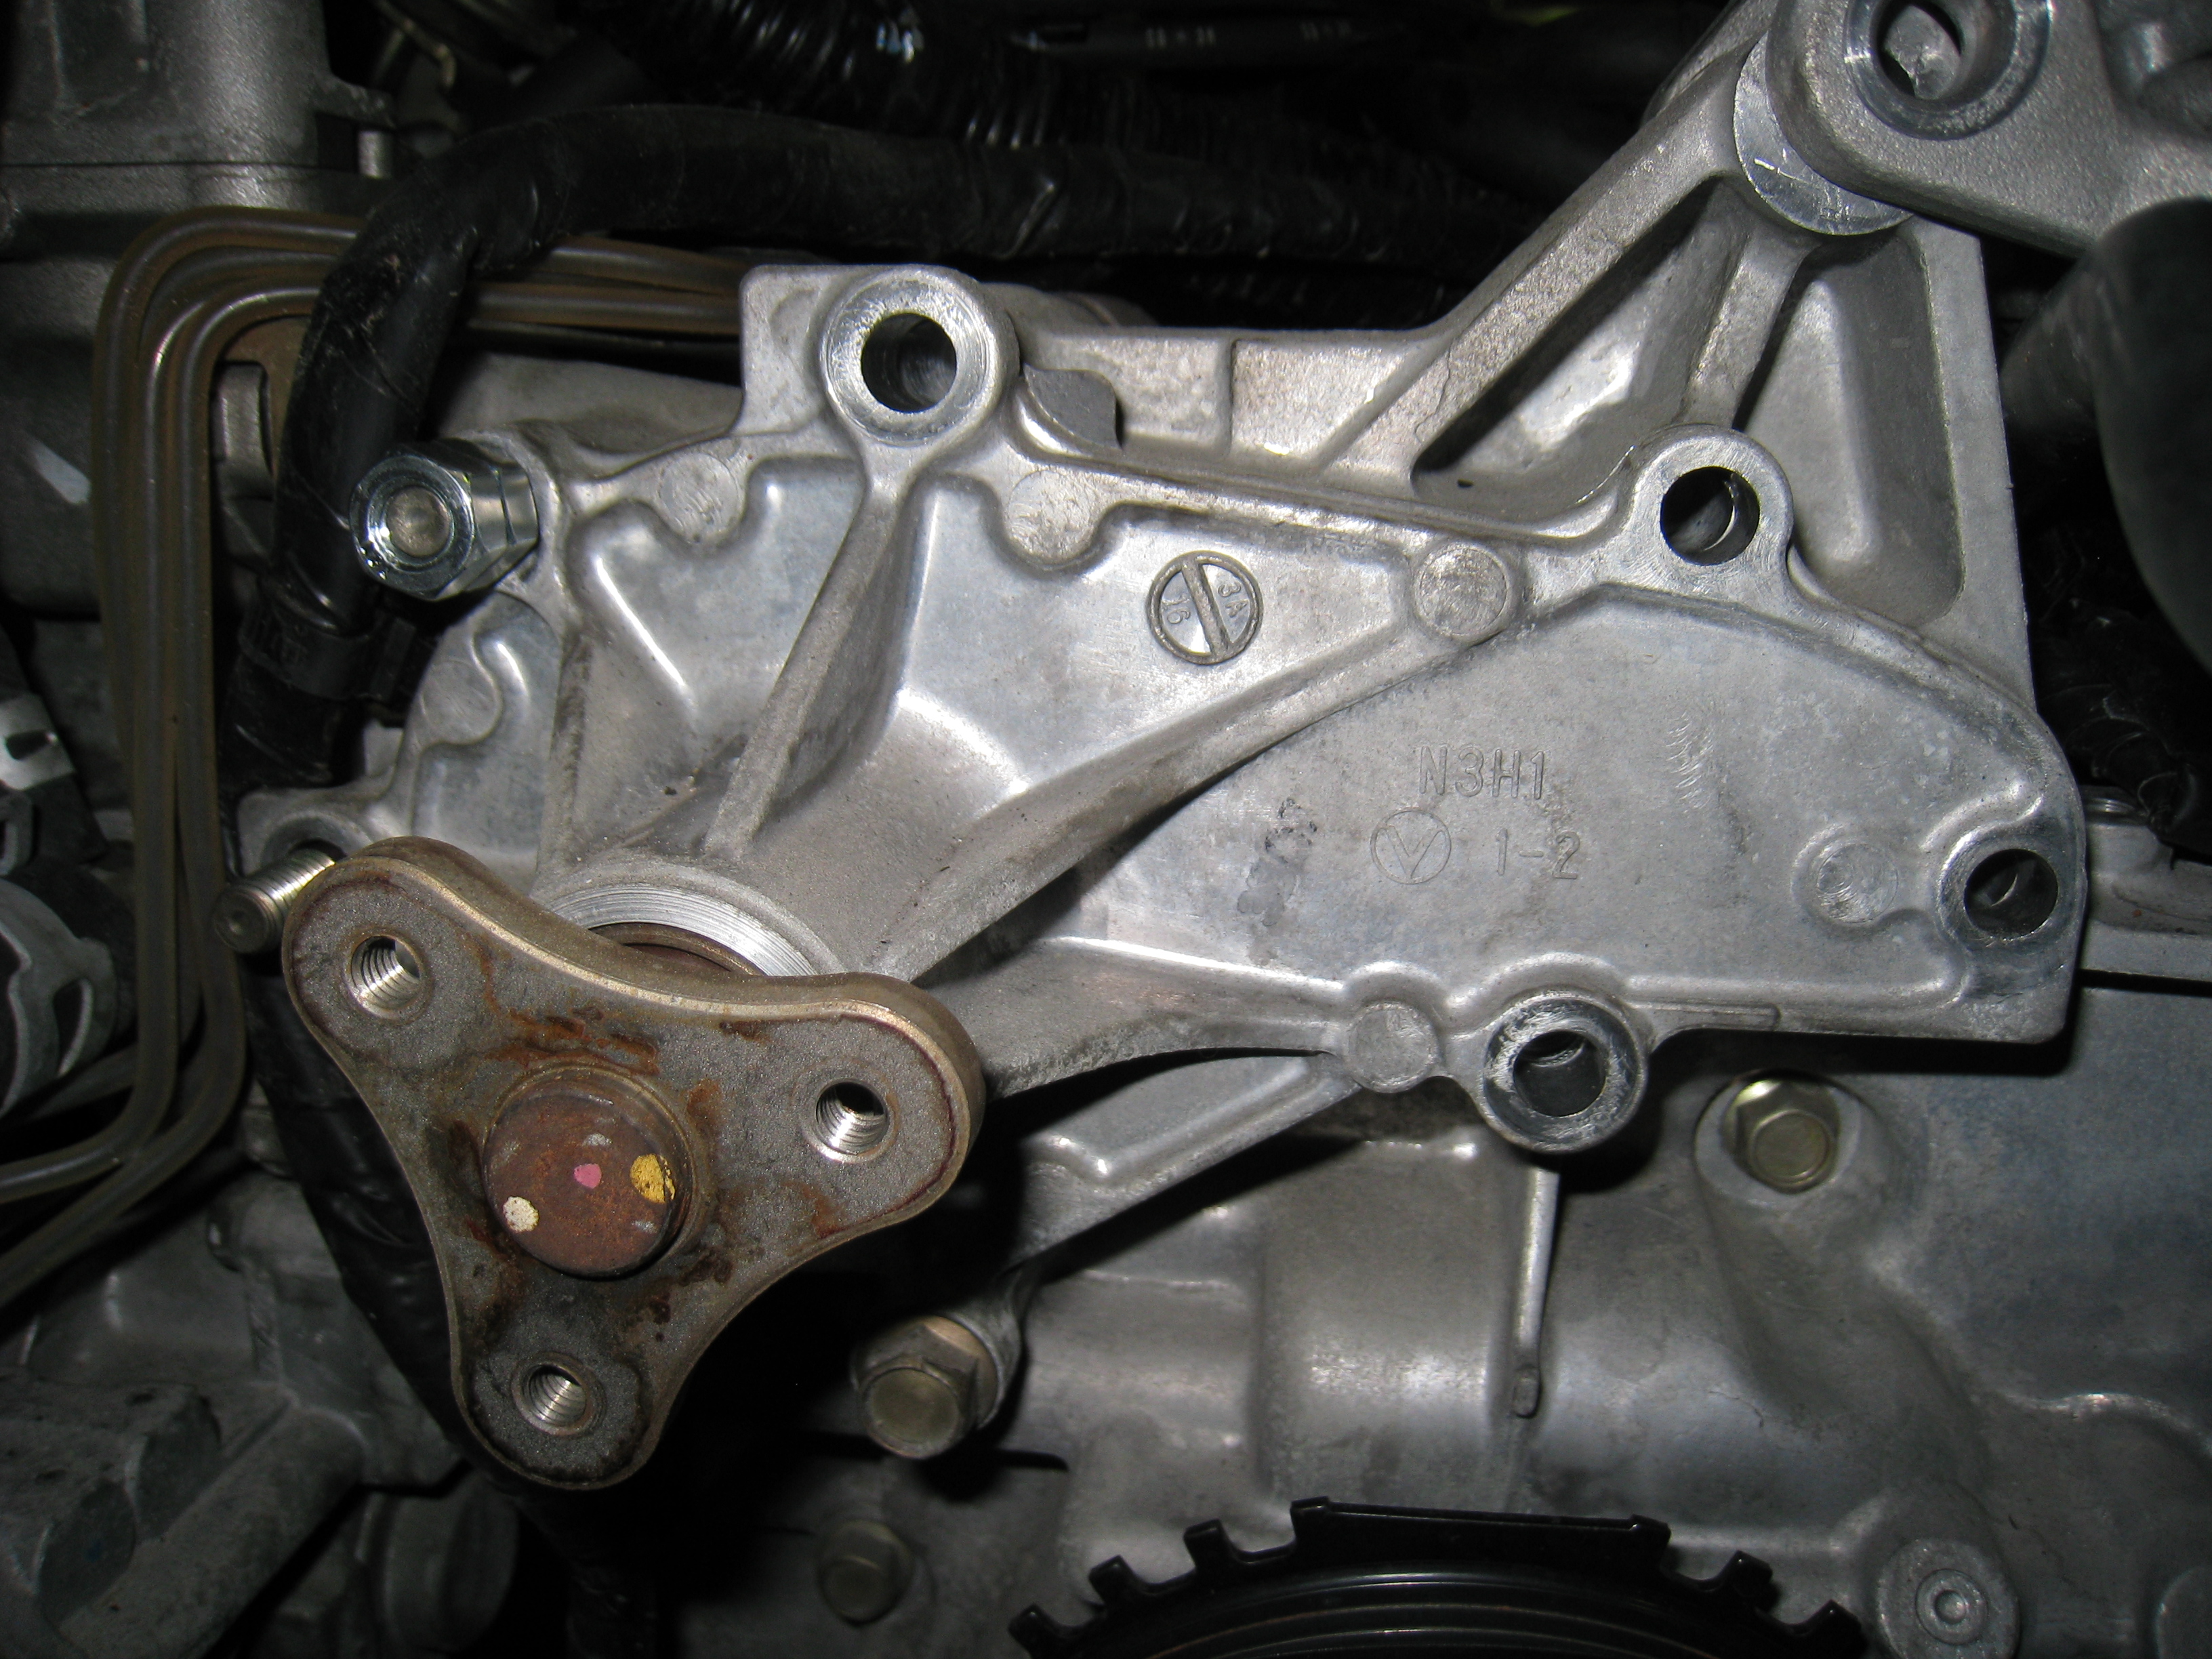
Once dried, the gearbox was removed from the engine and placed upon the workbench. The supercharger mounting plate utilises a the alternator mounting bolts and most of the water pump bolts to lock it in position. So these standard fasteners (bolts and studs) were removed.
The first item of the supercharger kit to be installed was the two piece plenum and inlet tube. Here is the lower section of plenum with it's 'O'-rings fitted.
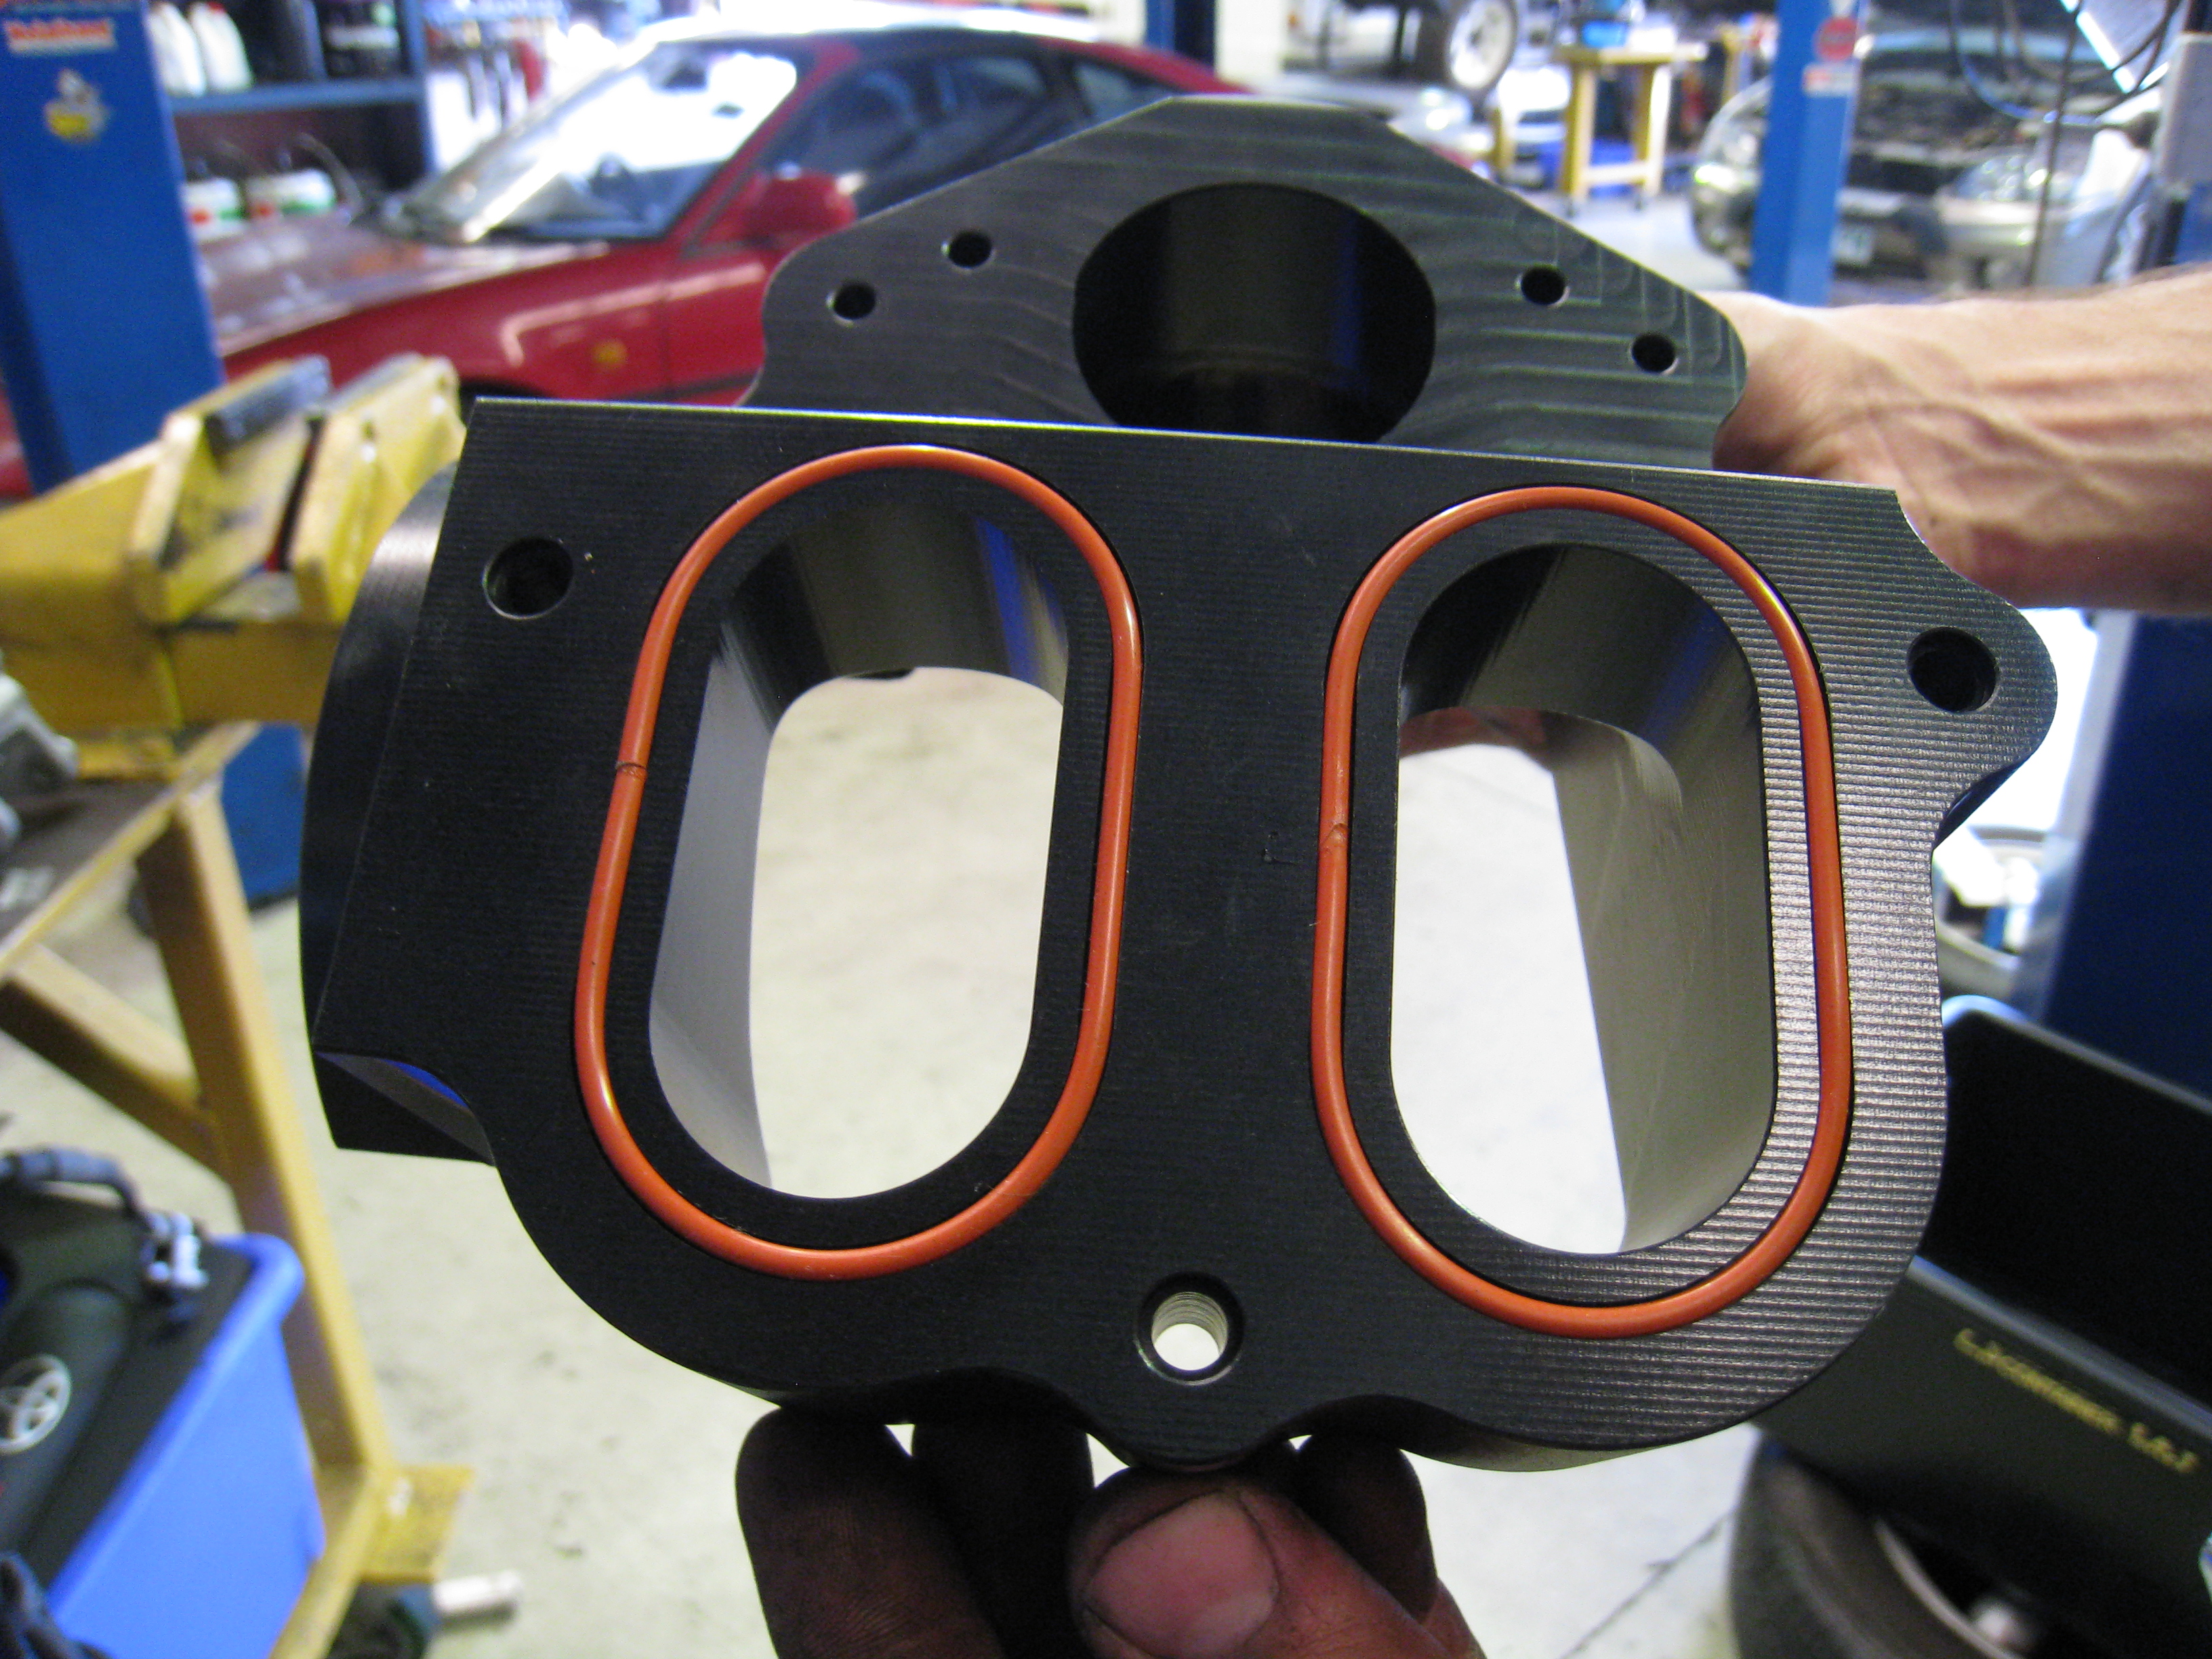
It mates with the surfaces as shown in the next photo.
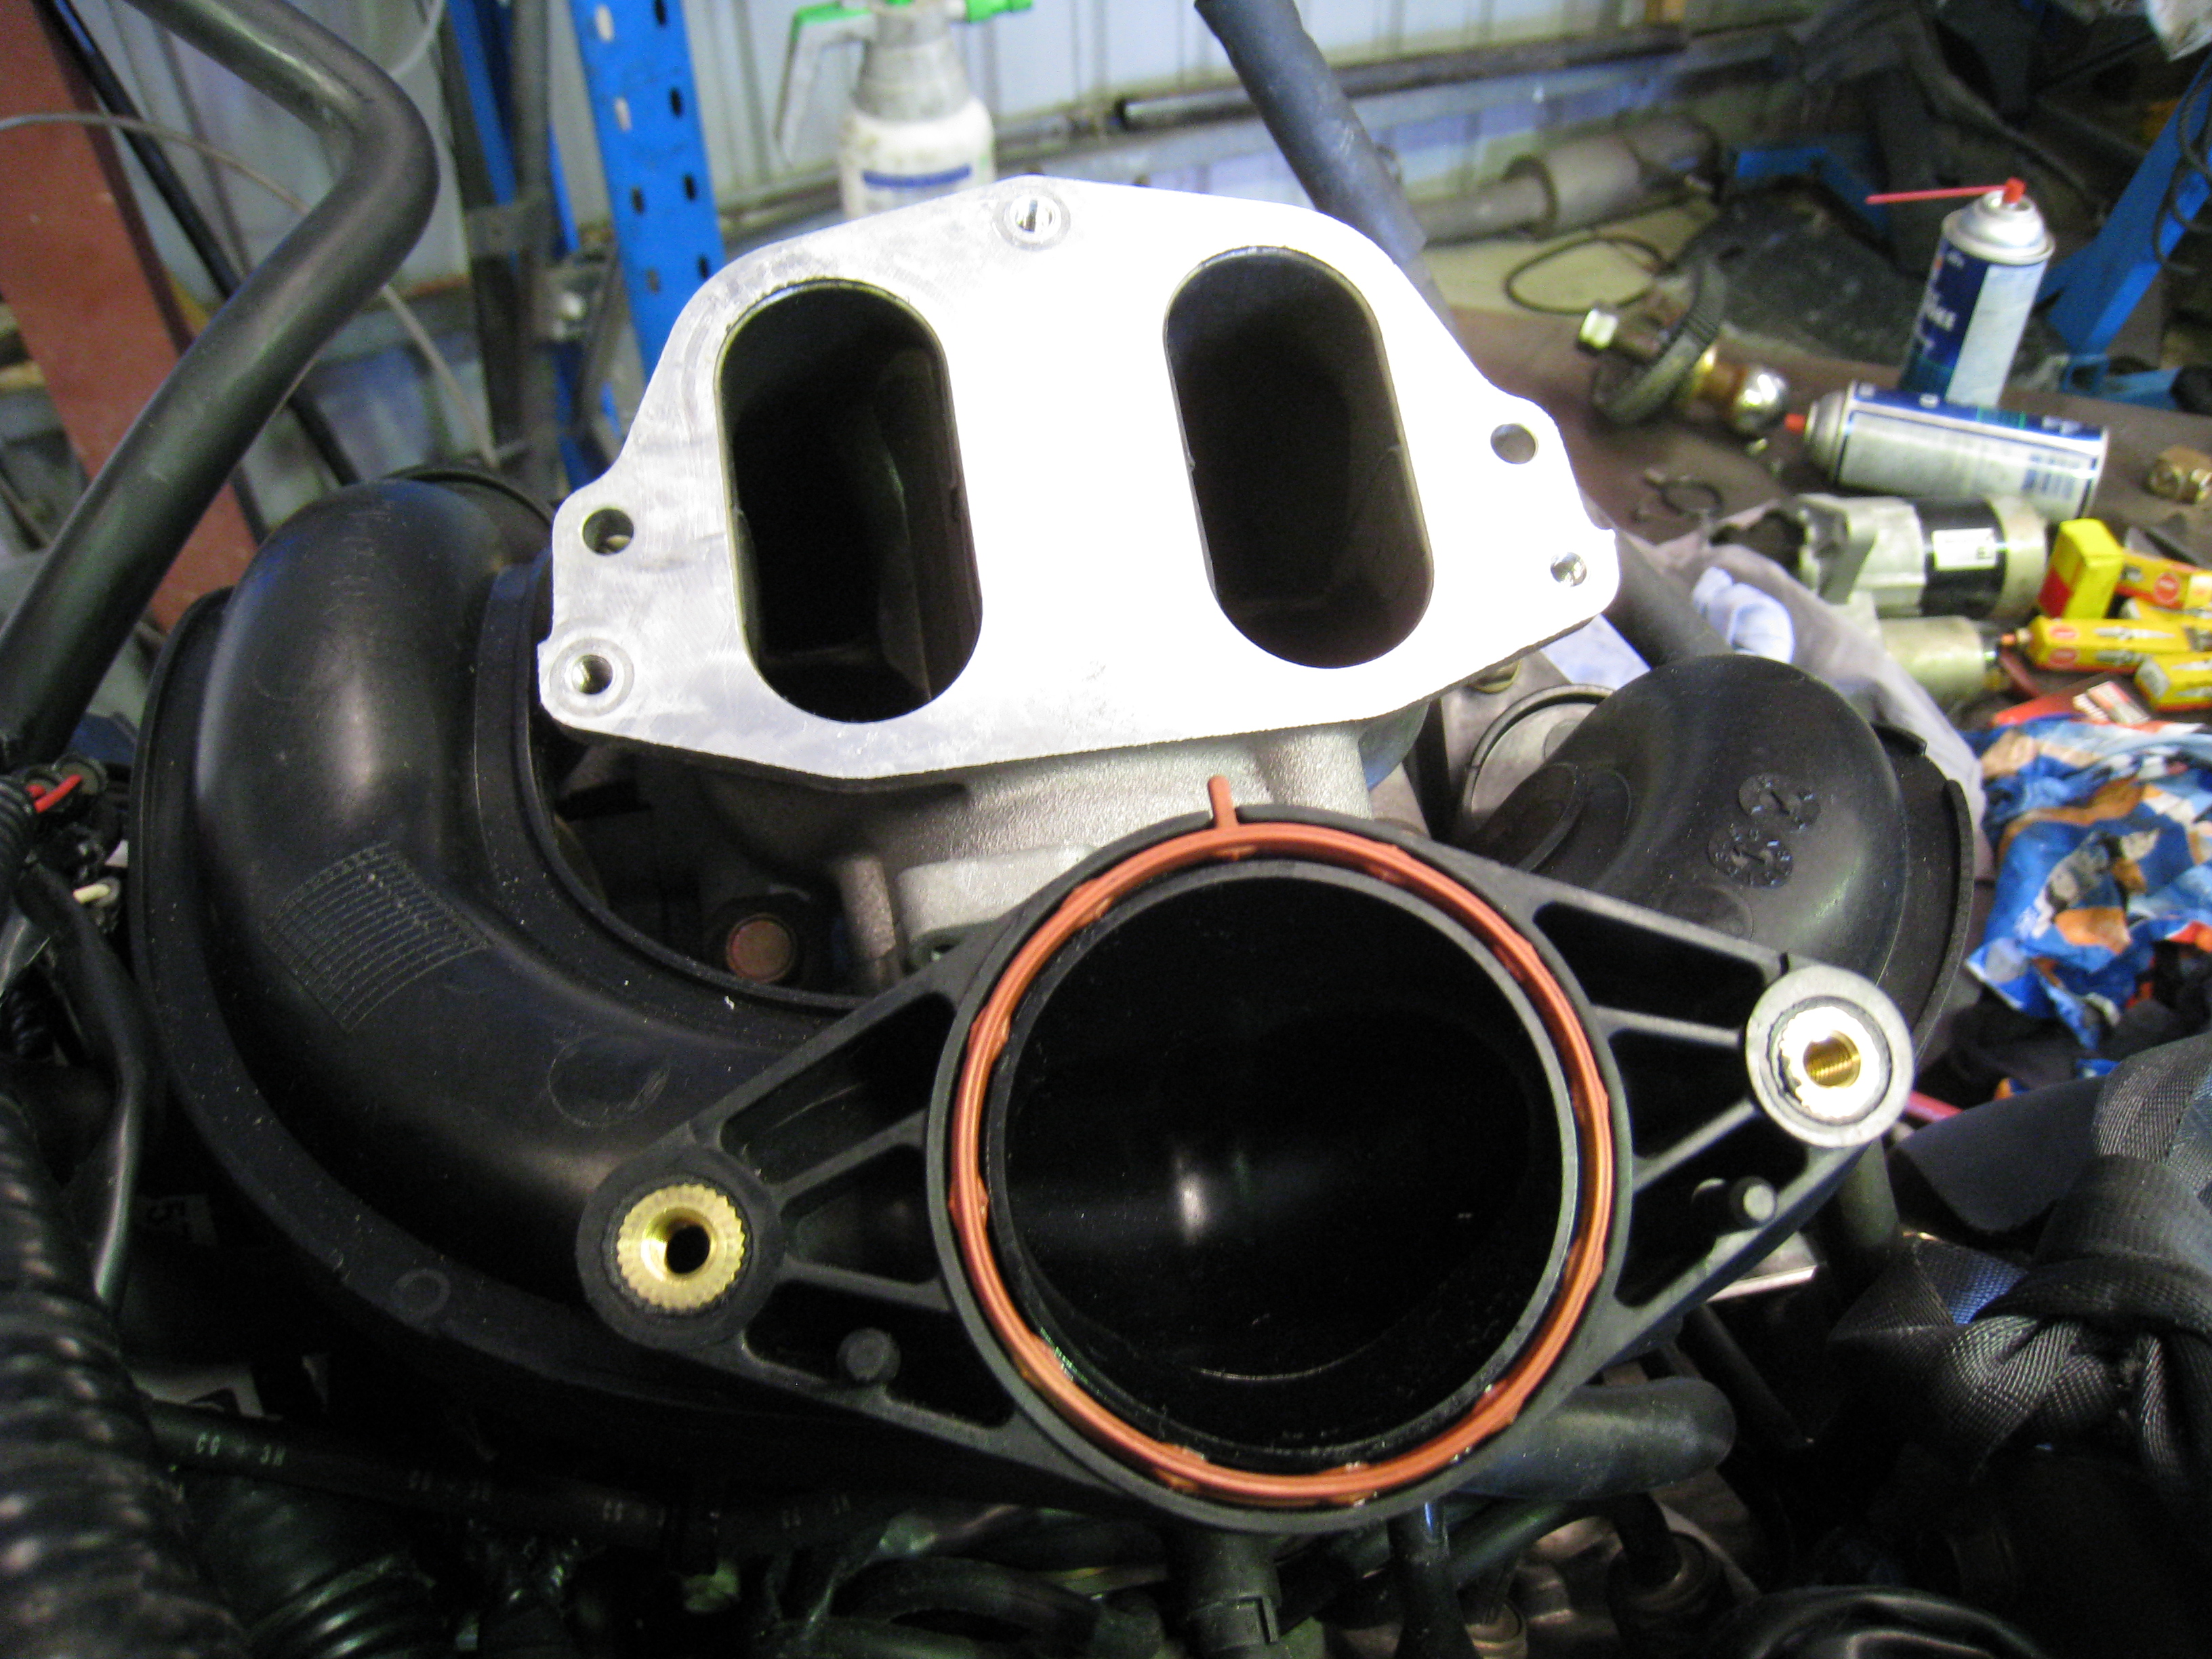
With the lower section of plenum bolted in place you can really appreciate the dimensional accuracy of the kit as the port matching was perfect.
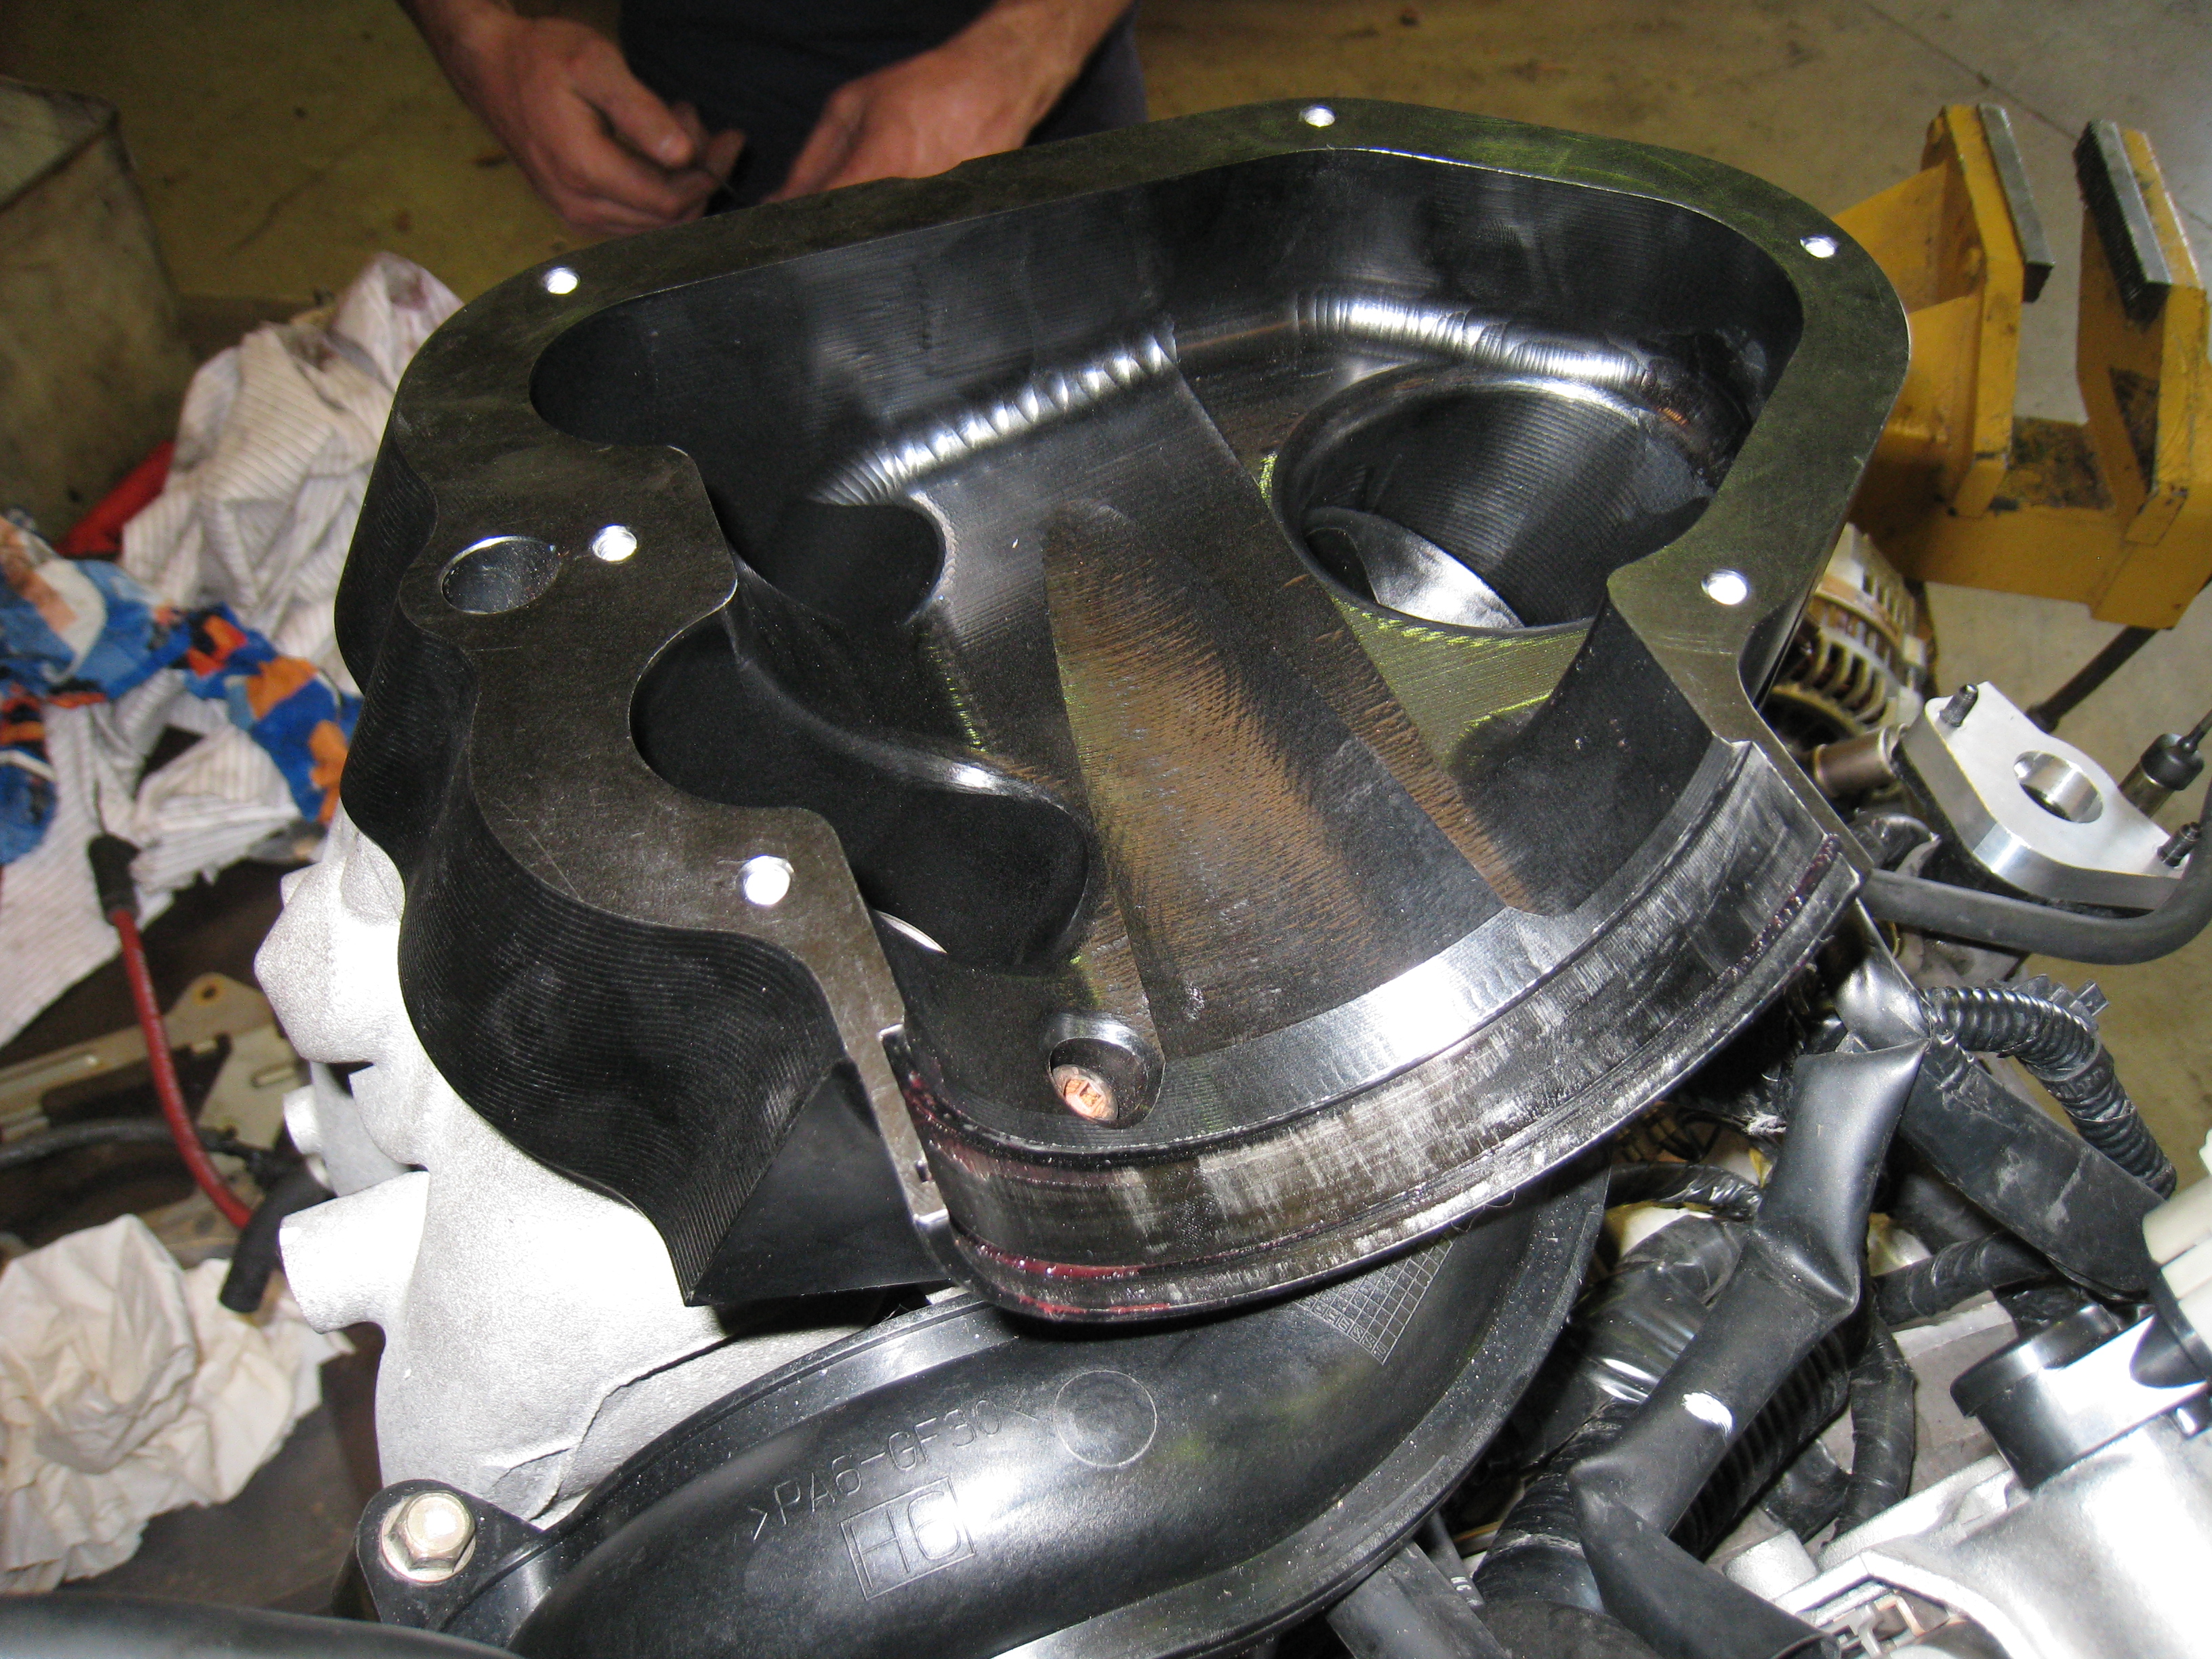
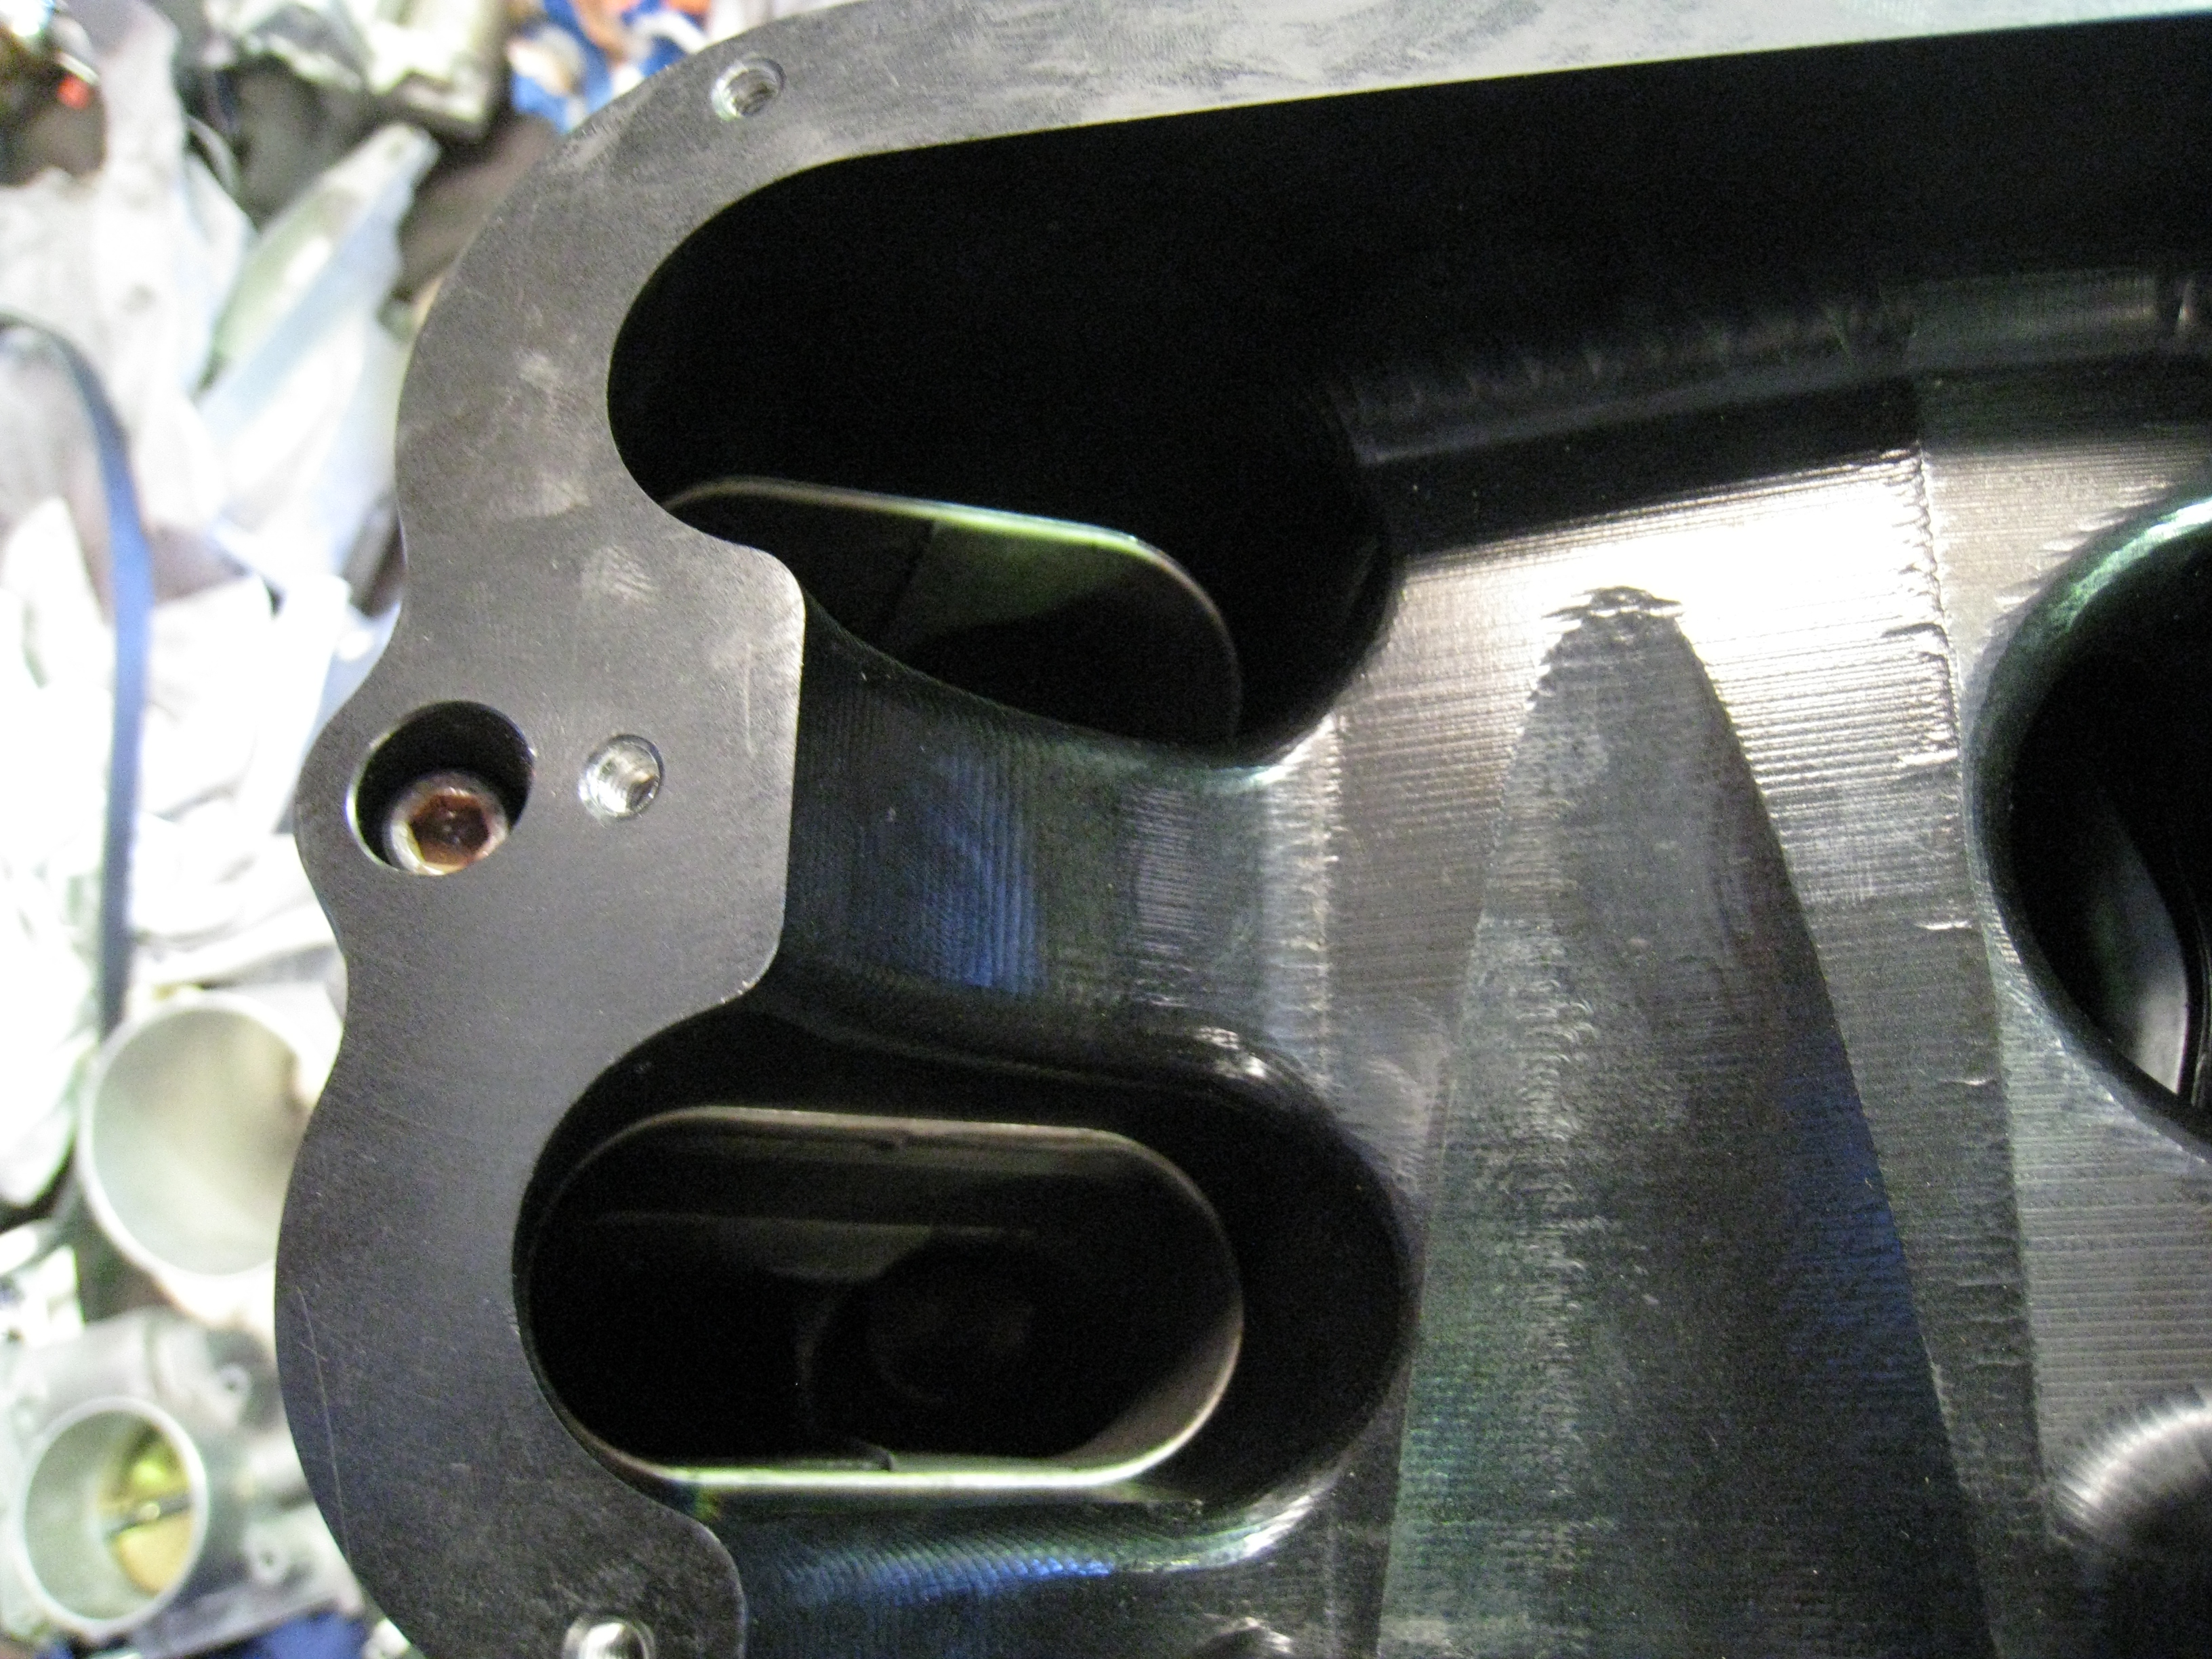
This is the upper section of plenum awaiting its 'O'-ring to be installed.
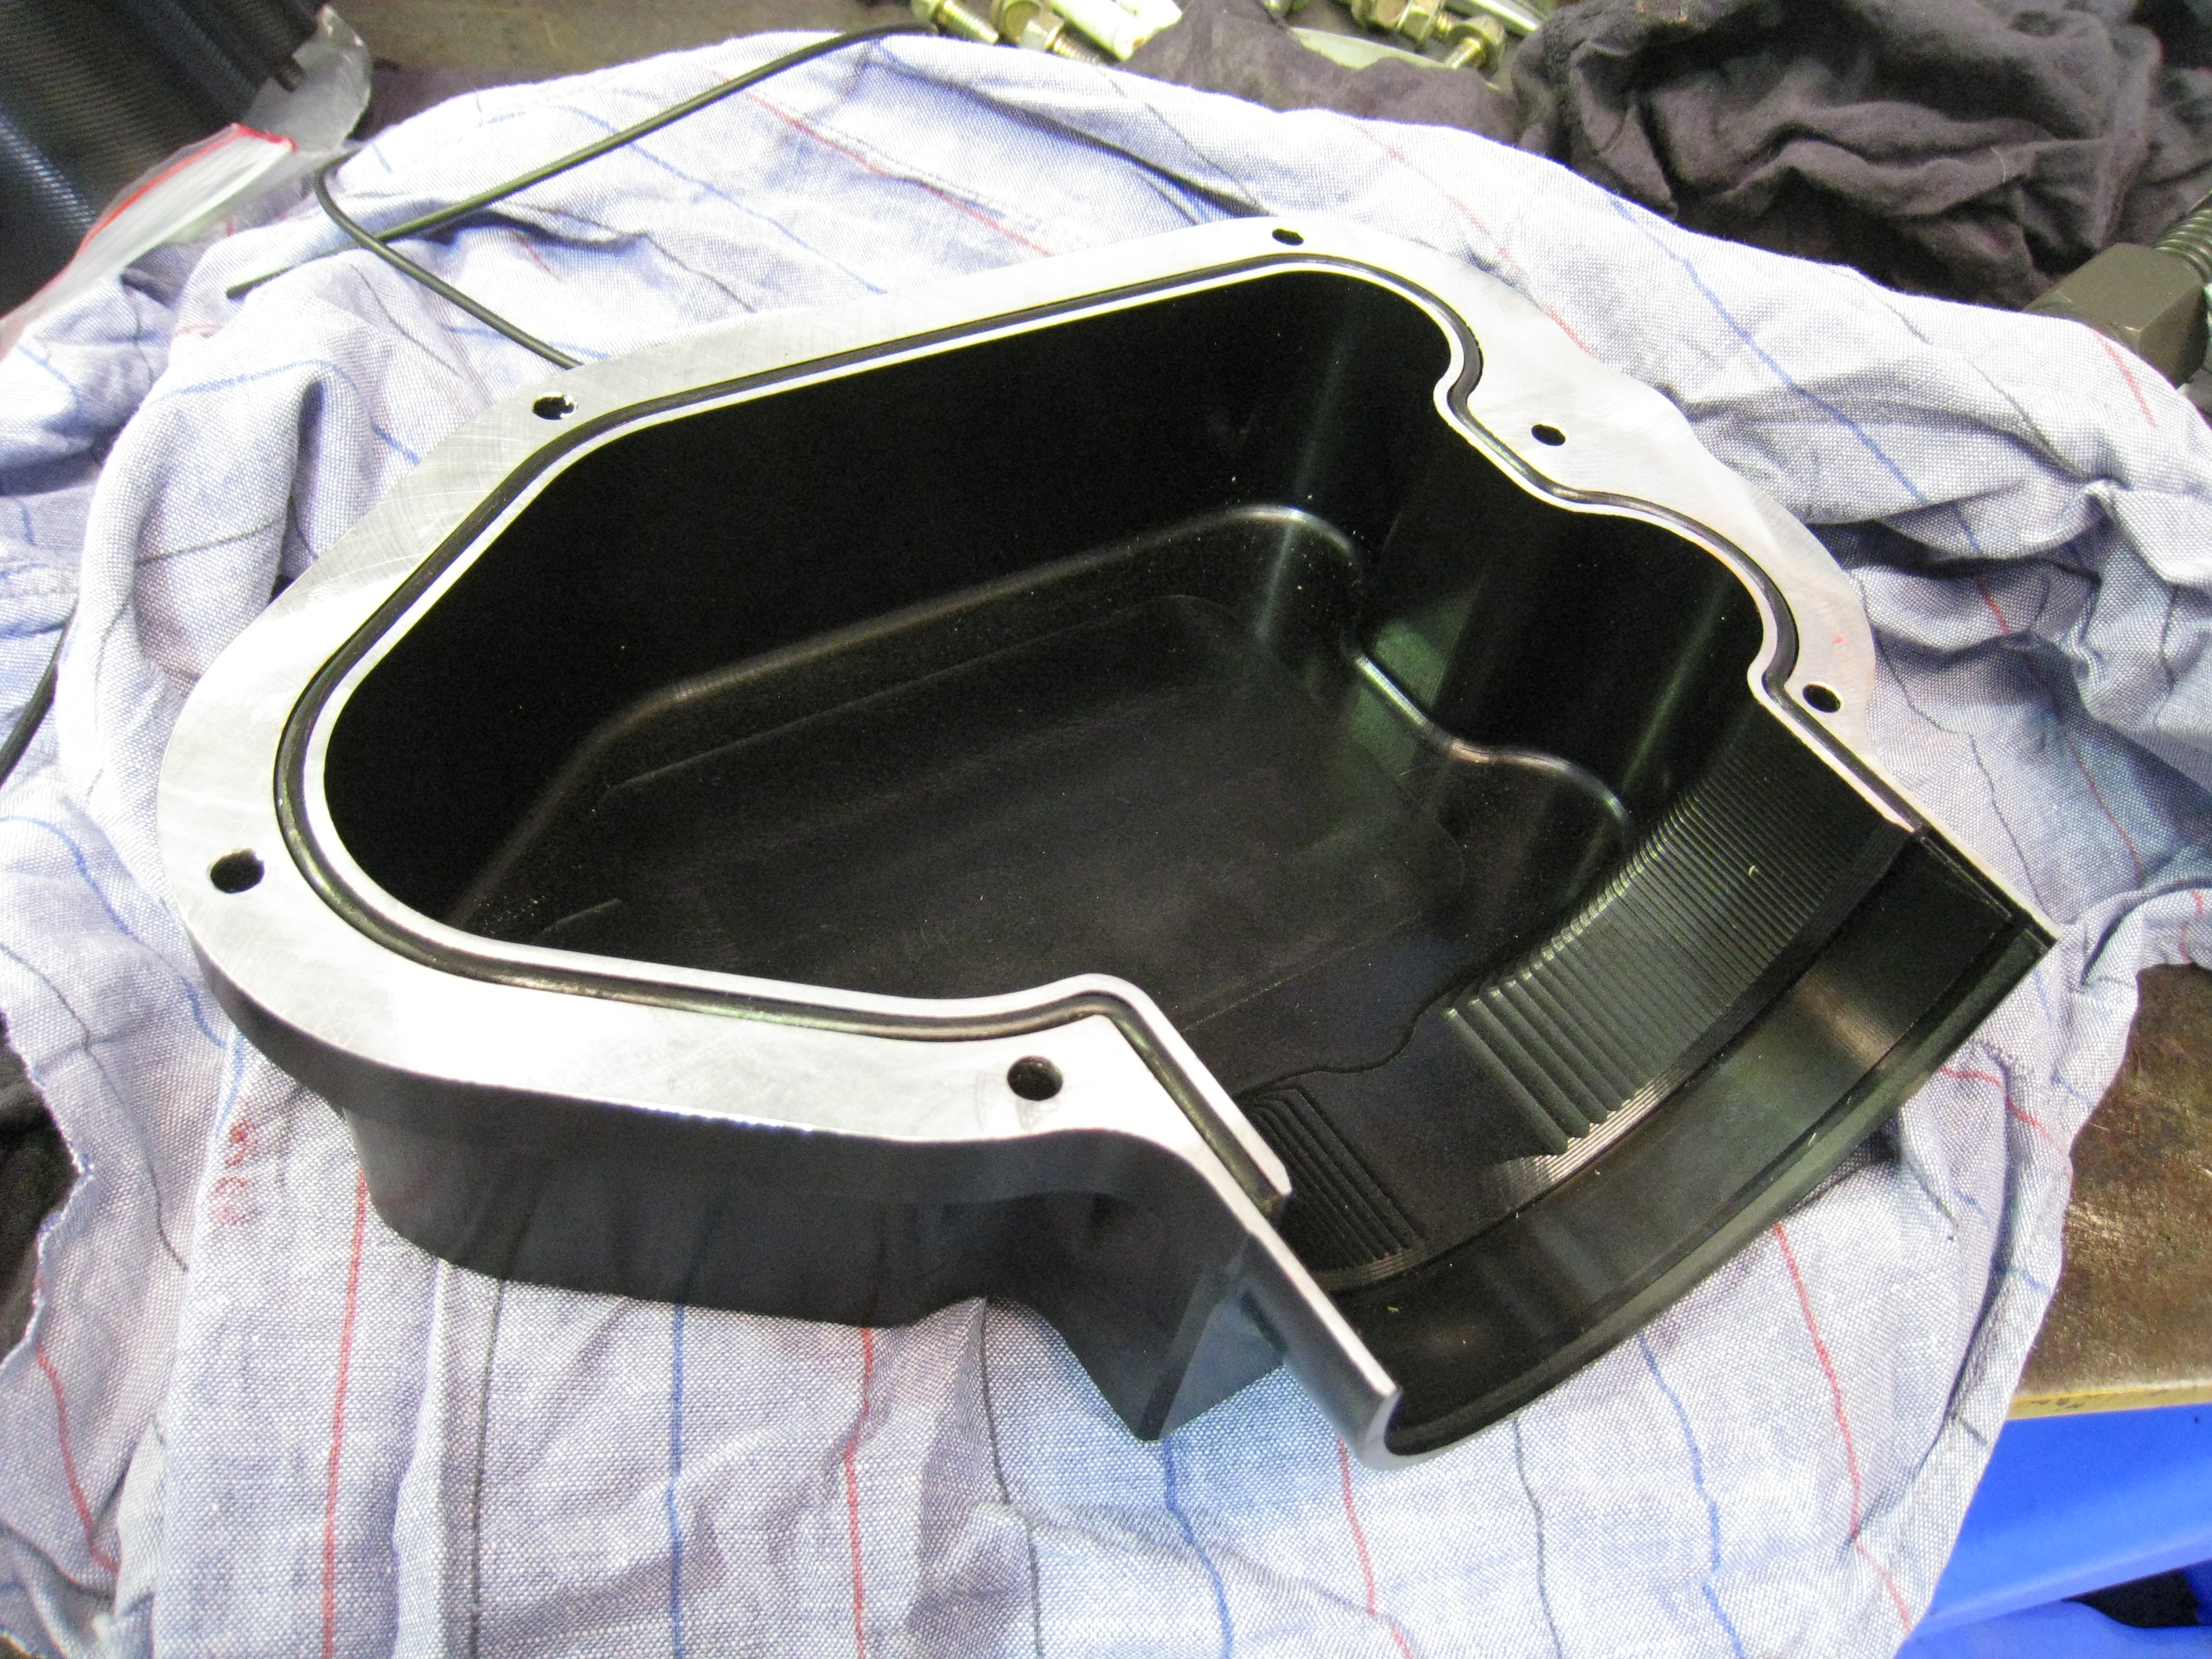
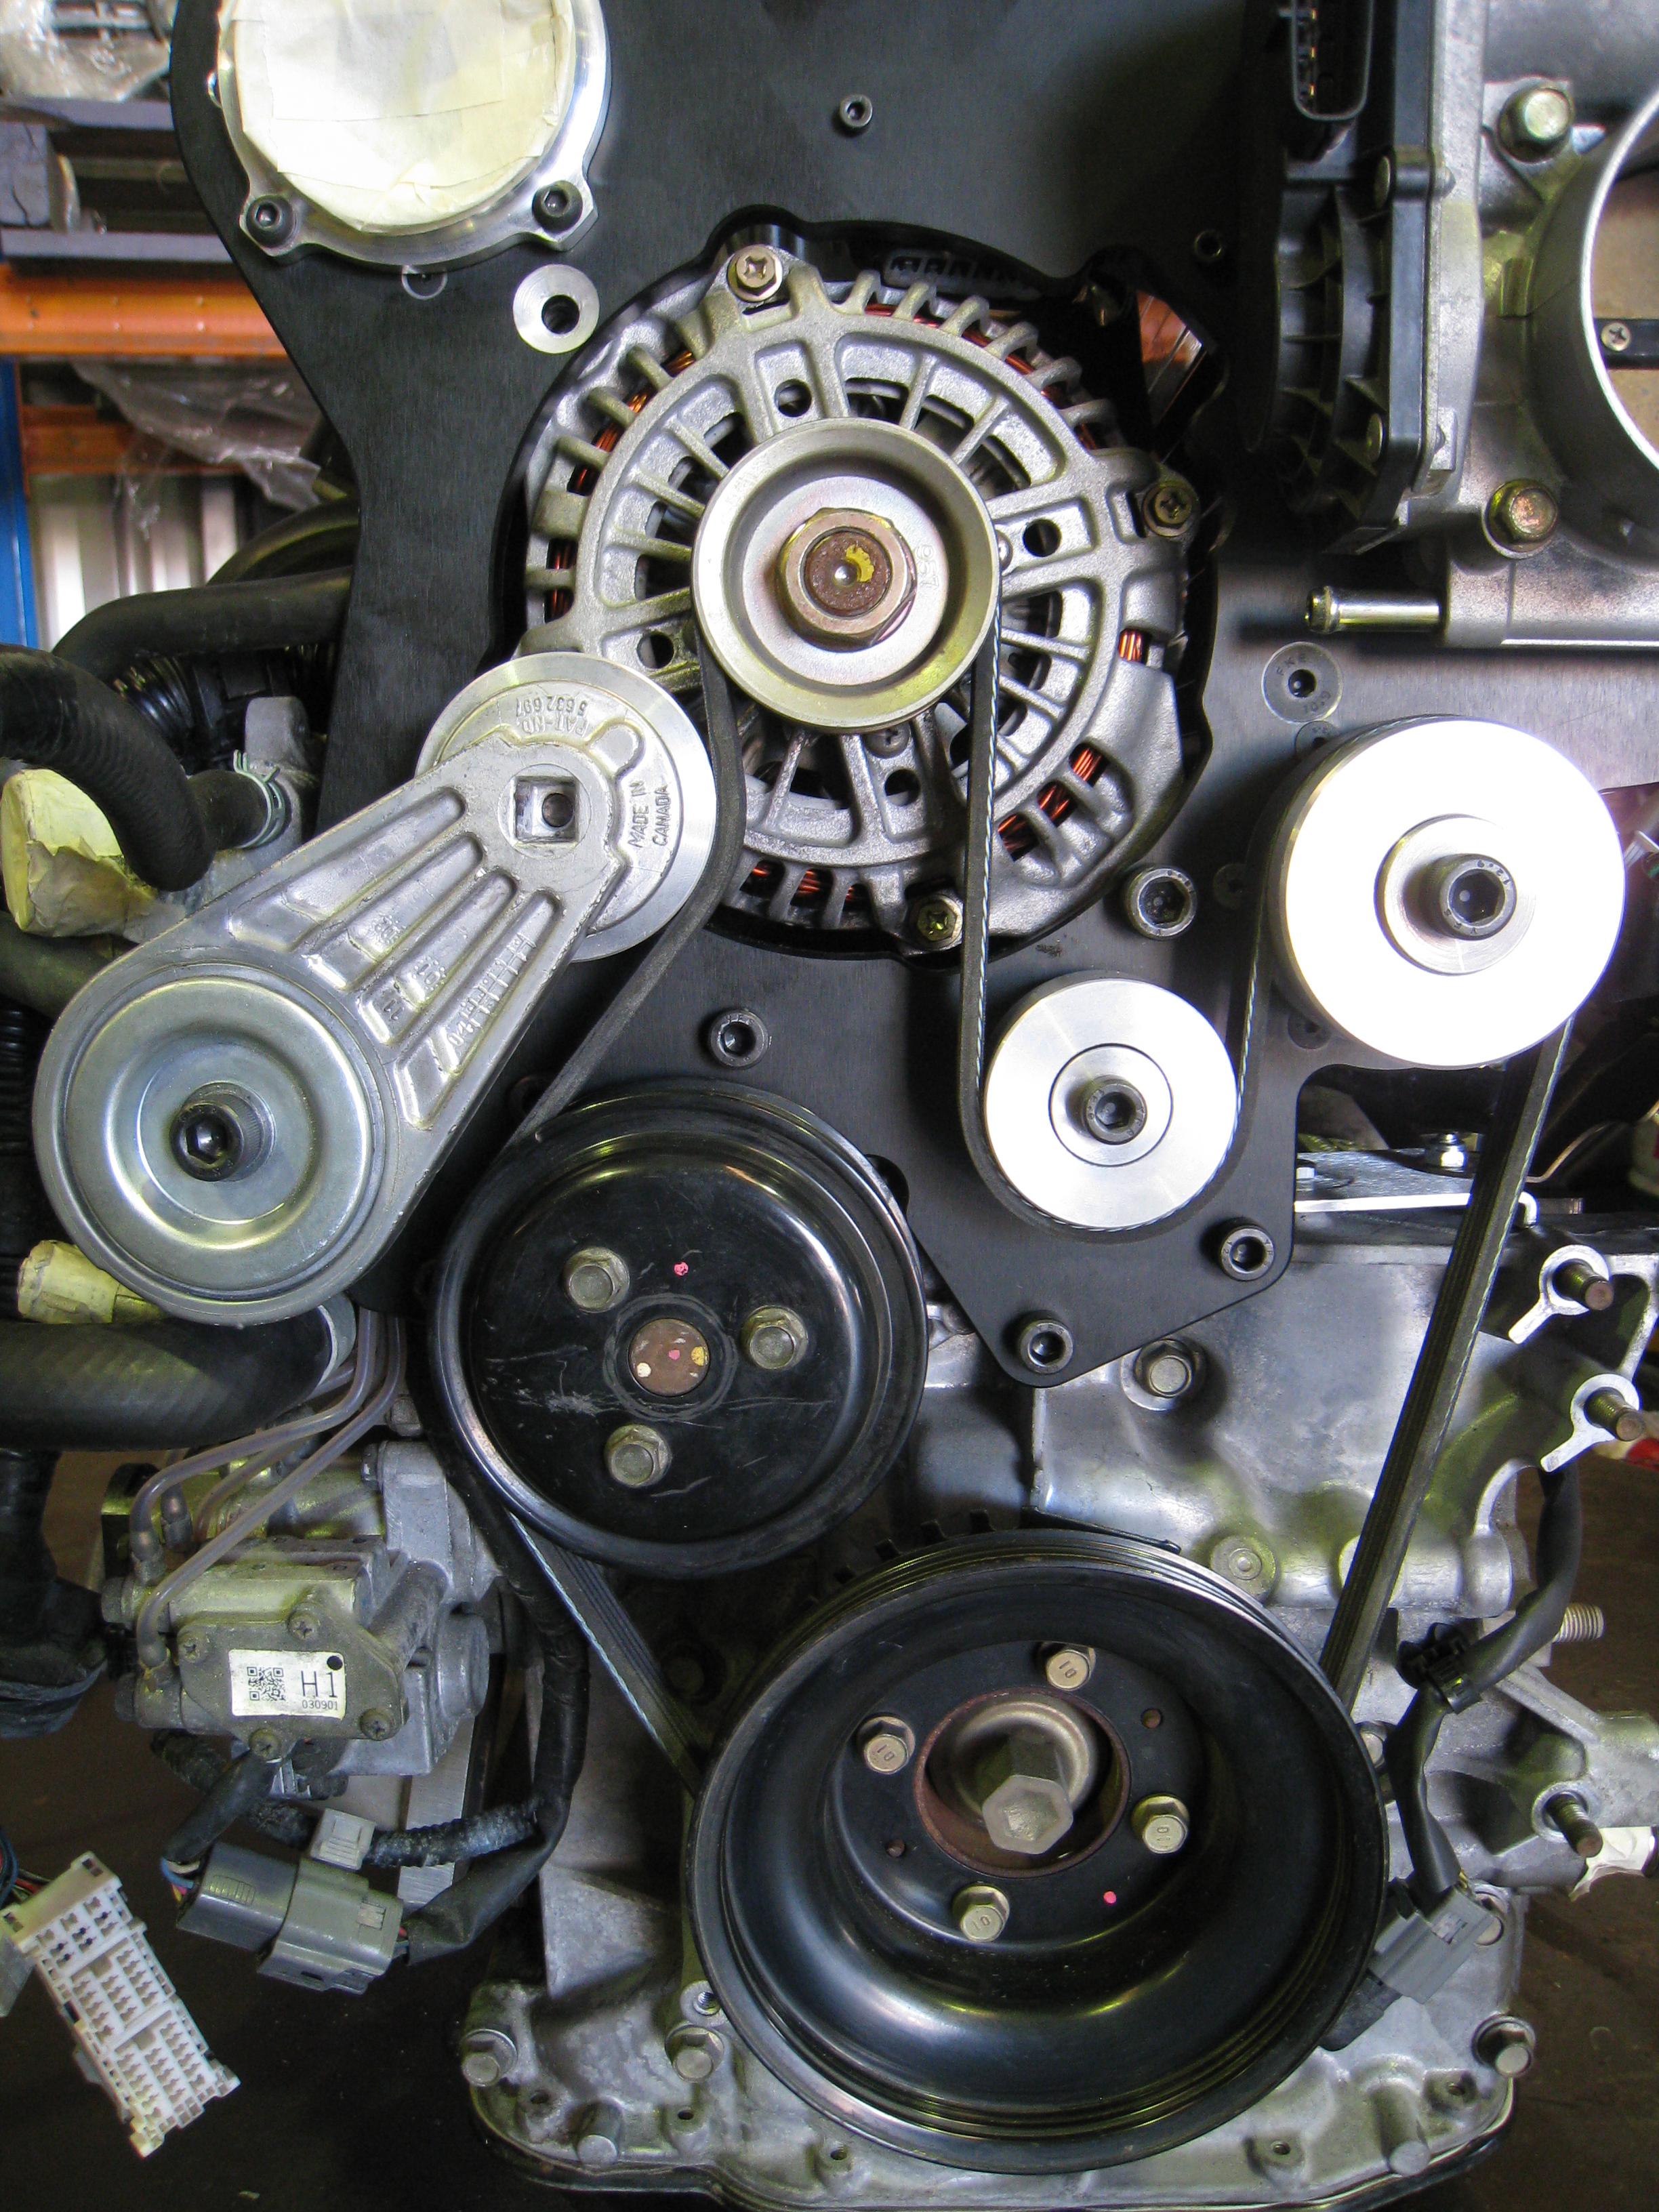
Then things got exciting and happened really quickly and I forgot to take stage photos! Here is the belt/tensioner arrangement for the supercharger drive.
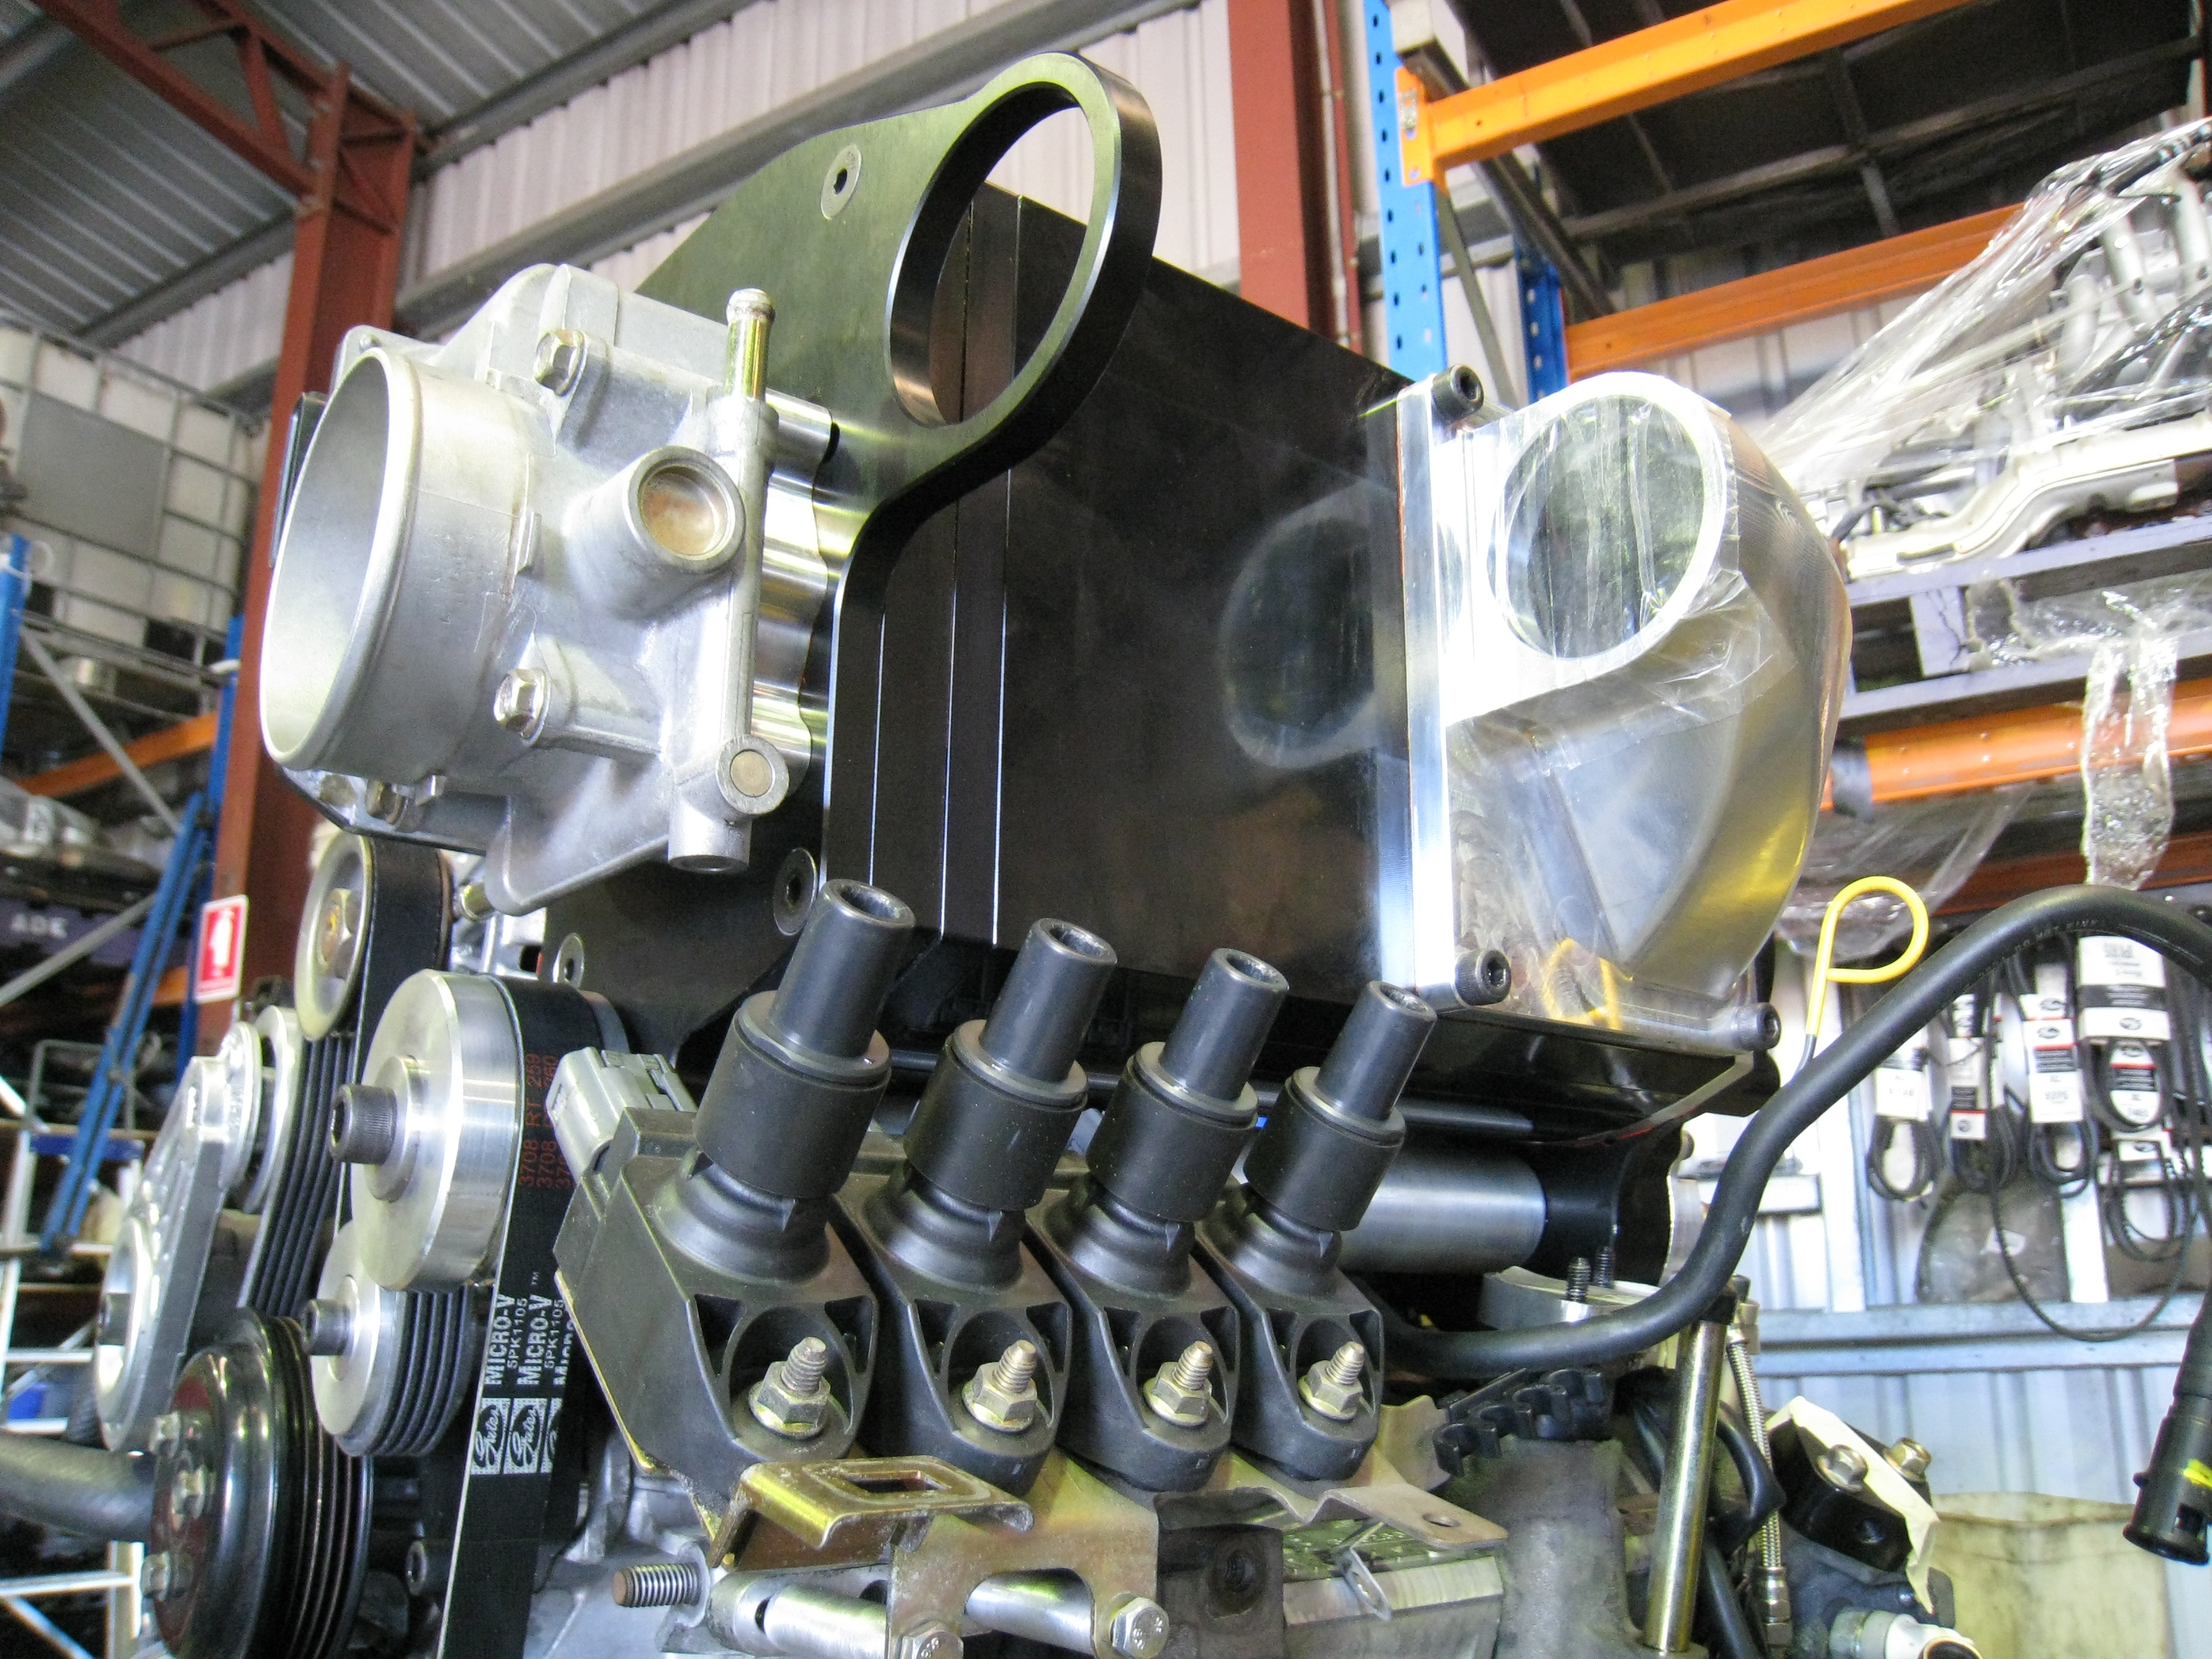
The factory ignition coils and bracket are retained and relocated further outboard by way of a bracket and two spacers.
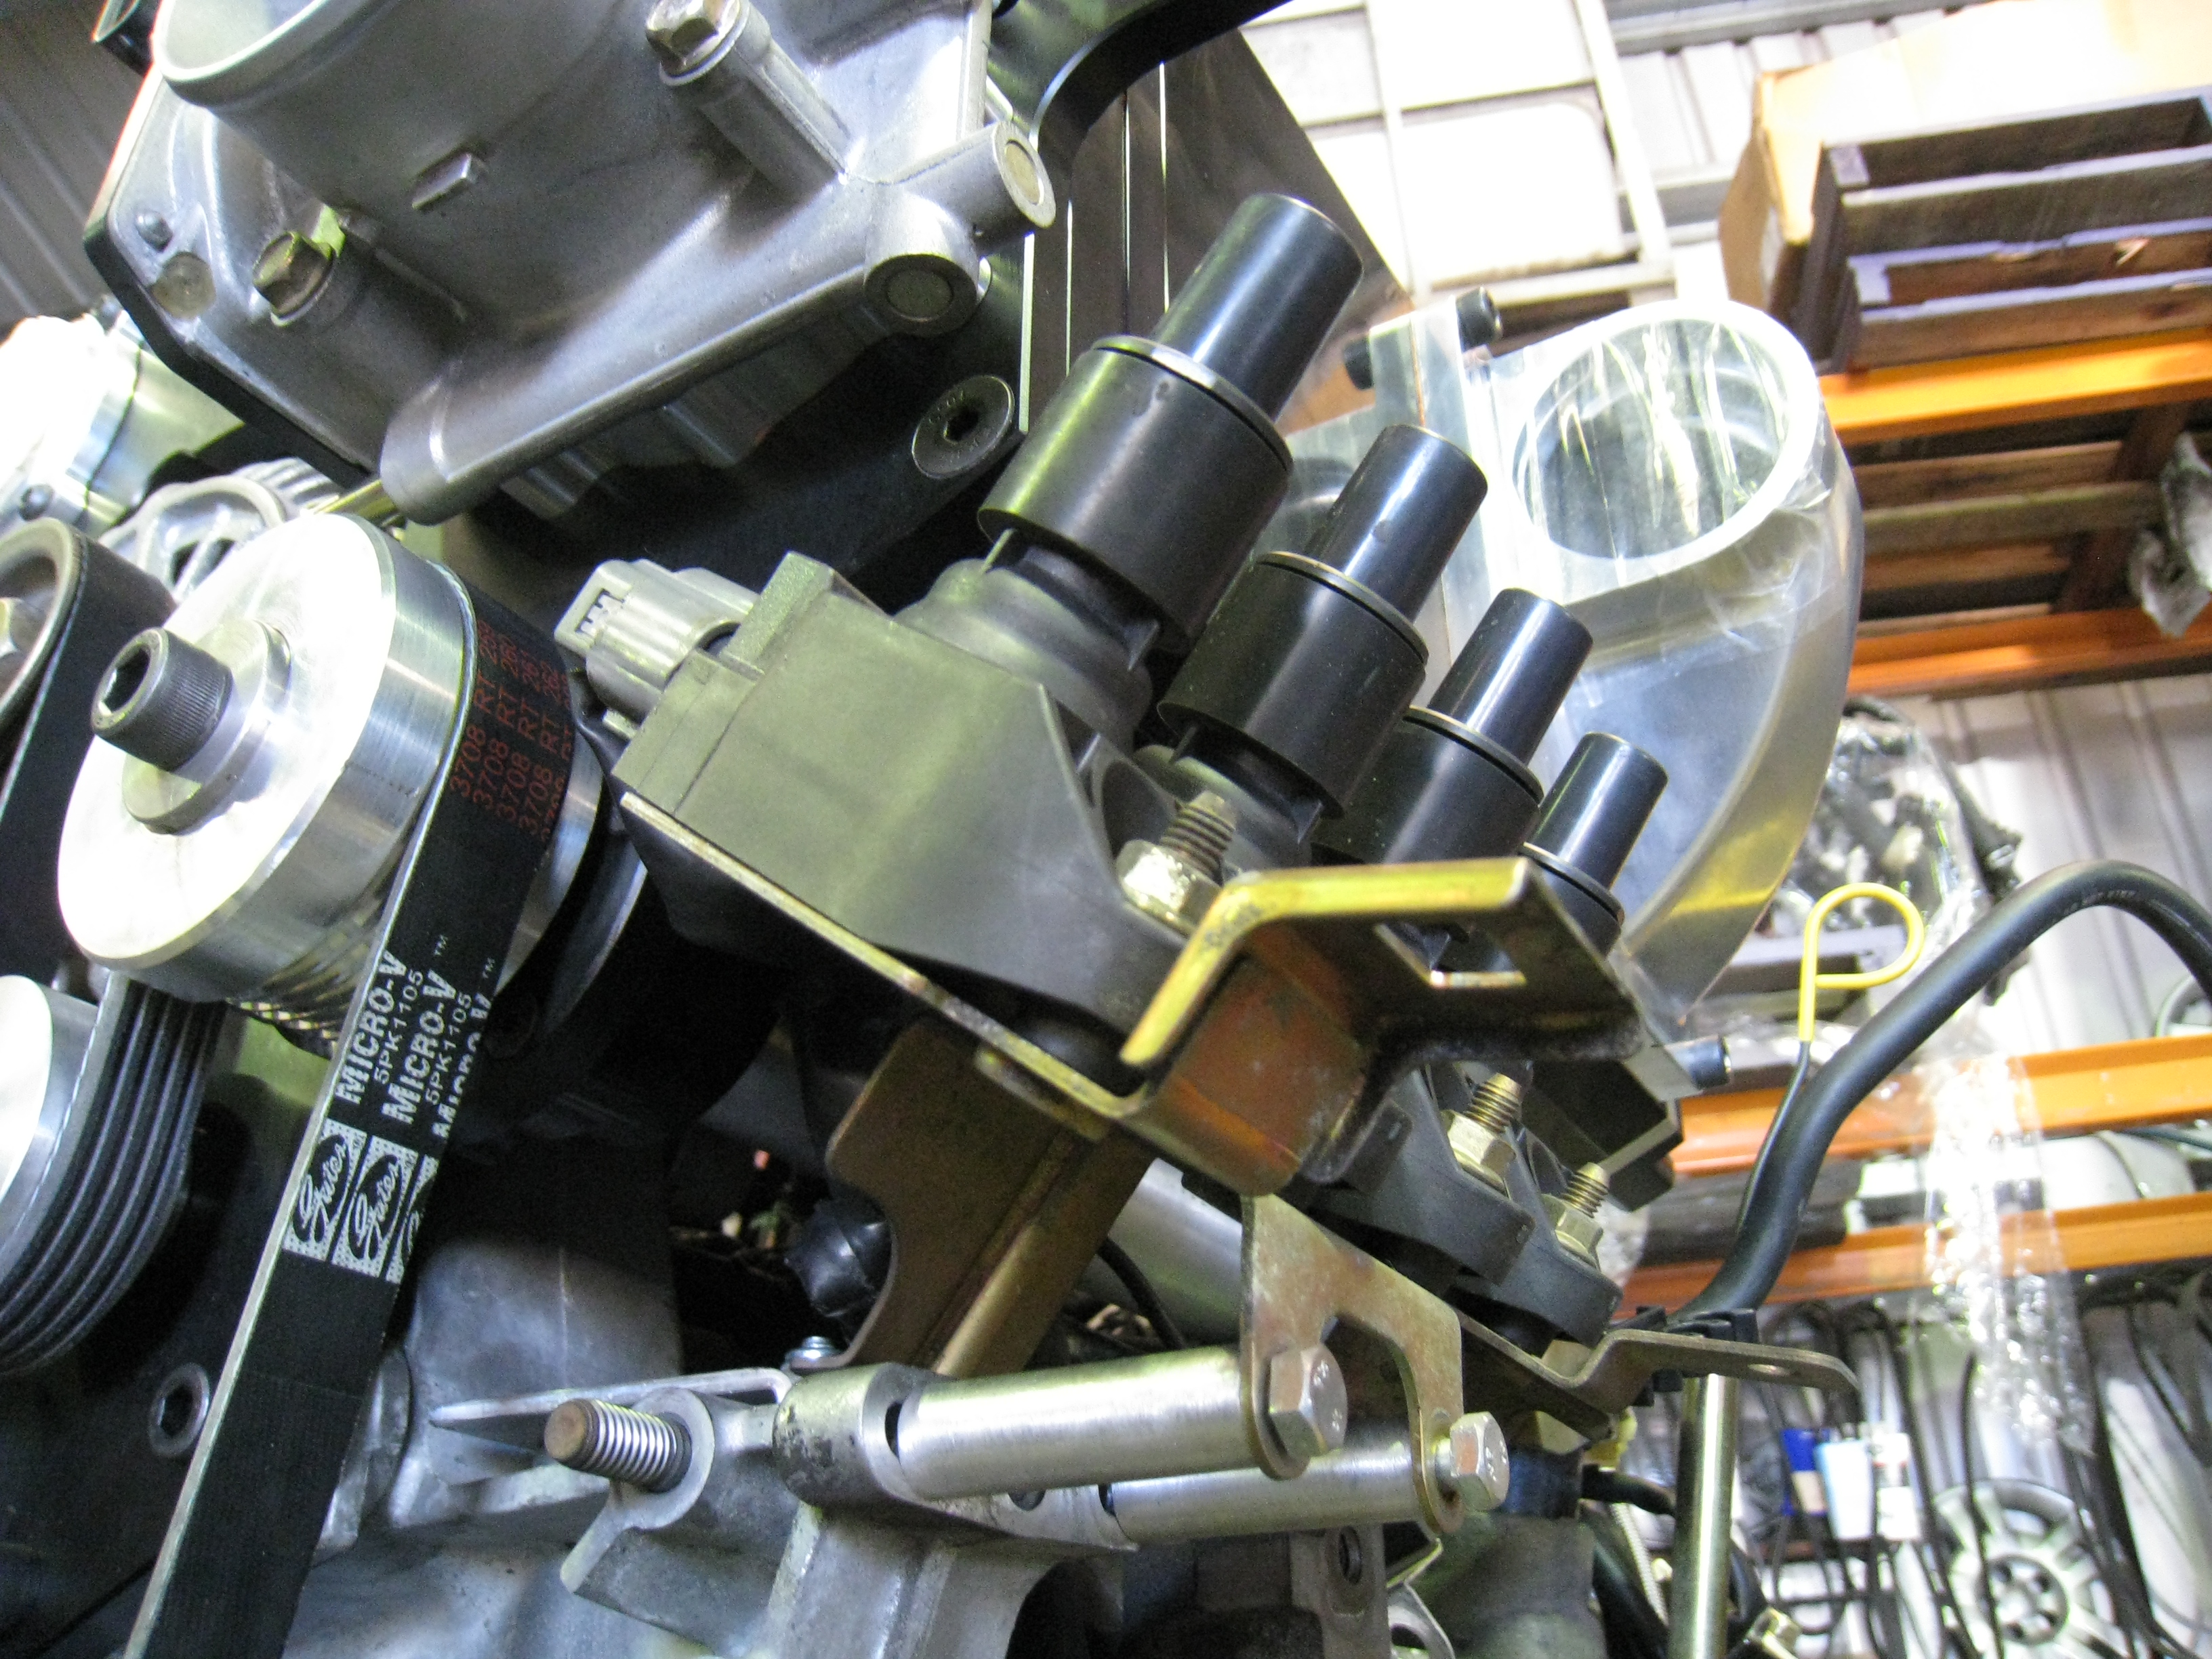
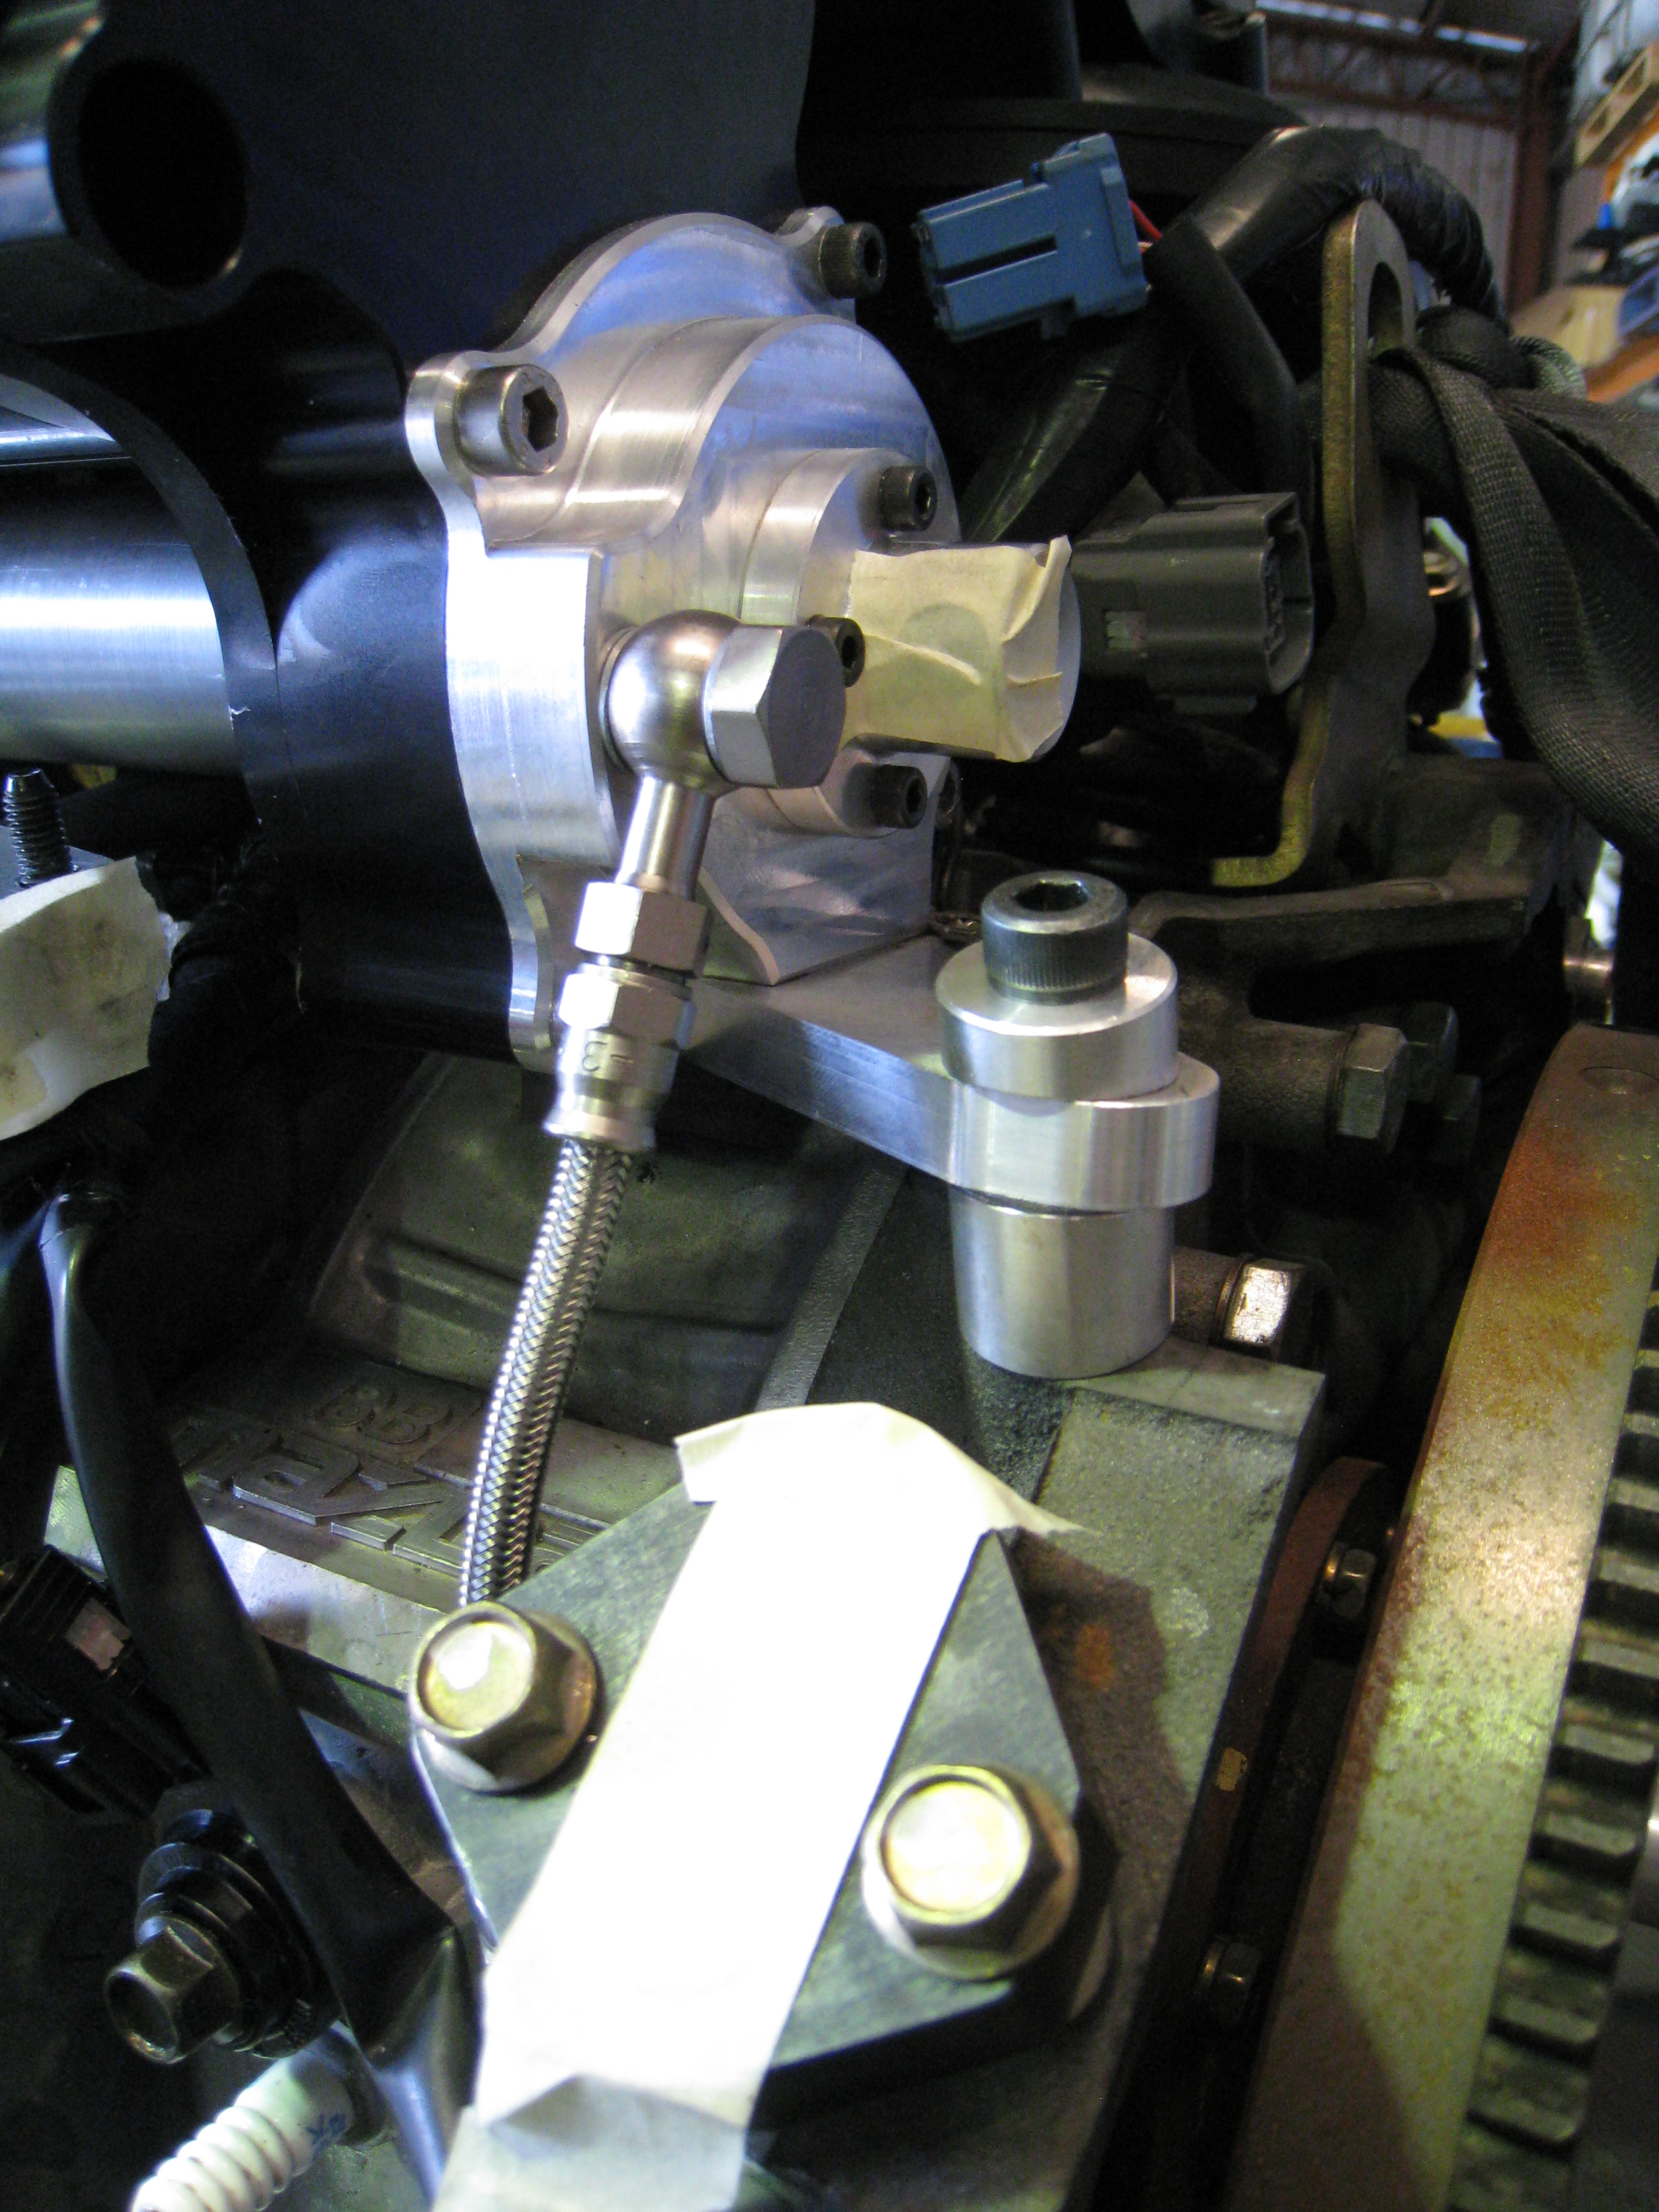
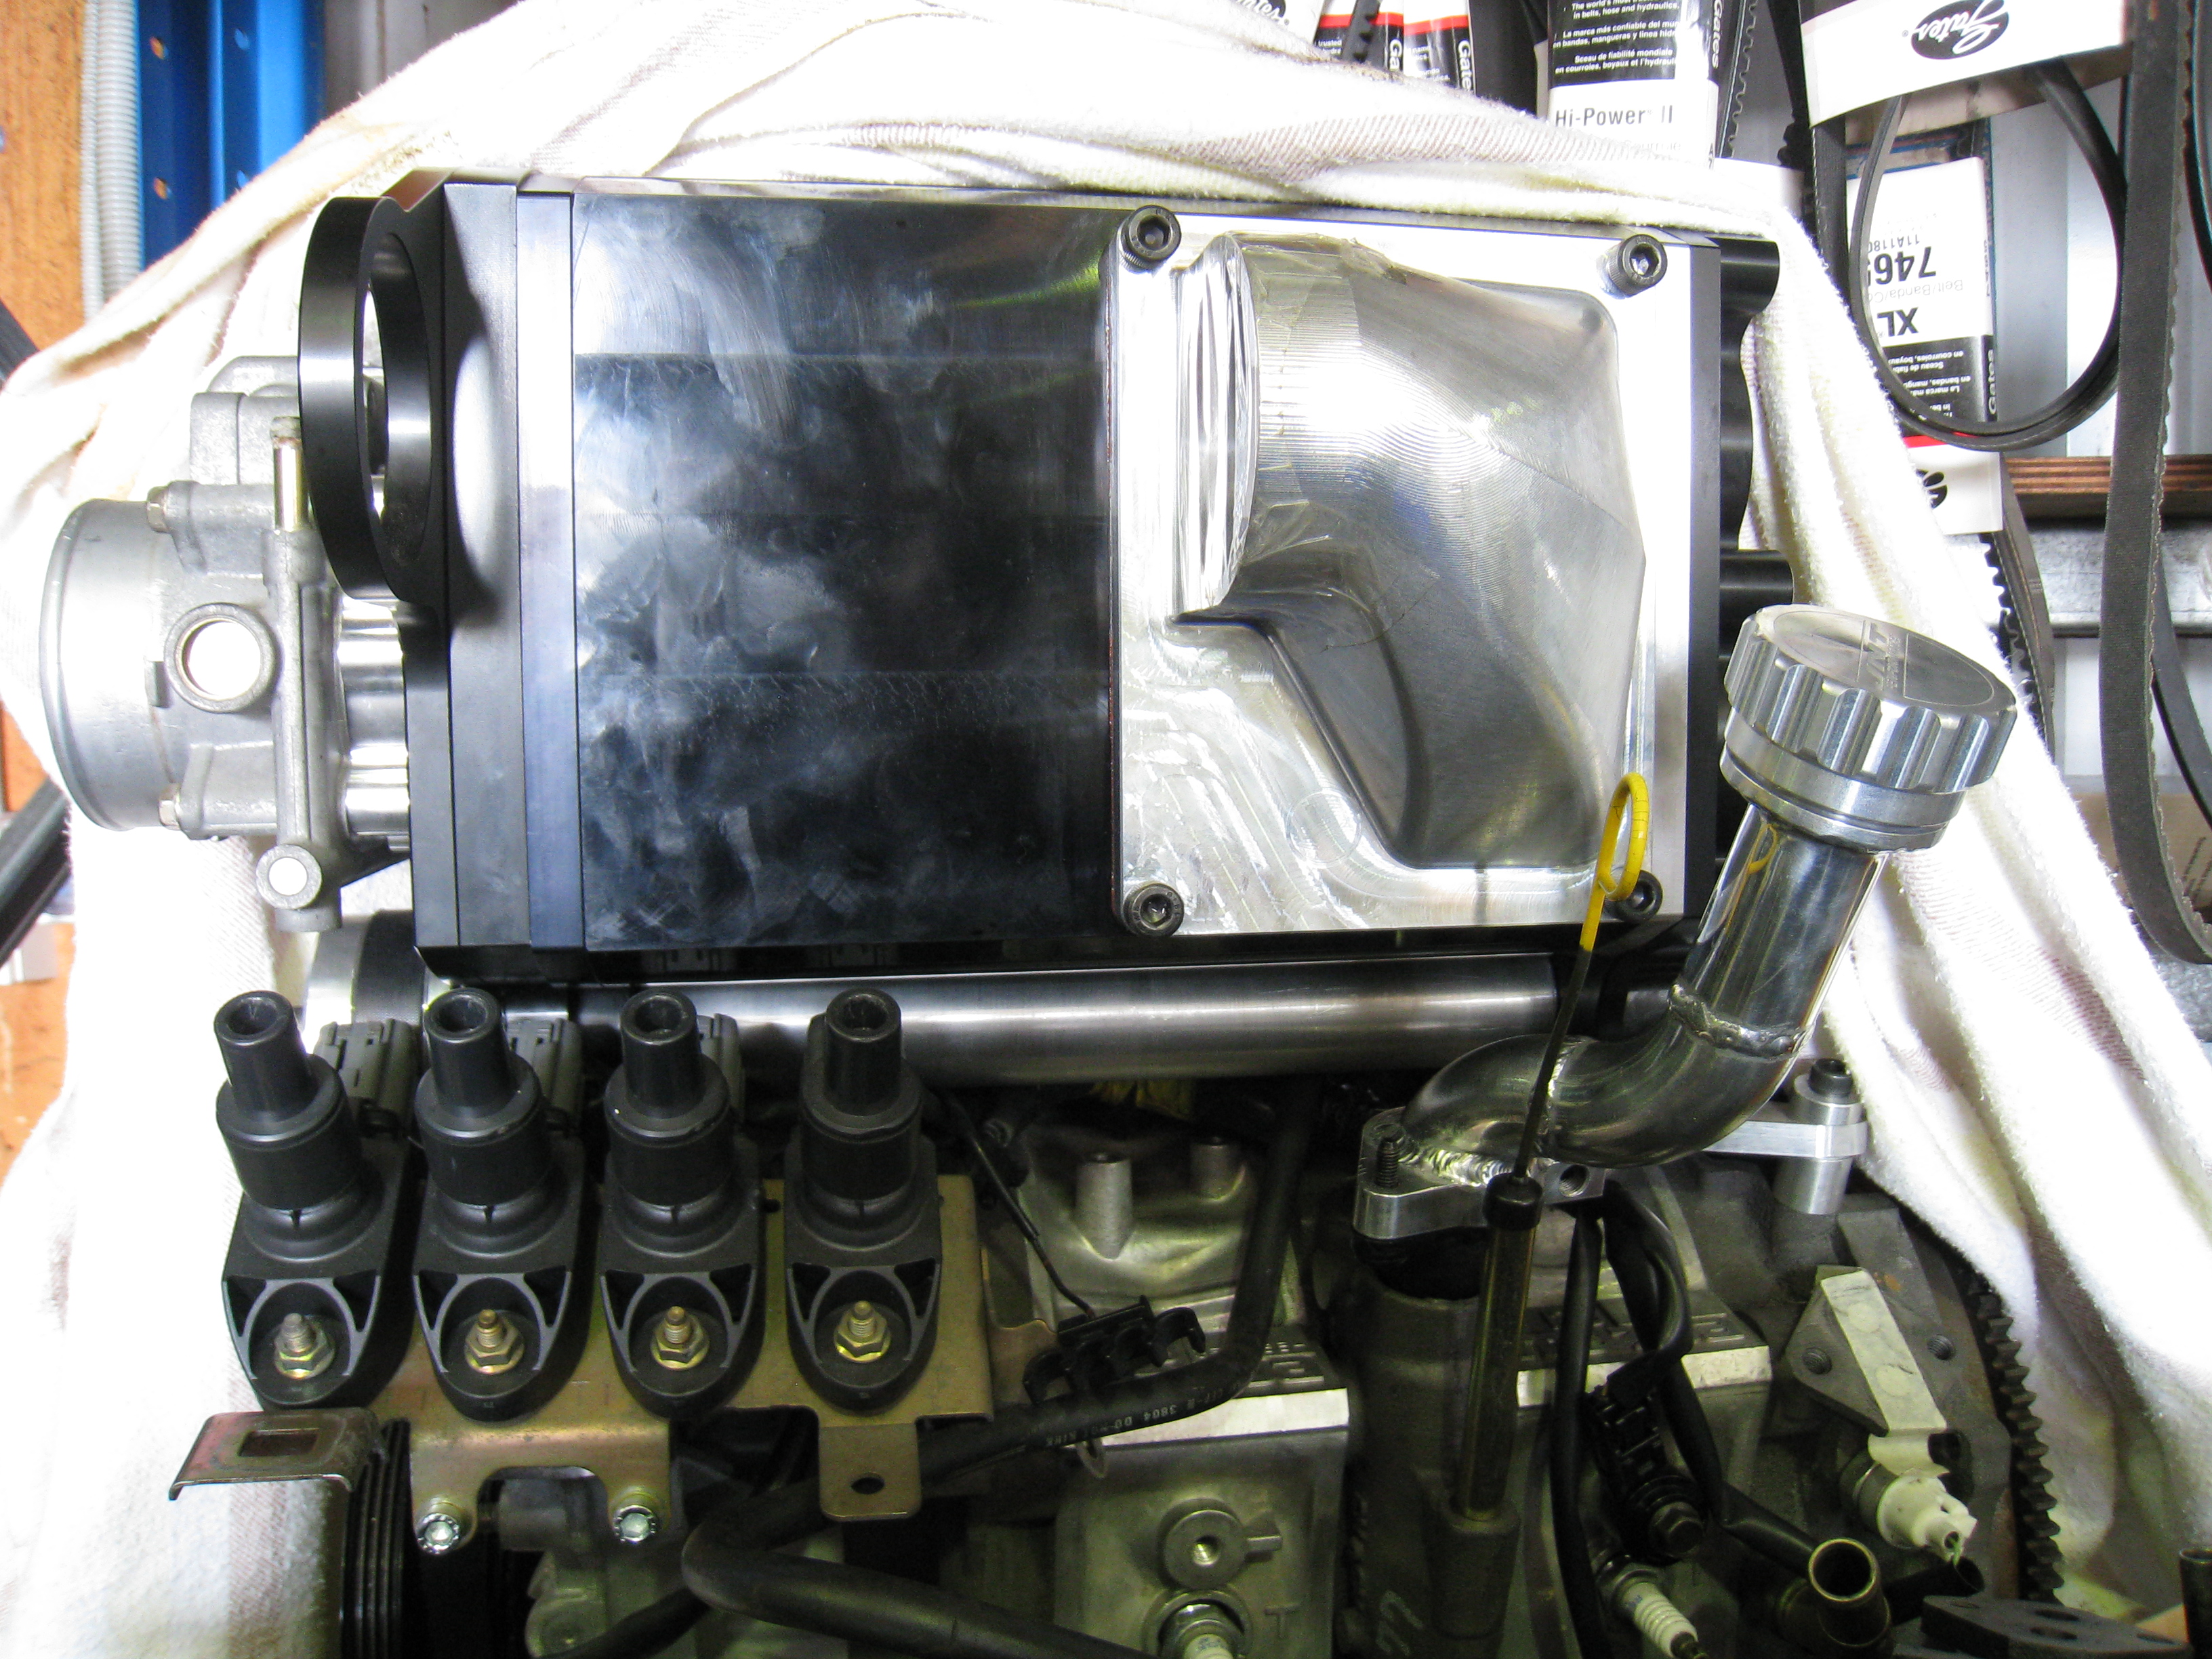
The supercharger kit uses a layshaft to transfer the drive rotation from the front belt drive arrangement to the internal gearset at the rear of the compressor. Lubrication is provided via an oil line tapping from the oil filter outlet to the sealed supercharger drive gearset and returns to the sump via an oil filler neck adaptor. The supply line is the small gauge stainless wire braided hose. The return line is not shown.
I'll let the next group of photos speak for themselves.
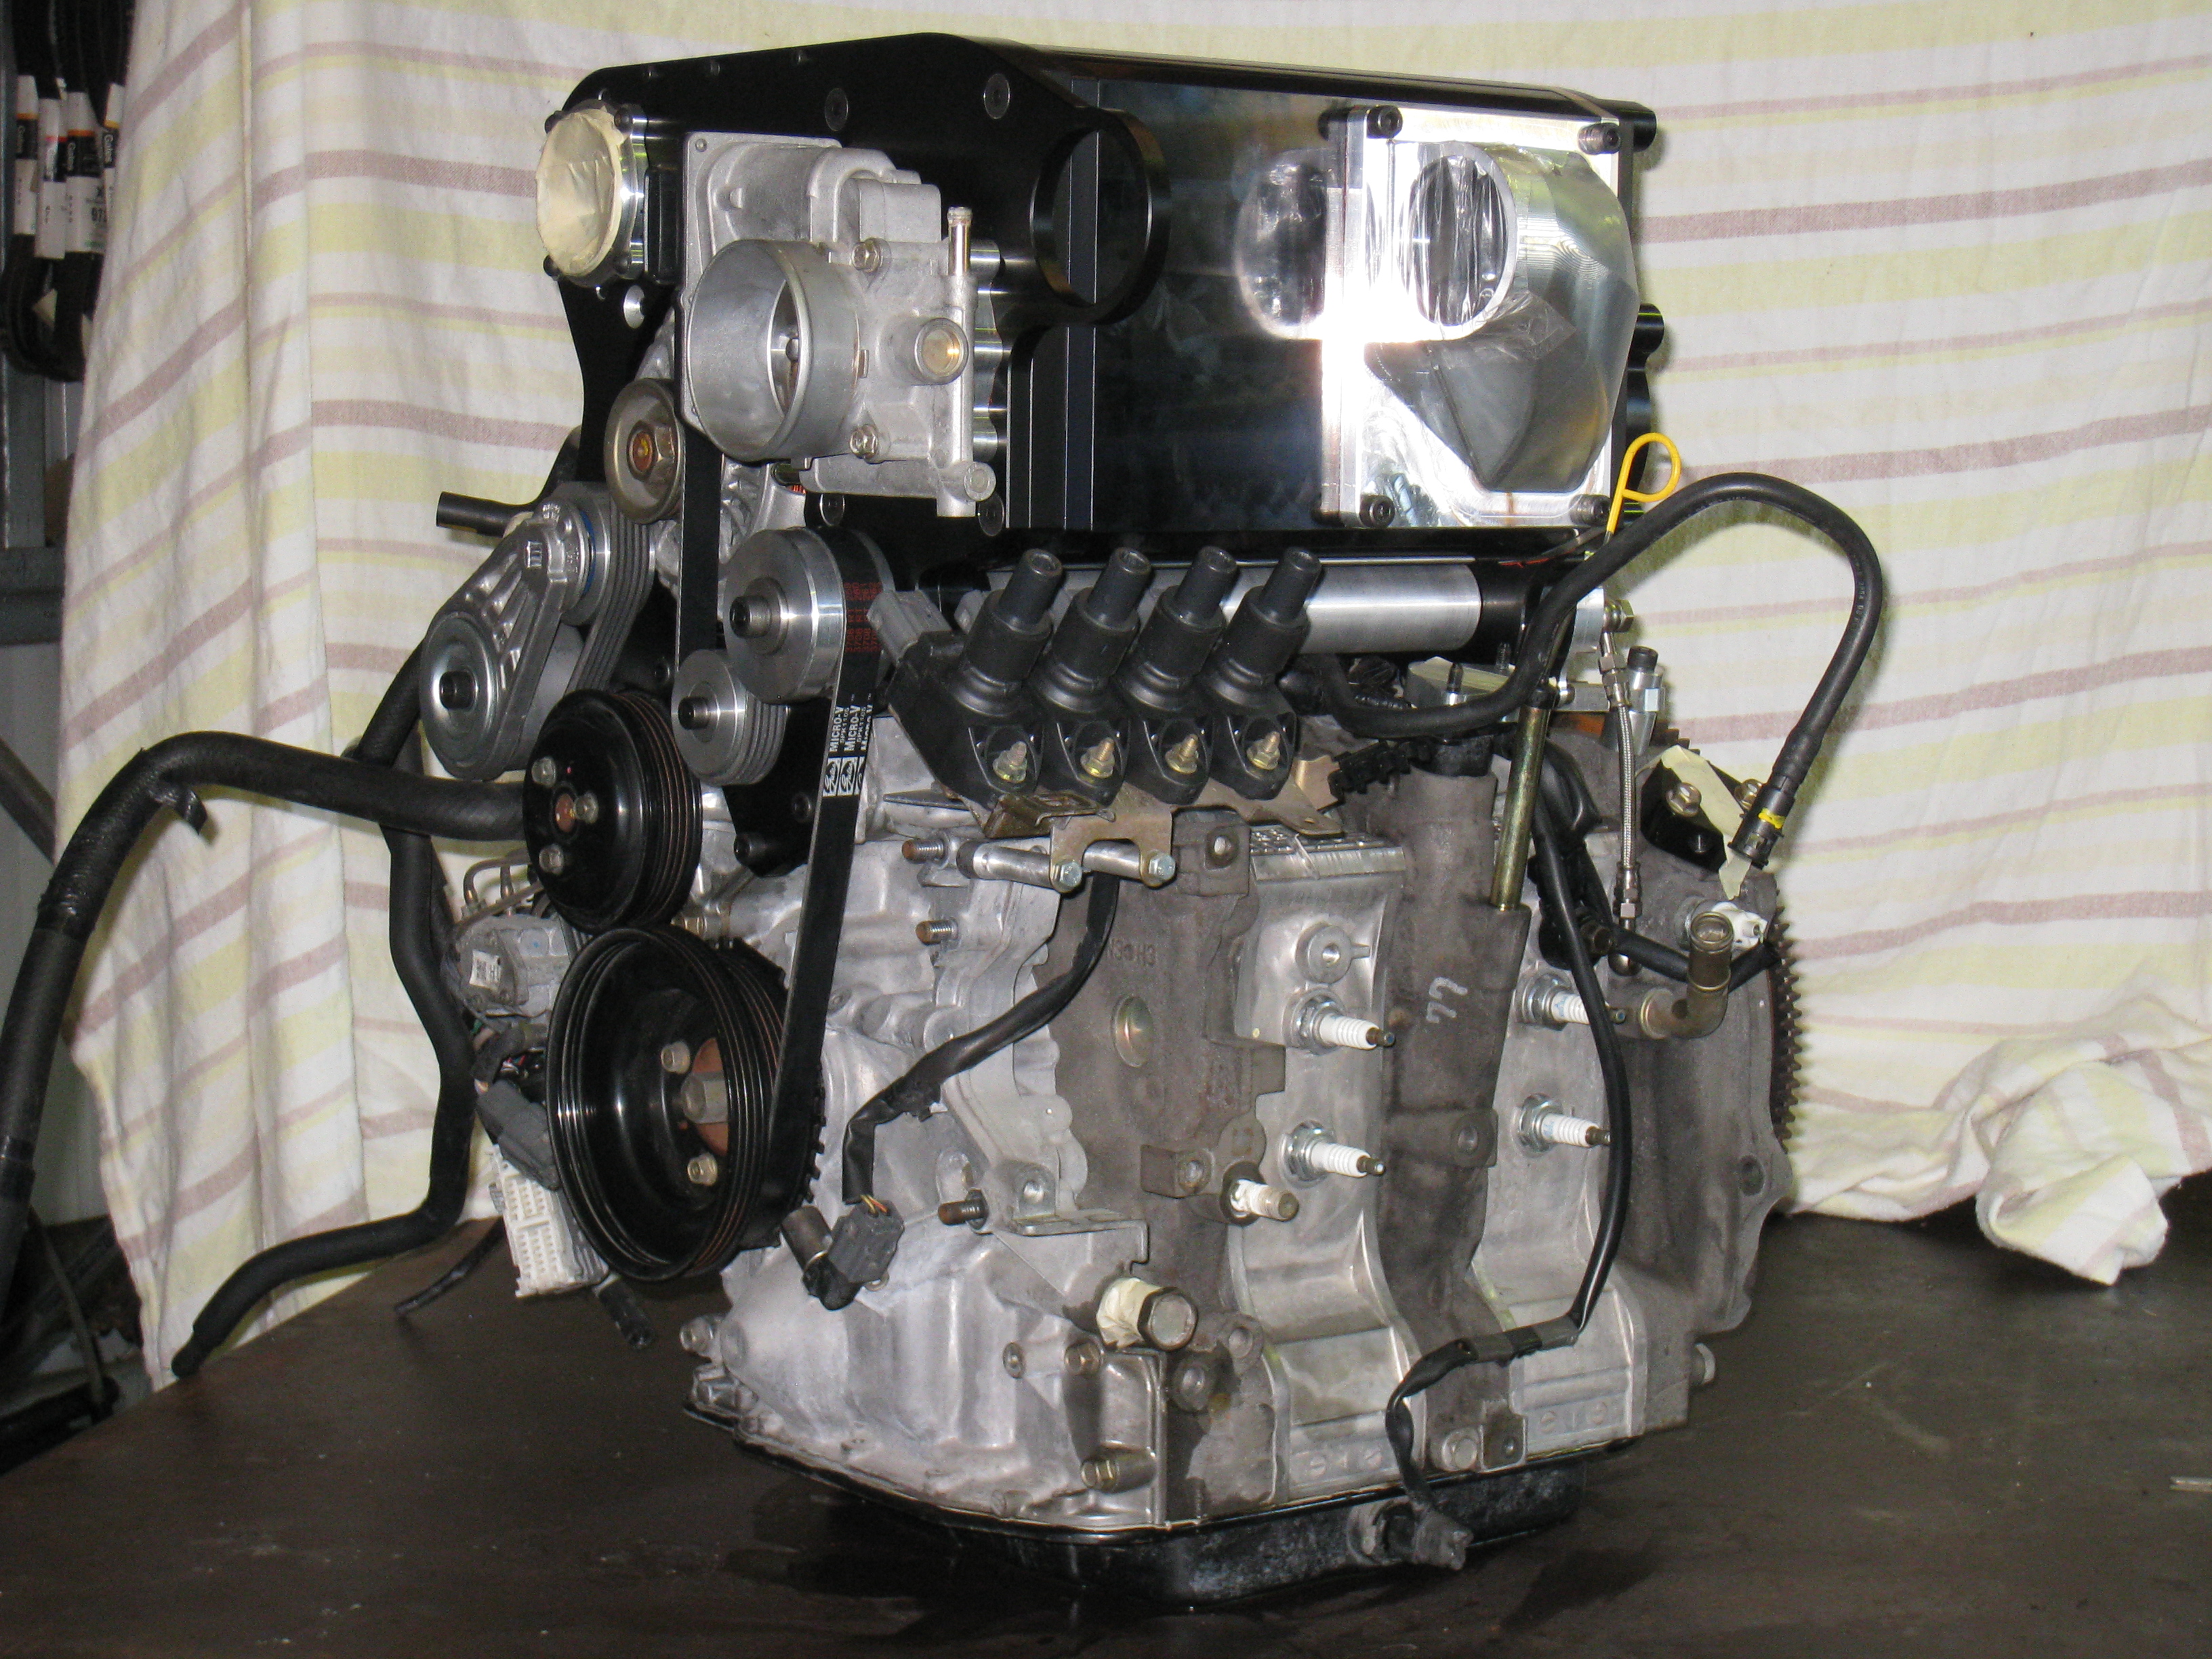
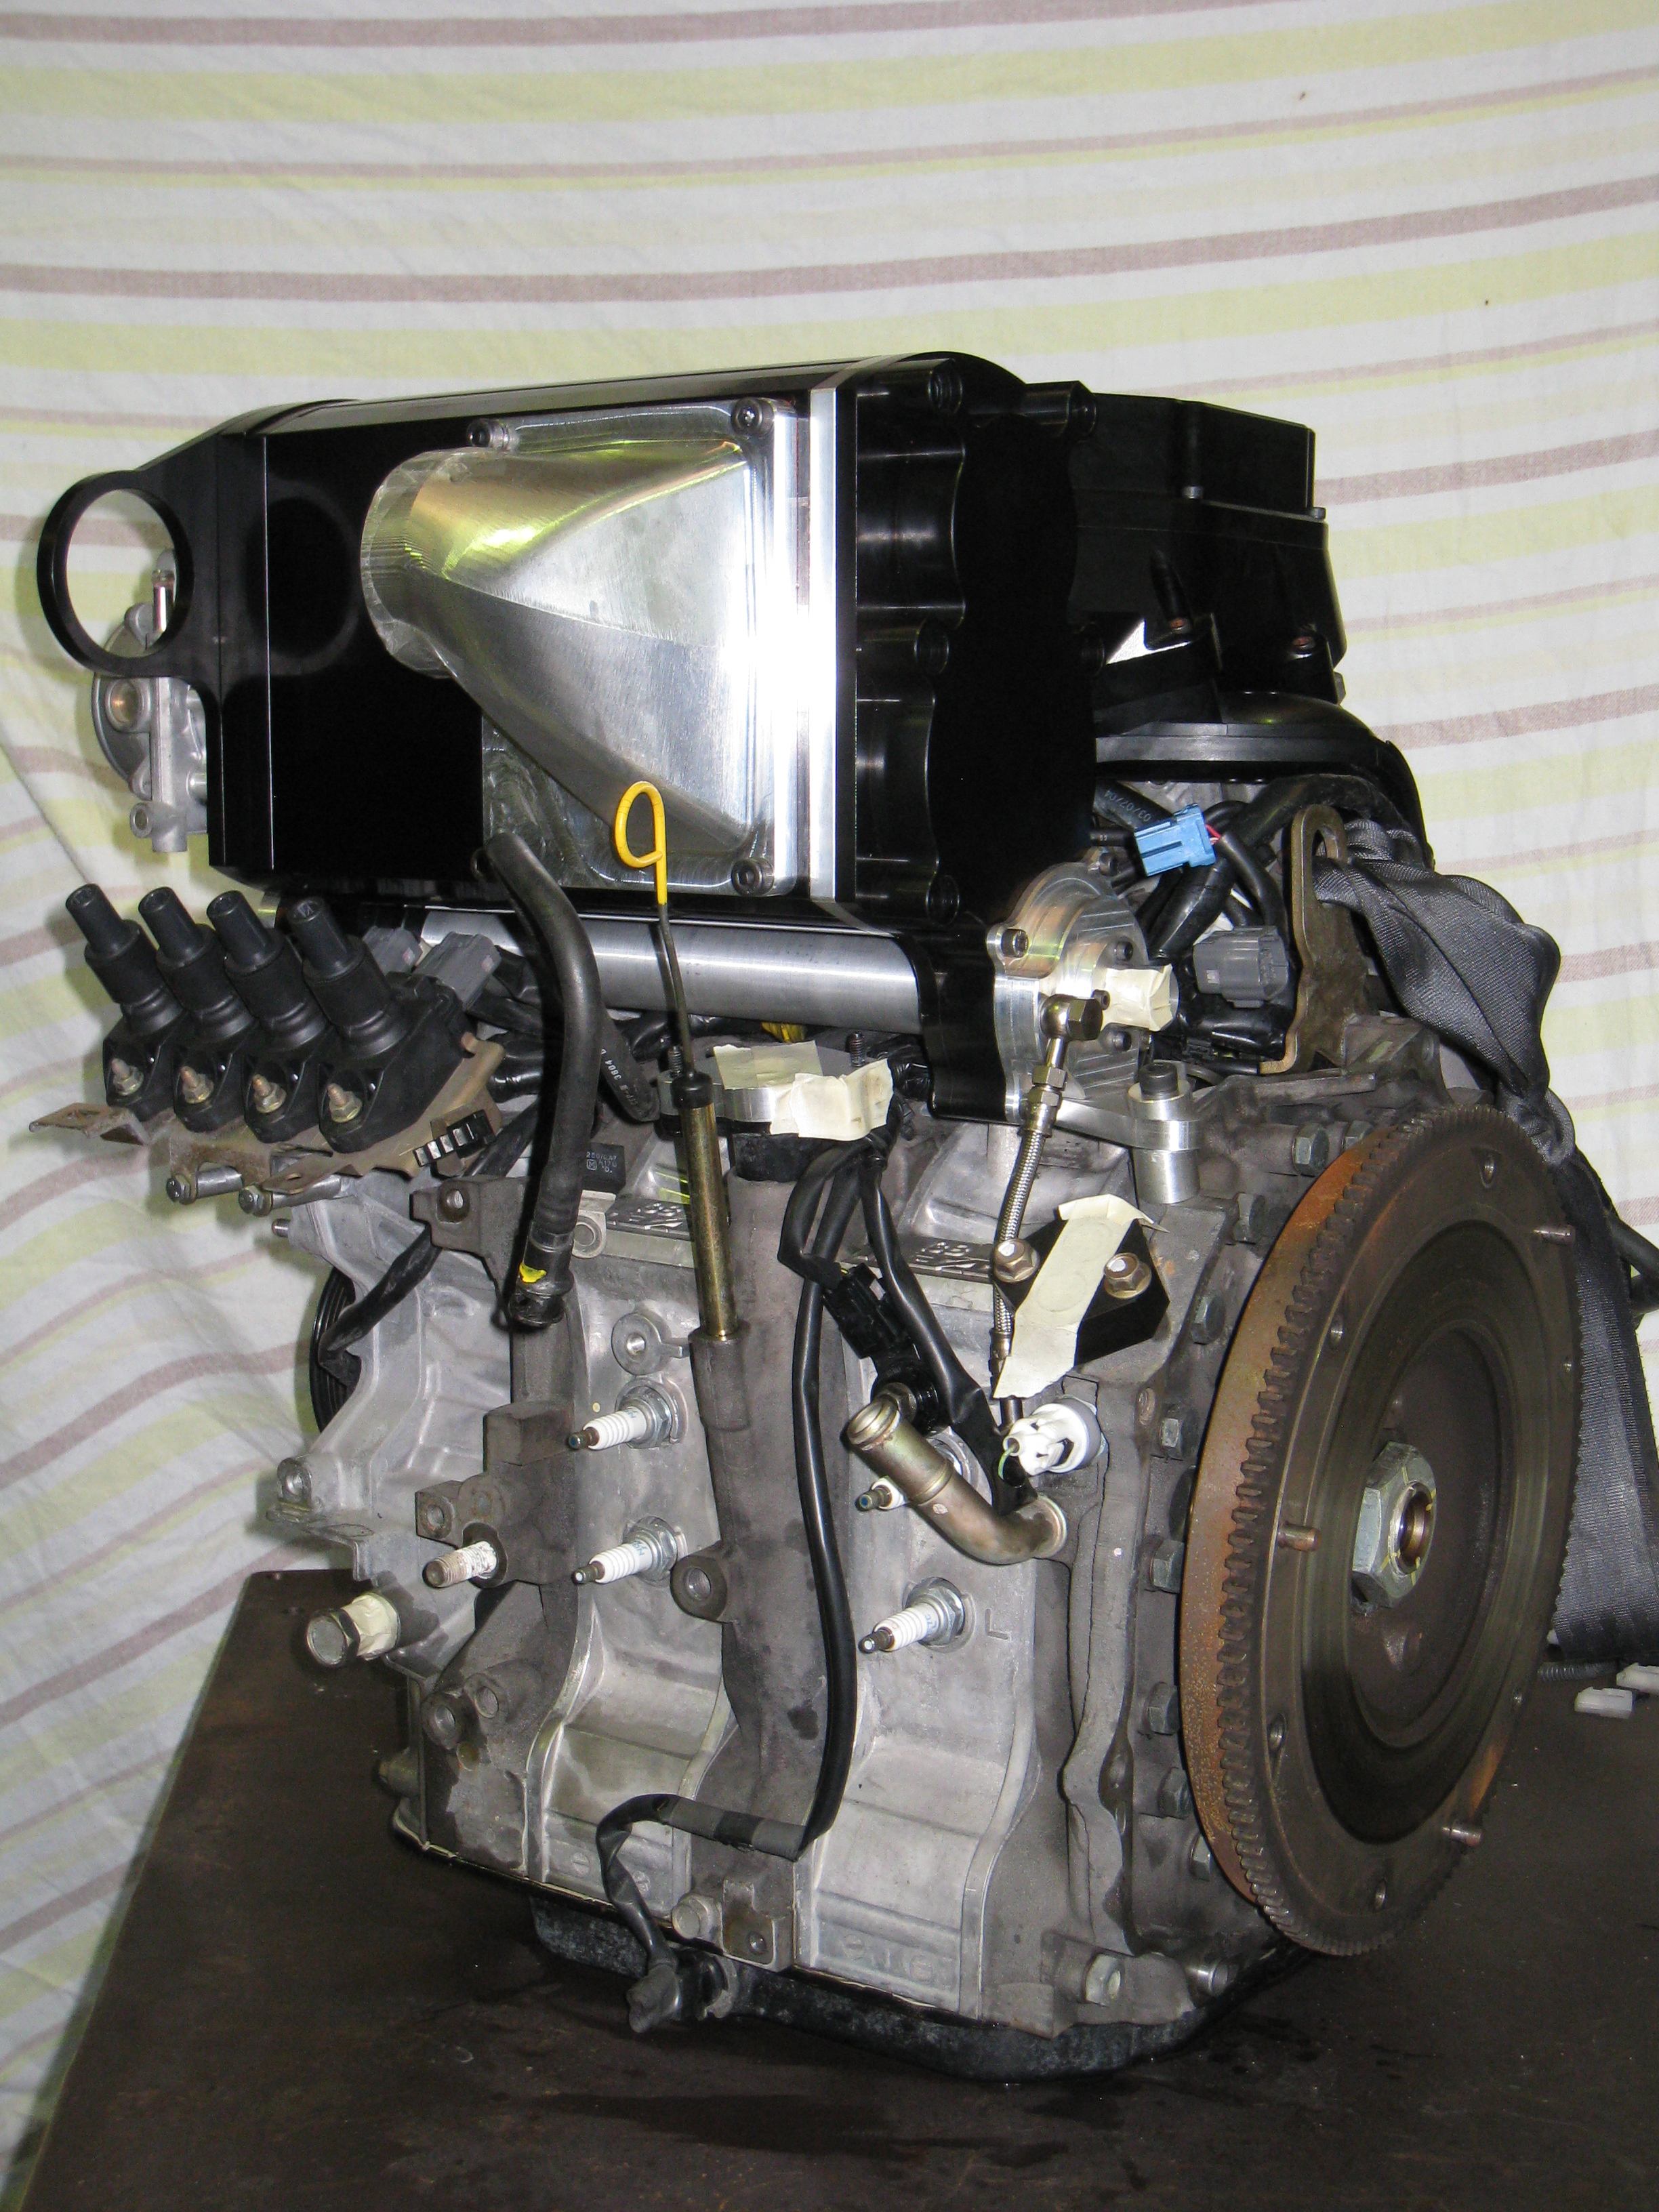
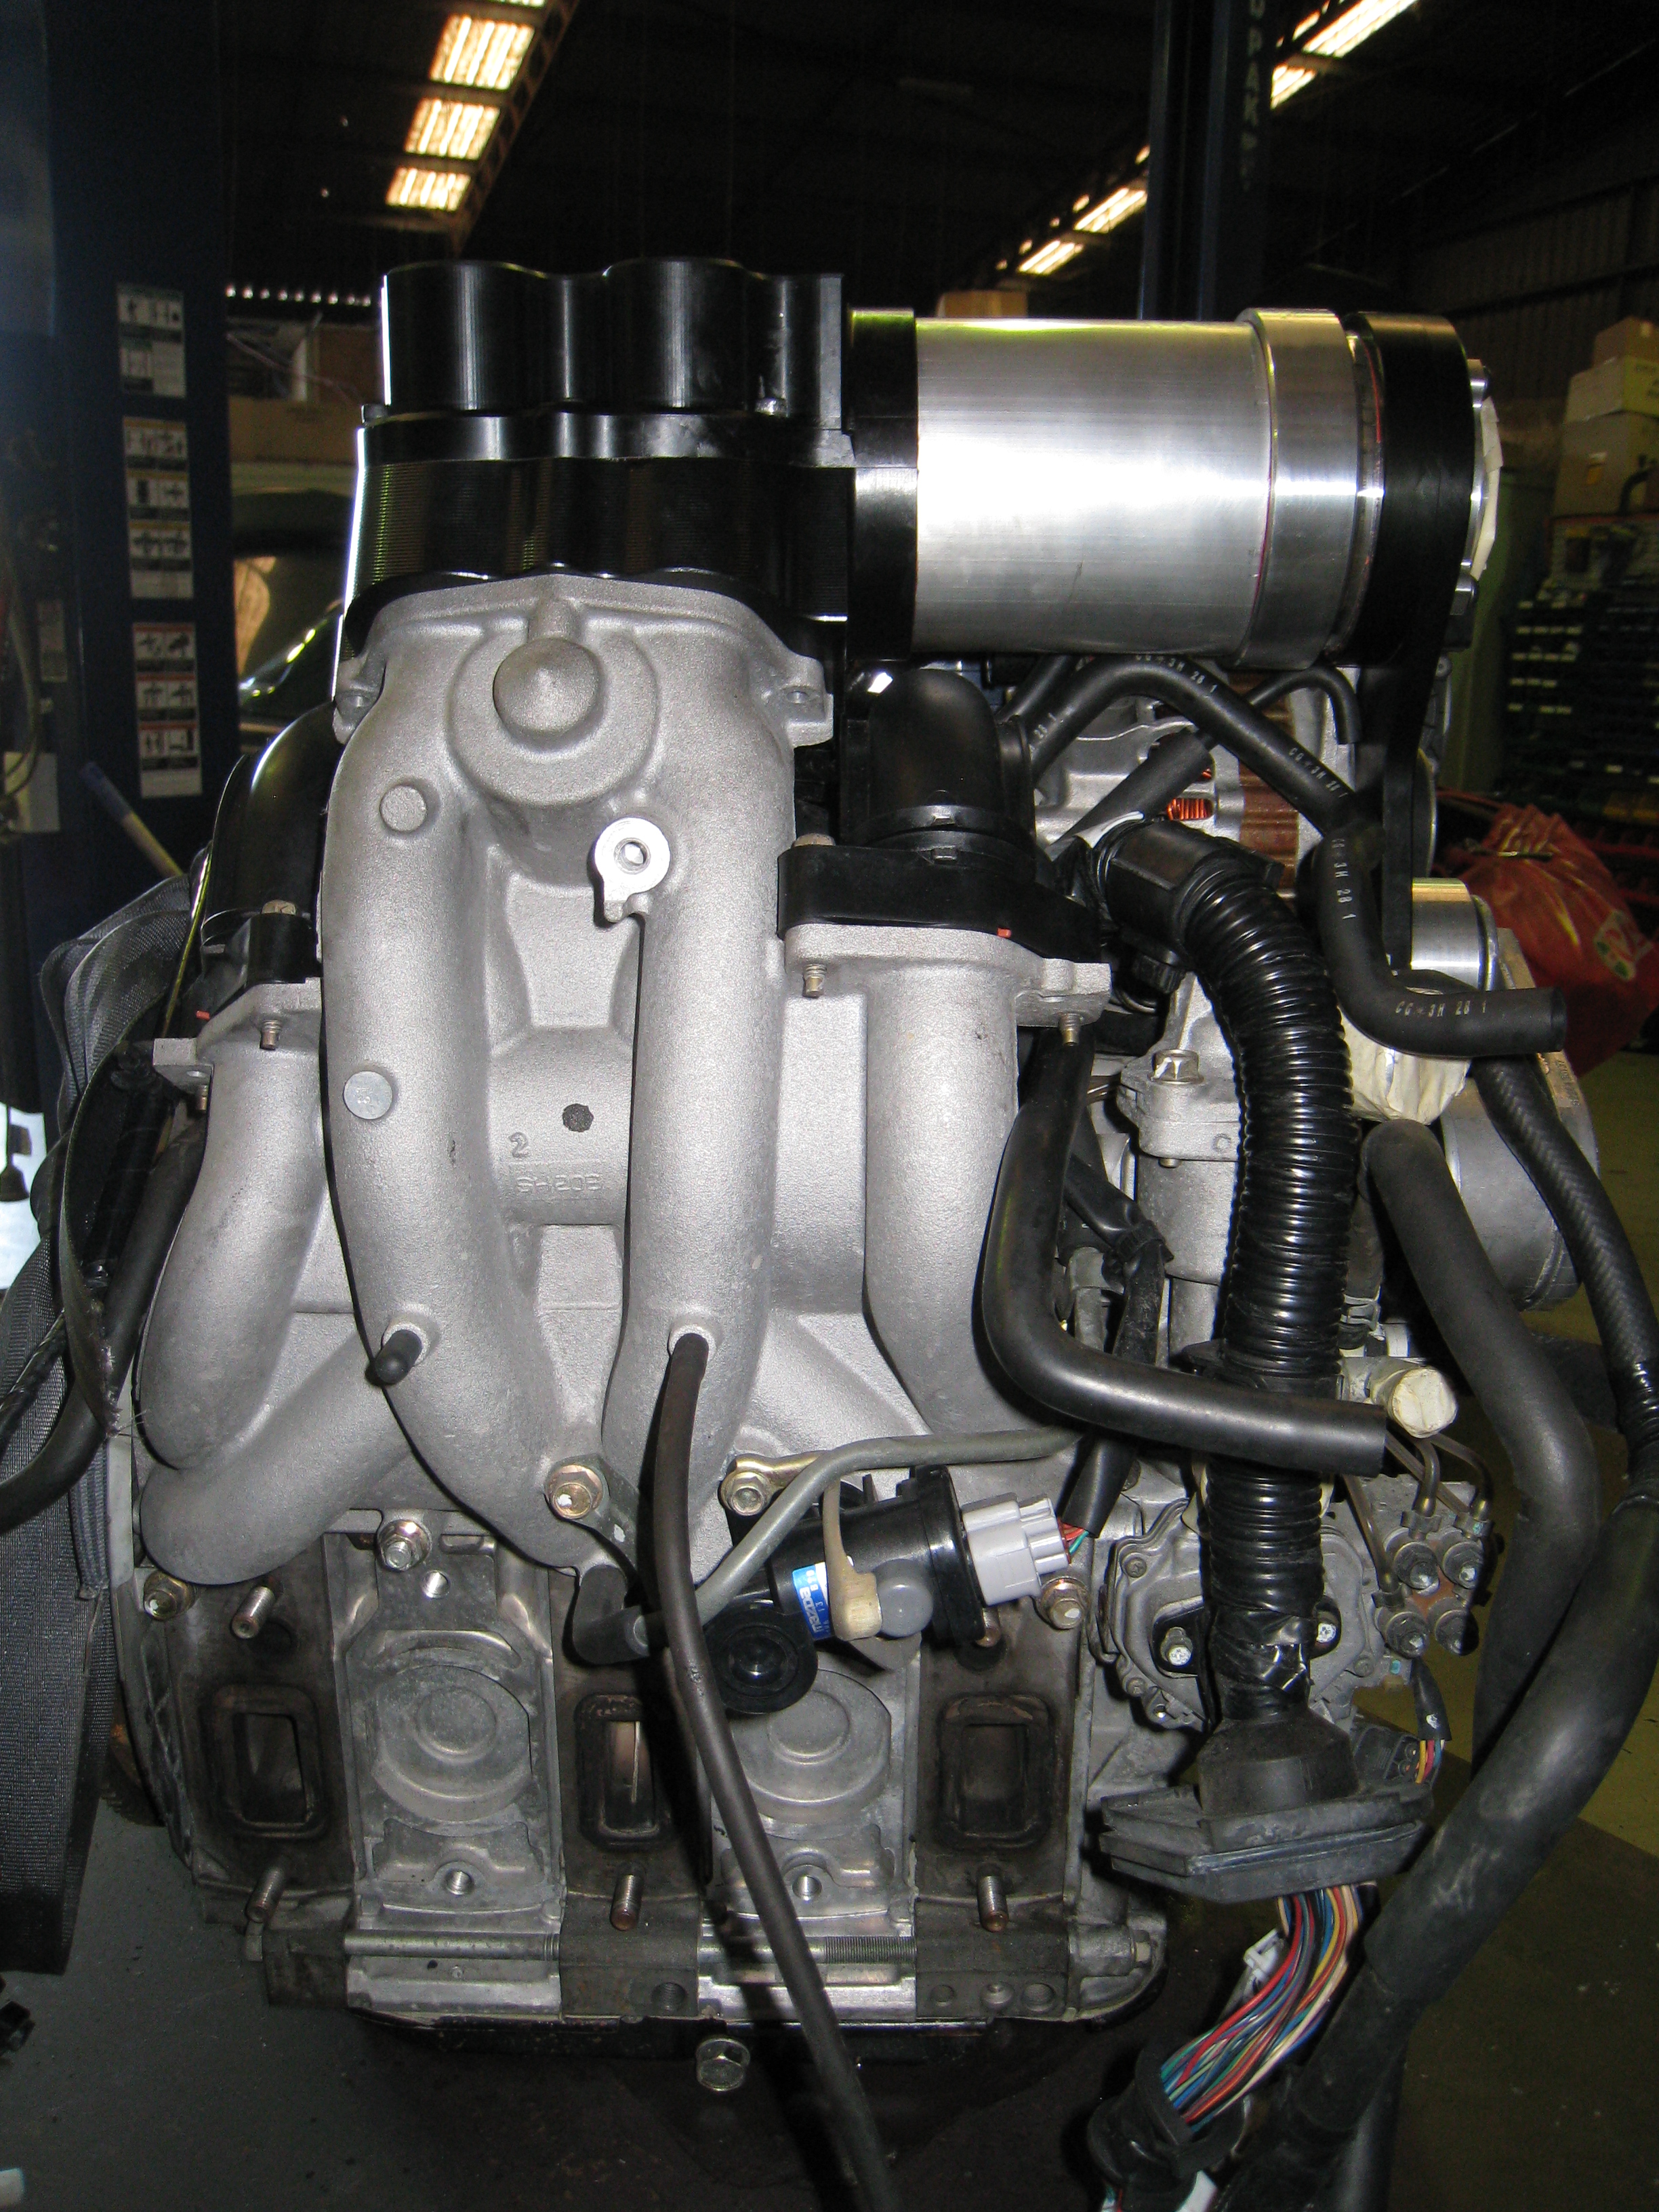
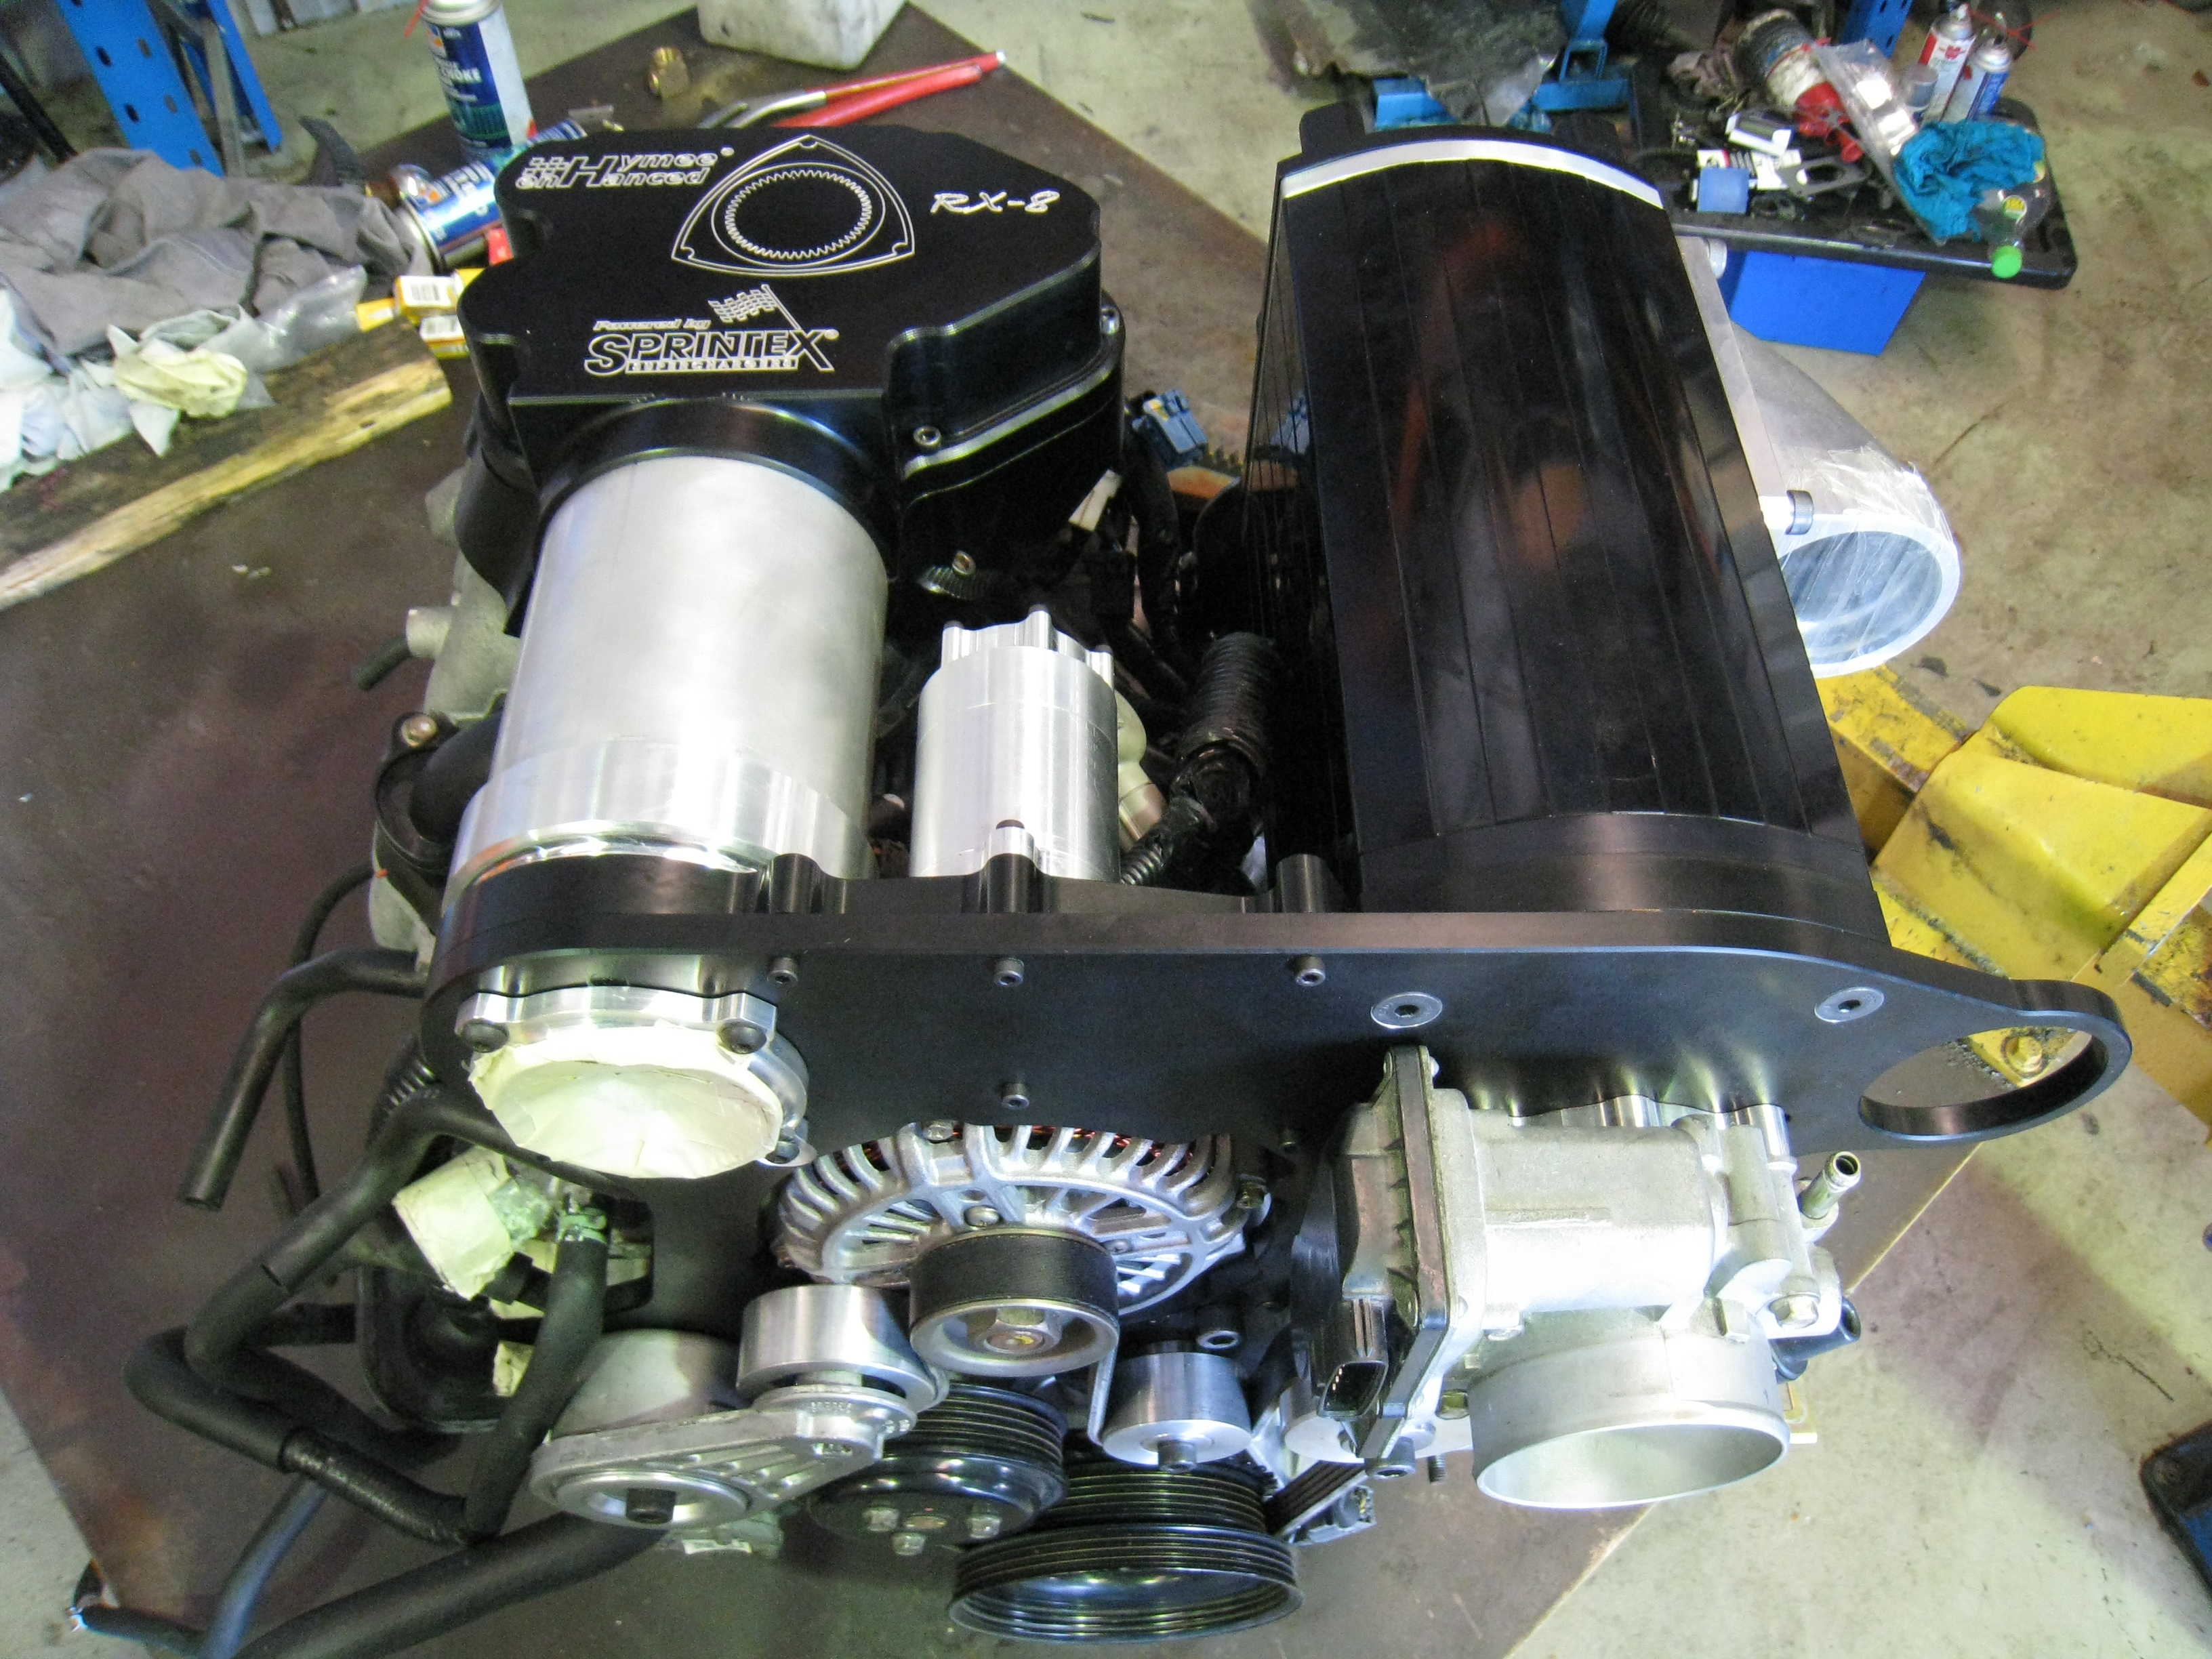
I'm still to sit down and write-up a list of items that need to be addressed before the engine can head off to the engine dyno to be tuned. So I'm not sure when it will be despatched. Two obvious items that need to be designed and manufactured are the oil filter pedestal and the oil filler neck. The necessity to replace the oil filter pedestal is only an issue on this kit as the supercharger is larger than the supercharger being used on the road-going RX-8 kits.
Cheers,
Danny


Well it is actually a bigger blower for the road car than what I have been using. Up from 1.7 to 2.1 litres. The 2.8 wont fit in the RX-8 unless you want to cut the firewall out 
Cheers,
Hymee.
Cheers,
Hymee.




rev it up
Joined: Feb 2004
Posts: 1,590
Likes: 11
From: Brisbane Australia
Its all starting to come together after years of anticipation Well done Hymee, its a shame that the 2.8l blower will not fit without a major operation.
Would have been good to be a fly on the wall witnessing this process. Looking good Danny the numbers on this larger kit should be good. have you given thought to extra dowels to support the engine better as I have heard that it can be a weak spot.
skc
Would have been good to be a fly on the wall witnessing this process. Looking good Danny the numbers on this larger kit should be good. have you given thought to extra dowels to support the engine better as I have heard that it can be a weak spot.
skc

Londons Yellow Peril
Joined: Apr 2005
Posts: 1,340
Likes: 2
From: North London
Holy Cr@p.
Amazing thread with AMAZING work going on! Good luck (not that you seem to need it with mad skillz involved!) on continuing and getting it finished.
As mentioned by someone above, make sure you have tons of cooling going on, both oil and other. But lets face it you know that (and everything else hahahah!) already....
Awesome!
Amazing thread with AMAZING work going on! Good luck (not that you seem to need it with mad skillz involved!) on continuing and getting it finished.
As mentioned by someone above, make sure you have tons of cooling going on, both oil and other. But lets face it you know that (and everything else hahahah!) already....
Awesome!

Anyway, regarding the fly on the wall stuff and coming a long way over the years, I thought I'd post a couple of evolutionary pics to put the history into perspective. A bit of a trip down memory lane if you like.
Hope you don't mind, Danny!
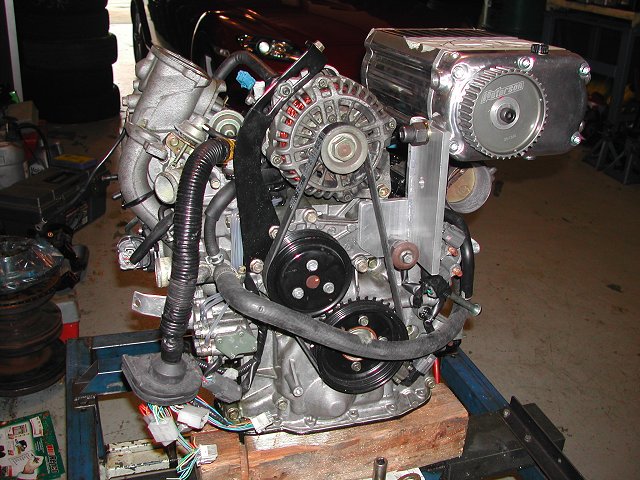
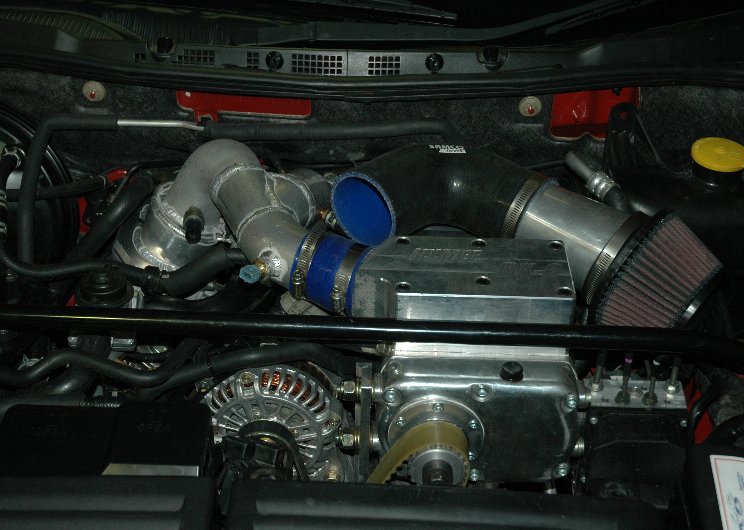
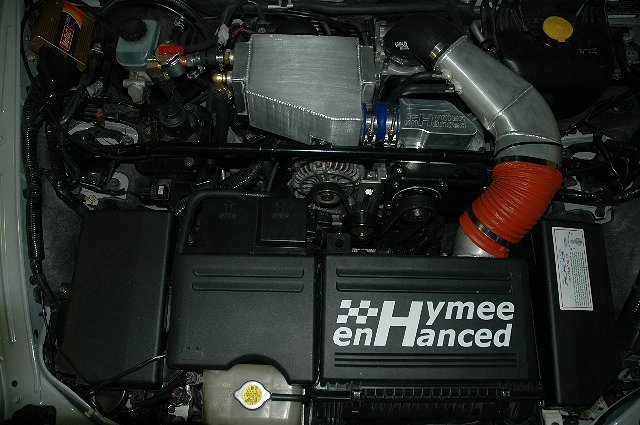
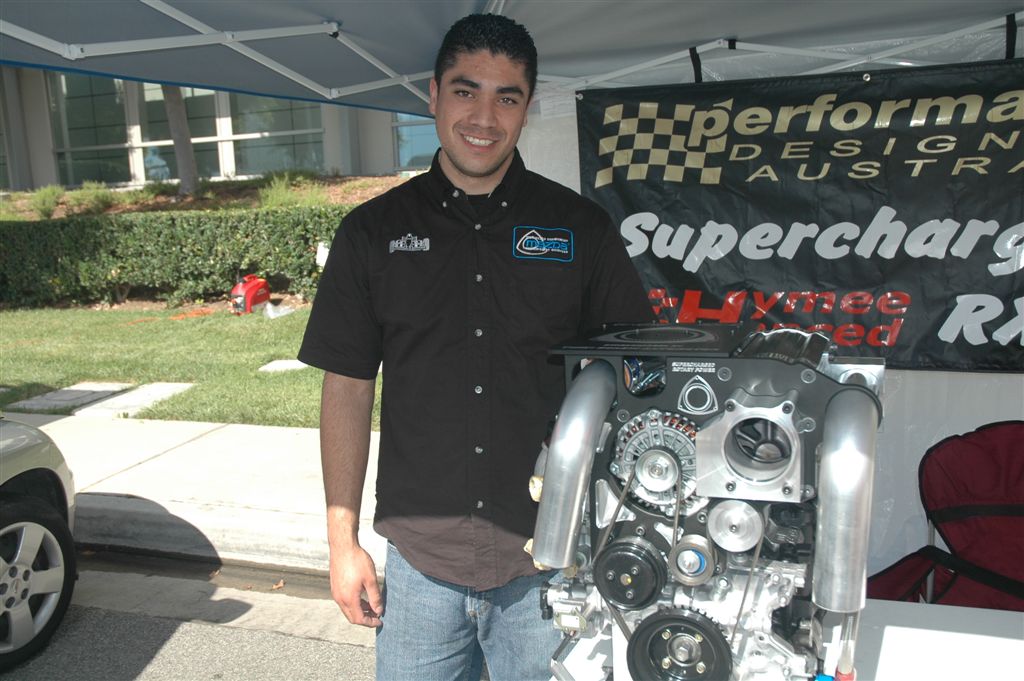
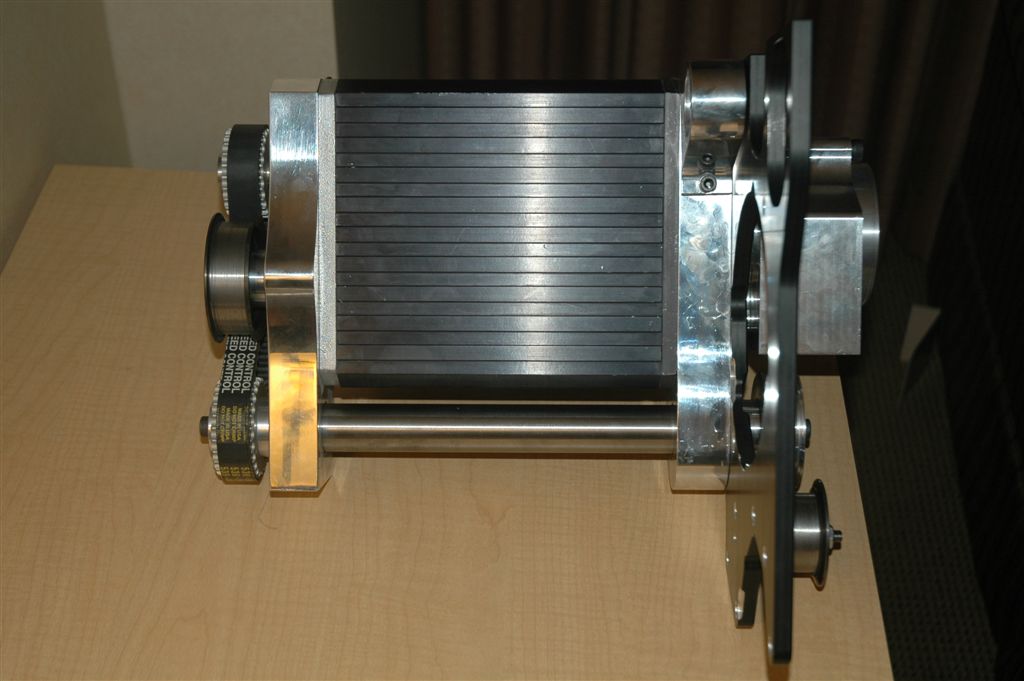
I guess that helps answer the question as to "why it takes so long?"... To get it right!
Cheers,
Hymee.
Last edited by Hymee; Oct 19, 2009 at 06:46 AM.

Thread Starter
Registered
Joined: Mar 2007
Posts: 212
Likes: 0
From: Brisbane
Originally Posted by ORX-800
Two obvious items that need to be designed and manufactured are the oil filter pedestal and the oil filler neck. The necessity to replace the oil filter pedestal is only an issue on this kit as the supercharger is larger than the supercharger being used on the road-going RX-8 kits.
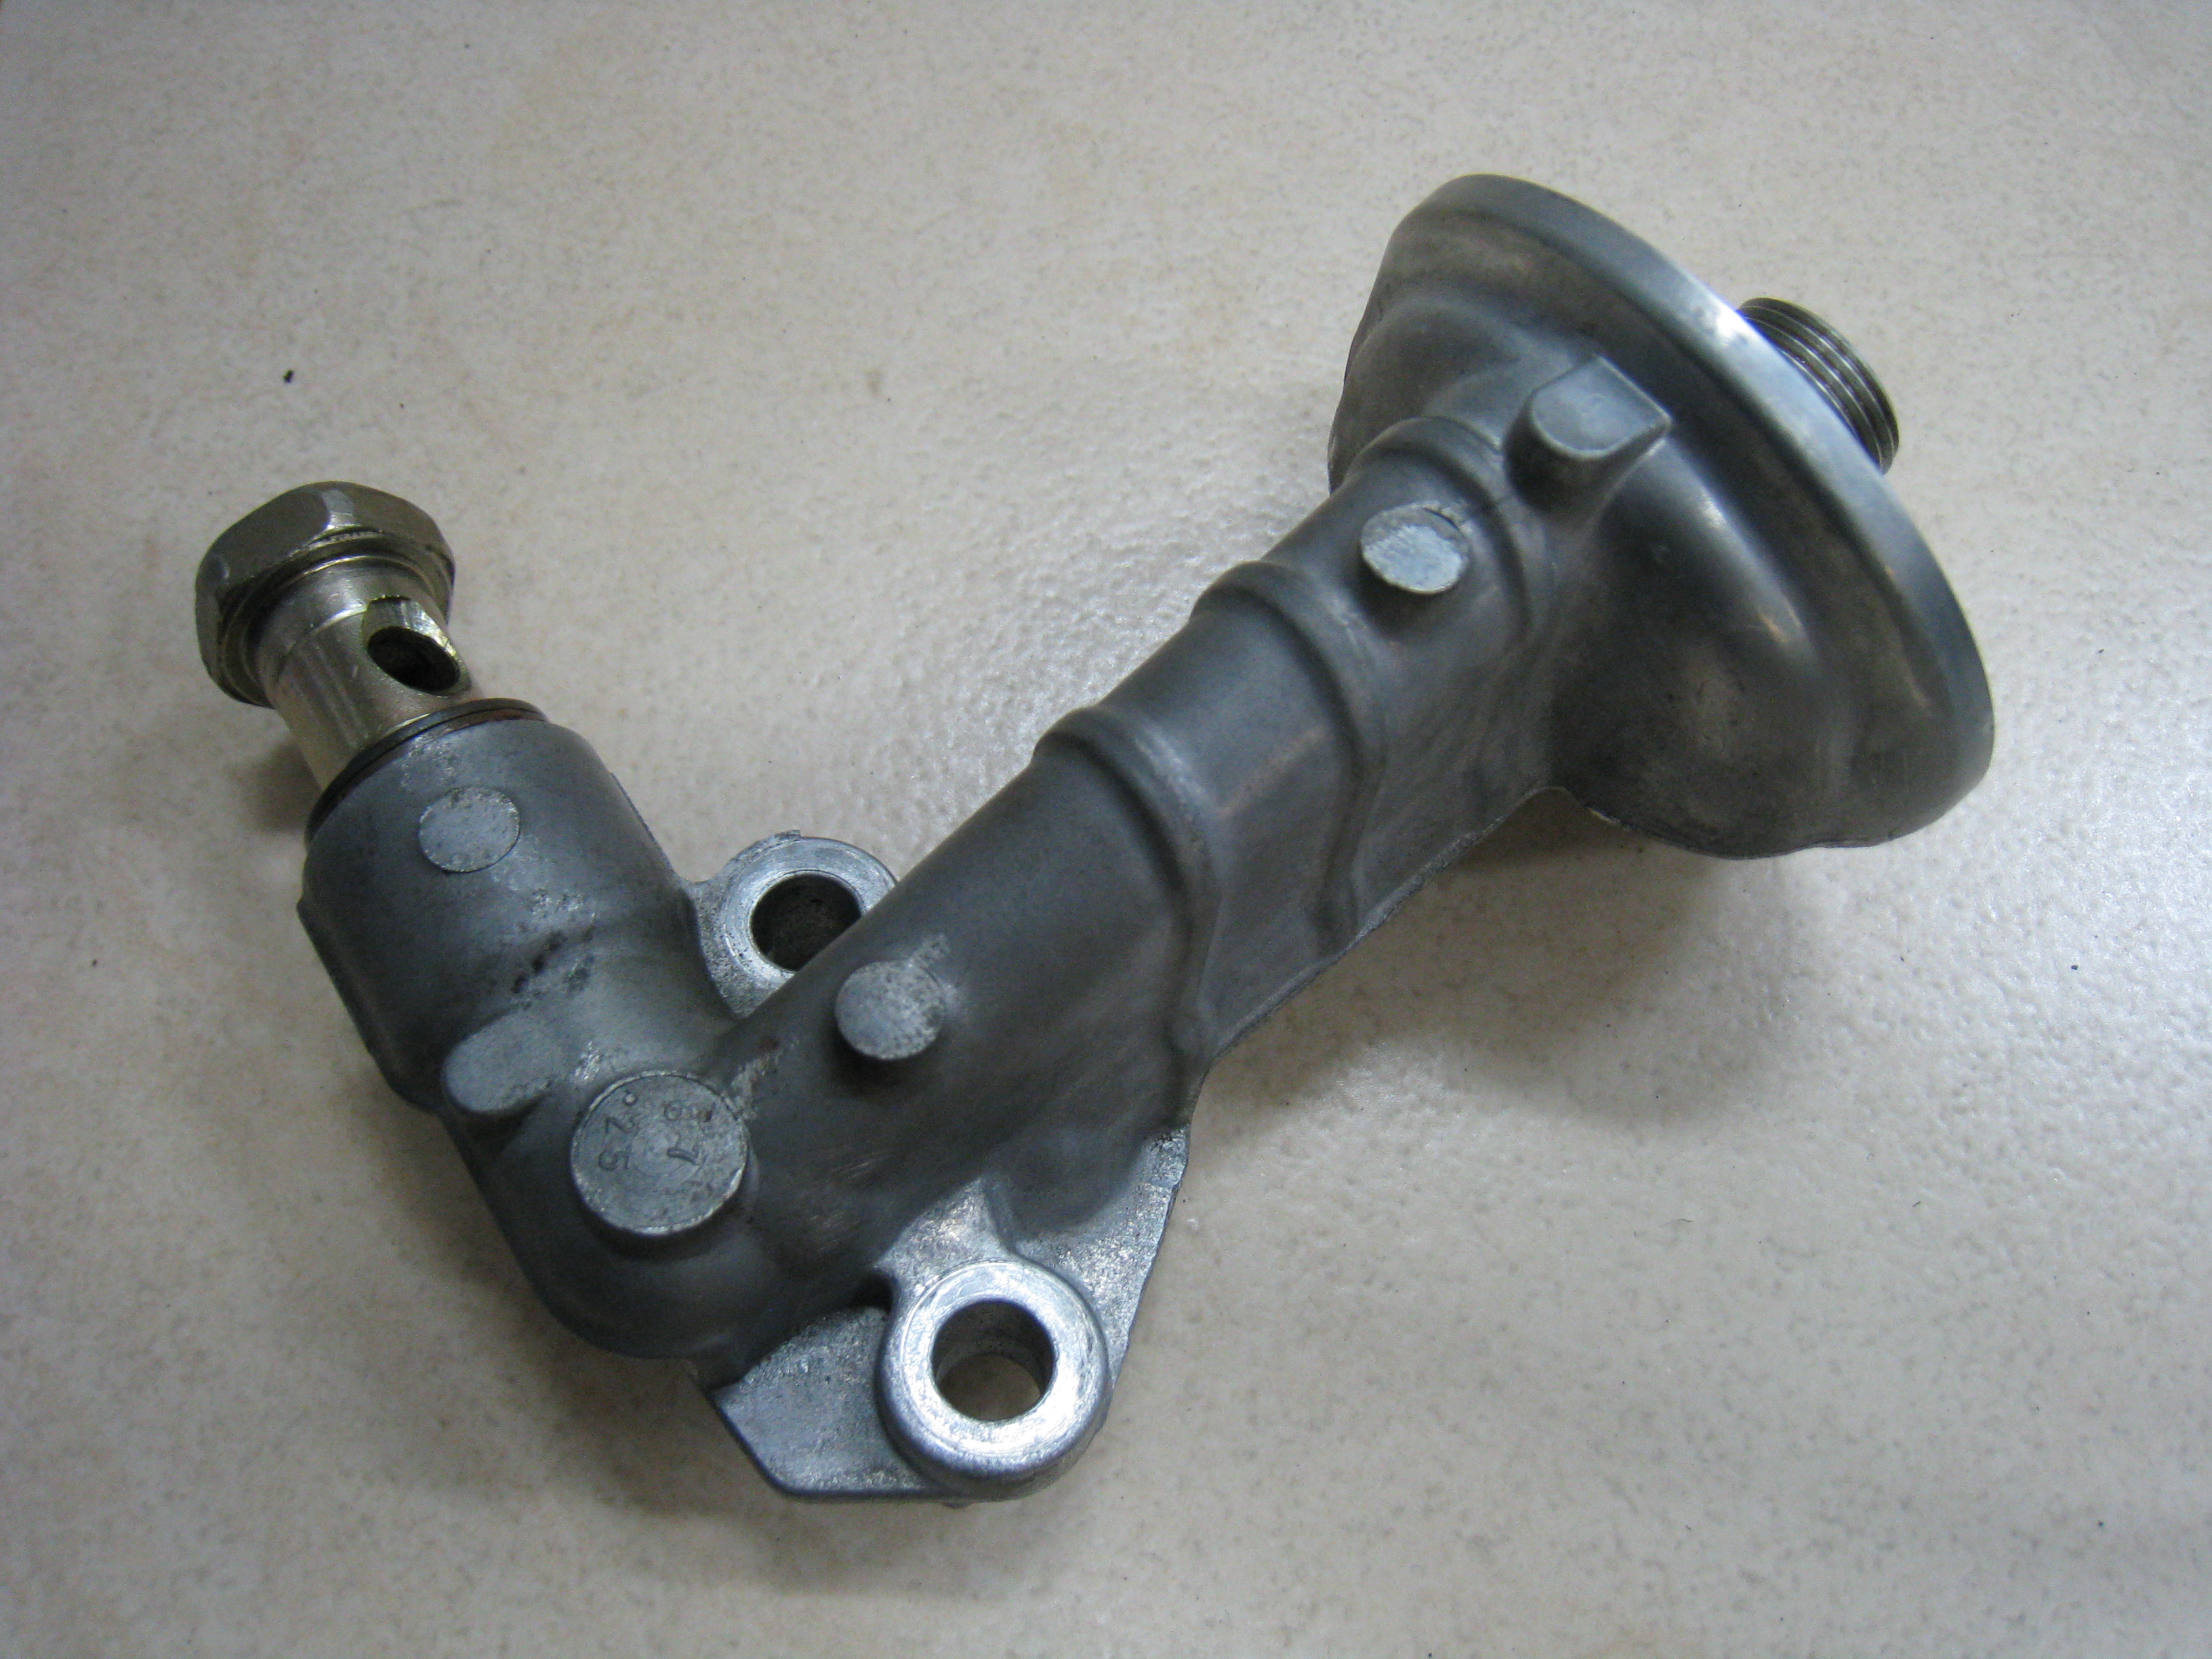
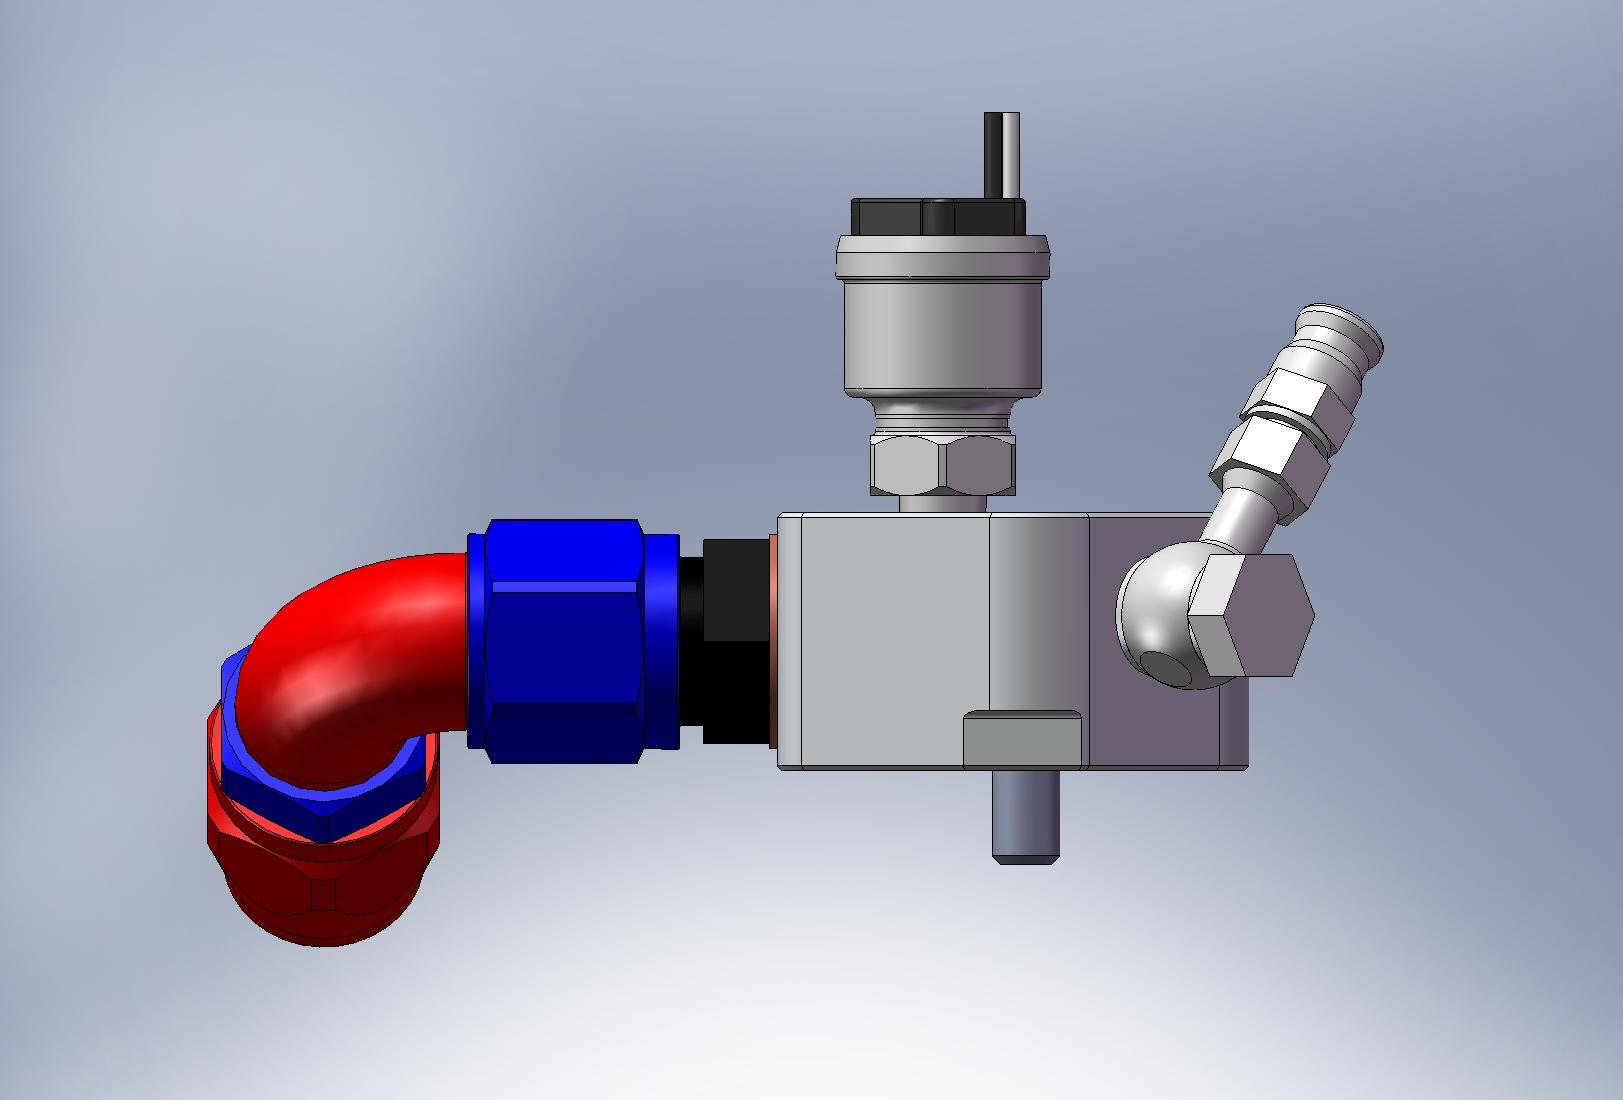
The custom oil filler neck is currently a WIP.
As mentioned previously, I'm also installing the road version of this kit on my RX-8. Prior to doing this I wanted to check the health of the 13B as it is nearing the 100,000km milestone. There's no point sticking 10 psi in it if it's needing some TLC
 . I recently acquired for work the current special service tool that Australian Mazda Dealers are using to measure rotary engine compression. The fact that there are effectively three combustion chambers being ignited per leading and trailing spark plugs means that a traditional compression testing tool will only measure the highest compression number of the three combustion chambers. The tool is basically a pressure sender that has been calibrated to work in a 0 - 200 psi range and works with datalogging software that you just install on any PC/laptop.
Well after 98,200 km the 13B MSP in my RX-8 yielded the following results (the below graph is for the front rotor):
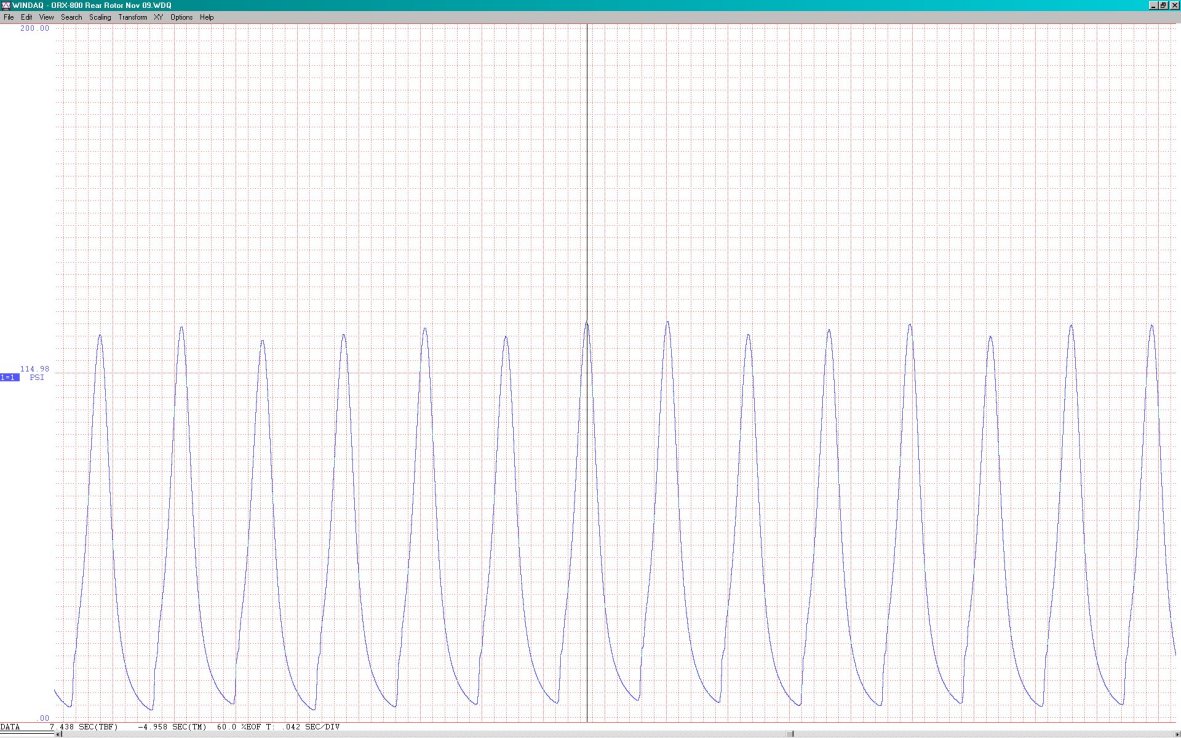
Front Rotor : 110.9 psi, 109.7 psi & 116.7 psi @ a cranking speed of 216 rpm
Rear Rotor : 110.7 psi, 115.0 psi & 114.9 psi @ a cranking speed of 219 rpm
To put this in perspective, Mazda advises that a brand new 13B MSP should have a standard compression reading of 120 psi at a cranking speed of 250 rpm, and the minimum as 98.6 psi also at 250 rpm. Standard difference in chambers should be within 21.8 psi, and the difference between rotors within 14.5 psi. If your cranking speed during the test is close to 250 rpm, you can use the readings as recorded. However, if engine cranking speed deviates significantly from the Mazda criteria, you may want to proceed with normalisation of the recorded readings. Essentially, slower engine cranking RPM during the test will result in readings lower than the Mazda standard. I haven't normalised the data...but all that's going to show is an increase the compression readings!!! :mrgreen: In summary, after almost 100,000km the engine is showing excellent health and will respond favourably to a bit of forced induction.
Cheers,
Danny


ORX-800, I don't know you at all and I don't usually post, but I just wanted to say that it is such a motivation for me to see your project going as it is.
Keep up the good work- it really is a benefit to all motor heads (or shall I say rotary heads).
I usually check my subscribed threads for this thread to be highlighted and am always eager to see what else is being done to your car- such an excitement~!!!
Keep up the good work- it really is a benefit to all motor heads (or shall I say rotary heads).
I usually check my subscribed threads for this thread to be highlighted and am always eager to see what else is being done to your car- such an excitement~!!!
Thread Starter
Registered
Joined: Mar 2007
Posts: 212
Likes: 0
From: Brisbane
ORX-800, I don't know you at all and I don't usually post, but I just wanted to say that it is such a motivation for me to see your project going as it is.
Keep up the good work- it really is a benefit to all motor heads (or shall I say rotary heads).
I usually check my subscribed threads for this thread to be highlighted and am always eager to see what else is being done to your car- such an excitement~!!!
Keep up the good work- it really is a benefit to all motor heads (or shall I say rotary heads).
I usually check my subscribed threads for this thread to be highlighted and am always eager to see what else is being done to your car- such an excitement~!!!
Trustbuddy, you've hit the nail on the head...I really enjoy doing projects such as this and if it helps anyone else in anyway, whether it be motivation or for ideas, I get a bit warm and fuzzy....like when I read your post!

Cheers,
Danny
Thread Starter
Registered
Joined: Mar 2007
Posts: 212
Likes: 0
From: Brisbane
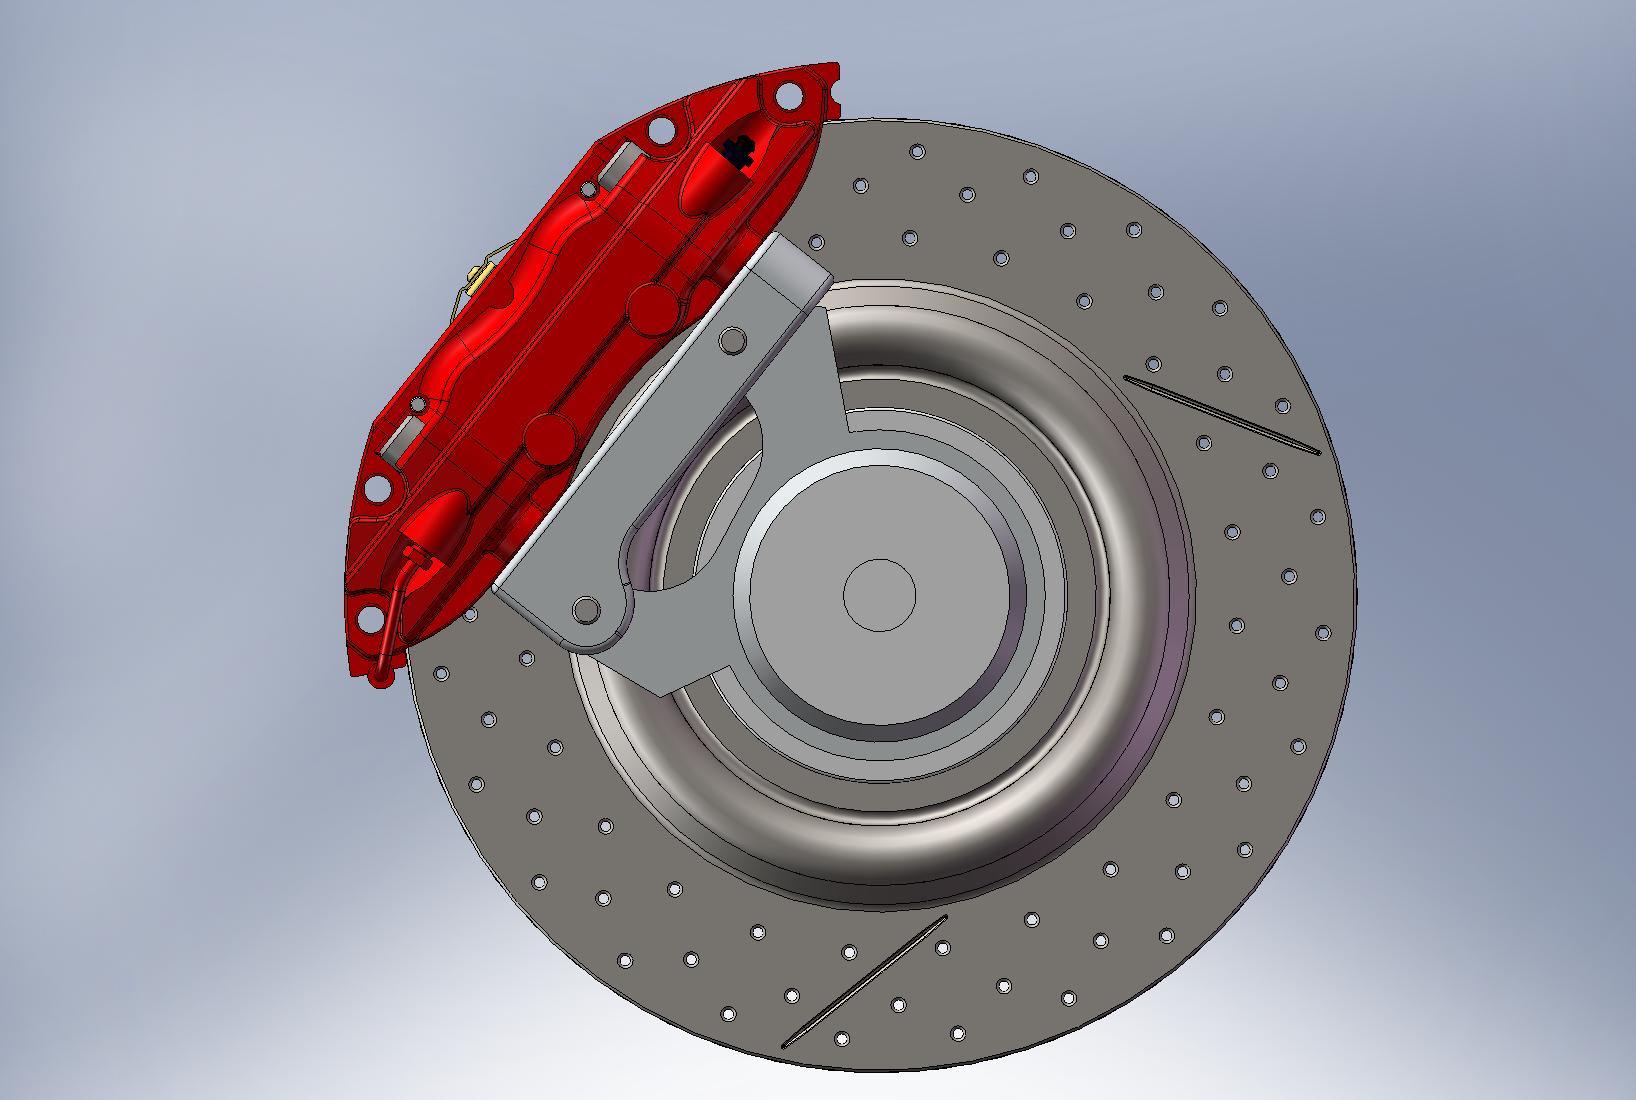
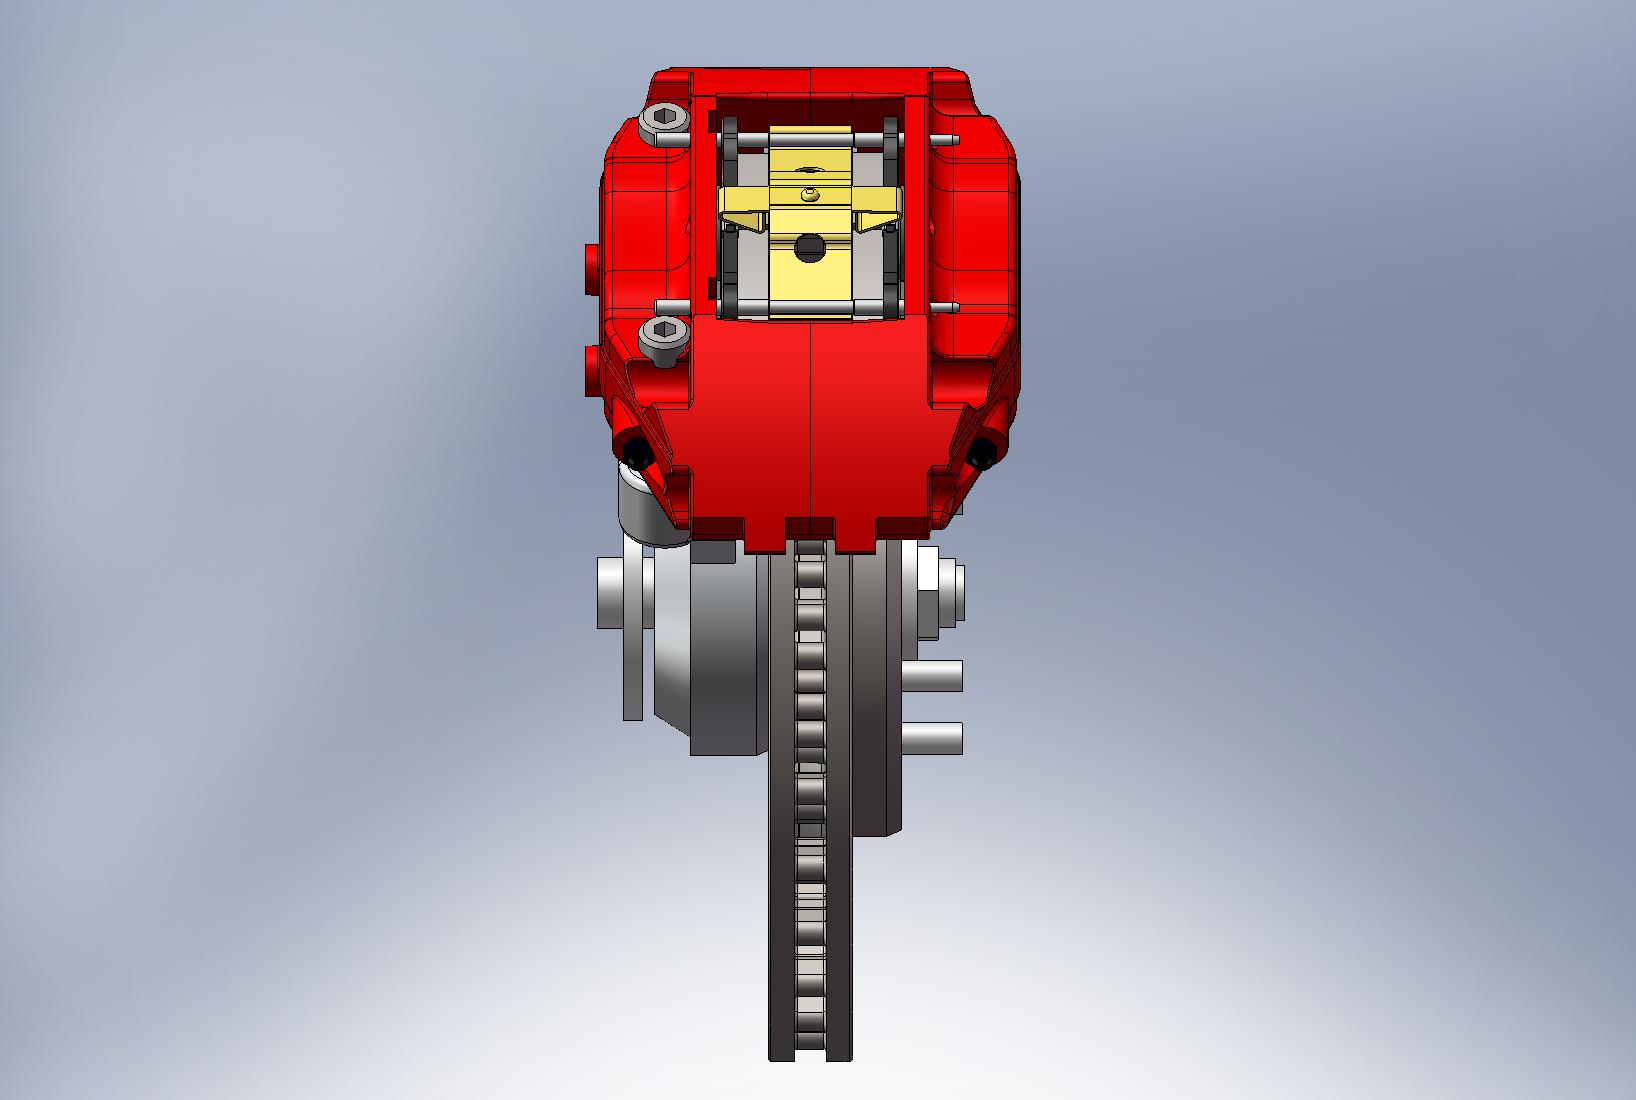
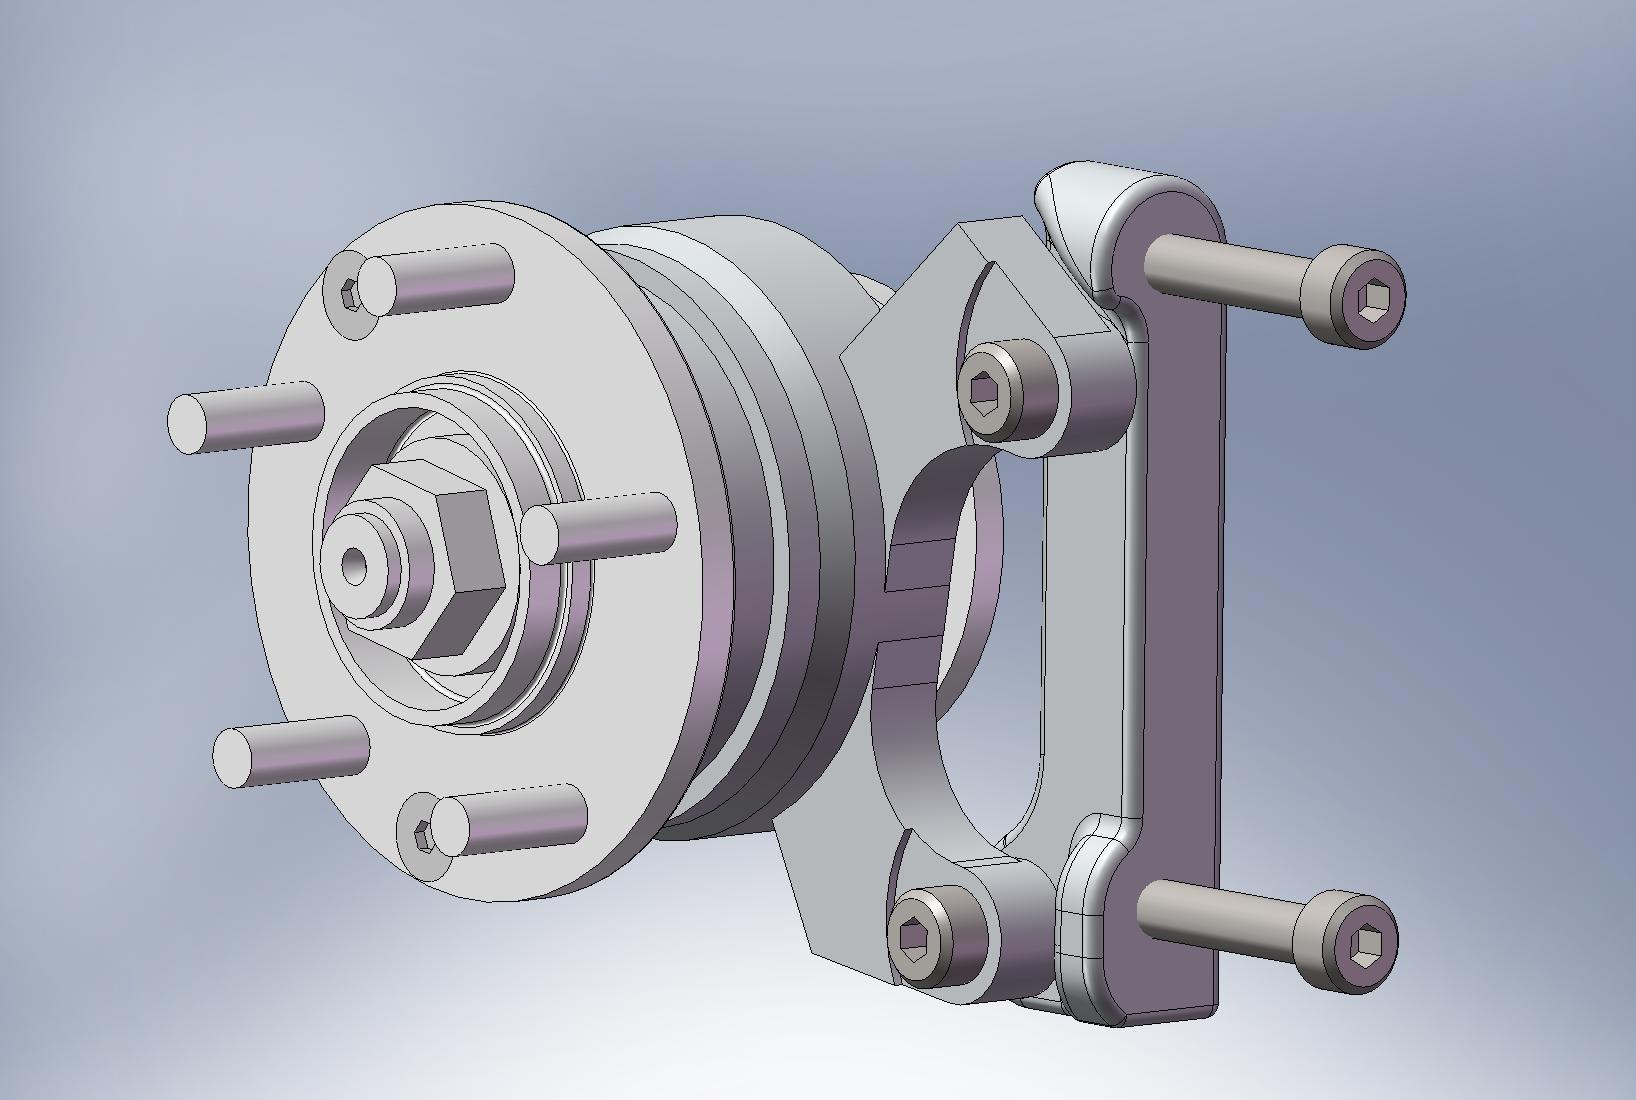
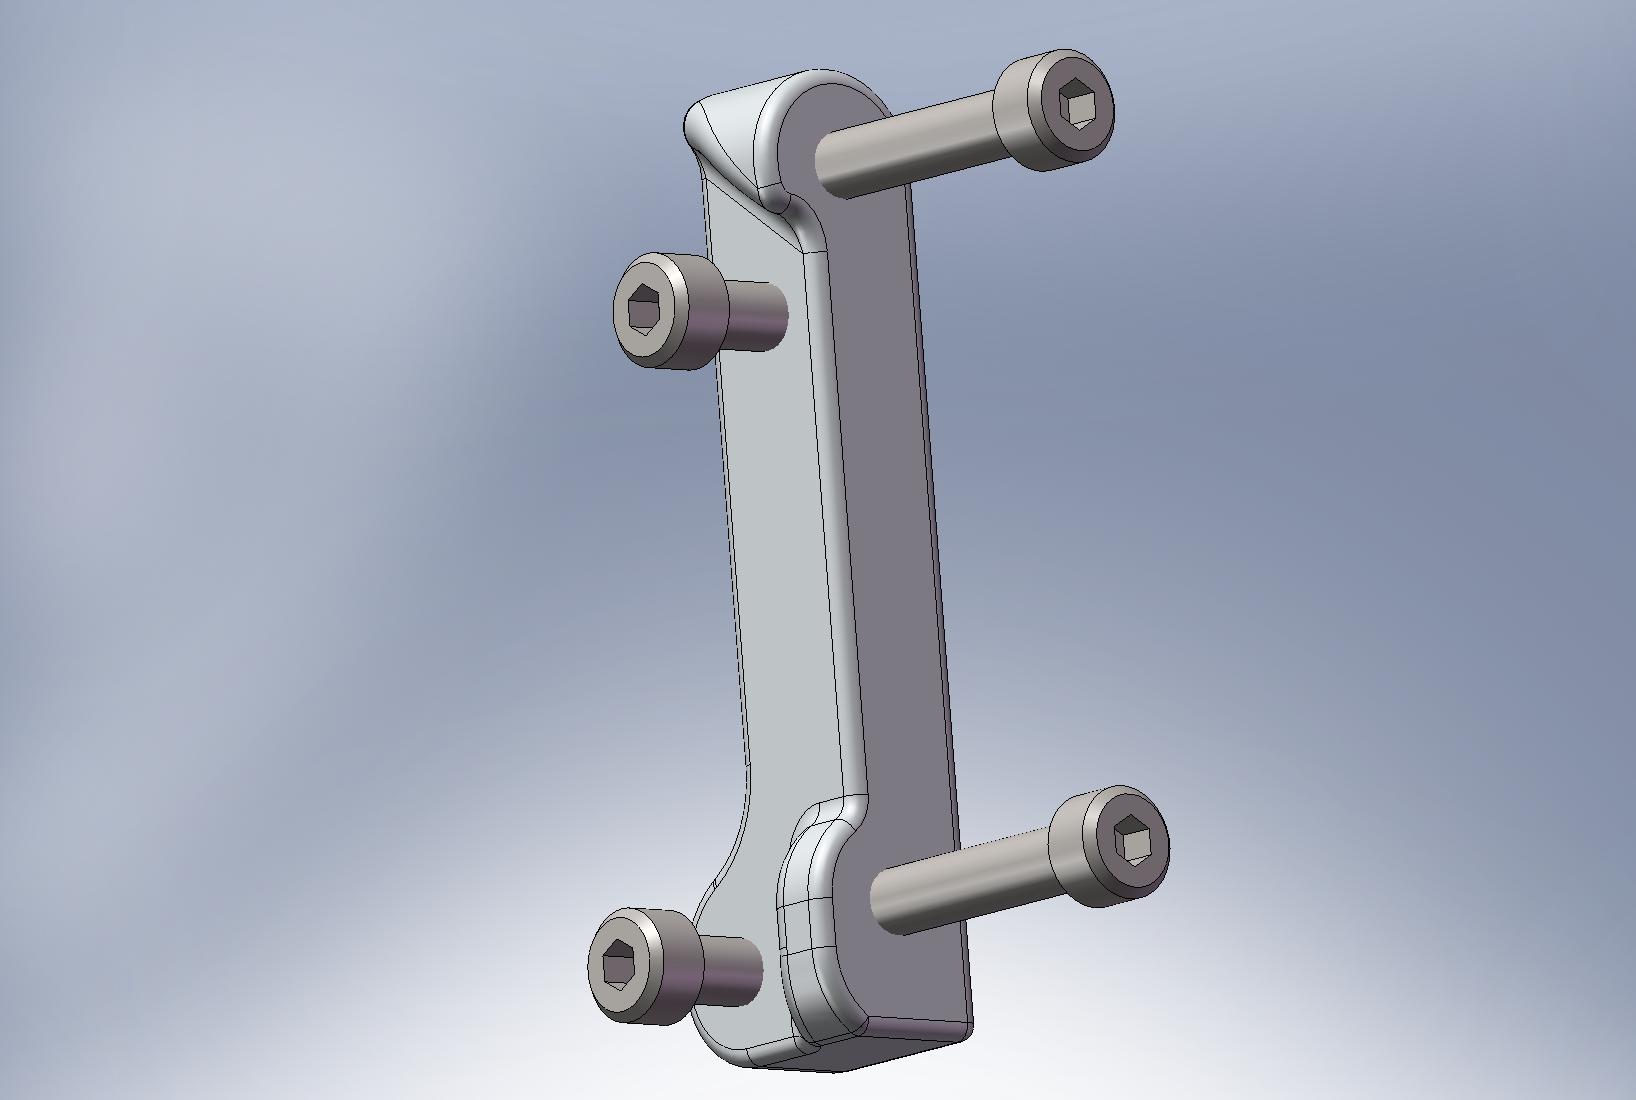
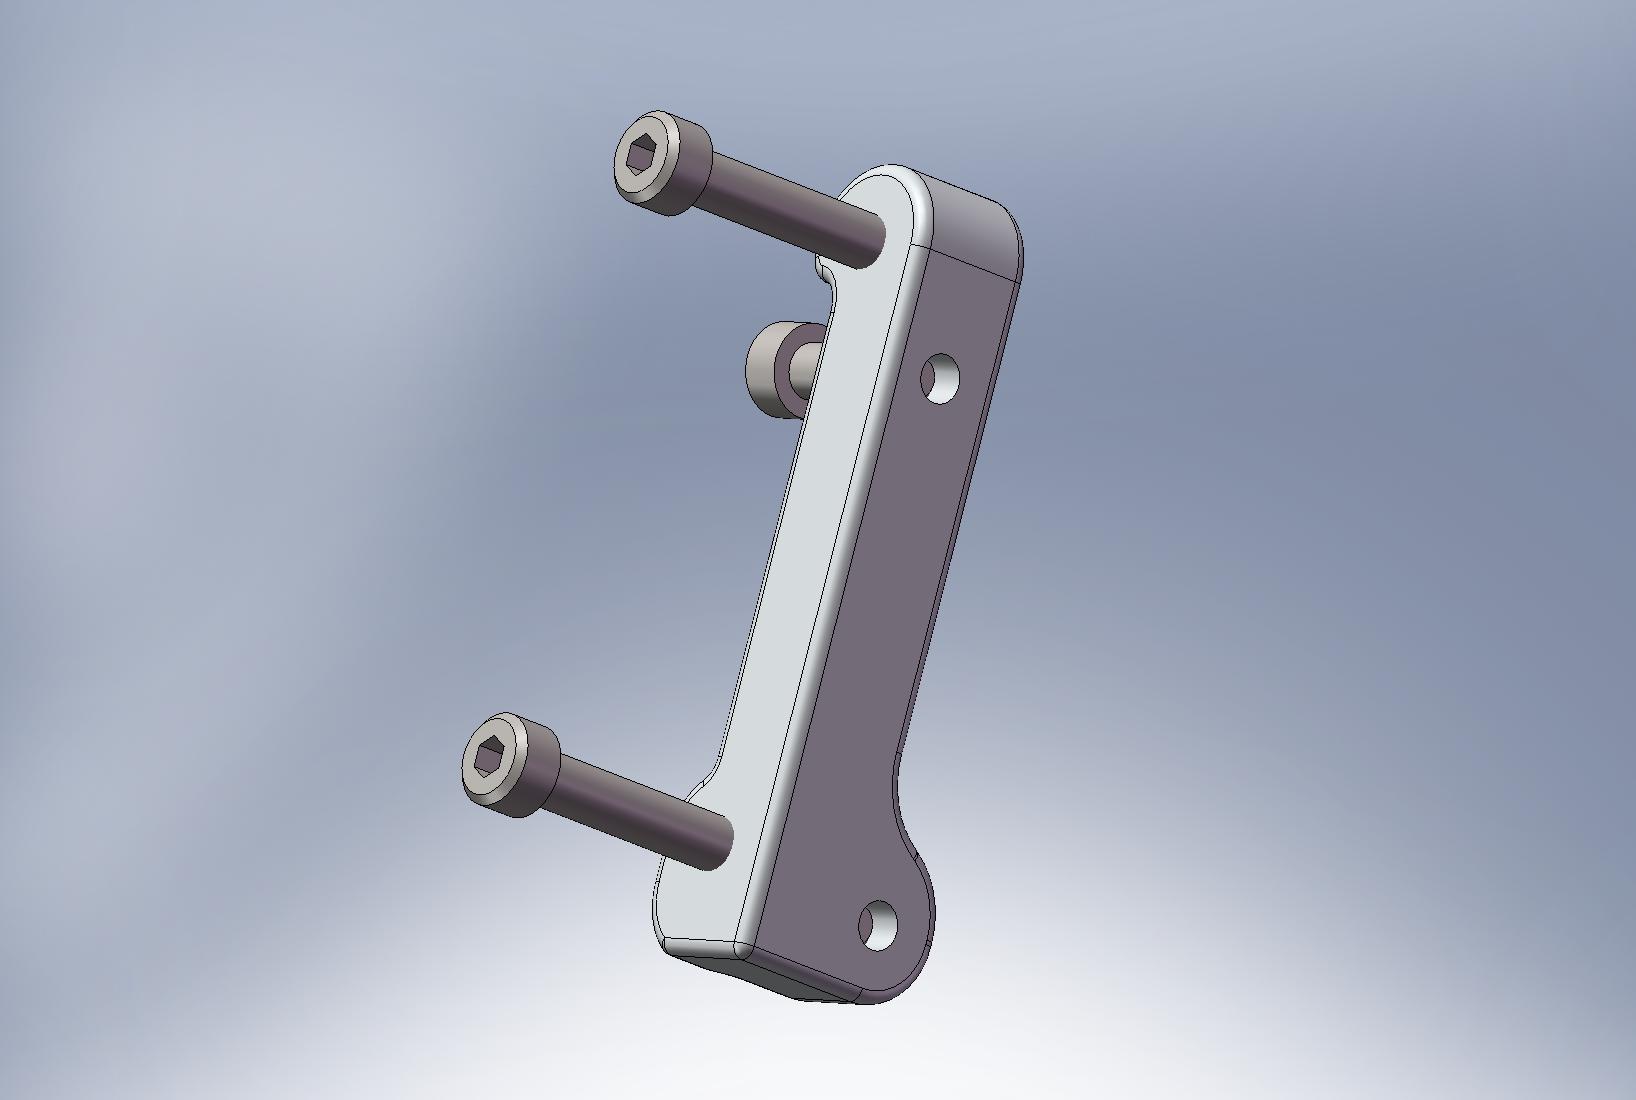
I have been chipping away at a few of the jobs over the past week. Firstly, a new oil filler neck came together and then today I got a design for the rear caliper brackets sorted.
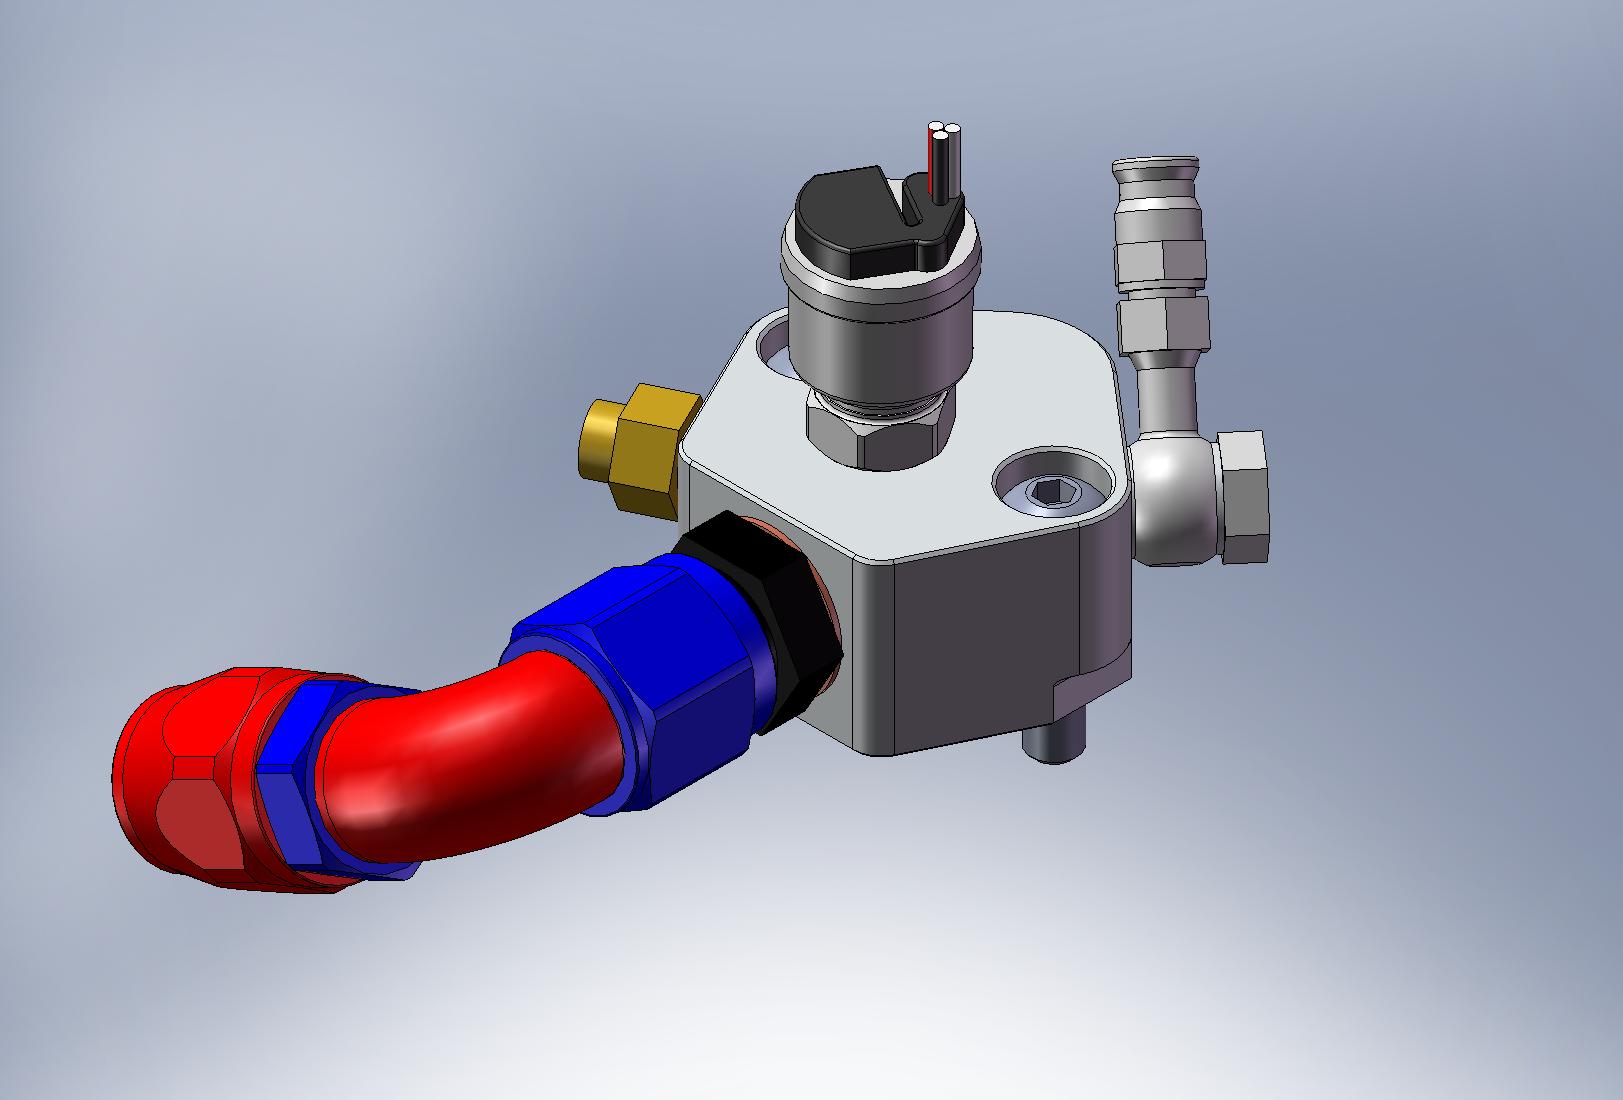
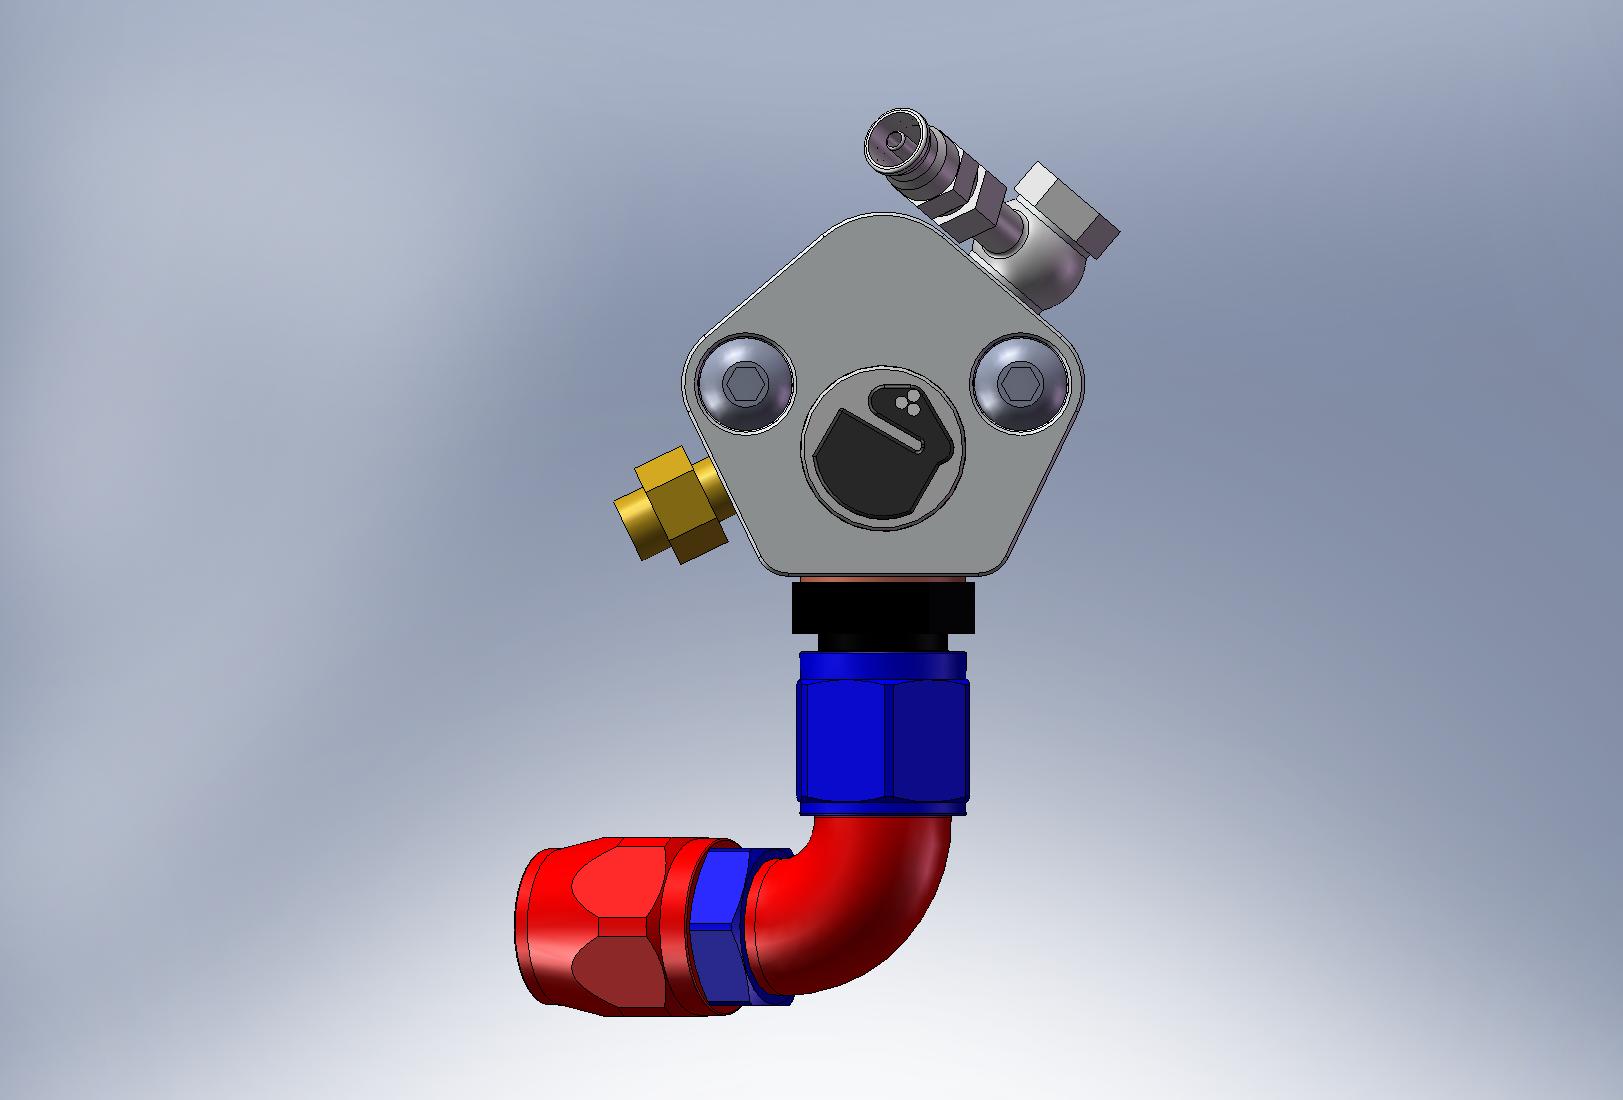
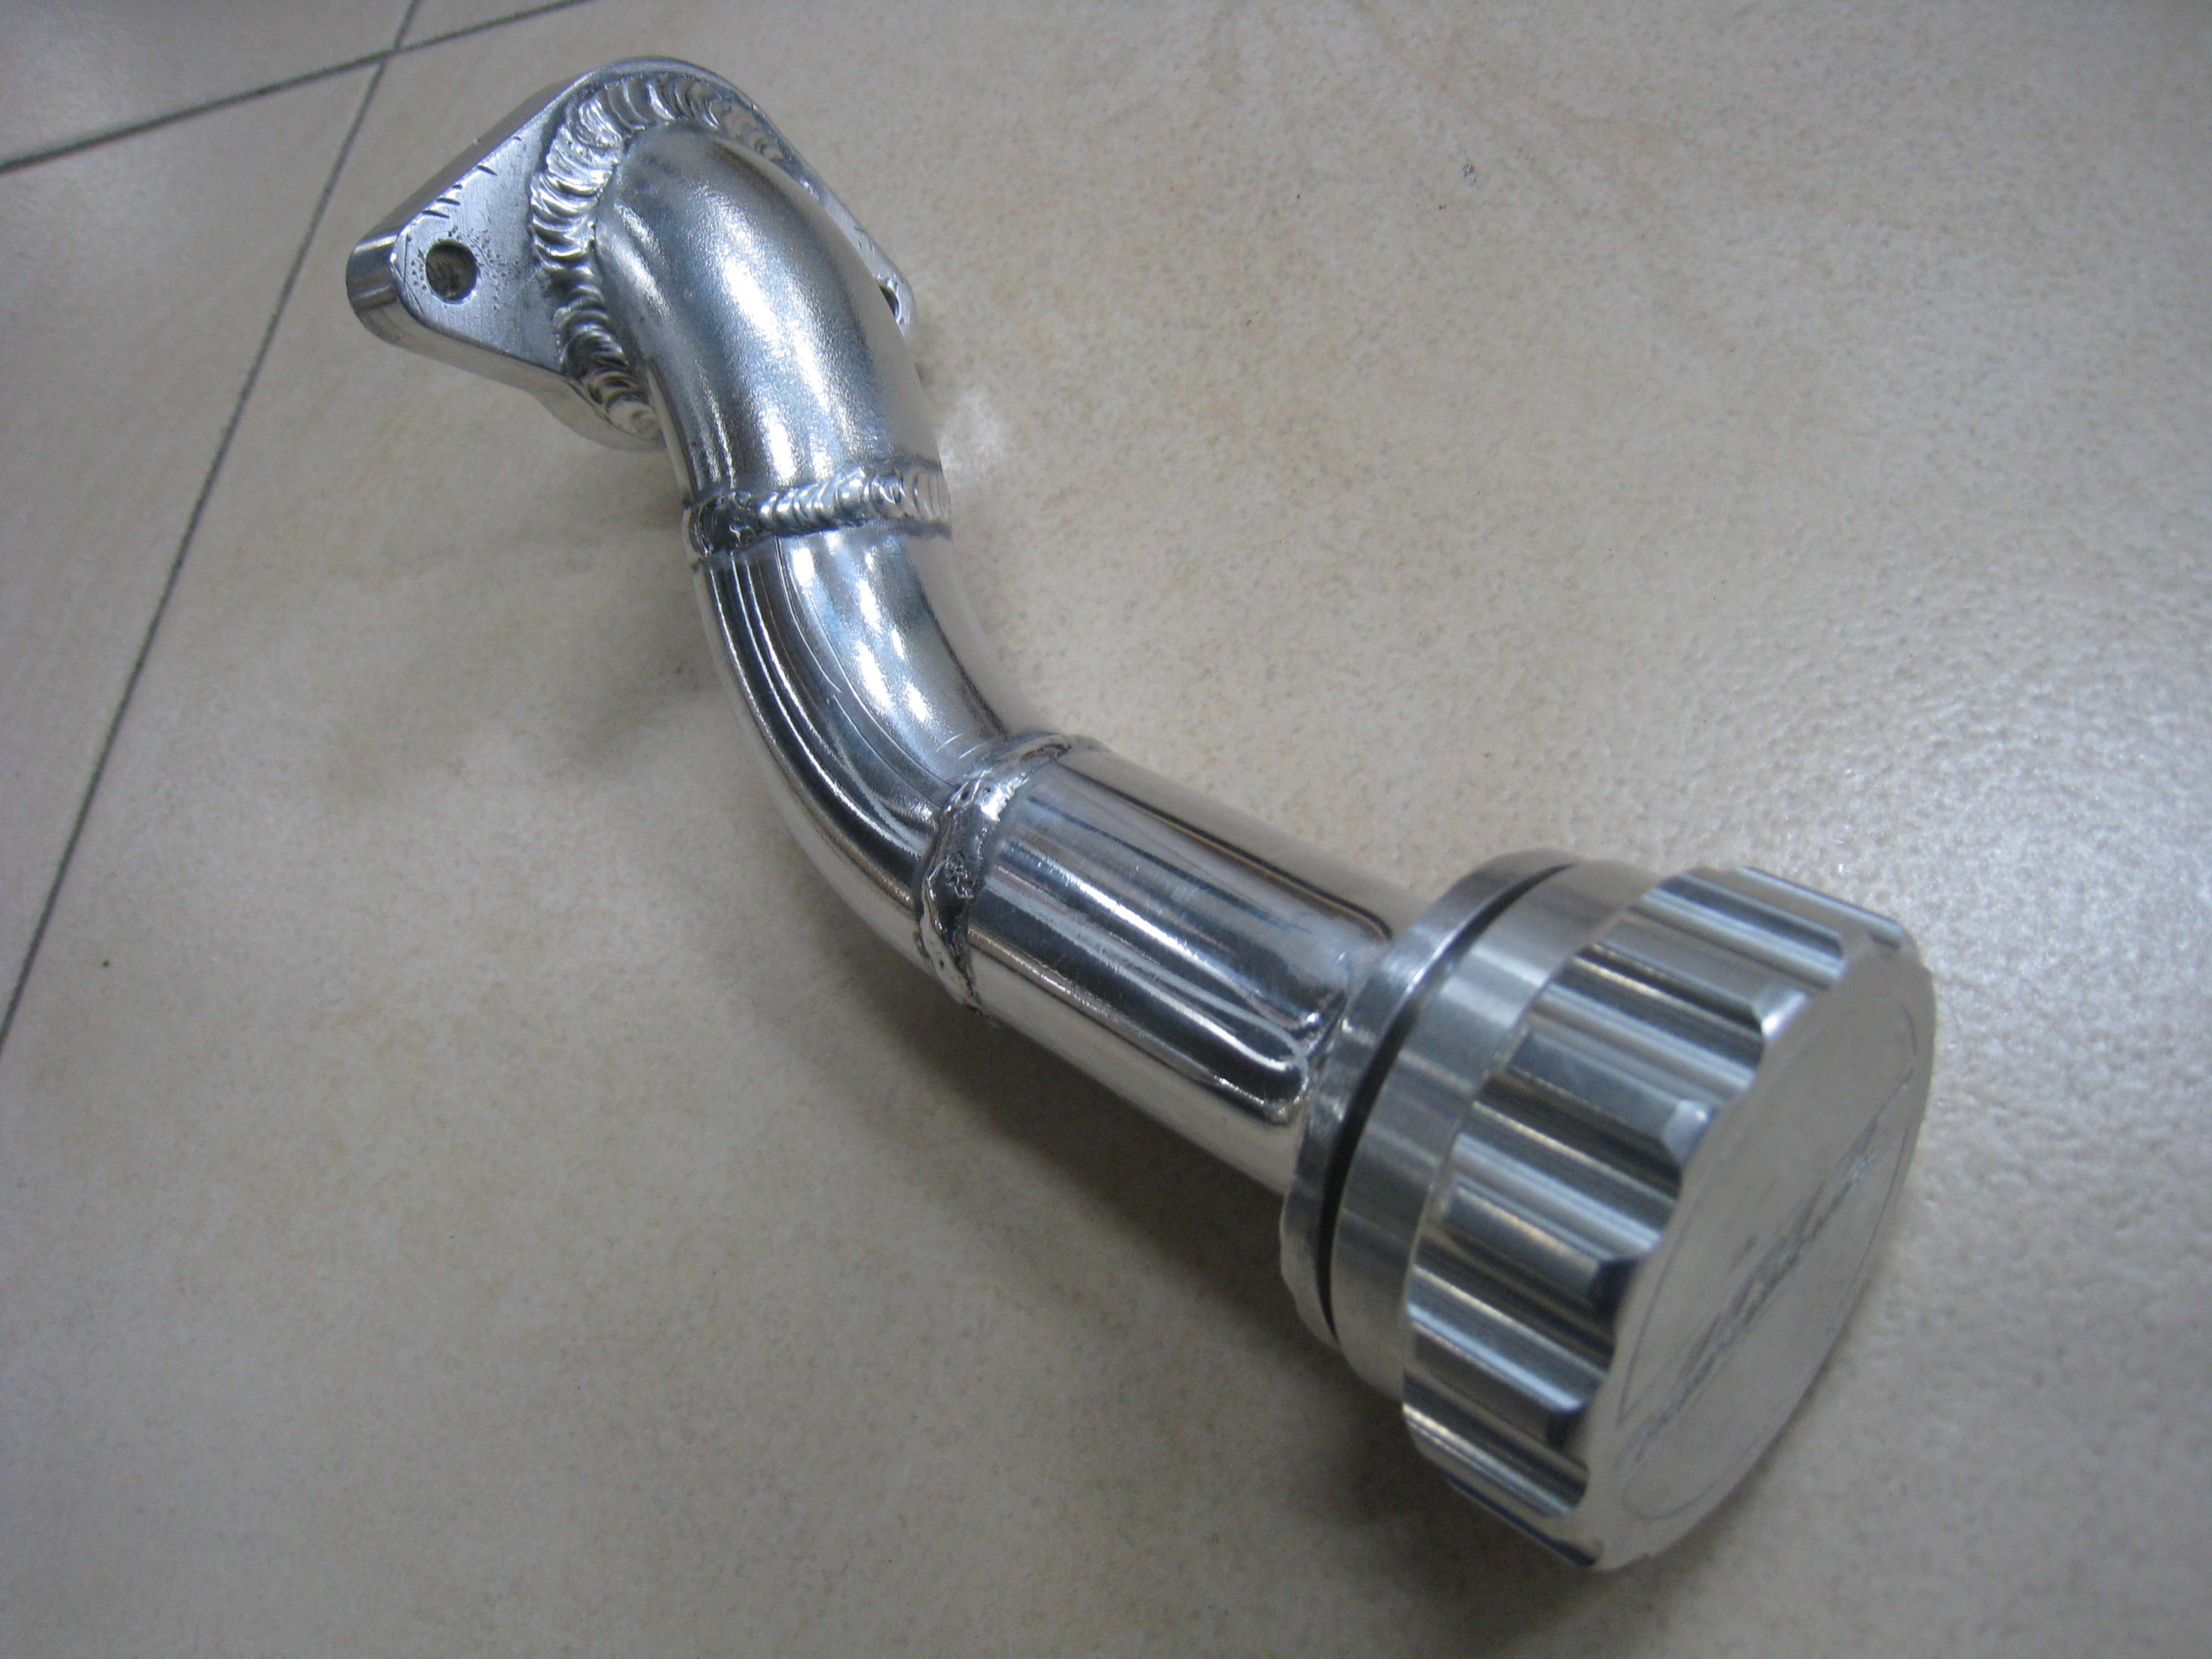
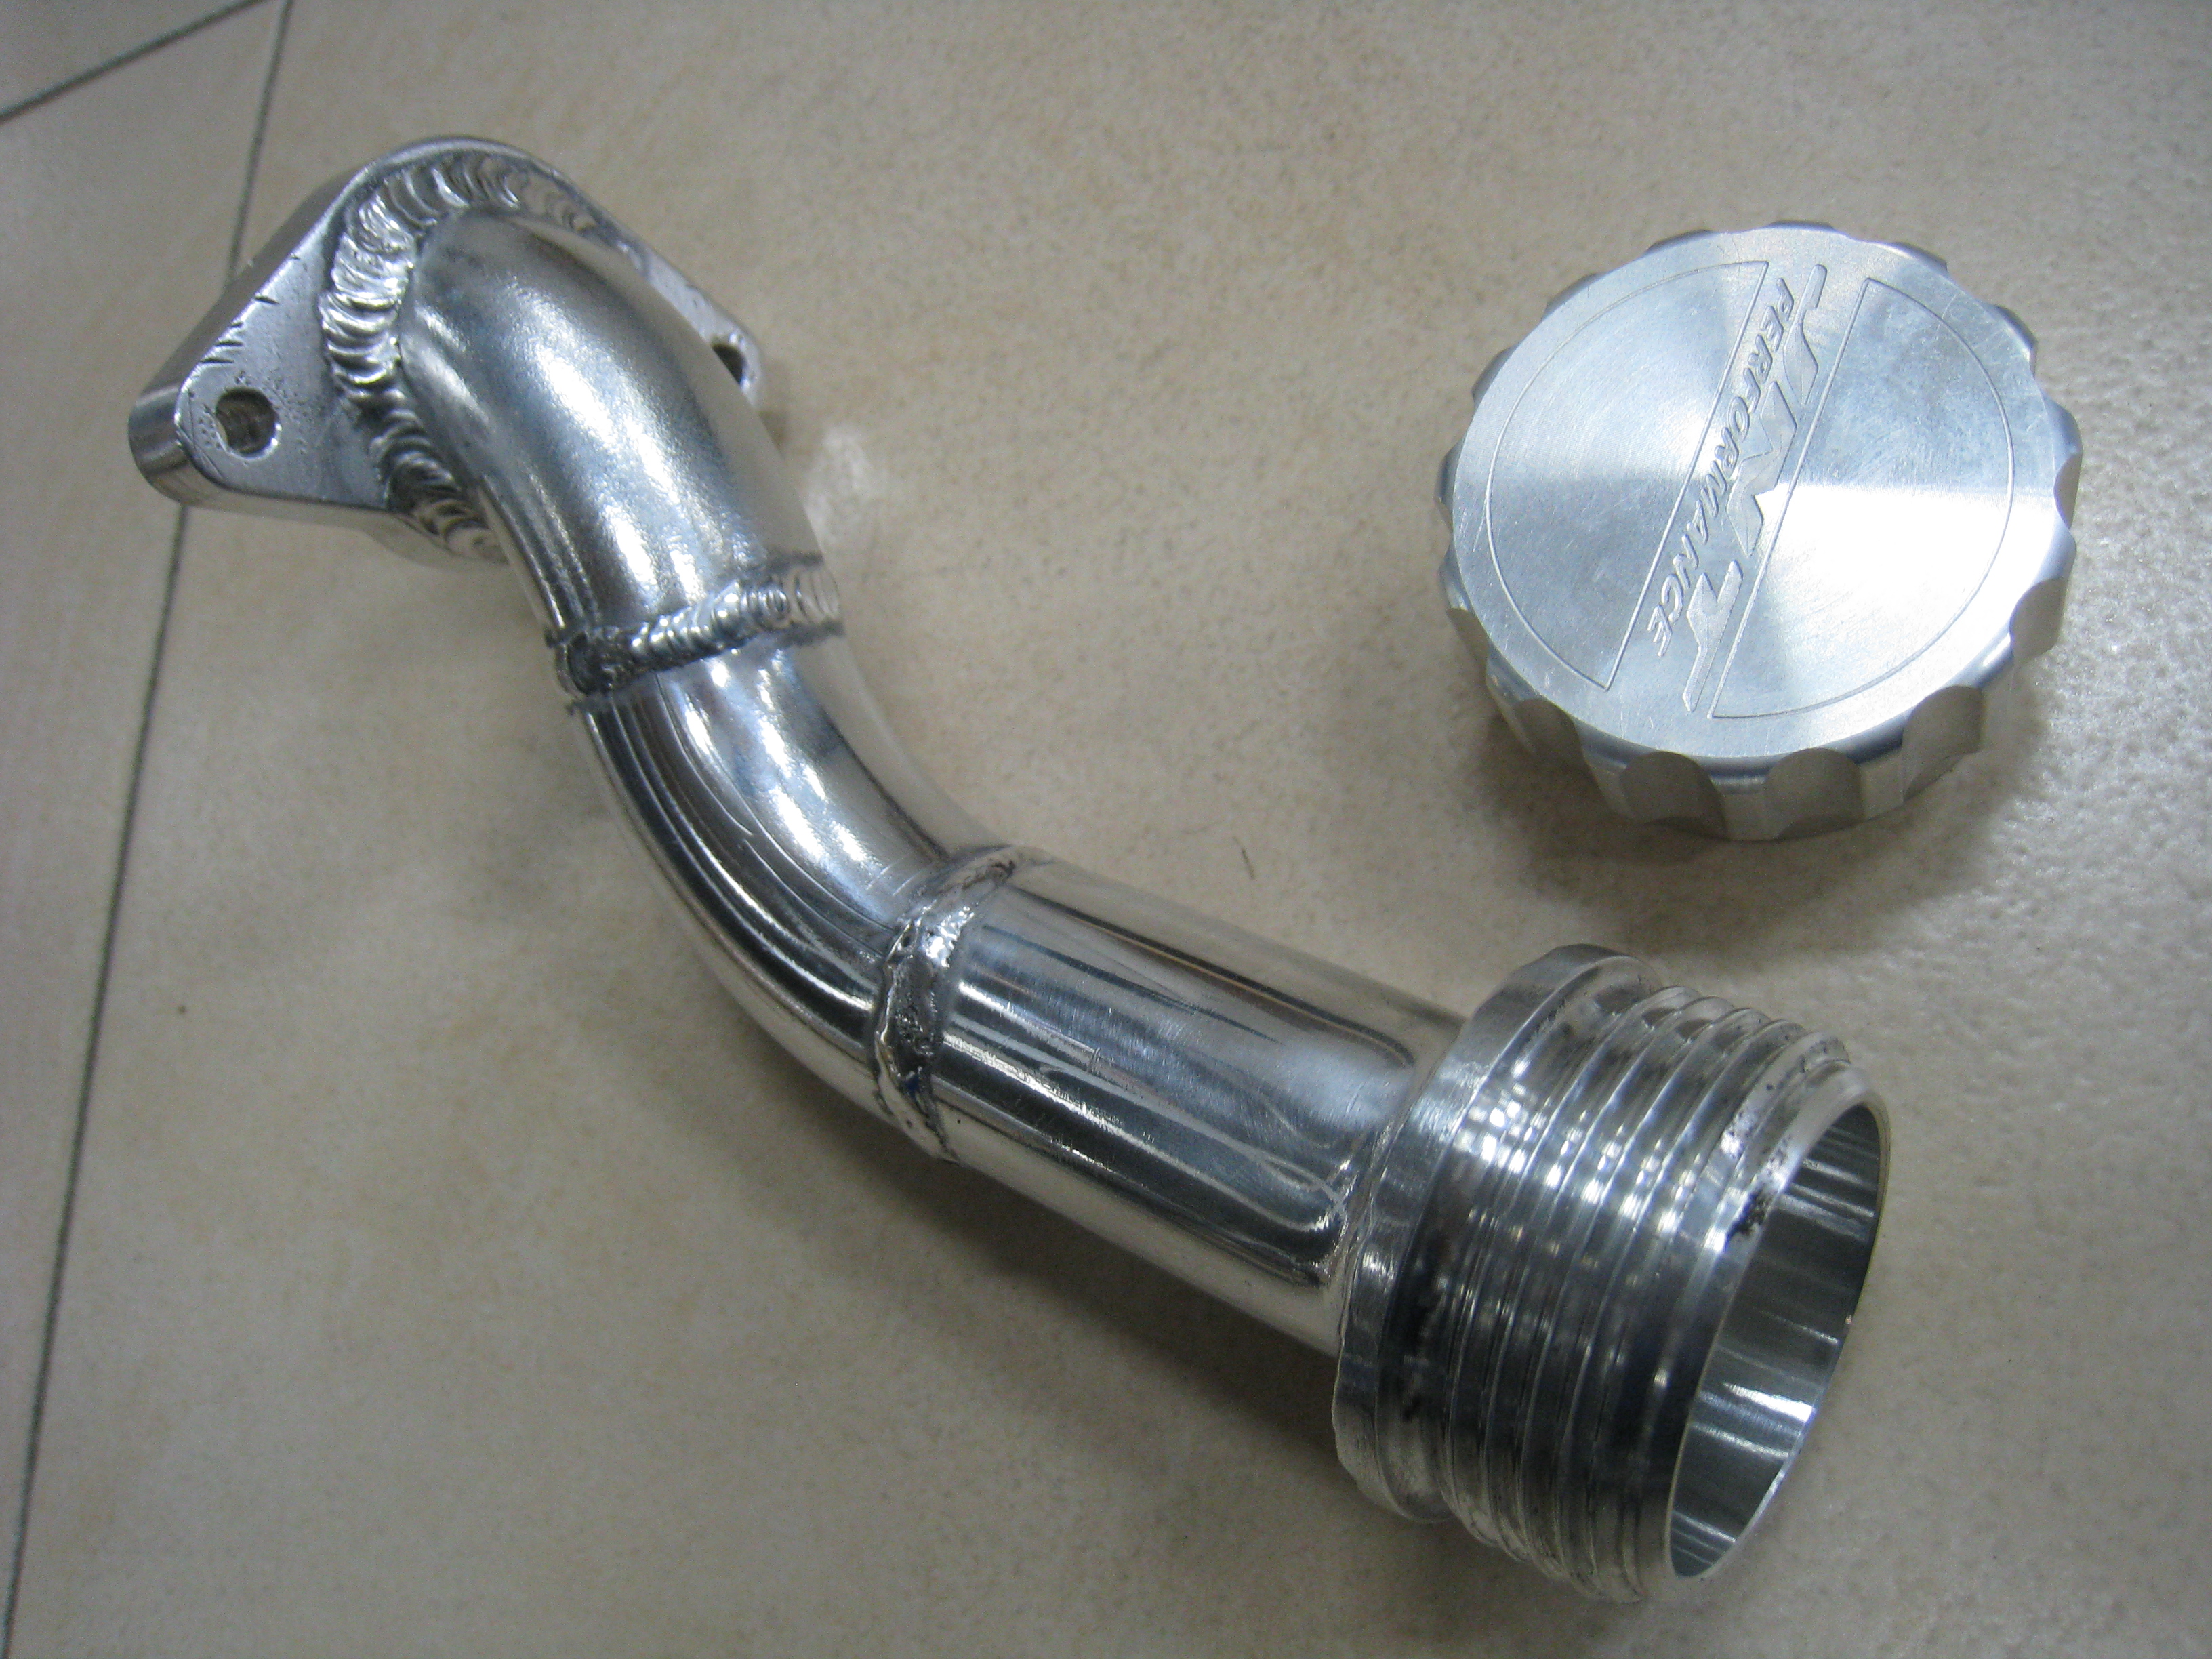
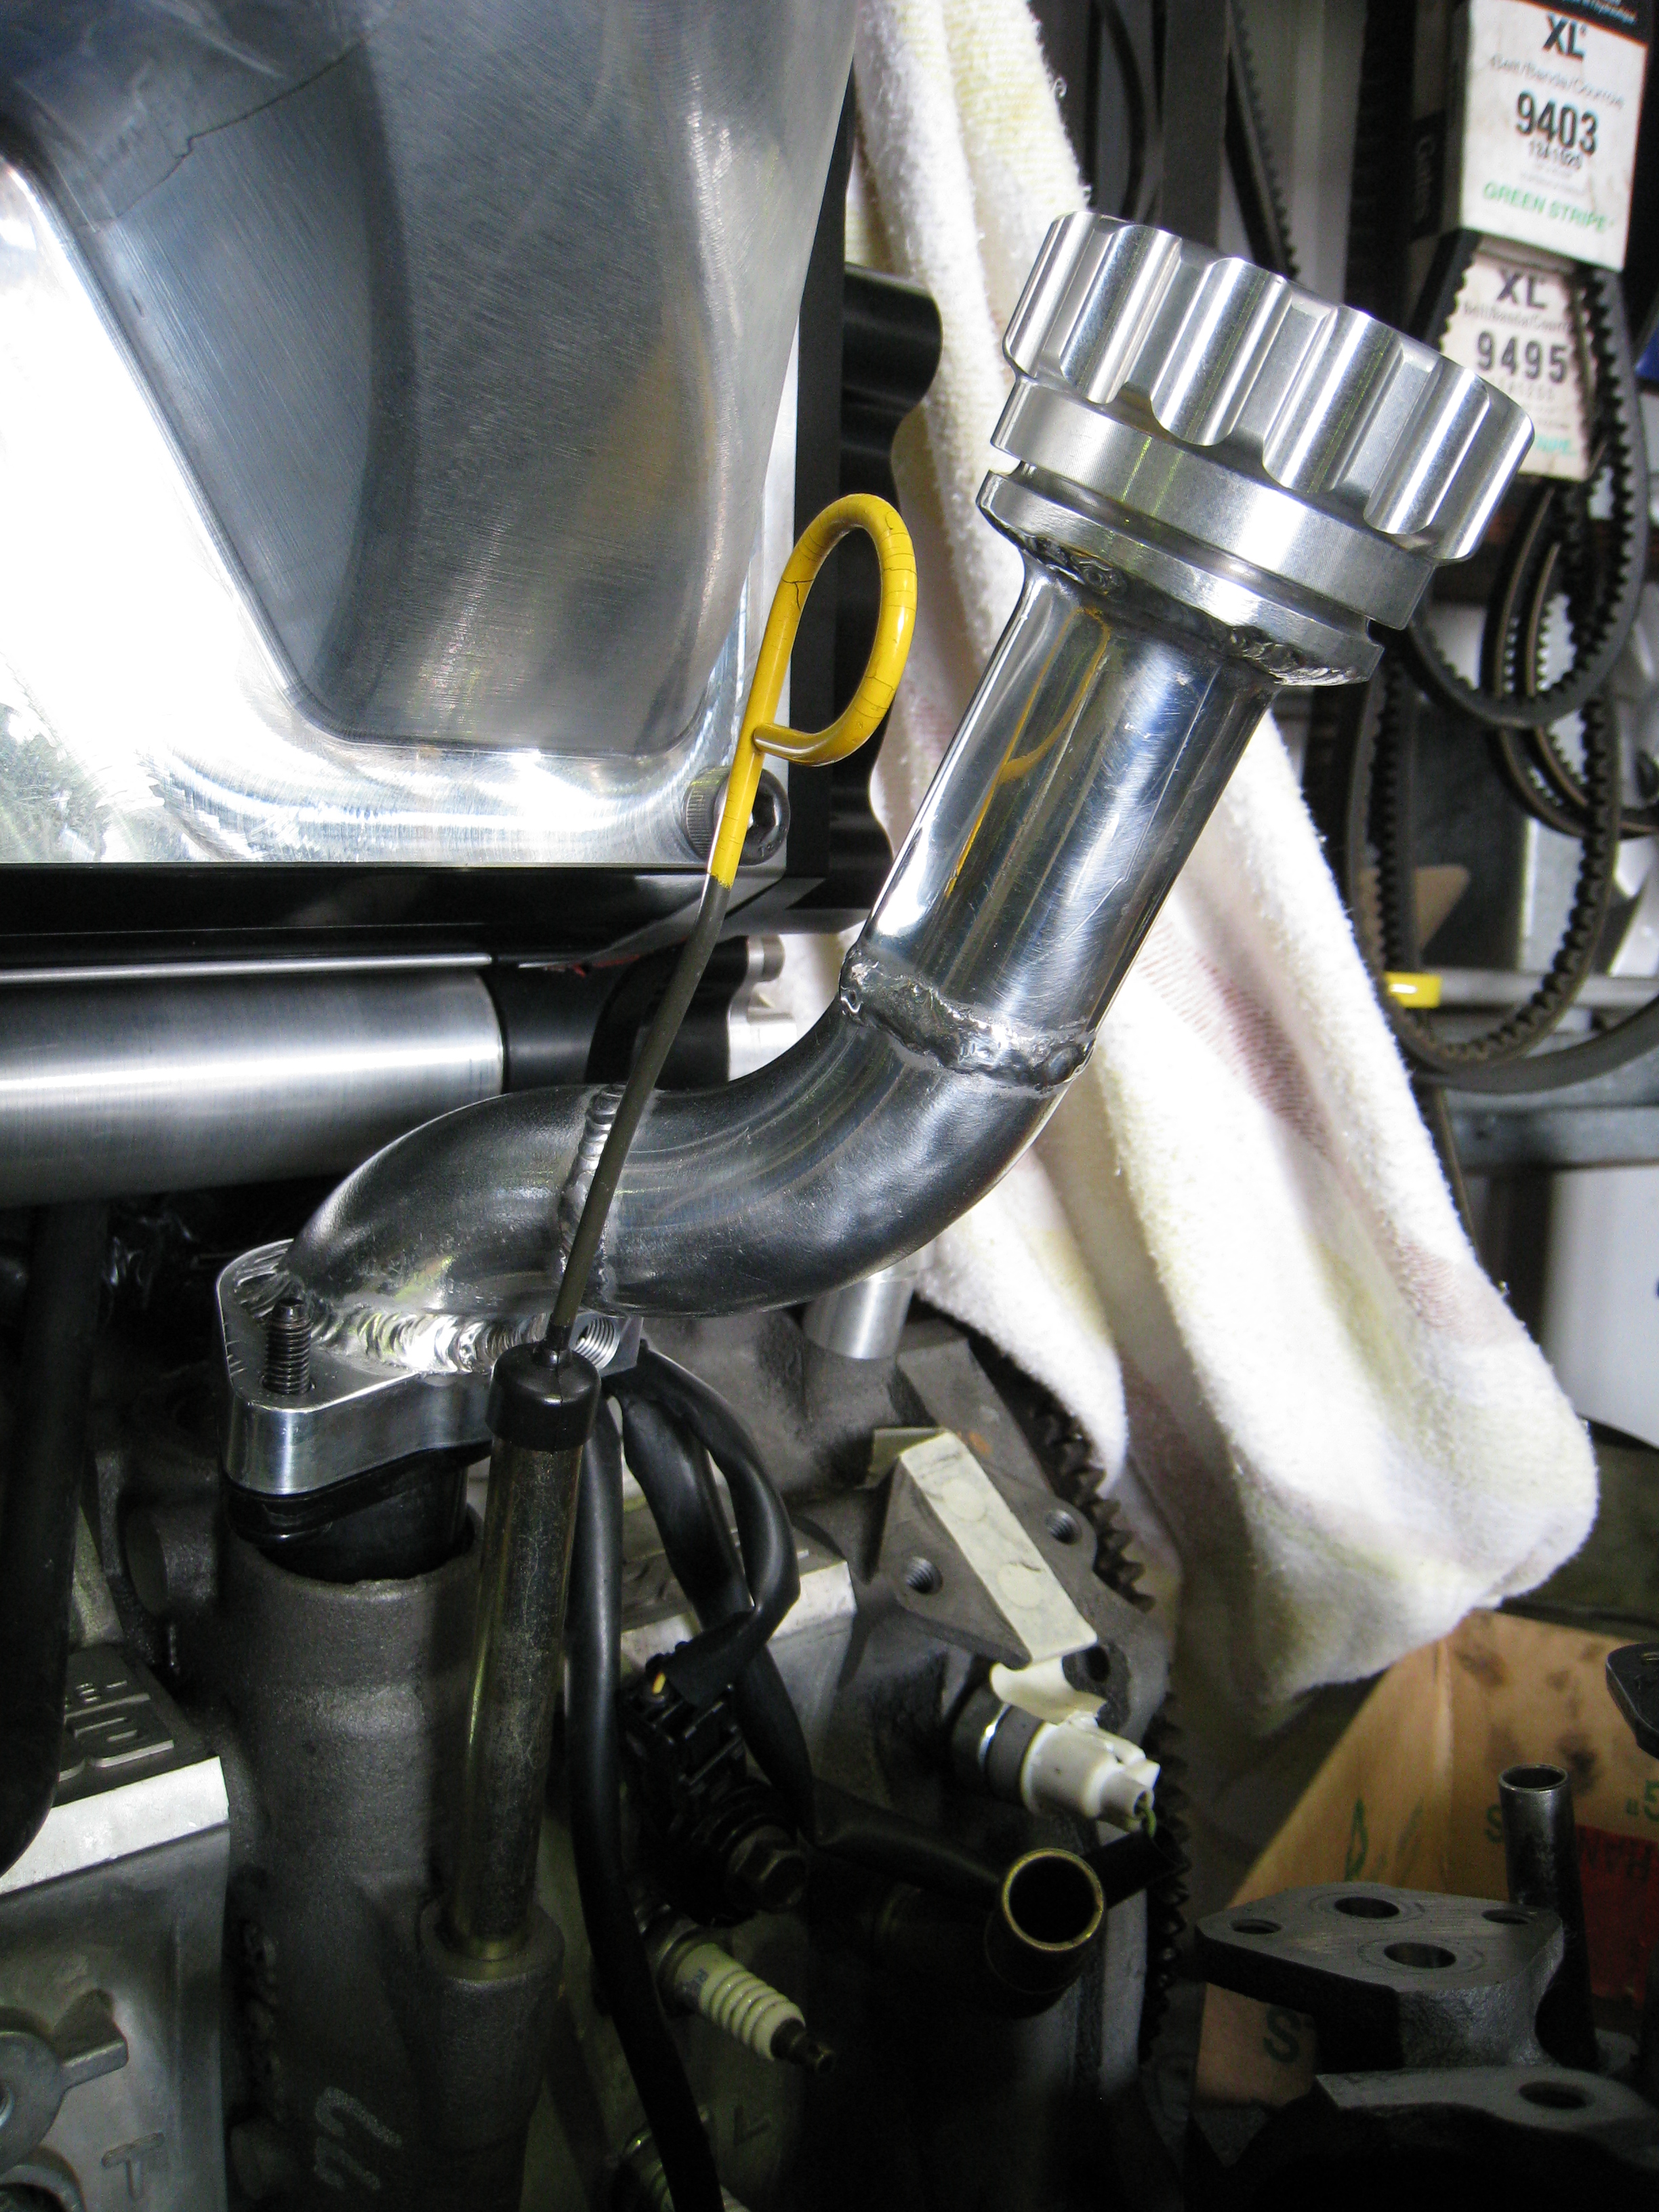
A custom oil filler neck is necessary with the supercharger as the standard one is in the way. In addition to this, its a simple option to have the oil from the supercharger return to the sump at this point. Here's the solid model.....
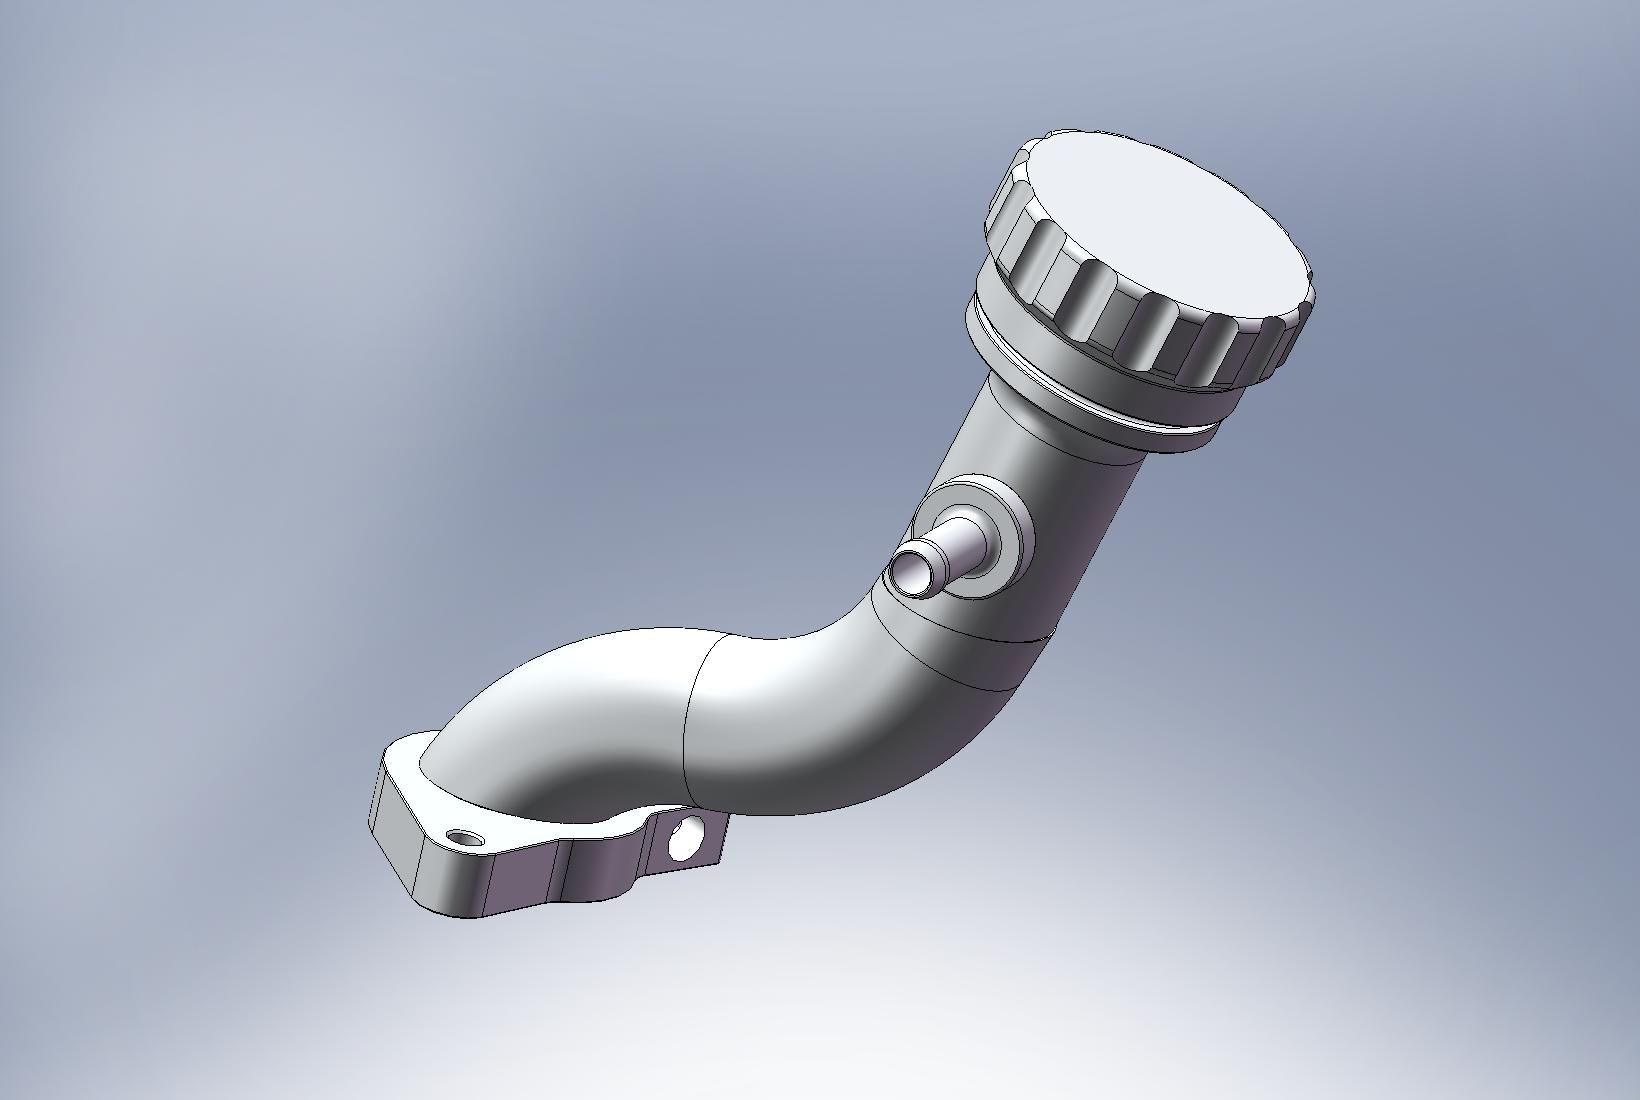
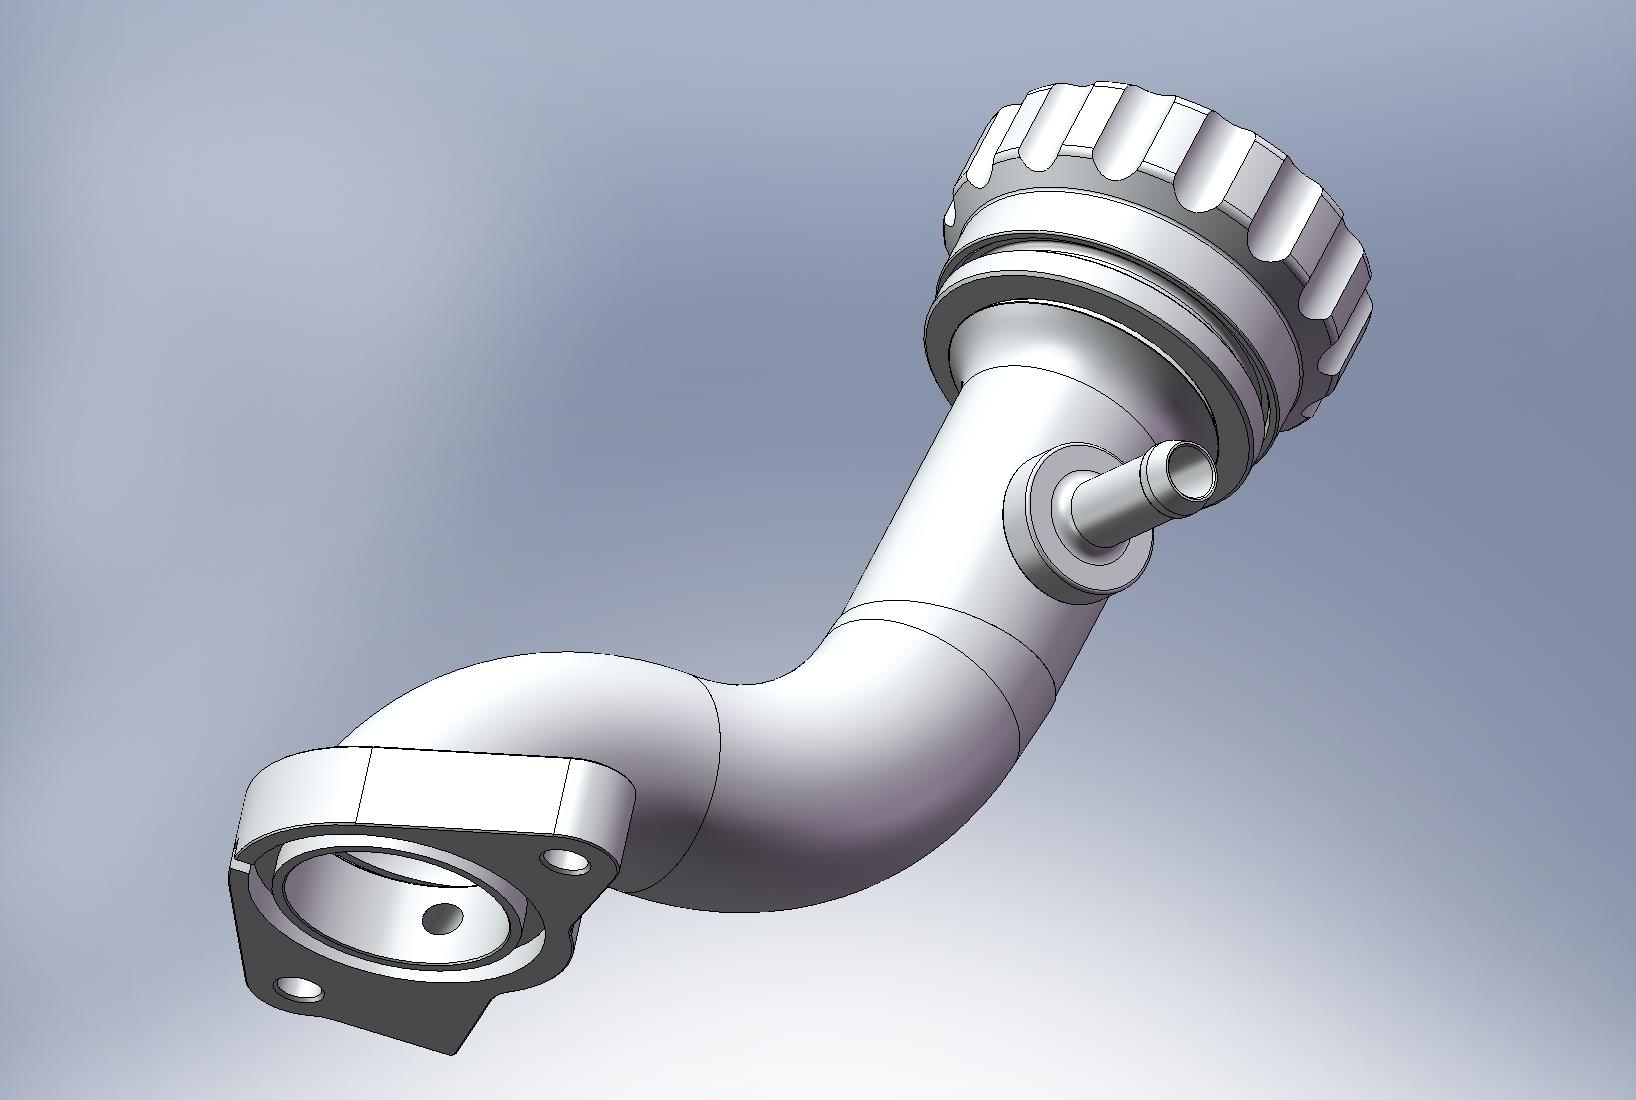
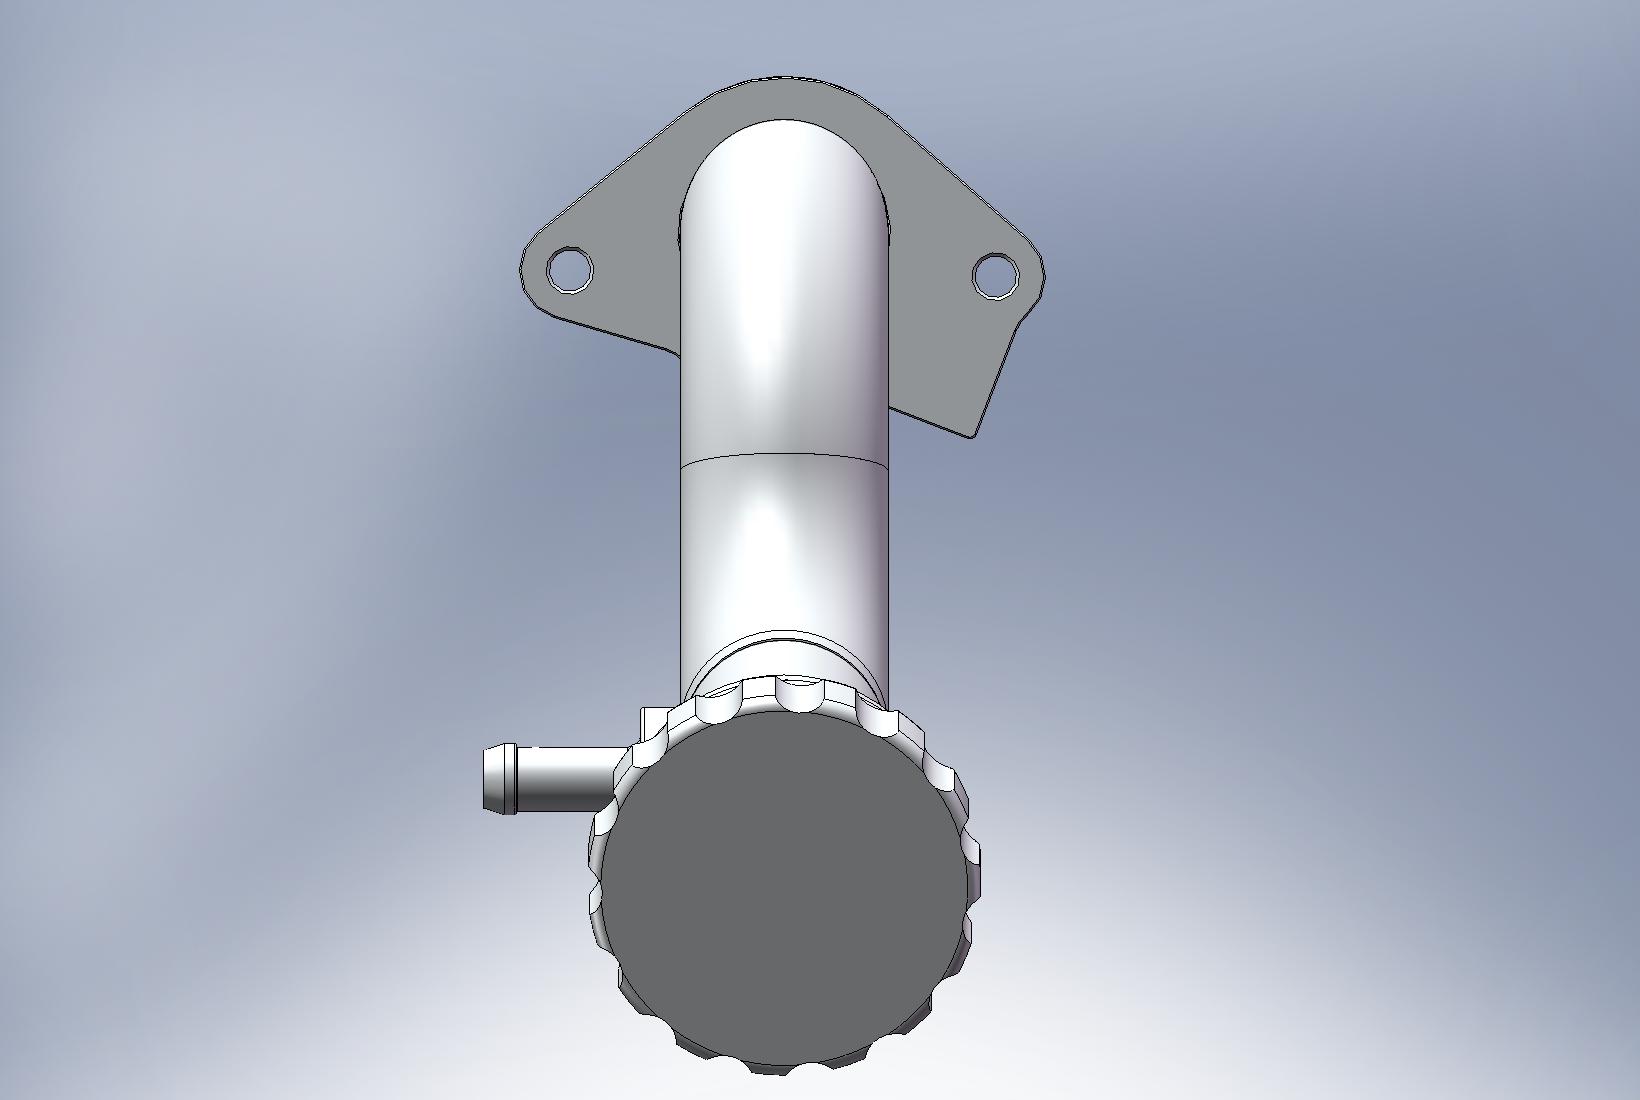
...and here is the almost finished product (sans breather nipple)...this will be positioned once I finalise the engine plumbing.
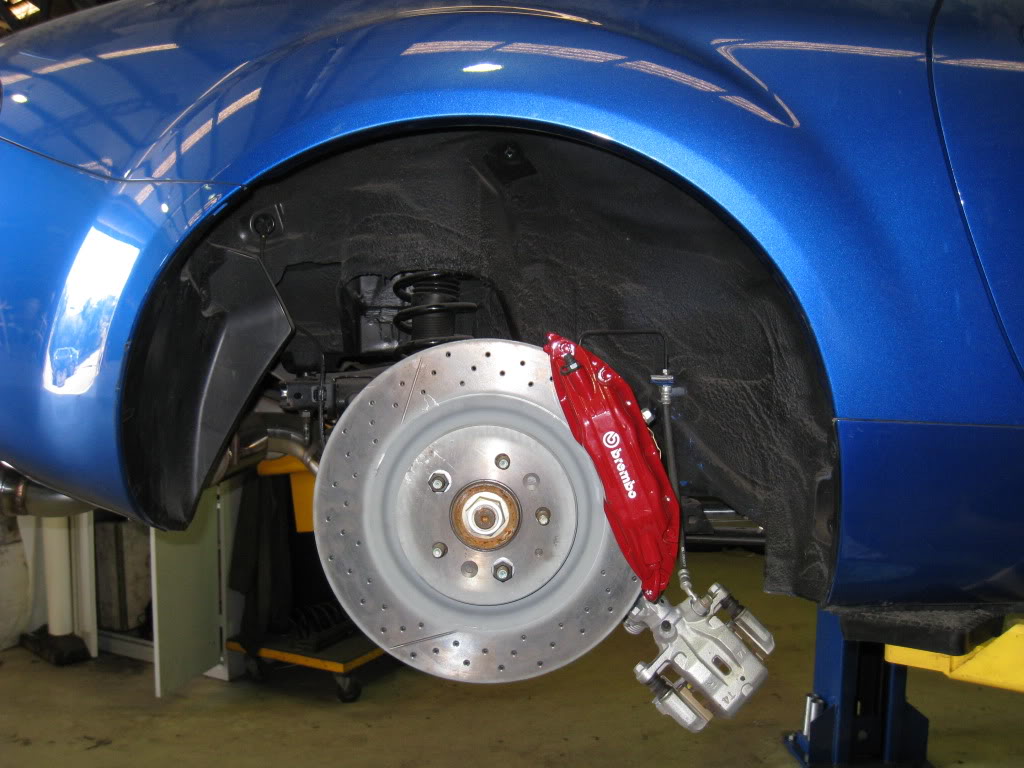
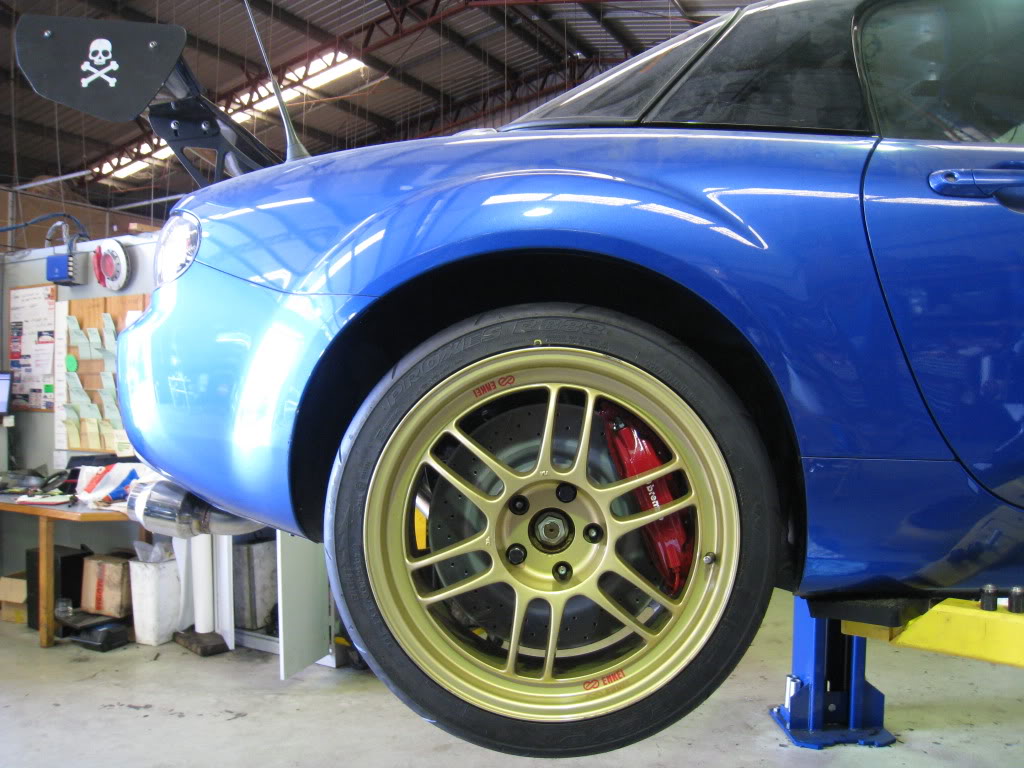
Back in July I did a trial fitment of a 4-piston Brembo coupled with the same brake rotors as I'm using on the front on the rear end to see if it was doable.
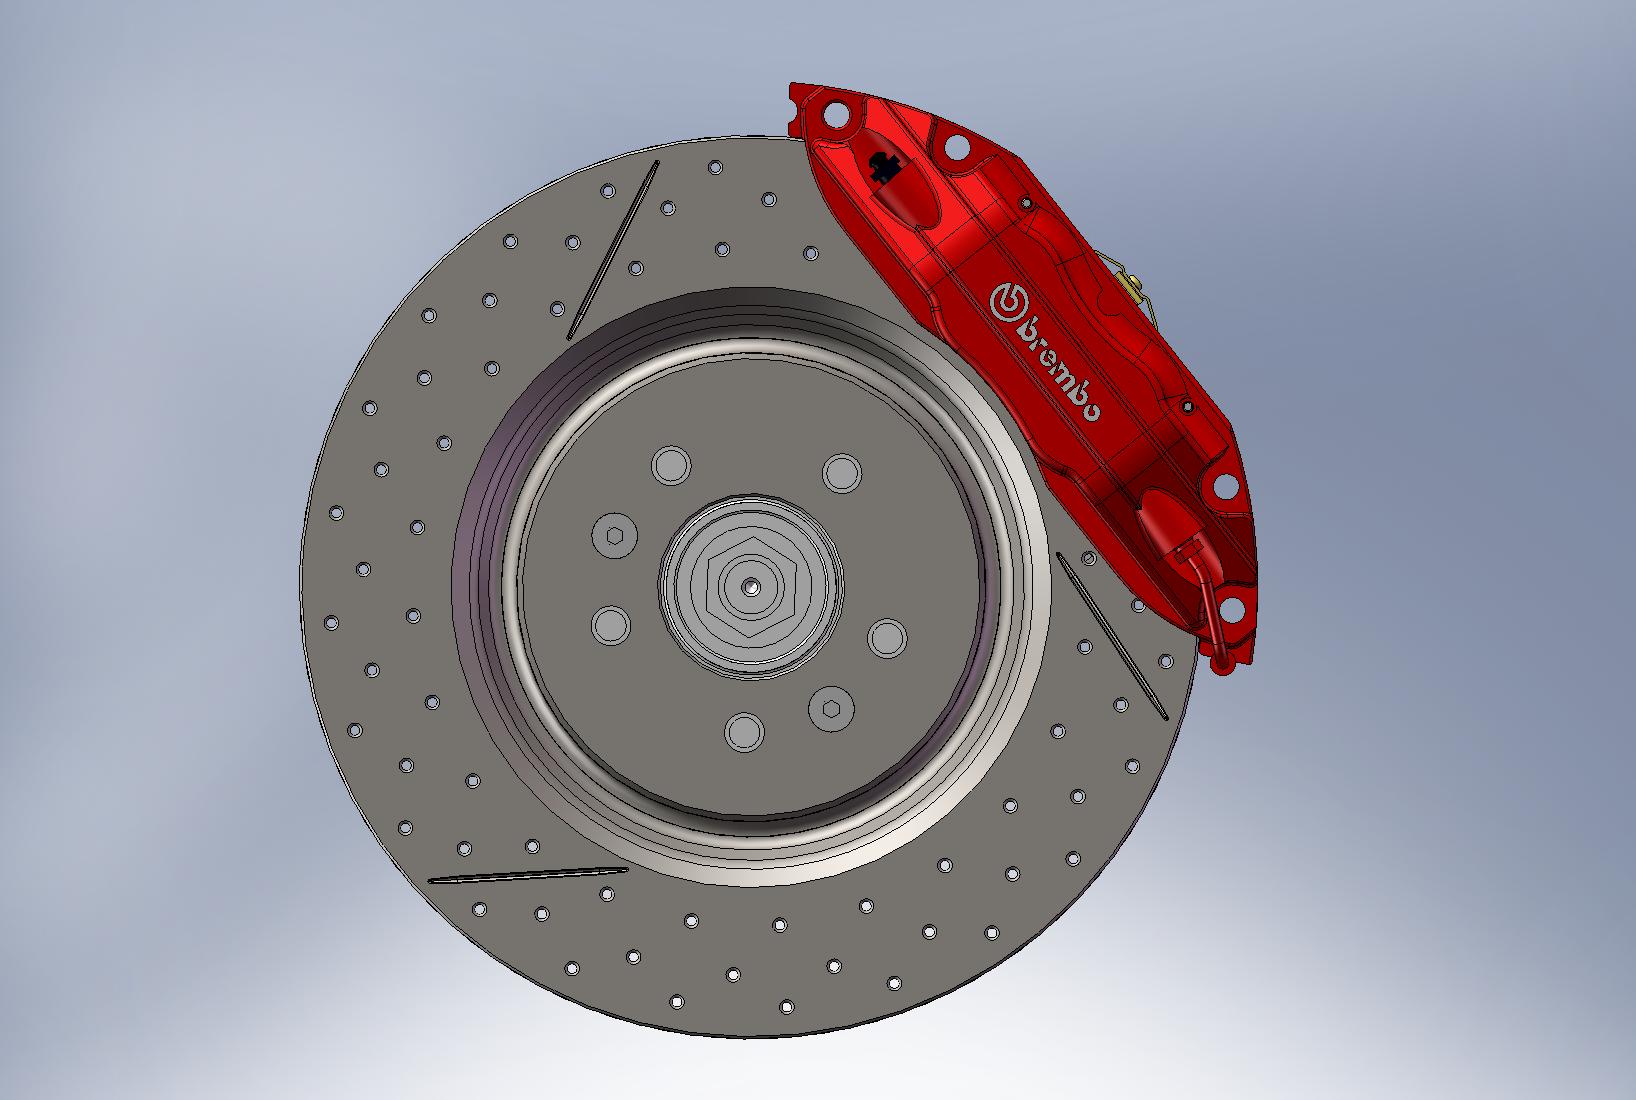
With a bit more angular indexing of the caliper on the rotor I was able to get enough meat between the bolts that mount the bracket to the upright and the bolts that attach the caliper to the caliper bracket. This is the prototype design....Right hand rear assembly shown.
I'm still working towards having the engine to the tuner before Xmas.
Cheers,
Danny
A custom oil filler neck is necessary with the supercharger as the standard one is in the way. In addition to this, its a simple option to have the oil from the supercharger return to the sump at this point. Here's the solid model.....
...and here is the almost finished product (sans breather nipple)...this will be positioned once I finalise the engine plumbing.
Back in July I did a trial fitment of a 4-piston Brembo coupled with the same brake rotors as I'm using on the front on the rear end to see if it was doable.
With a bit more angular indexing of the caliper on the rotor I was able to get enough meat between the bolts that mount the bracket to the upright and the bolts that attach the caliper to the caliper bracket. This is the prototype design....Right hand rear assembly shown.
I'm still working towards having the engine to the tuner before Xmas.
Cheers,
Danny

+1
I'm right there with you. I prefer the Miata size and frame (and convertible, weight) over the 8, but the Rotary over anything piston. Someday I will mesh the best of both worlds as well
I'm right there with you. I prefer the Miata size and frame (and convertible, weight) over the 8, but the Rotary over anything piston. Someday I will mesh the best of both worlds as well



Here is a 3D PDF file. You can spin/rotate, zoom in/out, and if you check out the right mouse menu, you can even make parts hidden or transparent, so you can see inside that rear timing cover (and whatever else).
Note to design stealers: If you are thinking of copying this, go right ahead. There are some intended fatal flaws in there, just to cause some grief :evillaugh:
Main Assembly (4MB Download - PDF)
Discharge Adaptor (153 KB Download - PDF)
How is that Danny?
Cheers,
Mark.
Note to design stealers: If you are thinking of copying this, go right ahead. There are some intended fatal flaws in there, just to cause some grief
:evillaugh:Main Assembly (4MB Download - PDF)
Discharge Adaptor (153 KB Download - PDF)
How is that Danny?
Cheers,
Mark.

