When you click on links to various merchants on this site and make a purchase, this can result in this site earning a commission. Affiliate programs and affiliations include, but are not limited to, the eBay Partner Network.
There is a plate on the top of the engine that has a 12mm screw just above the flywheel. If you get a reman from mazda, this plate is not installed on the new engine. Be sure to swap this plate. I did not and didn't notice until the engine and trans were mated and I dropped a screw down in the hole between the flywheel and the engine. Luckily I was able to fish it out after about 15 minutes, but it took me about 45 minutes to attach this plate since the screw is behind the oil filter and its hard to get a hand in there.
Cheers,
Lucky Kid
If you had sent it to me for rebuild like you were supposed to, you would've gotten the same parts back and thus your plate would have been already installed for you.
I respectfully disagree. I was trained as a Porsche mechanic. I use torque wrenches for everything I have a torque spec for and can get the wrench on. Every bolt. Every time. No exceptions.
There's no such thing as "snug". And the calibrated hand is just a myth.
I guess we just have different working methods. Also, I shut down my shop a couple of years ago and only do it for fun, so there's no profit motive.
H
Nothing is wrong with your approach but I agree with Rotary Resurrection on this topic: There are things that are critical to be torqued with an instrument and there are things that a veteran builder can do with his hands (Just not critical, combined with feel and experience). The non mechanically inclined should not be touching anything on their own engine.
There are a couple of reasons for snapping bolts at their design torque value.
The most common is trying to re-torque a bolt that wasn't meant to be reused. Like rod big end bolts, for instance.
Second reason might be that the bolt had already yielded, thus creating a weak spot where the bolt could snap.
The other mistake, one I've made I'm ashamed to say, is to set the Ft-Lbs torque value on the N-M scale. That's way more torque than it was supposed to have. Oops.
Healthy bolts torqued to spec properly shouldn't snap.
H
All of this is absolutely true! One more note (Sorry for thread jacking), people think they need to torque to the upper end of a range. This is not the case at all. Tighter does not equal better.
New here .I really liked the whole thing. It helps me understand my 8 and the way you presented it is out standing. Thank you. I will be looking at your photos a lot .
Just took my engine apart and put it back together using these instructions. Spot-on for the order to do stuff.
Only addition I would make is to take lots of pictures of your own engine while taking it apart. The pictures RR has above are great to identify parts, but I ended up backtracking several times to get hoses routed properly on reassembly. My own pictures were much better for figuring out whether Hose A went above or below Part B.
And has been mentioned many times, make sure to label the end of every hose and connector, or you will be guessing!
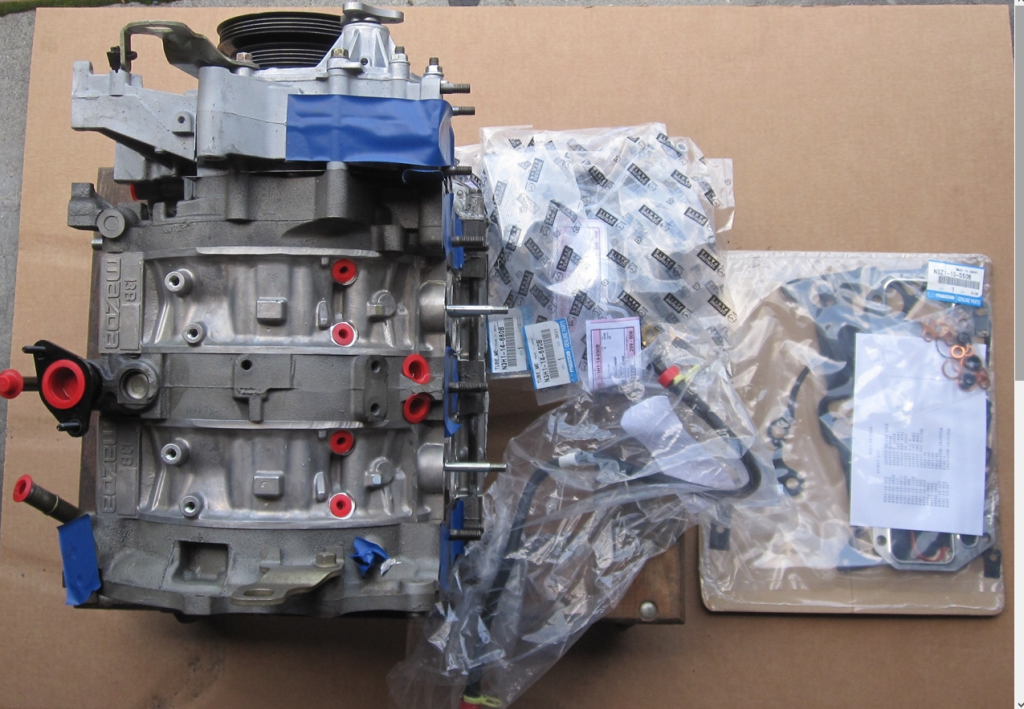
I attached a drawing from Mazda on where the various gaskets go. Most are pretty obvious.
As a side note, I listened closely to RR's "I don't know how everyone breaks their OMP", and ended up breaking mine anyway. Happened when I was cleaning it before putting it back on. I was paying so much attention to being careful of the long oil lines attached to it that I ended up dropping the pump body right on the position sensor and broke the electrical connector off. Doh!
Last edited by Joe RX-8; Dec 27, 2014 at 10:49 AM.
Reason: added gasket image
Does anyone know when you buy a reman engine from the Mazda dealership, will that engine come with the pressed in removable coolant/oil pipes that's in the iron already installed on it or will you have to re-use the old one? Also will a new engine come with new studs on it or no?
Pic for reference of what I mean, the small straight pipe that I believe is the dipstick tube?, the angled one, and the black odd shaped one
It seems that this engine from mazmart has the pipes and studs already installed but what about a dealership paid engine?
Last edited by KaLiKoStreet; Jan 24, 2015 at 06:11 PM.
Almost done with the re-assembly for an s2. Some slight differences around the OMPs - the order is a bit different. Was not too bad to figure out, more that I was paranoid of remembering how to put it back together, but those and the harness went back without much issue. Re-routing the TB coolant hoses was a pain though. I took pics of most things and it was very necessary 8 weeks on... but no pics of the TB coolant hose routing and they go right through the middle of everything. I have it figured out now, just took a few redo's.
So, I'll echo what others have said - take a pic of eveything you remove, including the routing. Makes it so much easier to piece back together. Also, a piece of cardboard to poke all the bolts into, with a note by each to list the bolts and pieces in the order you took them off is very useful, along with labelled bags for the nuts.
Have to say, MASSIVE thanks for the DIY. Hopefully I'll have the engine back in by this time tomorrow
Last edited by blu3dragon; Jun 13, 2015 at 12:45 AM.
Hi. Thanks to DIY like this and the other on how to remove the engine, I have been able to remove and tear down my engine. Now I'm ready to begin put everything back in place, and a doubt arises.
Does it make any difference which of the three rotor corners of the rotor is used to orientate the rotor? I can't find guidelines regarding this. To clear up, I took care to identify front/rear rotors and which face goes toward front and toward rear. Also from the videos I have take a look and the Mazda Engine Workshop manual, I'm clear the rotors are installed one with one corner pointing to one direction and the other to the opposite (usually down and up), but not sure if it can be any rotor corner. Does it make any difference? The rotors are the original one so there are no marks other than the codes for the rotor and the side seals. Only there is a tab in each rotor on the side opposed to where it has the gear. Does this tab means something?
I searched here, checked various reference videos and the workshop manual, but can't clarify the issue.
I'm sorry, I didn't know where to ask this, and I do not have permission to start my own thread so I figured I'd ask on the thread I followed to tear down my engine.
I have rebuilt the engine, but still can't seem to figure out where one hose goes on the engine. It can sort of be a mess if you didn't label right because you didn't expect to be rebuilding an engine for a year. Anyway, this is the part that i can't figure out the location.


 .
.