When you click on links to various merchants on this site and make a purchase, this can result in this site earning a commission. Affiliate programs and affiliations include, but are not limited to, the eBay Partner Network.
1. Wet the headlight and wipe off dirt.
1a. Tape off around your light. (Picture one.)
1b. Tape down trash bag.
1c cut out headlight a bit wider so the tape is slightly exposed.
1d tape the bag around the light to the tape below it.(picture 2)
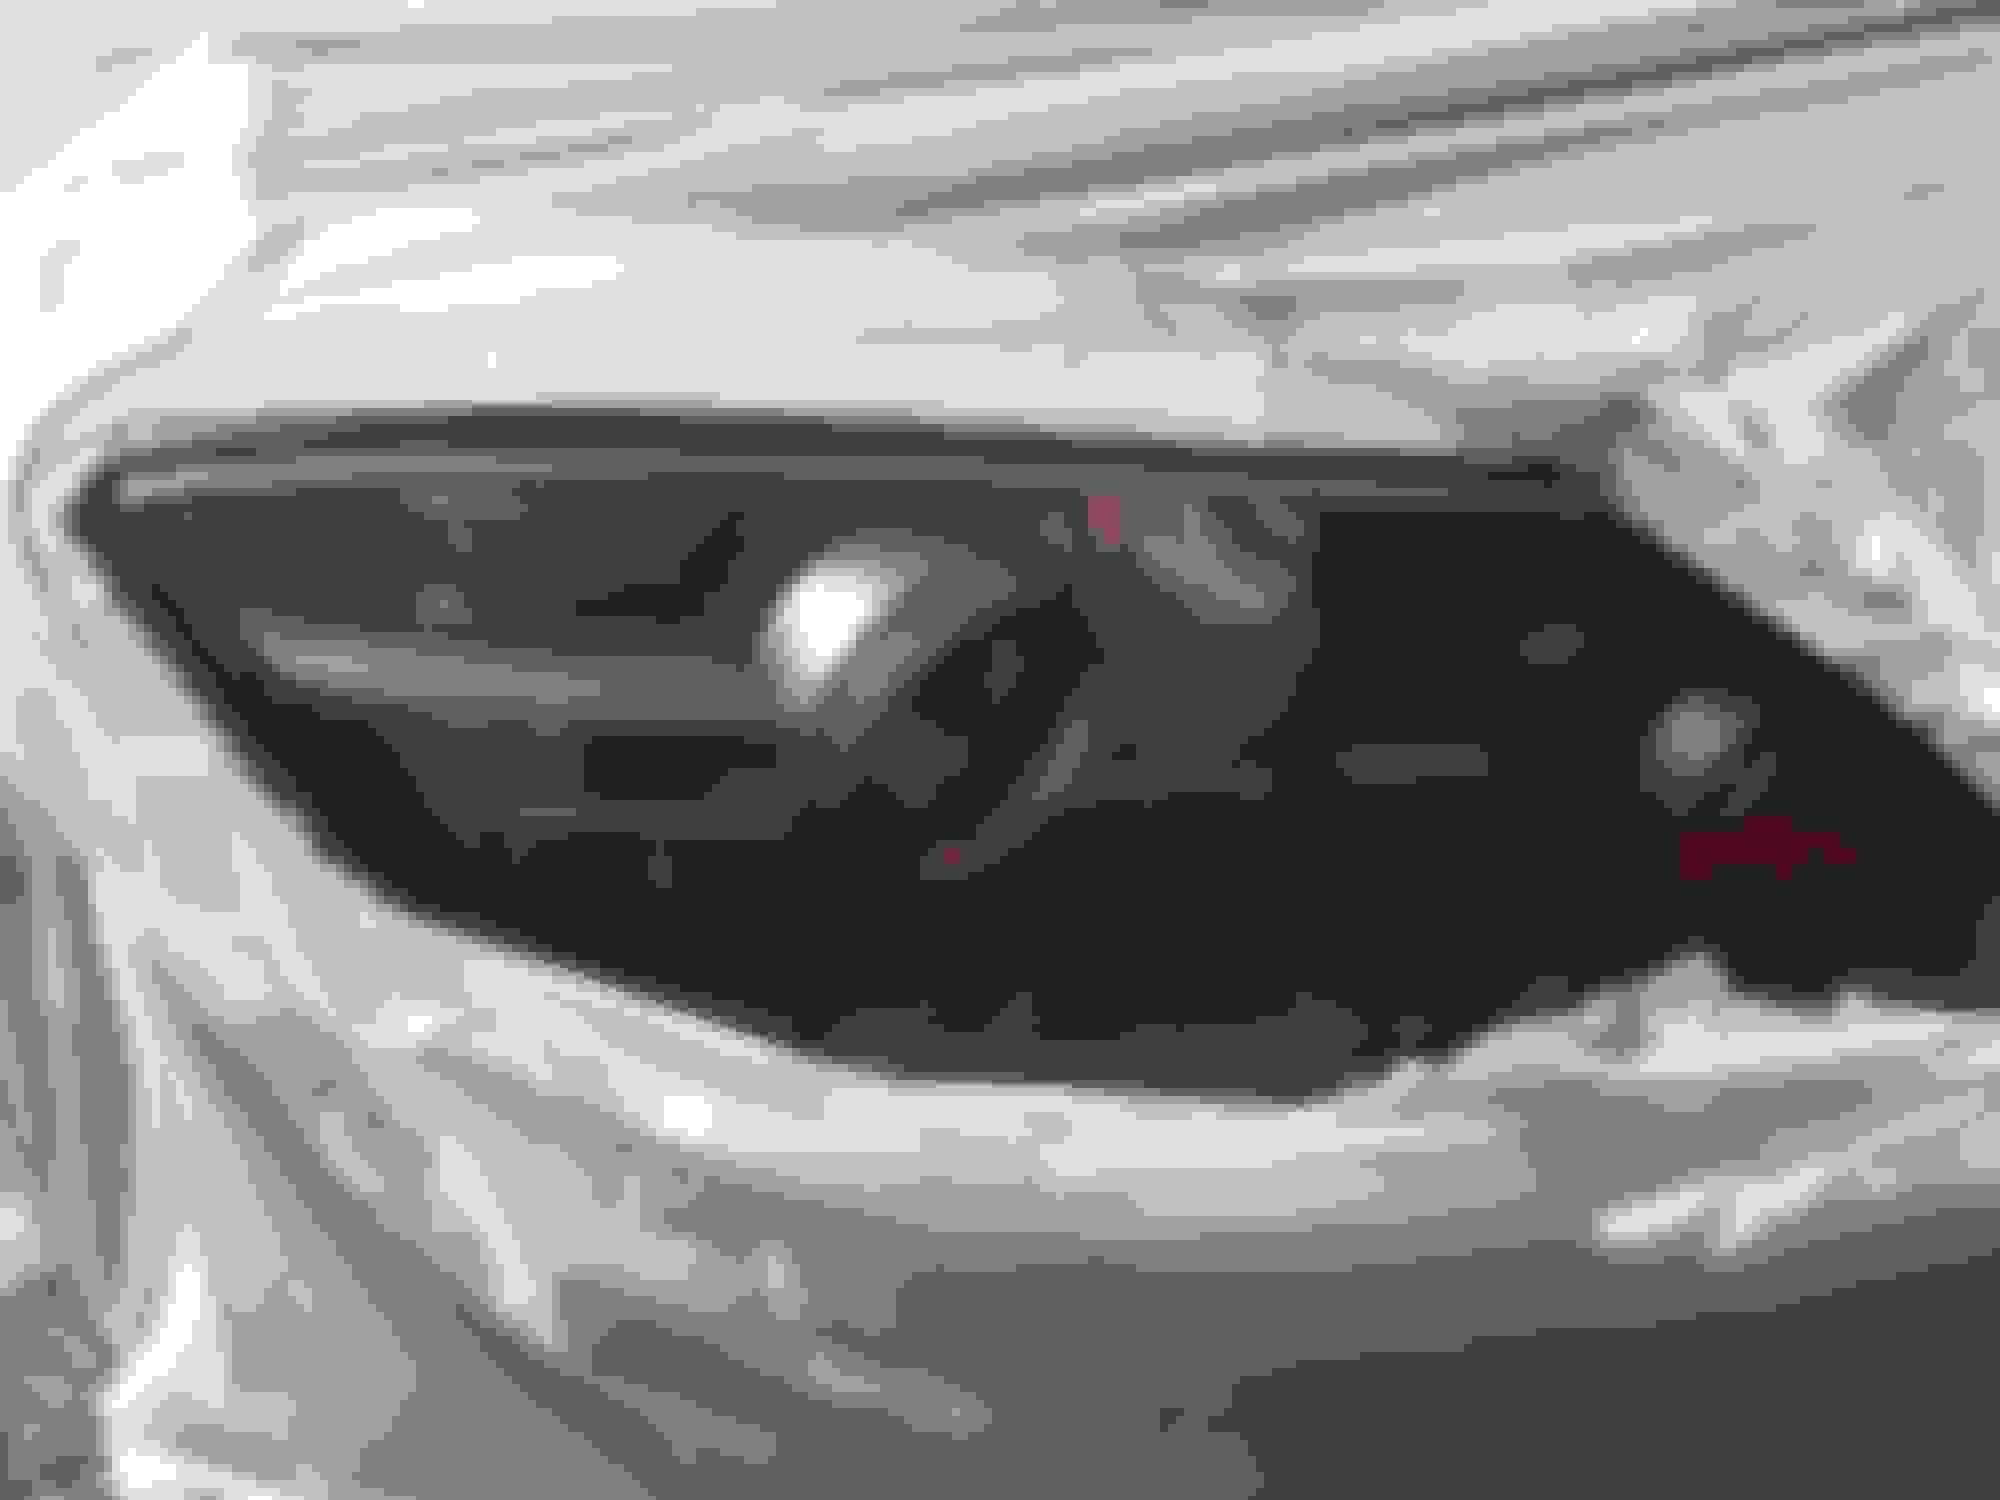
2. Wet the 400 grit paper and light then start to rub in a circular motion while spraying water on the spot where scrubbing constantly.
3. After mild pressure is applied with circular motion finish with a horizontal motion for another minute. Continuing the spraying with water the whole time while sandinging.
4. Repeated with the 800 and 2000 grit. When finished it will looked scratched and hazy! Relax its time to finish! (Picture 3)
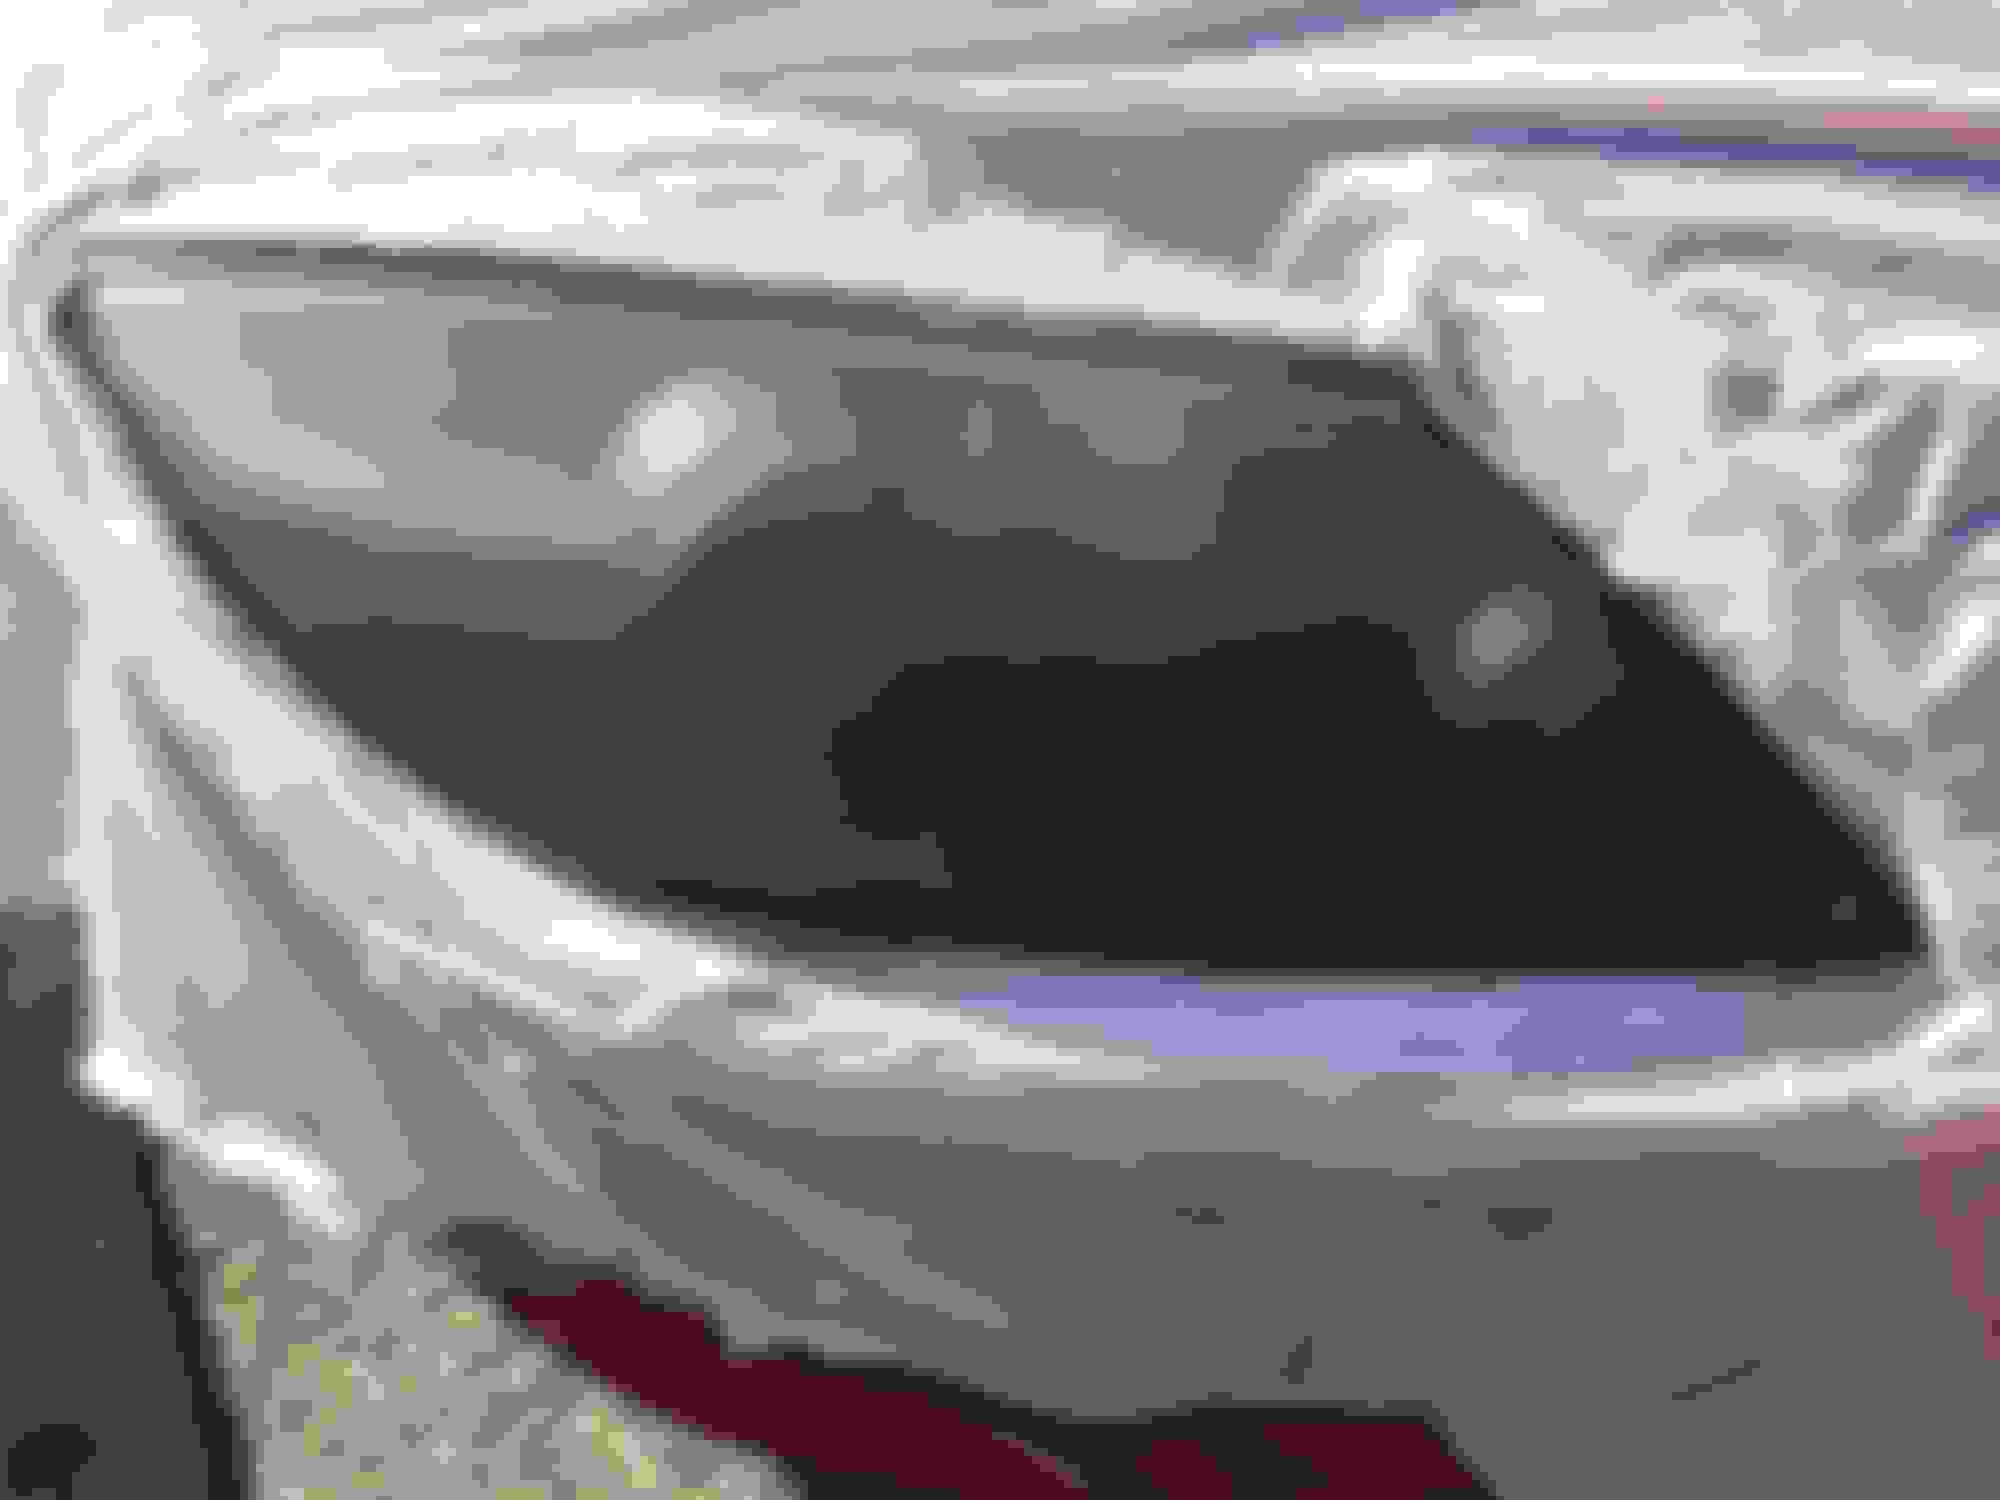
5. Wipe down the light with a rag and rubbing alcohol and let dry for 2 minutes.
6 now take your clear coat and spray lightly yet evenly back and forth till you see the lamp coated. (Picture 4)
7. Let sit for 5 mins and do two more costs the same way to make it three coats at the end.
8. And it looks so much better! (Picture 5)
You now let it sit for 24 hours then lightly wet sand to remove the "orange peel" finish and make smooth. Then finish with some turtle wax finishing polish let it become hazy and buff it out. I will update tomorrow with that result as well.
Last edited by Travis Rojack; Apr 12, 2016 at 05:11 PM.
Reason: Spelling error
Was your car sitting outside all that time? Has anyone has luck having 1-2 years between treatments? My guess is no - once that polycarbonate lens starts to degrade - it degrades at the surface the most but the inner layers still to some extent receive permanent degradation from the intense UV energy from the sun. You fix the outer surface but the rest of the layers continue to degrade.