When you click on links to various merchants on this site and make a purchase, this can result in this site earning a commission. Affiliate programs and affiliations include, but are not limited to, the eBay Partner Network.
I may have a leak at the exhaust manifold or after the turbo, not sure. All I know is that I can't drive around with the air con going unless it's on recirc, otherwise when I stop at the lights the exhaust fumes come into the cabin. I'm sure it's worse than it used to be...maybe I've got too used to driving my wife's Nissan Leaf to work
I hooked up the boost gauge to the exhaust manifold this morning. Driving to work I saw about 20 psi of exhaust pressure on 9psi of boost. I didn't take it up to redline. If there's an exhaust leak at the manifold this result means nothing. If there's no leak before the turbo, then this represents an improvement on the old setup, though I would have expected the car to feel faster than previously, flowing more air through the MAF sensor due to improved efficiency of the system.
I've got some replacement T25 gaskets to install on either side of the turbo spacer between exhaust manifold and turbine housing inlet. This will hopefully fix any existing manifold leaks.
I'm thinking about putting a 3" pipe between the MAF tube and compressor inlet while doing the above gasket replacement. I think this would give me a few psi worth of extra flow - pretty sure the existing 2" tube would see a few psi of vacuum at peak flow.
You probably don't want it - I cut the end off. Just get a fabricator to make you one, it's easy work for them. Probably cost $100-300 for parts and labour, depending on which country you're in. PM me if you have any more questions.
How is the car running now? Did it seem like there was any change to the spool up or the power curve of the turbo? It looks like the exhaust should flow easier reducing the back pressure and temps.
I pulled the turbo as I needed to fix an exhaust leak. I found two leaks - one on the exhaust side of the turbo, and another small one on the manifold side of the wastegate - it seems the 1.5" v-band flange didn't seat correctly last time I installed it - obscured by the awkward mounting location.
@Northzone, performance of the Greddy + external waste gate setup with small exhaust leaks was almost identical to internal wastegate setup, which is pretty disappointing. The pre-wastegate exhaust leak would have impacted spool and top end power slightly. I suspect that fixing this leak would at best give me maybe 5-15whp up near redline, but as the exhaust pressure is so high near redline on the T25 turbine housing, I don't like to run the engine here much. FYI, I was seeing 30psi of exhaust manifold pressure at 10psi of boost, so no big improvements on the iWG setup.
So at this point I'd pulled the Greddy turbo off the car, discovered the leaks and was looking at the car. Then I thought, "I could fix the exhaust leak and put it all back together, or......"
...and this is where common sense left me alone in the garage with my car, the welder and my half finished T3 manifold.
So I'm currently back on the T3 manifold build. The fitment issues I was having were around the engine mount bracket/oil drain/manifold all wanting to occupy the same space. So I've worked out an improved engine mount bracket method, and re-routed the manifold around this. The oil drain will be done last, as I have a few more options for it's placement.
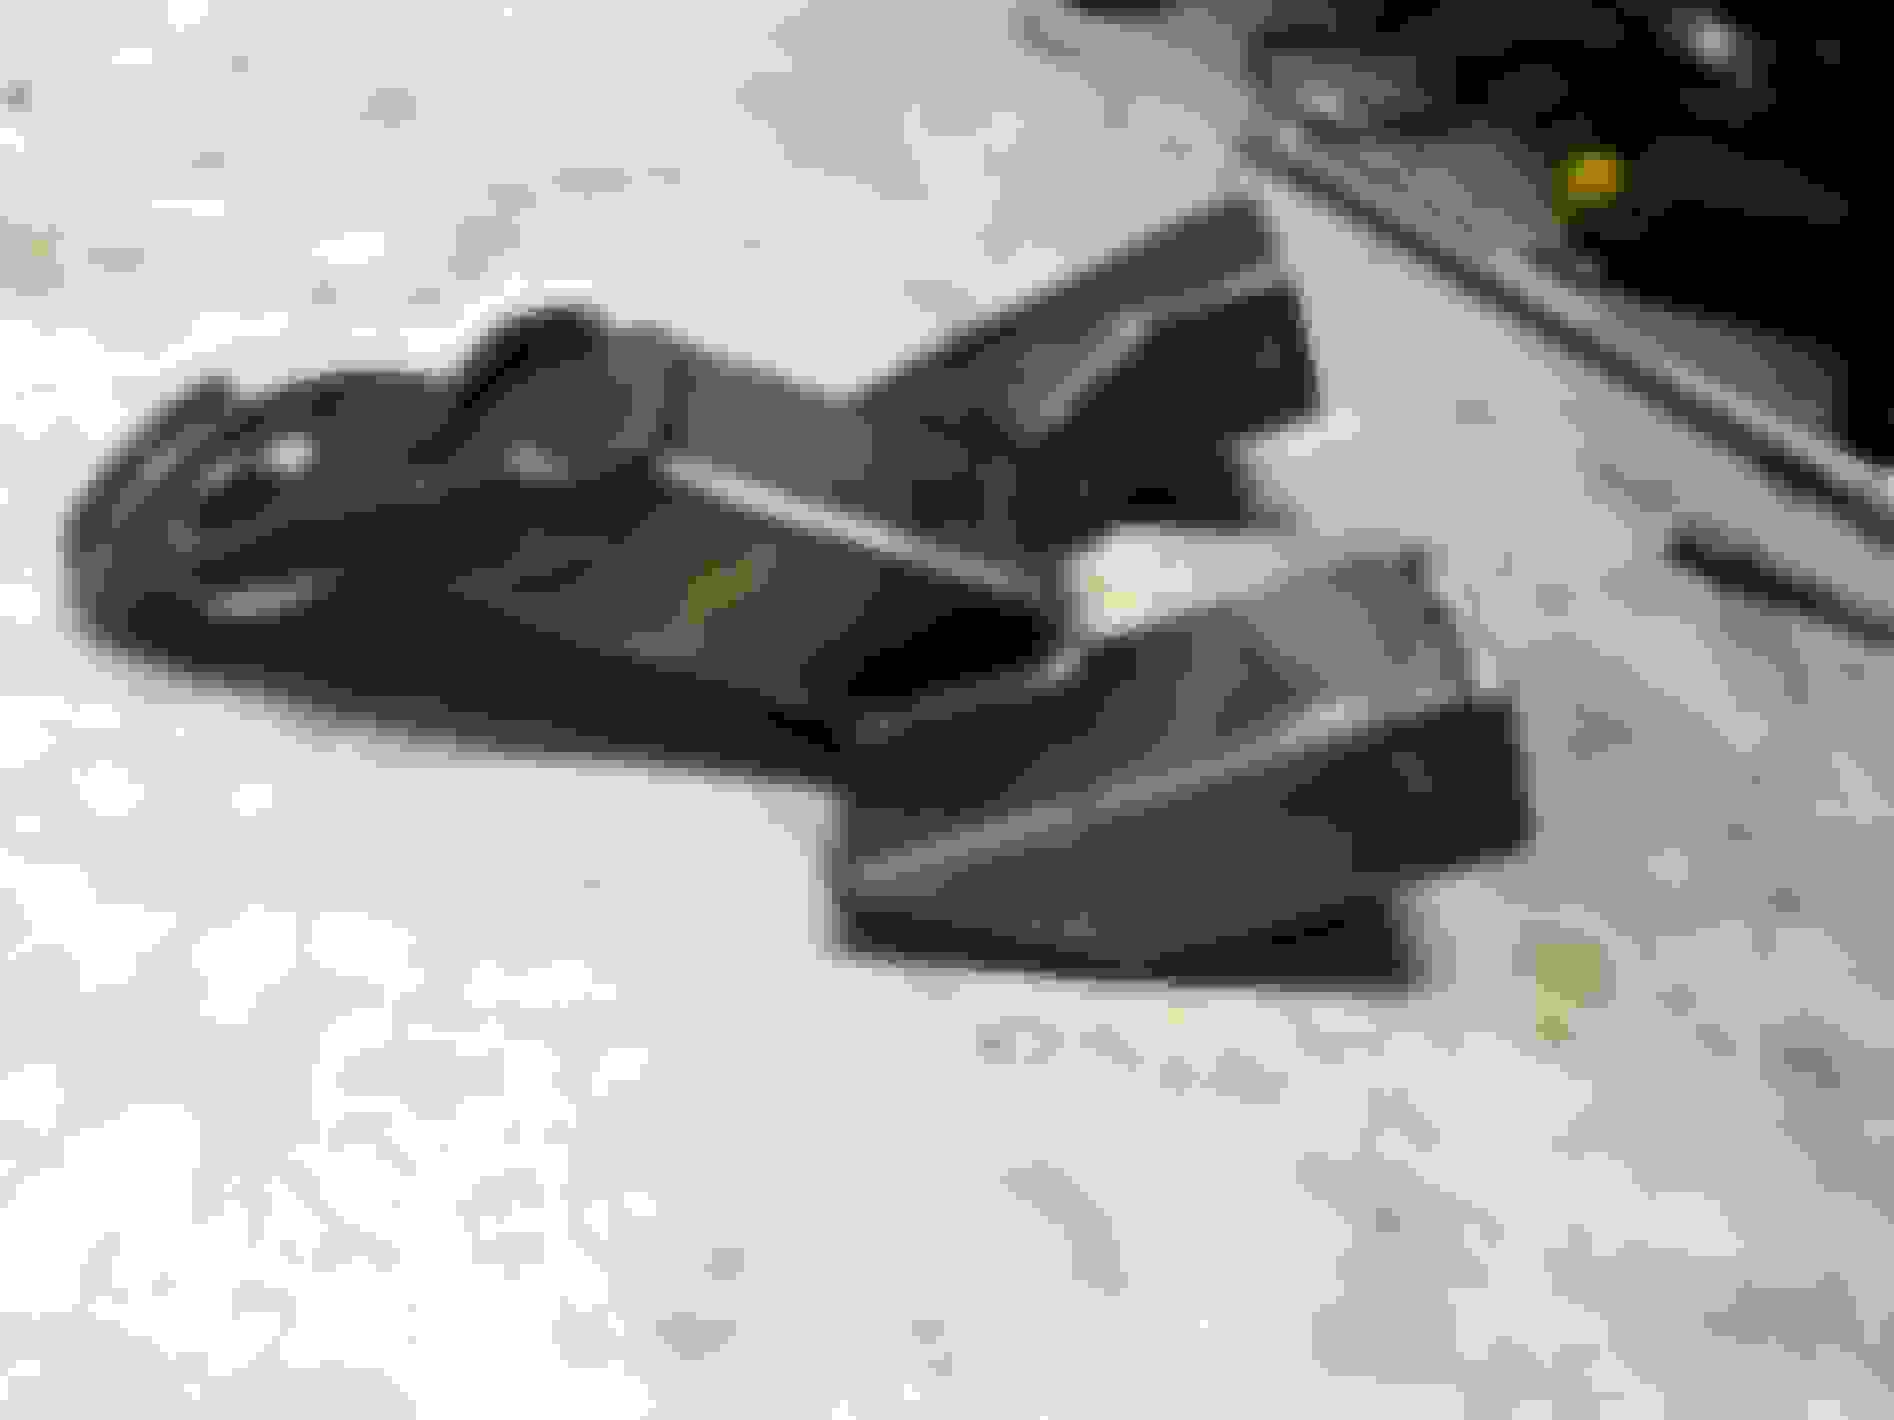
Previous mounting method:
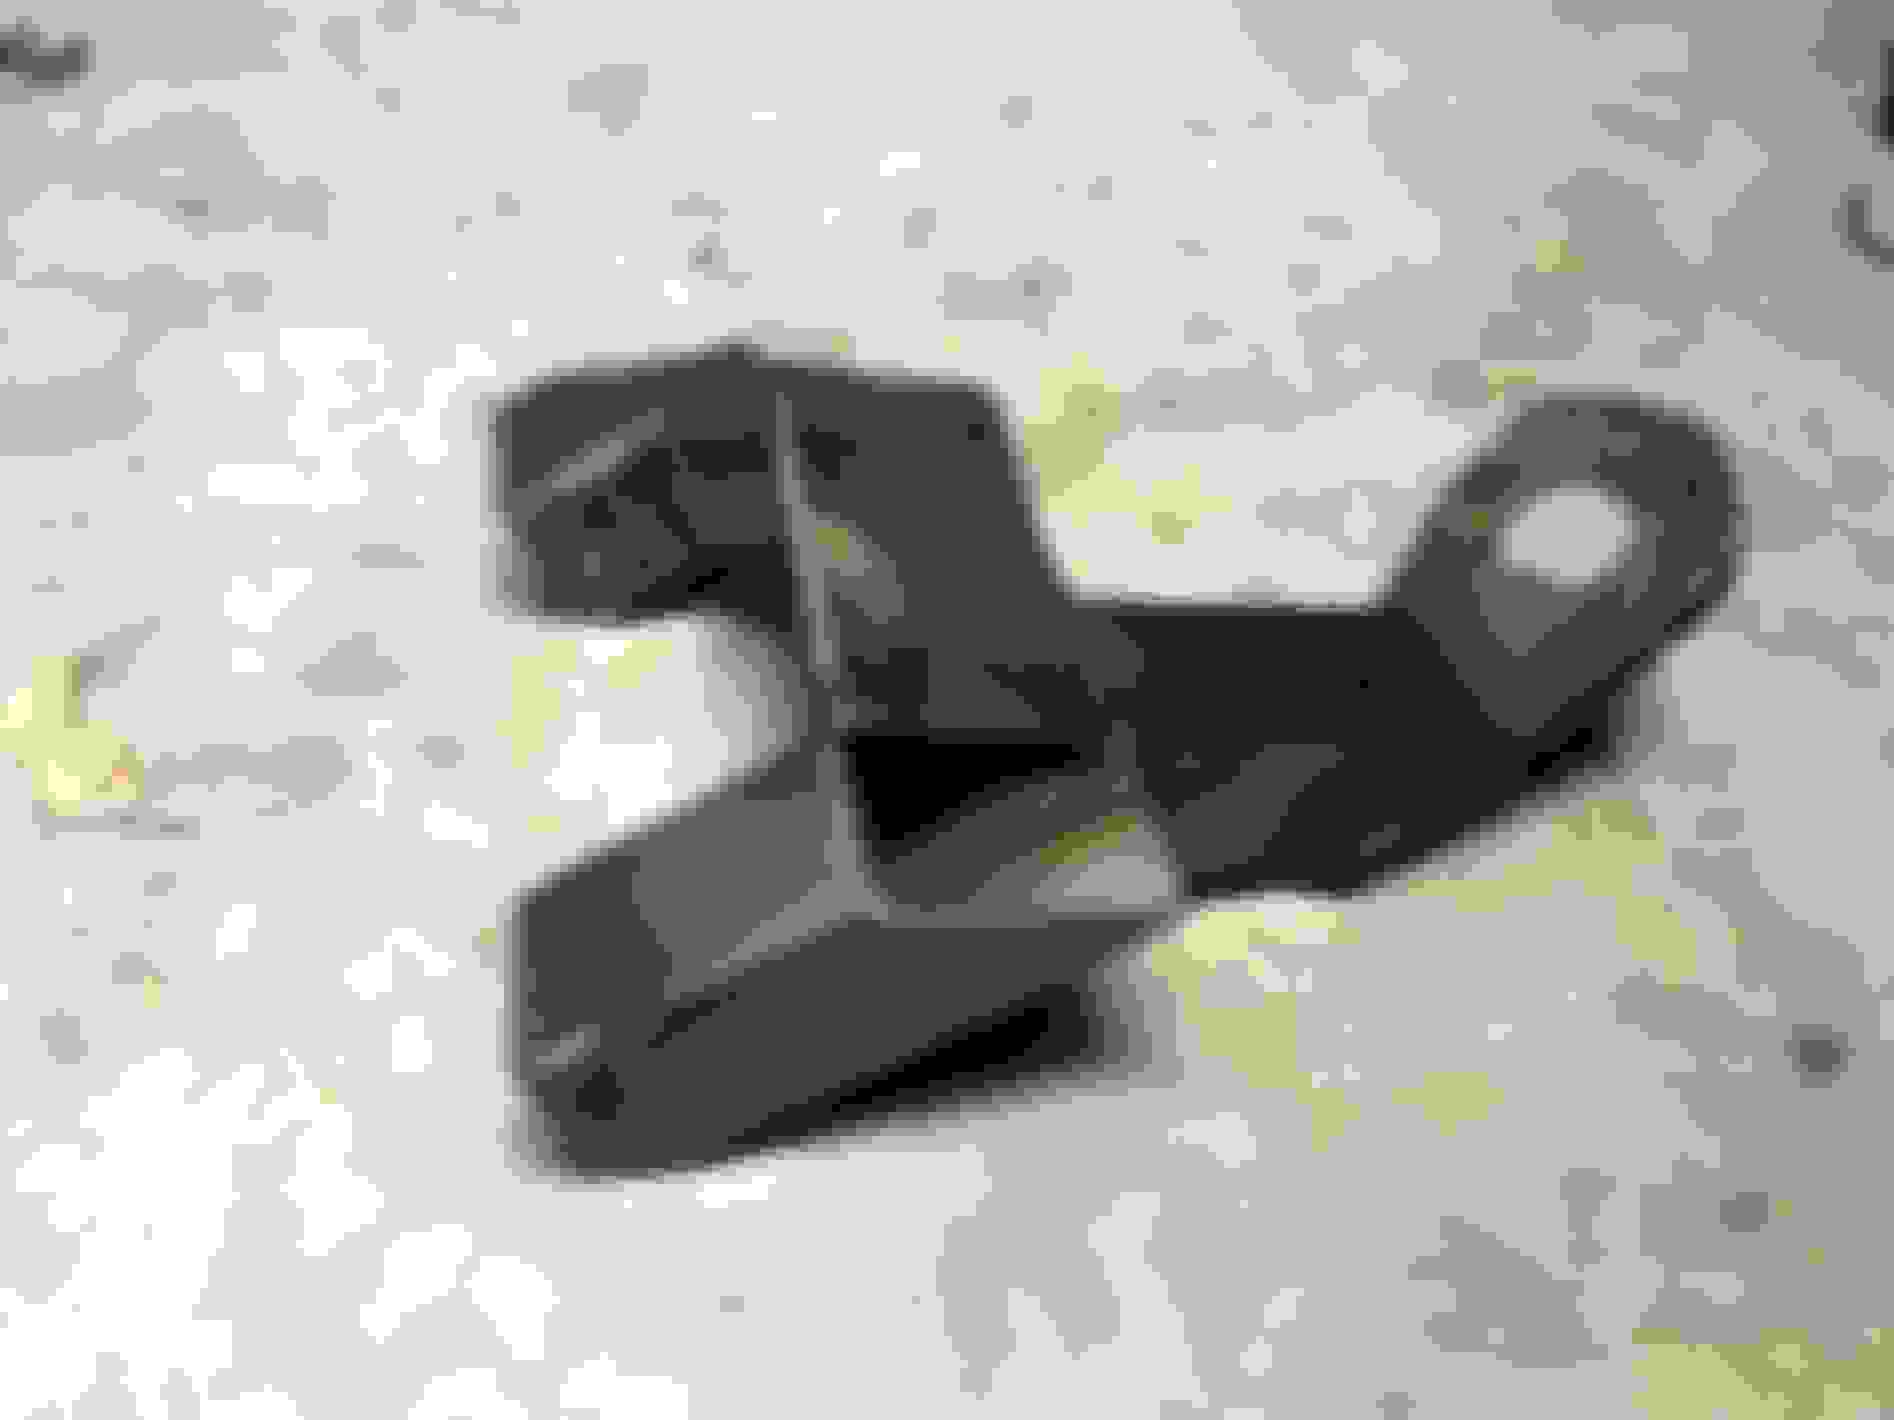
New mounting method:
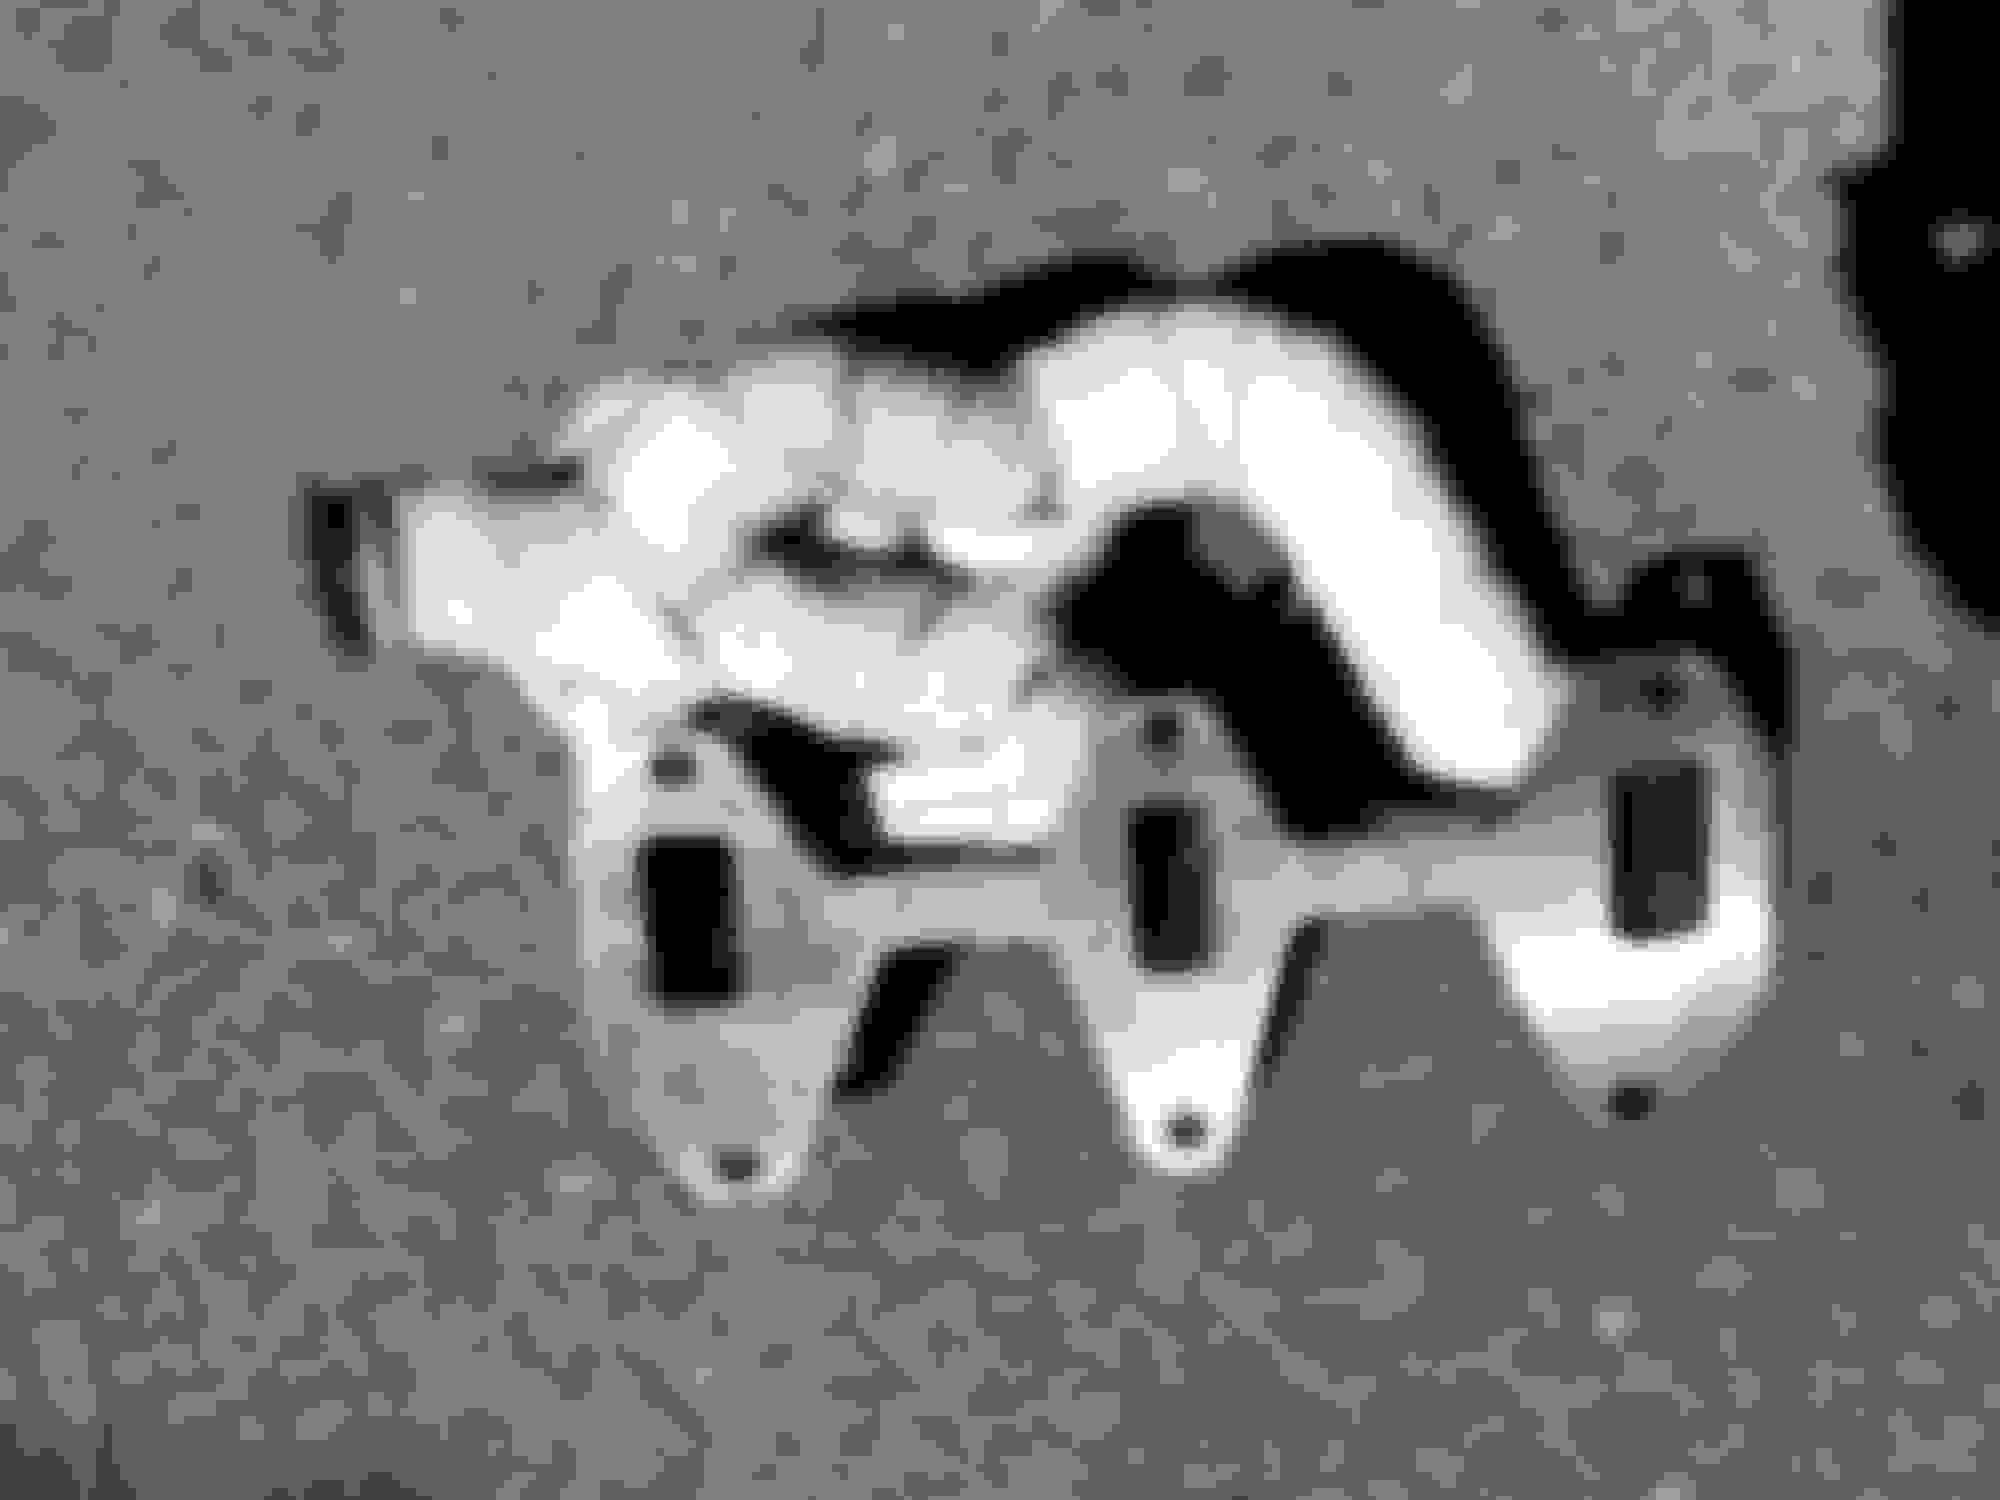
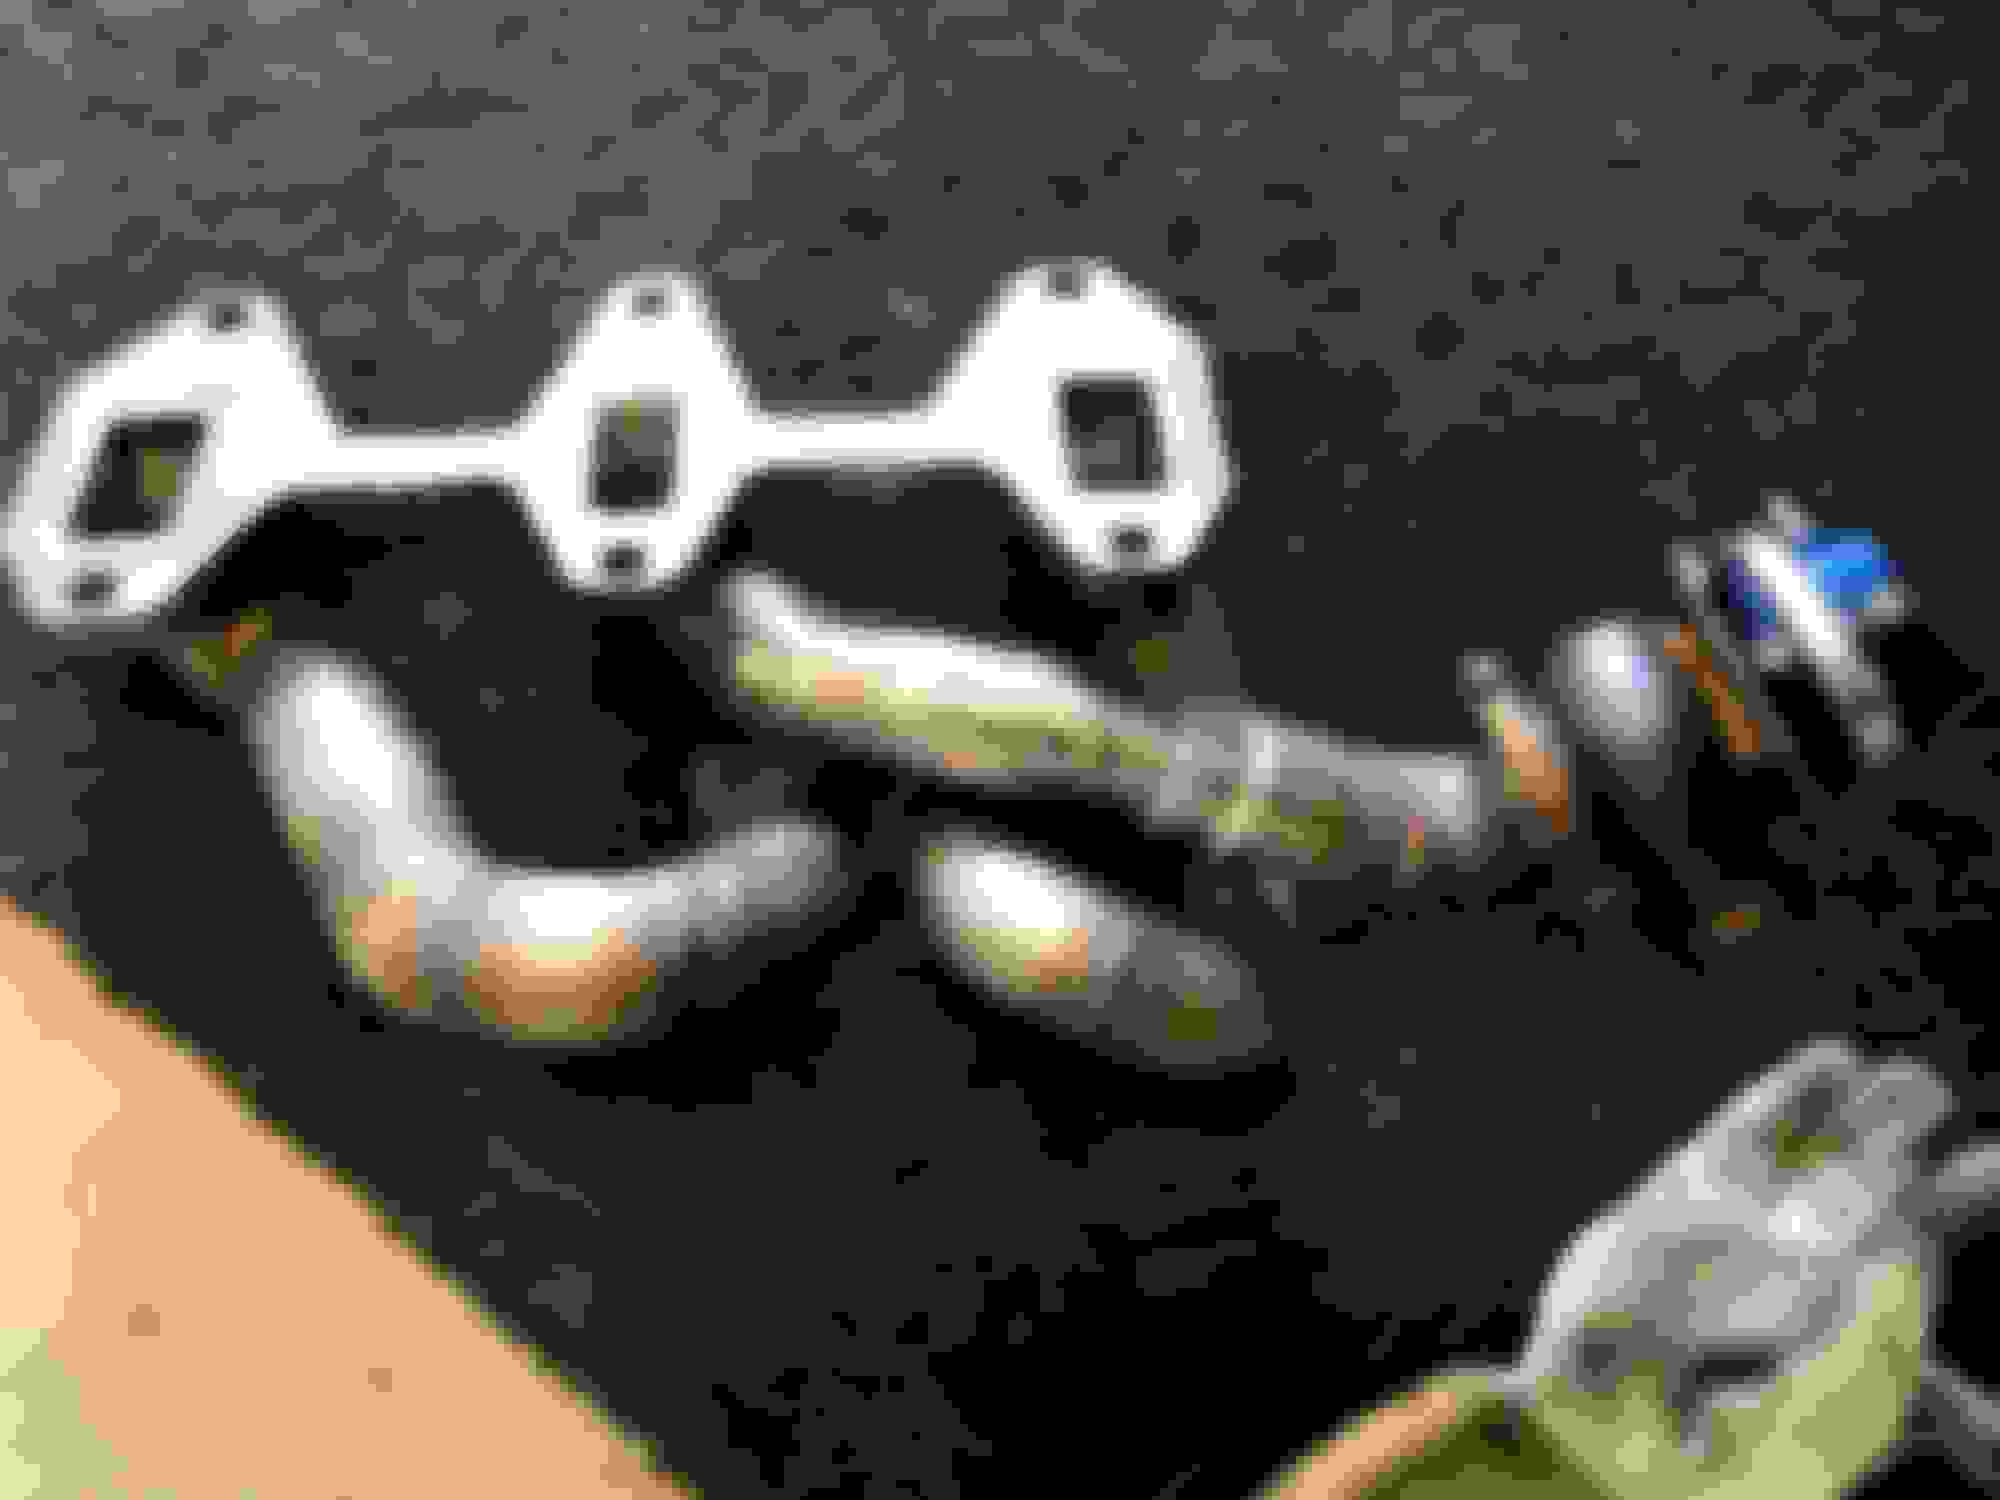
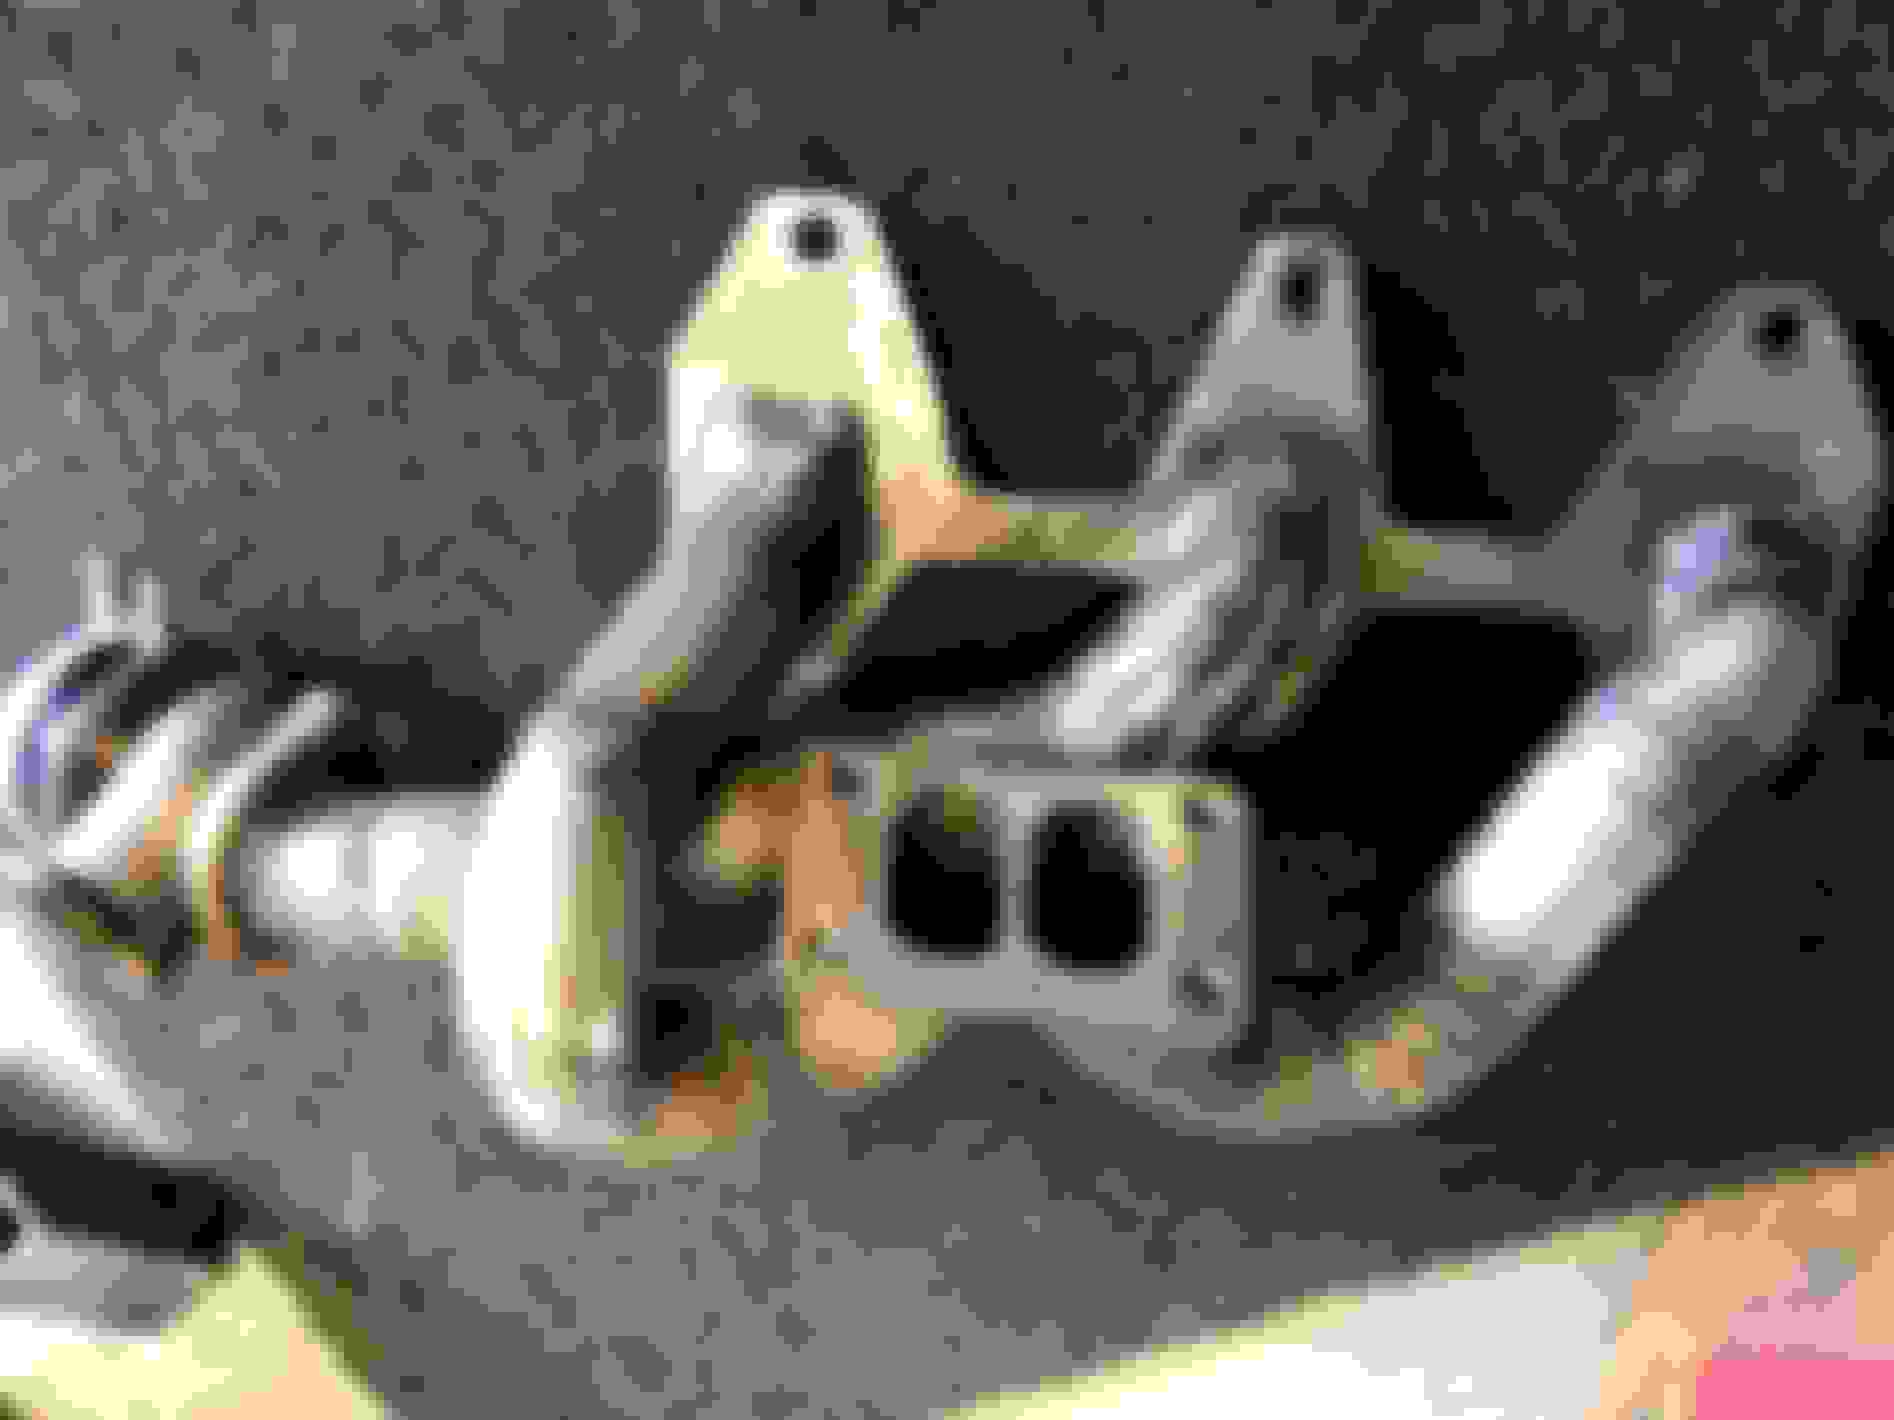
Picture shows the current state of the build - everything shown physically fits on the car. Square sections are part of the unfinished new mounting bracket, bolted onto the block. Not sure whether I'll need the 3rd (top) mounting bolt location - if there's room I'll use it. I should be able to get away with just the 2 mounting bolt locations, similar to rx7 engine mounting method.
Turbo compressor inlet is 3", upgraded from my previous Greddy 2" inlet.
No performance change is always a disappointing result. That mount change looks promising, almost makes me want to pick up a little welder and try something like that also then I remember that it would be too shaky to get anything close to a nice weld.
...then I remember that it would be too shaky to get anything close to a nice weld.
If you're using my welds as a benchmark, you should be fine lol.
Over the weekend I've finished front runner on the manifold, and continued work on the engine mount. I did a trial fitment of the turbo and manifold onto the car, and it went on really easily, like 15 minutes instead of the previous 1.5 hours. This is a huge improvement, but there's still some fab work to do around the area, so it may get more tricky again once everything is finished. Still a big step in the right direction though.
During trial fitment I've identified that the 3" compressor inlet pipe I'm planning to use has some clearance issues near the OMP. I'm not keen to delete the OMP, so if I can't work out a solution I may be back to the stock greddy 2" inlet pipe. Will decide how much time I want to put into this once the rest of the fabrication is finished.
If you're using my welds as a benchmark, you should be fine lol.
Over the weekend I've finished front runner on the manifold, and continued work on the engine mount. I did a trial fitment of the turbo and manifold onto the car, and it went on really easily, like 15 minutes instead of the previous 1.5 hours. This is a huge improvement, but there's still some fab work to do around the area, so it may get more tricky again once everything is finished. Still a big step in the right direction though.
During trial fitment I've identified that the 3" compressor inlet pipe I'm planning to use has some clearance issues near the OMP. I'm not keen to delete the OMP, so if I can't work out a solution I may be back to the stock greddy 2" inlet pipe. Will decide how much time I want to put into this once the rest of the fabrication is finished.
Now you can see why I went with a flexible tube .....Only way to get a solid tube in there (on a RDH) is to delete the omp
Minor update - motor mounting bracket is complete. Now working on exhaust downpipe and eWG fitment. Damn, I was just doing this a few months ago with the Greddy manifold.
After that I have some minor rework of the oil feed and drain lines.
Brettus has indicated that gains may be seen if I were to add balance pipes between the center runner and the front and rear runners. I want to get the car back together now, but may come back to this later. I can at least get baseline results now, so that if I go ahead with balance pipes it'll be a second case study to add to Brettus' results for further proof that the balance pipes produce consistent improvements.
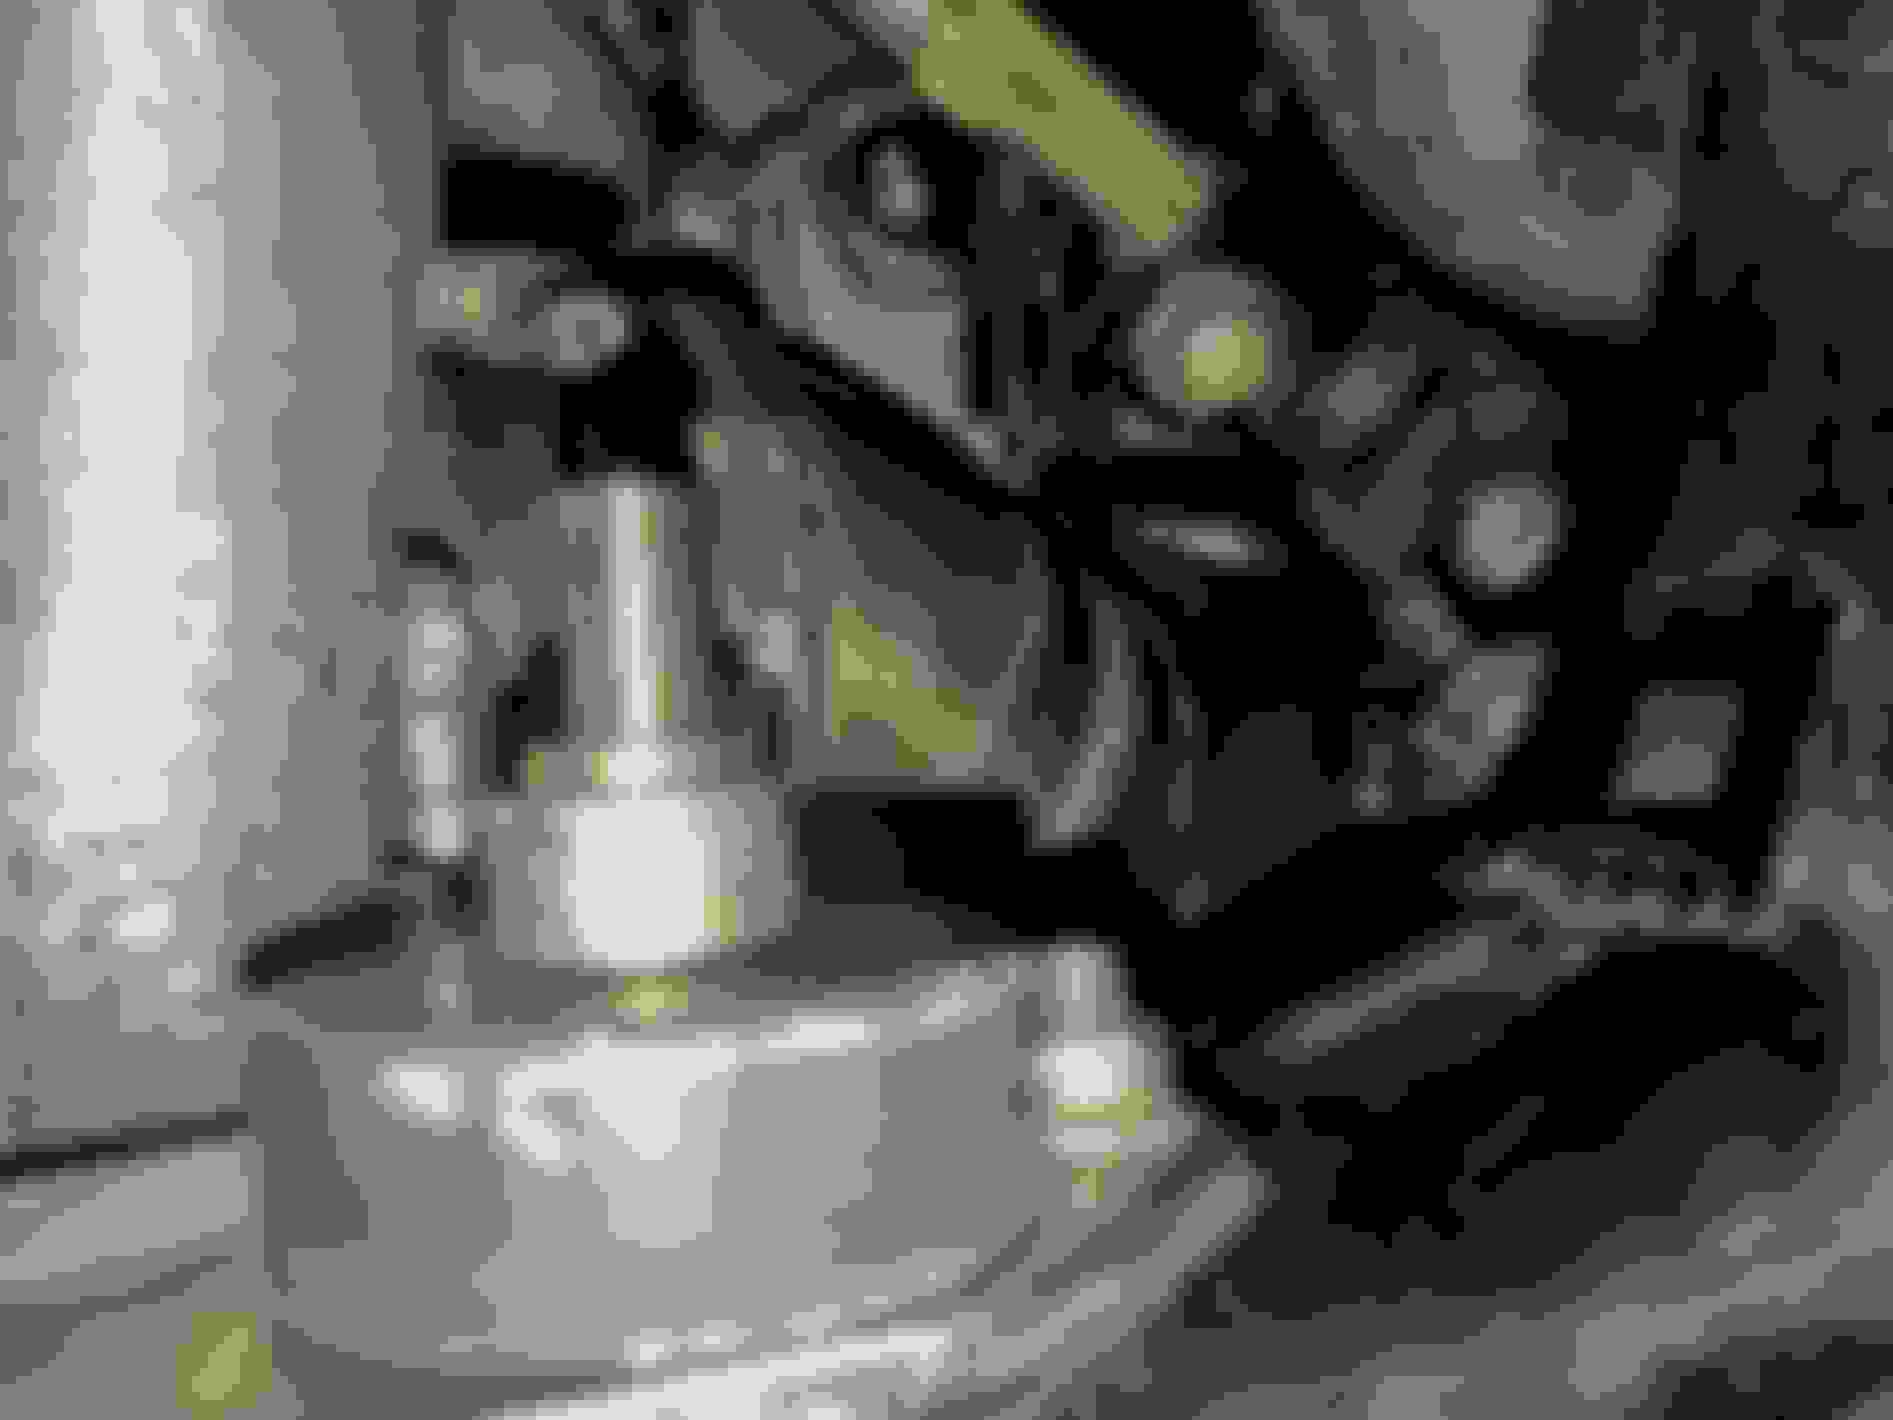
I decided to take the time to route a full 3" pipe from the MAF tube to the compressor inlet. It was a very tight fit with only a few mm clearance between steering knuckle and OMP - the struggle is real for us Right Hand Drivers.
I put the car all back together last weekend and fired her up for the first time with the T3 manifold and turbo setup.
Good news - I've proven the setup physically fits.
Bad news - I've identified that I should have had the manifold flanges to turbo and engine planed before assembling it. There was a massive exhaust leak between manifold and turbo, so I'm draining the oil and dismantling the setup this week.
The To Do list now consists of:
- Check out how easy it will be to install balance tubes between center and outer runners per Brettus' recommendation
- Take the manifold to a fabricator to plane the flanges flat
- Exhaust wrap the manifold and reinstall the setup
I put the car all back together last weekend and fired her up for the first time with the T3 manifold and turbo setup.
Good news - I've proven the setup physically fits.
Bad news - I've identified that I should have had the manifold flanges to turbo and engine planed before assembling it. There was a massive exhaust leak between manifold and turbo, so I'm draining the oil and dismantling the setup this week.
The To Do list now consists of:
- Check out how easy it will be to install balance tubes between center and outer runners per Brettus' recommendation
- Take the manifold to a fabricator to plane the flanges flat
- Exhaust wrap the manifold and reinstall the setup
JB, I feel ya, bro.,. our advances... often only serve to illuminate what we didn't consider or act on. We exchange time and hard work for progress..., rarely perfection. Then do it again. I wish I had your fabrication skills. Kudos to your persistence, and good luck on future progress.
Decided to put the balance tubes between the runners while the manifold was out. At Brettus' suggestion I have the balance tubes joining the outer runners perpendicular to exhaust flow, and joining the center runner flowing towards the waste gate. This will allow some flow from center to outer runners while the WG is closed to help the turbo spool slightly sooner, and will allow outer runner exhaust to flow to the center runner towards the waste gate once target boost is achieved for better performance at higher power. Drilling out the outer runner for the second balance tube.
Can see the first balance tube already welded in place, above and to the left of the waste gate flange. Terrible welds, but I wanted to get it all done in one weekend, so went with speed over finesse.
Second balance tube in place, ready to weld.
I used a metal ruler edge to identify the amount of warping on the flanges, and the rear engine port area is quite bad. Assuming my cutting disk can reach through the runner I'll cut the runner off the engine flange, bolt the flange flat on the spare engine block and re-weld it. This will reduce the amount of material to be removed from the flange by the linisher from about 5mm (~3/16") to 1mm (~1/16").
Planning to get it done by the end of this week so I can get it back on the car this coming weekend.
Last edited by JimmyBlack; Oct 22, 2018 at 04:41 PM.
The new setup uses exhaust wrap on the manifold and a turbo beanie. The turbo is oil cooled only, so I'll have to make sure I idle the car for a few minutes after hard driving before switching off to ensure the turbo cools down enough not to cook the oil when the car is shut off.
I put everything back on the car over the weekend with new oil and filter. Fired her up, no oil leaks or warning lights, just a whole lot of smoke as the oils from the exhaust wrap burned off. That's apparently normal, and the car stopped smoking after about 30 minutes or so. I had a bucket of water and a fire extinguisher on standby just in case lol.
Car is nice and quiet, and doesn't stink of exhaust for the first time in ages as there are no longer any exhaust leaks around the manifold.
BOV is VTA currently, where it used to be re-circ'd. I'm using the HKS SSQV and not seeing any symptoms of rich idle immediately after BOV vents. I'm liking the pretty subtle sound of it, so will keep it that way unless there's a good reason to re-circ.
So far I'm on WG spring pressure at 6psi. The boost pressure is extremely stable compared with previous Greddy setup. The old Greddy would have boost level fluctuating by about 0.3psi with each pull. With the external WG it's a solid 6.0psi consistently with each run, and it stays that way from when it hits target boost through till redline. At 6psi, the AFRs at WOT are good - consistently hitting 11.9-12 AFR (target AFR is 12), so the tune is in a safe state to drive. It's likely that higher boost levels will require tuning, as the tune hasn't hit that area previously. Before I turn up the boost I'll grab some 100 octane gas from the new petrol station and set target AFRs to 11.3. In NZ, standard octane is 91 and premium is 95-96. There's no e85 in my part of the country, so I'm stoked to see 100 octane just arrived here.
How does the setup feel compared to previously? More consistent, reliable, solid, and the engine feels way less strained than it did previously. 6psi of boost on the new setup feels like about 10psi on the old Greddy setup. That's very promising as the car will be significantly faster when I wind it up a few more psi. It's one thing to know that this was going to be the case on paper, but it's another to experience it first hand. It really shows how much more efficiency is gained by the larger turbine housing. One surprising and good observation is that spool up is no worse than my previous Greddy setup.
Looking forward to turning up the boost over the next few weeks.
















 I wish I had your fabrication skills. Kudos to your persistence, and good luck on future progress.