When you click on links to various merchants on this site and make a purchase, this can result in this site earning a commission. Affiliate programs and affiliations include, but are not limited to, the eBay Partner Network.
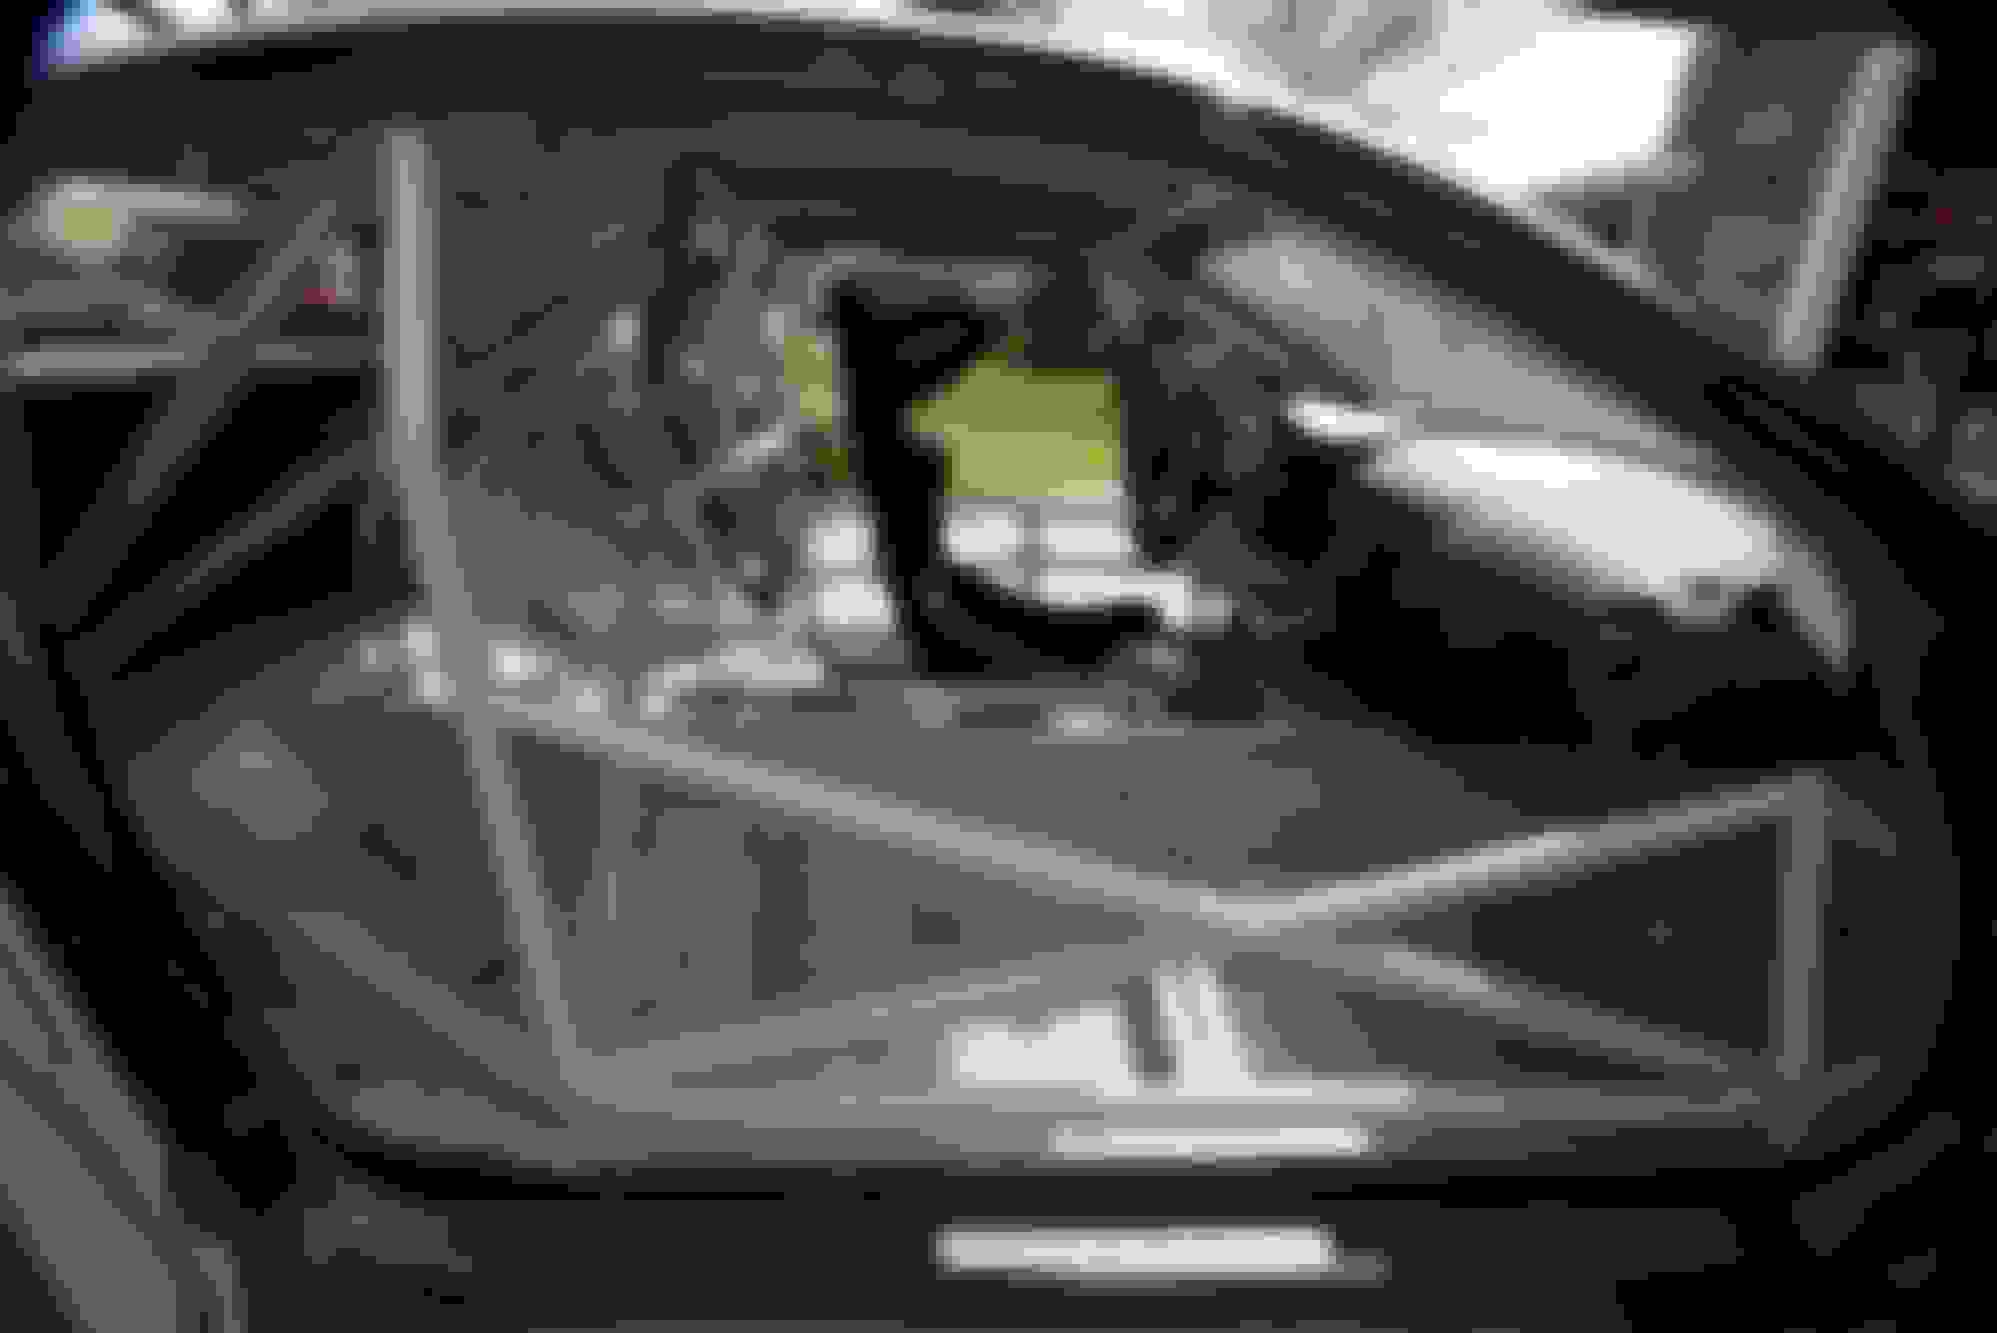
Back to dropping the rear subframe with suspension.
On the wheels and tires its easy to roll backward if the chassis is up high enough (the highest notch on my jack stands) and if the rear bumper is removed.
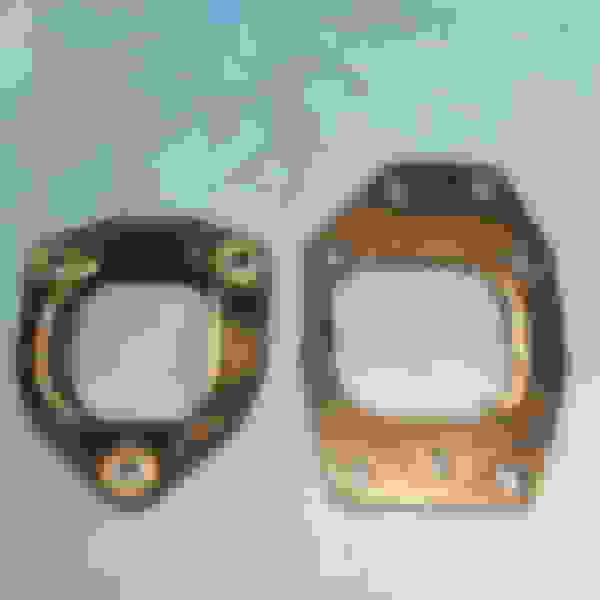
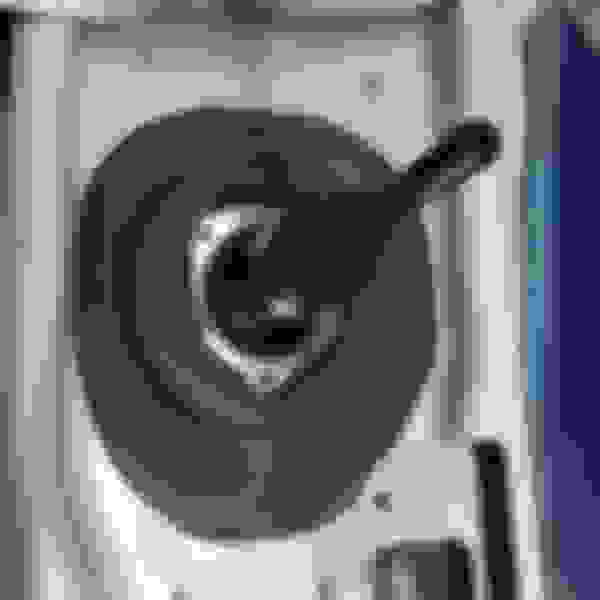
At this point I've rotated the whole assembly so its upside down. This whole operation was to install a 4.77 S2 differential. I had remove the normal 4.44 S1 diff earlier in the project.
With both axles in place the right side suspension arms were splayed out to allow the right axle to move outward, making room to fit the diff in the center and onto the left axle. The right axle was then slid into the diff, and then the right suspension arms re-installed.
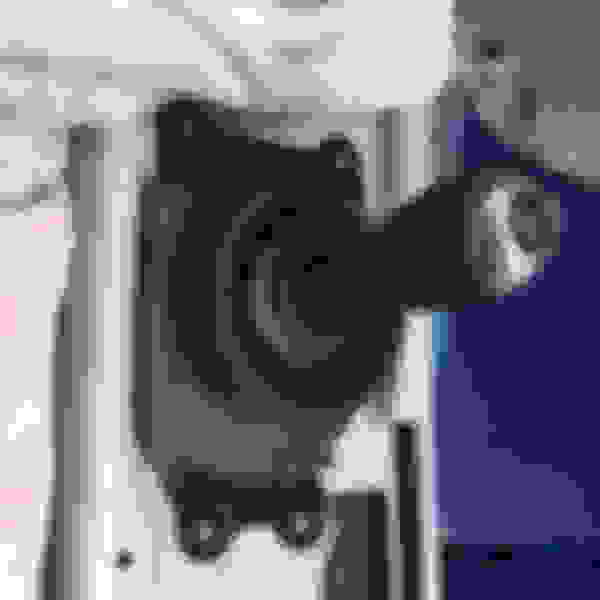
Everything re-assembled, ready to rotate clockwise to return to right side up, then roll under and be lifted in place.
Last edited by racer-tom; Dec 8, 2022 at 08:26 PM.
If you're referring to the NASA NorCal Region's opener at Thunderhill Raceway on Feb. 20-21, I'll be at the track. However, I'll be with Tracktime on the 2 mile West side, whereas NASA "proper" will be on the 3 mile East side. I'll be running the Honda Civic again in the HPR race on Saturday. I'll probably get over to the west side at some point if only near the end of the afternoon.
Last edited by racer-tom; Feb 4, 2021 at 07:28 PM.
I've been busy with a number of things, and some of them have even been race car project items.
I had purchased a used Race-Roots Syncro-Saver awhile back and got tired of looking at my transmission shifter installation un-finished. So, I tackled this one following the forum guide noted for Series 2 transmissions at the end of the instructions from Race-Roots.
The first thing that I had to resolve was the orientation of the main plate. As I received it, the main plate wasn't lining up for use on my S2 tranny. It turned out that the plate as received (assemble with the stops bolted on) was upside down. The S2 reverse lock out on the left side needs more bracket clearance than on the right. The narrower bracket width on the left can be seen here compared to the right, after flipping the main bracket over. The un-modified OEM plastic shift gate can be seen below the bracket.
As the forum instruction suggested, I aligned the bracket on top of the OEM plastic gate, then marked the area which would be retained inside the bracket. I wanted to retain as much of the reverse lockout plastic material as possible, since it appeared that the height of the saver bracket wouldn't work for that function. The forum guide simply used the previously mentioned markings as where to cut back the gate plastic. I wanted to provide support material on the left side beyond what the as-is method was going to provide. I also wanted to retain the right side gate for the transition to 5th/6th gears. To do this I opened up the center hole on the bracket. The OEM plastic gate on the left. My in progress bracket on the right showing how much it was being enlarged on the right inside.
Trimming back the plastic was the same as described in the forum instructions, albeit leaving more material to support the left side and leaving similar material on the right rather then shaving that side completely flat. This is how the finished mods ended up. The retained plastic gate material is silver/grey color inside the black saver bracket. You can see how much higher the left side goes toward the mounting hole before curving right. You can also see the upper left notch to retain some bridge material on the left gate.
The tougher decision was how to deal with the lower seal, as the instructions didn't describe this or show it well. I didn't feel comfortable trying to sandwich the top of the rubber boot between the plastic gate and the saver bracket. So, I decided to trim the rubber where it interfered with the bracket.
This is what I removed from the top of the lower boot.
Another view of the lower boot trimmed.
And with both the gate and shift laying onto and in the boot. I left as much of the boot sticking up on the left and right sides.
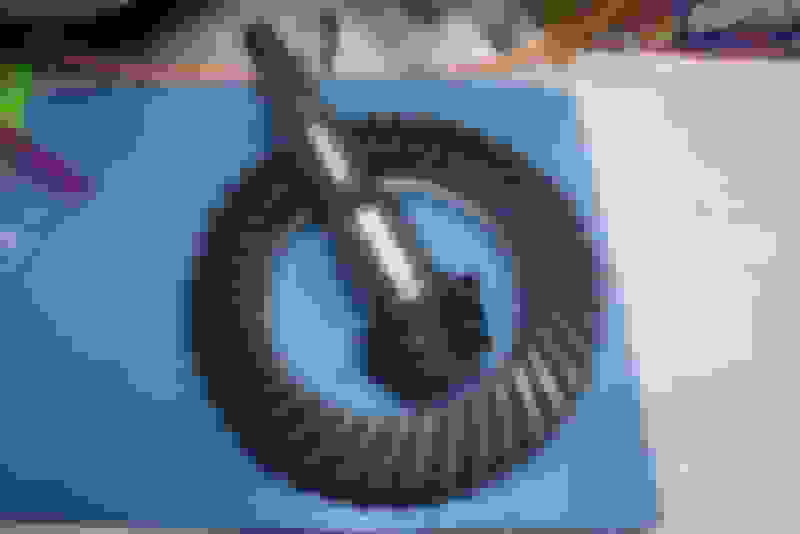
I've also been doing some work on my race differential. I acquired a 5.12 ring and pinion some time ago, and got a 4.44 complete diff out of a 2007 car. While deciding on a shop to swap out the gears for me, I stumbled across a NASA member benefit 25% discount at Motorsports Metal Finishing who provide micro polishing process service which "reduces roughness, lowers heat, increases oil retention and part life. This process is especially effective on hypoid gears in transmissions, differentials, ..." With the low cost and discount, I decided to give it a go. I won't be able to provide any effective test results on with and without. I just know that with this low of a gear ratio (or high - depending upon how you look at it), the diff temperatures run high. Even though I plan to run a diff cooler and good quality gear oil, I figure every bit'll help.
It's hard to capture the before and after surface finish, but I'll share a couple of photos I took. Before polish After polish. The bearing surface was masked off, so was not treated. However compared the taped area of the pinion shaft to the previous photo. Before polish. Look at the standard surface finish between the ring teeth. After polish. My photo doesn't show very well how smooth all of the surfaces are.
The back side of the ring is amazingly smooth. So much so that one has to be careful holding it because its so slippery. I didn't take a photo yet, but I'll have to take time and do that.
That is the question of the moment. In recent photos I described installing a diff back in. That one has a 4.77 with a OEM LSD. That's what's in the car now and what I'll get up and running with.
The 5.12 needs to be assemble into a pumpkin I just took apart. During that disassembly, I realized that the factory "torsen" is not the gear driven type that I naively thought it was. I didn't have a different LSD on my radar until coming to this realization, thinking that the stock one was good enough. So, this has me now questioning what I should run. I'm going to run the 4.77 with OEM LSD to start with and see how that goes while I explore and think about options.
My approach with this project has been not to cheap out on everything, but to spend reasonable money where there is performance value to be gained. To that end, I don't feel like spending $1K or more on an LSD that is not really needed. However, if not changing it means leaving X.X seconds per lap on the table, then I'll definitely consider it.
What are you running Thai? And has it made a difference over OEM LSD?
Last edited by racer-tom; Jun 30, 2023 at 02:18 PM.
Oem LSD is garbage, might as well be open diff. I realized that when I ran hoosier and get inside wheel spin ever corner. And when I took the diff apart and saw that it wasn't torsen diff. I ended up with OSG diff. Huge difference over oem. But I also found out after getting the OSG that rx7 FD diff are interchangeable with rx8, and they are torsen. And can be found for $250. I see them on rx7 group regularly.
I didn't realize it was you till you mentioned my name. Lol
Last edited by trackjunkie; Feb 5, 2021 at 06:47 PM.
Yes, I recently saw a gear type torsen LSD for sale for RX7/RX8 for about $300. That is easily digestible for a meaningful difference. I also like that they have no wear items to speak of.
BTW, the coils from you are installed and ready to go in my car.
as long as one of the rear wheels never comes off the ground ...
the OE is a cone-clutch type, it’s been mistakenly called a Torsen for a long time, even by me in the early days
I’d stick to the factory one over a Torsen. Pretty sure TJ would agree you can’t really go wrong with the OSGiken, but make sure you use their oil is my recommendation.
.
as long as one of the rear wheels never comes off the ground ...
the OE is a cone-clutch type, it�s been mistakenly called a Torsen for a long time, even by me in the early days
I�d stick to the factory one over a Torsen. Pretty sure TJ would agree you can�t really go wrong with the OSGiken, but make sure you use their oil is my recommendation.
.
.
Lol definitely use the recommended diff fluid with OSG. I made that mistake the first year till Mark mentioned it. Its night and day difference with the correct fluid vs the redline fluid I was using.
I don't know about the oem diff, maybe my diff was blown but it felt like open diff. I got so much wheel spin when I was running hoosier, from increased lateral Gs. Maybe it's a different story on street tires.
it was probably bad or going out, they do wear and aren’t really rebuildable.
can’t really go wrong with an OSG imo, the US (excellent) service center is in Kalifornication so at least you got that one thing going for you if you live there
.
My car has mostly been just sitting, buried in the garage. However recently I was finally able to clear out all of the stuff around it, on top of it, under it, and inside it. I weighed it is as it was. Then when the weather was nice, I was able to move it into the sun in the driveway and take many photos; https://sportsracernet.smugmug.com/For-Sale/RX-8
If you jumped straight to the photo gallery, you may have noticed that I have the car for sale. This doesn't mean that I've given up on the project. I'm merely offering someone the chance to buy it in whatever state it is on its way to being completed. Some of the finishing touches, such as wheel selection are personal choices. So, now is a good time for someone to "make it their own" before I take the project through its final steps
I was very pleased to see the weight come it at 2479 pounds. Yes, there are a couple of *caveats, but I actually think I could get it lower than where it is now.
I'll continue this build blog, with entries that I think might be of interest, as I finish the car and take it to its maiden track voyage.
Last edited by racer-tom; Mar 17, 2024 at 12:00 AM.
Well, my chapter of this book has closed. I had various interest in the car including one buyer for the chassis and roll cage as a simple roller to facilitate a jump start on an engine swap project. That prompted me to see if there'd be a serious buyer for the rebuilt engine. I was getting very close to a two part deal (chassis to one guy, engine to another), when a local buyer came through on the car as a whole. And it's nice for me that the car will remain local to me, so hopefully I'll be able to see it when its on track soon. Perhaps the new buyer (a team) will continue with this build thread or start their own.
I'll be posting for sale remaining new parts which didn't go with the car, as well as a huge listed of factory part out parts from 3 cars which I stripped along the way.
Last edited by racer-tom; May 3, 2024 at 12:23 AM.
Reason: Adding photo
I'll do a proper introduction in the New Member subsection, but I've been a lurker on RX-8Club since 2020 and purchased this from Tom yesterday. This will be the first my first time with the RX-8 platform, though I'm very familiar with rotaries due to my FD RX-7 that I built throughout COVID. A friend and I plan to complete this build by fall 2024 and do a few HDPE events, then prepare for Lucky Dog @ Sonoma Raceway ~ June 2025 which we'll race with a few other friends. We'll either continue the updates in this thread or start a new one.
Tom - thanks for such a thorough build thread, folder of all documents, and dealing with our technical difficulties yesterday. I'll keep you in the loop of our progress, and you're welcome to swing by and check it out if you're ever in Santa Clara.