kma5783's Build Thread
 11-19-2012, 09:46 PM
#151

Here are some pics of the recent work....
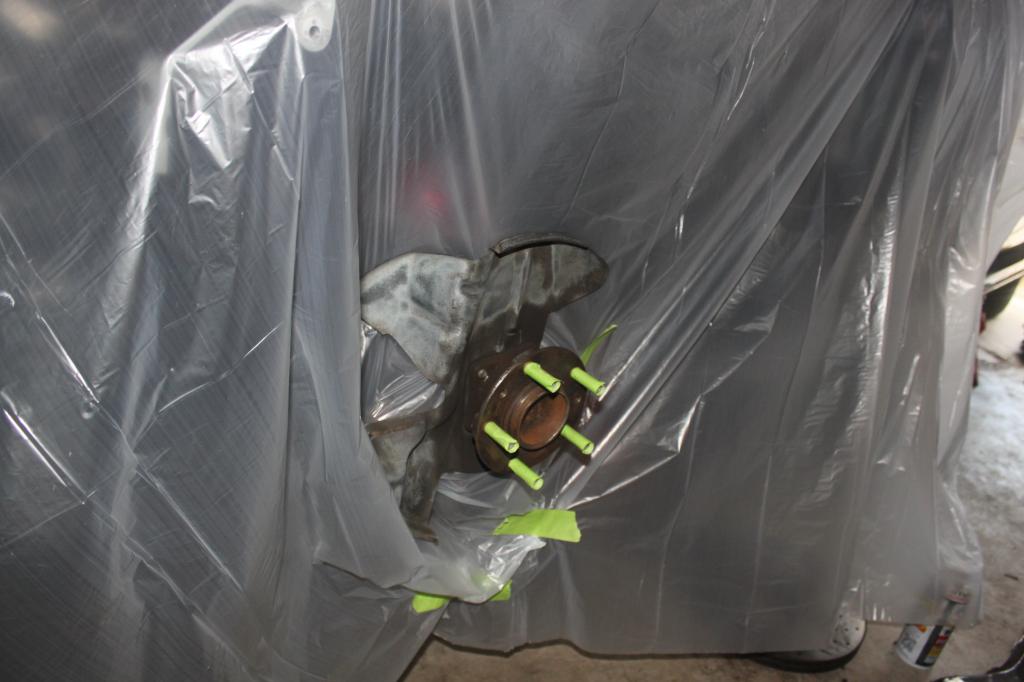
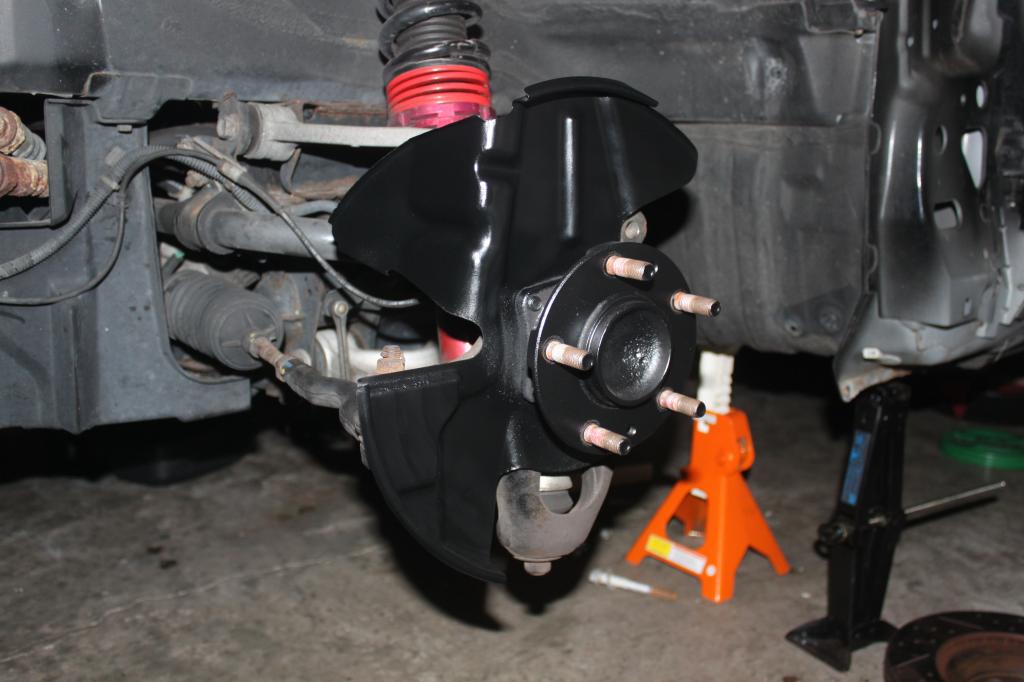
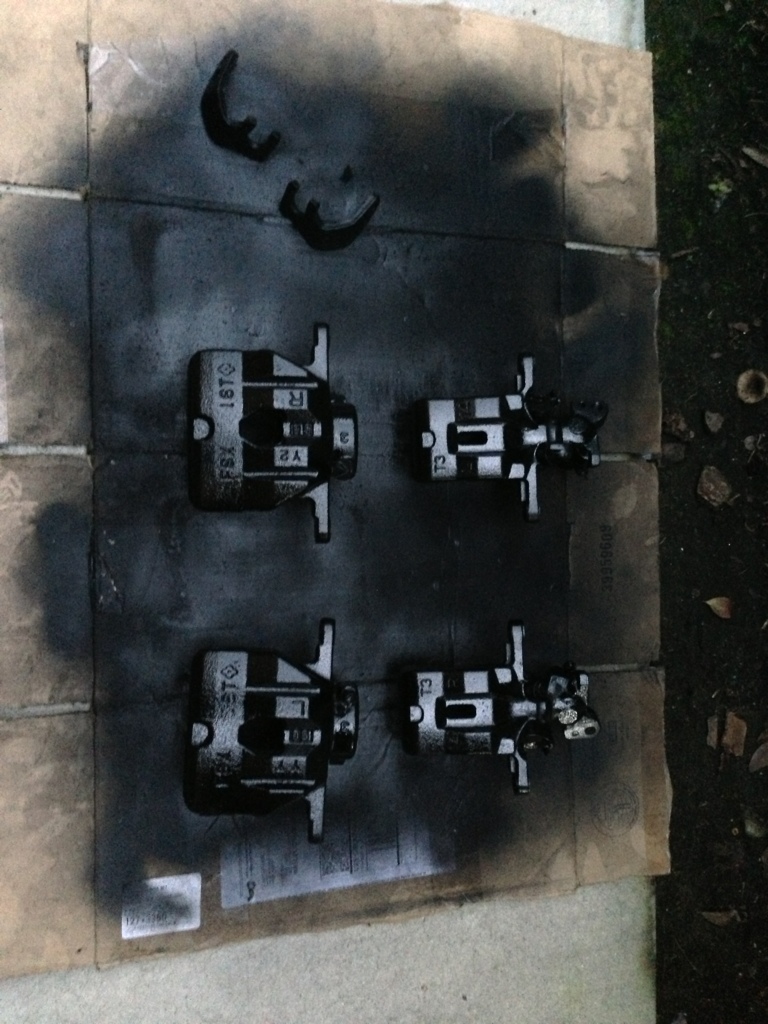
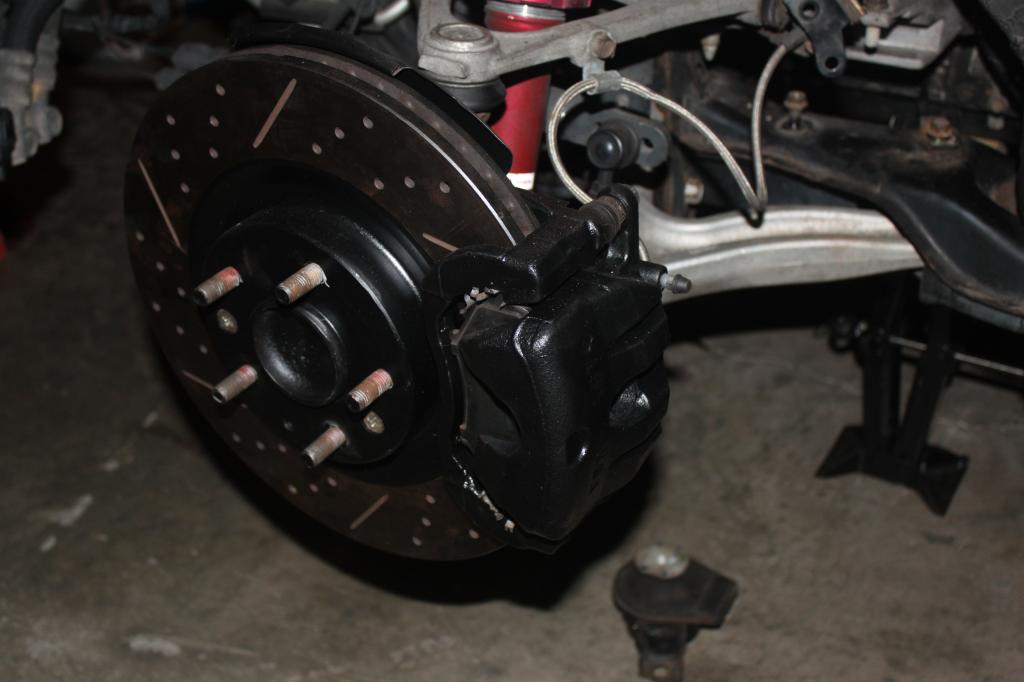
Brakes Painted


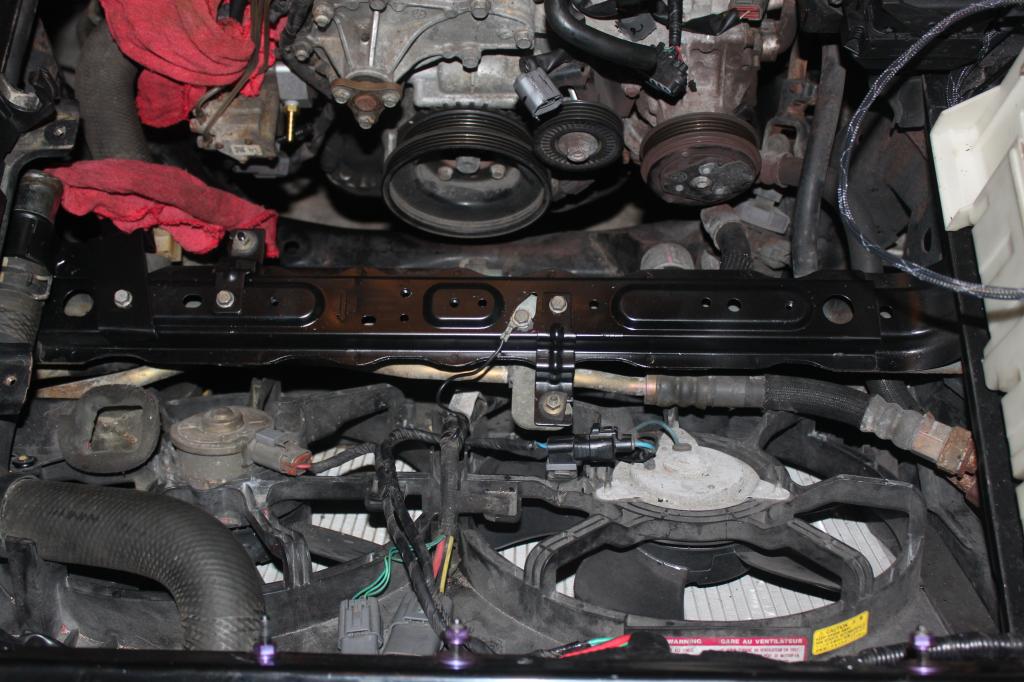
Cross Bar Repainted
Battery Harness Sleeved

Battery Harness back in the Car
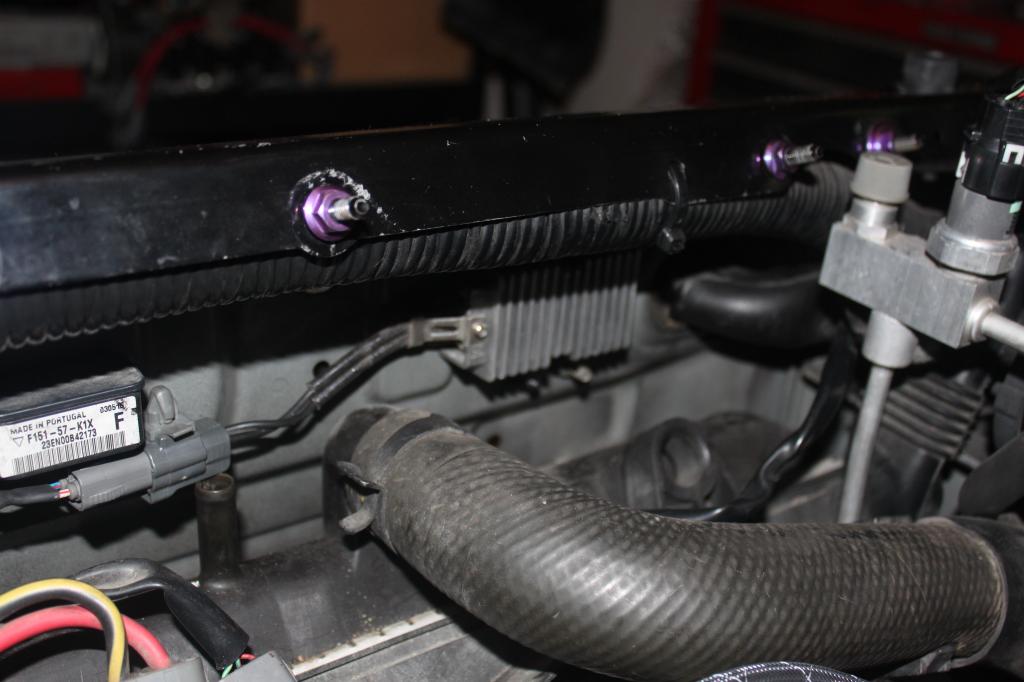
P2 and Secondary Injectors Removed
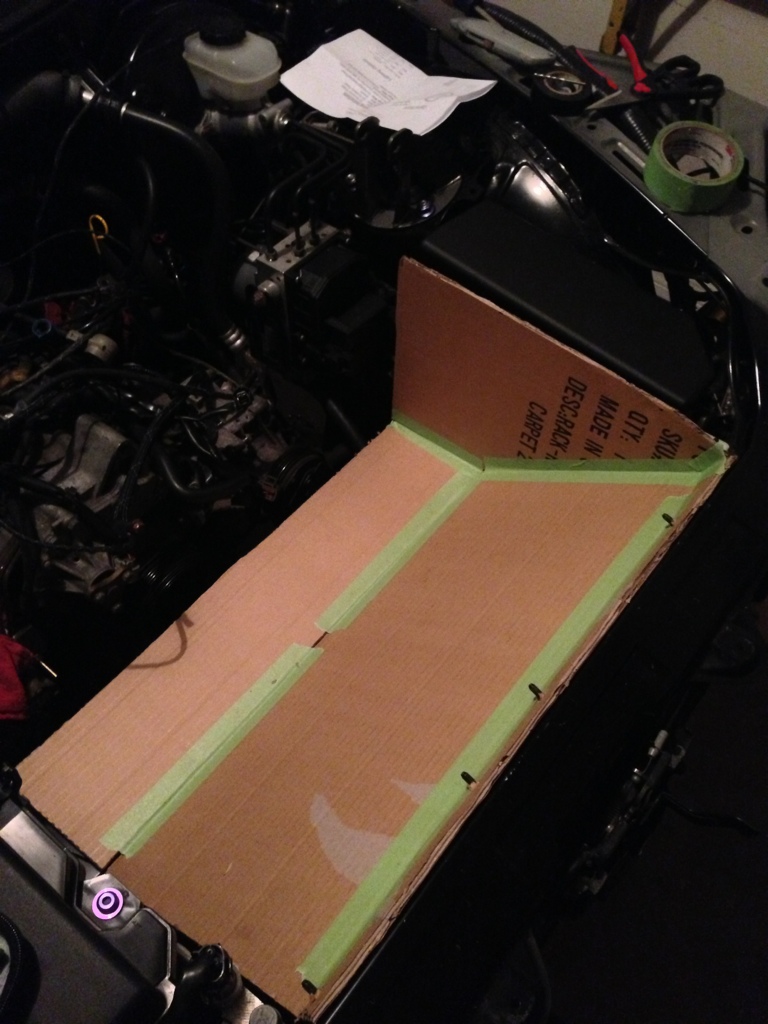
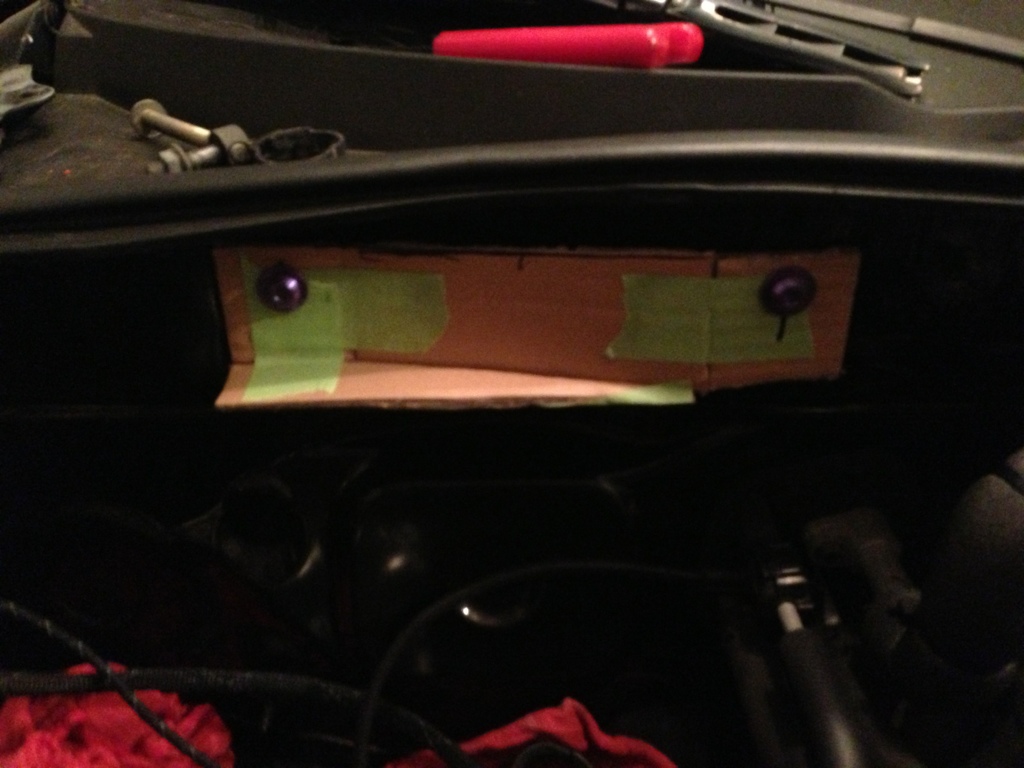
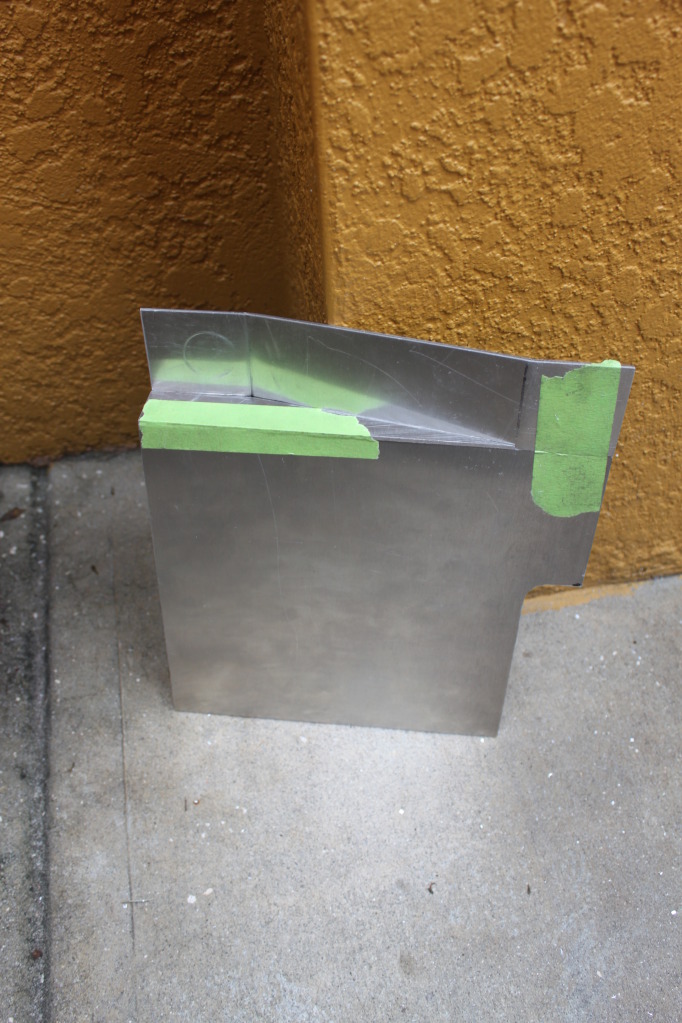
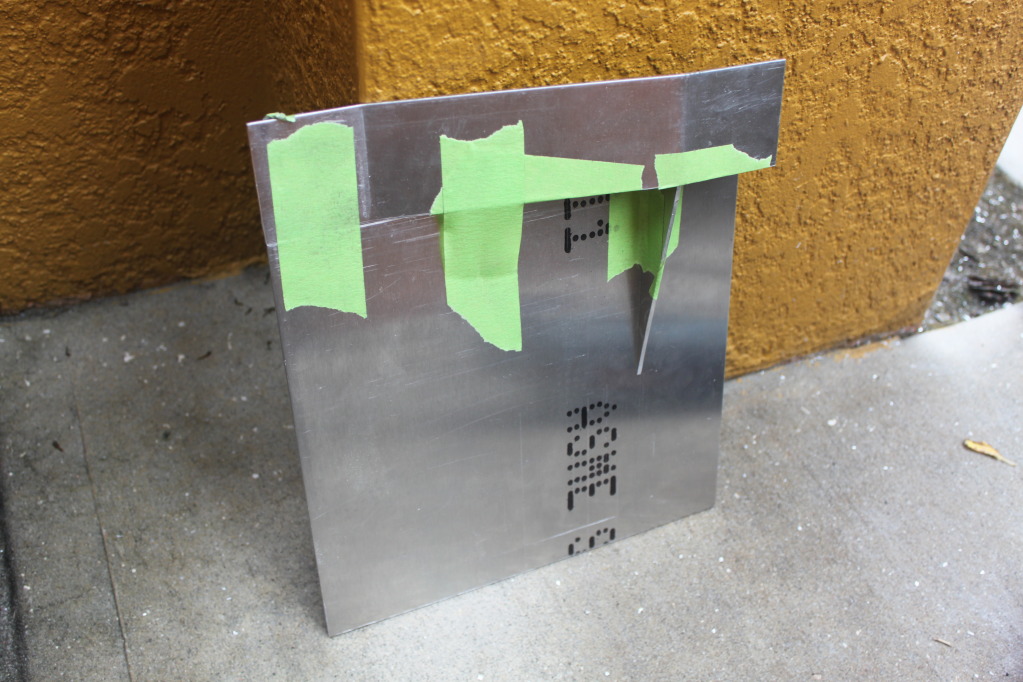
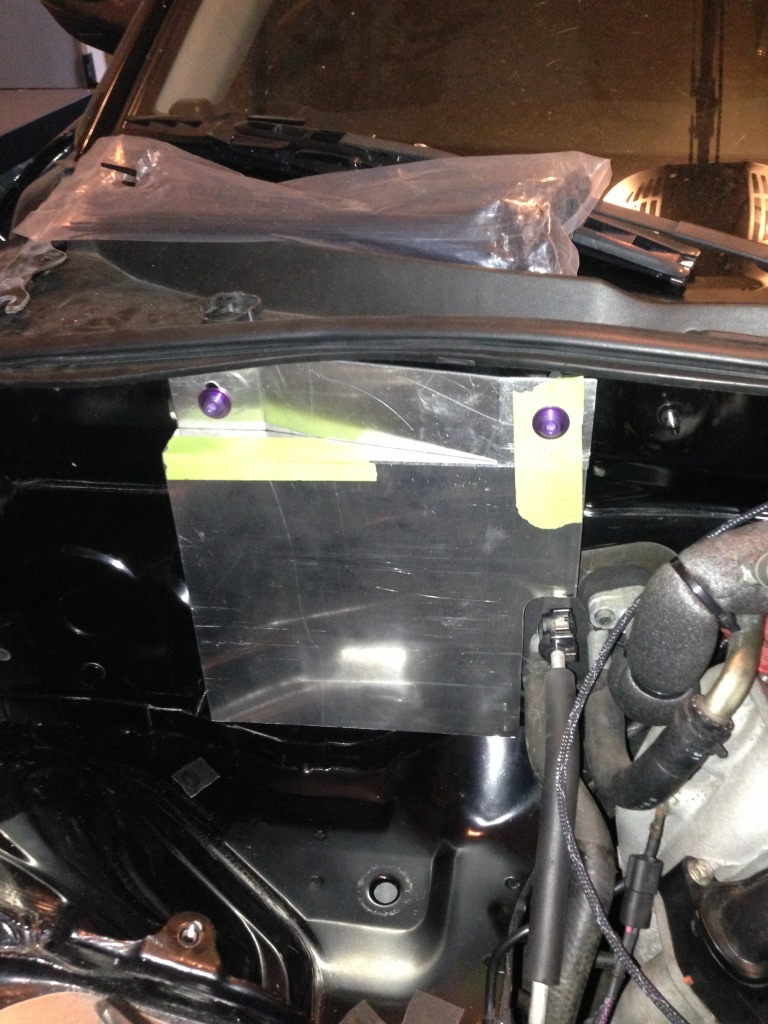
Airbox Tray Template
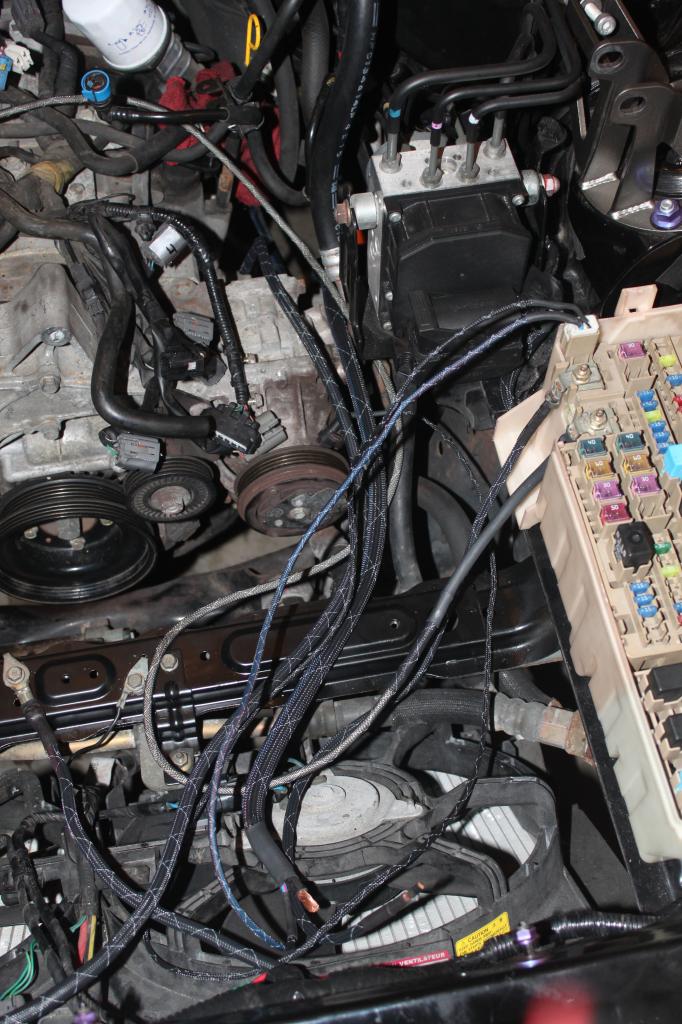
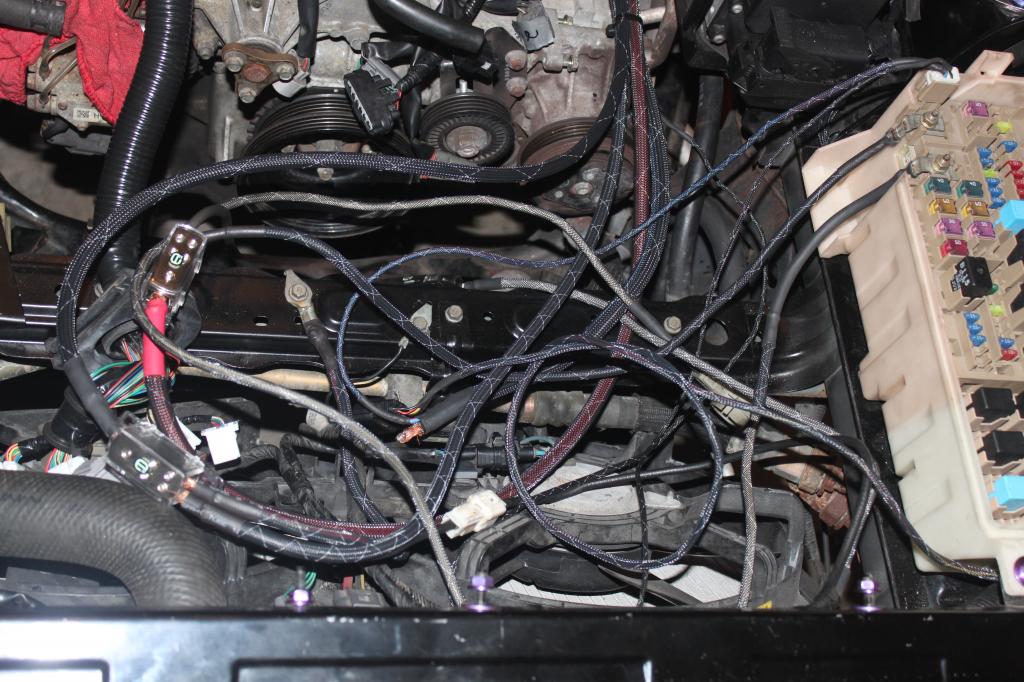
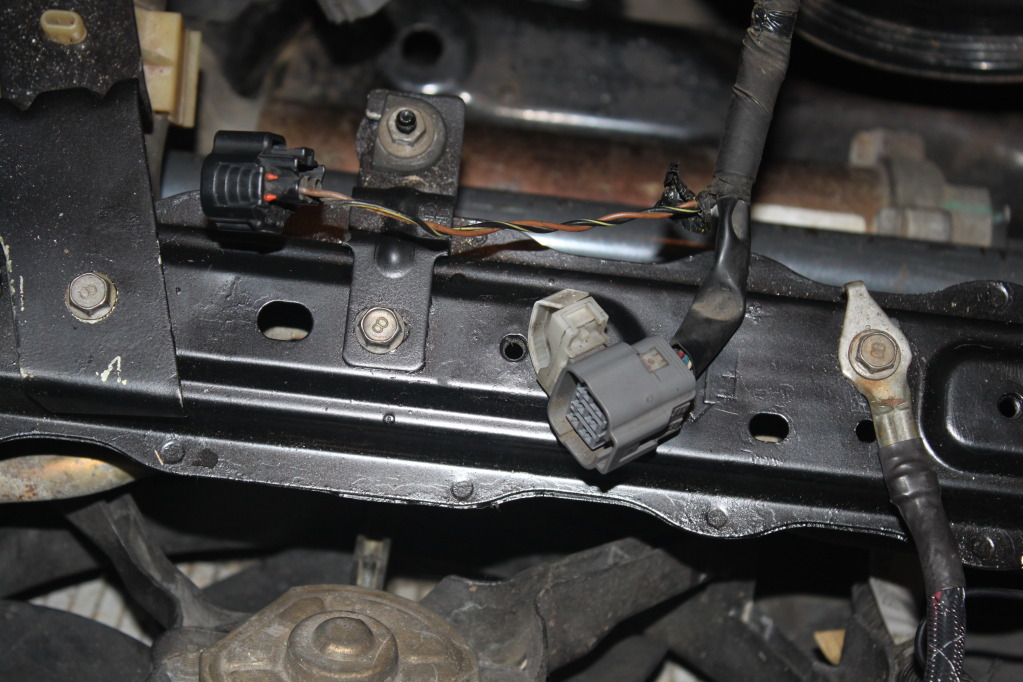
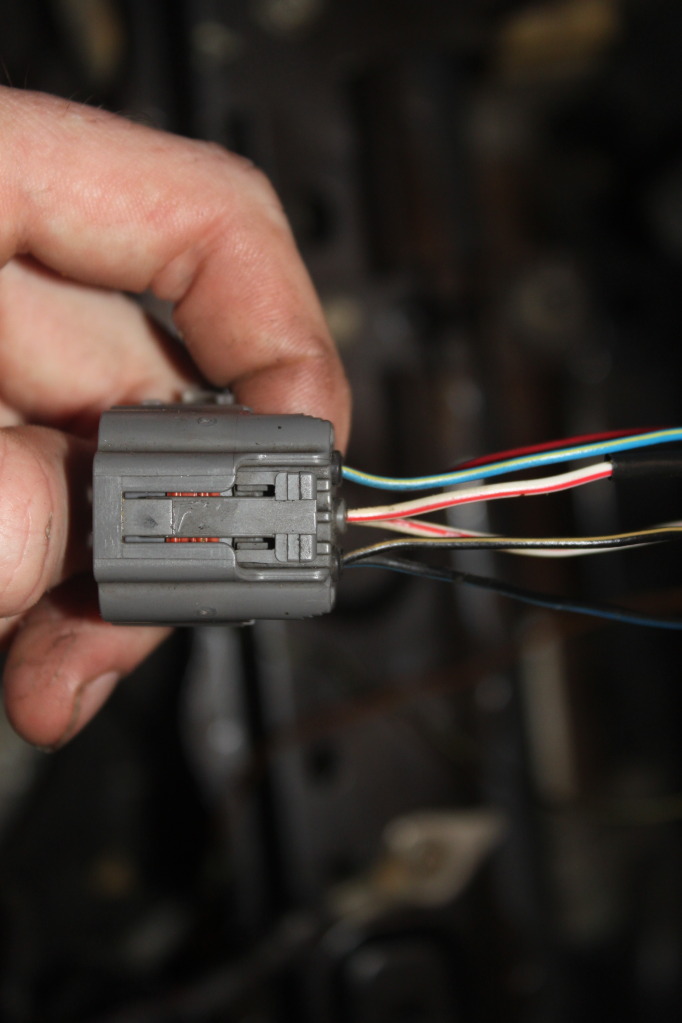
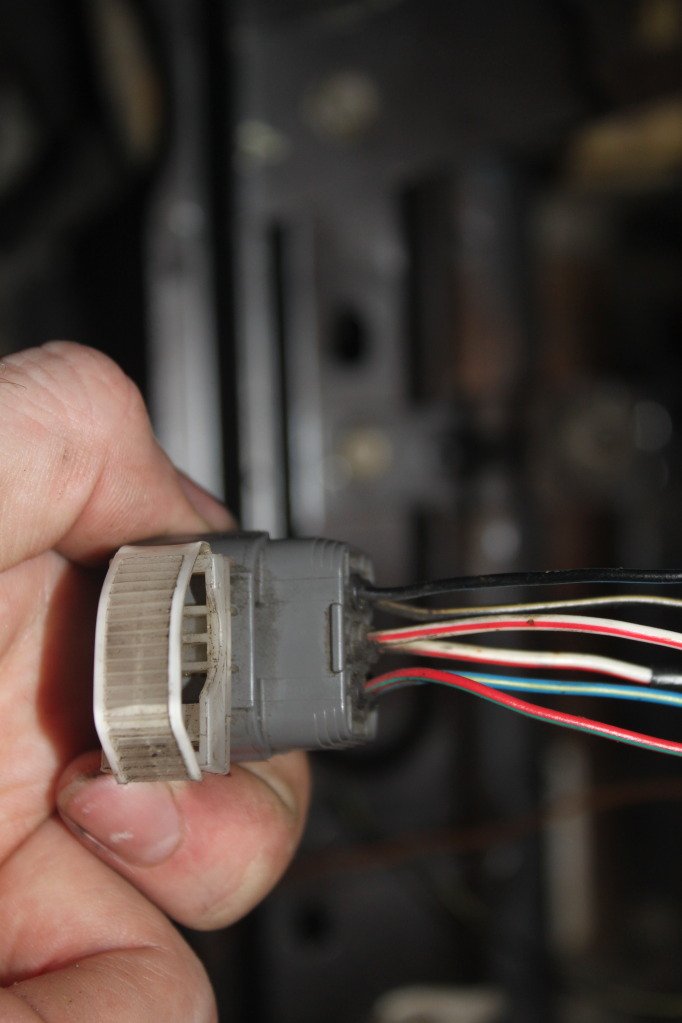
Passenger Side Harness
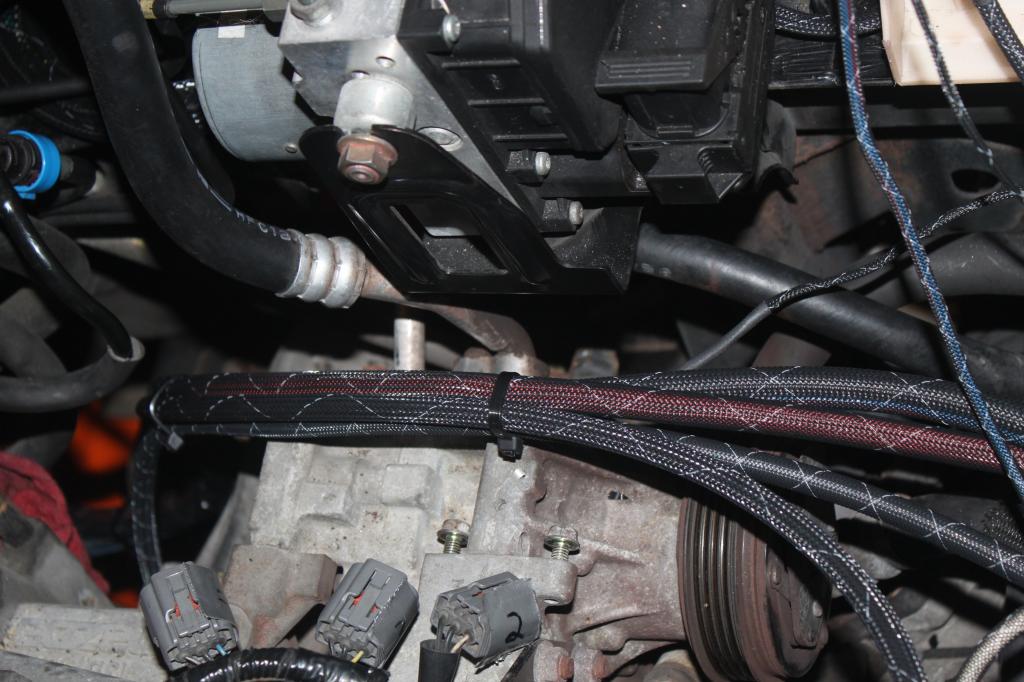
Battery Wiring Ran, Sleeved and Temporarily connected to test.
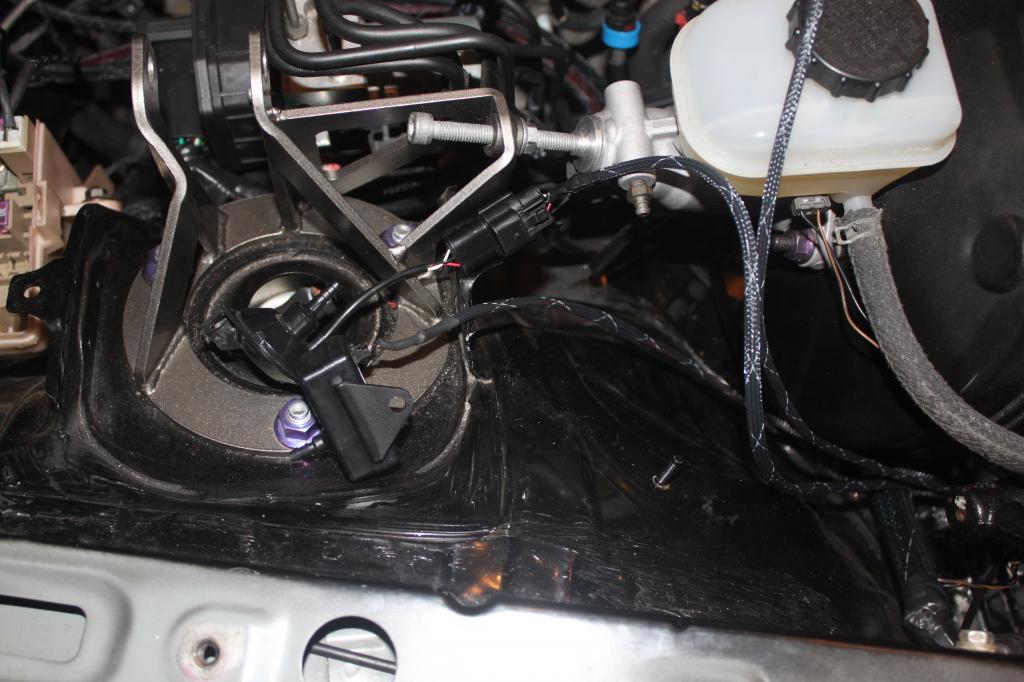
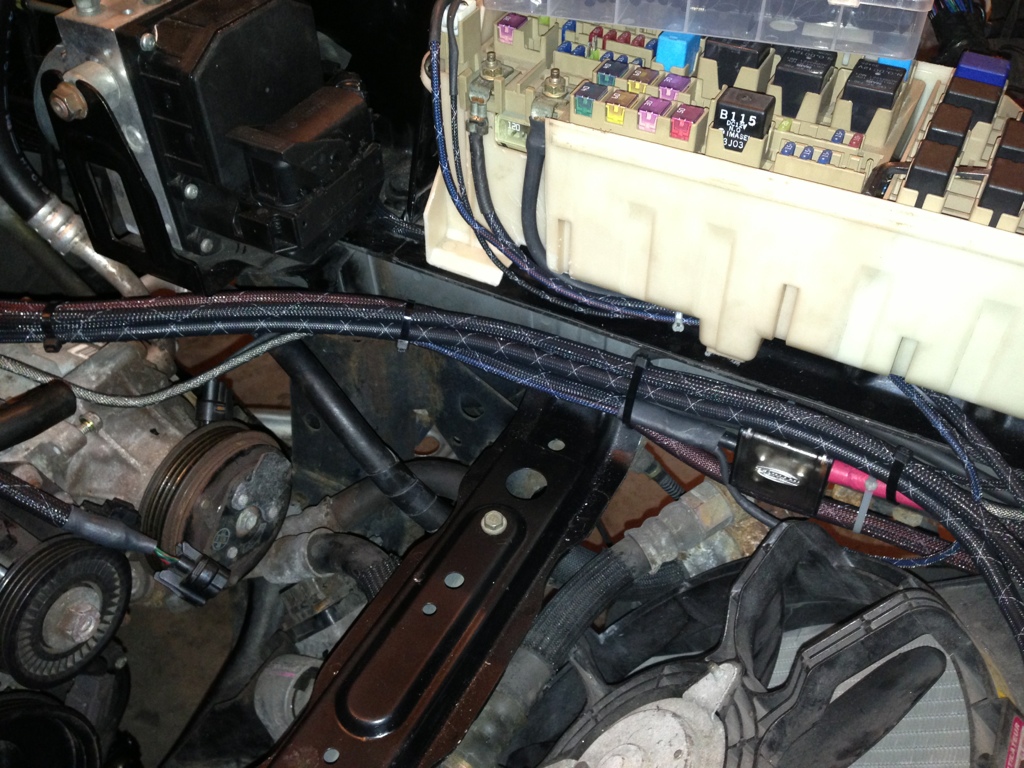
Boost Sensors and Wastegate Solenoid Wiring
Fuel Pump Resistor and MAP Sensor Wiring
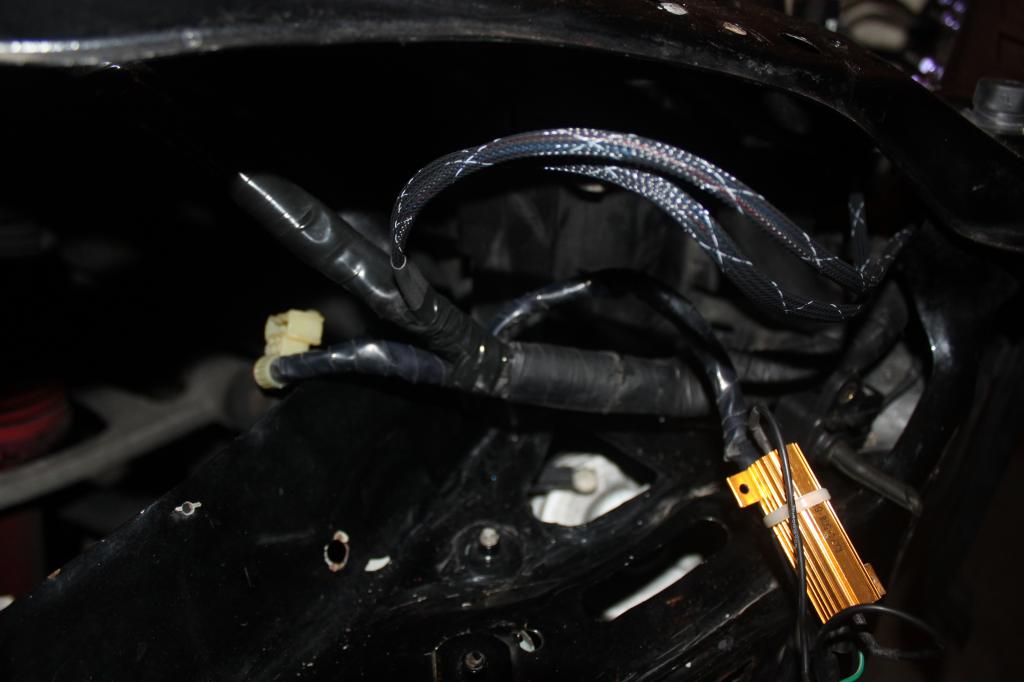
Fuel Pump Resistor Relocated
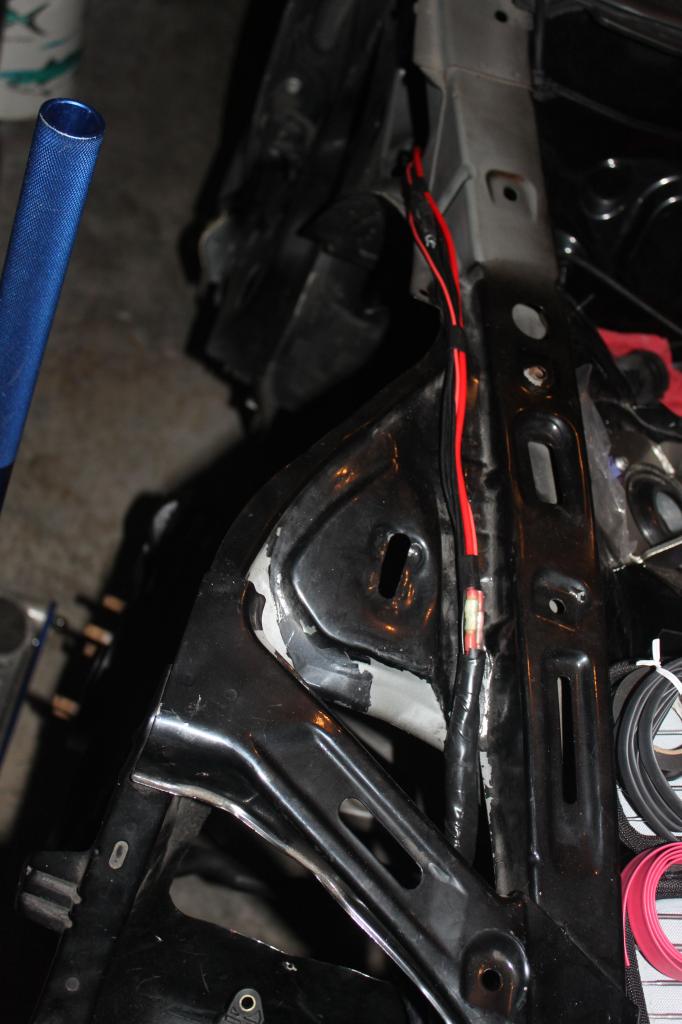
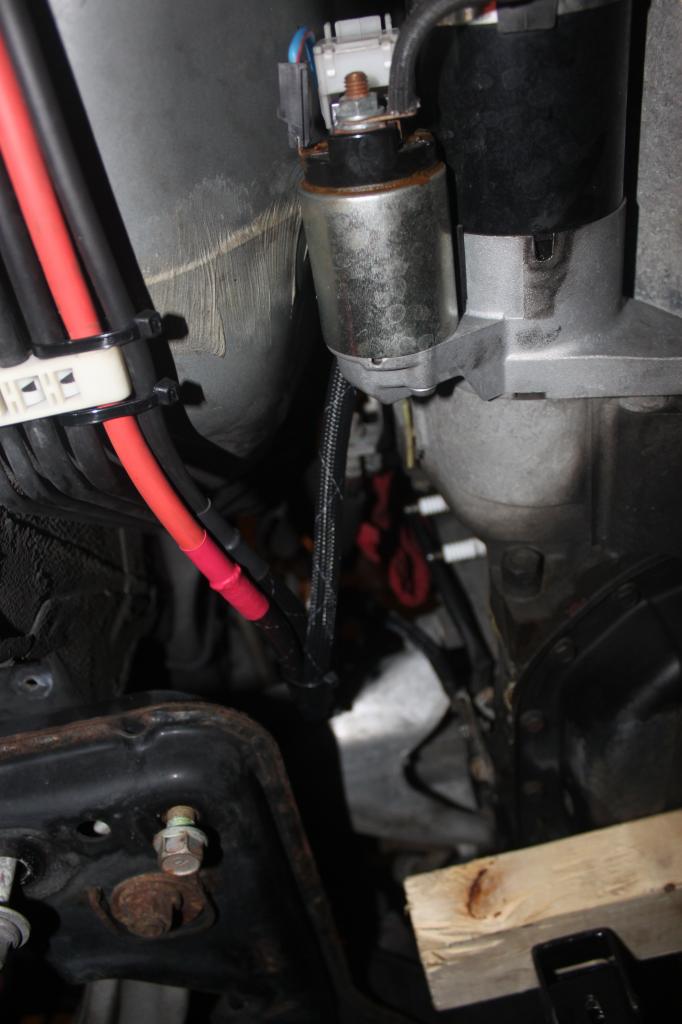
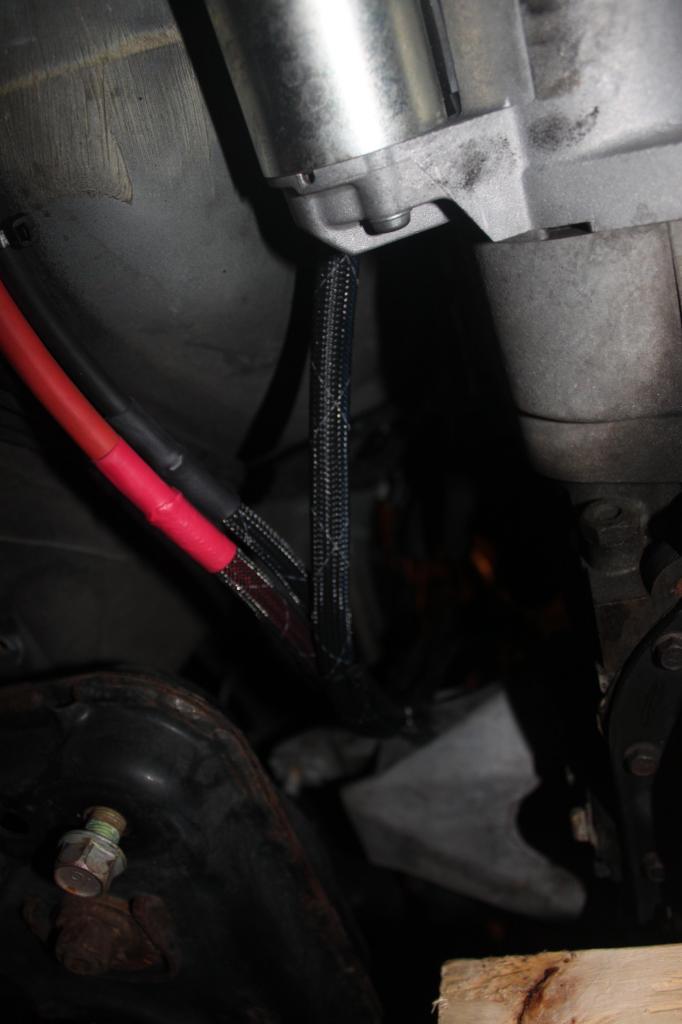
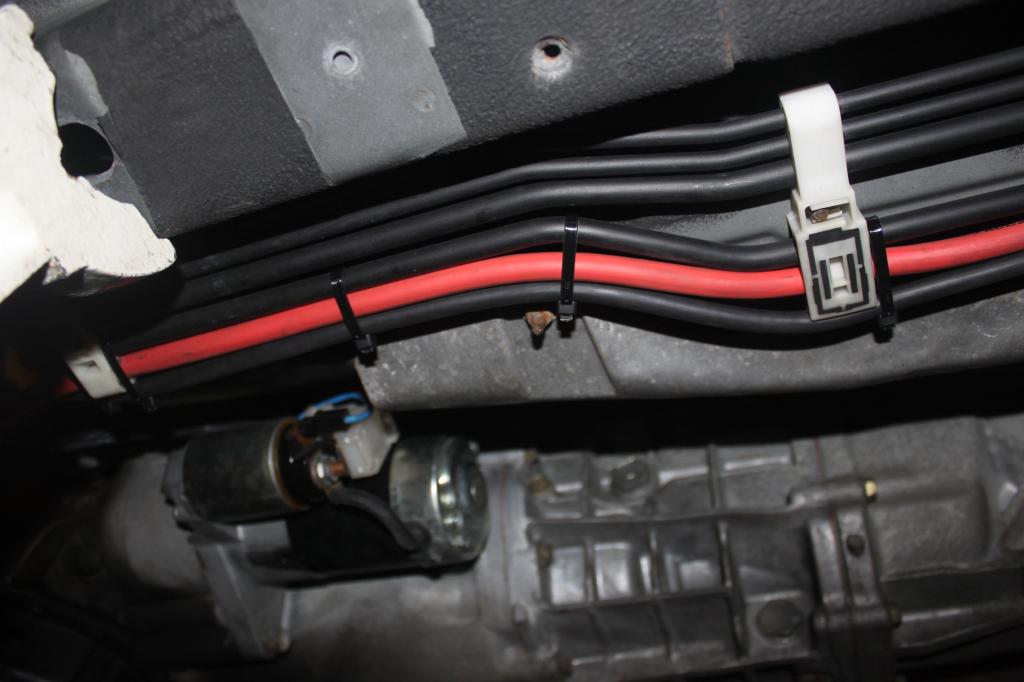
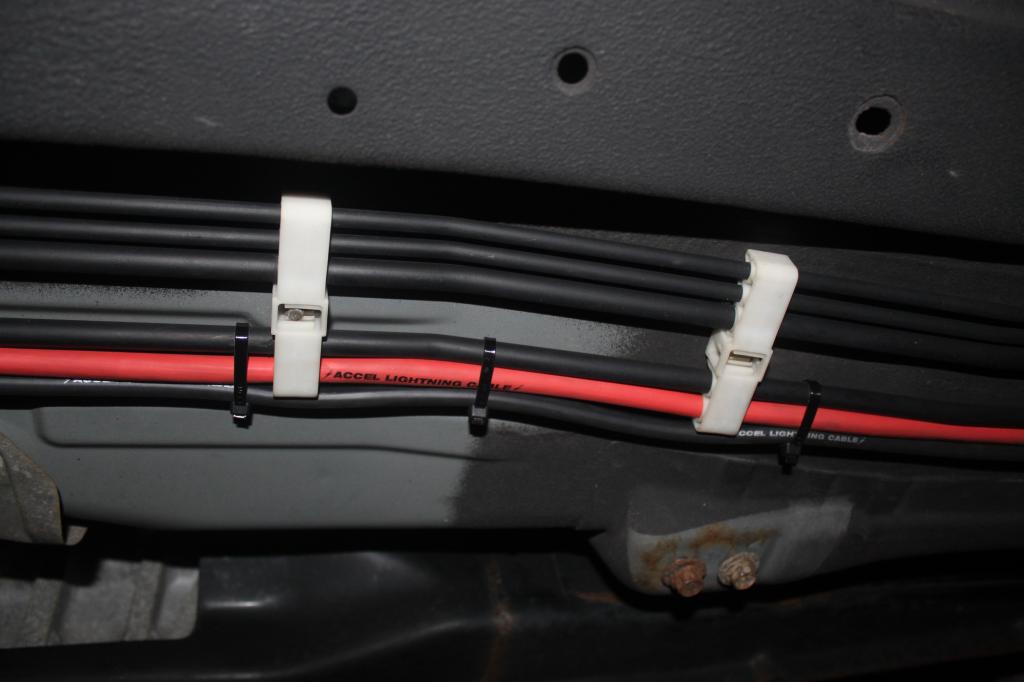
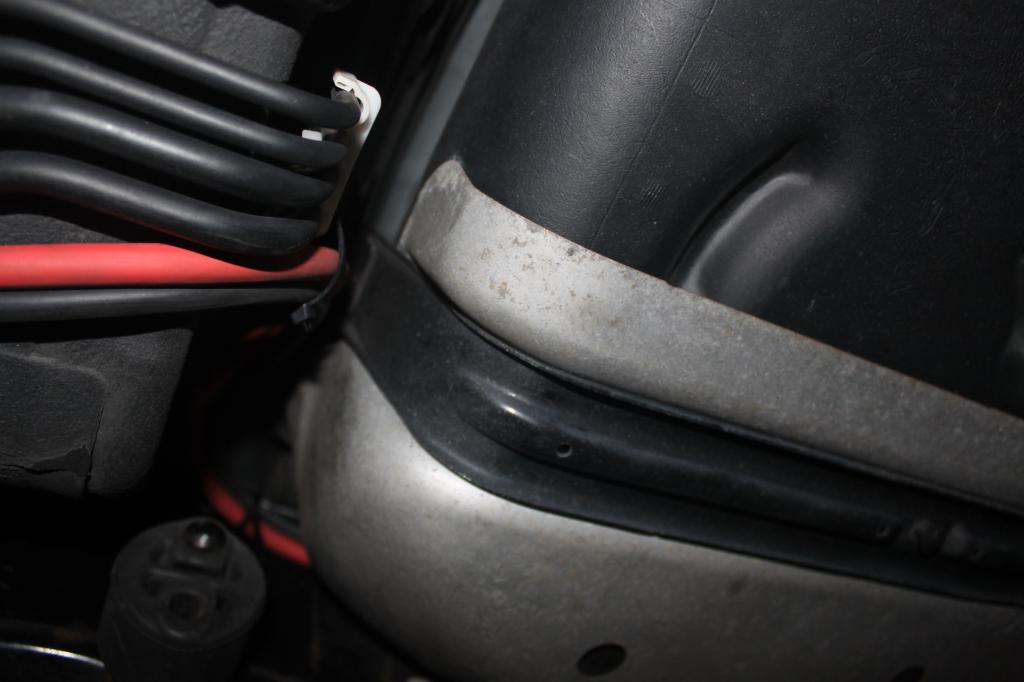
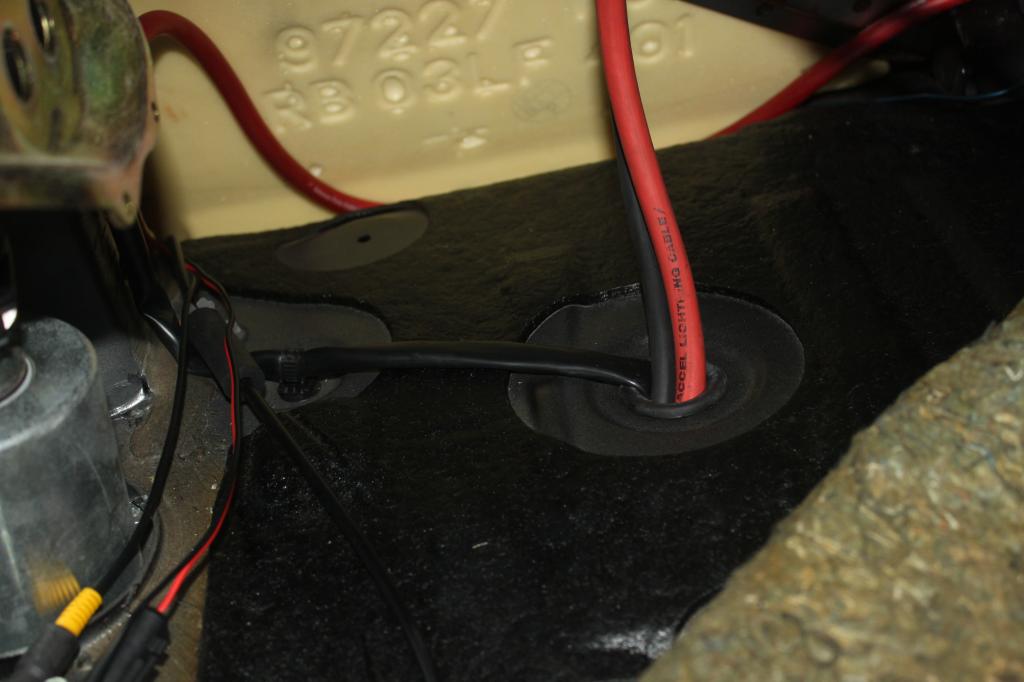
Battery Cable Routing
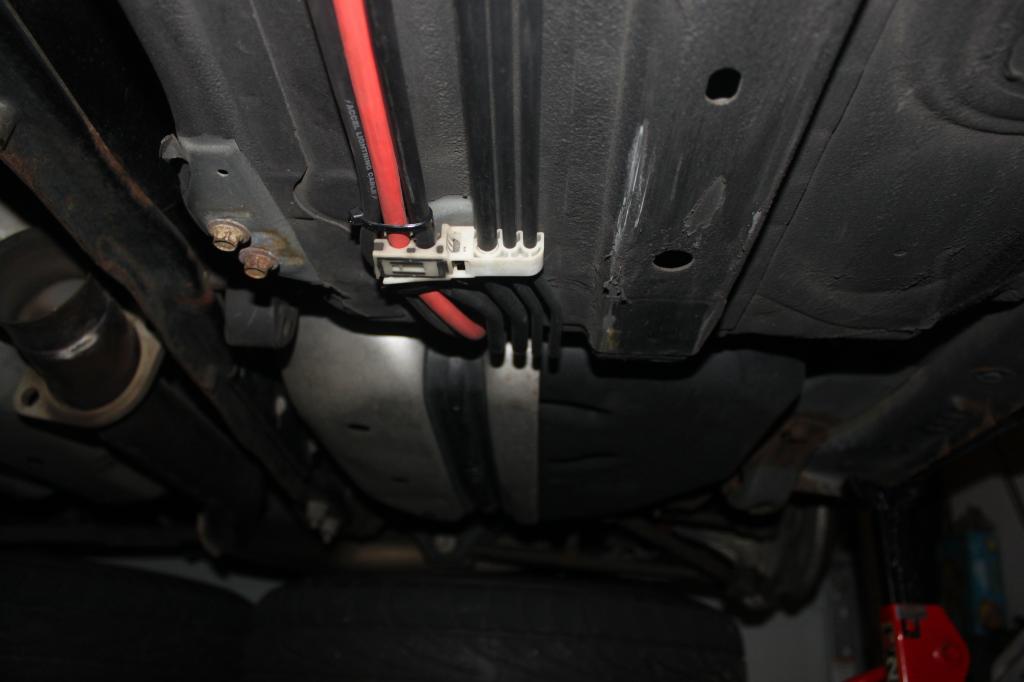
Battery Cable run into Trunk
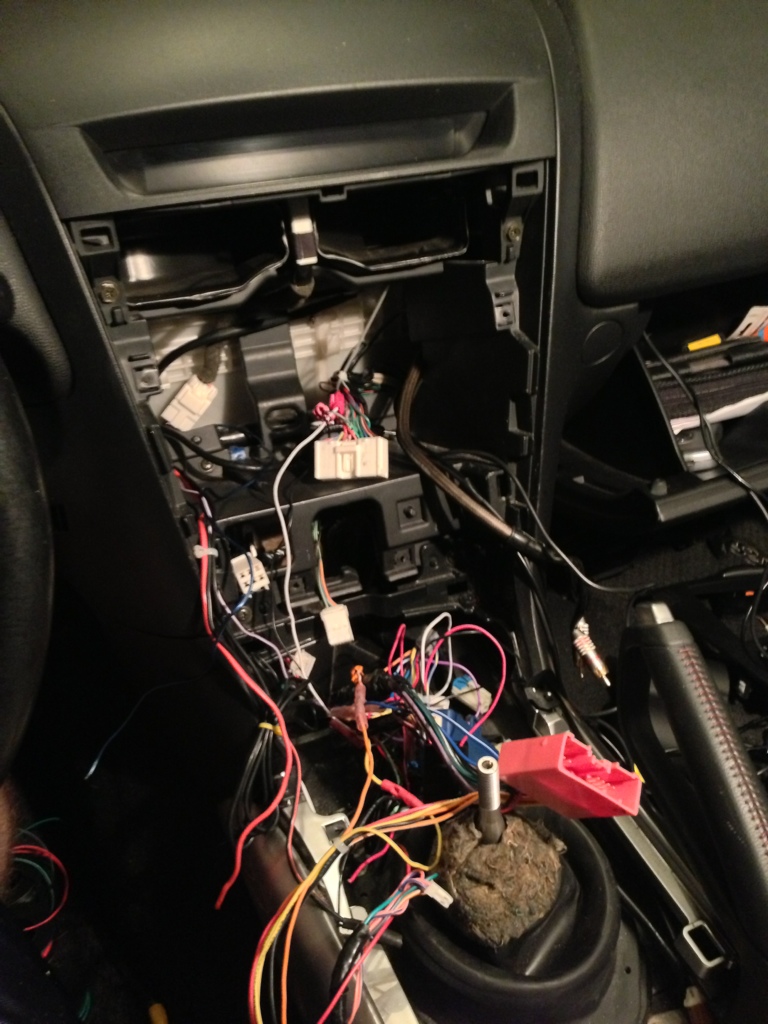
Mess of headunit wiring before rewiring
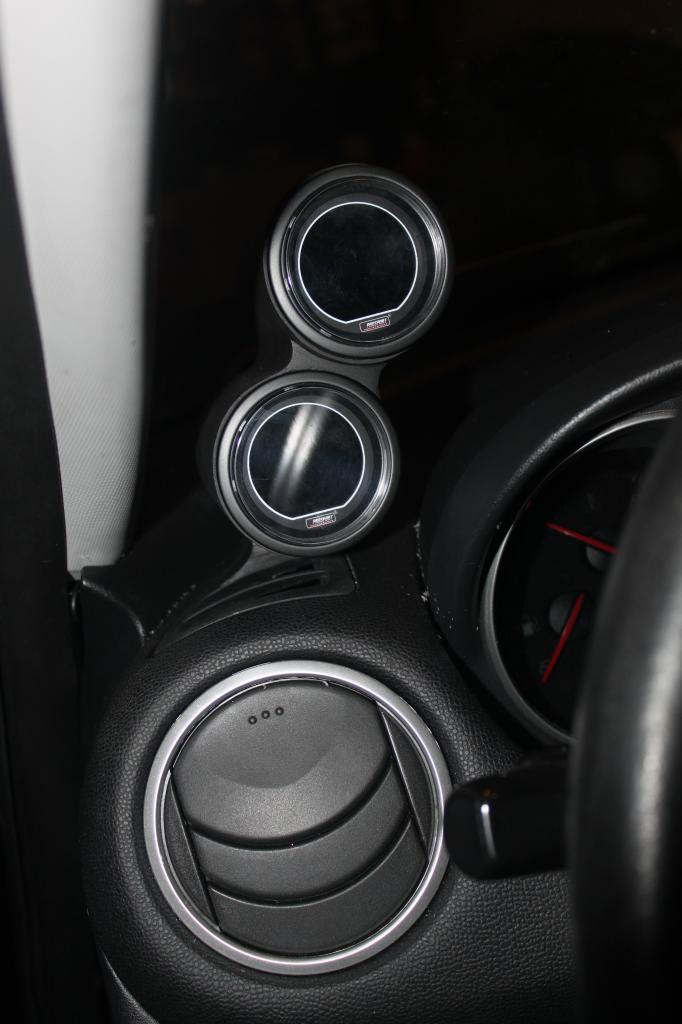
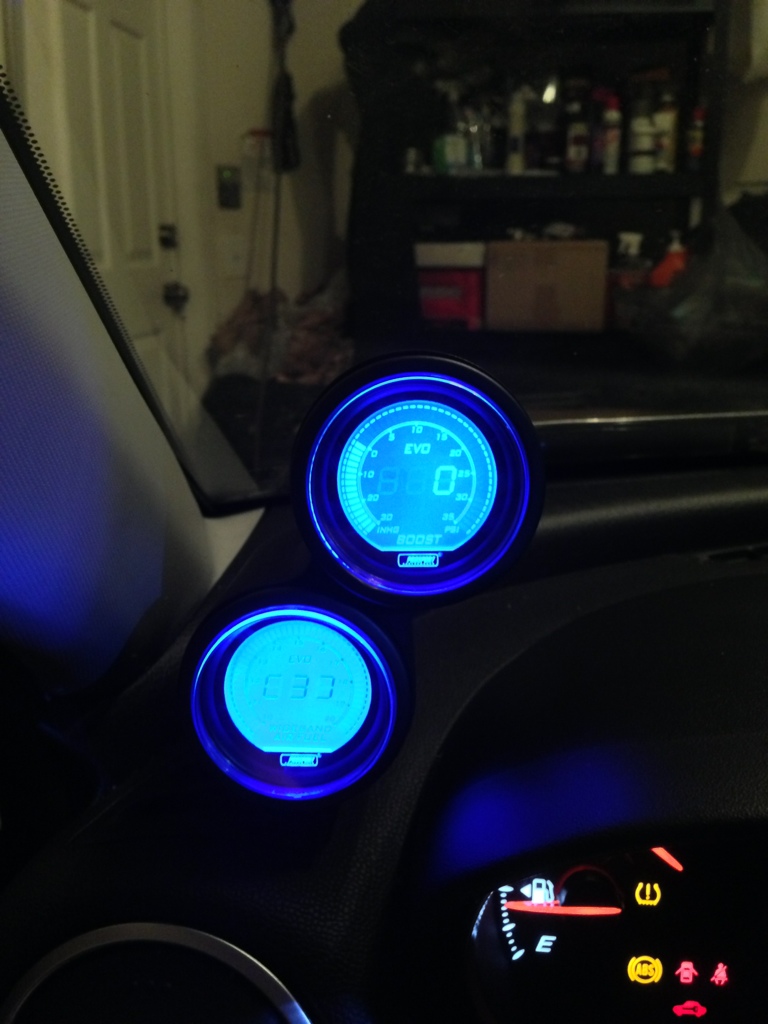
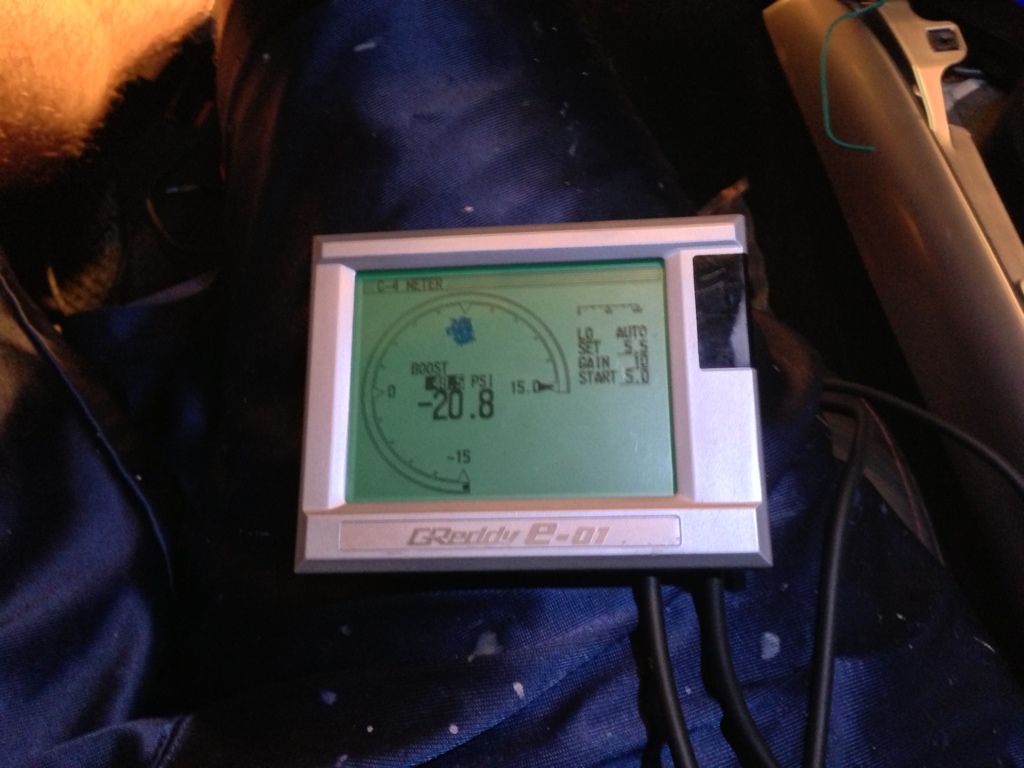
Gauges
Profec
Brakes Painted
Cross Bar Repainted
Battery Harness Sleeved
Battery Harness back in the Car
P2 and Secondary Injectors Removed
Airbox Tray Template
Passenger Side Harness
Battery Wiring Ran, Sleeved and Temporarily connected to test.
Boost Sensors and Wastegate Solenoid Wiring
Fuel Pump Resistor and MAP Sensor Wiring
Fuel Pump Resistor Relocated
Battery Cable Routing
Battery Cable run into Trunk
Mess of headunit wiring before rewiring
Gauges
Profec
Last edited by kma5783; 11-20-2012 at 04:14 PM.

 11-20-2012, 05:09 PM
#156
I'm mounting the Boost Controller Unit under the Dash and the Display on a Proclip
Mazda RX 8 - 2004-2008 - ProClip Angled Mount - ProClip Car Mounts for Mobile Phones, Tablet, and Handheld Devices


 11-23-2012, 07:16 PM
#165
Battery Harness was completely removed from the car, stripped down and all the wires were individually re-sleeved.
Battery is mounted in the trunk with a 150amp Circuit Breaker on the Positive Wire, wires are ran under the car along the fuel/brake lines. There's one extra slot that the Positive wire is run through, Negative is zip tied up.
Positive is 2ga wire and Negative is 4ga wire to run the ground back to the front of the car.
There's a 60amp AGU fuse on the Positive EPS(Electronic Power Steering) wire.
If you have any specific questions just ask.
11-29-2012, 11:15 PM
#168
I got the Injectors back today and I also received my powder coat so I have to try to make it over to a friends house to get the powder coating done this weekend.
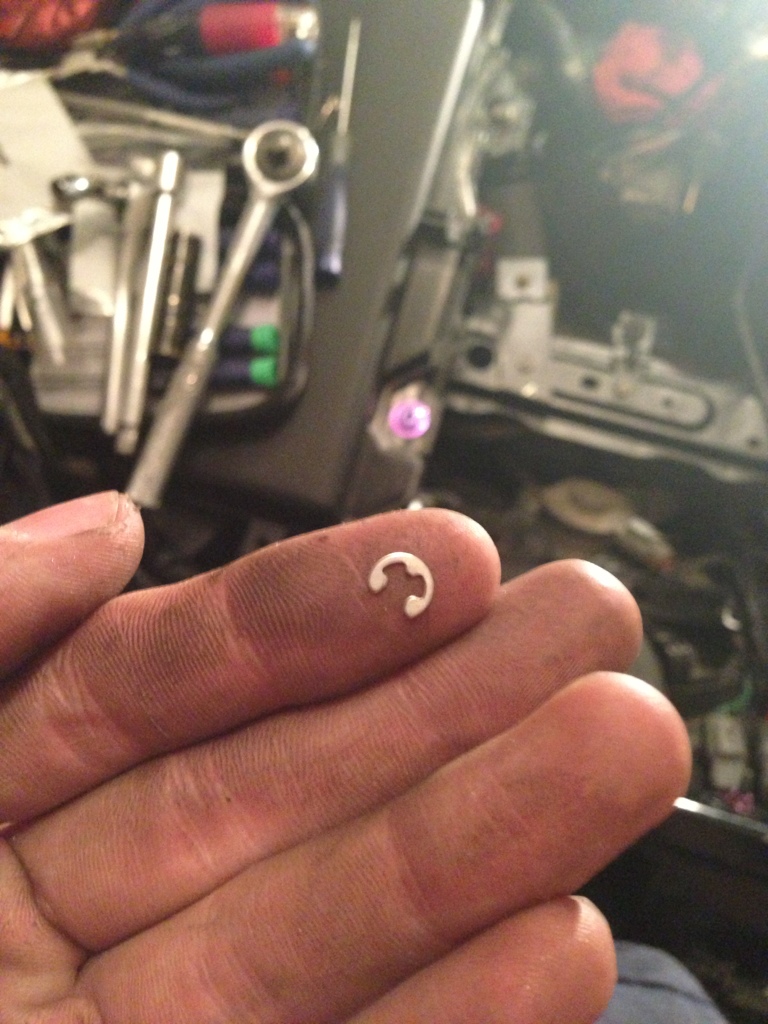
I reinstalled the Injectors tonight, while doing so I managed to lose one of the small e-clips that holds the actuator rod to the VDI so I have to go pick one up from the hardware store.
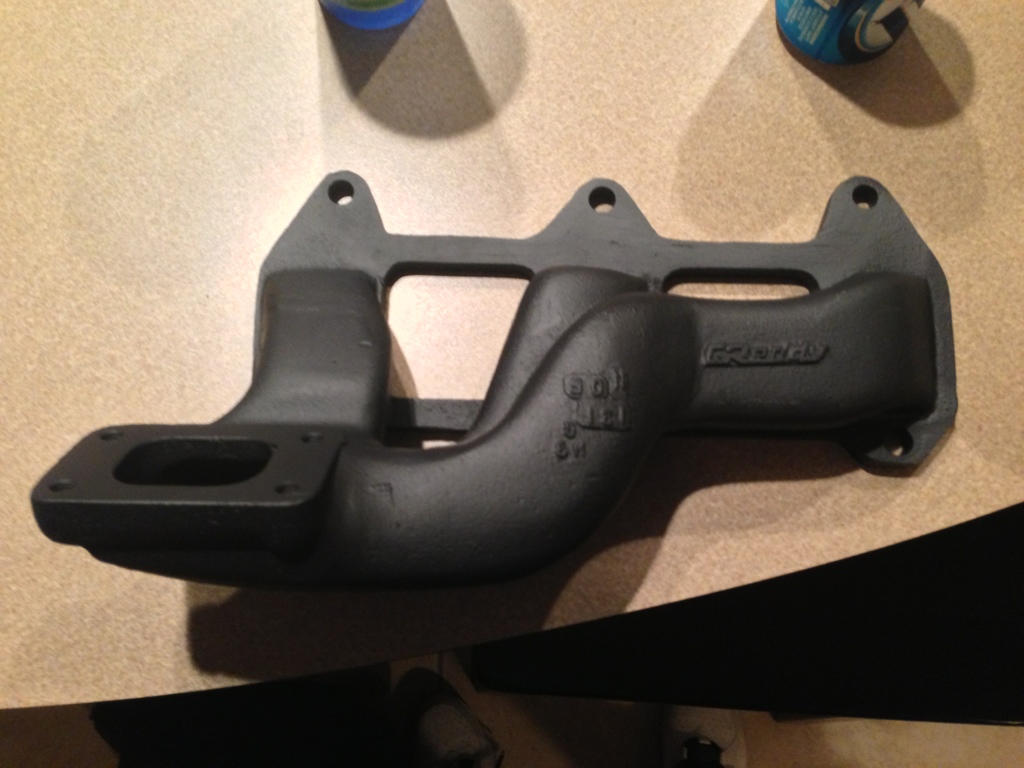
Finally got the Manifold back from Ceramic Coating last night.
I'm also working on a Custom Canister Setup and Bracket that should turn out really nice.
Things are finally coming together
I reinstalled the Injectors tonight, while doing so I managed to lose one of the small e-clips that holds the actuator rod to the VDI so I have to go pick one up from the hardware store.
Finally got the Manifold back from Ceramic Coating last night.
I'm also working on a Custom Canister Setup and Bracket that should turn out really nice.
Things are finally coming together
Last edited by kma5783; 11-29-2012 at 11:52 PM.
 12-07-2012, 11:28 PM
#171
It has been a lot of work, but hopefully the result is all worth it. I just realized today I've used over 75ft of wire sleeving already!

Update:
Manifold Ceramic Coated
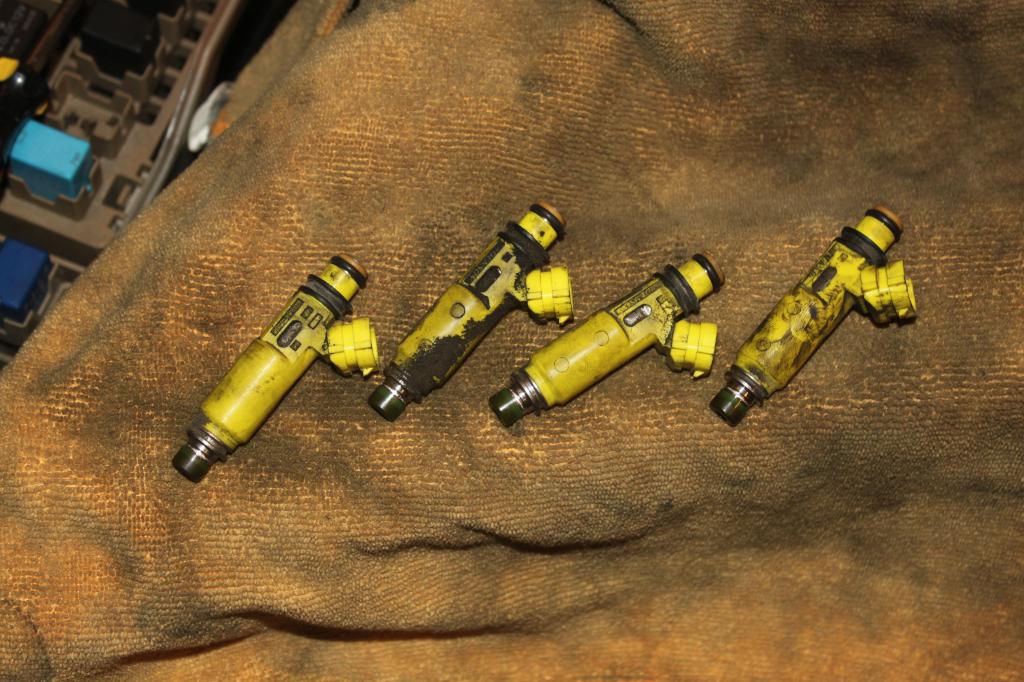
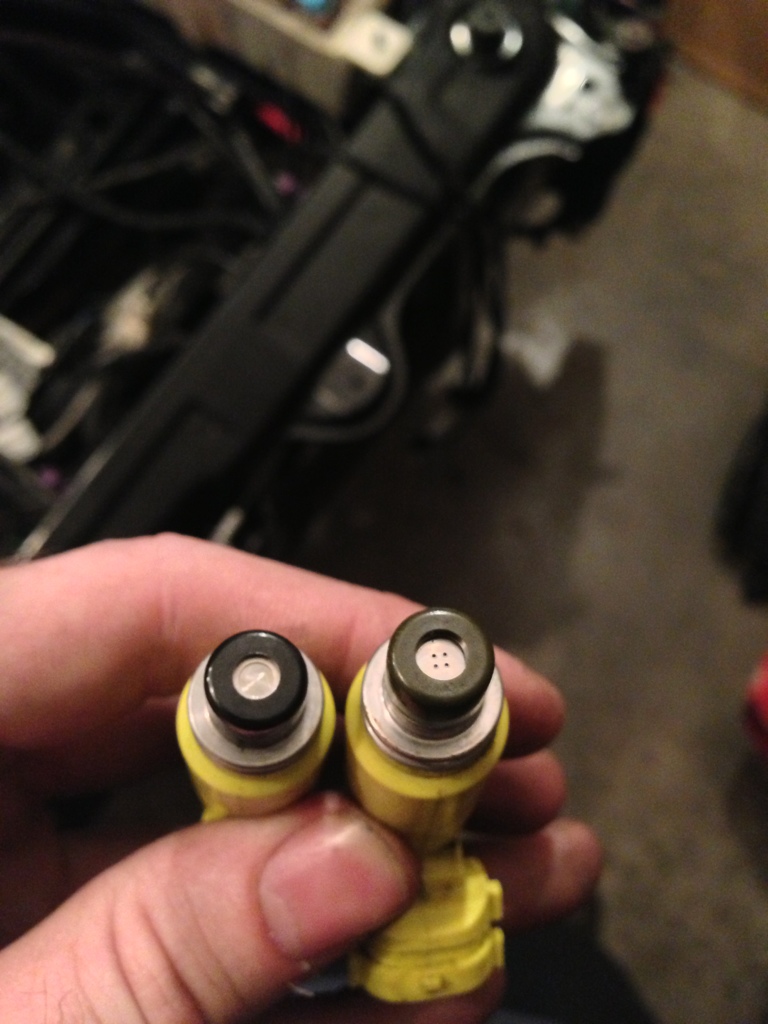
Uncapped injectors back from KG Parts/Injector Rehab
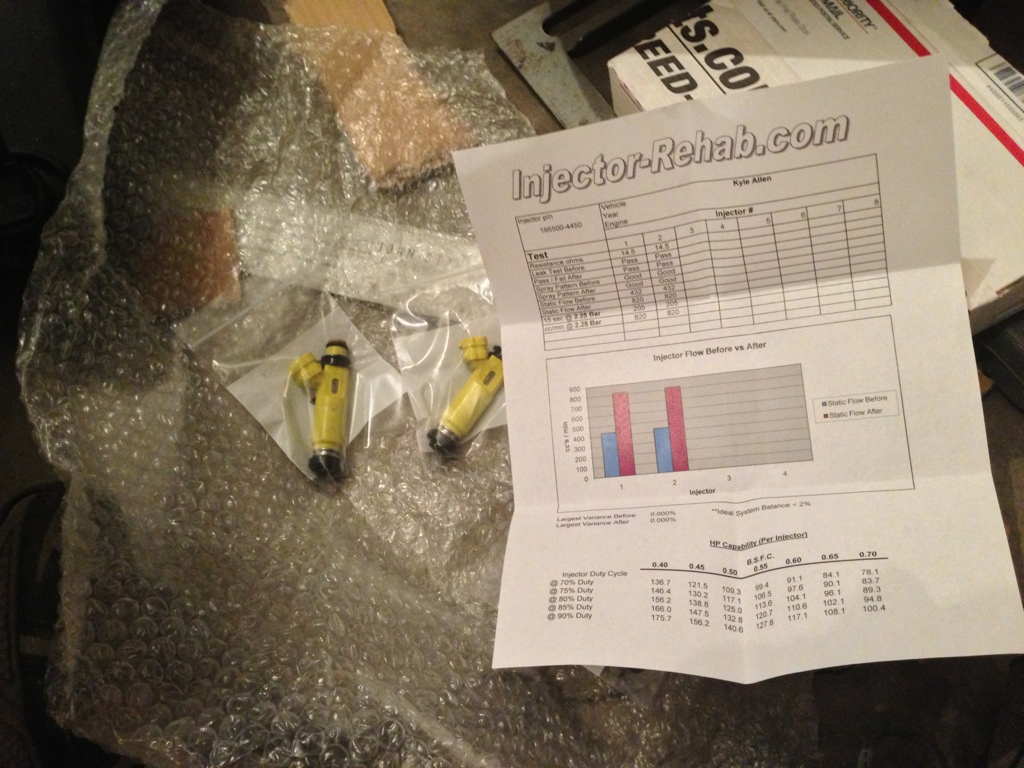
Uncapped(Left) vs Stock Injectors(Right)
I got bored one night last week and Polished the SSV and VDI actuators
Lost one of the damn e-clips that hold on the SSV and VDI Actuators so I had to buy more, of course while putting some things back together I found the one I lost.
Start of a Template for a Canister bracket
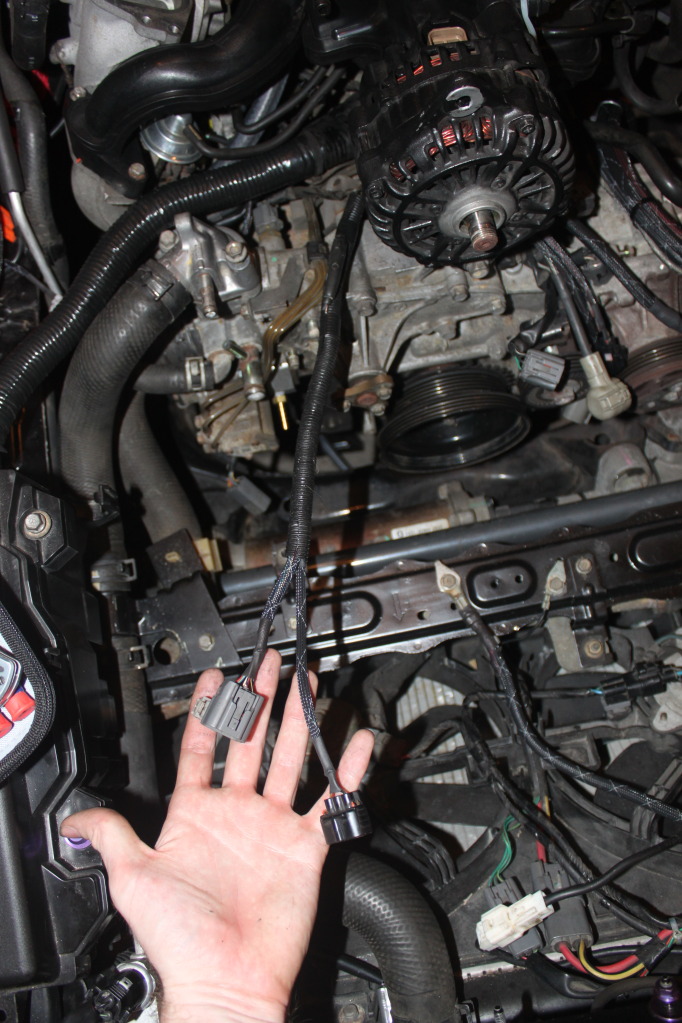
OMP Plugs removed and Wiring was Sleeved...

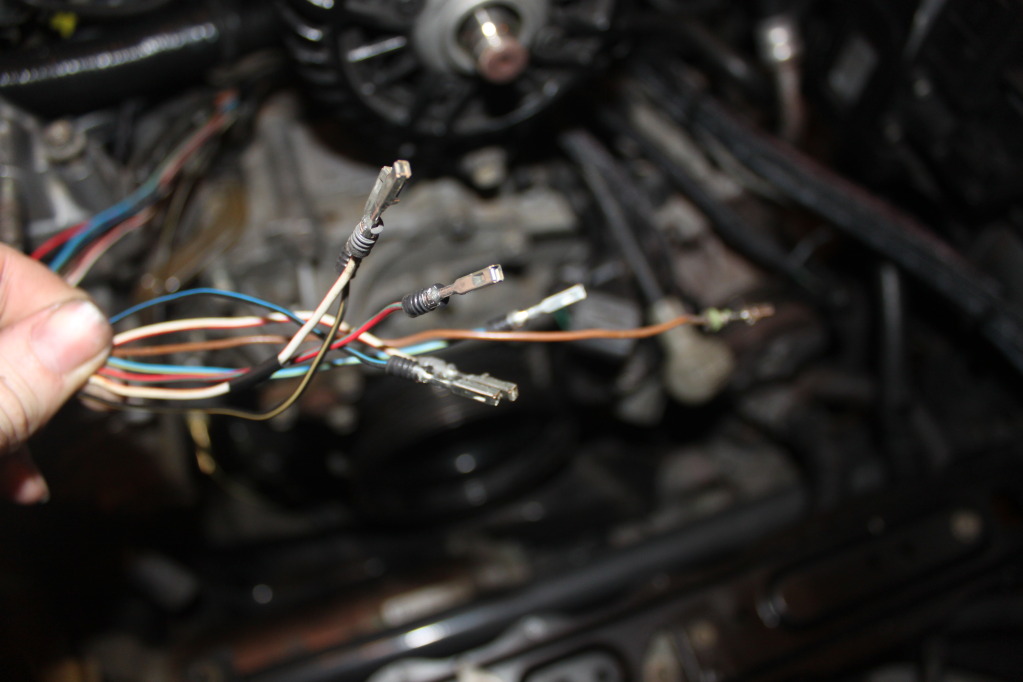
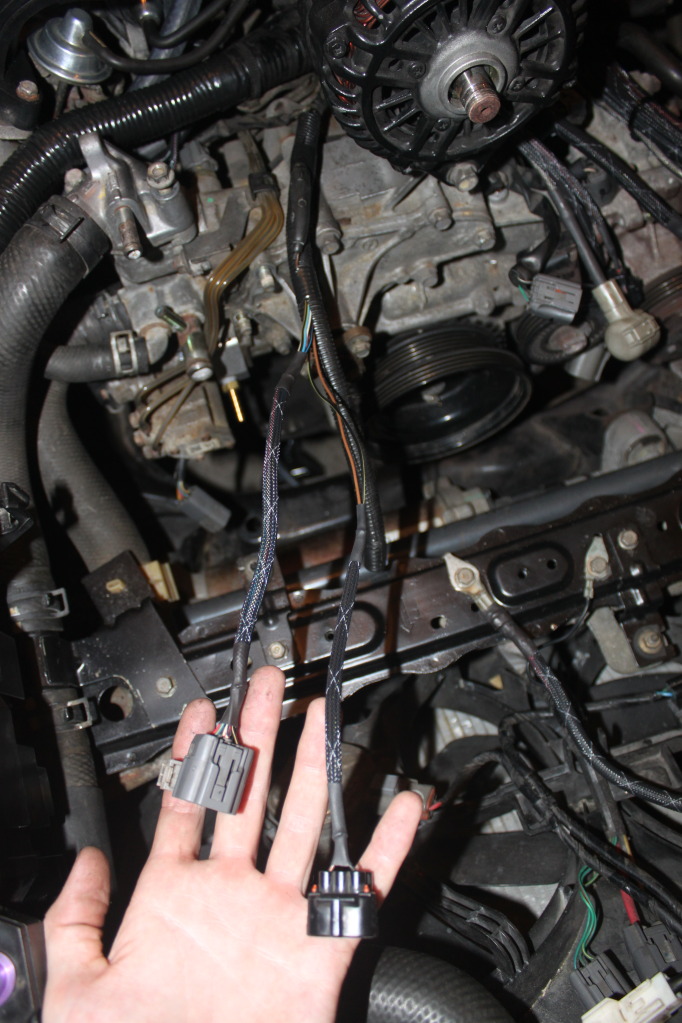
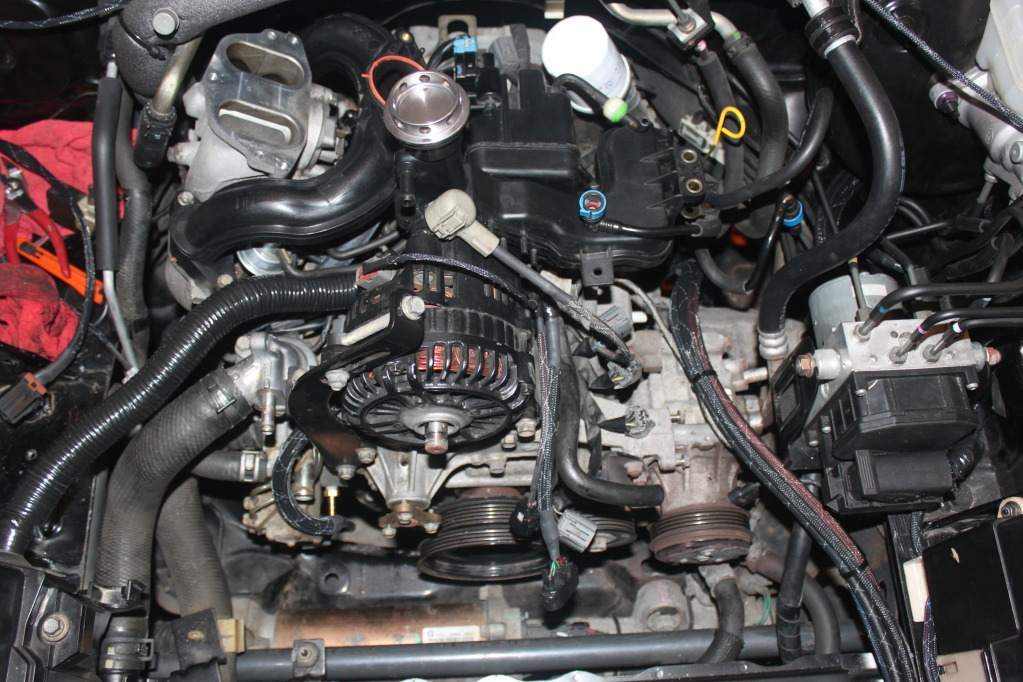
After this I sleeved over the corrugated split loom, but forgot to take a picture of it, you can see it coming out around the Alternator Bracket in the last pic.
The Engine as it sits right now...
 12-21-2012, 09:13 PM
#172
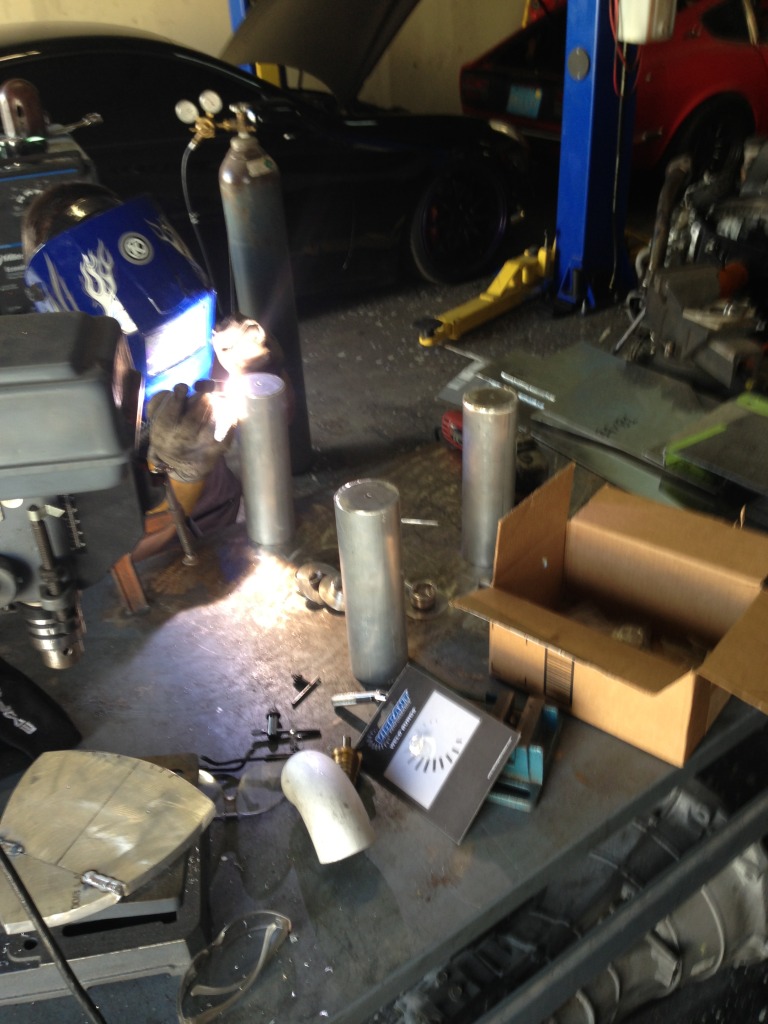
Custom Aluminum Tray

Teaser of Canister Setup, Recessed NPT Bungs for NPT to -AN adapters.
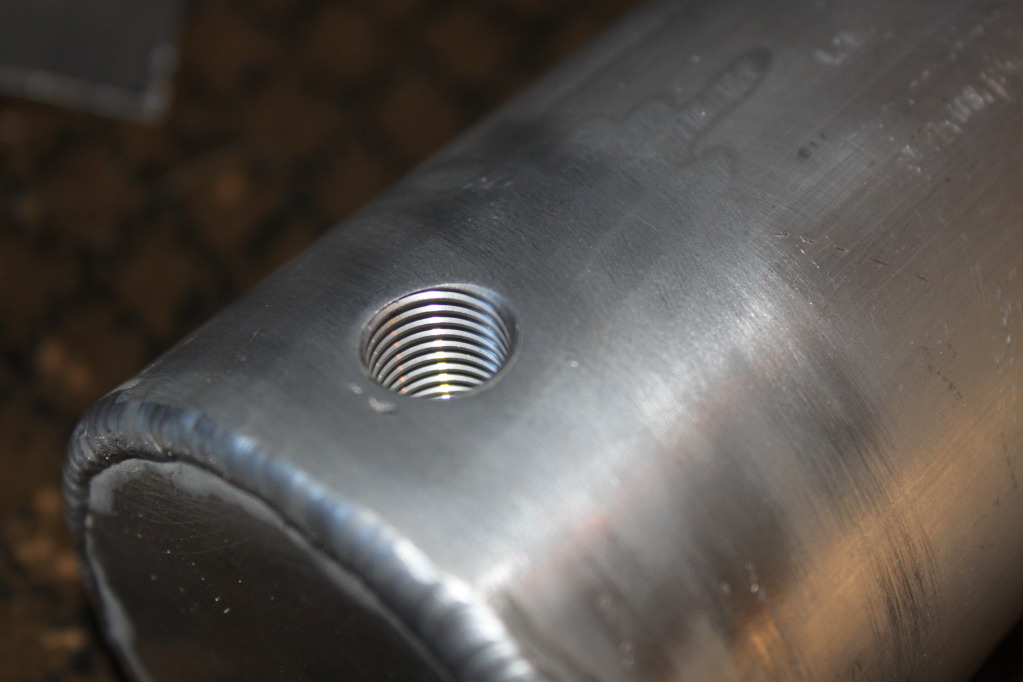
Part of the Canister Bracket
Canisters getting Welded
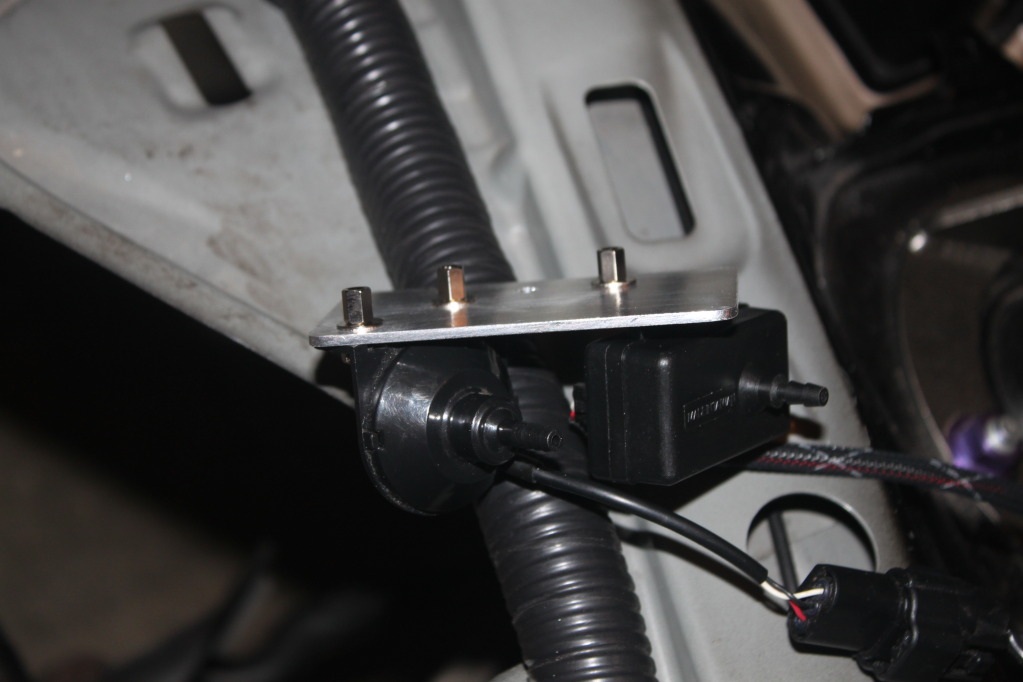
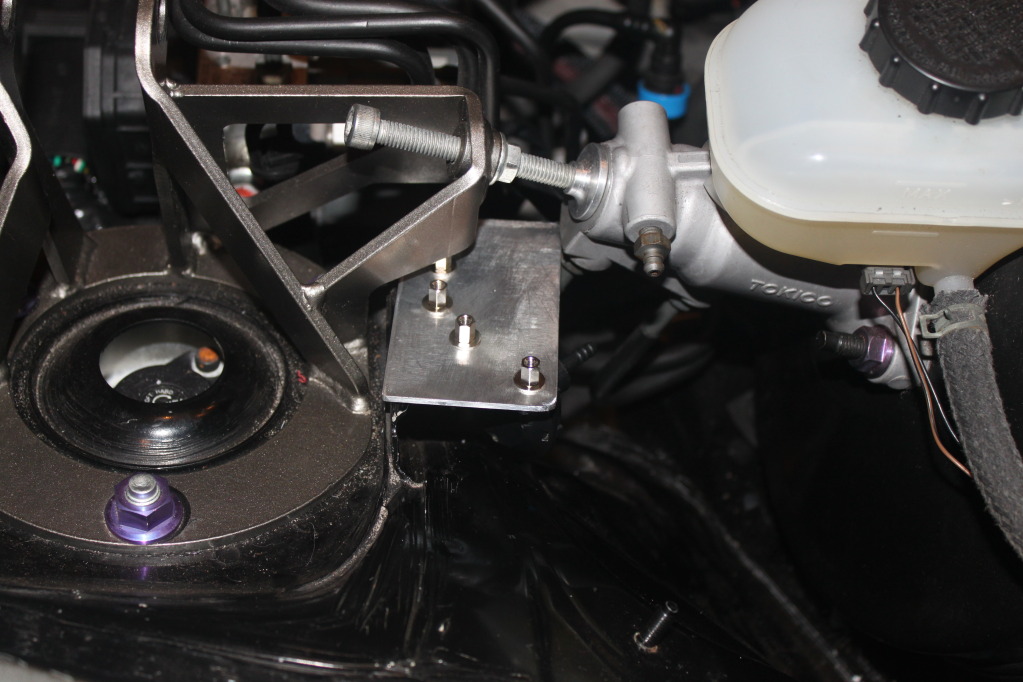
Bracket for Boost Sensors
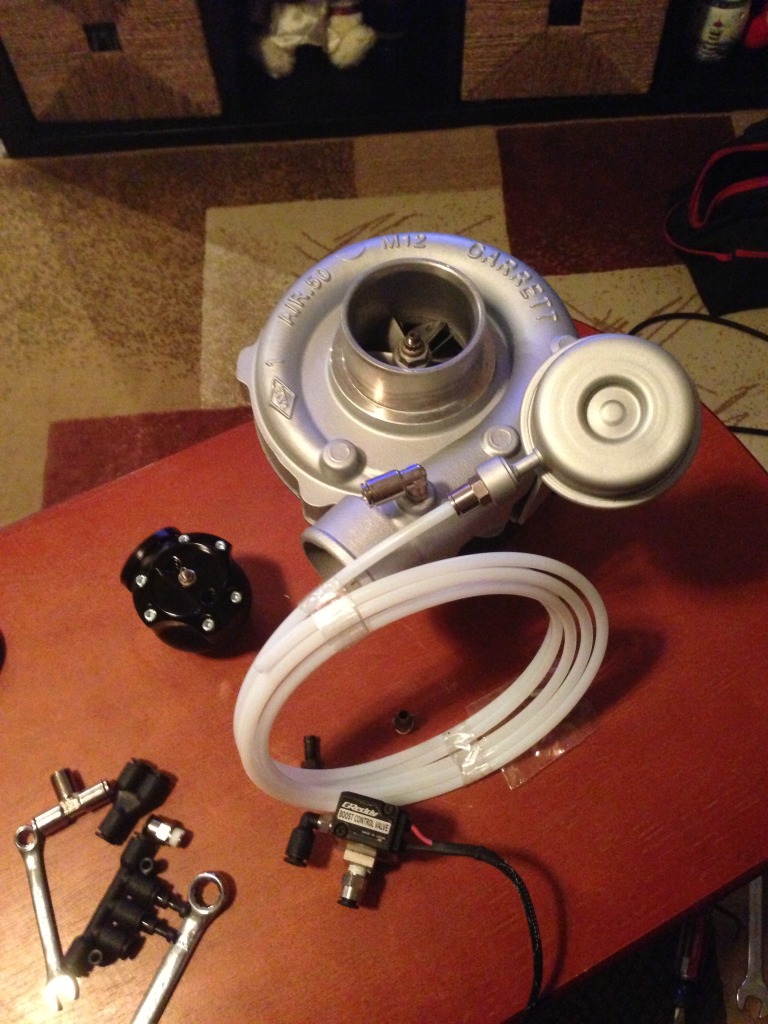
GT3076R
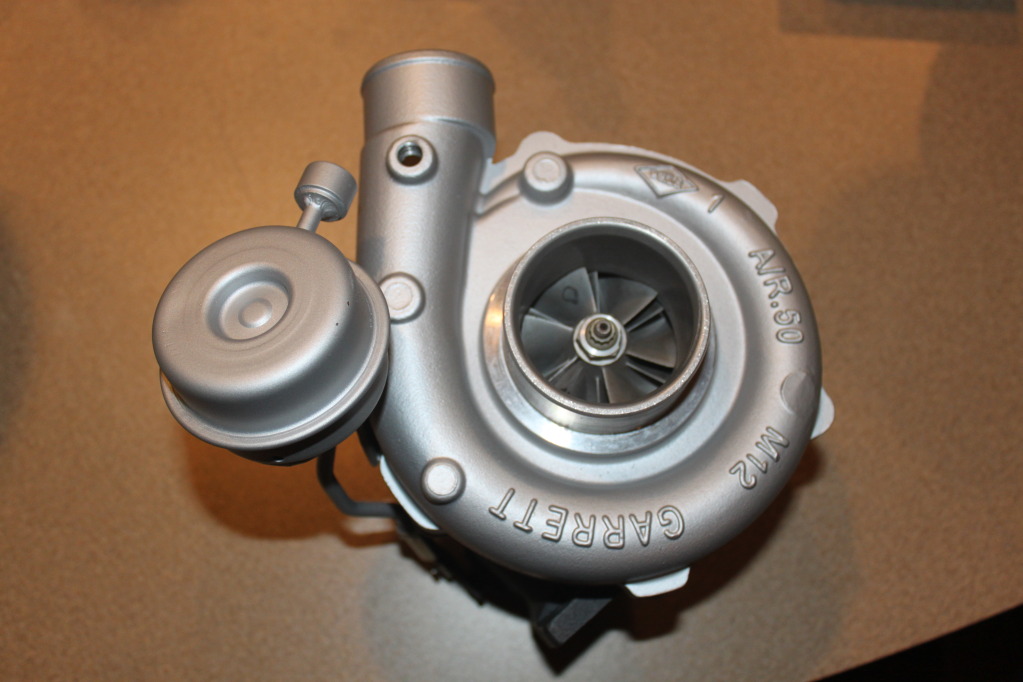
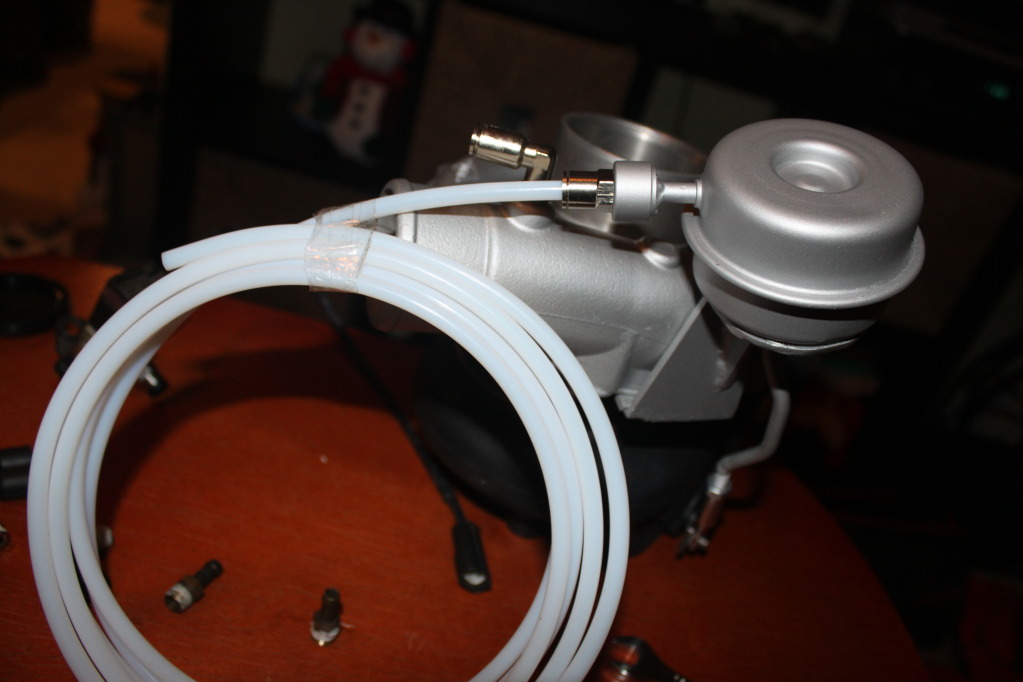
Custom Wastegate Actuator Setup
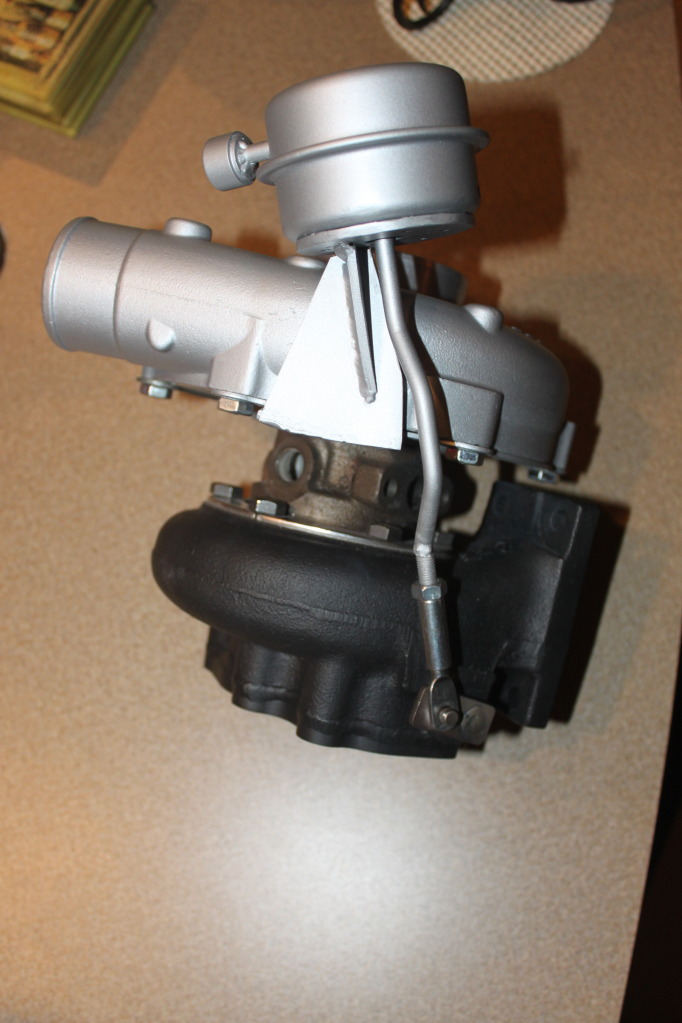
Turbo and Custom Wastegate Actuator with Quick Connect Fittings and High Temp PTFE Vacuum Lines
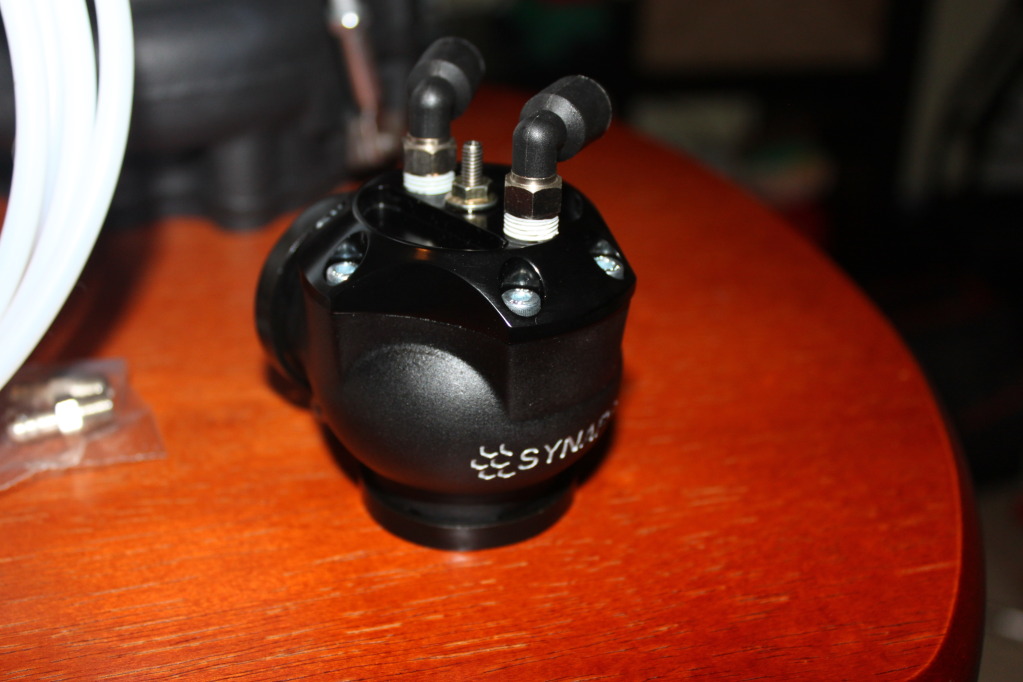
Synapse DV with Quick Connect Fittings
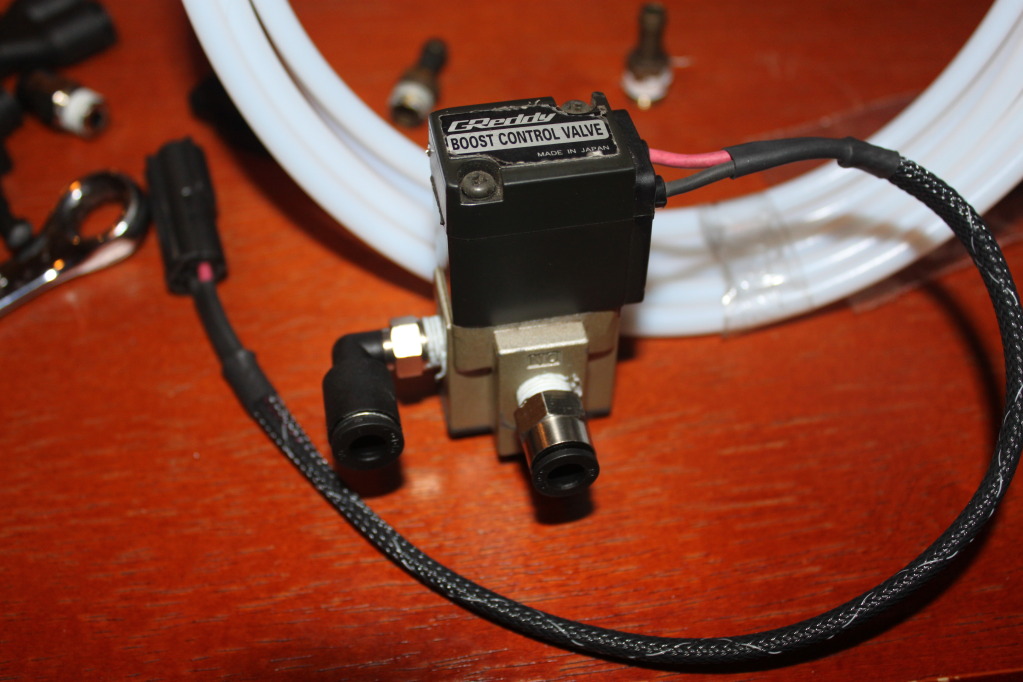
Wastegate Solenoid with Quick Connect Fittings
Teaser of Canister Setup, Recessed NPT Bungs for NPT to -AN adapters.
Part of the Canister Bracket
Canisters getting Welded
Bracket for Boost Sensors
GT3076R
Custom Wastegate Actuator Setup
Turbo and Custom Wastegate Actuator with Quick Connect Fittings and High Temp PTFE Vacuum Lines
Synapse DV with Quick Connect Fittings
Wastegate Solenoid with Quick Connect Fittings