
kma5783's Build Thread


Now I need to find some other projects to use it on, I still have a decent amount of it left over.


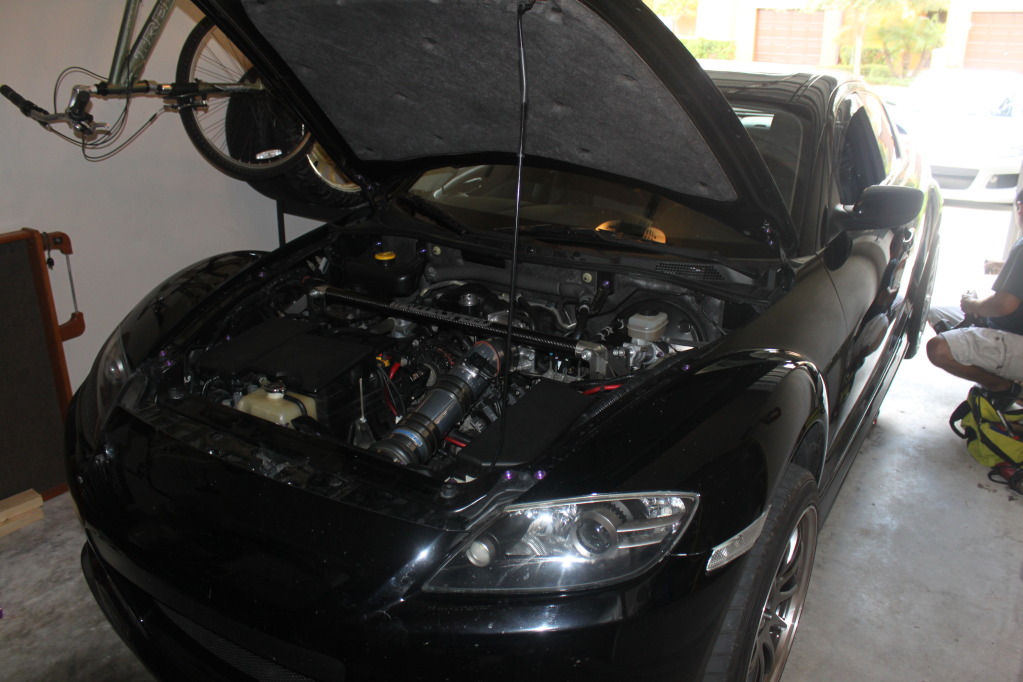
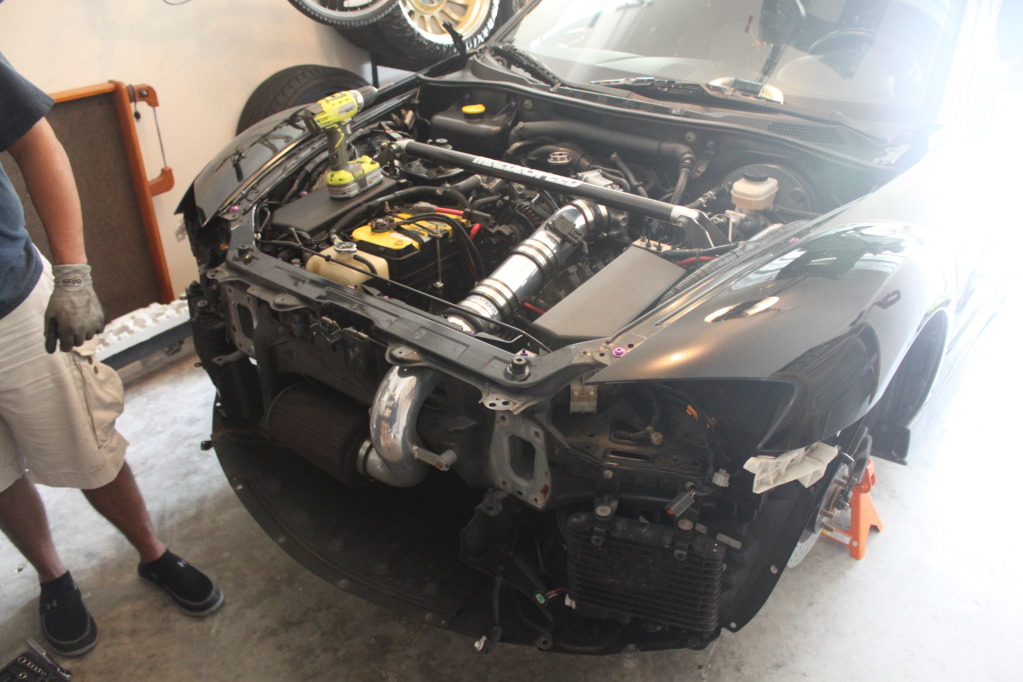
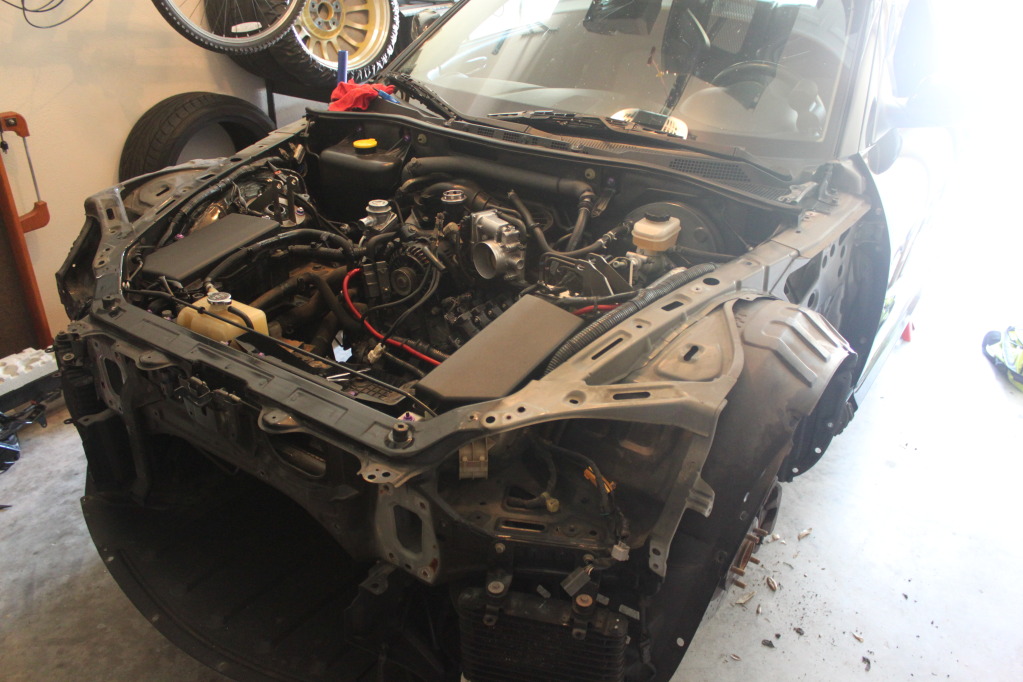
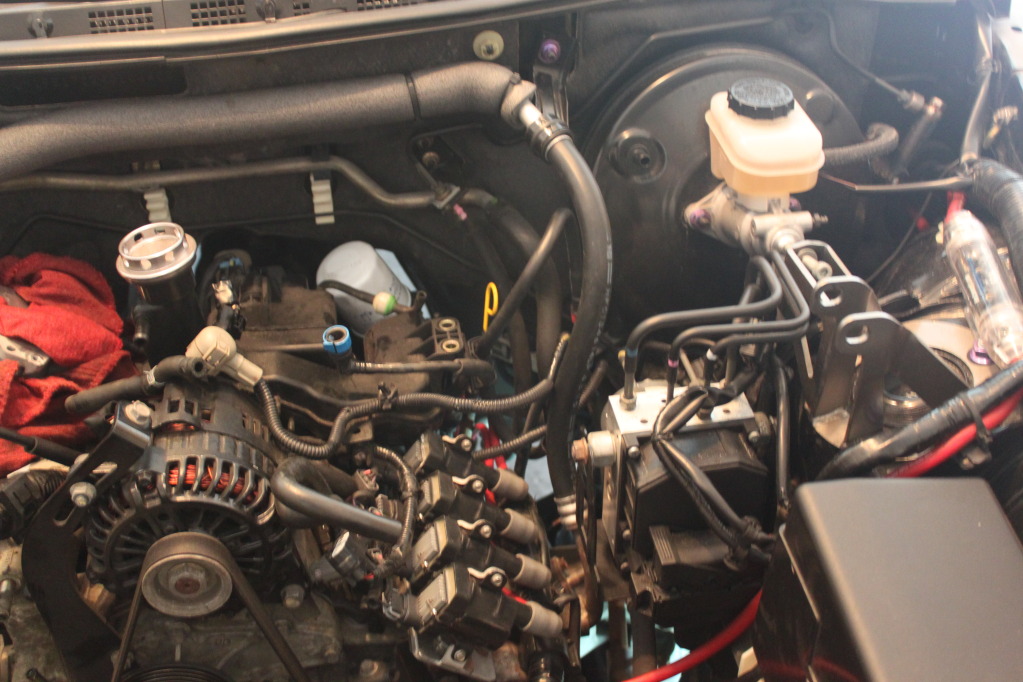
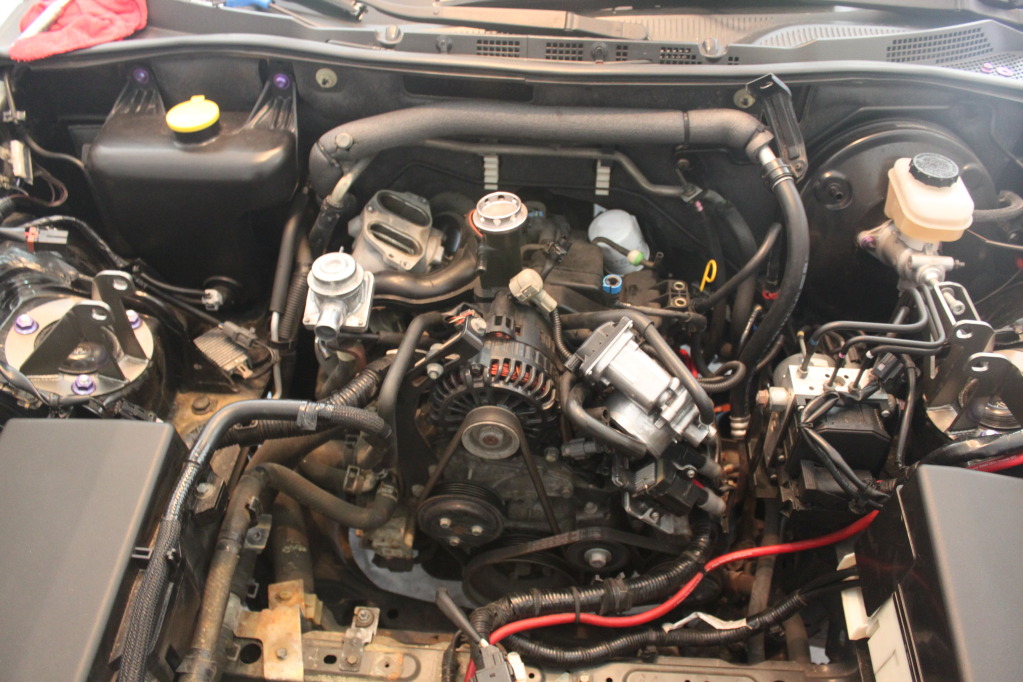


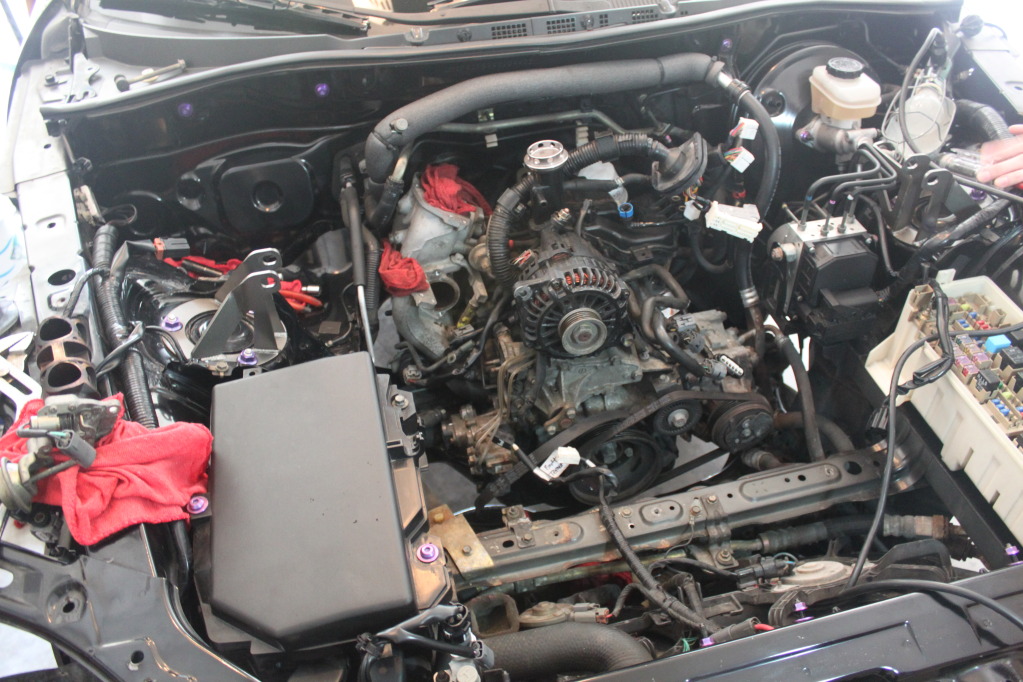
More of the teardown done today...
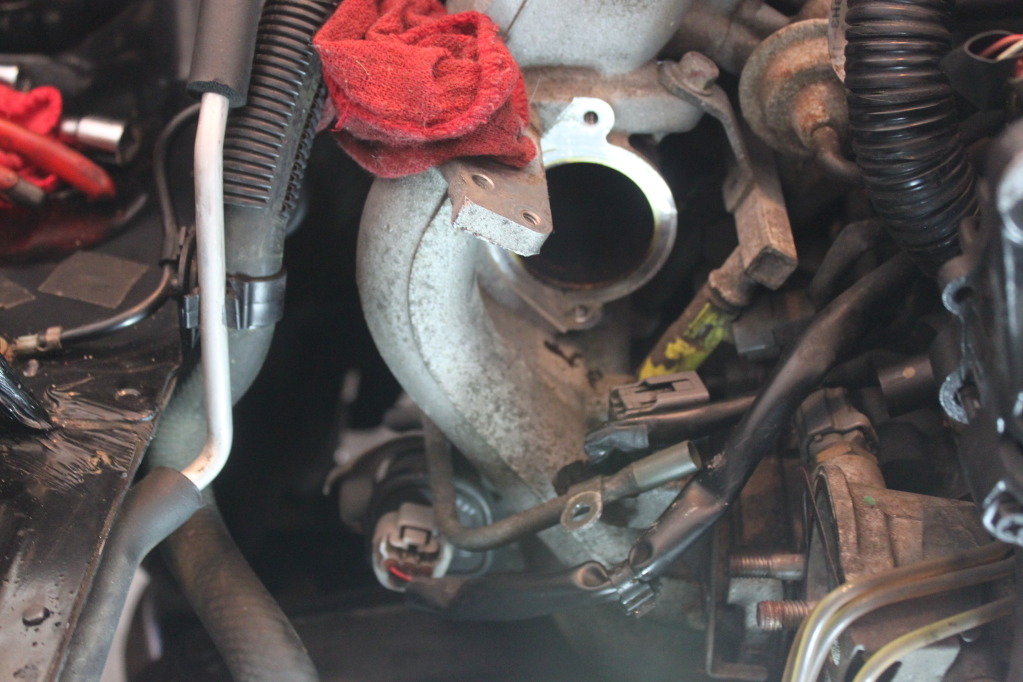
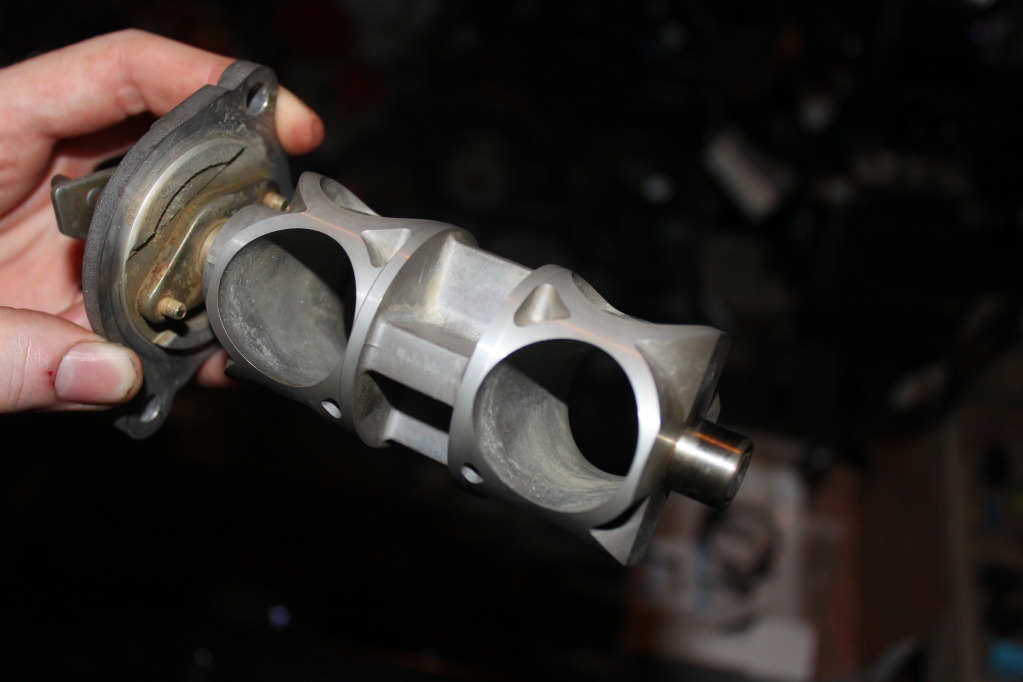
Sohn Adapter Installed
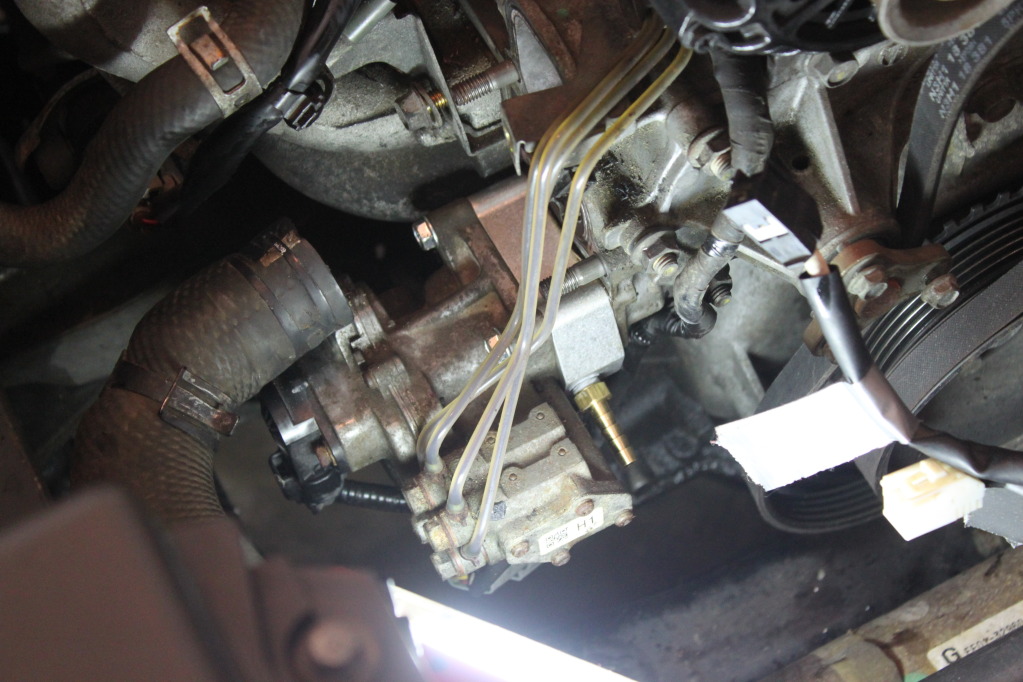
SSV Cleaned
Exhaust Manifold and Oil Pan have to come off and teardown is basically done.
Not home right now but more pics to come.
Sohn Adapter Installed
SSV Cleaned
Exhaust Manifold and Oil Pan have to come off and teardown is basically done.
Not home right now but more pics to come.

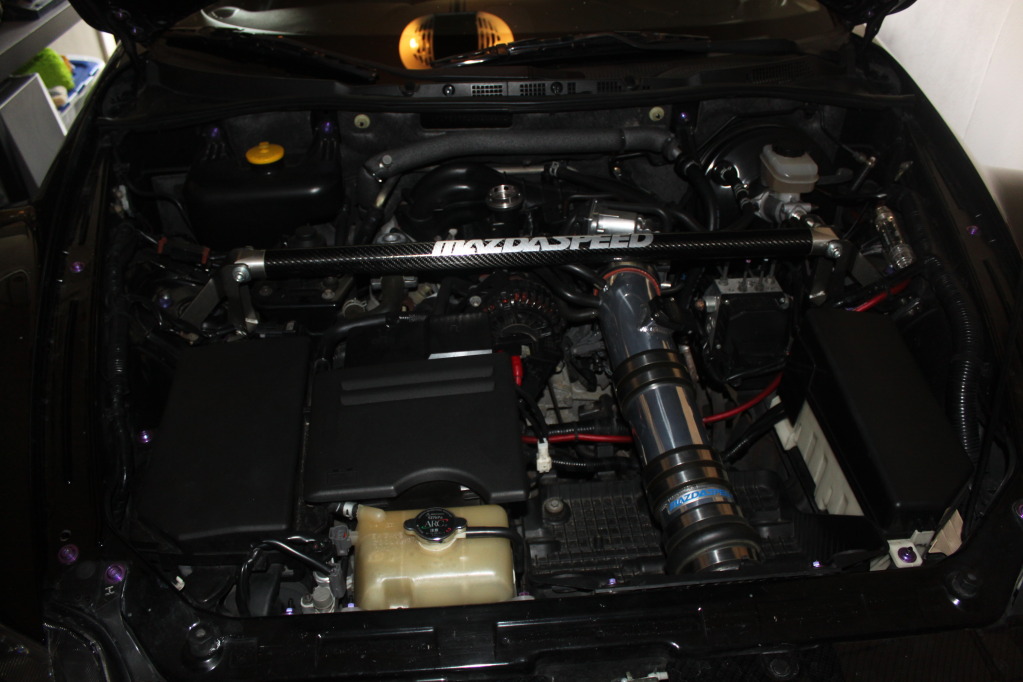
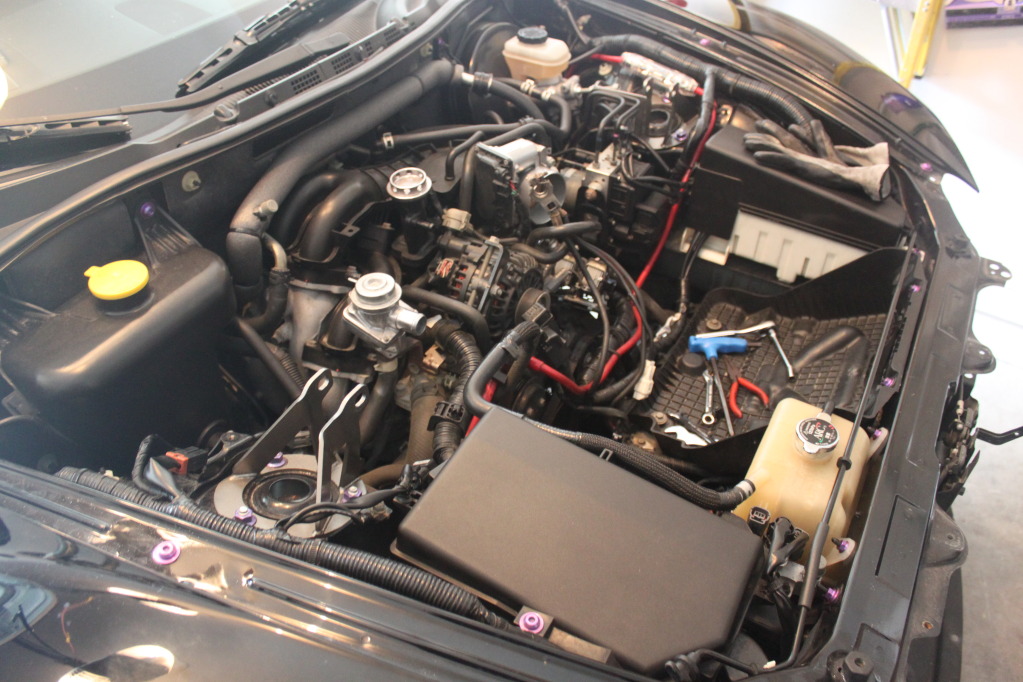
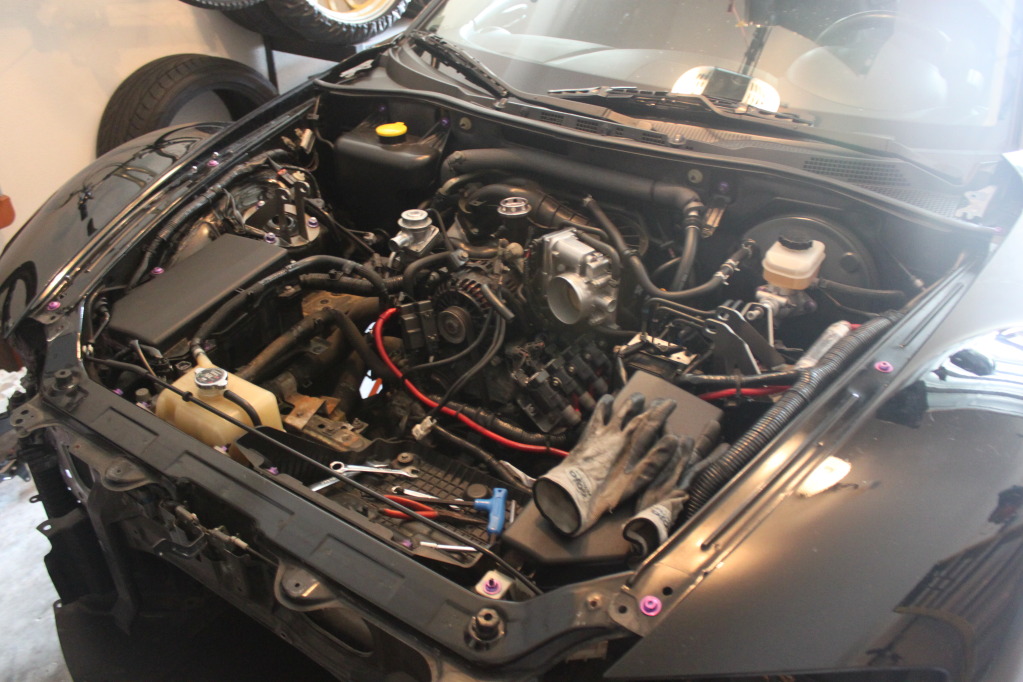
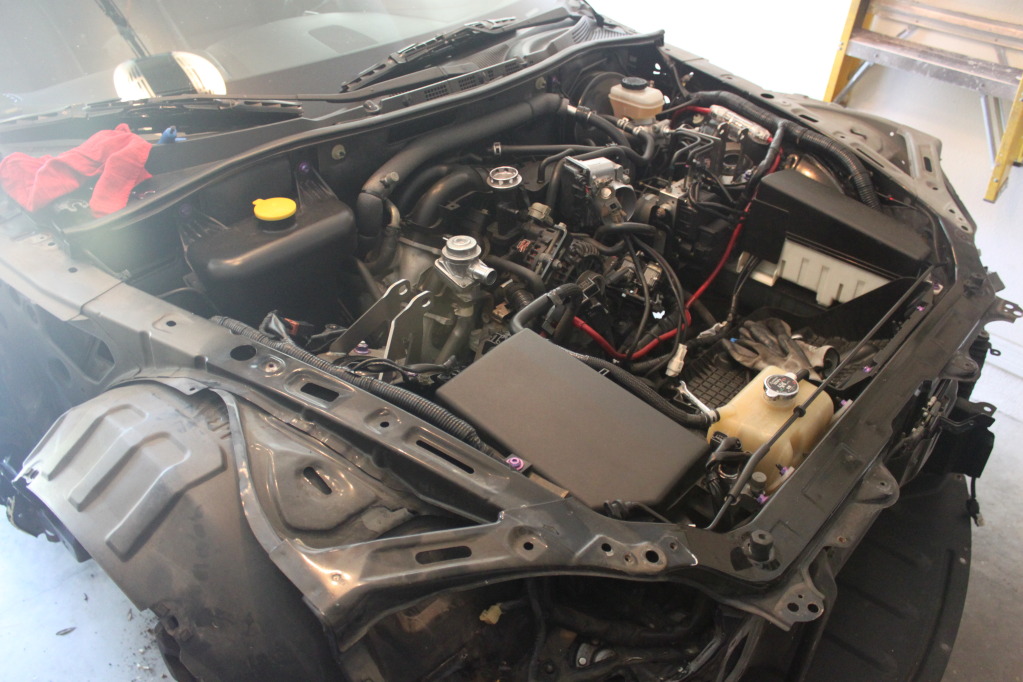
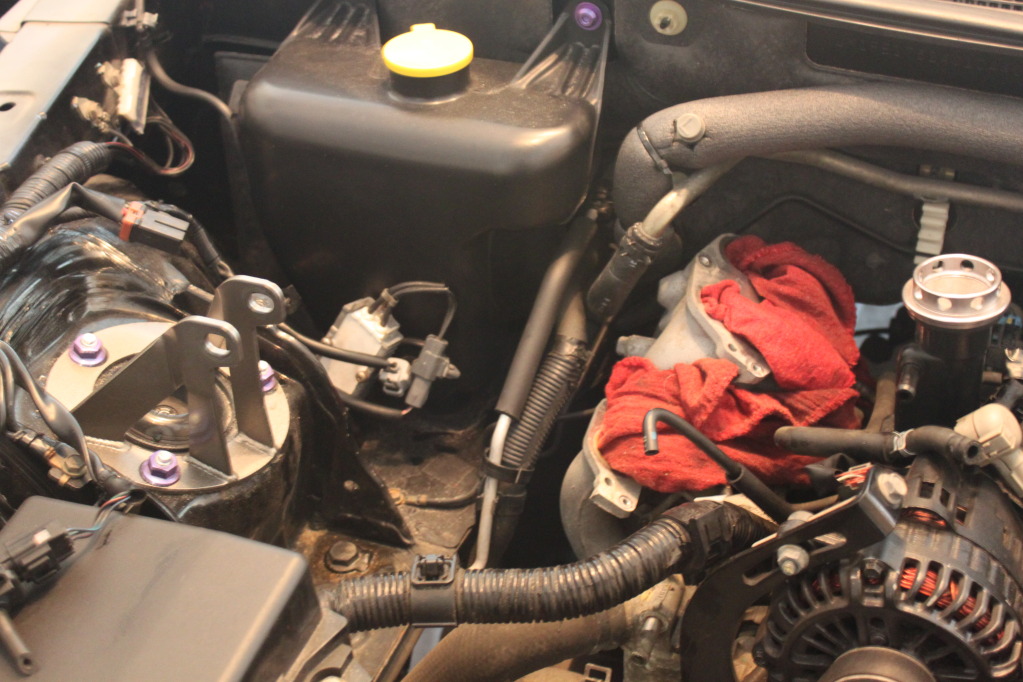
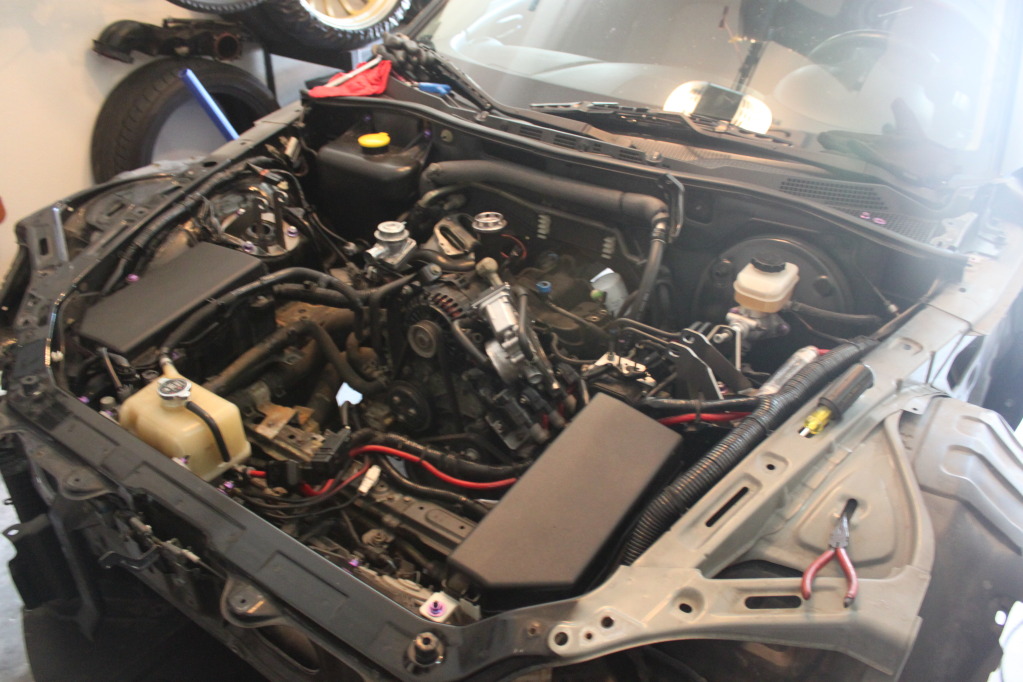
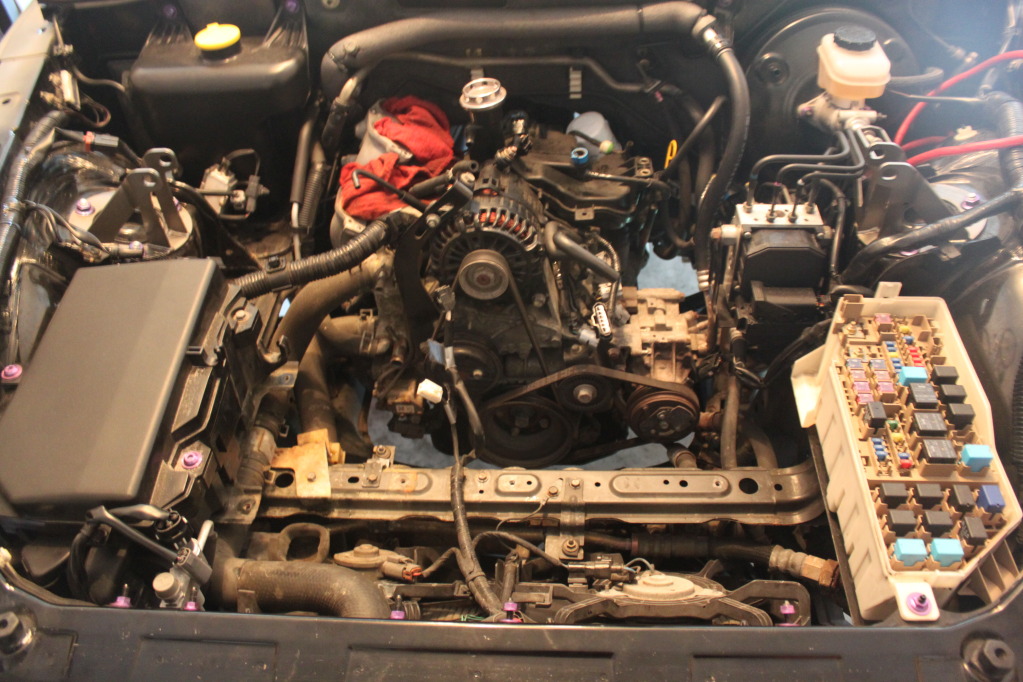
Here are those pics...
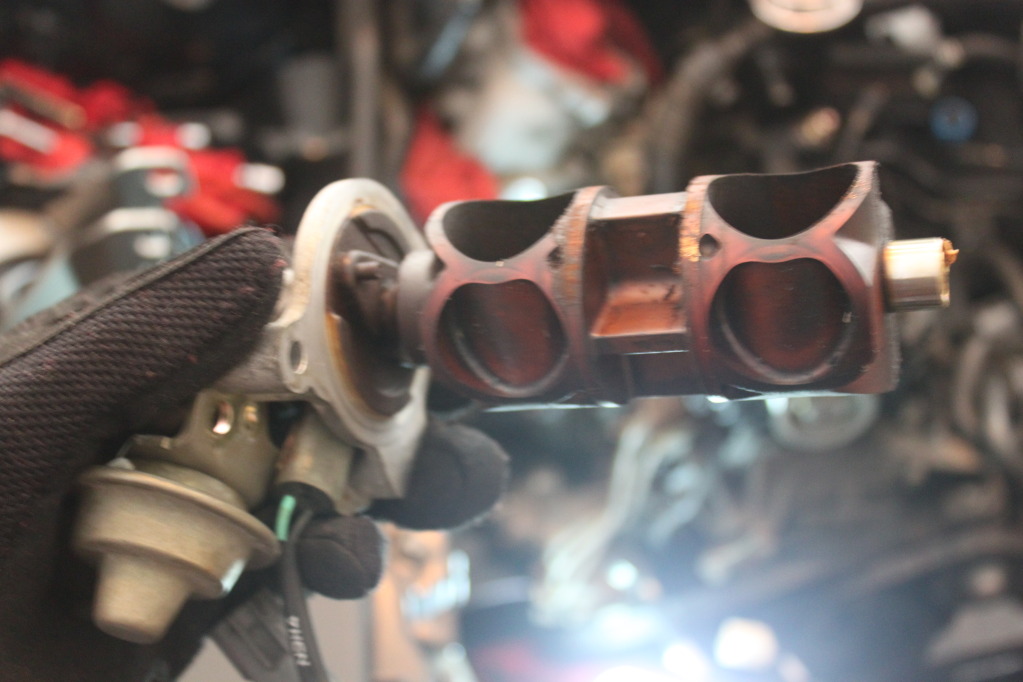
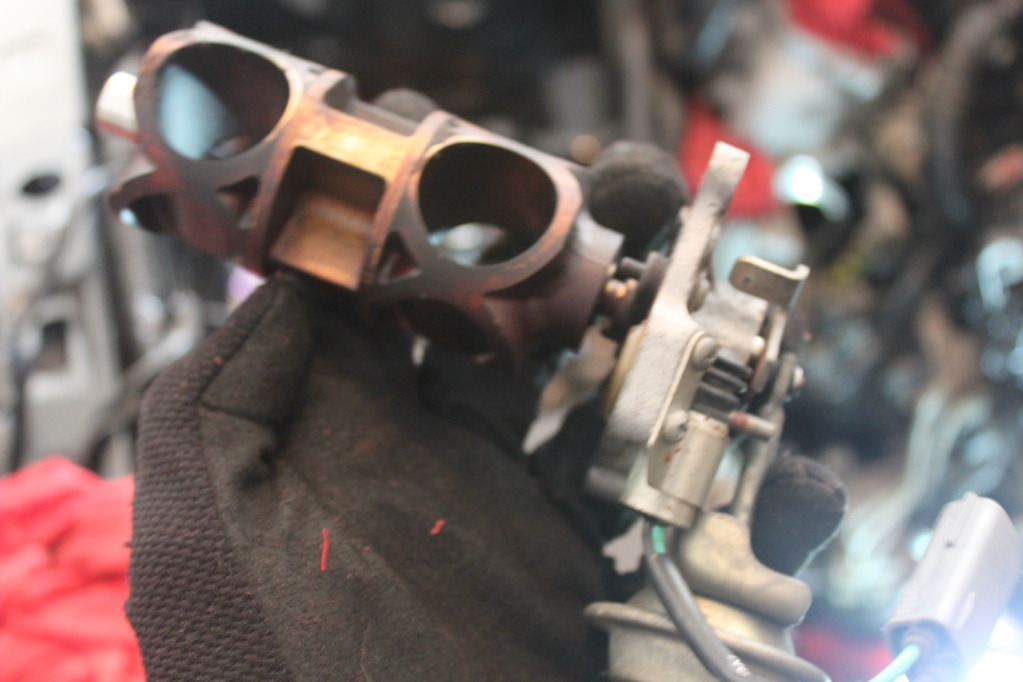
SSV was pretty clean compared to some others I've seen, 64k miles...


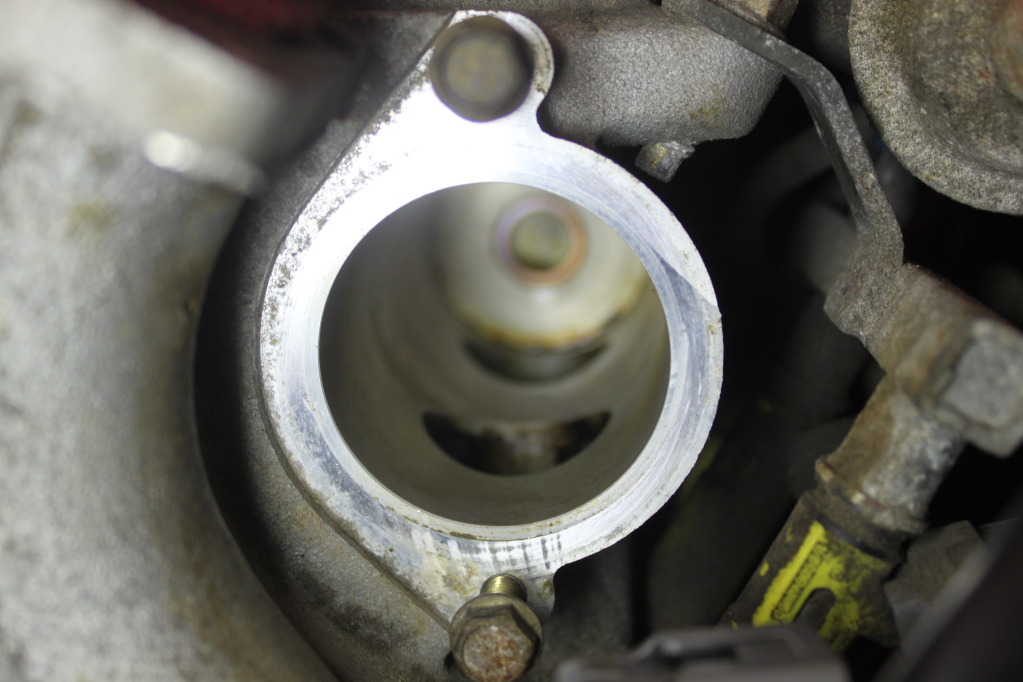
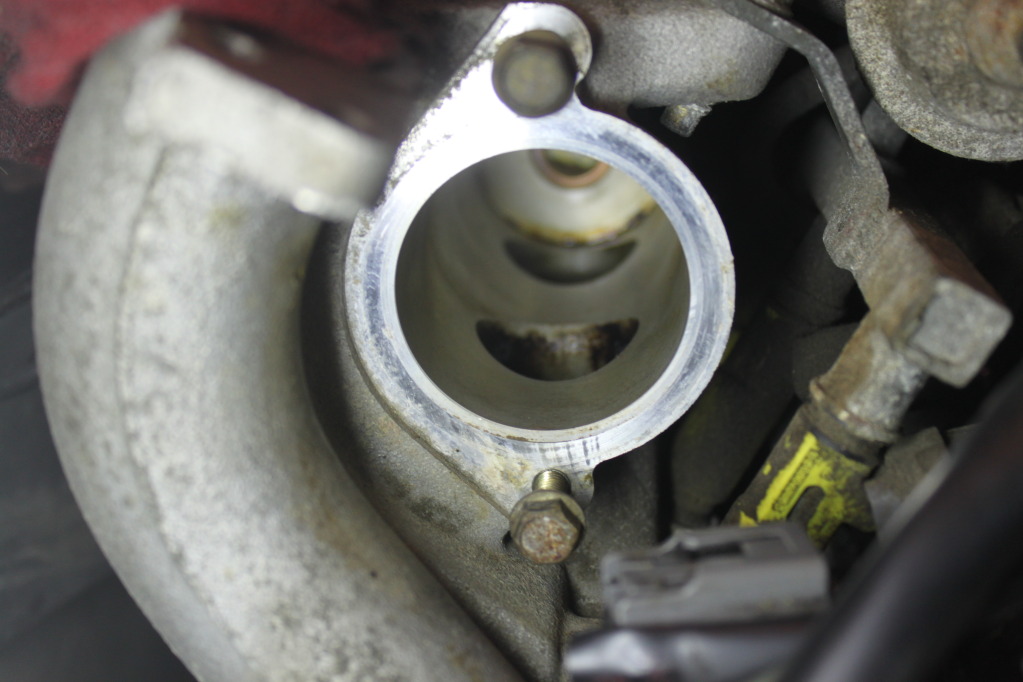
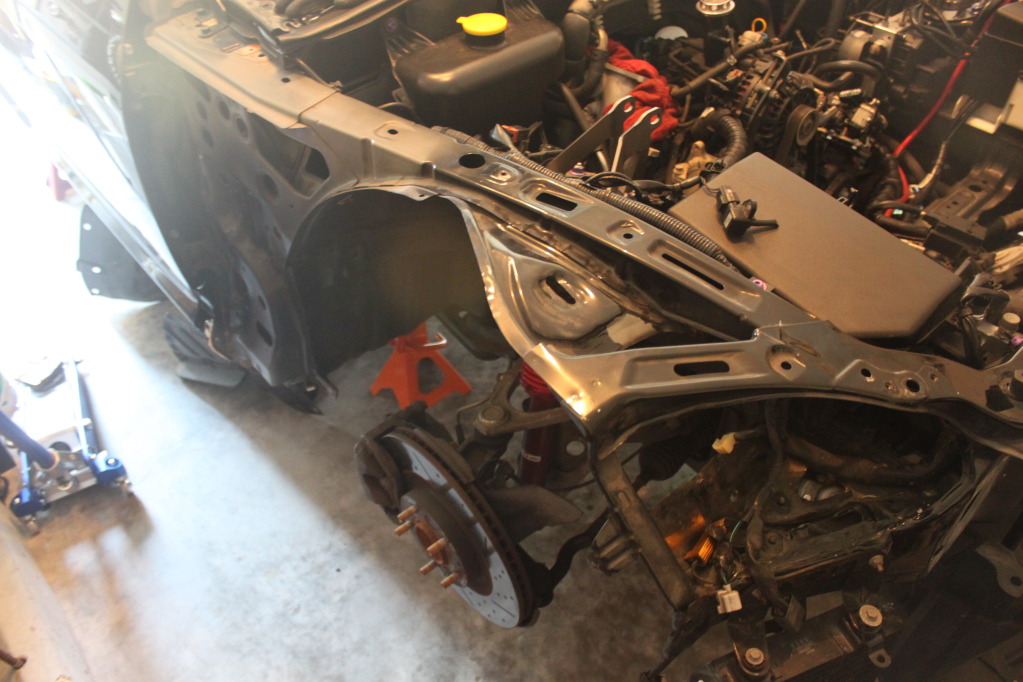
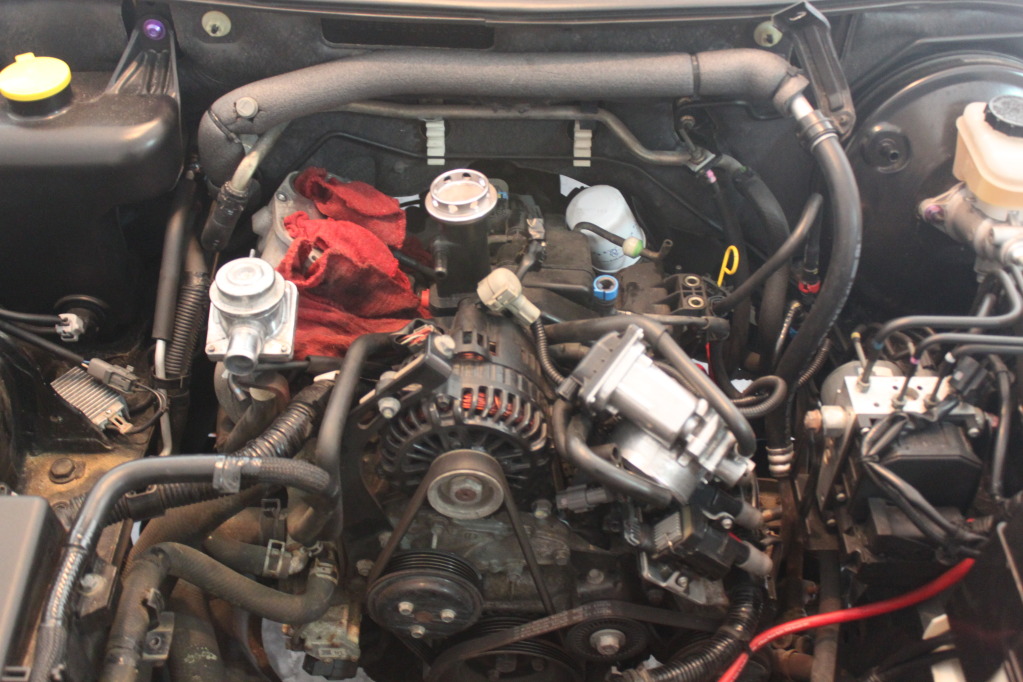
Sohn Adapter Installed
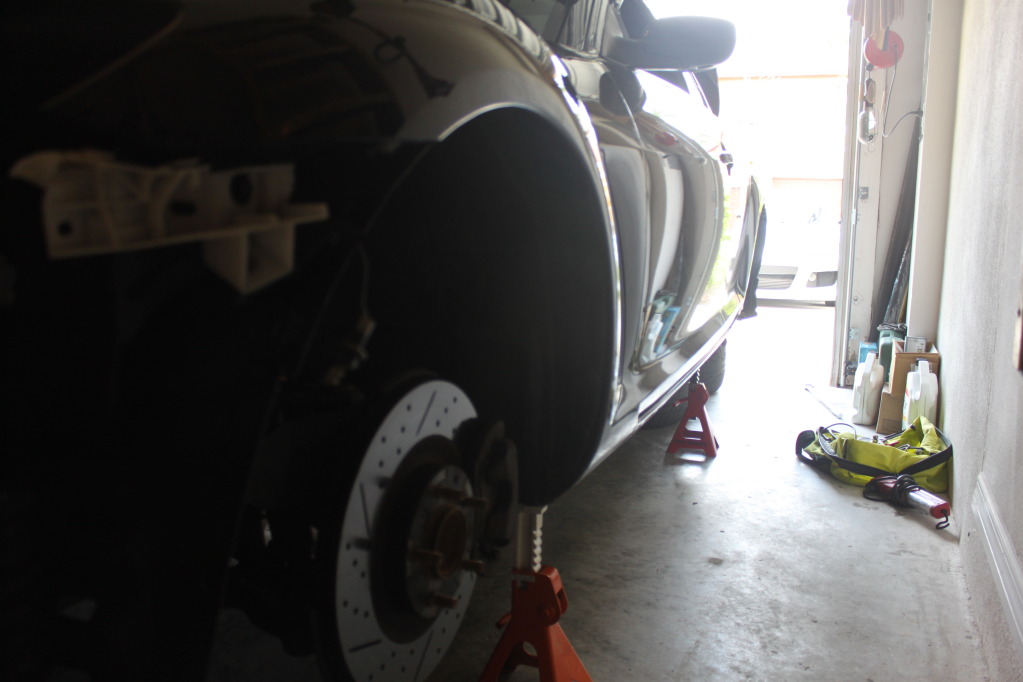
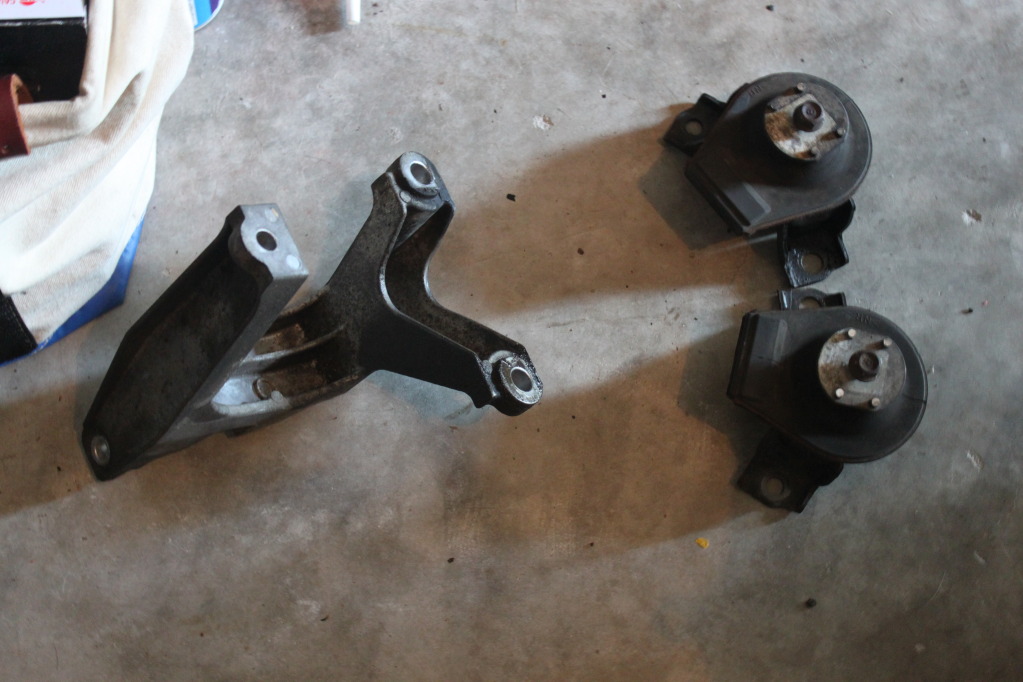
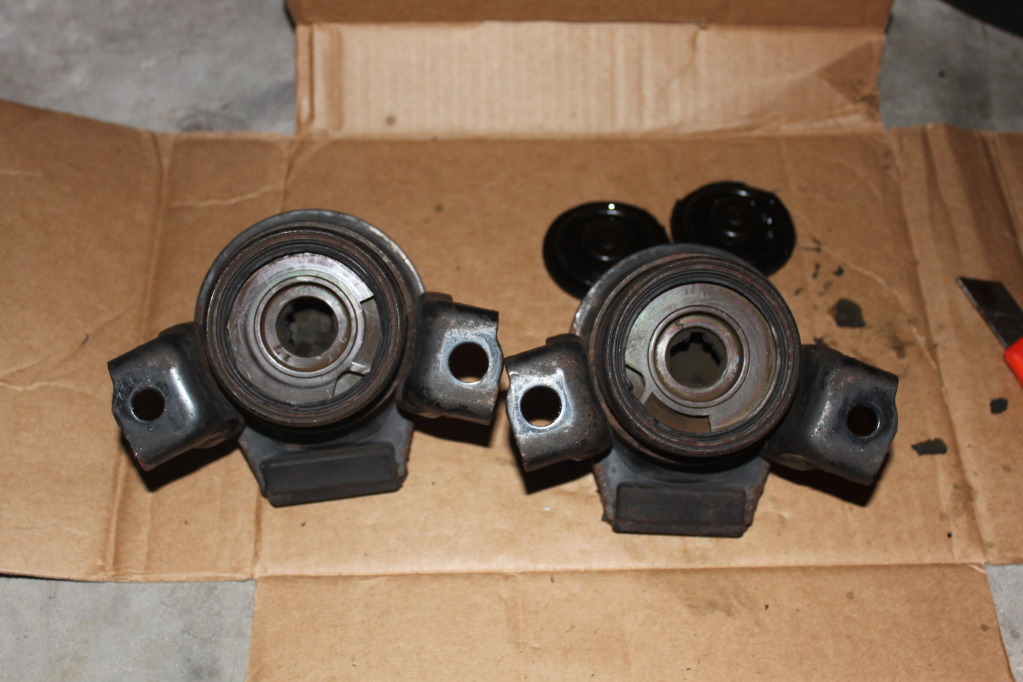
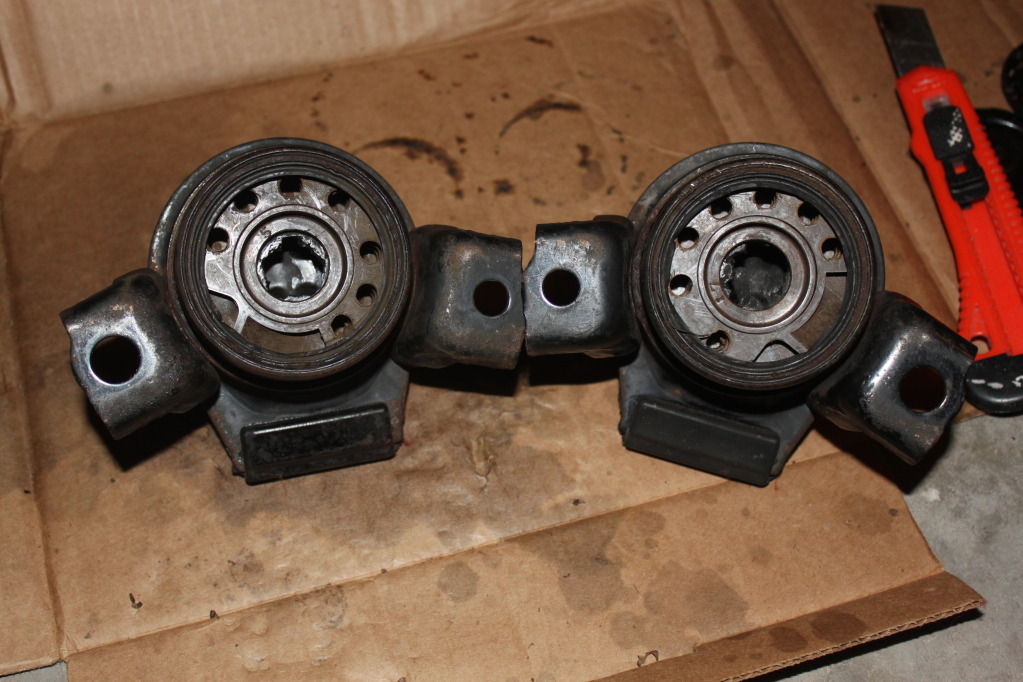
Passenger Mount and Engine Mounts Removed
SSV came clean really easy with just some Carb Cleaner...

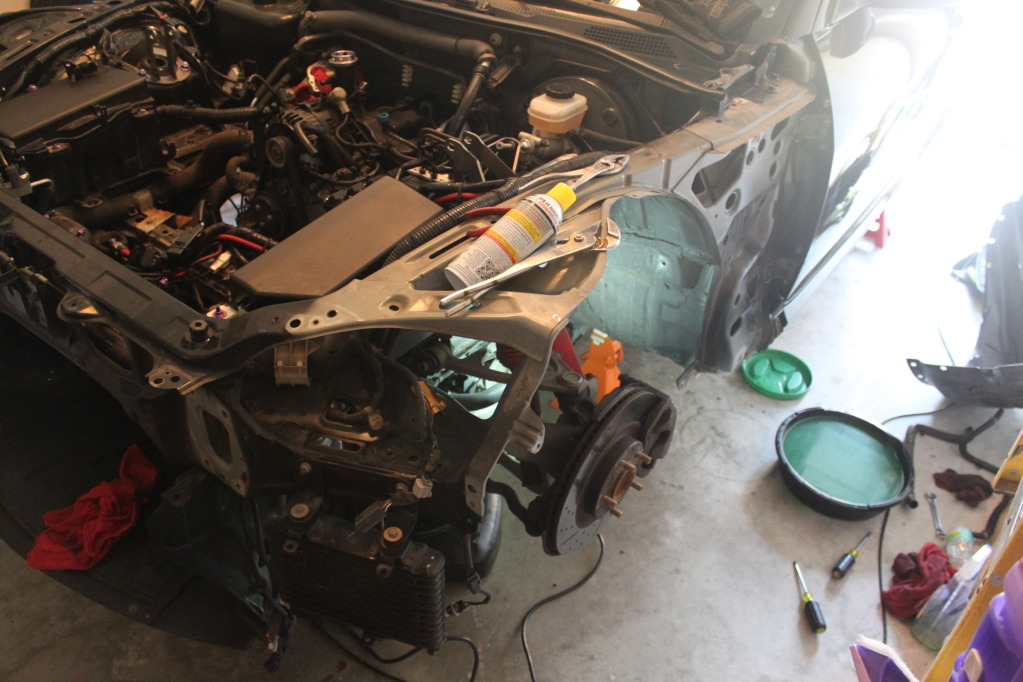
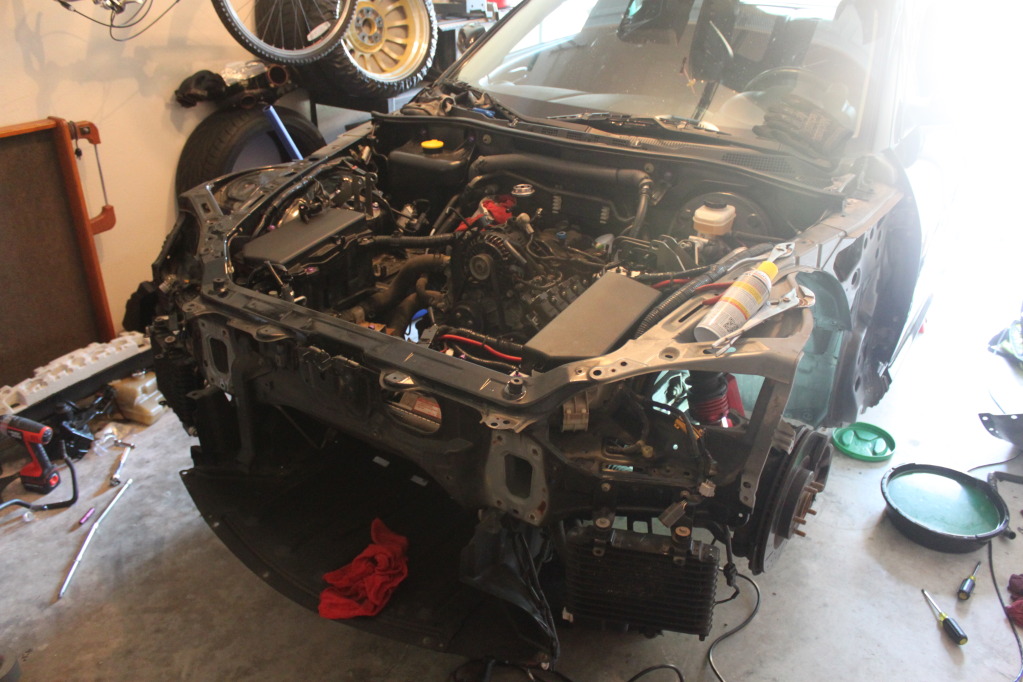
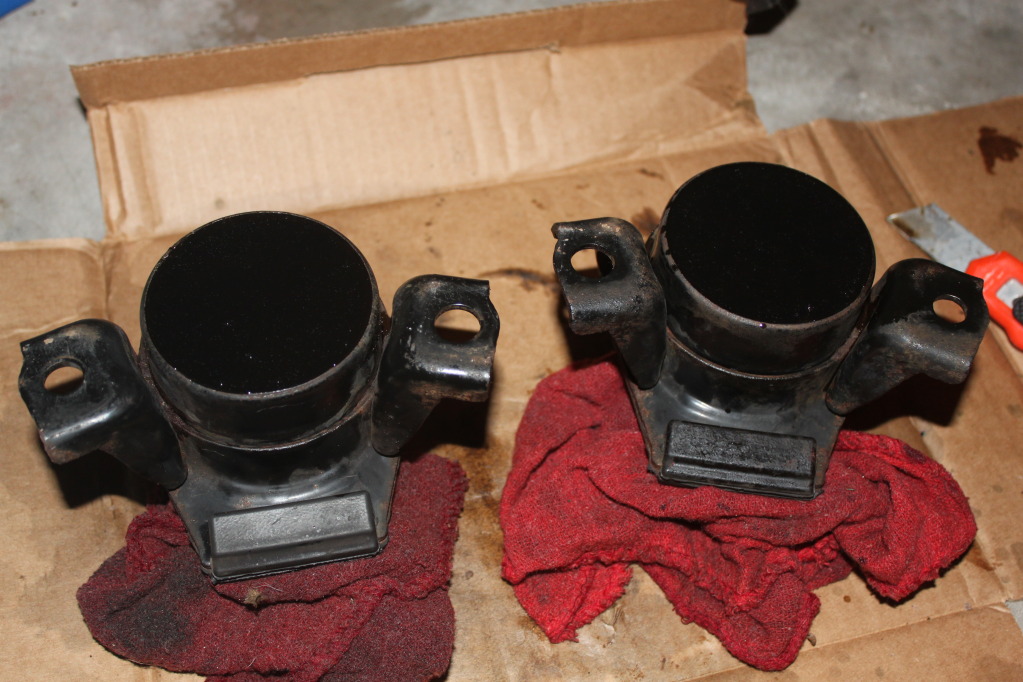
Motor Mounts Filled with 80A Shore Urethane...
Didn't really have a chance to do much work on the car this weekend I was getting my Uncle's Jeep setup to be flat towed by his RV.
I'm still waiting on some parts and some fab work to be completed so this build will be happening over the next month or so.
Last edited by kma5783; Jul 9, 2012 at 09:15 PM.
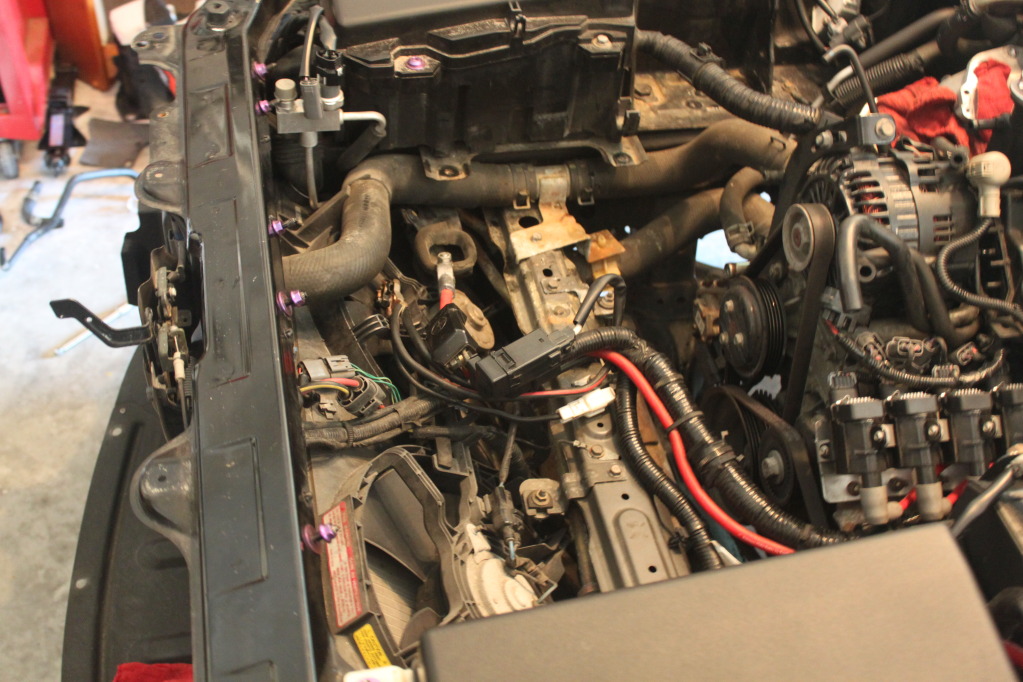
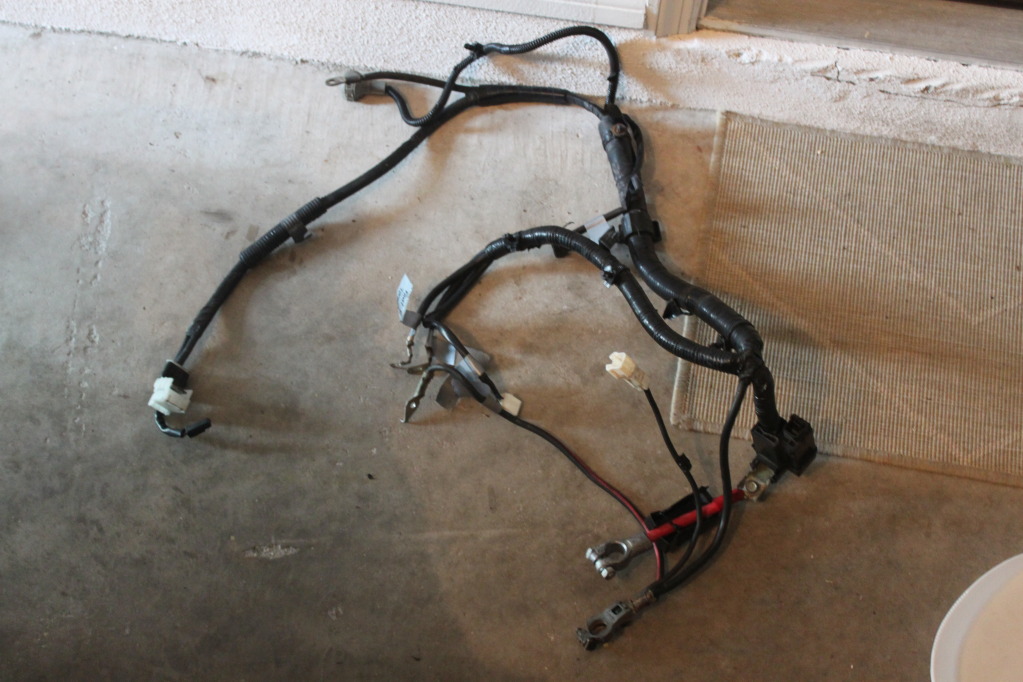
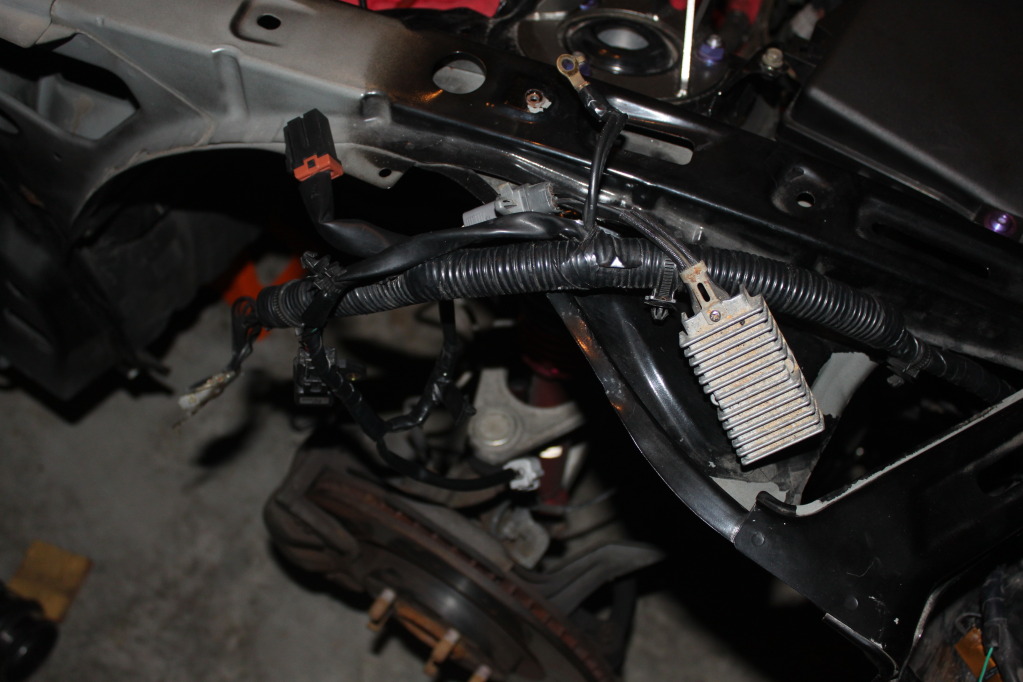
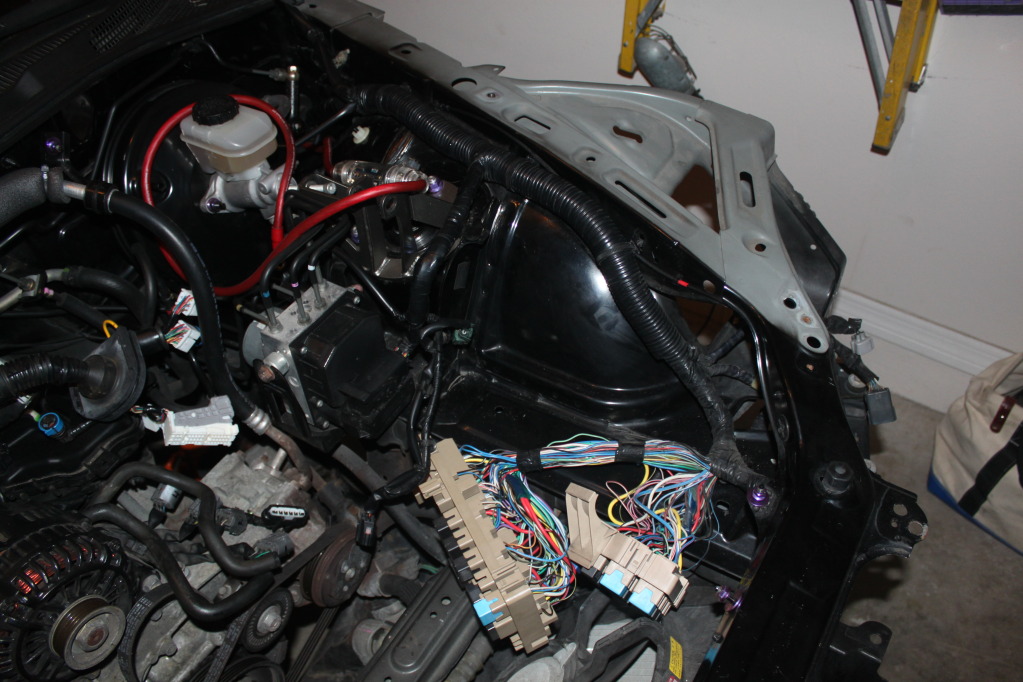
Battery Harness has been completely pulled apart and stripped down...

The battery will be relocated to the trunk so I'll be rerouting and re-sleeving the battery harness for a cleaner look.
The battery will be relocated to the trunk so I'll be rerouting and re-sleeving the battery harness for a cleaner look.
I'm curious how you are going to run everything for your battery once you put that wiring back together. Mine is pretty nasty after 130,000 miles, I'd like to clean it up when I relocate it. Hoss-05 and I just got all the stuff to do ours. Can you finish yours so I can copy you? kthxbi.

I'm curious how you are going to run everything for your battery once you put that wiring back together. Mine is pretty nasty after 130,000 miles, I'd like to clean it up when I relocate it. Hoss-05 and I just got all the stuff to do ours. Can you finish yours so I can copy you? kthxbi.
 I still need to get the Wire Sleeving and Heat Shrink, I also need to order the 2 Gauge Wire, 100 Amp Breaker, and 60 Amp EPS Fuse for the battery relocation. All these little things are really starting to add to the cost of this build.

I'm considering reusing my current amp power wire as my Ground Wire, it's 4 gauge and IMO it should work fine. What do you think?
I know I could just ground it in the trunk but a good ground is very important.


 ..
..
Yea here's the link...
http://www.dressupbolts.com/products...its/mazda-rx-8
http://www.dressupbolts.com/products...its/mazda-rx-8
i went out and got some high quality spray to see how that comes out.
You have to take into account that they're machined from Titanium and anodized. They make plain stainless steel ones for $100 a set.
