
Custom LED Puddle Lights!


Registered User
Joined: Sep 2007
Posts: 76
Likes: 0


Surf Hard, Drive Hard
Joined: Feb 2007
Posts: 7,840
Likes: 13
From: Indialantic, Florida


Surf Hard, Drive Hard
Joined: Feb 2007
Posts: 7,840
Likes: 13
From: Indialantic, Florida


Just kidding...I can wait as well, and it's no guarantee who's gonna get them first yet, so I guess we will see.
Last edited by Mazurfer; Nov 28, 2007 at 10:34 PM.
Registered User
Joined: Sep 2007
Posts: 76
Likes: 0

Thread Starter
Om nom nom nom
iTrader: (2)
Joined: Apr 2007
Posts: 437
Likes: 1
From: Mission Viejo, CA
Hey guys, I hate to do this and I know I jumped the gun by saying I'd definitely ship out the first batch today but I noticed on the clear plastic bottom, it wasn't completely dry. Like a sticky surface still. I called up the plastic manufacture and they said it can take up to 3 days for such a thin surface (less than 1/4 in) to cure but I can help it by putting it in the oven and baking it at 170 degrees to speed it up.
I'm going to go home tonight and try that. I'll update you guys soon on how it went. Again, truly sorry for the delay in shipment.
I'm going to go home tonight and try that. I'll update you guys soon on how it went. Again, truly sorry for the delay in shipment.


Thread Starter
Om nom nom nom
iTrader: (2)
Joined: Apr 2007
Posts: 437
Likes: 1
From: Mission Viejo, CA
Had to redo em. Figured out how to bake em just right so they dry in the 15-20 min that it should instead of the 3 day air dry sticky issue.
Good news. 4 whites and 1 blue will be shipped out tomorrow. They're all in their packaging and ready to go. Took a quick picture on my camera phone so pardon the low quality picture.
For the others, I am waiting for my package of LEDs to some in the mail. I'll let you know when I get them in. Should be early this week since I ordered them Monday last week.
Contents:
1x Letter
2x Puddle Lights! (Left & Right)
2x Phillips Screws
4x T-Splices
10x Zip Ties

Will update first post when I get to work today.
Good news. 4 whites and 1 blue will be shipped out tomorrow. They're all in their packaging and ready to go. Took a quick picture on my camera phone so pardon the low quality picture.
For the others, I am waiting for my package of LEDs to some in the mail. I'll let you know when I get them in. Should be early this week since I ordered them Monday last week.
Contents:
1x Letter
2x Puddle Lights! (Left & Right)
2x Phillips Screws
4x T-Splices
10x Zip Ties
Will update first post when I get to work today.
Last edited by shazbot28; Dec 4, 2007 at 07:14 AM.
Surf Hard, Drive Hard
Joined: Feb 2007
Posts: 7,840
Likes: 13
From: Indialantic, Florida
Had to redo em. Figured out how to bake em just right so they dry in the 15-20 min that it should instead of the 3 day air dry sticky issue.
Good news. 4 whites and 1 blue will be shipped out tomorrow. They're all in their packaging and ready to go. Took a quick picture on my camera phone so pardon the low quality picture.
For the others, I am waiting for my package of LEDs to some in the mail. I'll let you know when I get them in. Should be early this week since I ordered them Monday last week.
Contents:
1x Letter
2x Puddle Lights! (Left & Right)
2x Phillips Screws
2x T-Splices
10x Zip Ties
Will update first post when I get to work today.
Looking real good!
You ever figured out who gets the first set of blues?


Thread Starter
Om nom nom nom
iTrader: (2)
Joined: Apr 2007
Posts: 437
Likes: 1
From: Mission Viejo, CA
PMed tracking numbers to those shipped out today.


I zoom therefore I am.
Joined: Mar 2007
Posts: 4,919
Likes: 12
From: San Jose, CA
Got my lights about an hour ago and just finished installing them on the car.
The instruction link I was sent didn't work so I just used the derkwinkle instructions. ( http://www.rx8fun.com/puddle/docs/Puddle_Lamps.pdf )
In the derwinkle instructions they talk about 9 clips holding the door on plus one screw under the arm rest. I also had a second screw (shown in one of the pics below holding the door.
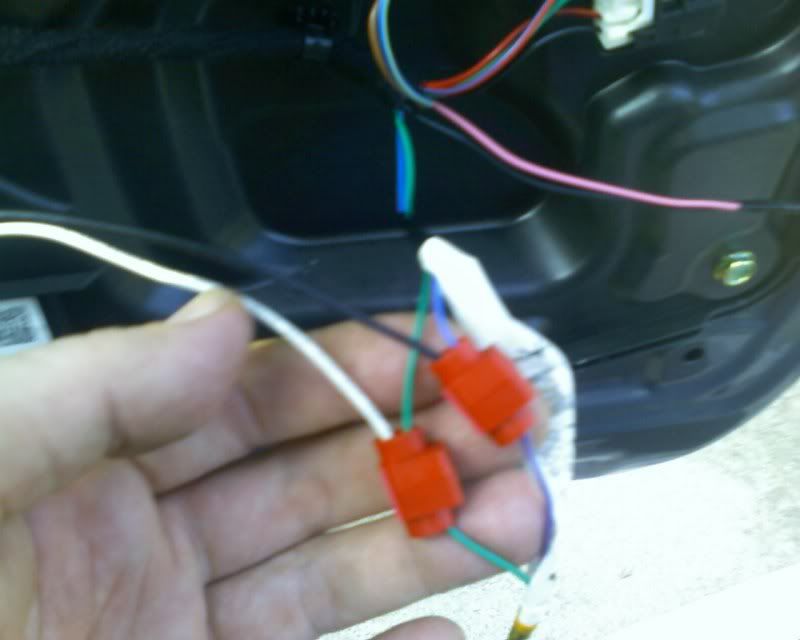
Installation is a snap, just take your time. One thing to note, the wires i had to tap into did not go in the same order from drivers to passenger. There's a blue wire and a green wire in the car. A white and black from the kit. I believe how the bulb is plugged into the puddle light determines the polarity of the connection. It's a pretty easy thing to do right, just touch the bare metal ends of the wires from the puddle light kit to the courtesy light that you'll be tapping into. When the puddle light comes on, you have your correct splice.
Sorry for the picture quality. The GF has my camera somewhere and I didn't want to waste time finding it. These are all from my camera phone.
I'll post some pics tonight so we can all gaze and the warm glowing warmth.
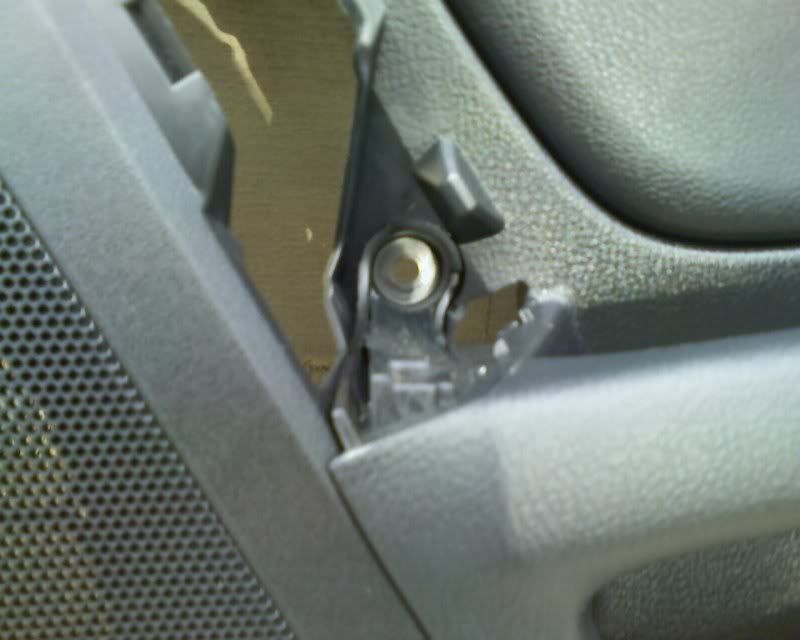
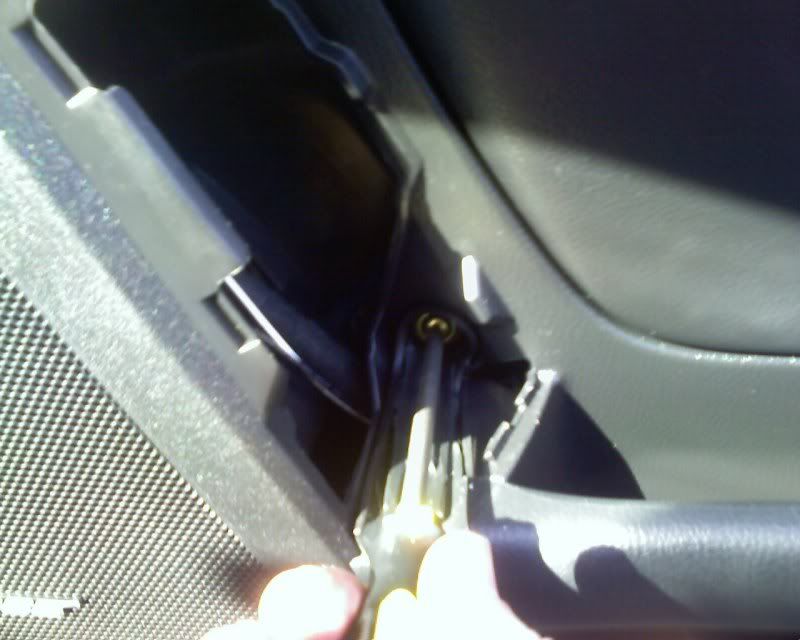
picture of the other bolt i found holding the door on. You'll find it when you remove the switch trim plate
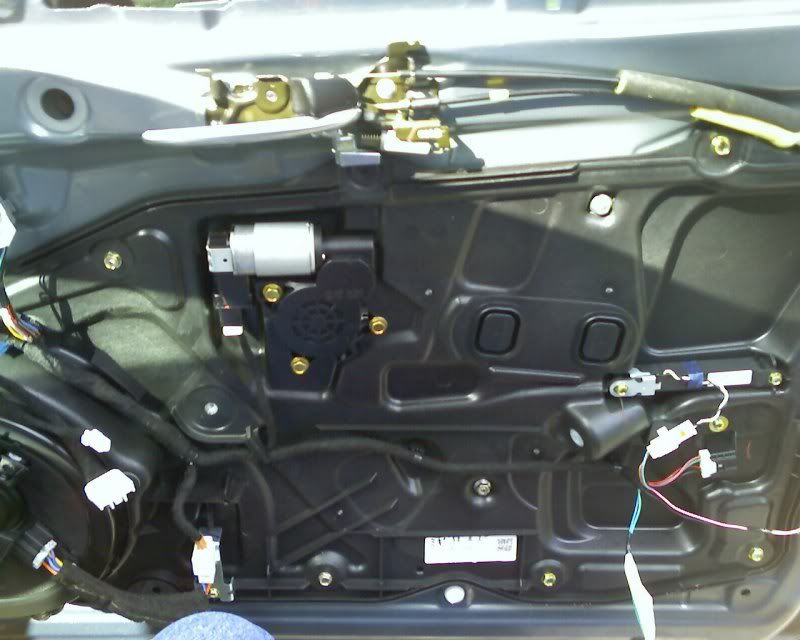
The guts of the door
Pretty light.. so blue
Making the splices. I didn't use the ones Shaz sent, I like these better
Removing the magic second screw. Didn't find it till after I tried removing the door panel. Thankfully I stopped before ripping it off
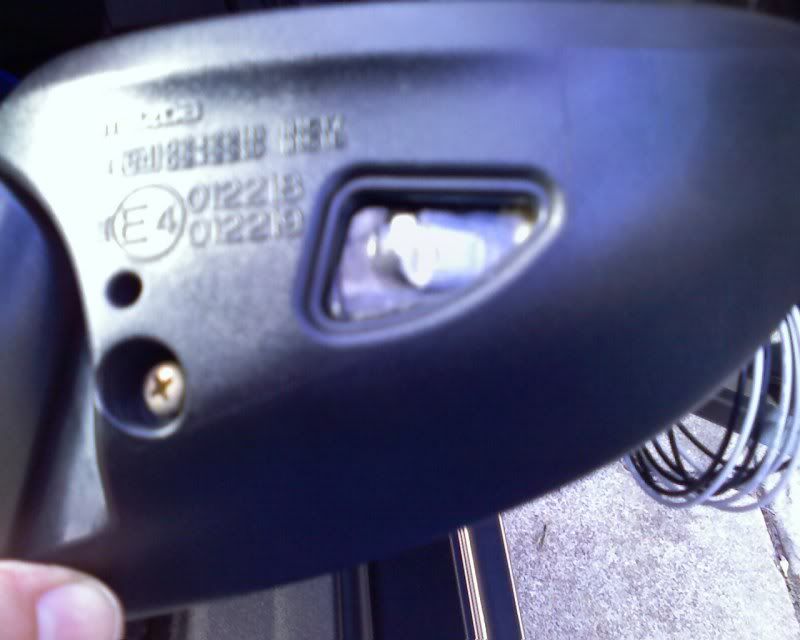
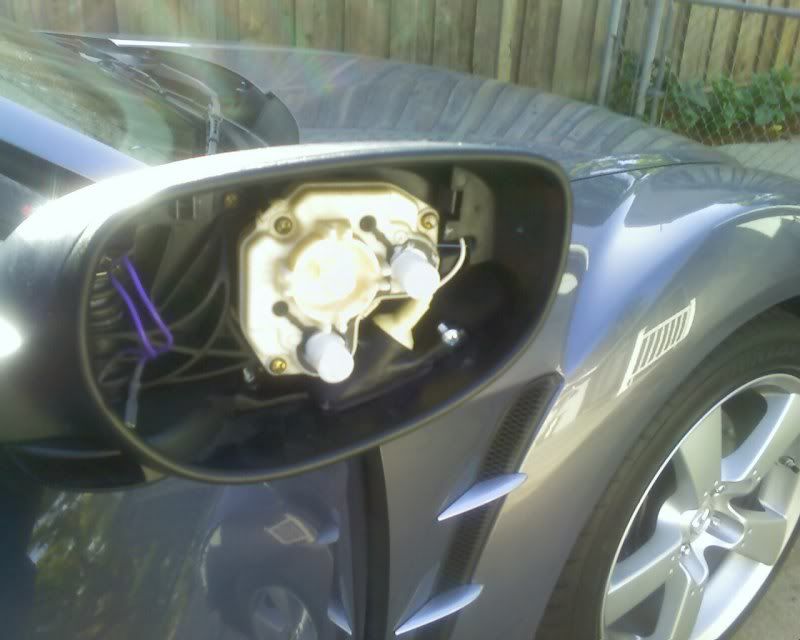
As many people have posted, just pull firmly on the mirror and it will pop off. When you're putting it back on make sure you feel all mounts engage and the mirror become rigid
The instruction link I was sent didn't work so I just used the derkwinkle instructions. ( http://www.rx8fun.com/puddle/docs/Puddle_Lamps.pdf )
In the derwinkle instructions they talk about 9 clips holding the door on plus one screw under the arm rest. I also had a second screw (shown in one of the pics below holding the door.
Installation is a snap, just take your time. One thing to note, the wires i had to tap into did not go in the same order from drivers to passenger. There's a blue wire and a green wire in the car. A white and black from the kit. I believe how the bulb is plugged into the puddle light determines the polarity of the connection. It's a pretty easy thing to do right, just touch the bare metal ends of the wires from the puddle light kit to the courtesy light that you'll be tapping into. When the puddle light comes on, you have your correct splice.
Sorry for the picture quality. The GF has my camera somewhere and I didn't want to waste time finding it. These are all from my camera phone.
I'll post some pics tonight so we can all gaze and the warm glowing warmth.
picture of the other bolt i found holding the door on. You'll find it when you remove the switch trim plate
The guts of the door
Pretty light.. so blue
Making the splices. I didn't use the ones Shaz sent, I like these better
Removing the magic second screw. Didn't find it till after I tried removing the door panel. Thankfully I stopped before ripping it off
As many people have posted, just pull firmly on the mirror and it will pop off. When you're putting it back on make sure you feel all mounts engage and the mirror become rigid
Last edited by laythor; Dec 5, 2007 at 03:29 PM.

