
Subwoofer Enclosure Build Inside


Thread Starter
Disco Biscuit
Joined: Aug 2008
Posts: 116
Likes: 0
From: Palm Bay, FL
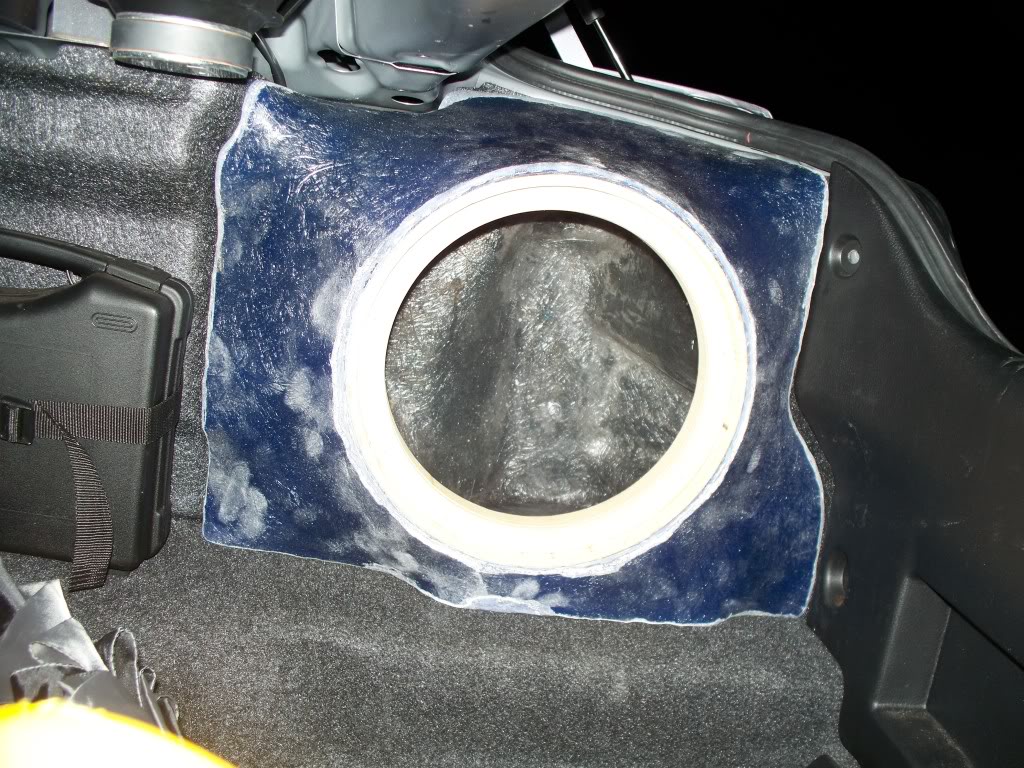
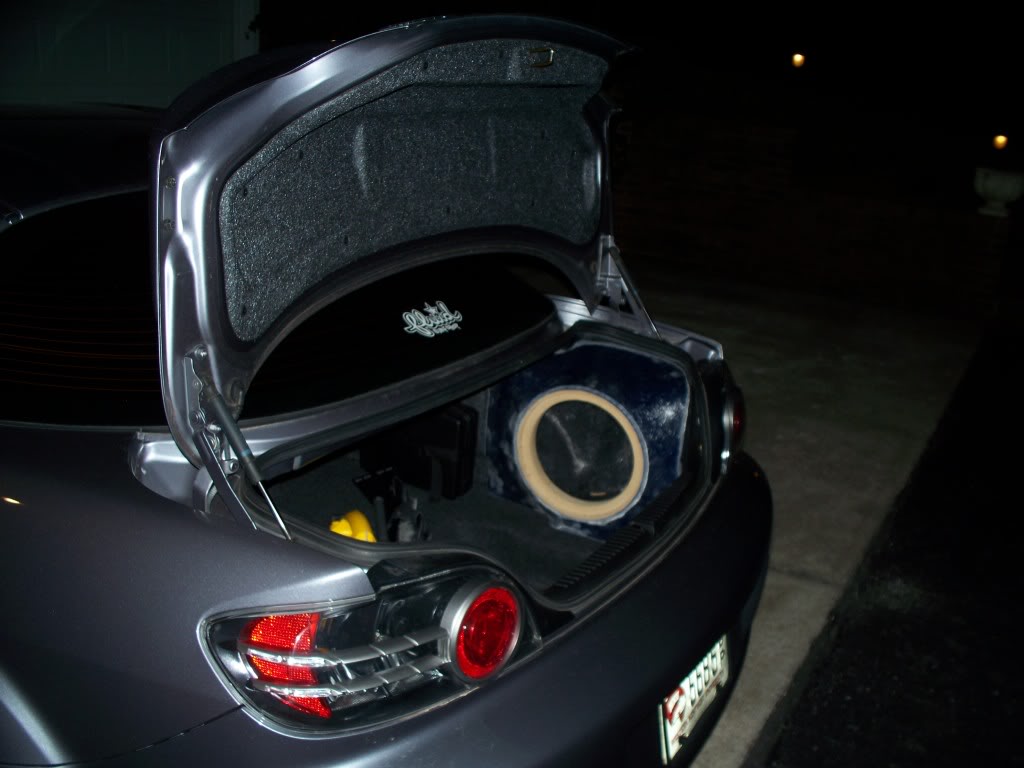
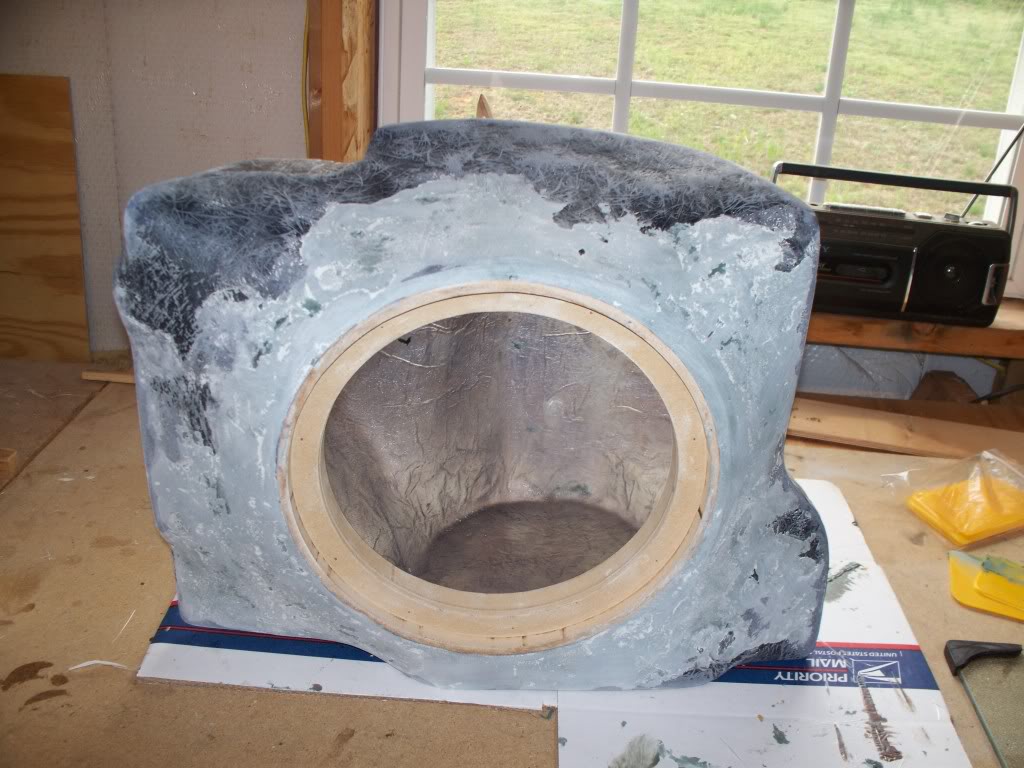
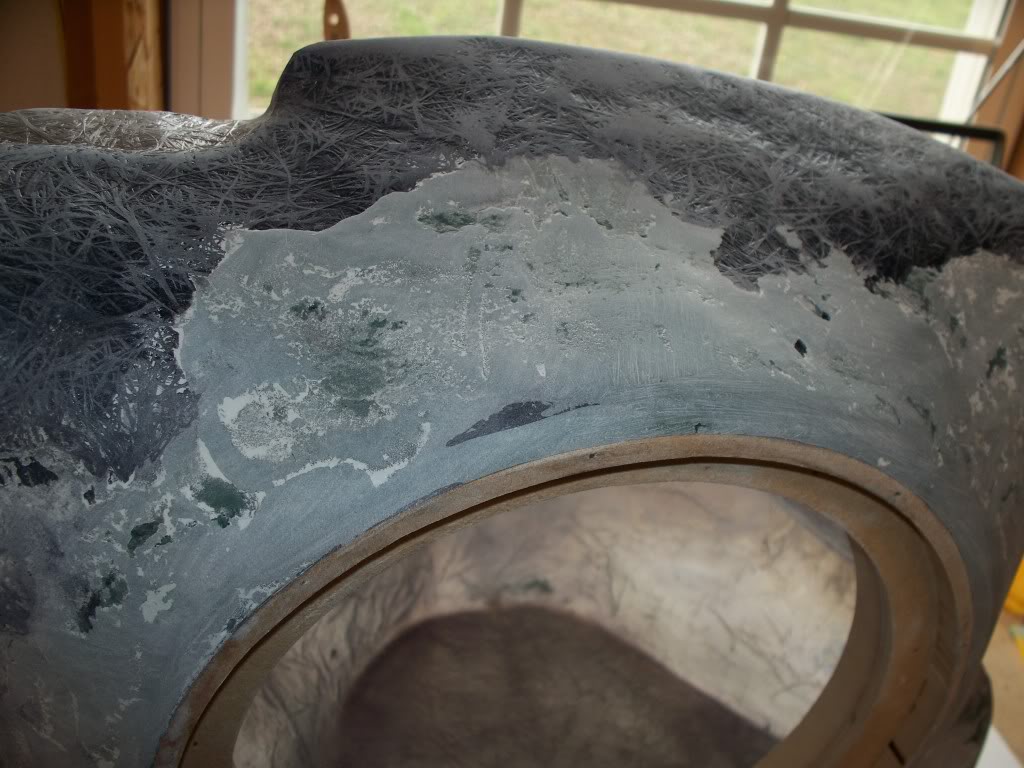
It's for a 10" subwoofer. It's just hard to tell without something in the picture for size reference.
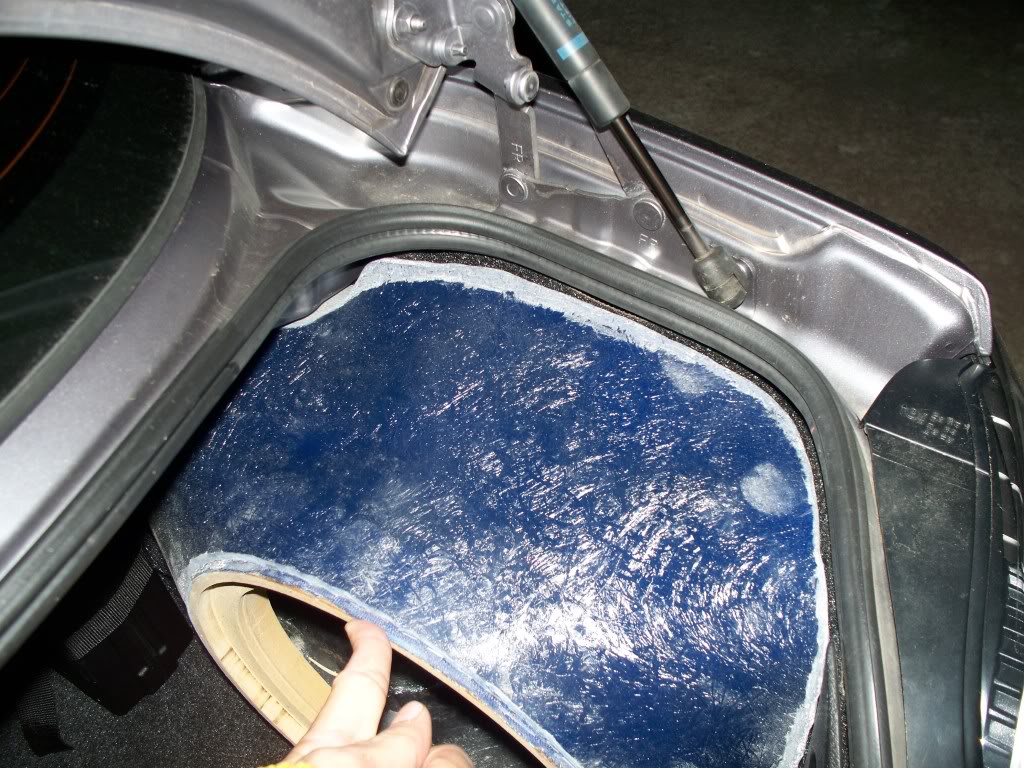
My plan is to layer up the inside of the front with 1.5 oz mat, and remove the dowl rods. They are just CA glued in place to temporarily hold the ring in place. The box has enough curves that it should be plenty stong without the dowls.
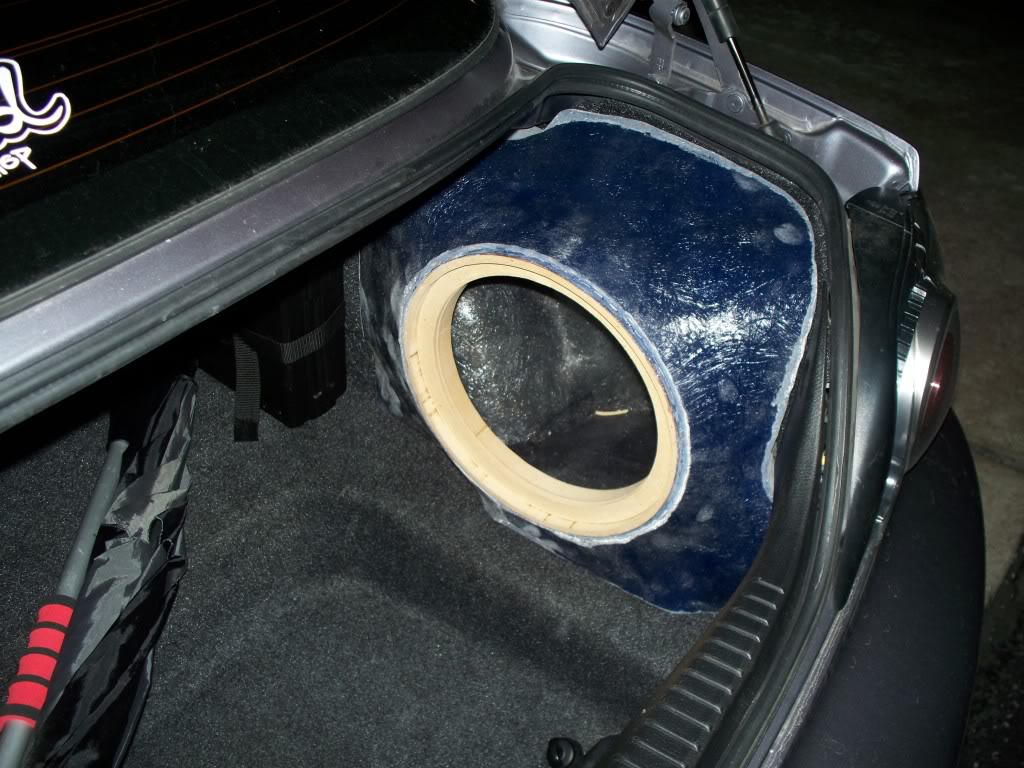
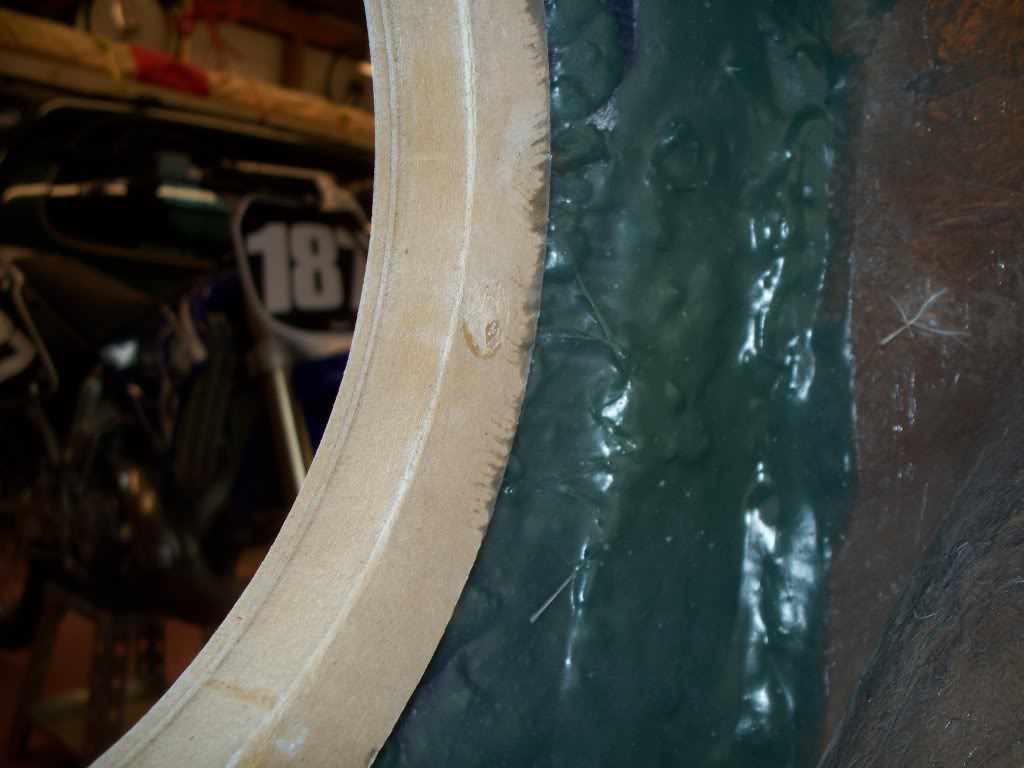
The blue fabric is "ponte" (100% polyester fabric) it's similar to speaker grill cloth only thicker. It has much more stretch than fleece, doesn't hold as much resin, and it will make finishing the front much easier as it is tons smoother than fleece.
My plan is to layer up the inside of the front with 1.5 oz mat, and remove the dowl rods. They are just CA glued in place to temporarily hold the ring in place. The box has enough curves that it should be plenty stong without the dowls.
The blue fabric is "ponte" (100% polyester fabric) it's similar to speaker grill cloth only thicker. It has much more stretch than fleece, doesn't hold as much resin, and it will make finishing the front much easier as it is tons smoother than fleece.


Thread Starter
Disco Biscuit
Joined: Aug 2008
Posts: 116
Likes: 0
From: Palm Bay, FL
Thank You.
I am planning to carpet it, if I can source some that matches the oem pretty close.
So far I have used:
1 gallon of resin (US Composites 440 premium poly resin)
1 yard (approx) of 3/4 oz chopped mat 50" width
1/2 yard (approx) of 1.5 oz chopped mat 50" width
.25 yards of ponte fabric
CA glue & activator
< 1/2 sheet 3/4" mdf
I am not finished but so far I would guess I have about $60.00 in it, and about 20 hours labor (I am still learning so I am slow).
I also have a quart of duraglas for body filler, haven't gotten to that step yet so I do not know much it will take. That probably depends mostly on how smooth you get your glass and what type of finish you are after.
I got duraglas bodyfiller from US Composites.
I am planning to carpet it, if I can source some that matches the oem pretty close.
1 gallon of resin (US Composites 440 premium poly resin)
1 yard (approx) of 3/4 oz chopped mat 50" width
1/2 yard (approx) of 1.5 oz chopped mat 50" width
.25 yards of ponte fabric
CA glue & activator
< 1/2 sheet 3/4" mdf
I am not finished but so far I would guess I have about $60.00 in it, and about 20 hours labor (I am still learning so I am slow).
I also have a quart of duraglas for body filler, haven't gotten to that step yet so I do not know much it will take. That probably depends mostly on how smooth you get your glass and what type of finish you are after.
I got duraglas bodyfiller from US Composites.
Last edited by LunchboxCritter; Apr 6, 2011 at 12:39 AM.

Registered
Joined: Mar 2011
Posts: 69
Likes: 1
have you had any problems or irritations from trying to get the glass to stick to the surface? I have heard that it can be a pain in the butt
Thread Starter
Disco Biscuit
Joined: Aug 2008
Posts: 116
Likes: 0
From: Palm Bay, FL
I do have additional costs, as in tools and misc supplies that I didn't include above.
I would highly recommend purchasing some aluminum rollers, I got a 3" one and a really small one.
You will need painters tape (100-150'x2")
Roll of 3 mil plastic (it's what I used anyway, walmart cheap buy)
Plastic cups
Acetone - get a gallon you may need it
Cheap chopped bristle brushes (habor freight has boxes pretty cheap)
Plastic gloves
A respirator if are smart- I finally got one a few days ago

Thread Starter
Disco Biscuit
Joined: Aug 2008
Posts: 116
Likes: 0
From: Palm Bay, FL
1/4" x 1" Mini Roller - $6.50
3/8" x 3" Detail Roller - $6.70
http://www.shopmaninc.com/fgrollers.html
^^ There are the rollers, and the website where I sourced my mat, resin, body filler, etc. ^^
3/8" x 3" Detail Roller - $6.70
http://www.shopmaninc.com/fgrollers.html
^^ There are the rollers, and the website where I sourced my mat, resin, body filler, etc. ^^

Great website with great products. I've done business with them several times.
Your box is turning out beautifully and I can appreciate how much work you've put into it.
But this is a perfect example of why I don't build my own enclosures any more. By the time you're finished, you'll have a month of labor involved and probably at least $150 in supplies. I simply don't have that kind of time to devote.... or would devote if I did have it... to offset the monies saved. I would have rather paid a shop to do it for me. They'd have it done in 3 days for probably no more than ~$400 (for full painted front). Yes. Quite a bit more money, but a guaranteed/warrantied product that you have in 3 days versus having to dump a hundred hours of my own time and hope that I'm happy with the outcome (no finishing issues, etc). If anyone can relate to the hobby of doing the work yourself, it's me. But after building many fiberglass enclosures, working in a garage, not having every single tool you need, etc.... it's just not worth it in my eyes.
Sorry for the rant. Please don't think I'm crapping on your work. Like I said, it's looks beautiful and I'm positive it'll sound bliss.


I zoom therefore I am.
Joined: Mar 2007
Posts: 4,919
Likes: 12
From: San Jose, CA
ouch, sanding after it set? you're going to have popeye arms when you're done 
I made that mistake once on a model airplane, imagine what you're going through but with blasa wood's fragility thrown in.
I bet you're already thinking about your next fiberglass project. I know when I first started using glass I ended up making a few dozen things for myself and friends.
All in all the pics look like you are doing a top rate job and the end result will be something you'll always remember.

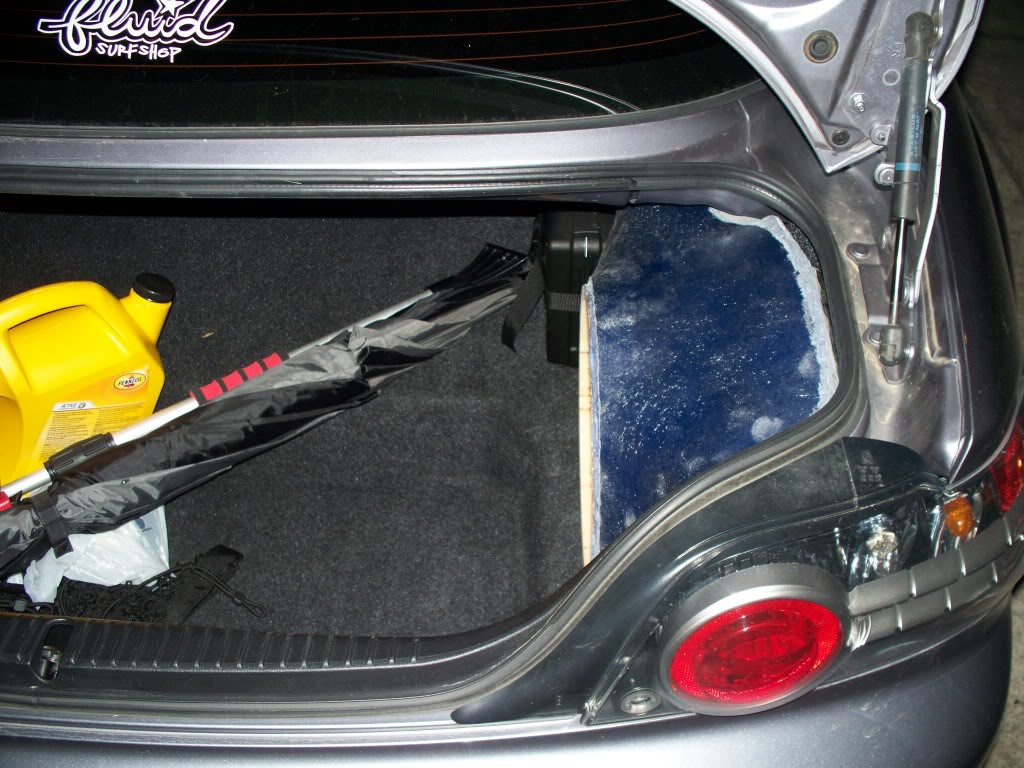
Great project and great job so far. Look forward to seeing the final result. Did you do any calculations for plans to match the volume of the enclosure to your sub? Any idea of the approximate volume at this stage (fill with water to check)? Also, was there any information on the best way to aim the sub (your looks like corner side-firing, did you consider corner angle-firing)?
Thread Starter
Disco Biscuit
Joined: Aug 2008
Posts: 116
Likes: 0
From: Palm Bay, FL
ouch, sanding after it set? you're going to have popeye arms when you're done
I made that mistake once on a model airplane, imagine what you're going through but with blasa wood's fragility thrown in.
I bet you're already thinking about your next fiberglass project. I know when I first started using glass I ended up making a few dozen things for myself and friends.
All in all the pics look like you are doing a top rate job and the end result will be something you'll always remember.
Popeye arms, woo hoo.

I'm thinking of building a box for a honda fit, and molding/copying it. I have yet to see anyone else making them, and have a donor car available. I already have the part-all film, wax, and gel coat in case I decide to mold something.
This box is for my old ladies car. I'm of course wanting to redo my 2nd gen rx7's system, and we also have 2nd gen convertible that needs Jesus (it's a project for my daughter, she's only 8 yrs old so we have plenty of time to work on it).
Great project and great job so far. Look forward to seeing the final result. Did you do any calculations for plans to match the volume of the enclosure to your sub? Any idea of the approximate volume at this stage (fill with water to check)? Also, was there any information on the best way to aim the sub (your looks like corner side-firing, did you consider corner angle-firing)?
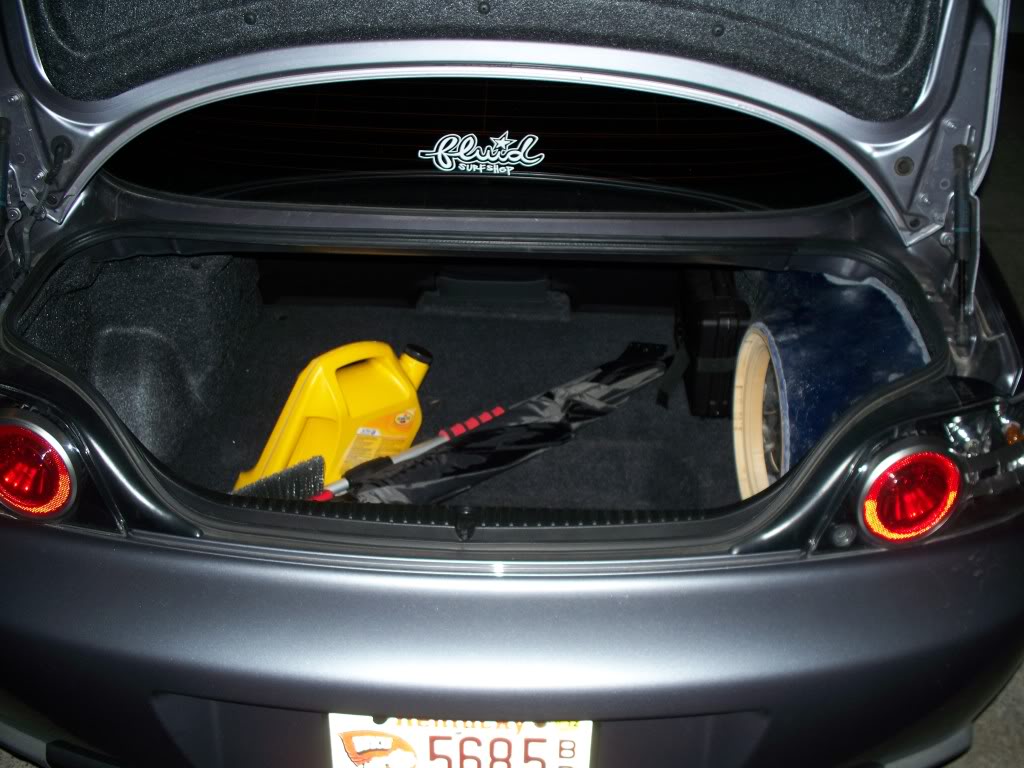
I have not measured the air space with packing peanuts or anything yet, and I may not ever. My experience is the bigger the better (I've built several systems since 1994), and I was hoping to get closer to 1.0 cubic feet for a 10" subwoofer.
As far as sound quality I've always liked rear firing, or down firing subwoofers the best. This will be the first sideways firing sub that I have personally ever had the privilege of tinkering with.
For sealed enclosures that's pretty much correct. Larger enclosures gives better driver efficiency and greater low frequency extension.
I zoom therefore I am.
Joined: Mar 2007
Posts: 4,919
Likes: 12
From: San Jose, CA


Thread Starter
Disco Biscuit
Joined: Aug 2008
Posts: 116
Likes: 0
From: Palm Bay, FL
You know I did pick up a Binks respirator to wear while laying glass, but I actually only wore a dust mask while sanding, and only about half of the time.
Sorry for the lack of pictures lately, just haven't made any progress to show. Well I jump projects and started working on installing my east bear replica lights on my 2nd gen Rx7 (here's a pic for you).

I did however, order a JL 10w3 for the box, and went to one of the local stereo shops and picked up some carpet (it's not 100% match, but it's pretty close).
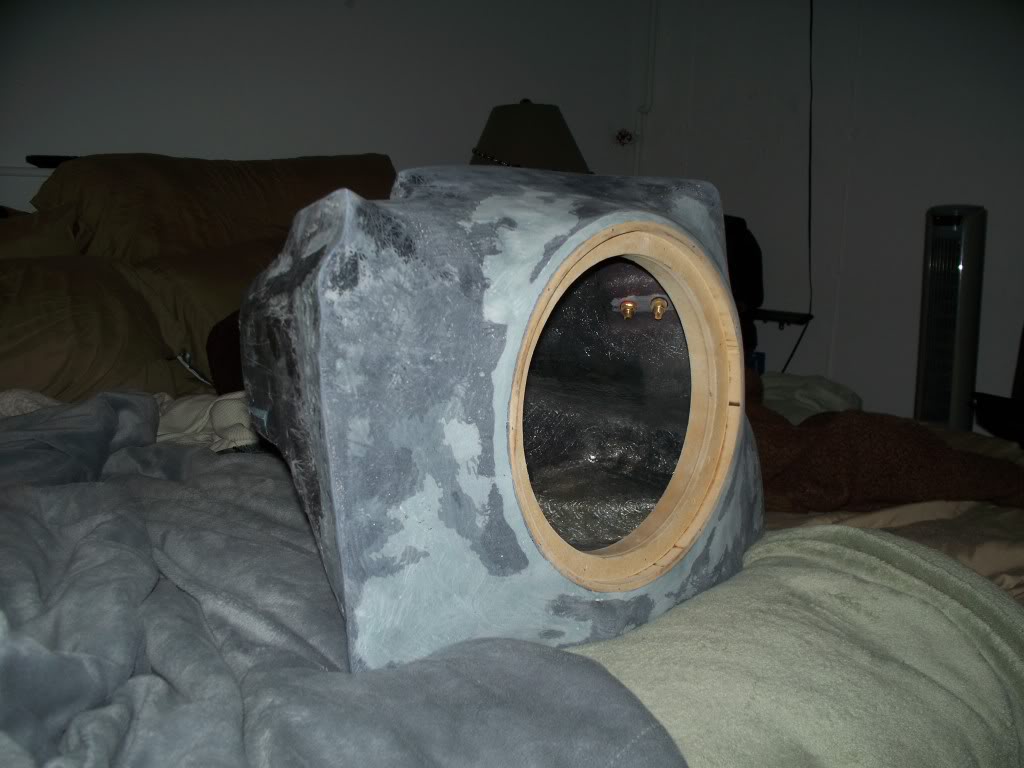
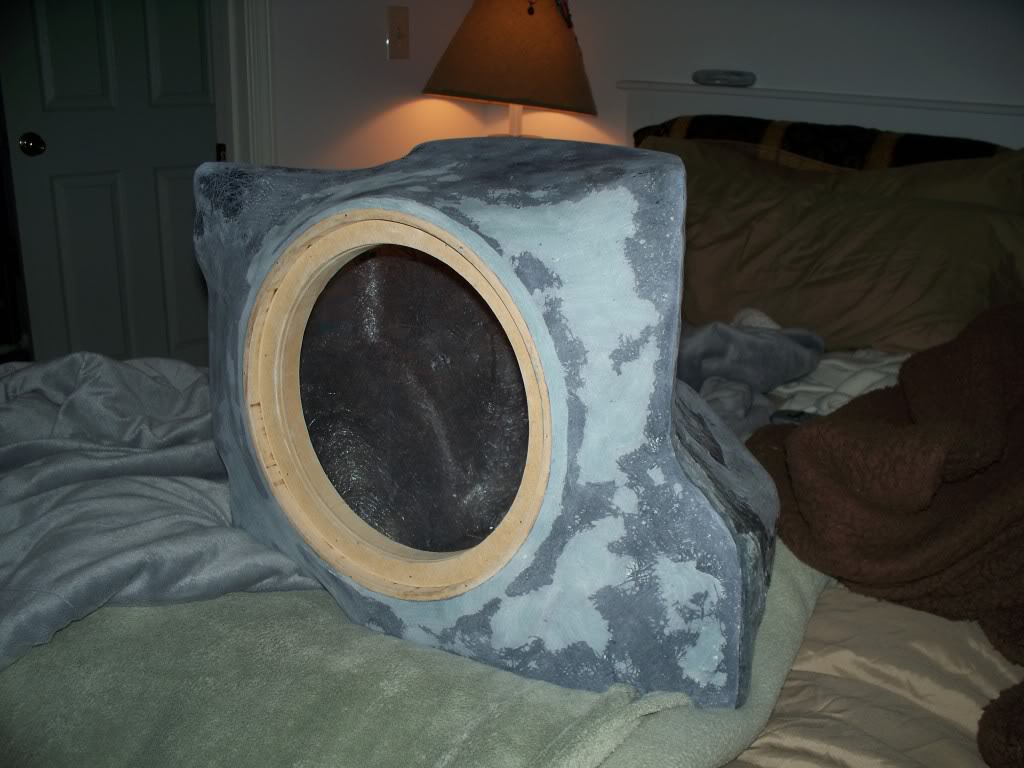
Don't worry it's not covered yet (see below), I still have to install the t-nuts after the sub arrives. I also picked up a rivnut rivet gun, ordered some rivnuts, picked up some bolts, and some over kill sized washers.
I am debating finish sanding this box and using it as a plug. I already have the materials to create a mold (partall, pva, gelcoat, etc.). I picked them in case I wanted to try my hand at a small production run.
Sorry for the lack of pictures lately, just haven't made any progress to show. Well I jump projects and started working on installing my east bear replica lights on my 2nd gen Rx7 (here's a pic for you
).I did however, order a JL 10w3 for the box, and went to one of the local stereo shops and picked up some carpet (it's not 100% match, but it's pretty close).
Don't worry it's not covered yet (see below), I still have to install the t-nuts after the sub arrives. I also picked up a rivnut rivet gun, ordered some rivnuts, picked up some bolts, and some over kill sized washers.
I am debating finish sanding this box and using it as a plug. I already have the materials to create a mold (partall, pva, gelcoat, etc.). I picked them in case I wanted to try my hand at a small production run.
Last edited by LunchboxCritter; Apr 21, 2011 at 10:35 PM.