
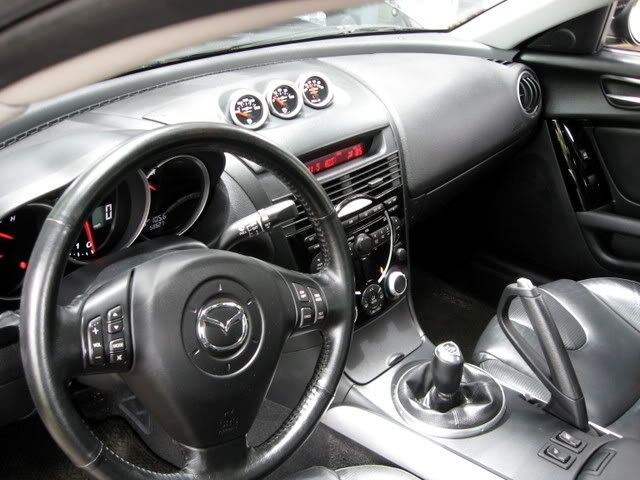
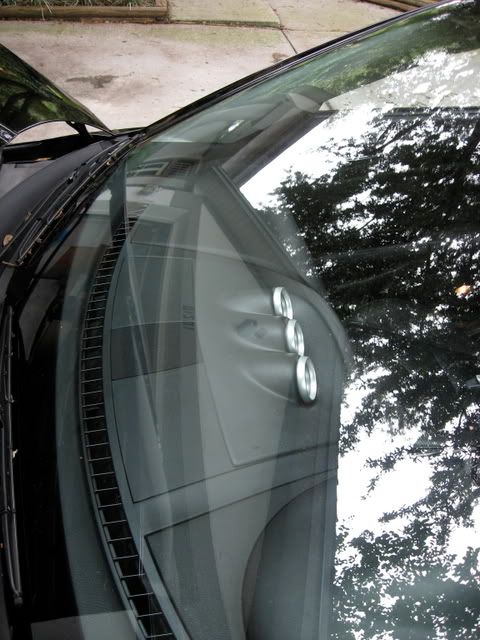
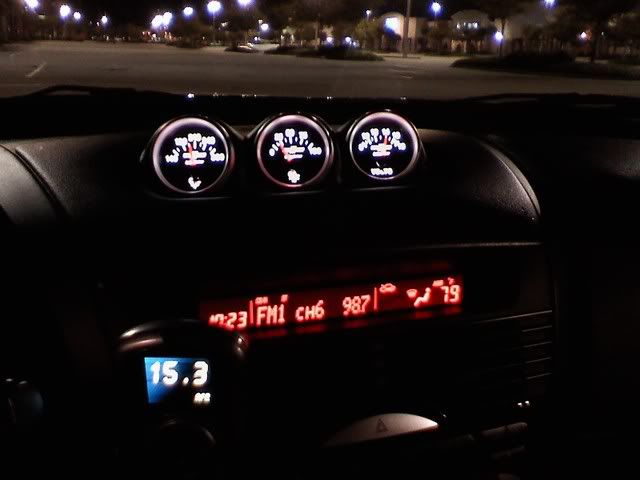
Gauges Installed in Lotek Pod

Gauges Installed in Lotek Pod
I found basically all the information I needed to do this by searching on here, so figured I'd post up my install. Didn't think to take pictures during it, though heh.
My Materials:
- Autometer Sport-comp II 2 1/16" Electric Gauges w/ sensors; Oil Temp, Oil Press, and Volts. EBAY
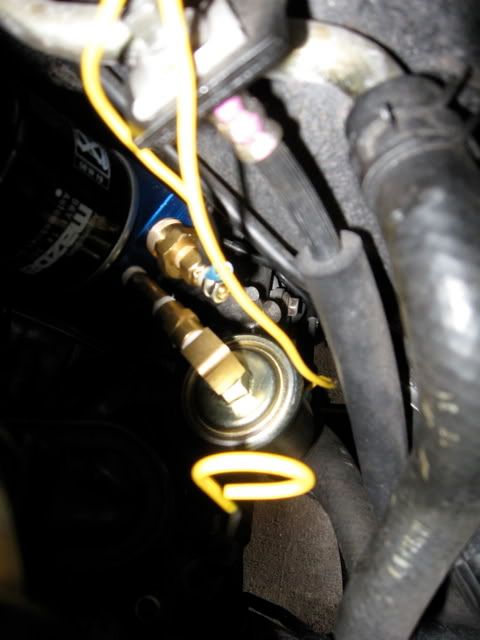
- Racing Beat Oil Sender Adapter. RACING BEAT
- Lotek Gauge Pod w/ Black Paint & Adhesive options. LOTEK
- 16 gauge yellow wire to connect senders to gauges. AUTO PARTS
- Random Red & Black wires for power/ground.
- Two types of 16 gauge quick connects. AUTO PARTS
- Crimp connectors and a tool to crimp the wires. AUTO PARTS
- Something to punch through the firewall grommet, twist ties, a grease of some sort to keep the rubber seal ring on the bottom side of RB Adapter in place while mounting, and appropriate tools for adapter/filter install. Oh! Teflon tape or sealant for sender bolts.
My Total Cost: ~$330
I had a fair amount of help with this; dad, grandparent, and neighbor, but it wasn't too "hard". Most of the complications came from the way I wanted it wired. After that was figured out, hardest part is getting the RB sensor adapter on with the oil filter. I assure you, first time I started the car after finishing, got all excited that the gauges worked the first try, and oil was everywhere under the car. I did this in combination with an oil change.
Anyhow, what I went ahead and did was use the navigation LCD's power and ground wire for my gauges since I had it laying up under my center cover cut up already. That way I only had to run sender wires to the engine bay, and the gauge power would be switched on/off with ACC like the nav system. Gauges are wired together. Power goes from nav harness to voltage, then to each of the oil gauges, same for ground. So they're not wired individually. Works great, I figure the LCD would use way more power than these gauges, so it should be safe. Alternatively, if you didn't have nav wires, you'd have to tap another 12V source and likely have to run your own ground.
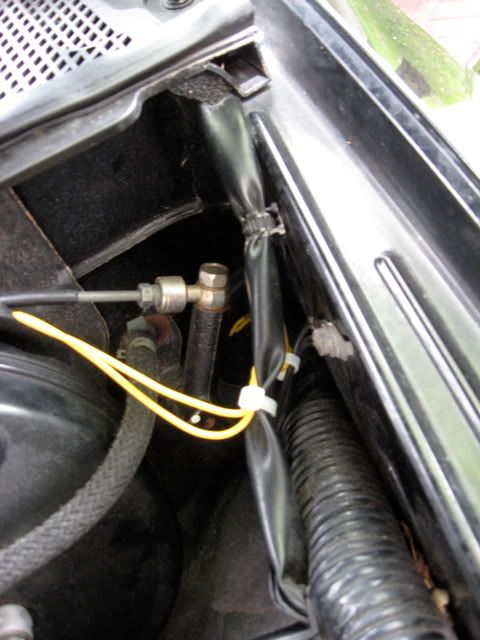
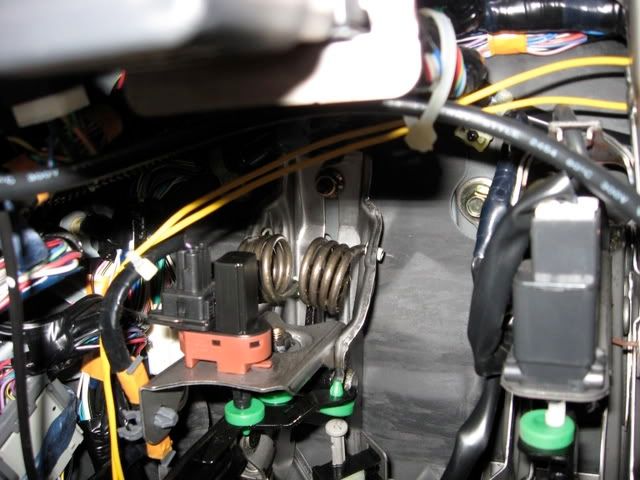
Biggest difficulty I had to getting the wires through the grommet without destroying it, and getting the RB Adapter and oil filter installed. It gets really tight down there. Be sure to grease the o-ring on the RB Adapter plenty!
These gauges are the next best thing to the Nexus line though in my opinion, and I really don't see why you'd want to have to use a base station with the gauges.
My Materials:
- Autometer Sport-comp II 2 1/16" Electric Gauges w/ sensors; Oil Temp, Oil Press, and Volts. EBAY
- Racing Beat Oil Sender Adapter. RACING BEAT
- Lotek Gauge Pod w/ Black Paint & Adhesive options. LOTEK
- 16 gauge yellow wire to connect senders to gauges. AUTO PARTS
- Random Red & Black wires for power/ground.
- Two types of 16 gauge quick connects. AUTO PARTS
- Crimp connectors and a tool to crimp the wires. AUTO PARTS
- Something to punch through the firewall grommet, twist ties, a grease of some sort to keep the rubber seal ring on the bottom side of RB Adapter in place while mounting, and appropriate tools for adapter/filter install. Oh! Teflon tape or sealant for sender bolts.
My Total Cost: ~$330
I had a fair amount of help with this; dad, grandparent, and neighbor, but it wasn't too "hard". Most of the complications came from the way I wanted it wired. After that was figured out, hardest part is getting the RB sensor adapter on with the oil filter. I assure you, first time I started the car after finishing, got all excited that the gauges worked the first try, and oil was everywhere under the car. I did this in combination with an oil change.
Anyhow, what I went ahead and did was use the navigation LCD's power and ground wire for my gauges since I had it laying up under my center cover cut up already. That way I only had to run sender wires to the engine bay, and the gauge power would be switched on/off with ACC like the nav system. Gauges are wired together. Power goes from nav harness to voltage, then to each of the oil gauges, same for ground. So they're not wired individually. Works great, I figure the LCD would use way more power than these gauges, so it should be safe. Alternatively, if you didn't have nav wires, you'd have to tap another 12V source and likely have to run your own ground.
Biggest difficulty I had to getting the wires through the grommet without destroying it, and getting the RB Adapter and oil filter installed. It gets really tight down there. Be sure to grease the o-ring on the RB Adapter plenty!
These gauges are the next best thing to the Nexus line though in my opinion, and I really don't see why you'd want to have to use a base station with the gauges.
Last edited by Jasonawojo; Aug 13, 2008 at 04:49 PM.

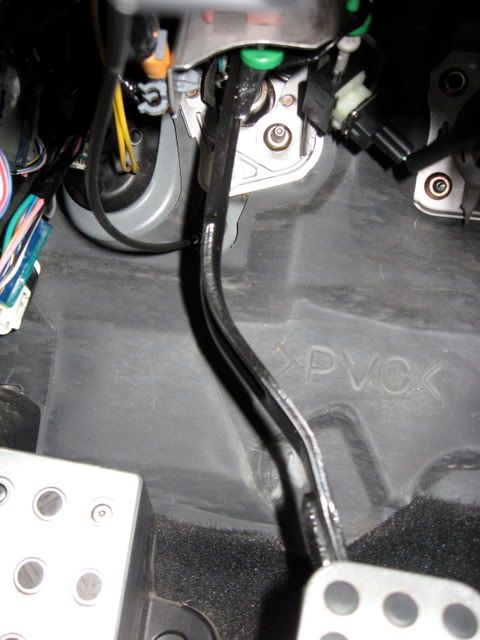

I just took the center cover off, and ran the wires up there from near the clutch pedal. You can actually get your hands from the driver's side footwell to the area under that center dash cover.
the prosport oil adapter didnt come w any washers or o rings so i had to come up w something  it's still leaking a bit right now and i even took off the adapter for now cuz i had to order another rubber thing that goes on the bottom i forgot what theyre called.so what tools did u use to take off the dash did u just pop it off?
it's still leaking a bit right now and i even took off the adapter for now cuz i had to order another rubber thing that goes on the bottom i forgot what theyre called.so what tools did u use to take off the dash did u just pop it off?
the prosport oil adapter didnt come w any washers or o rings so i had to come up w something it's still leaking a bit right now and i even took off the adapter for now cuz i had to order another rubber thing that goes on the bottom i forgot what theyre called.so what tools did u use to take off the dash did u just pop it off?
it's still leaking a bit right now and i even took off the adapter for now cuz i had to order another rubber thing that goes on the bottom i forgot what theyre called.so what tools did u use to take off the dash did u just pop it off?It didn't require anything except screwdrivers really to get the dash piece off. To remove the dash center cover:
1) Unscrew shift **** and remove front section of center console.
2) Unscrew & remove coin holder/ash tray.
3) Remove 10mm radio lock screw from under right side of driver footwell.
4) Remove Radio/HVAC.
5) Unscrew & remove center air vents.
6) You can then unscrew the two screws holding center dash piece on and simply pull upward to remove.


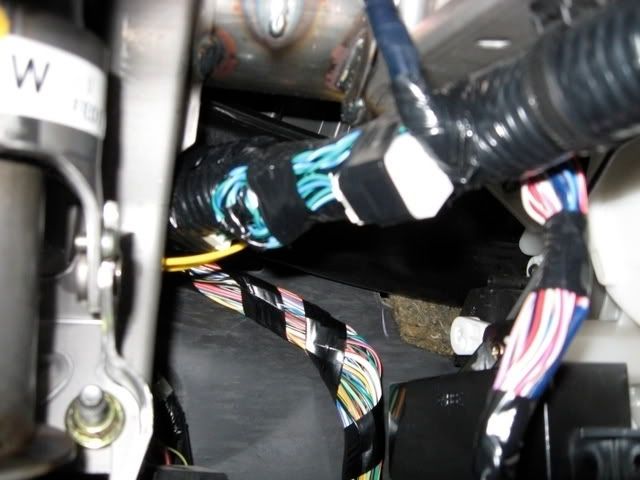
I ran the wires along the left side of driver footwell, up over steering column, and then as you get near the radio area up there, there is an opening for nav/hvac lcd wires that ends up right under where the center cover piece is.
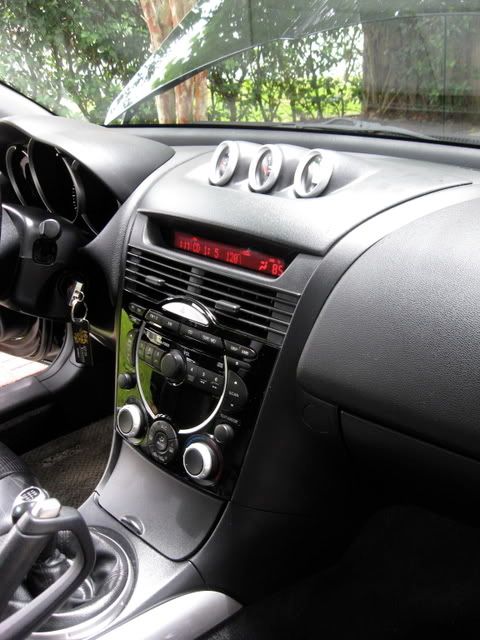
You can't install the Lotek pod without cutting a rather large hole in your center cover. That's how the wires get to the gauges themselves, and the Lotek pod recesses the gauges into the center console. So without the hole it wouldn't mount on the center cover piece.
do you think i could bring them in from the bose speaker hole? the center piece i have has the bose speaker section and i dont have the bose system..
thx for you thoughts.
beers
thx for you thoughts.
beers
I would think so, they'd be slightly viewable though, but that speaker area is in the same compartment under the center cover so. It's mounting the Lotek pod that is the issue, it doesn't sit flat on the center console without the hole.. so you'd have to come up with some creative way to affix it, that probably wouldn't look stockish.


I used from time to time, mostly just to seek out alternative routes, never once used it for directions. I took that out mainly because the maps were outdated and the newest ones were for 2005. Plus, the pieces paid for the AP. 


Thread
Thread Starter
Forum
Replies
Last Post
JimmyBlack
Series I Major Horsepower Upgrades
273
Feb 10, 2020 10:23 PM
yurcivicsux
Series I Major Horsepower Upgrades
192
Sep 12, 2017 10:54 PM
05rx8mazda
RX-8 Parts For Sale/Wanted
18
Nov 28, 2015 09:42 AM
04, accessport, autometer, cai, competition, engine, install, installed, lotek, mazdaspeed, night, pod, rx8, series, stock