
Using dye on the clear corners


ಠ_ಠ
Joined: Aug 2007
Posts: 2,228
Likes: 6
From: Under the Dumbarton Bridge


Thread Starter
I zoom therefore I am.
Joined: Mar 2007
Posts: 4,919
Likes: 12
From: San Jose, CA
when you tint over orange you'll still see some orange. by the time you tint them dark enough to block out every spec of orange they no longer allow light to come out.
socket.. i'll delete the thread and we can start charging 125 bucks a set.
socket.. i'll delete the thread and we can start charging 125 bucks a set.
I dont mind a little orange really.
To be honest, I dont like Clear corners on VR, but I also do not like Amber on VR.
So I figure the cheapest solution is a nice tint on the sidemarkers.
Anyways,
/threadjack
To be honest, I dont like Clear corners on VR, but I also do not like Amber on VR.
So I figure the cheapest solution is a nice tint on the sidemarkers.
Anyways,
/threadjack


Thread Starter
I zoom therefore I am.
Joined: Mar 2007
Posts: 4,919
Likes: 12
From: San Jose, CA
Rit Dye, you can get it at any grocery store.
to get pink just use a tiny amount of the red bottle to 5 to 6 cups of water. You'd have to play around with the ratio of dye to water for pink. I'd start of with a table spoon... mix that with the water. Put in your clear corner and keep the water below a simmer for 90 mins. Check it after the first 15 mins.. then every 30 mins after that. You'll have a good idea of how pink it will be by the color of the water but it won't be exact. The water will be a deeper color then what the lens will be at the end.
If it's not getting pink enough add another tablespoon.. or even a teaspoon. It's very easy to get the color darker.. impossible to get it lighter. Once the first one is done just repeat with the second. Or you can do both corners at once.
Make sure to keep the lens off the bottom of the pot. I got lucky and found my pot was the perfect size to have one clear corner in and it would wedge itself between the sides with just the tips touching the edges of the pot. Make sure the whole corner is submerged and that you've got most of the bubbles out from the inside.

This is a great idea. I puchased the LED 3rd brake light that there is a GB on right now. I like it, but the chrome seems a bit brighter than the tails. Tinting would be too dark. The lightly tinted corner in your first pic would be about perfect. I'm going to try this on the brake light housing. I'll let you know how it turns out.


Well I dyed the brake light housing. I only let it soak for about 10 minutes and it tinted it just enough. I'll take some pics tomorrow, it's very subtle though, you may not be able to tell.
ಠ_ಠ
Joined: Aug 2007
Posts: 2,228
Likes: 6
From: Under the Dumbarton Bridge
Just got back from meeting up with Laythor. They went to dinner, but after getting this shot I had to go change my pants. It's definitely not red red light coming through the bulb, as you can see by the red puddle light above. If you're worried about getting a ticket, it might not be the mod for you. A cop could argue that it's to red.

You might notice the corner is not properly seated. This is because the hole for the bulb had deformed just enough that we couldn't get the socket into it. After some quality time with a Dremel, I still wasn't able to get the bulb to fit properly in the socket. I could try and boil it back into shape, but i think I'll just use this as a guide to do my own, and I'll pay special attention to keeping the socket from melting.
As far as quality goes. The red lens is absolutely perfect. You look at it and say "you haven't modded it. It must have come from the factory looking like that." the color is completely uniform, and resists scratching quite well. you'd need sand paper to really mess it up and it would be a lot of work.
The black lens I'm not so sure about. when you look at it from a distance it looks just as good as the red one, but as soon as you start to look through the plastic, it takes on an orange brown hue.
Last edited by Socket7; Feb 7, 2009 at 01:56 AM.


As for the warping issue. It seems Laythor let them sit in the water for a pretty long time. If it is deforming the sockets, what I would try is using more dye and just less time in the water. Less room for error this way, it will darken them quicker so you might surpass the shade you are going for. Just throwing it out there.
Anyways, they do look AWESOME. This also seems to be a much easier, cheaper and a more permanent way of tinting the corners. You won't have a worry with the vinyl peeling off if you do it that way or screwing it up with the spray on dyes. It will also produce an even shade no matter what. Not like the spray tints which rely on the skill of the painter to evenly coat the lense, then still having to polish it to make it look really nice.
Anyways, they do look AWESOME. This also seems to be a much easier, cheaper and a more permanent way of tinting the corners. You won't have a worry with the vinyl peeling off if you do it that way or screwing it up with the spray on dyes. It will also produce an even shade no matter what. Not like the spray tints which rely on the skill of the painter to evenly coat the lense, then still having to polish it to make it look really nice.
Thread Starter
I zoom therefore I am.
Joined: Mar 2007
Posts: 4,919
Likes: 12
From: San Jose, CA
I think I figured out what caused the orange hue in the black lens... rust. This lens had some rust in it from the constant exposure to moisture it had been subjected to over the last year. I found a post on a restoration web site about the rust spreading out in the dye and giving an orange boarder to the project that guy had been working on.
I would suggest anyone doing this to make sure their corner is completely clean before they start. I was lazy and doing this more as a proof of concept so I didn't bother to clean out my first attempt.. which was the black on. The red corner was brand new.. so not only did it take the dye quicker (which I'm assuming is because it was free from all environmental contaminants ie. wax, dirt, smog, etc), but it also had zero rust.
As far as keeping the hole from deforming, I think this is again a matter of taking your time. With the black lens I made sure it was wedged into my dye pot carefully and at no time was the corner completely submerged... the opening was always about half way above water. With the red lens I had checked on it a few times to find it had sunk to the bottom. Touching the bottom of the pot put it in direct contact with the heat and made the opening go out of round.
Socket and I talked about it last night and I think the easiest way to keep this from happening would be to use a wire coat hanger to make a dipping holder. Bend the hanger so it straddles the top of the pot and comes then comes down in the middle. Bend a small hook at the end and use that to hold the corner so that all of the lens is below the water but the opening for the blub is not.
ಠ_ಠ
Joined: Aug 2007
Posts: 2,228
Likes: 6
From: Under the Dumbarton Bridge
Close up of both corners in the light. The black corner did not have any problems with the socket deforming. So just take your time when you dye and it will be fine.

Last edited by Socket7; Feb 7, 2009 at 02:26 PM.
I really like the red corner, will look perfect on VR. Oh, and to roxie8, I saw a magenta colored Rit dye that would work great for pink. Anyway, on to my project. Again, I just wanted to barely tint the 3rd brakelight housing so it looked like the chrome in the taillights and the brakelight matched. The chrome bezel around the LEDs was very cheaply chromed plastic and was much brighter than the taillights. I think it turned out perfect. These pics were taken on different days, but I tried to get the lighting the same. Don't mind my dirty car in the after pic, it rained the last couple of days.
Before, chrome is much brighter than the tails:

After, looks like a match:
One more in direct sunlight, it actually doesn't look like the housing is dyed, just looks like higher quality chrome:

Before, chrome is much brighter than the tails:
After, looks like a match:
One more in direct sunlight, it actually doesn't look like the housing is dyed, just looks like higher quality chrome:
Oh, and just a word of caution. A little more dye makes a big difference. I had 2 housings, the OEM one and the one that came with the kit. I had a pot of water with 1 tablespoon of black dye in it. I let the OEM housing cook for 1 hour and it didn't dye it at all. So I tried the aftermarket housing for 1 hour also... nothing. I added about 1 more tablespoon and then soaked the OEM housing for only 15 minutes and it came out a little too dark. Cooked the aftermarket housing for between 5 and 10 minutes to get the above result.
Last edited by Aipex8; Feb 7, 2009 at 03:21 PM.
ಠ_ಠ
Joined: Aug 2007
Posts: 2,228
Likes: 6
From: Under the Dumbarton Bridge
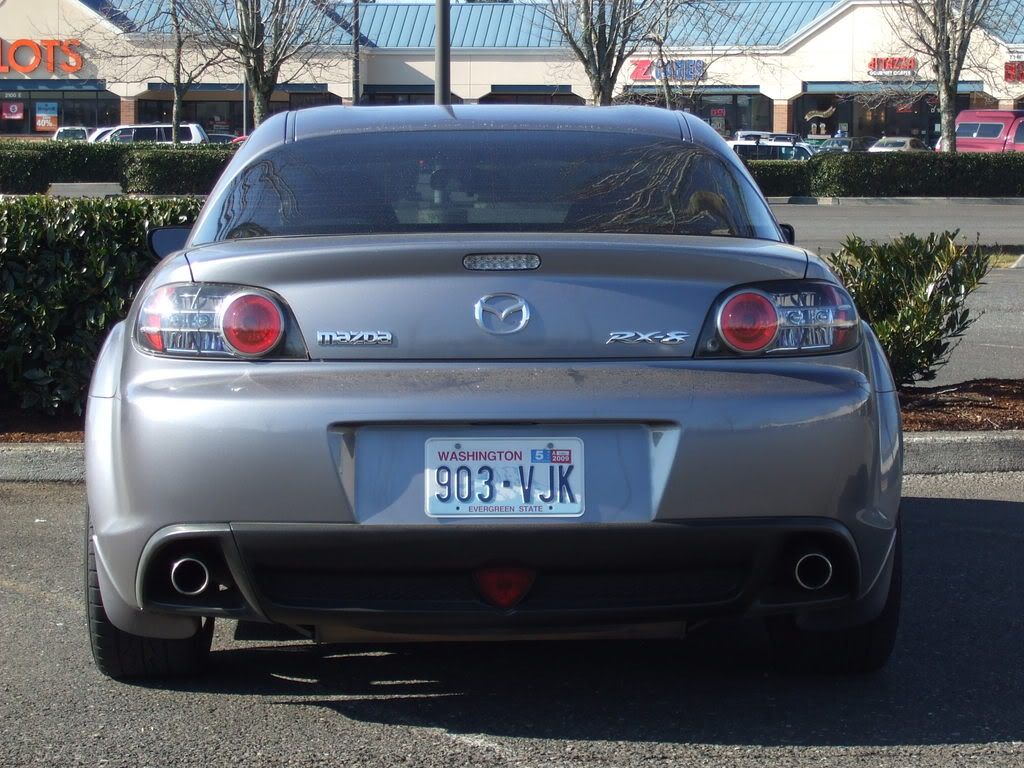
Time for some daytime pics!


While i was taking these i noticed that the red corner was deformed at more then just the socket, the entire thing has bowed outwards more then it should, meaning it wouldn't even properly seat in the corner location. Be very careful about the temperature of the dye. If it gets too hot, you WILL melt your corner.
While i was taking these i noticed that the red corner was deformed at more then just the socket, the entire thing has bowed outwards more then it should, meaning it wouldn't even properly seat in the corner location. Be very careful about the temperature of the dye. If it gets too hot, you WILL melt your corner.
Last edited by Socket7; Feb 10, 2009 at 04:52 PM.