
Using dye on the clear corners


Thread Starter
I zoom therefore I am.
Joined: Mar 2007
Posts: 4,919
Likes: 12
From: San Jose, CA
Using dye on the clear corners. Pics with black and red dye.
One of my clear corners developed a small leak. After washing or driving in the rain there would be moisture inside. After having to replace the bulb a few times I decided to replace the corners.
Having two extra corners gave me the notion to try something I've been thinking about for awhile. Dying the inside of the lens to obtain a new color. My assumption is that dying the inside will yield a sold color that will then have no worries about scratching off like tint film. No worries about dust flecks like spray on tint. And open a wide variety of colors.
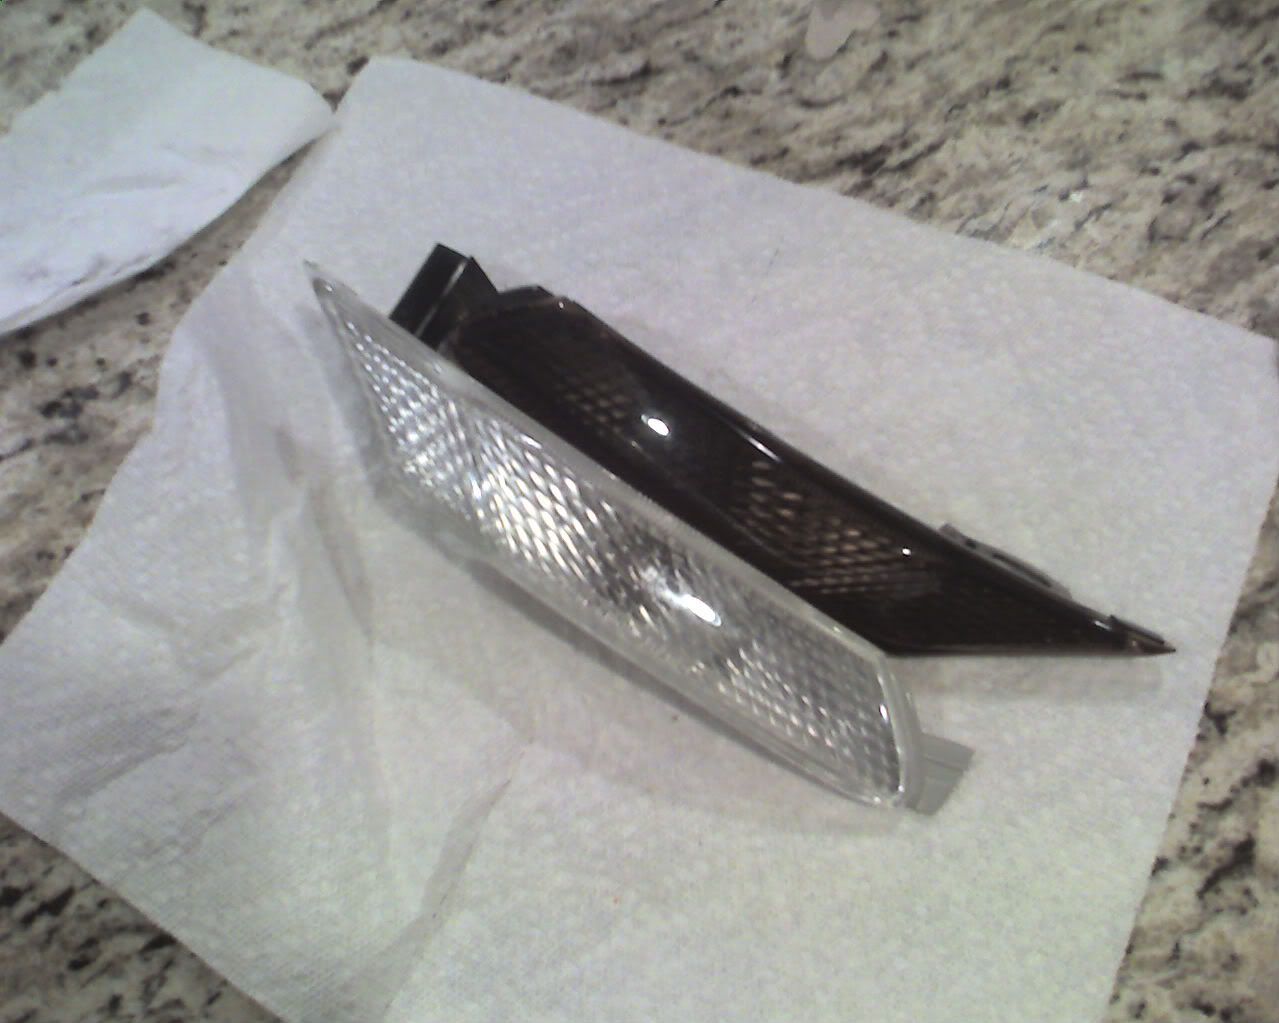
I did a quick and dirty test run tonight using a diluted amount of dye. I simply heated the water in the microwave, added some black dye, poured the dye into the corner while it was in a bag. I let the bag sit for about an hour till it cooled off.
Now that I know the plastic will actually take the dye I'm going to see what a prolonged soaking in warm dye will do. Everything I've read up to know has suggested using the "cook and soak" method.
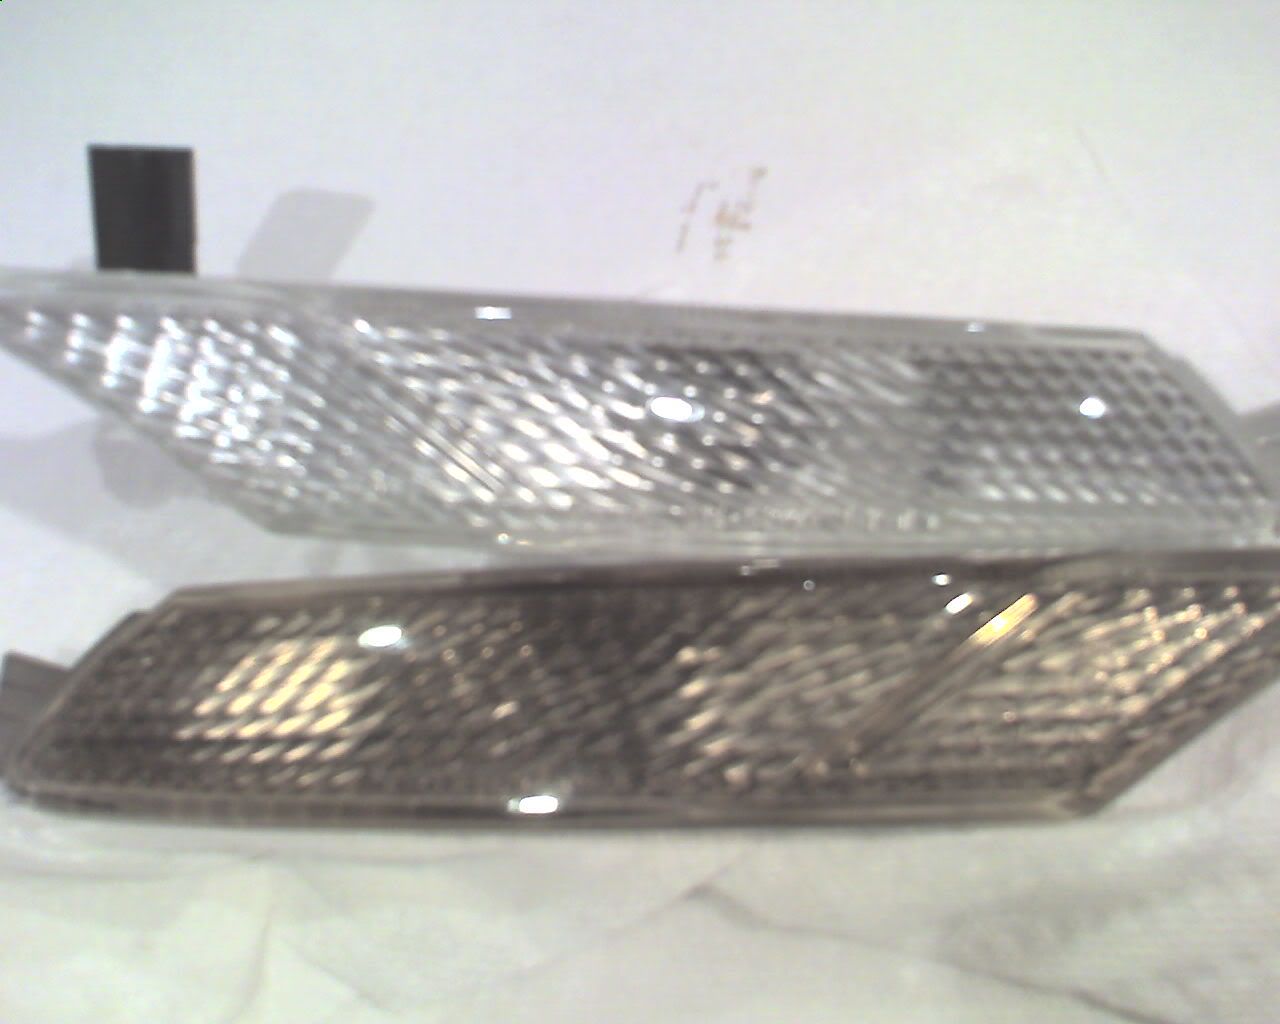
Here's a pic of the semi completed corner next to a stock clear corner. Excuse the blur, it's a camera phone.
Having two extra corners gave me the notion to try something I've been thinking about for awhile. Dying the inside of the lens to obtain a new color. My assumption is that dying the inside will yield a sold color that will then have no worries about scratching off like tint film. No worries about dust flecks like spray on tint. And open a wide variety of colors.
I did a quick and dirty test run tonight using a diluted amount of dye. I simply heated the water in the microwave, added some black dye, poured the dye into the corner while it was in a bag. I let the bag sit for about an hour till it cooled off.
Now that I know the plastic will actually take the dye I'm going to see what a prolonged soaking in warm dye will do. Everything I've read up to know has suggested using the "cook and soak" method.
Here's a pic of the semi completed corner next to a stock clear corner. Excuse the blur, it's a camera phone.
Last edited by laythor; Feb 4, 2009 at 12:06 AM.


Thread Starter
I zoom therefore I am.
Joined: Mar 2007
Posts: 4,919
Likes: 12
From: San Jose, CA
I'll be going darker when I do it the correct way.. this was just a test run. I also picked up some red dye to try on the other one for you Socket.
I should have updated pics tomorrow.
jedi.. read the pm and followed the link. All i can say is that he was a missed opportunity for a perfectly justified abortion.
MM... bukkake!
I should have updated pics tomorrow.
jedi.. read the pm and followed the link. All i can say is that he was a missed opportunity for a perfectly justified abortion.
MM... bukkake!


Thread Starter
I zoom therefore I am.
Joined: Mar 2007
Posts: 4,919
Likes: 12
From: San Jose, CA
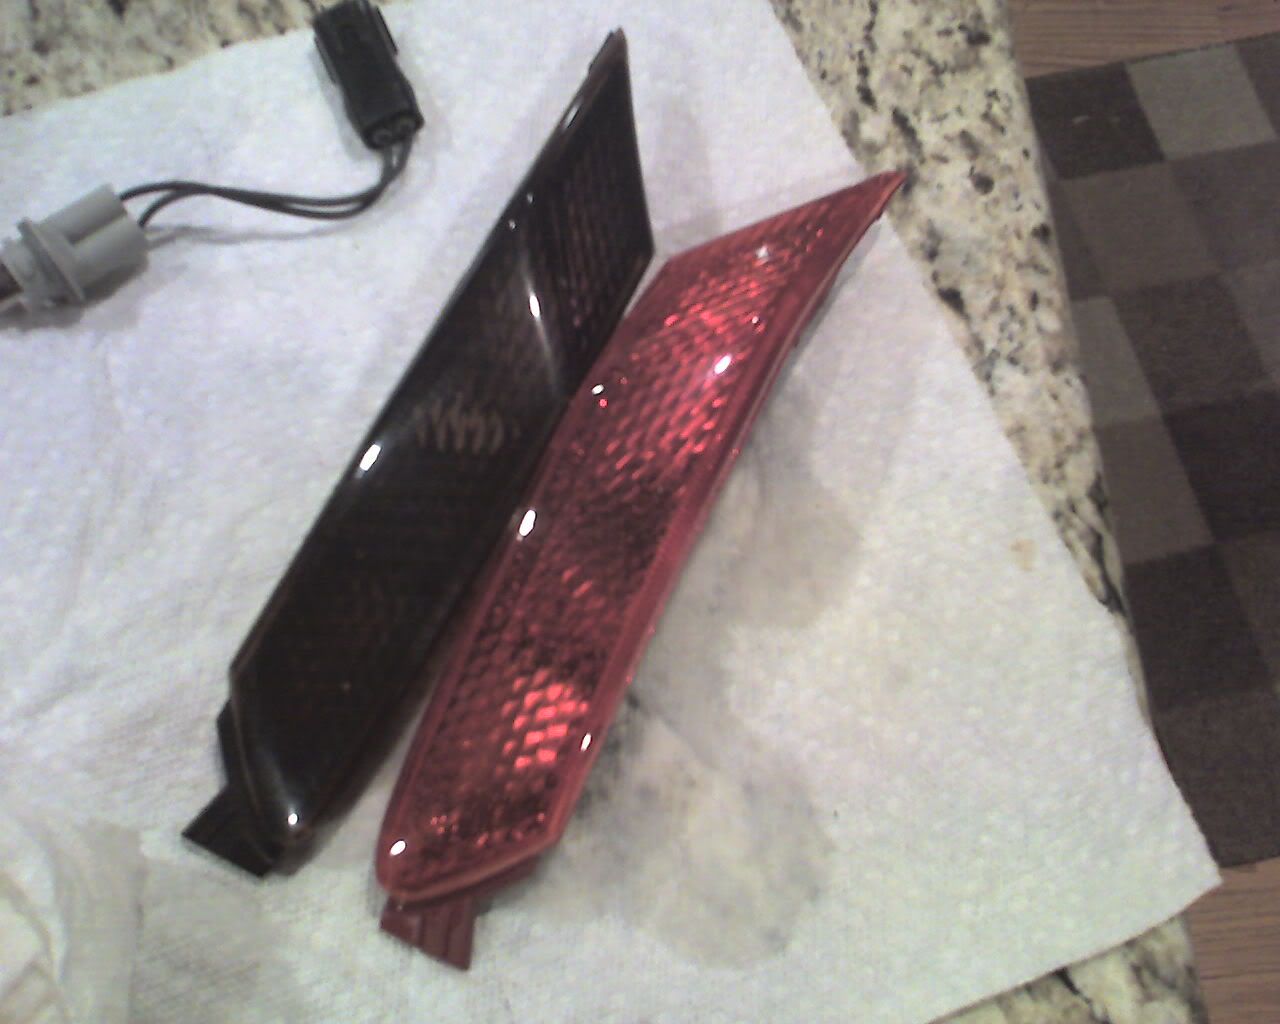
90 minutes in full bottle of red with 5 cups of water. The red looks much nicer then my cam phone is able to show.:
I'll come out friday so we can take pics Socket
Thanks for the kind words everyone. I figured with two extra I should make the experiment and save people some cost. Bottle of RiT dye is super cheap compared to tint film, tint in a can, paint, etc....
The longer they're in the deeper the color gets. I took out the black when it looked like it was going to be getting too dark to be useful as a light. I took out the red at the point it now looks exactly like the red of a tail light.
Last edited by laythor; Feb 3, 2009 at 11:58 PM.
Thread Starter
I zoom therefore I am.
Joined: Mar 2007
Posts: 4,919
Likes: 12
From: San Jose, CA
I searched and searched to see if anyone had done it. Most of my searching turned up paintball guys doing this to their gear. I did come across some people on classic cars using this to revitalize old plastic parts but most of them had issues with the old plastic they were using.
After my few tests it seems it's just a matter of keeping the water right below a simmer as to not distort the plastic and then let the plastic soak up the dye. heat + dye = better result.
I almost didn't do this at all but after you mentioned that you'd want red for your car I decided to give it a shot. The black one is my old one that leaked, the red one is brand new. I think the red actually absorbed better then the black and this is probably due to the old corner having wax and environmental "stuff" on it's surface. It still came out great but I think brand new required less time. 2-3 hours total soaking black vs 90 mins red.

ಠ_ಠ
Joined: Aug 2007
Posts: 2,228
Likes: 6
From: Under the Dumbarton Bridge
Now we just have to find out what happens to the dye after a few months of UV radiation. Thanks for doing this. I had forgotten entirely about this plan of yours and was about to order a can of spray tint.

ಠ_ಠ
Joined: Aug 2007
Posts: 2,228
Likes: 6
From: Under the Dumbarton Bridge

Thread Starter
I zoom therefore I am.
Joined: Mar 2007
Posts: 4,919
Likes: 12
From: San Jose, CA
Since RiT uses their dyes in industrial applications I would assume the UV exposure would be a minimum issue. http://www.ritdye.com/Rit+Professional+Line.20.lasso
It was this part
that i assume is the reason most resources I found mention using their dyes.
After we take some pics I can leave them outside and see how they hold up. The paintball guys seem to have had good results with equipment they use holding up for years.
As far as being reversible... the only way to do that would be to buy new ones. You can dye the ambers black but I would think some orange would still show through.
It was this part
Manufacturers of plastic and nylon components dyeing a wide variety of applications including:
- Medical devices
- Oil field gasket seal liners
- Sub-sea fiberoptic connectors
- Optical lenses
- Automotive parts
- Electronic fittings
- Medical devices
- Oil field gasket seal liners
- Sub-sea fiberoptic connectors
- Optical lenses
- Automotive parts
- Electronic fittings
After we take some pics I can leave them outside and see how they hold up. The paintball guys seem to have had good results with equipment they use holding up for years.
As far as being reversible... the only way to do that would be to buy new ones.
You can dye the ambers black but I would think some orange would still show through.
Last edited by laythor; Feb 4, 2009 at 12:32 AM.
ಠ_ಠ
Joined: Aug 2007
Posts: 2,228
Likes: 6
From: Under the Dumbarton Bridge
After we take some photos, I'll get some dye and do one of my corners and give you my extra. I'm willing to buy new ones if anything happens. They aren't exactly expensive as far as mods go.