
Iz Gotz PURPLEZ!!!


Thread Starter
Registered User
Joined: Jun 2009
Posts: 11
Likes: 0
Iz Gotz PURPLEZ!!!
First I wanna thank the DIY peeps for helping along in this little project. Your posts were great.
Second, I wanna scoff at my four brothers who laughed at me when I told them what I was attempting.
I now haz me purplez for head lights!!!
Pics!!!
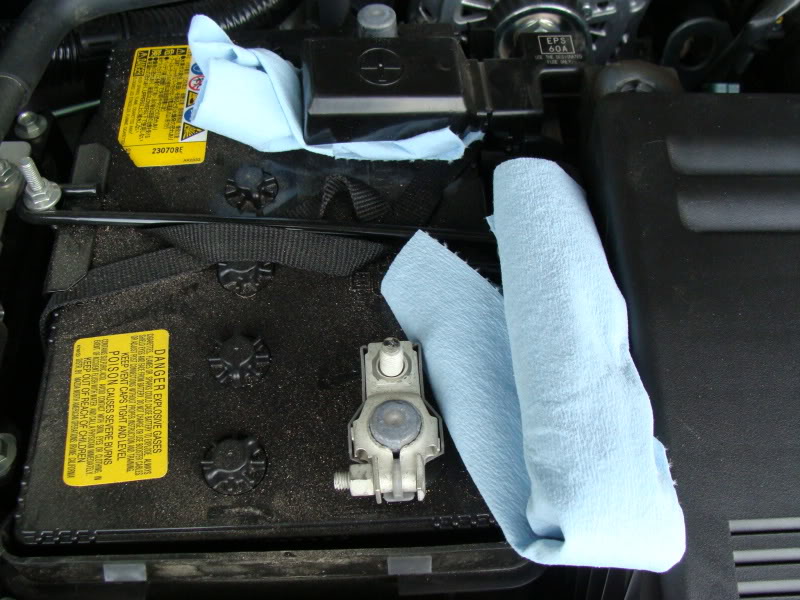
Safety First:
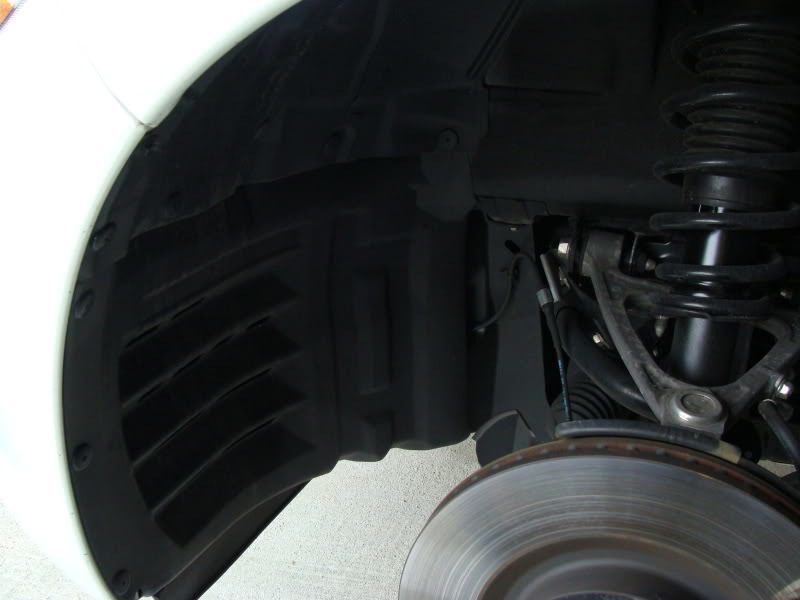
Not too bad so far:
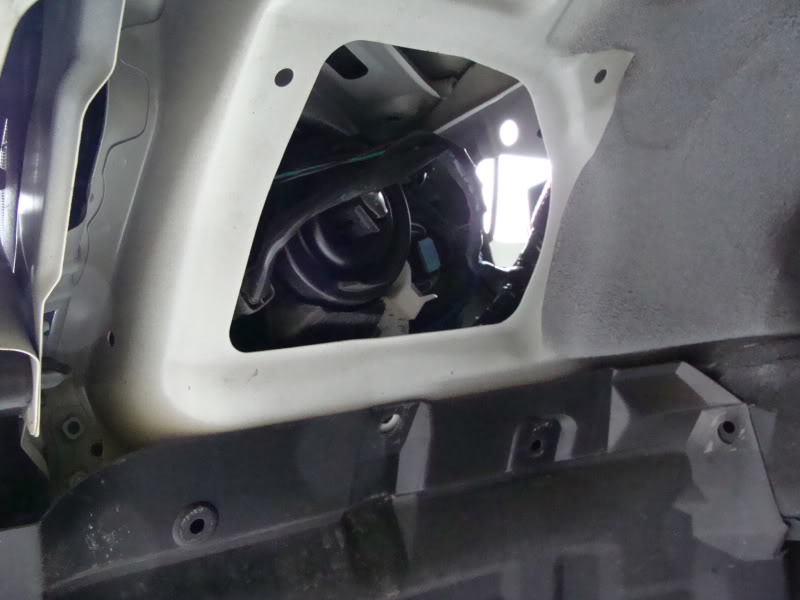
Oh lord what have I gotten myself into:
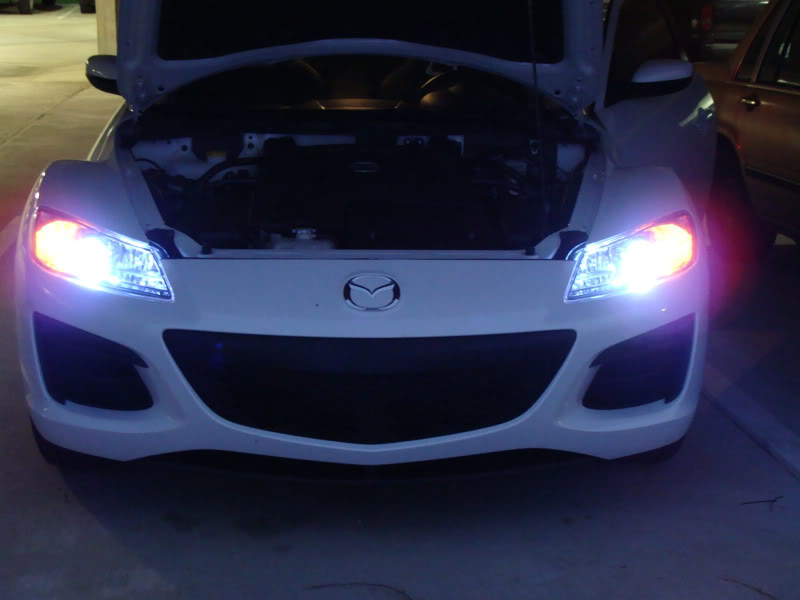
Success!!!!
So overall the entire project took me 2.5 hours. The first 2 hours was on the drivers side alone. Once I finally knew what I was doing, it took a mere 30 mins to knock out the passenger side. Considering the tools I was using, lack there of really, I just had to pat myself on the back. lol
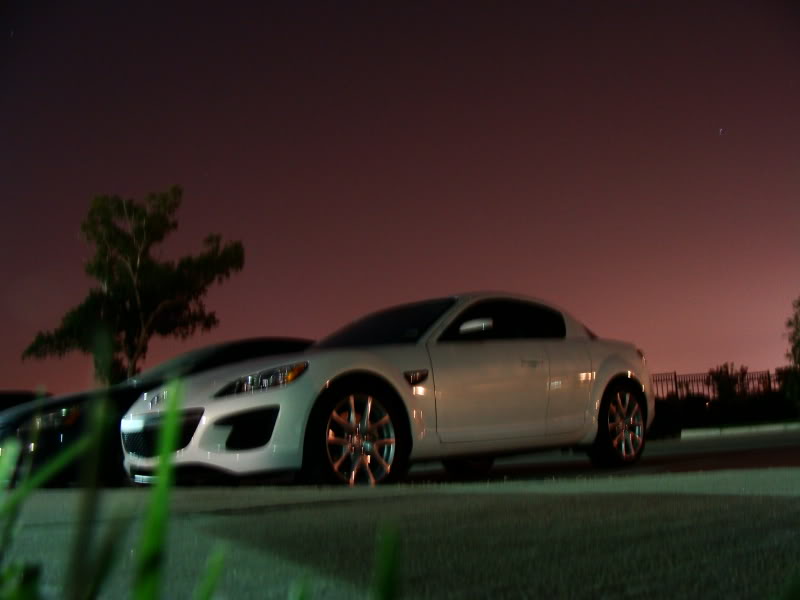
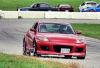
Anywho, here she is a couple nights ago before the purplez and when she was clean. No recent close ups as its been raining and Ereana got filthy playing in the rain, but I'm going to wash her tomorrow morning. ::P:
Ereana in the Evening:
--Kai
Second, I wanna scoff at my four brothers who laughed at me when I told them what I was attempting.
I now haz me purplez for head lights!!!
Pics!!!
Safety First:
Not too bad so far:
Oh lord what have I gotten myself into:
Success!!!!
So overall the entire project took me 2.5 hours. The first 2 hours was on the drivers side alone. Once I finally knew what I was doing, it took a mere 30 mins to knock out the passenger side. Considering the tools I was using, lack there of really, I just had to pat myself on the back. lol
Anywho, here she is a couple nights ago before the purplez and when she was clean. No recent close ups as its been raining and Ereana got filthy playing in the rain, but I'm going to wash her tomorrow morning. ::P:
Ereana in the Evening:
--Kai

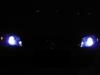
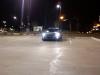
very nice, cant really see the color on that pic but anything 8000K and up looks purplish. Here's my last setup(10000K) before I changed it because of the rain road glare...dont mind date. Its wrong lol.
Registered
Joined: Apr 2009
Posts: 1,105
Likes: 0
From: Markham, ON
Last edited by 2hit6; May 2, 2011 at 10:10 PM.
Thread Starter
Registered User
Joined: Jun 2009
Posts: 11
Likes: 0
2hit6,
Not too many tools are needed.
Jack and Lug Nut wrench to get the wheel off, (of course!)
Crescent wrench to disconnect the battery.
Phillips head screw driver to remove the clips from the wheel well cover. I ended up taking all of them out so I wouldn't have to worry about bending the plastic.
Some wire cutters (I think that's what they are called) to cut the zip ties and this rubber thingy that came with my kit. Careful not to nip the wires when cutting the rubber thingy. It looks like its suppose to be a seal of some sort, maybe a different setup, but I was able to use my dust cover that came with my lights - slipped right over the new fixture.
Electrical tape for added security. Double sided sticky tape to secure the ??ballist?? er, converter thing. I didn't trust the taped provided so went out a bought some industrial grade 3M tape. I considered using RTV, but thought maybe it would retain too much heat.
And most importantly LATEX GLOVES or something similar. You don't want to touch the Xenon bulb at all, but if you do - by accident - wearing the gloves prevents harmful oils from getting on the bulb.
Also, I did a prewash with over the counter rubbing alcohol on the bulbs just to ensure someone from the manufacturer didn't accidently touch the bulb.
Lastly, just remember to take your time and really inspect all mounting possibilities for the ballist. That is what took me the longest. I wanted it to get enough air flow to remain cool, but stay way from moisture and moving parts. Ended up securing it between the "frame" of the wheel well and fender.
*crosses-fingers* Hope it doesn't vibrate loose though. I may go back and check it in a few days and if it seems loose, I'll prolly use some RTV to lock it down.
--Kai
Last edited by Kailestel; Jul 11, 2009 at 09:28 AM.


Looks good. The only thing that I don't like is the fact that the 09s use the same amber bulb for the signal and parking light... which means you always have that ugly amber bulb on.
May I suggest:
http://www.v-leds.com/Exterior-LED/T...51397-1-2.html
or, if you don't mind spending a little more:
http://www.v-leds.com/Exterior-LED/T...72059-1-2.html
Both are dual color LED bulbs that are white when the parking light is on and switch to flashing amber with the turn signal. Pretty cool.
In other words, the further you get away from 4300K (in either direction) the less brightness you will have. So, a yellow 3000K bulb is probably going to have the same brightness as a 6000K bulb (which is definitely enough light to see by). When you start getting into the 8000K, 10,000K, 12,000K bulbs (deep blues and purples) that's when you can start running into problems with not enough light output.


You will lose some visible light, but not significant. Keep in mind that color temp does not = brightess. The brightest bulb that you can get is the stock 4300K which is closest to pure white. White light is an equal mix of all the color in the spectrum. So when you add color, whether it's blue, purple or yellow, what you are actually doing is taking away all the other colors in the spectrum so blue, purple or yellow stands out.
In other words, the further you get away from 4300K (in either direction) the less brightness you will have. So, a yellow 3000K bulb is probably going to have the same brightness as a 6000K bulb (which is definitely enough light to see by). When you start getting into the 8000K, 10,000K, 12,000K bulbs (deep blues and purples) that's when you can start running into problems with not enough light output.
In other words, the further you get away from 4300K (in either direction) the less brightness you will have. So, a yellow 3000K bulb is probably going to have the same brightness as a 6000K bulb (which is definitely enough light to see by). When you start getting into the 8000K, 10,000K, 12,000K bulbs (deep blues and purples) that's when you can start running into problems with not enough light output.


Thread
Thread Starter
Forum
Replies
Last Post