Notices
Series I Do It Yourself Forum Wanna save some coin or time/money in the shop? Read up on Do-It-Yourself custom mods and repairs & post your own here.
View Poll Results: How helpful did you find this Post
I have blocked you
2.22%
Waste of time
2.22%
Boring
2.22%
OK
20.00%
Helpful and accurate. I will try it out
73.33%
Voters: 45. You may not vote on this poll

DIY: Headlight Restoration

Thread Tools
 
Search this Thread
 
Rate Thread
 
Old 11-10-2010, 11:56 AM
  #1  
Made in England
Thread Starter
iTrader: (5)
 
wrightcomputing's Avatar
 
Join Date: Oct 2010
Location: Sarasota
Posts: 738
Likes: 0
Received 3 Likes on 3 Posts
Wink DIY: Headlight Restoration

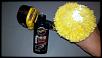
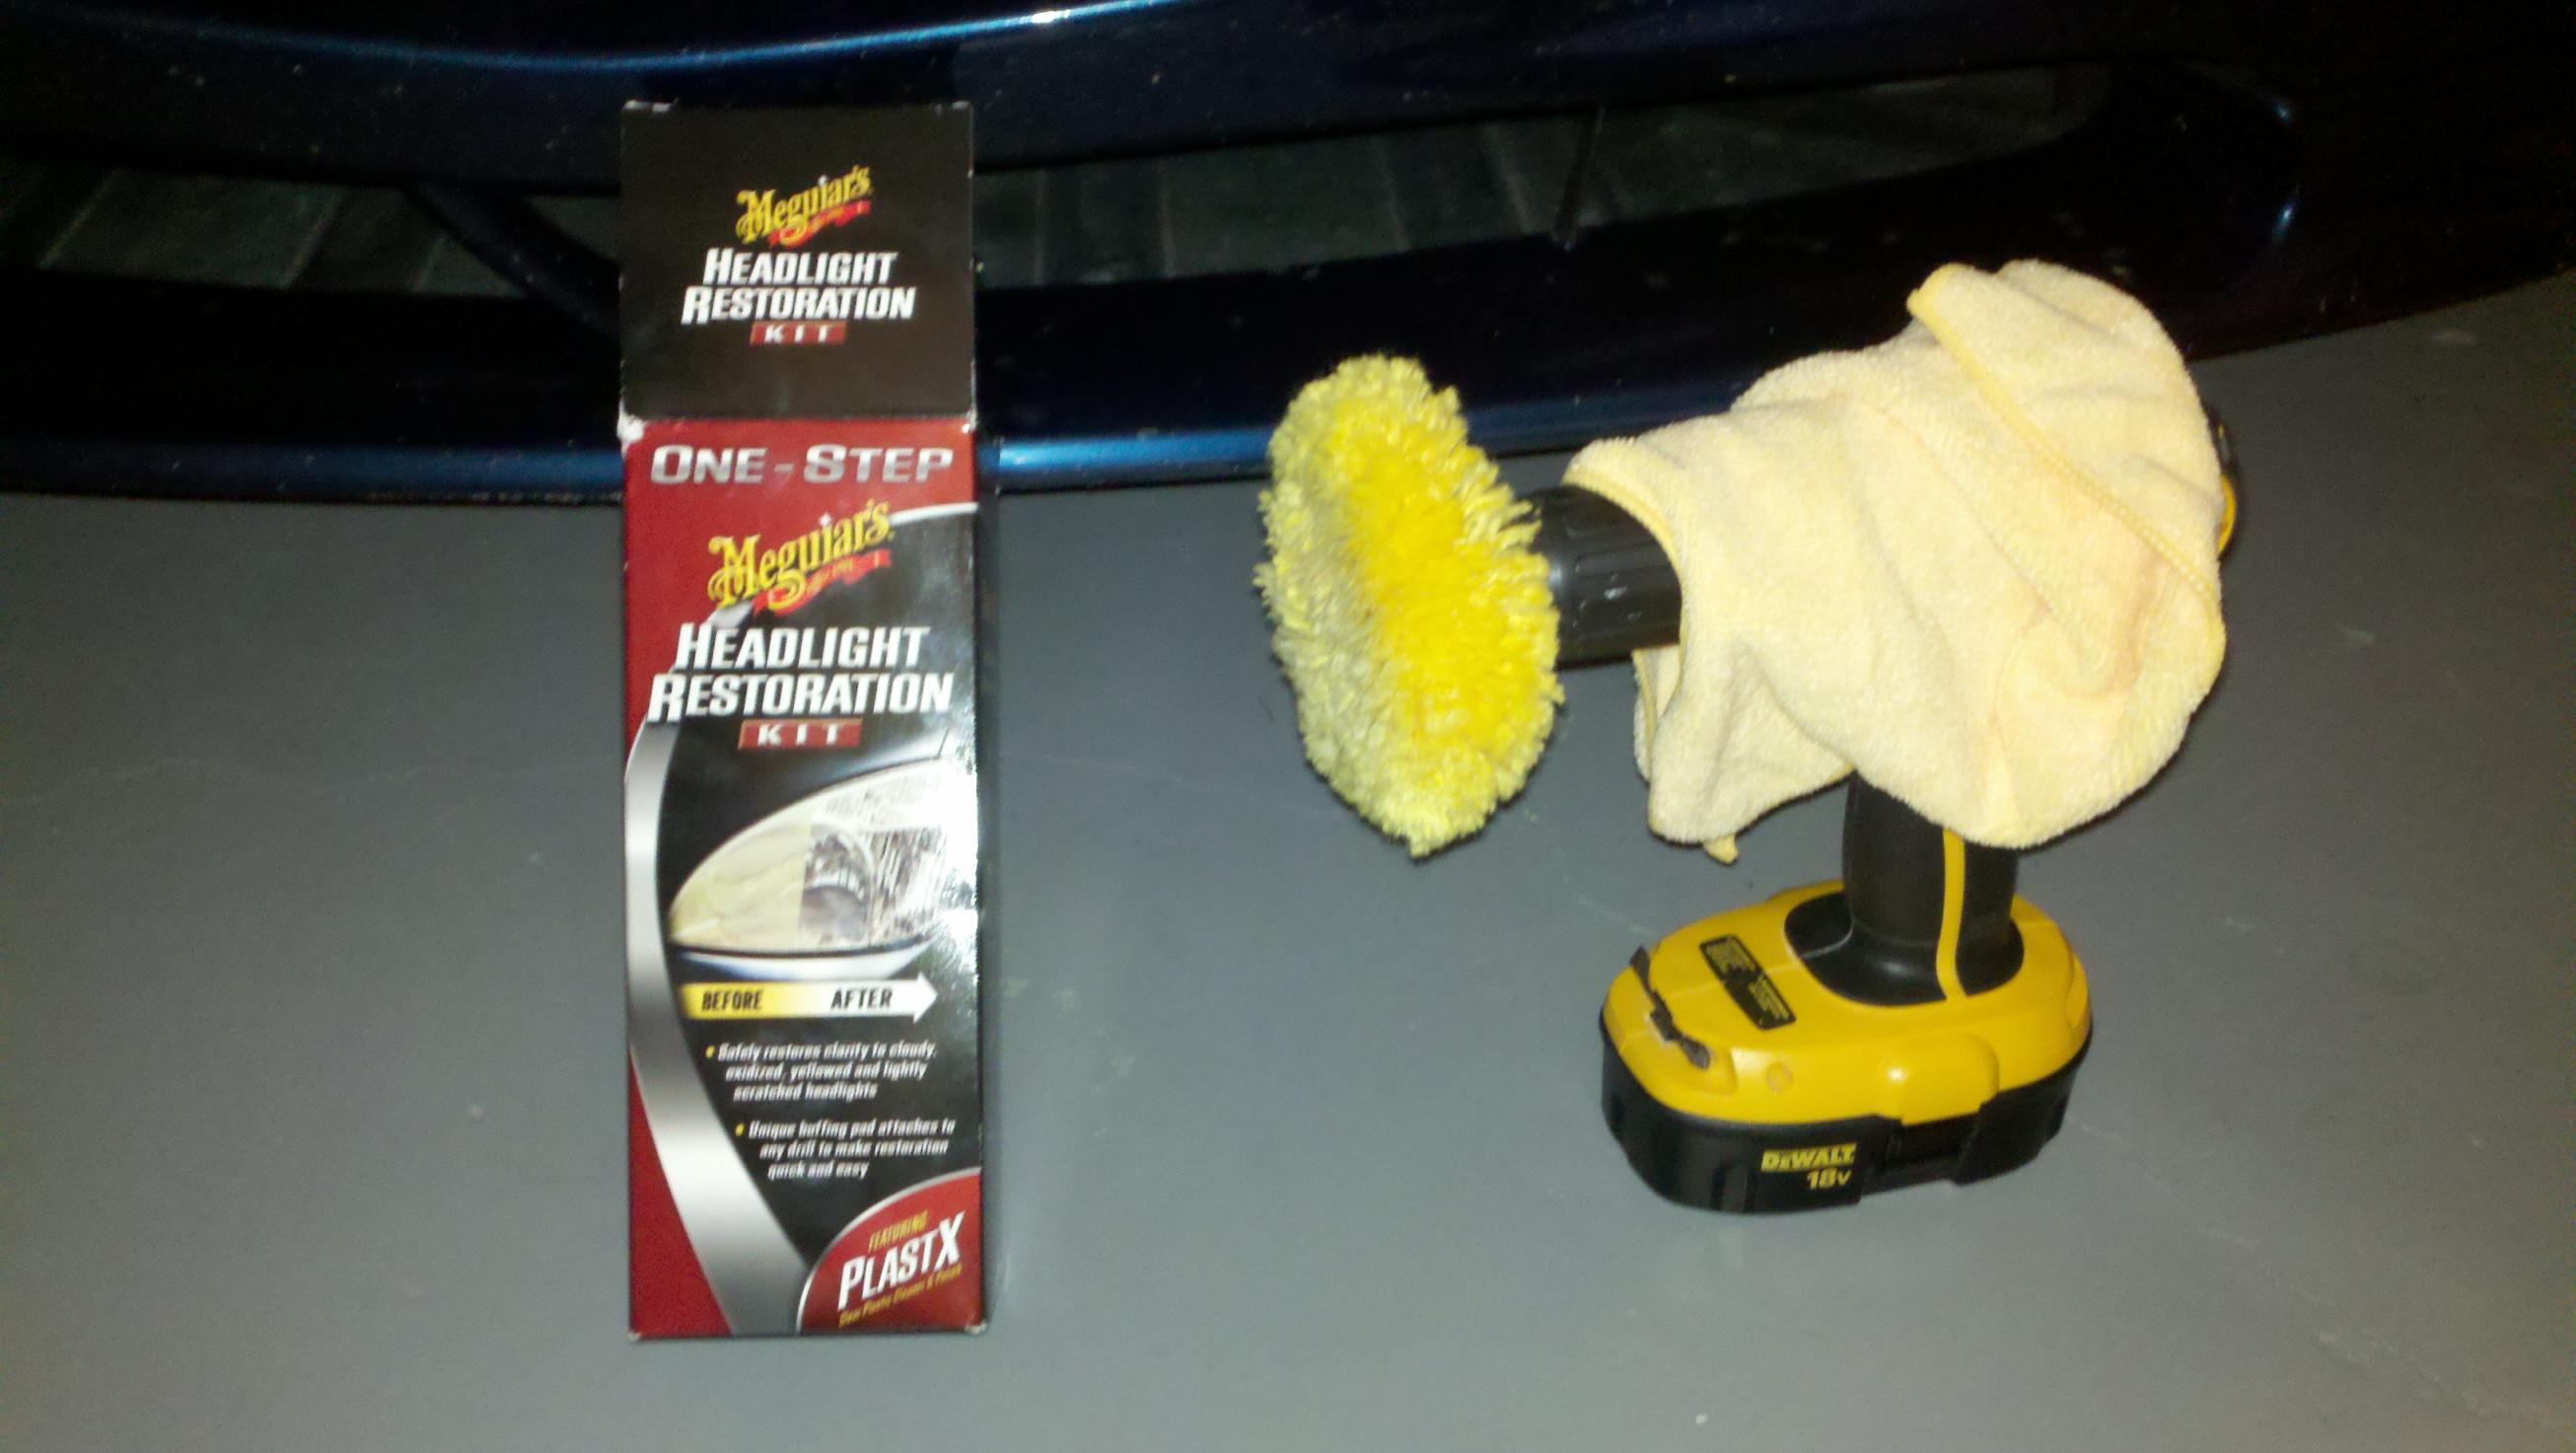
[IMG]file:///Users/paulwright/Desktop/2010-11-09_22-15-38_888.jpg[/IMG]My head light were really foggy and looked really bad. I invested $20 and about 20 mins of my time to make them look like new.

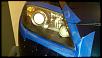
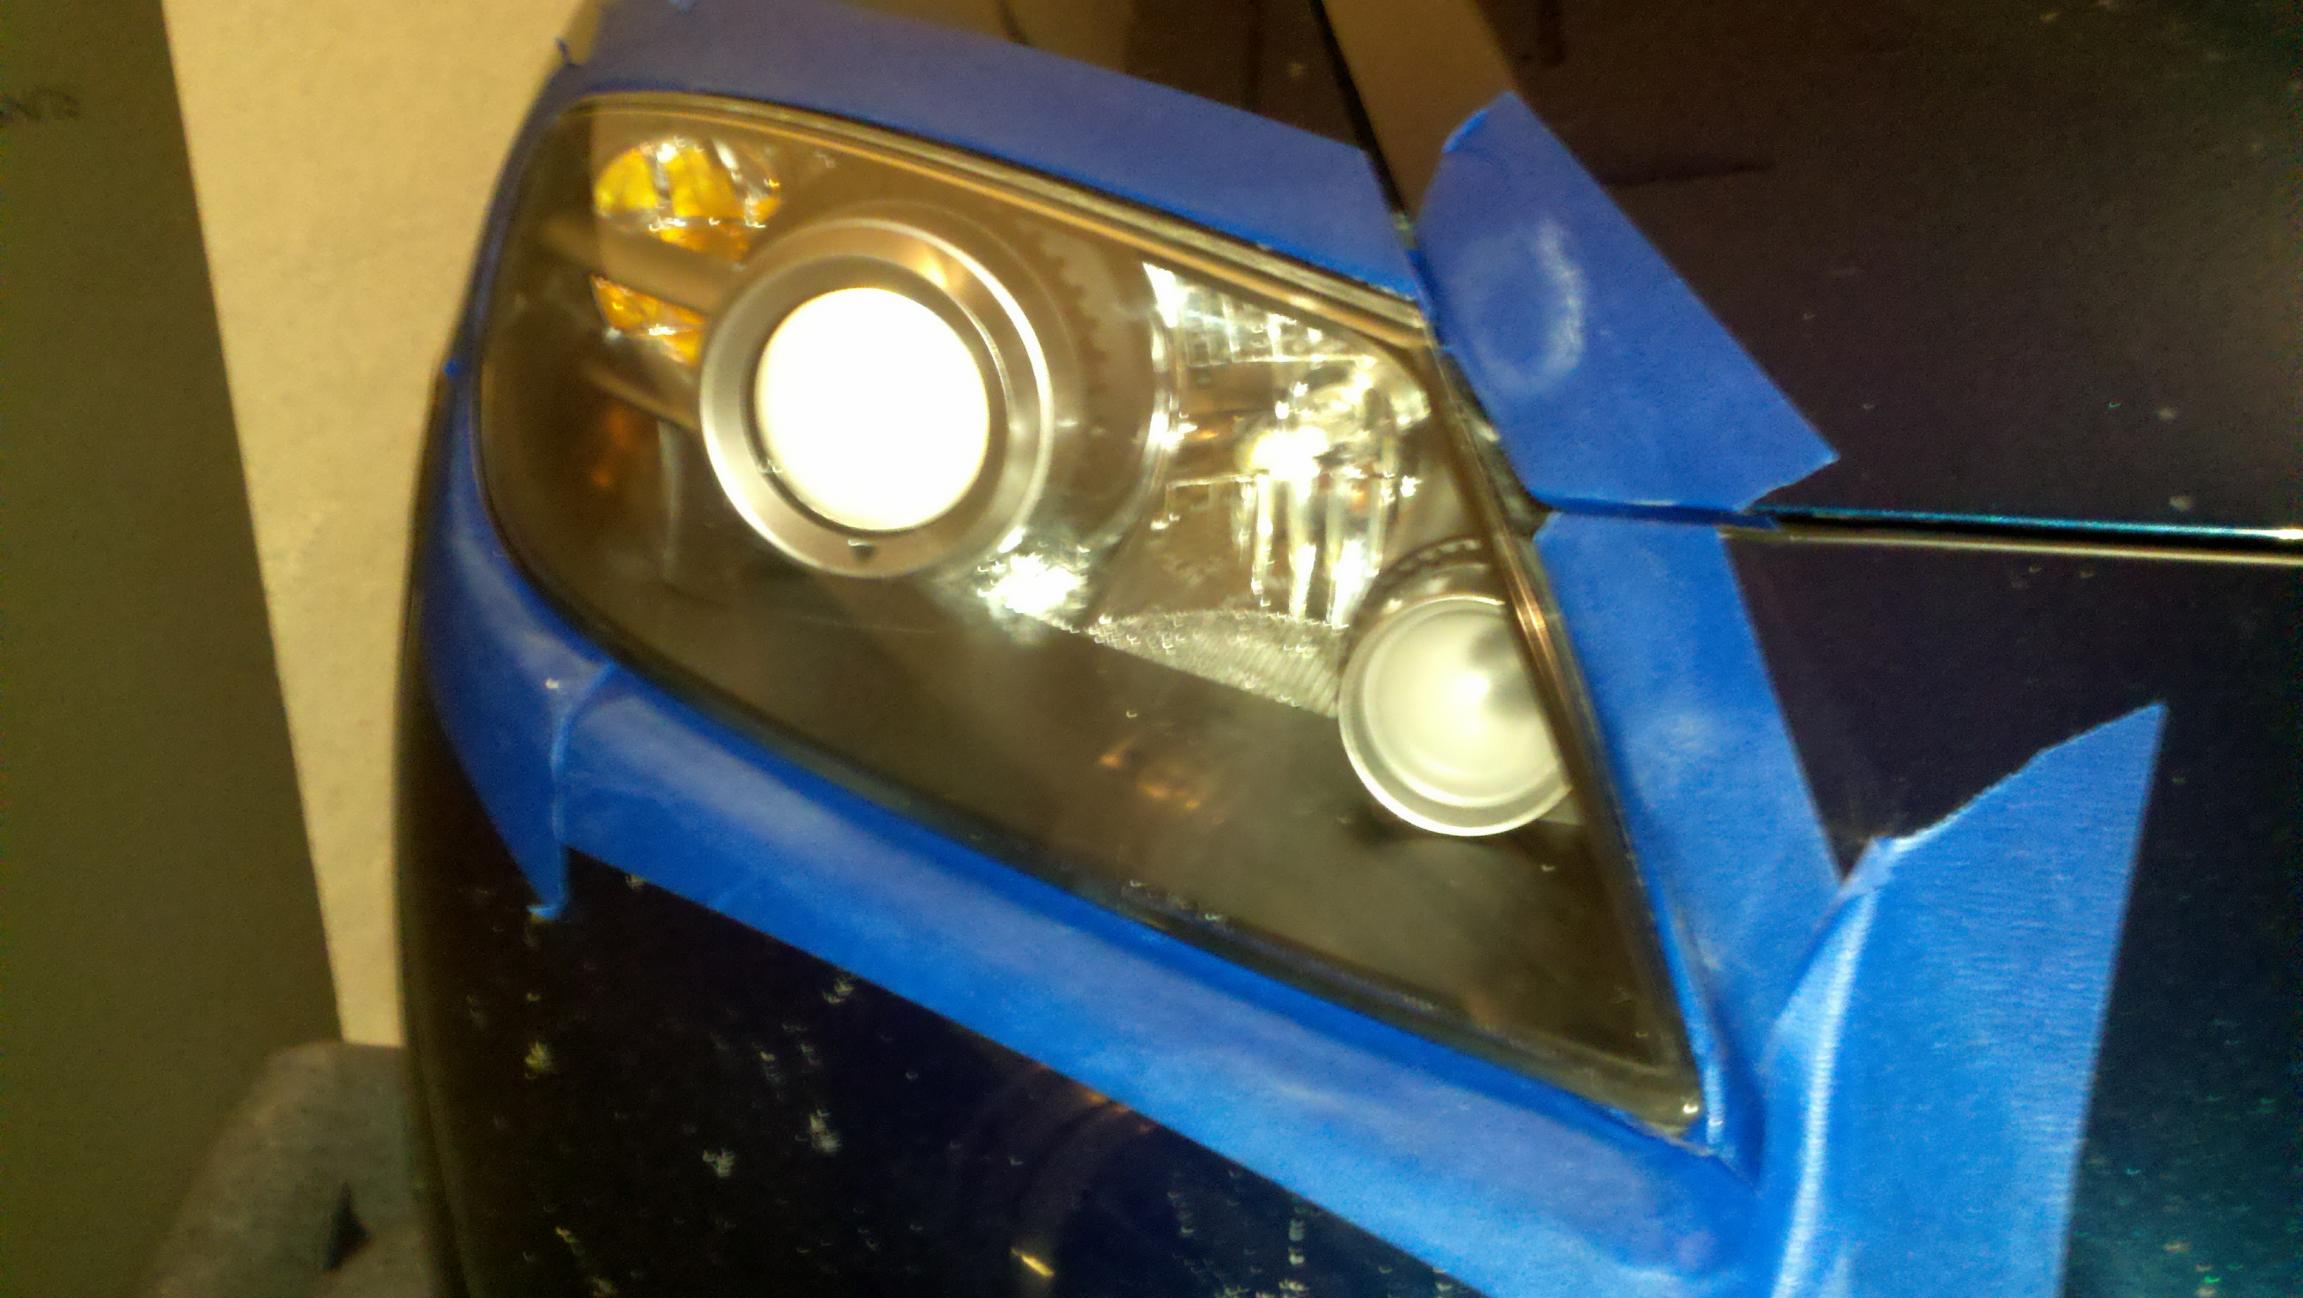
This is a photo of how my headlights looked when I started, I taped up the edges to protect my paint from both the drill and the solution.
DIY: Headlight Restoration-before-headlight.jpg

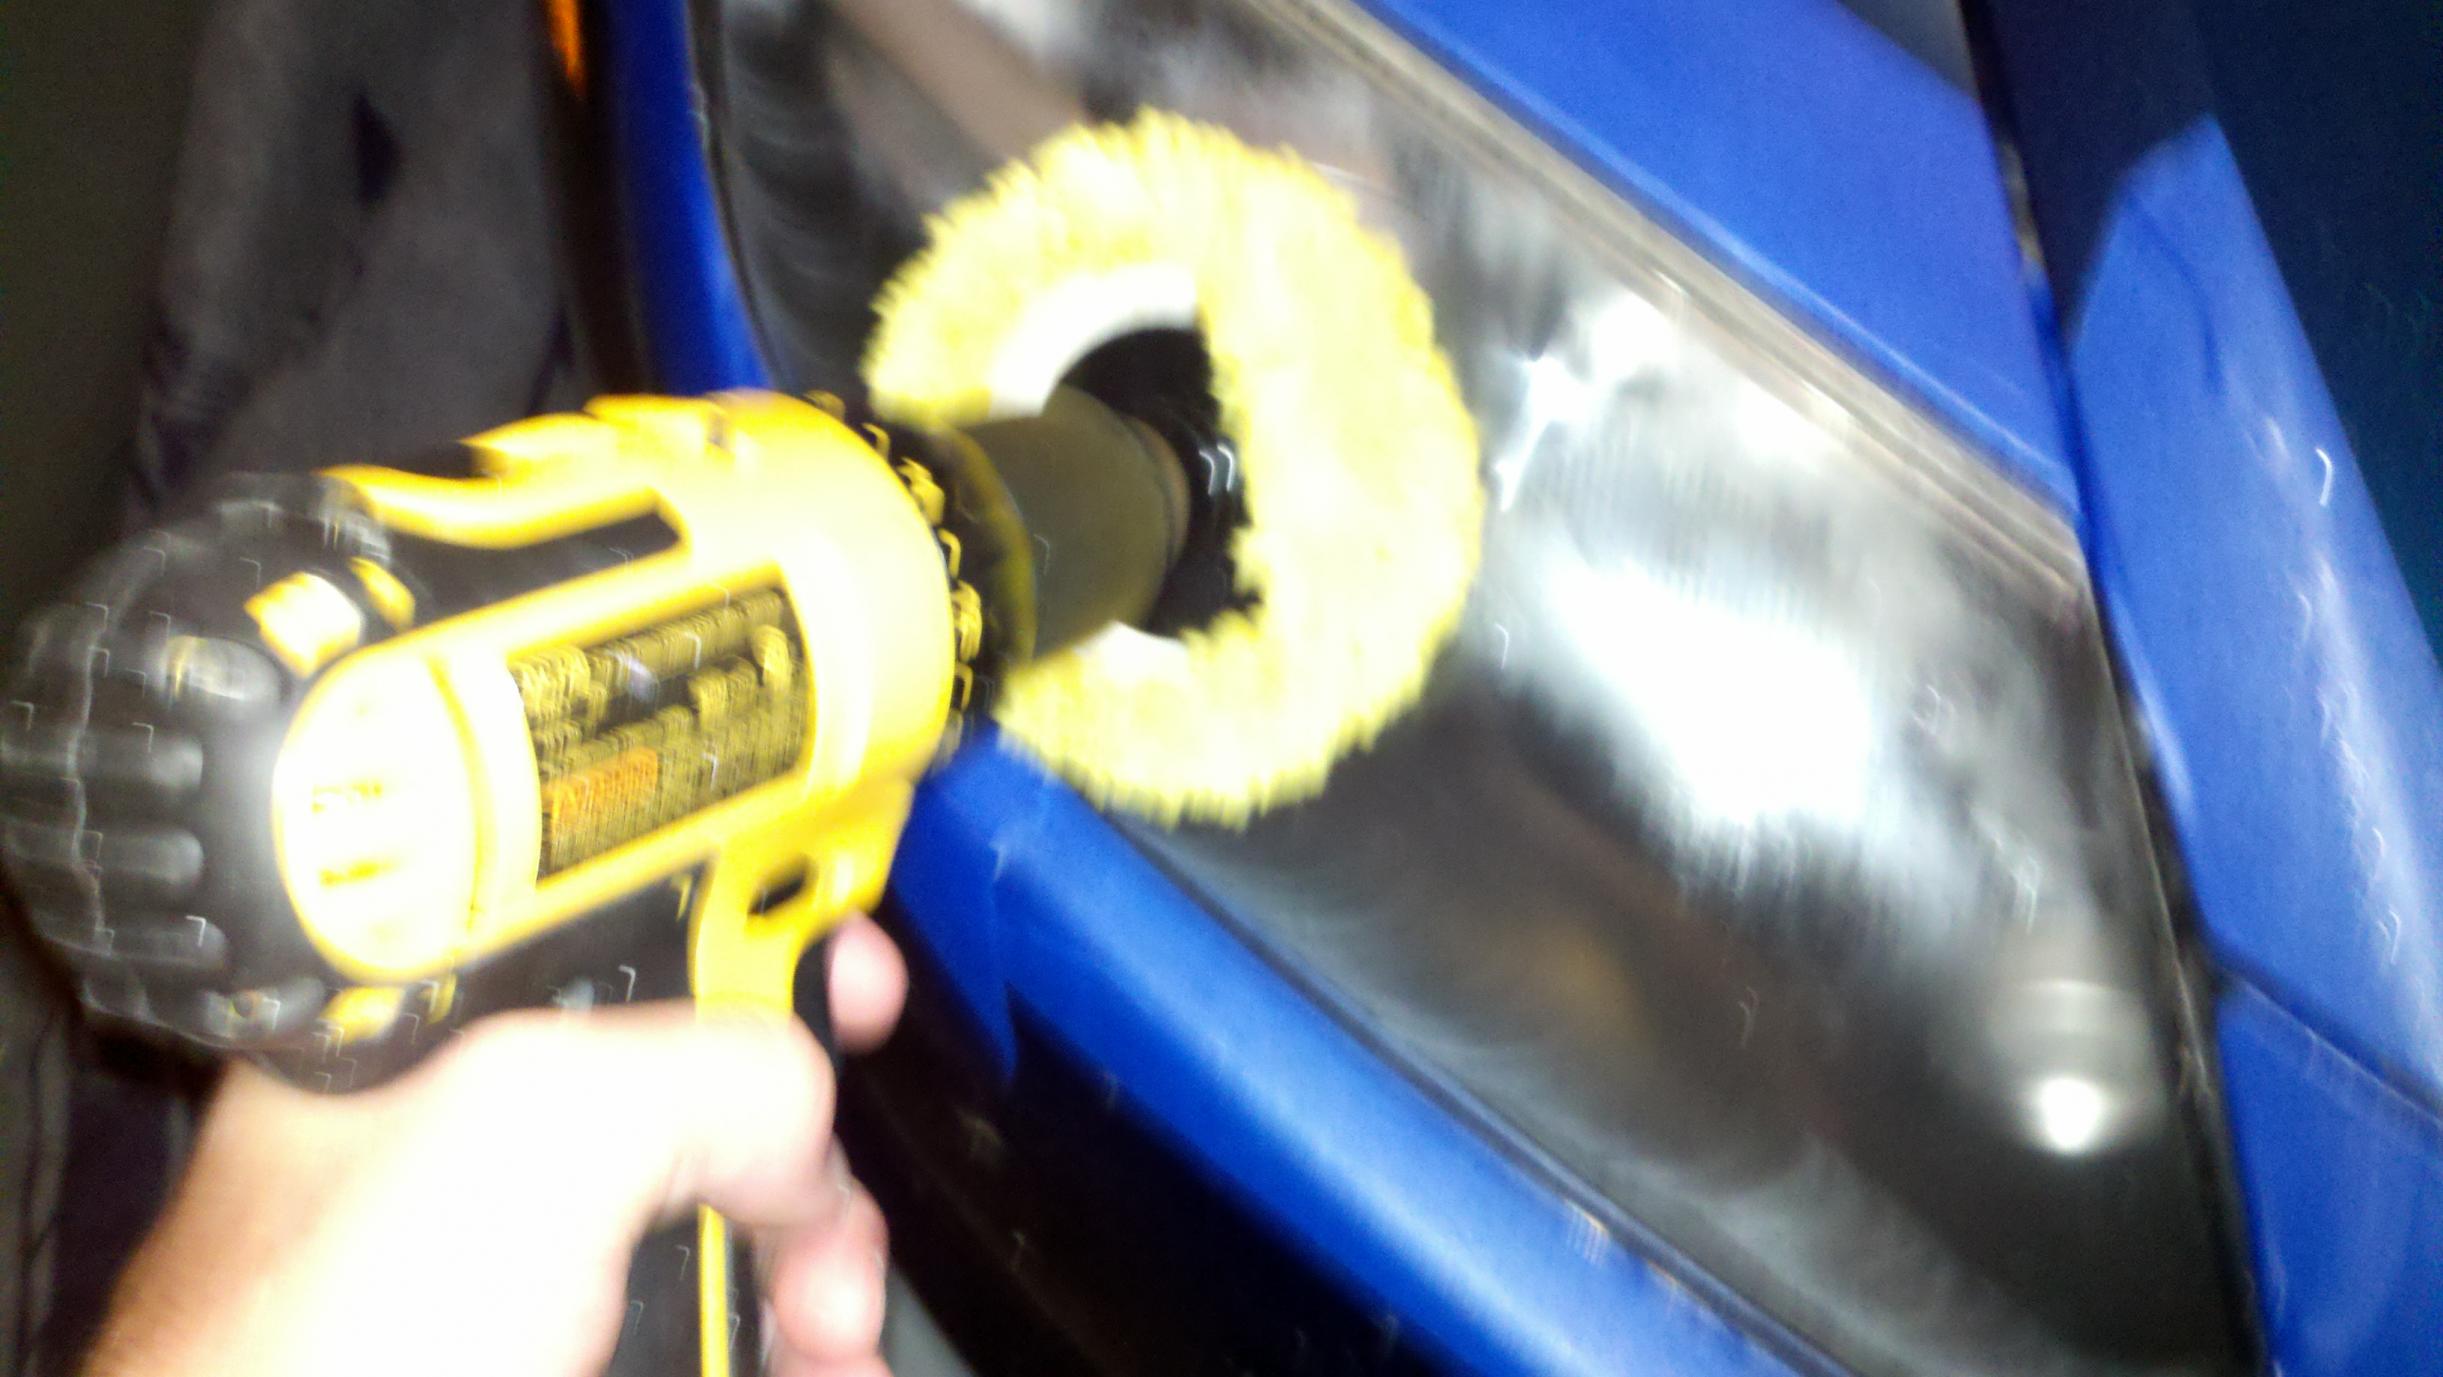
I followed the instructions and added a nickel size amount of the solution to the pad which is connected to my drill.
DIY: Headlight Restoration-drill-pad.jpg

Then spent about 2-3 mins applying an even coat to the entire headlight with the drill starting slowly and building up the speed. Once all the solution was completely rubbed in I repeated the whole process for the other headlight.
DIY: Headlight Restoration-polishing-headlight.jpg

I then repeated the process for the both headlights, (Not required but I didn't take long so I want to make sure i had done a good job). Once complete a quick rub with the lint free cloth.
DIY: Headlight Restoration-wipe-off-dust-fiber.jpg

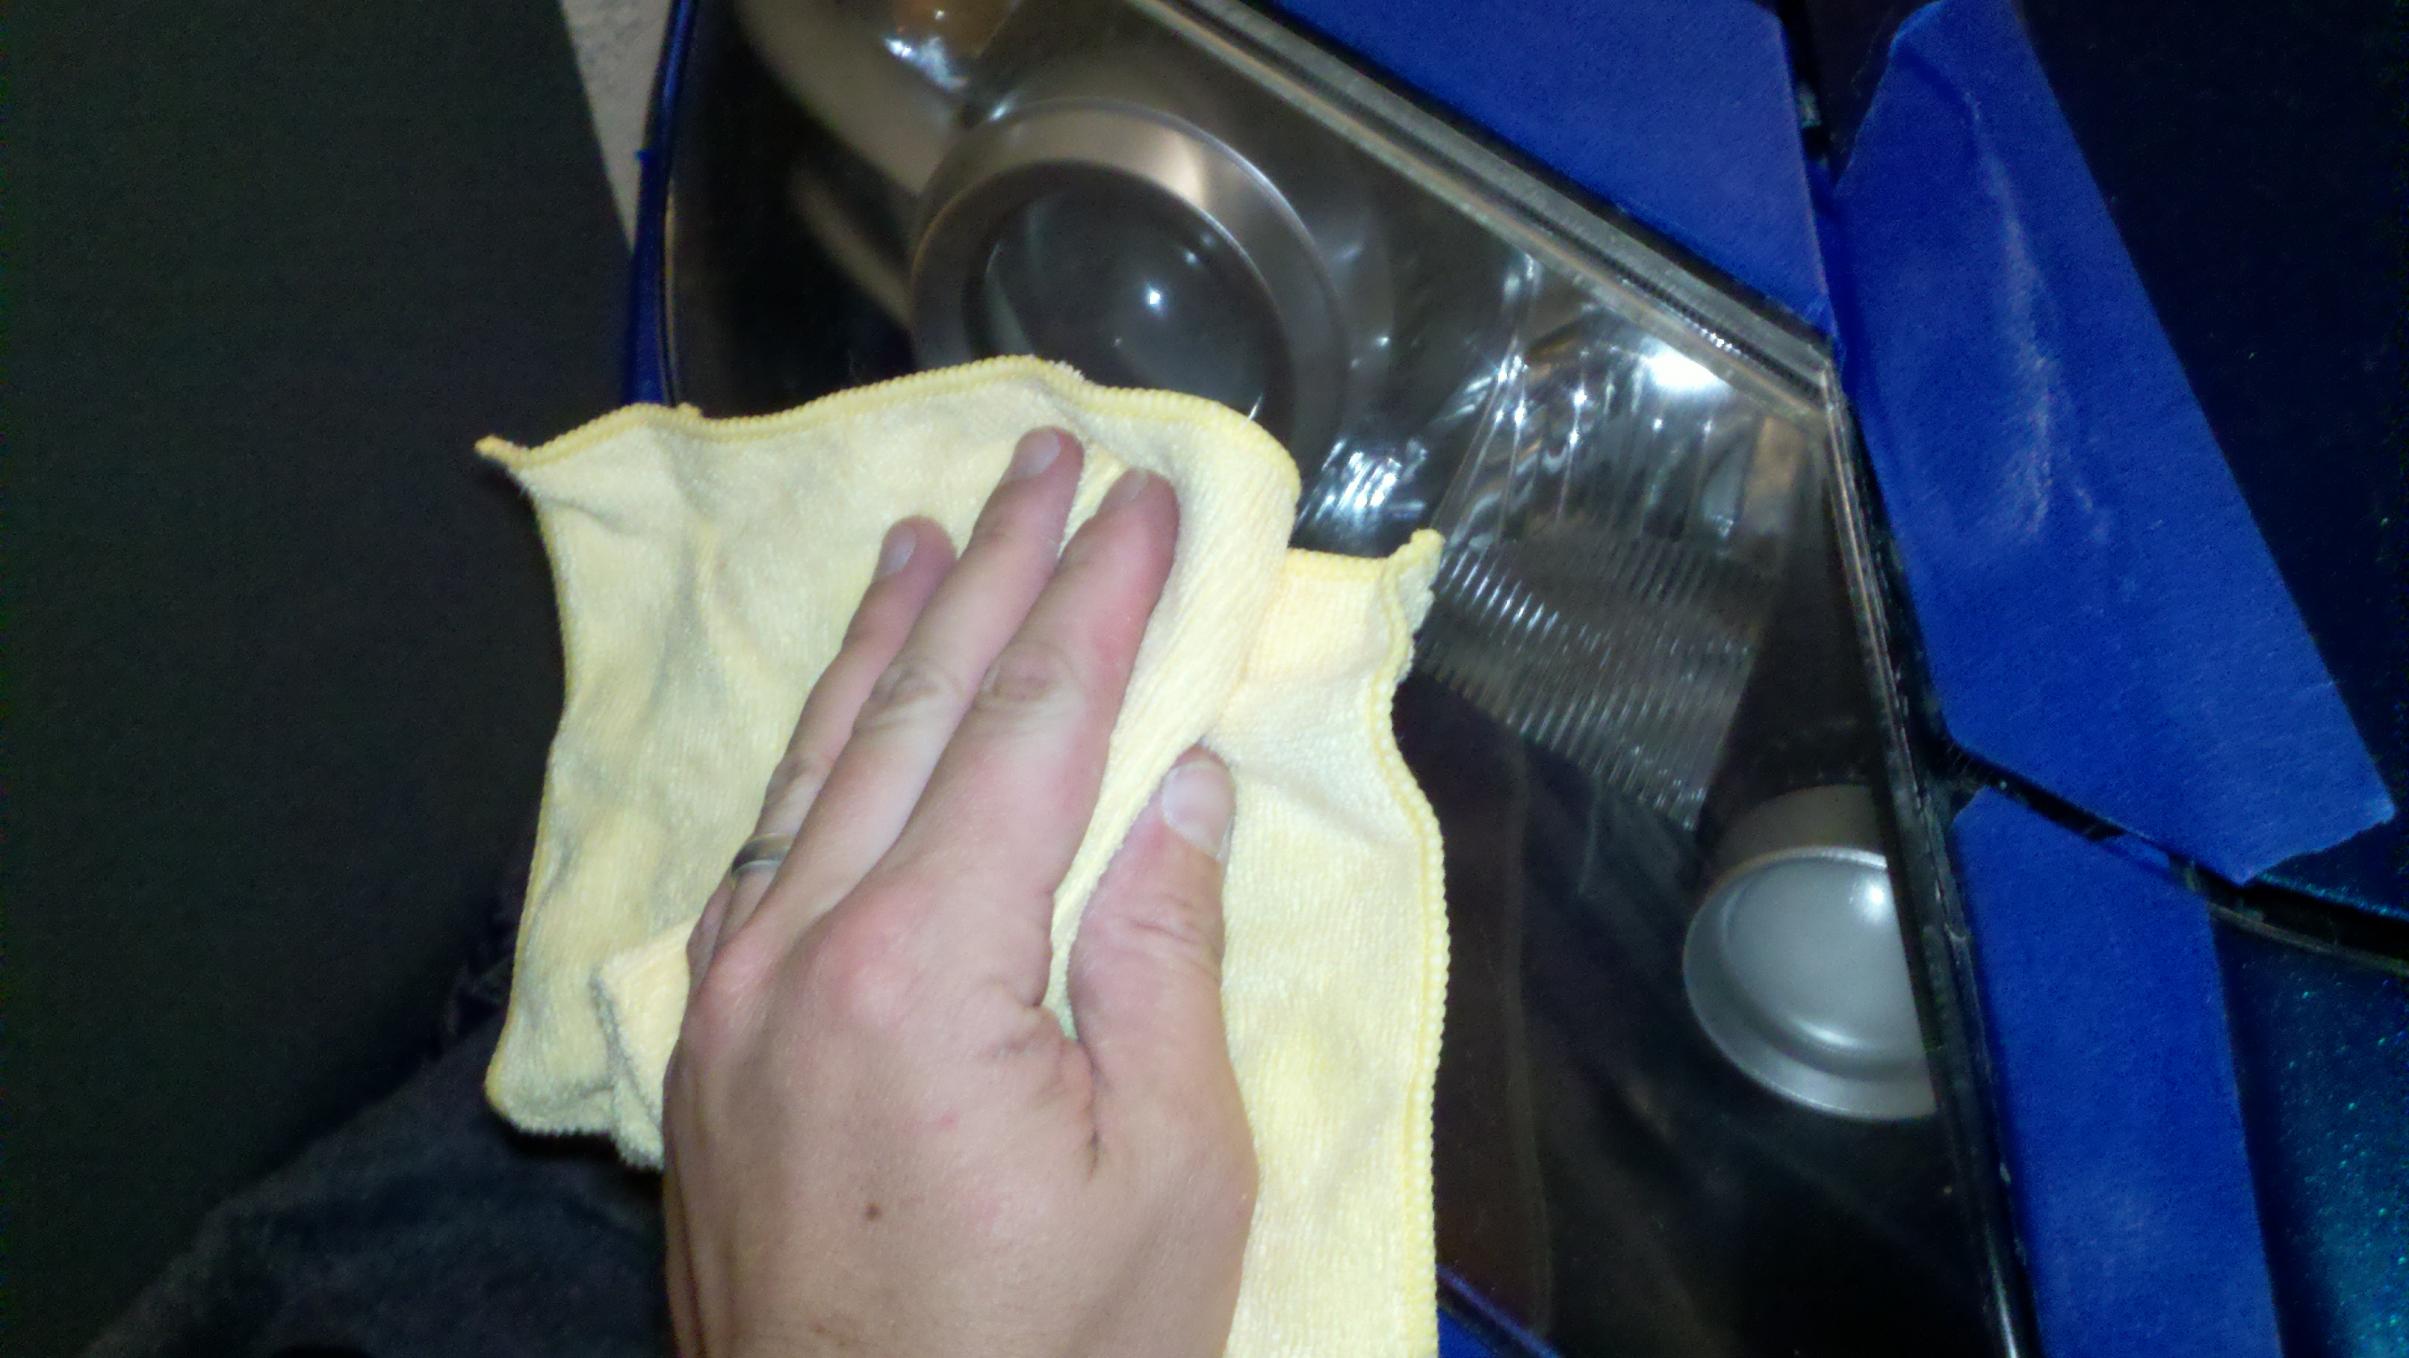
The finished product looks amazing
DIY: Headlight Restoration-good-new.jpg

Thanks for reading and hope this helps
Old 11-10-2010, 12:02 PM
  #2  
Made in England
Thread Starter
iTrader: (5)
 
wrightcomputing's Avatar
 
Join Date: Oct 2010
Location: Sarasota
Posts: 738
Likes: 0
Received 3 Likes on 3 Posts
Headlight restoration extra pics

Here is a picture of the equipment used
DIY: Headlight Restoration-equipment-used.jpg

This is the other headlight
DIY: Headlight Restoration-passenger-light-looking-good.jpg
Old 11-16-2010, 04:56 AM
  #3  
Low is a lifestyle
 
luv4eternity's Avatar
 
Join Date: Mar 2008
Location: Sunnyvale, CA
Posts: 416
Likes: 0
Received 0 Likes on 0 Posts
would this take out all the scratches on the head light too ?
Old 11-16-2010, 06:34 AM
  #4  
Made in England
Thread Starter
iTrader: (5)
 
wrightcomputing's Avatar
 
Join Date: Oct 2010
Location: Sarasota
Posts: 738
Likes: 0
Received 3 Likes on 3 Posts
Mine was just cloudy and had no deep scratches, I think it we will remove small scuff type scratches but not deep ones. All you can do is try it
Old 11-16-2010, 06:37 AM
  #5  
Registered
iTrader: (15)
 
paimon.soror's Avatar
 
Join Date: Jun 2010
Location: Between Cones
Posts: 7,560
Received 25 Likes on 23 Posts
Used the same kit on my friends g35. He had some tiny surface scratches and a yellow lens. This thing cleared it up and helped to blend in the scratches real nice. Remember to use the tape, the compound is a cutter and will cut away at the paint (which isn't a big deal, but you might notice when you wash your car that the area around the headlights is shinier lol.)
Old 12-01-2010, 06:41 PM
  #6  
Banned
 
Boltaction's Avatar
 
Join Date: Nov 2010
Posts: 46
Likes: 0
Received 0 Likes on 0 Posts
The passenger side lens still looks cloudy in the close up but the scratches are gone. Big improvement from it's original condition.
How long do you expect it to last before it has to be redone?
Old 12-01-2010, 06:54 PM
  #7  
Boosted Kiwi
iTrader: (2)
 
Brettus's Avatar
 
Join Date: Apr 2006
Location: Y-cat-o NZ
Posts: 20,523
Received 1,489 Likes on 839 Posts
does this stuff work on glass pitting as well ?
Old 12-01-2010, 08:06 PM
  #8  
Made in England
Thread Starter
iTrader: (5)
 
wrightcomputing's Avatar
 
Join Date: Oct 2010
Location: Sarasota
Posts: 738
Likes: 0
Received 3 Likes on 3 Posts
The lens was not cloudy when I had finished it was just the photo, I think the flash and the reflection made it look that way. It really looks great, not sure how long till it needs doing again but it still looks like new now.
Old 12-01-2010, 08:12 PM
  #9  
Made in England
Thread Starter
iTrader: (5)
 
wrightcomputing's Avatar
 
Join Date: Oct 2010
Location: Sarasota
Posts: 738
Likes: 0
Received 3 Likes on 3 Posts
Originally Posted by Brettus
does this stuff work on glass pitting as well ?
I don't think it works on glass there is a list of about ten uses on th the side and they are all types of plastic
Old 12-01-2010, 08:12 PM
  #10  
Time for boost...
iTrader: (24)
 
RX8Soldier's Avatar
 
Join Date: Jun 2010
Location: Canada
Posts: 5,414
Likes: 0
Received 15 Likes on 14 Posts
i'll remember this thread! SAVED :D
Old 12-01-2010, 09:47 PM
  #11  
Revving to the sky!
 
12A-13B's Avatar
 
Join Date: Oct 2010
Location: New Britain, Connecticut
Posts: 48
Likes: 0
Received 0 Likes on 0 Posts
The pad comes in the box too??
Old 12-01-2010, 09:54 PM
  #12  
Made in England
Thread Starter
iTrader: (5)
 
wrightcomputing's Avatar
 
Join Date: Oct 2010
Location: Sarasota
Posts: 738
Likes: 0
Received 3 Likes on 3 Posts
Originally Posted by 12A-13B
The pad comes in the box too??
Yes you get the liquid the pad that attaches to your drill and the lint free cloth
Old 12-01-2010, 11:54 PM
  #13  
Banned
 
Boltaction's Avatar
 
Join Date: Nov 2010
Posts: 46
Likes: 0
Received 0 Likes on 0 Posts
Originally Posted by wrightcomputing
Yes you get the liquid the pad that attaches to your drill and the lint free cloth
Is this One Step new from Meguiars? or has it been around?
I am familiar with another product by the same name but a different company.
Meguiars have been experimenting with headlight cleaners for a while.
They have an assortment of kits for different levels of skill.
Some of the kits cost close to$500.00.
They probably have a kit designed to take out the deep scratches and pits in the lens.
Old 12-02-2010, 12:19 PM
  #14  
Revving to the sky!
 
12A-13B's Avatar
 
Join Date: Oct 2010
Location: New Britain, Connecticut
Posts: 48
Likes: 0
Received 0 Likes on 0 Posts
Originally Posted by wrightcomputing
Yes you get the liquid the pad that attaches to your drill and the lint free cloth
This is good to know and thank you, I will try it on my car.
Old 12-02-2010, 06:53 PM
  #15  
weeeeeeeeee
iTrader: (12)
 
ShellDude's Avatar
 
Join Date: Jun 2008
Location: Outside Philadelphia
Posts: 4,200
Received 229 Likes on 153 Posts
I used the same kit and had similar results. Would definitely recommend!
Old 06-11-2011, 03:10 PM
  #16  
Registered User
 
Maubrie's Avatar
 
Join Date: Jun 2011
Location: Clarksville, TN
Posts: 4
Likes: 0
Received 0 Likes on 0 Posts
Just a quick note for everyone. My headlights on my 8 were 10 times worse then his, and tho this kit works extremely well, you can get it done with stuff you have on hand. Simple rubbing compound/polish will substitute the "Restoration Cream" and a foam pad on a drill was what I found worked the best. Follow all the same instructions as above. Why buy a $20 kit when you can get it done for $5! Simple DIY.
Old 06-11-2011, 03:30 PM
  #17  
Registered User
iTrader: (3)
 
ejeetology's Avatar
 
Join Date: Jan 2010
Location: Columbia, SC
Posts: 52
Likes: 0
Received 0 Likes on 0 Posts
it does work good...but to get it back to that new look, you will need to sand it down left + right with 1000 grit sand paper...do up and down with 3000, use plastix, sit back and enjoy the shine

Last edited by ejeetology; 06-11-2011 at 03:33 PM.
Old 06-11-2011, 09:52 PM
  #18  
Made in England
Thread Starter
iTrader: (5)
 
wrightcomputing's Avatar
 
Join Date: Oct 2010
Location: Sarasota
Posts: 738
Likes: 0
Received 3 Likes on 3 Posts
I just thought I would follow up with this since it is about 10 months since I originally posted this DIY post and my headlights still look great. I wax them once a month when I do my car and they still look like new. I do agree that you could do this with rubbing compound and a buffing cloth or buffing drill bit.

Last edited by wrightcomputing; 10-20-2011 at 12:41 PM.
Old 06-24-2011, 01:16 PM
  #19  
Registered
 
gabrod72's Avatar
 
Join Date: Jan 2007
Posts: 49
Likes: 0
Received 3 Likes on 2 Posts
On the cheapo, I use "Fast Orange" hand cleaner and a similar buffing wheel... works very well.
Old 06-25-2011, 03:44 AM
  #20  
Stock - O - Licious
 
slvrmzdrx8's Avatar
 
Join Date: Apr 2011
Location: Colorado
Posts: 224
Likes: 0
Received 0 Likes on 0 Posts
Originally Posted by gabrod72
On the cheapo, I use "Fast Orange" hand cleaner and a similar buffing wheel... works very well.

That is headlight restoration on a budget if iv ever seen it !
Old 06-25-2011, 11:41 AM
  #21  
Charles Bundy
iTrader: (5)
 
Grace_Excel's Avatar
 
Join Date: Jun 2010
Location: Sherman Oaks, CA
Posts: 2,395
Received 7 Likes on 5 Posts
I'll look into this, I used Turtle Wax and it cleared it up, just not as good as yours did.
Old 06-26-2011, 05:12 AM
  #22  
Stock - O - Licious
 
slvrmzdrx8's Avatar
 
Join Date: Apr 2011
Location: Colorado
Posts: 224
Likes: 0
Received 0 Likes on 0 Posts
Bought it today, but haven't got to use it. My brother has a Jetta with some serious yellow headlights, ill takes some pictures if i remember of before and after on his and mine. Put it to the real test.
Old 06-26-2011, 12:11 PM
  #23  
Registered
 
gabrod72's Avatar
 
Join Date: Jan 2007
Posts: 49
Likes: 0
Received 3 Likes on 2 Posts
Originally Posted by slvrmzdrx8
That is headlight restoration on a budget if iv ever seen it !
Just a well known shop and jeeper trick. I have 5 vehicles so I don't drop coin on anything involving cars if I can find an equally effective method of solving the problem on the cheap. I also try to avoid re-branded stuff that found a new use and sells for 10x more.... that's not for me, sorry.
Old 07-08-2011, 12:24 AM
  #24  
not very smart
 
smalltownboy_08's Avatar
 
Join Date: Jan 2009
Location: the dalles, oregon
Posts: 17
Likes: 0
Received 0 Likes on 0 Posts
my oxidation was on the interior of the lens.. maybe im the only on though
Old 09-28-2011, 09:28 AM
  #25  
Made in England
Thread Starter
iTrader: (5)
 
wrightcomputing's Avatar
 
Join Date: Oct 2010
Location: Sarasota
Posts: 738
Likes: 0
Received 3 Likes on 3 Posts
Just wanted to follow up on this post. My headlight lenses are starting to cloud up again so I will be doing the process again soon.
Meaning this fix is good for about 1 year and the car has done about 25K so plenty of use.


You have already rated this thread Rating: Thread Rating: 0 votes,  average.

Quick Reply: DIY: Headlight Restoration


All times are GMT -5. The time now is 09:14 AM.