When you click on links to various merchants on this site and make a purchase, this can result in this site earning a commission. Affiliate programs and affiliations include, but are not limited to, the eBay Partner Network.
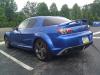
This all started to get the car ready for track days and just a nice driver. I had used the car as a daily driver and it has been a toy for the past 3 years since installing the turbo kit. I didn't take much pictures of the tear down but I think it's obvious what was done...everything was removed!
Thing that are getting done and have been done:
-Sand blasted all parts and underneath of the car (got ride of all the black rubber stuff)
-Seam welded frame rails and all shock and sub frame mounts
-All bushings changing to polly
-Rear sub frame going to aluminum sub frame bushings
-Rear brake bias valve and hydro-brake will be installed
-All new wheel bearing all around
-R3 Bilstein suspension
-Fresh pads and rotors all around
-Turbo manifold, down pipe and mid pipe will be ceramic coated (mid pipe is a RX7.com with cat punched out, cat-back is a new HKS Hi-Power)
-Greddy turbo kit with AEM air intake, changing all hardware to T-Bolts, change silicone couplers to 18 wheeler grade, running BHR coils, 255 Walboro pump, Forge twin-piston BOV.
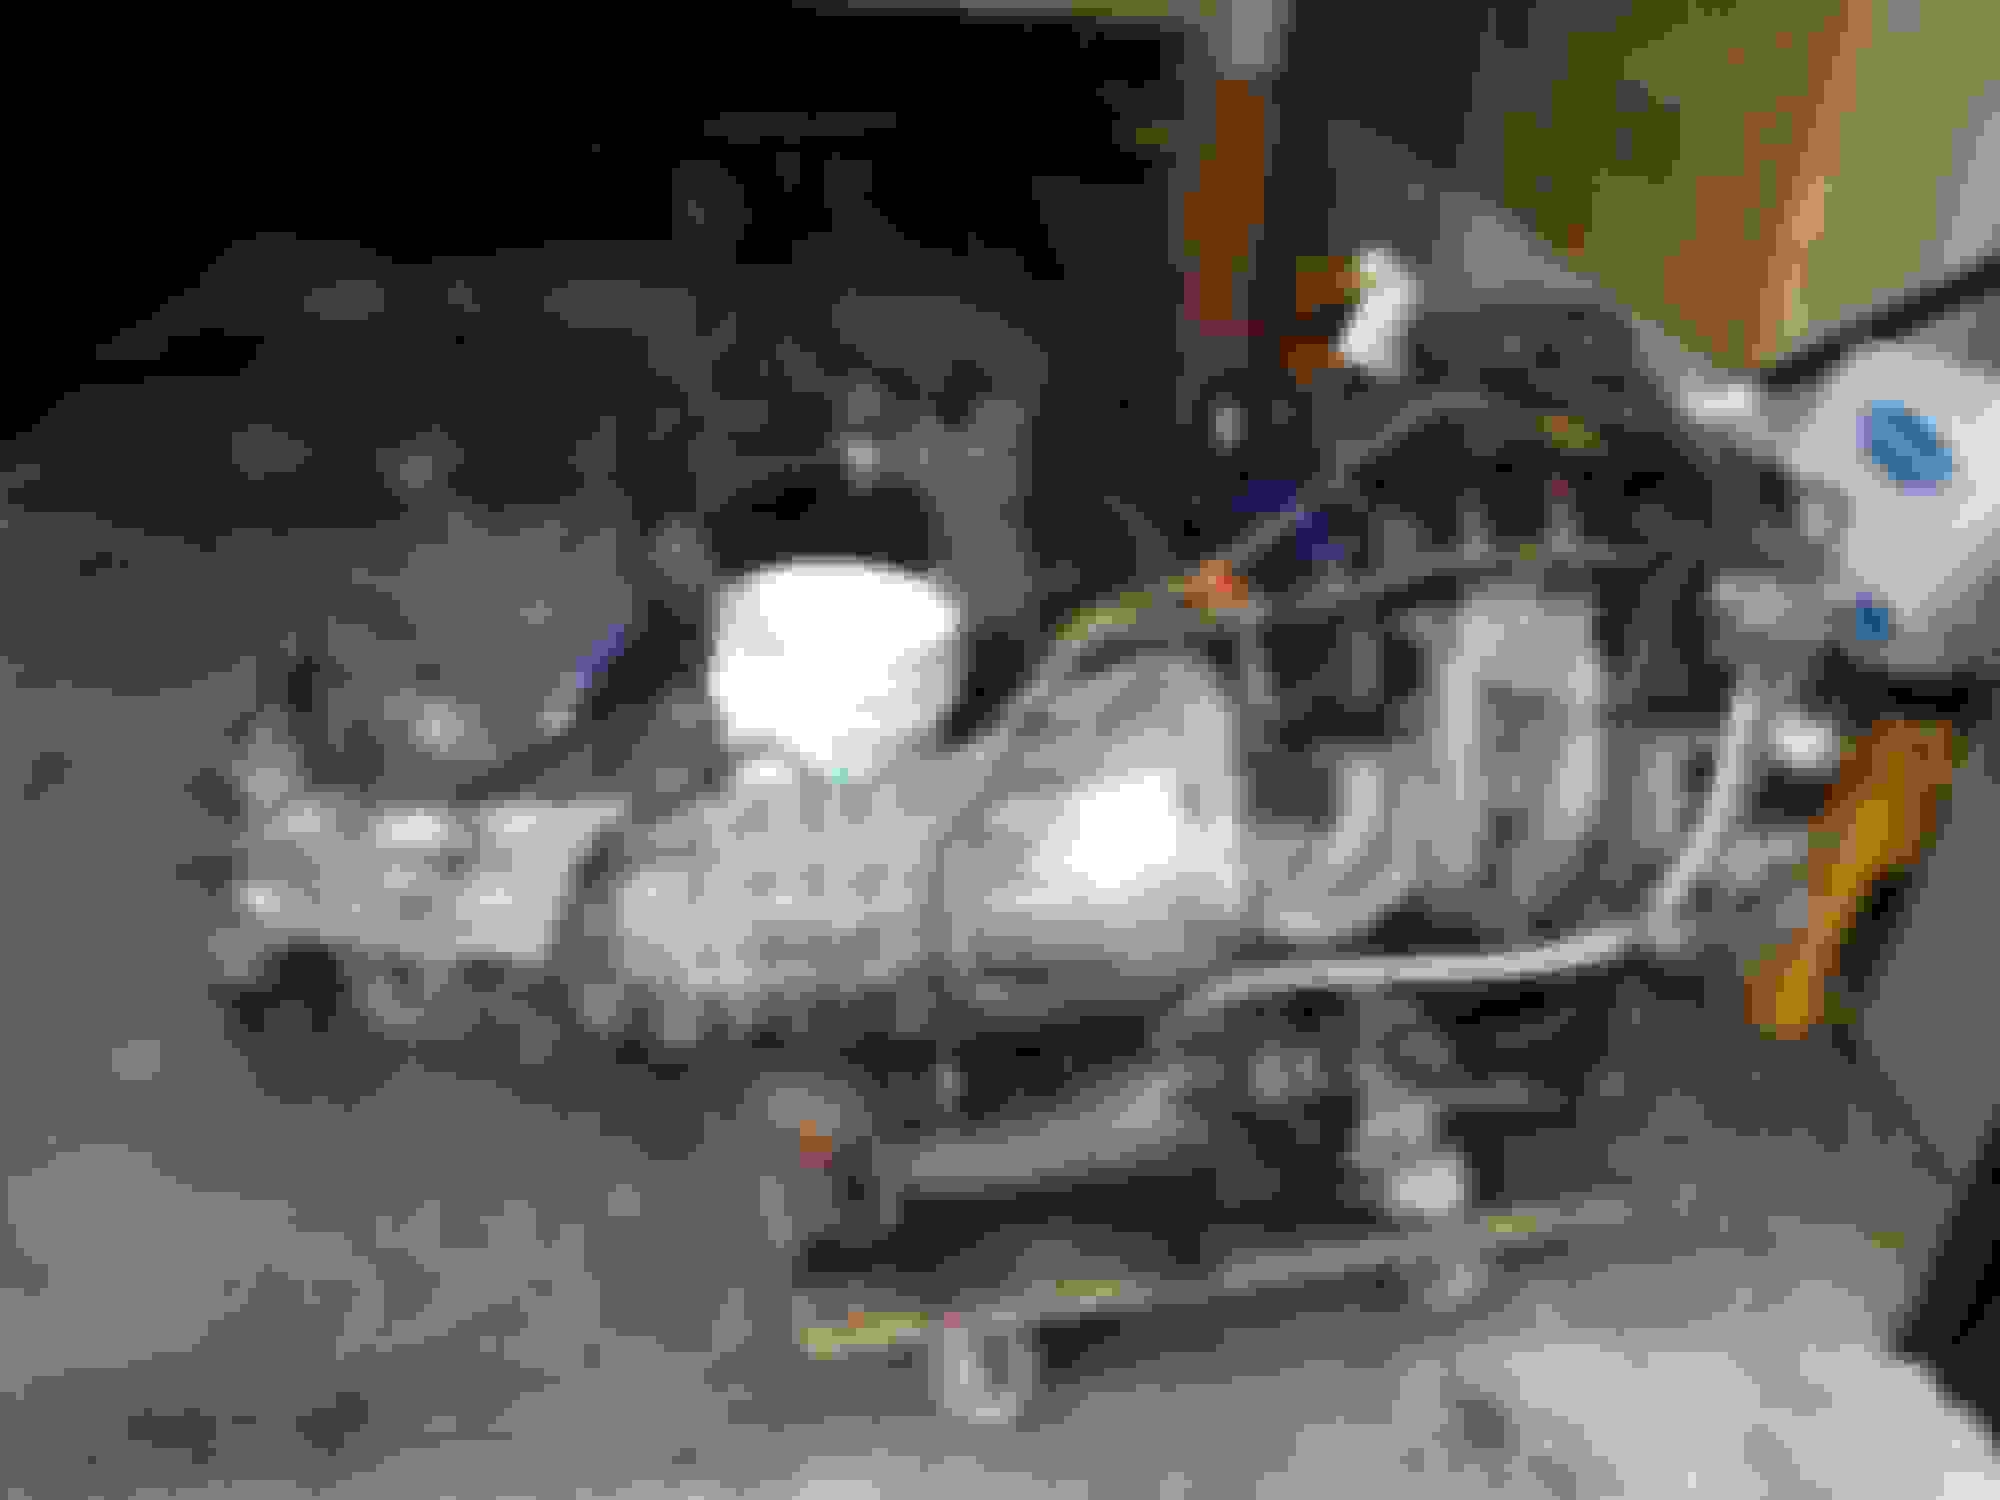
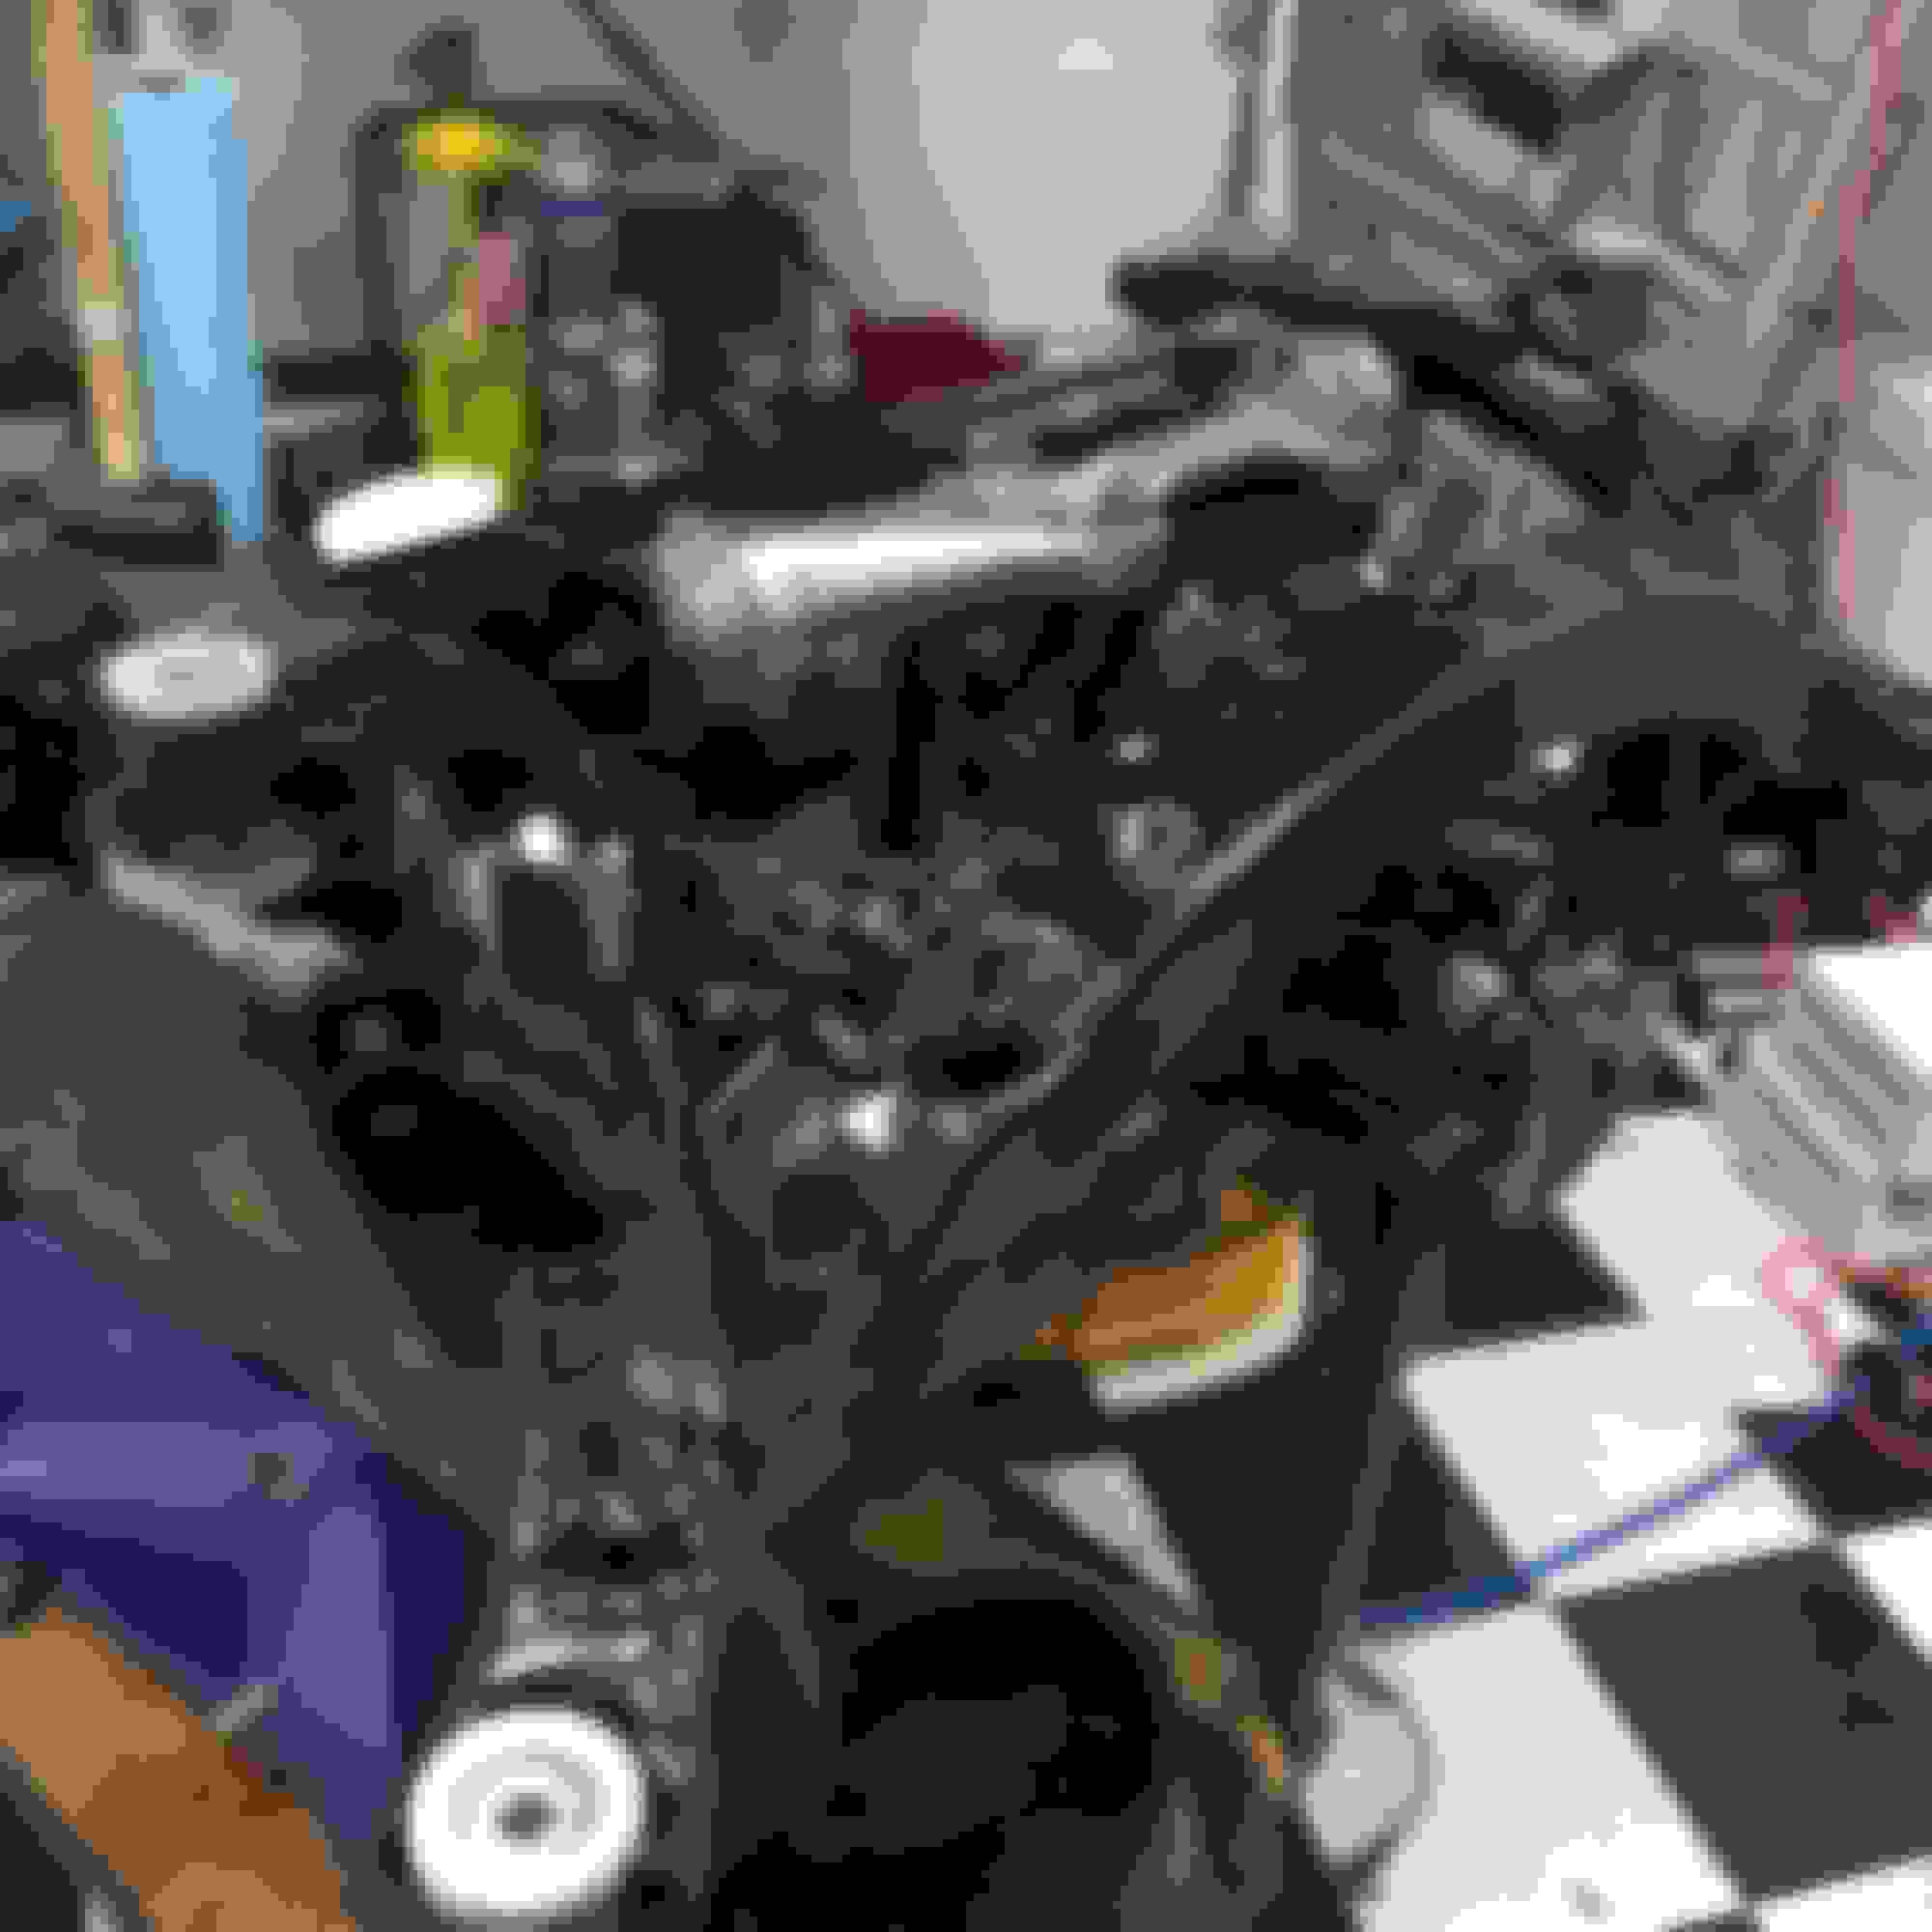
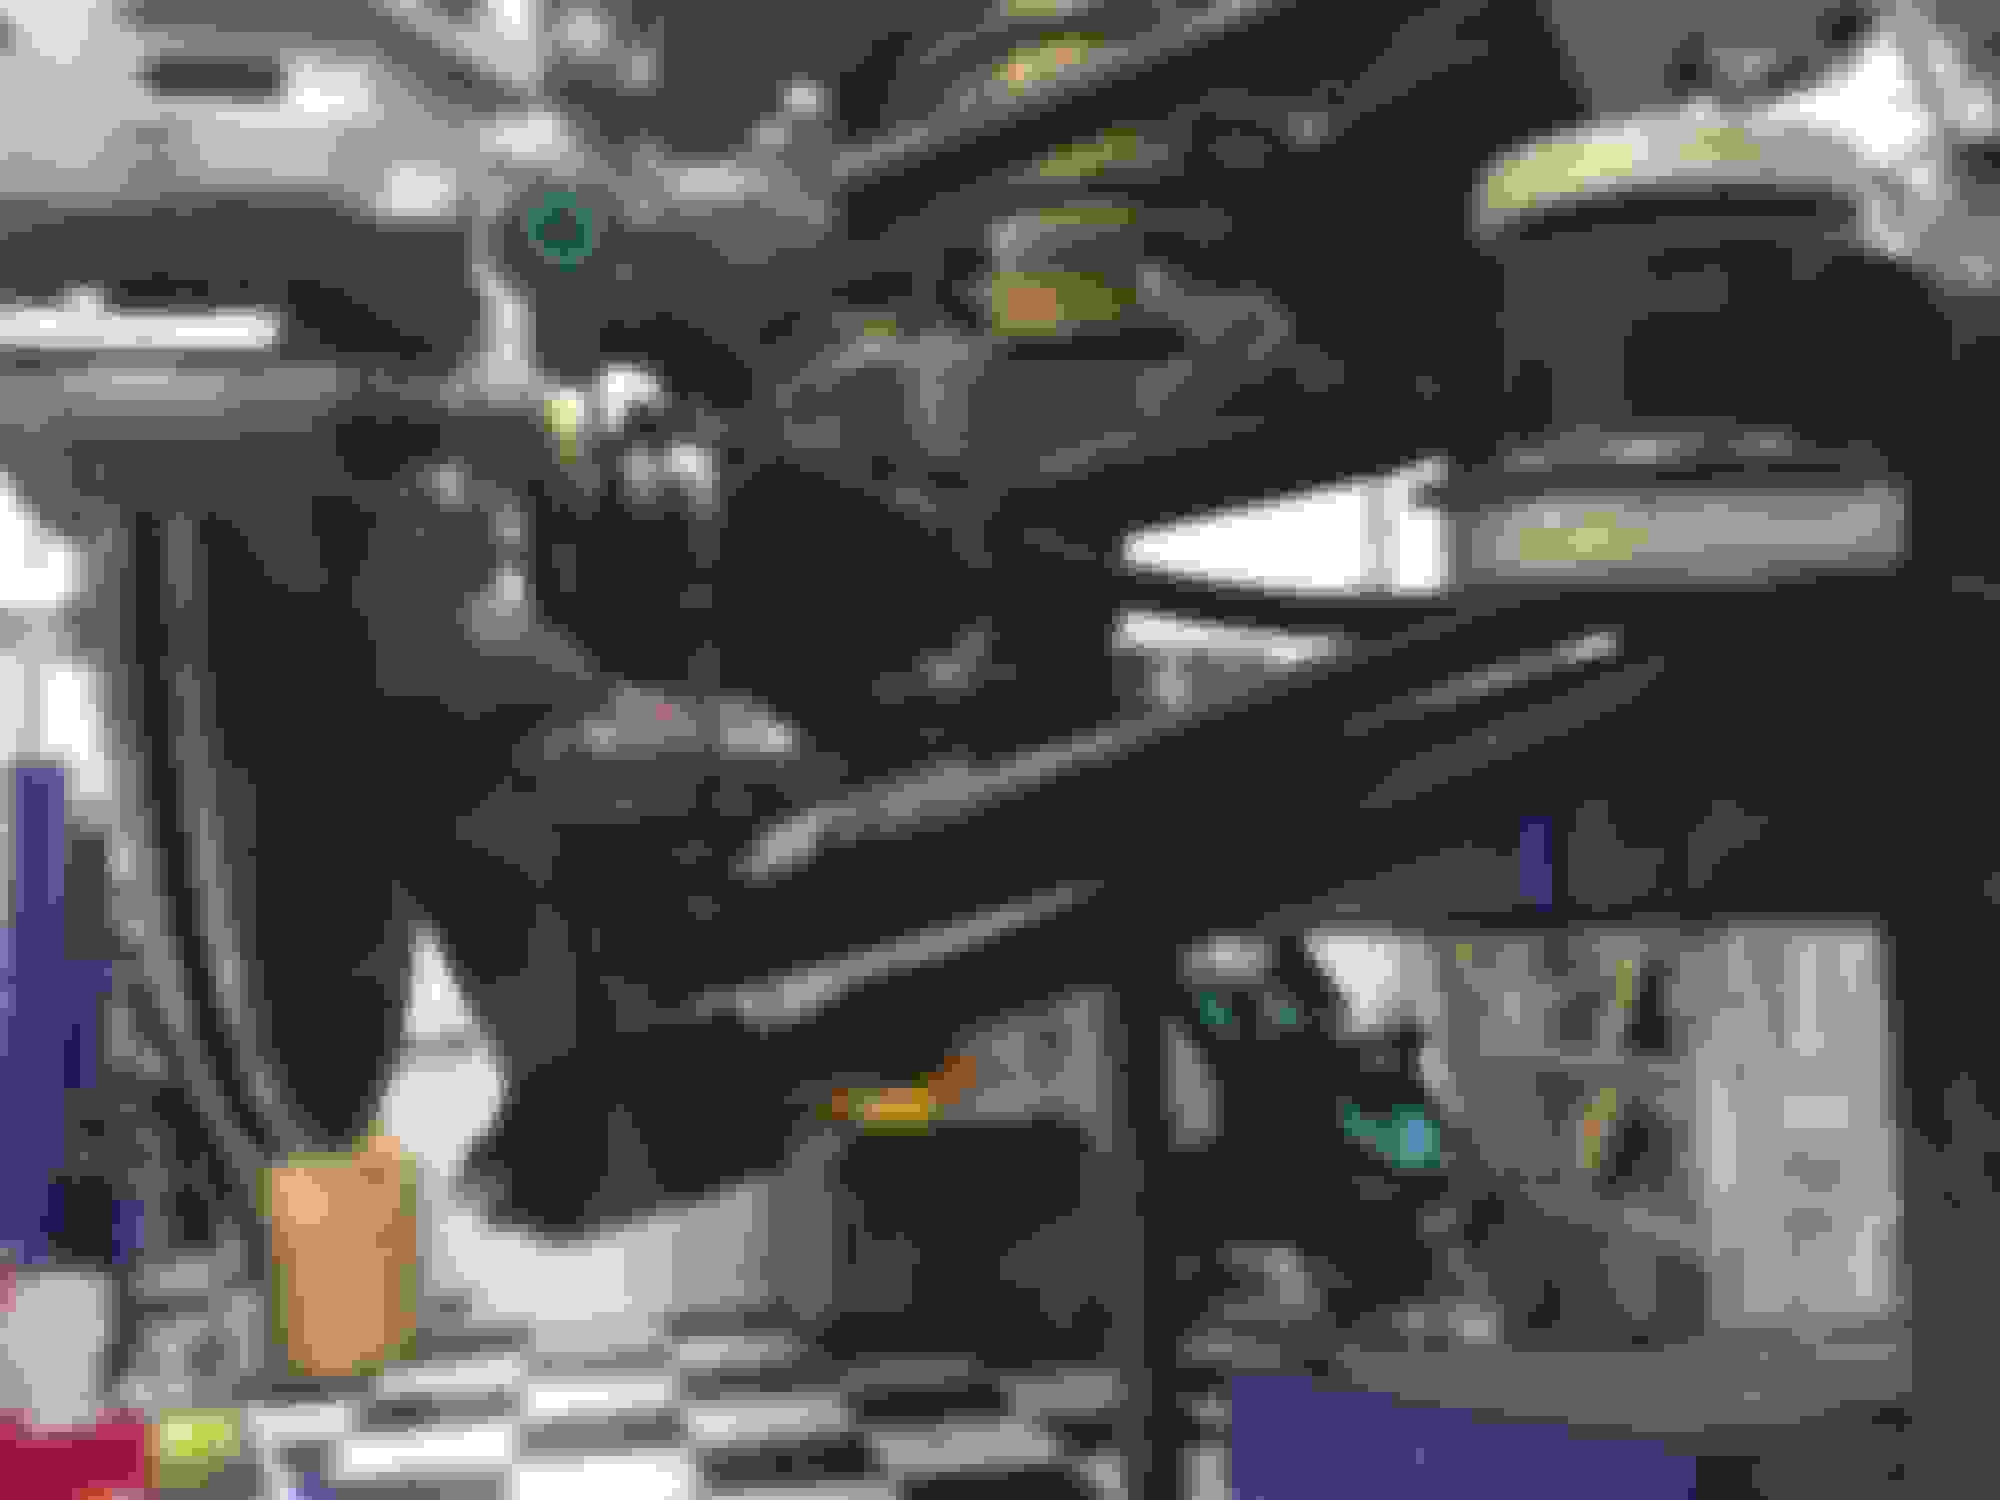
Engine in need of cleaning! Turbo down pipe and header going to get ceramic coated.
Nice work so far, but I've got a A few notes and questions.
Originally Posted by jay_tibo
-Rear brake bias valve...
Why? Did you eliminate the ABS? If not, then it's unnecessary. The car brakes very well with the stock ABS and proportioning. Even with a big brake kit it's not necessary.
Originally Posted by jay_tibo
-Fresh pads and rotors all around
For track use with turbo power, I sure hope you're going to be using some sort of race pads and high temperature fluid. Removing the dust shields from behind the rotors helps them run a little cooler as well, plus ducting really helps. I've even got some Sneed4Speed hub adapters and high temp hose that I can't use with my KW coilovers that I'd be willing to part with for a reasonable price.
Originally Posted by jay_tibo
-R3 Bilstein suspension
For a serious track toy, I'd skip that step and go straight to coilovers. I took out my R3 suspension and replaced it with coilovers for track use.
Are the ball joints and boots all ok on the rear suspension arms? Some boots look a bit tattered in the pictures, in which case I'd want to at very least replace the boots and re-pack them with grease.
Also, have you added any cooling? For me, going to the track when stock at fairly reasonable ambient temperatures, my car was running hotter than I wanted. It took sealing around the radiator and oil coolers, replacing a section of the fender liner behind the oil coolers with mesh for better airflow and cutting out all of the blanked areas in the grille to get the temperatures in check and that's not even in full summer heat.
I thought I was doing well pottering around under the car with a wire brush and a splash of Vactan & Underbody Seal. This makes me feel woefully inadequate! Good work
Nice work so far, but I've got a A few notes and questions.
Why? Did you eliminate the ABS? If not, then it's unnecessary. The car brakes very well with the stock ABS and proportioning. Even with a big brake kit it's not necessary.
No worries the Hydro brake wouldn't work either with the ABS hooked up, luckily it take no more then 5 second to disconnect the ABS, the bias valve it set in there for left foot brake sliding action, it won't get much use but it's being done either way.... drift days maybe
Originally Posted by Black2010R3
For track use with turbo power, I sure hope you're going to be using some sort of race pads and high temperature fluid. Removing the dust shields from behind the rotors helps them run a little cooler as well, plus ducting really helps. I've even got some Sneed4Speed hub adapters and high temp hose that I can't use with my KW coilovers that I'd be willing to part with for a reasonable price.
Dust shield are all off and won't be finding there way back on the car, suspension will be fine, I prefer a car with travel. Do you have pics of the ducting you did?
Originally Posted by Black2010R3
Are the ball joints and boots all ok on the rear suspension arms? Some boots look a bit tattered in the pictures, in which case I'd want to at very least replace the boots and re-pack them with grease.
I don't think it needed to be pointed out that the boots that I left on for sandblasting would be replaced lol. The grease will be Kawasaki high temp race spec grease I have at the shop.
Originally Posted by Black2010R3
Also, have you added any cooling? For me, going to the track when stock at fairly reasonable ambient temperatures, my car was running hotter than I wanted. It took sealing around the radiator and oil coolers, replacing a section of the fender liner behind the oil coolers with mesh for better airflow and cutting out all of the blanked areas in the grille to get the temperatures in check and that's not even in full summer heat.
Good luck with the build.
I'll check that out seems like all easy stuff to do. I do not have any AC in the car so there is 1 less radiator but I did realize I would need more then this. I will be relocating the battery to the rear of the car, so I might leave the rear of the radiator open no sure yet.
I thought I was doing well pottering around under the car with a wire brush and a splash of Vactan & Underbody Seal. This makes me feel woefully inadequate! Good work
Lol no worries it's a commitment to strip a car to nothing. Either way you take that stuff off is a pita! Even sandblasting it was difficult to get it all off.
I haven't done any ducting to the brakes, as the remote reservoir of my KW coilovers would interfere, so I left the ducts off. They are these: RX-8 Brake Cooler Wheel Brackets
As for the hose routing, I had a couple ideas, but never did anything, as I couldn't hook it up to the hubs.
For the sealing, I used some adhesive backed foam tape (window/door weather stripping) for the smaller gaps, I used a little aluminum duct sealing tape where it wouldn't be seen and stuffed pipe insulation stuffed in the larger gaps. I also tied the undertray up to the AC condenser screen to keep it from deflecting down and allowing air around under the radiator.
Relocating the battery and using an AEM intake are common cooling suggestions for NA cars, as it opens up the back of the radiator, making it easier for air to escape as well.
I haven't done any ducting to the brakes, as the remote reservoir of my KW coilovers would interfere, so I left the ducts off. They are these: RX-8 Brake Cooler Wheel Brackets
PM me what you want for them if they are just kicking around!
Originally Posted by Black2010R3
For the sealing, I used some adhesive backed foam tape (window/door weather stripping) for the smaller gaps, I used a little aluminum duct sealing tape where it wouldn't be seen and stuffed pipe insulation stuffed in the larger gaps. I also tied the undertray up to the AC condenser screen to keep it from deflecting down and allowing air around under the radiator.
I'll keep this in mind
Originally Posted by Black2010R3
Relocating the battery and using an AEM intake are common cooling suggestions for NA cars, as it opens up the back of the radiator, making it easier for air to escape as well.
AEM was already done before the tear down and the battery was next just seem logical, simplifying the engine bay as much as possible. I also have a turbo blanket on the way and will be ceramic coating the exhaust bits to keep under hood temperatures under control.
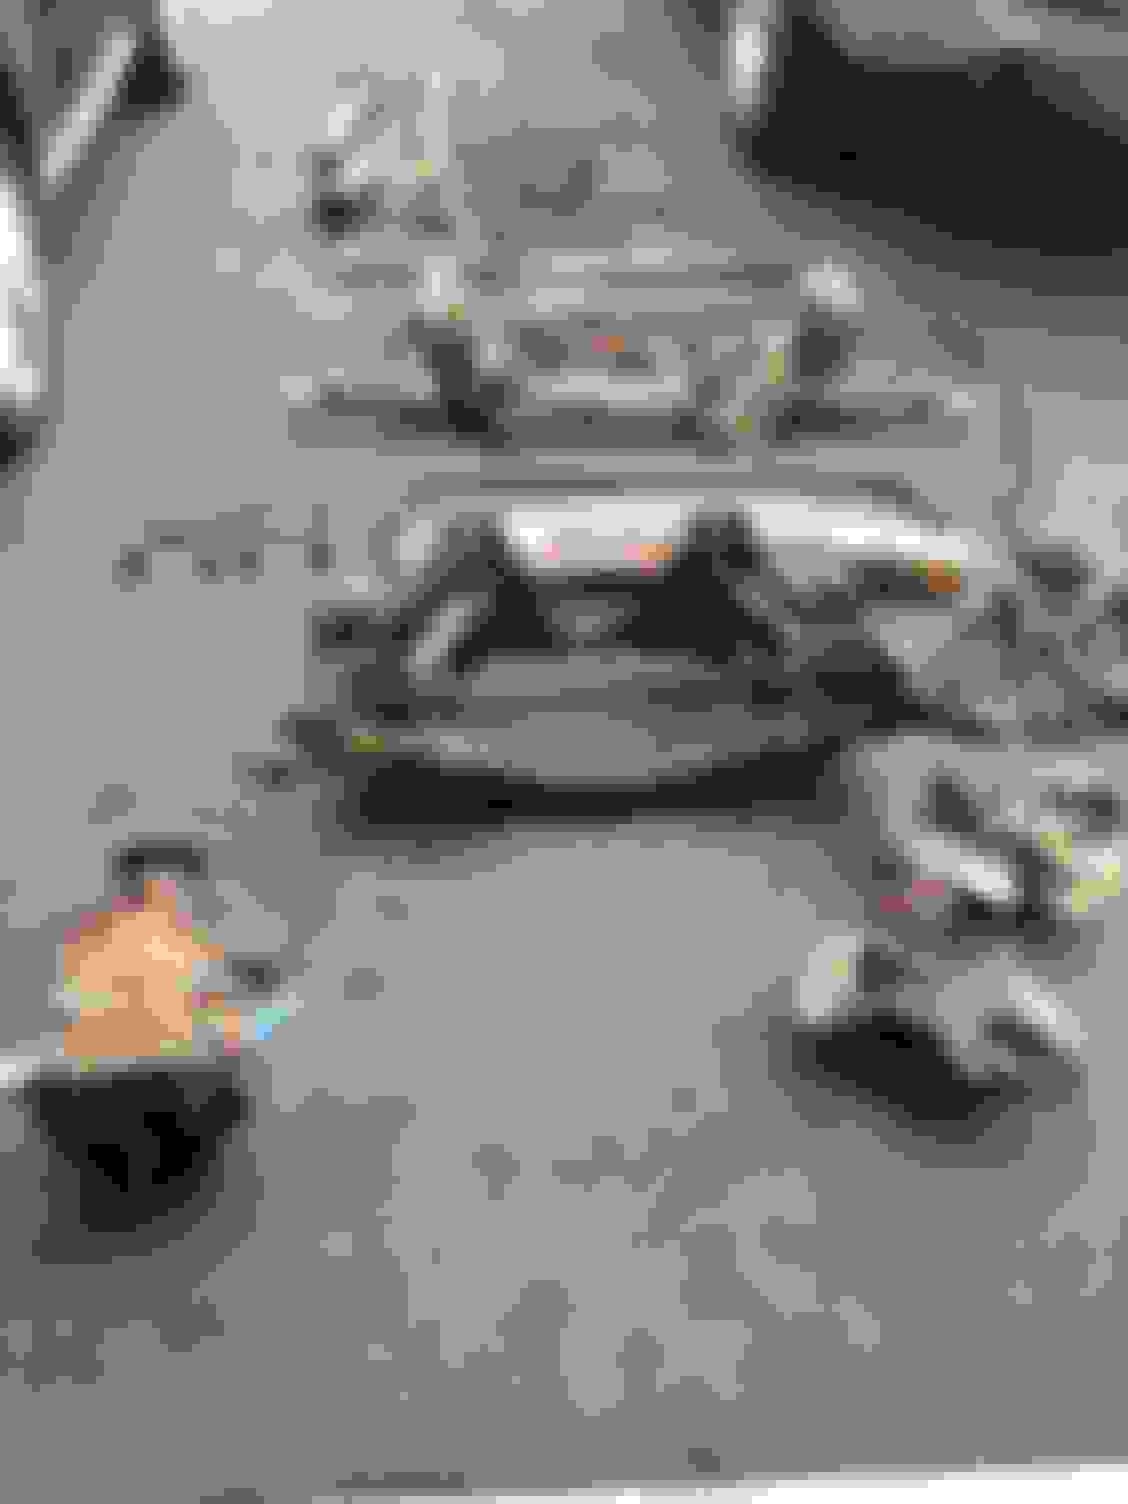
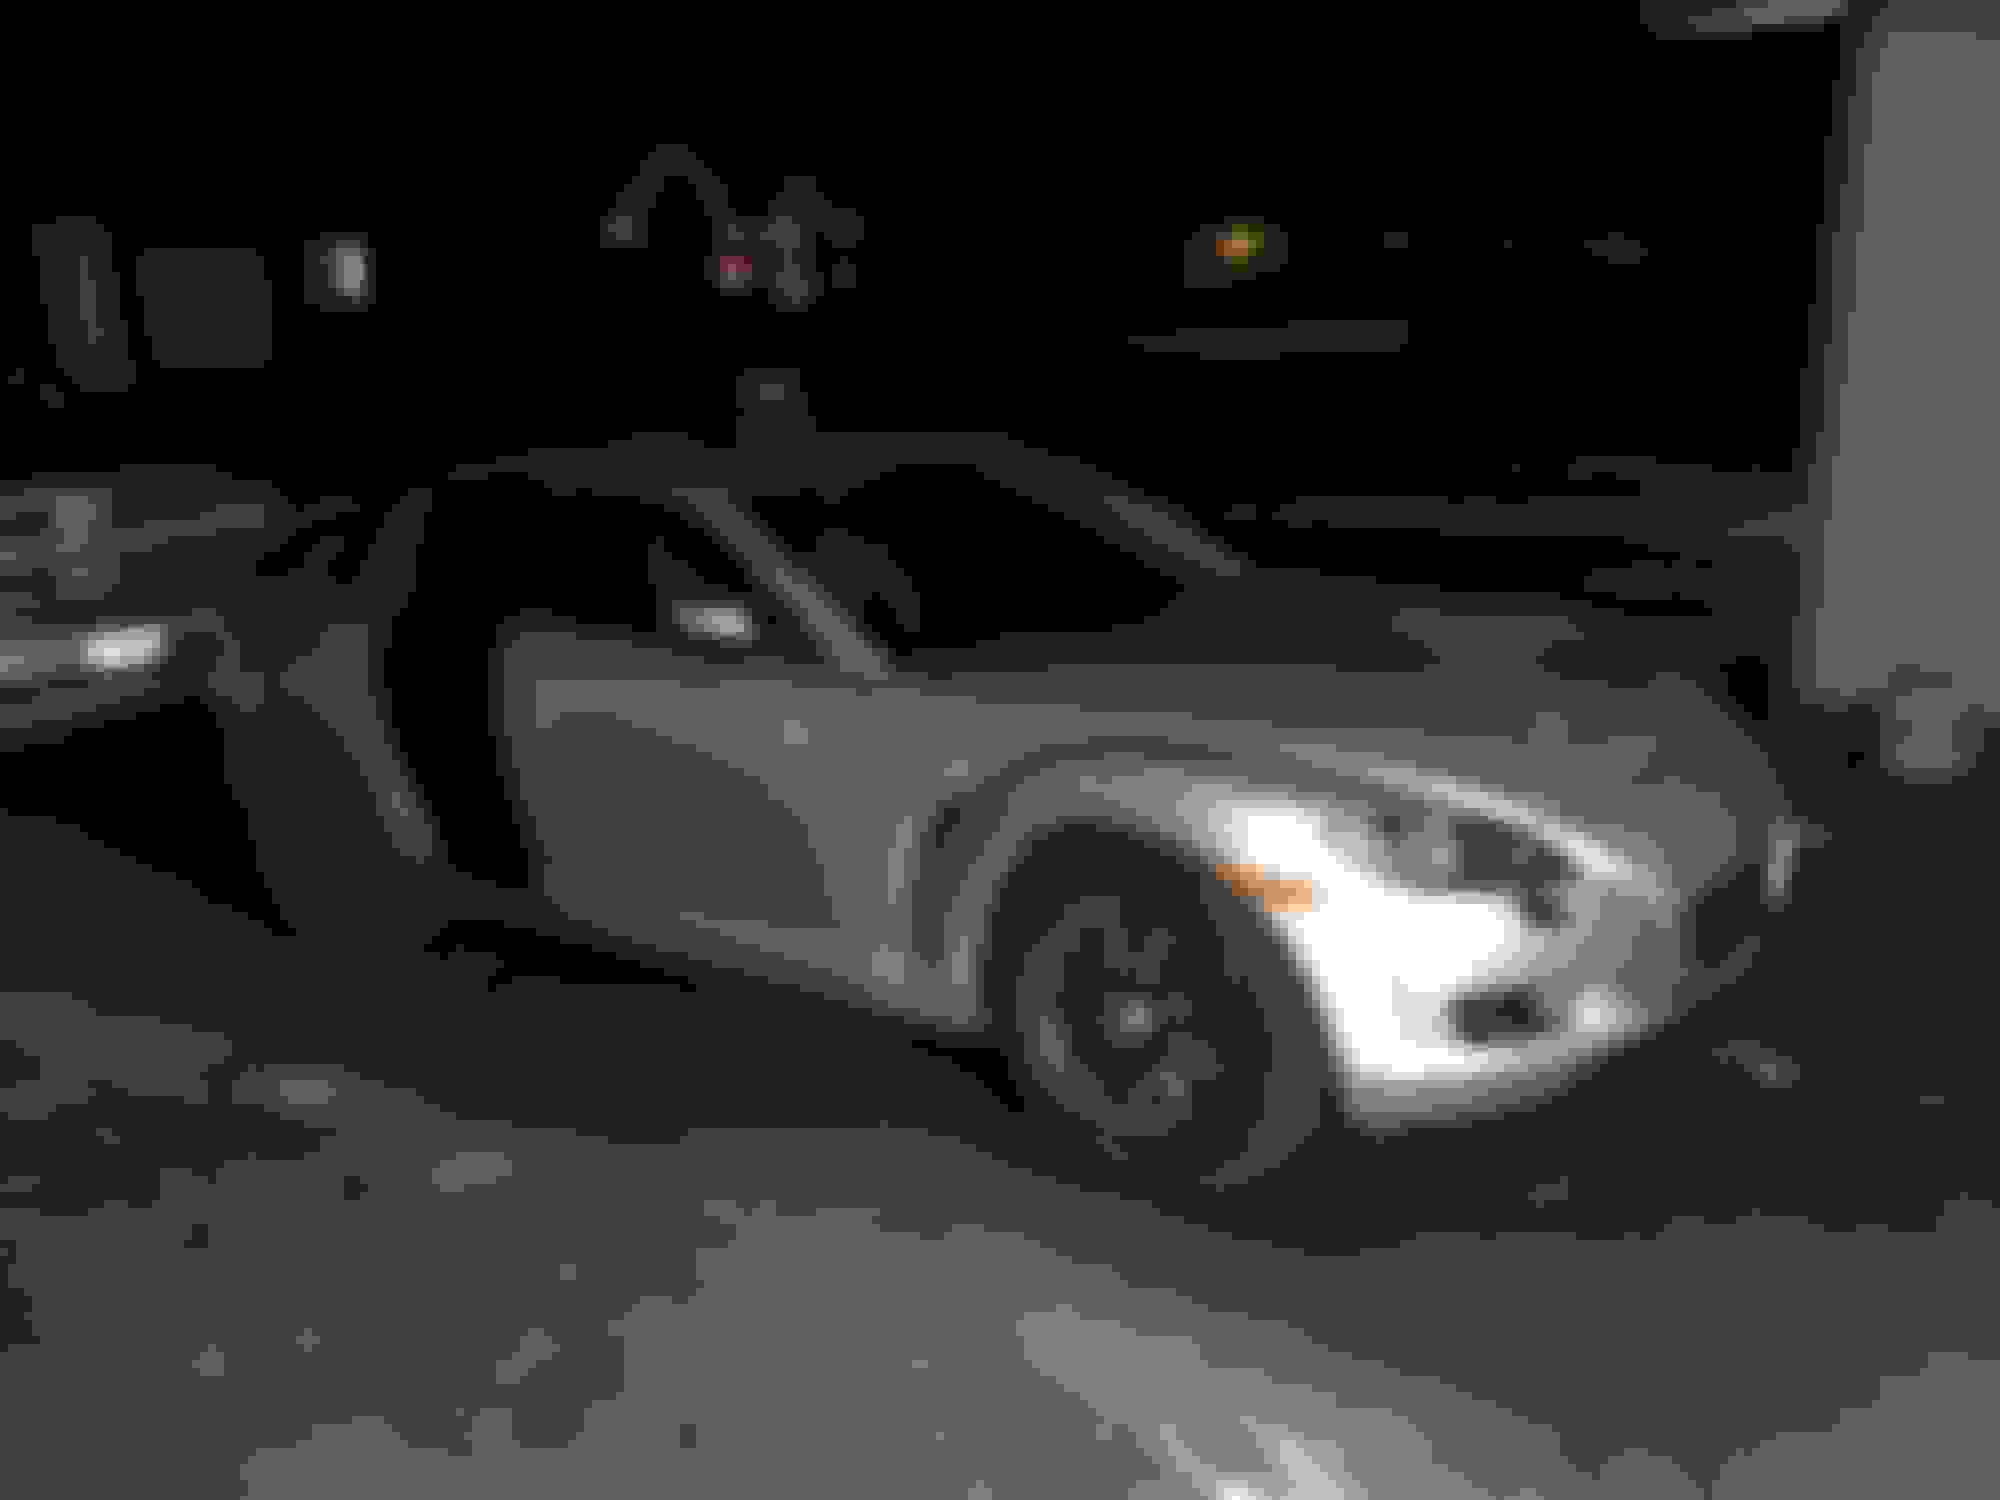
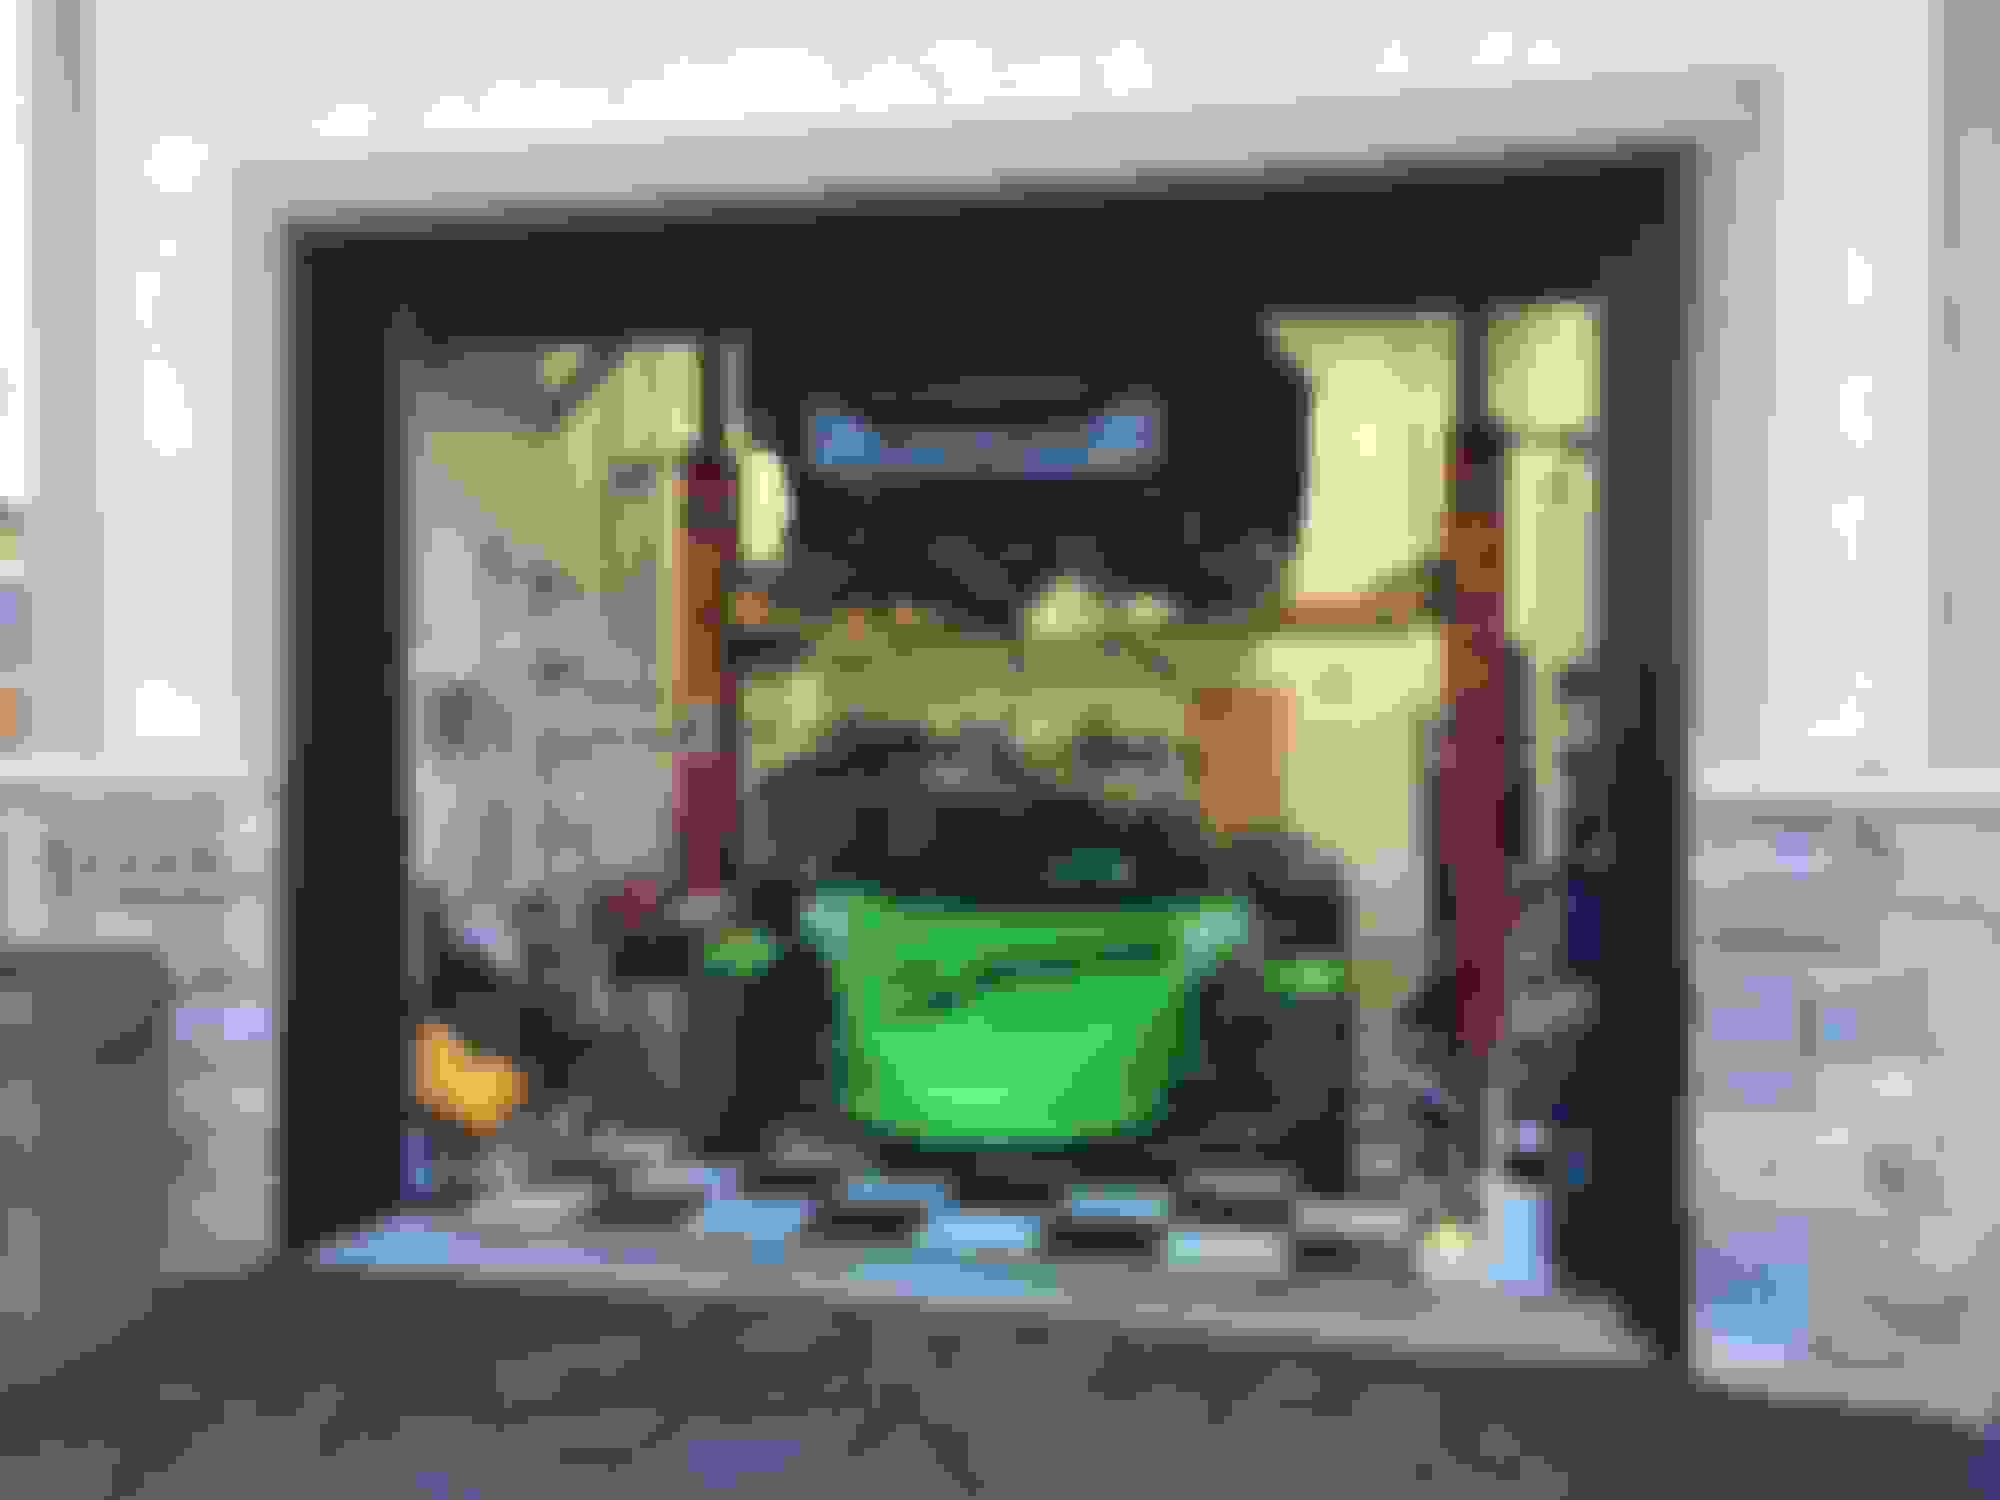
So some progress has started! Big reason for the wait was I completely overhauled my garage before bringing the car back home. Fresh paint, new 2-post hoist that required me to modify the ceiling, all new wiring with a stupid amount of lights, fresh new flooring.
I started the work on the car, got fuel lines back on. ABS pump and front brake lines. Master and brake booster, clutch master and upper line. All rear emissions systems, fuel tank and filler neck. Got all the heat shield blasted and re-painted. I've been removing all the stock bushings to start replacing I will be assembling the rear end of the car first.
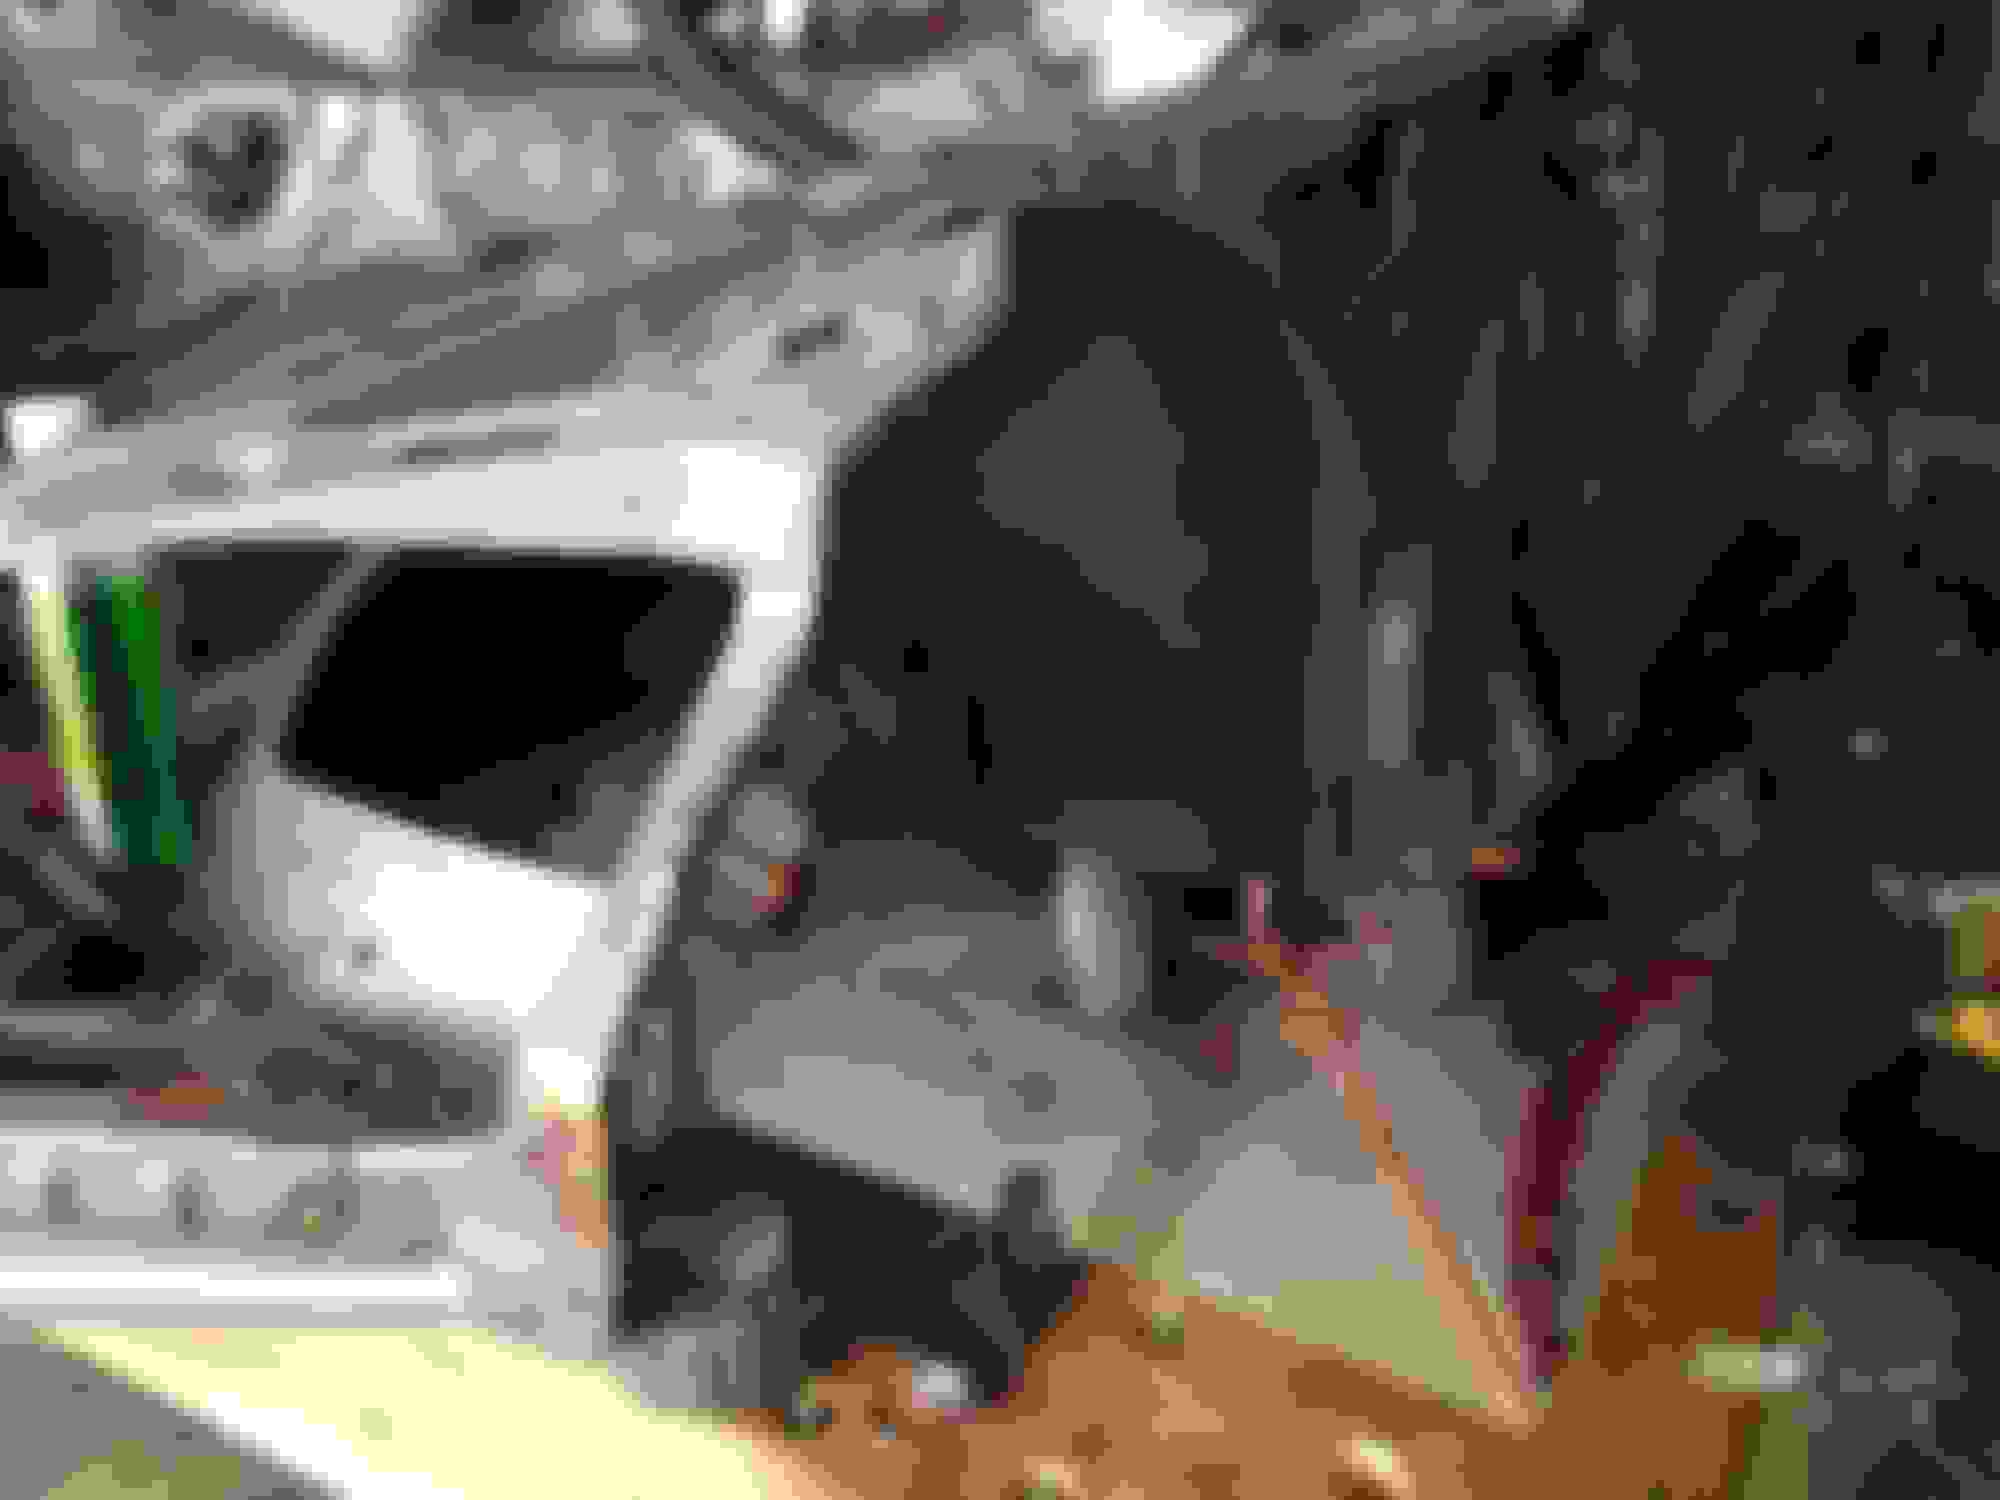
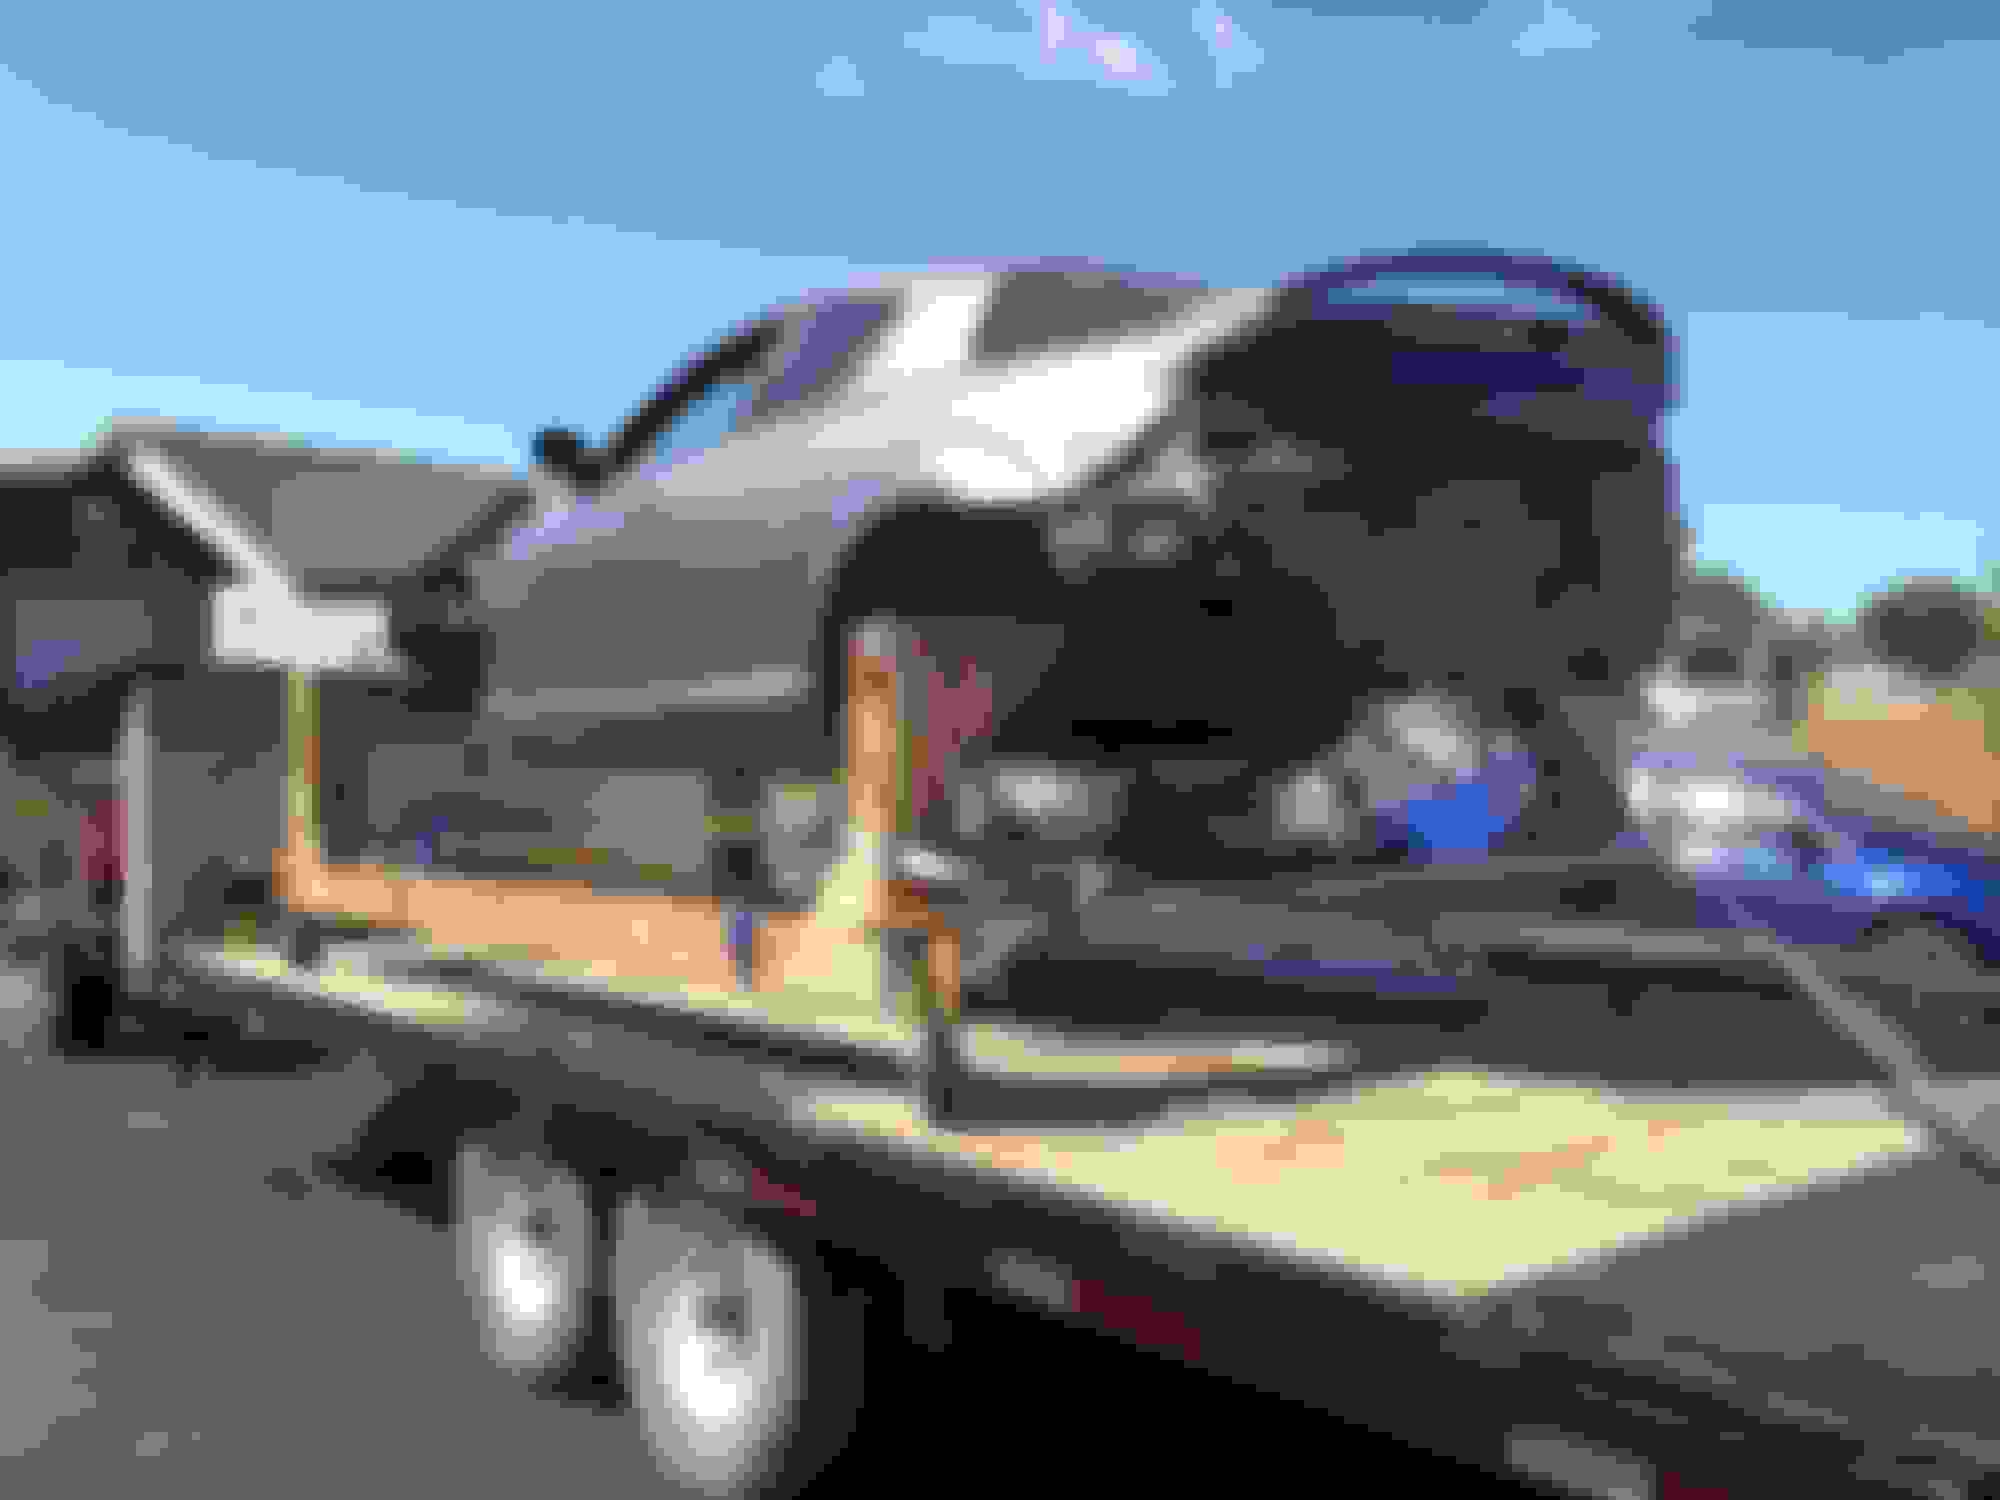
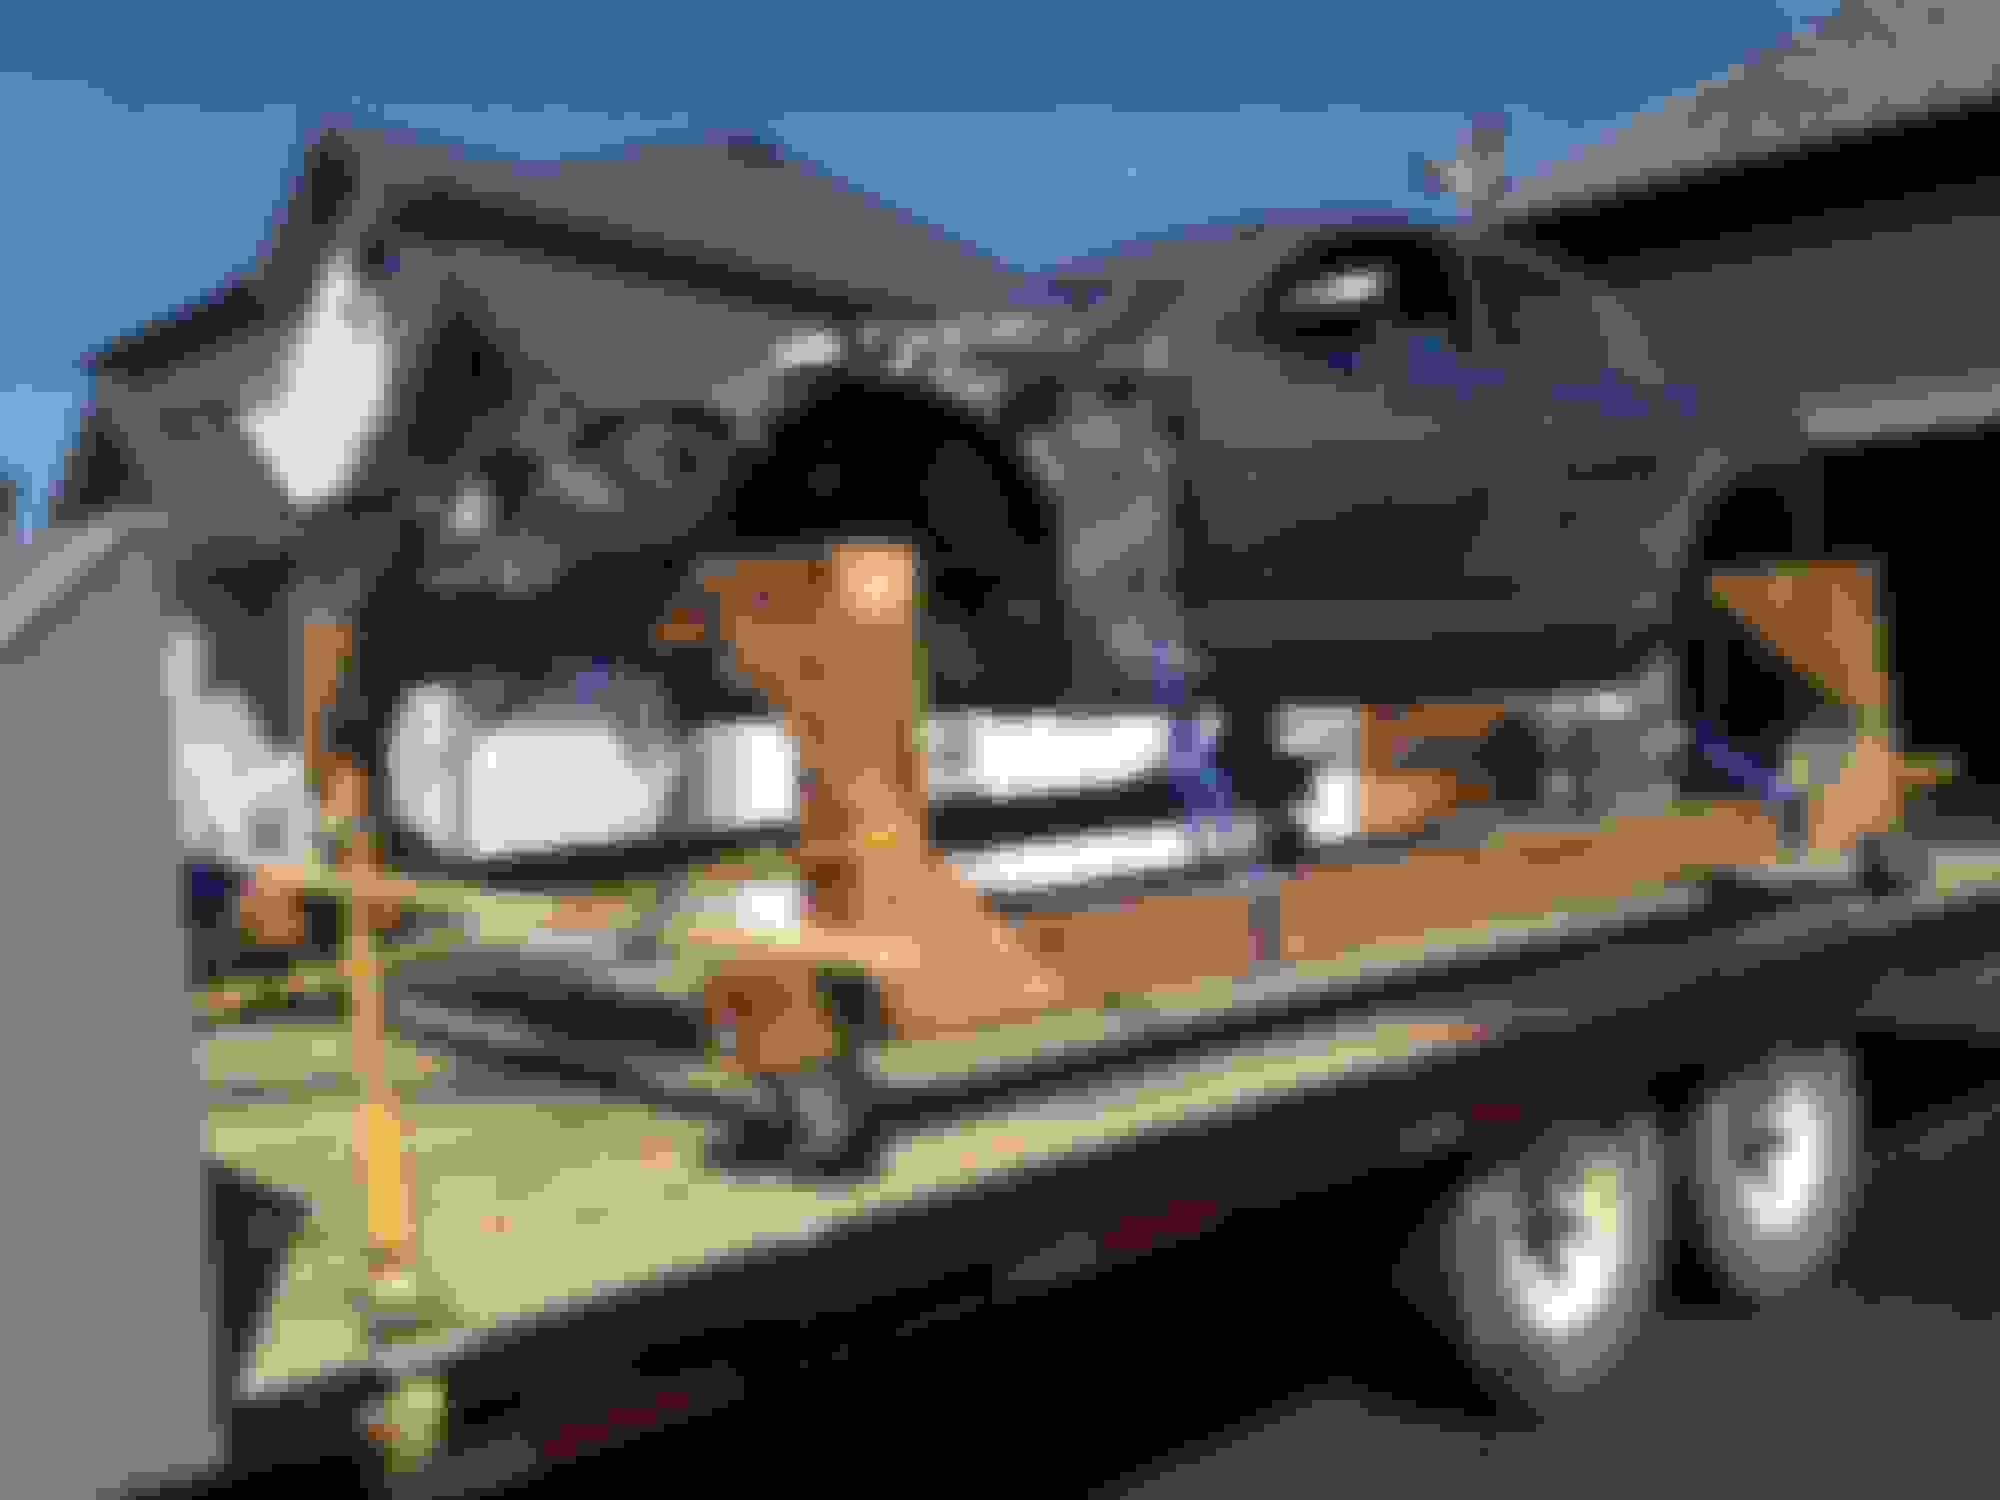
Picked up a parts car for references and few odd and ends.
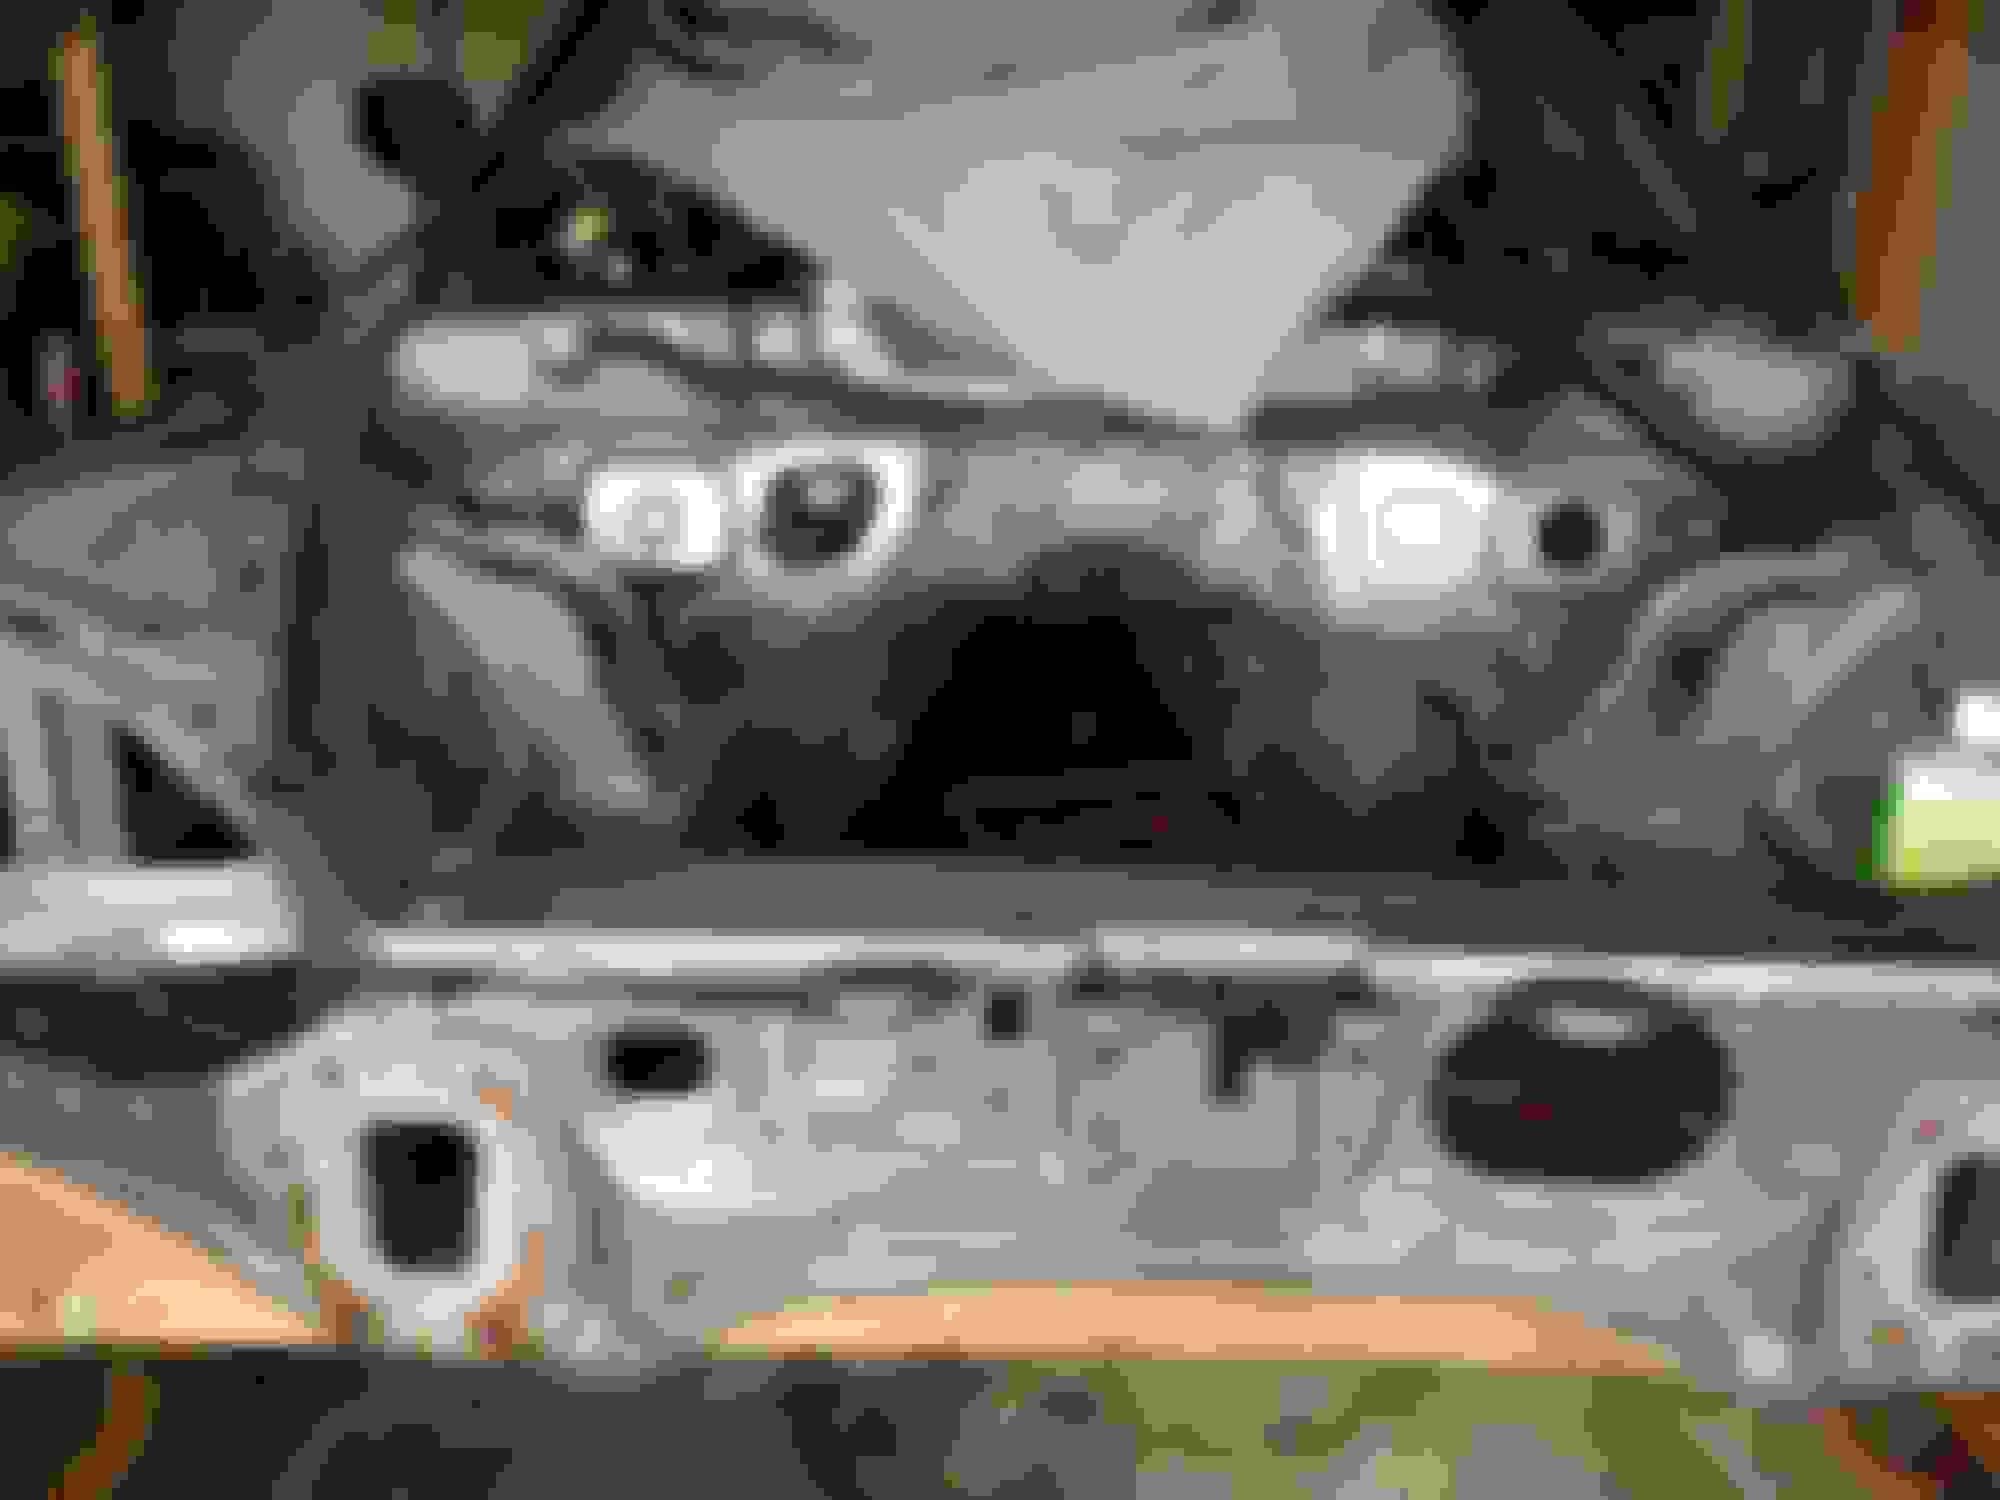
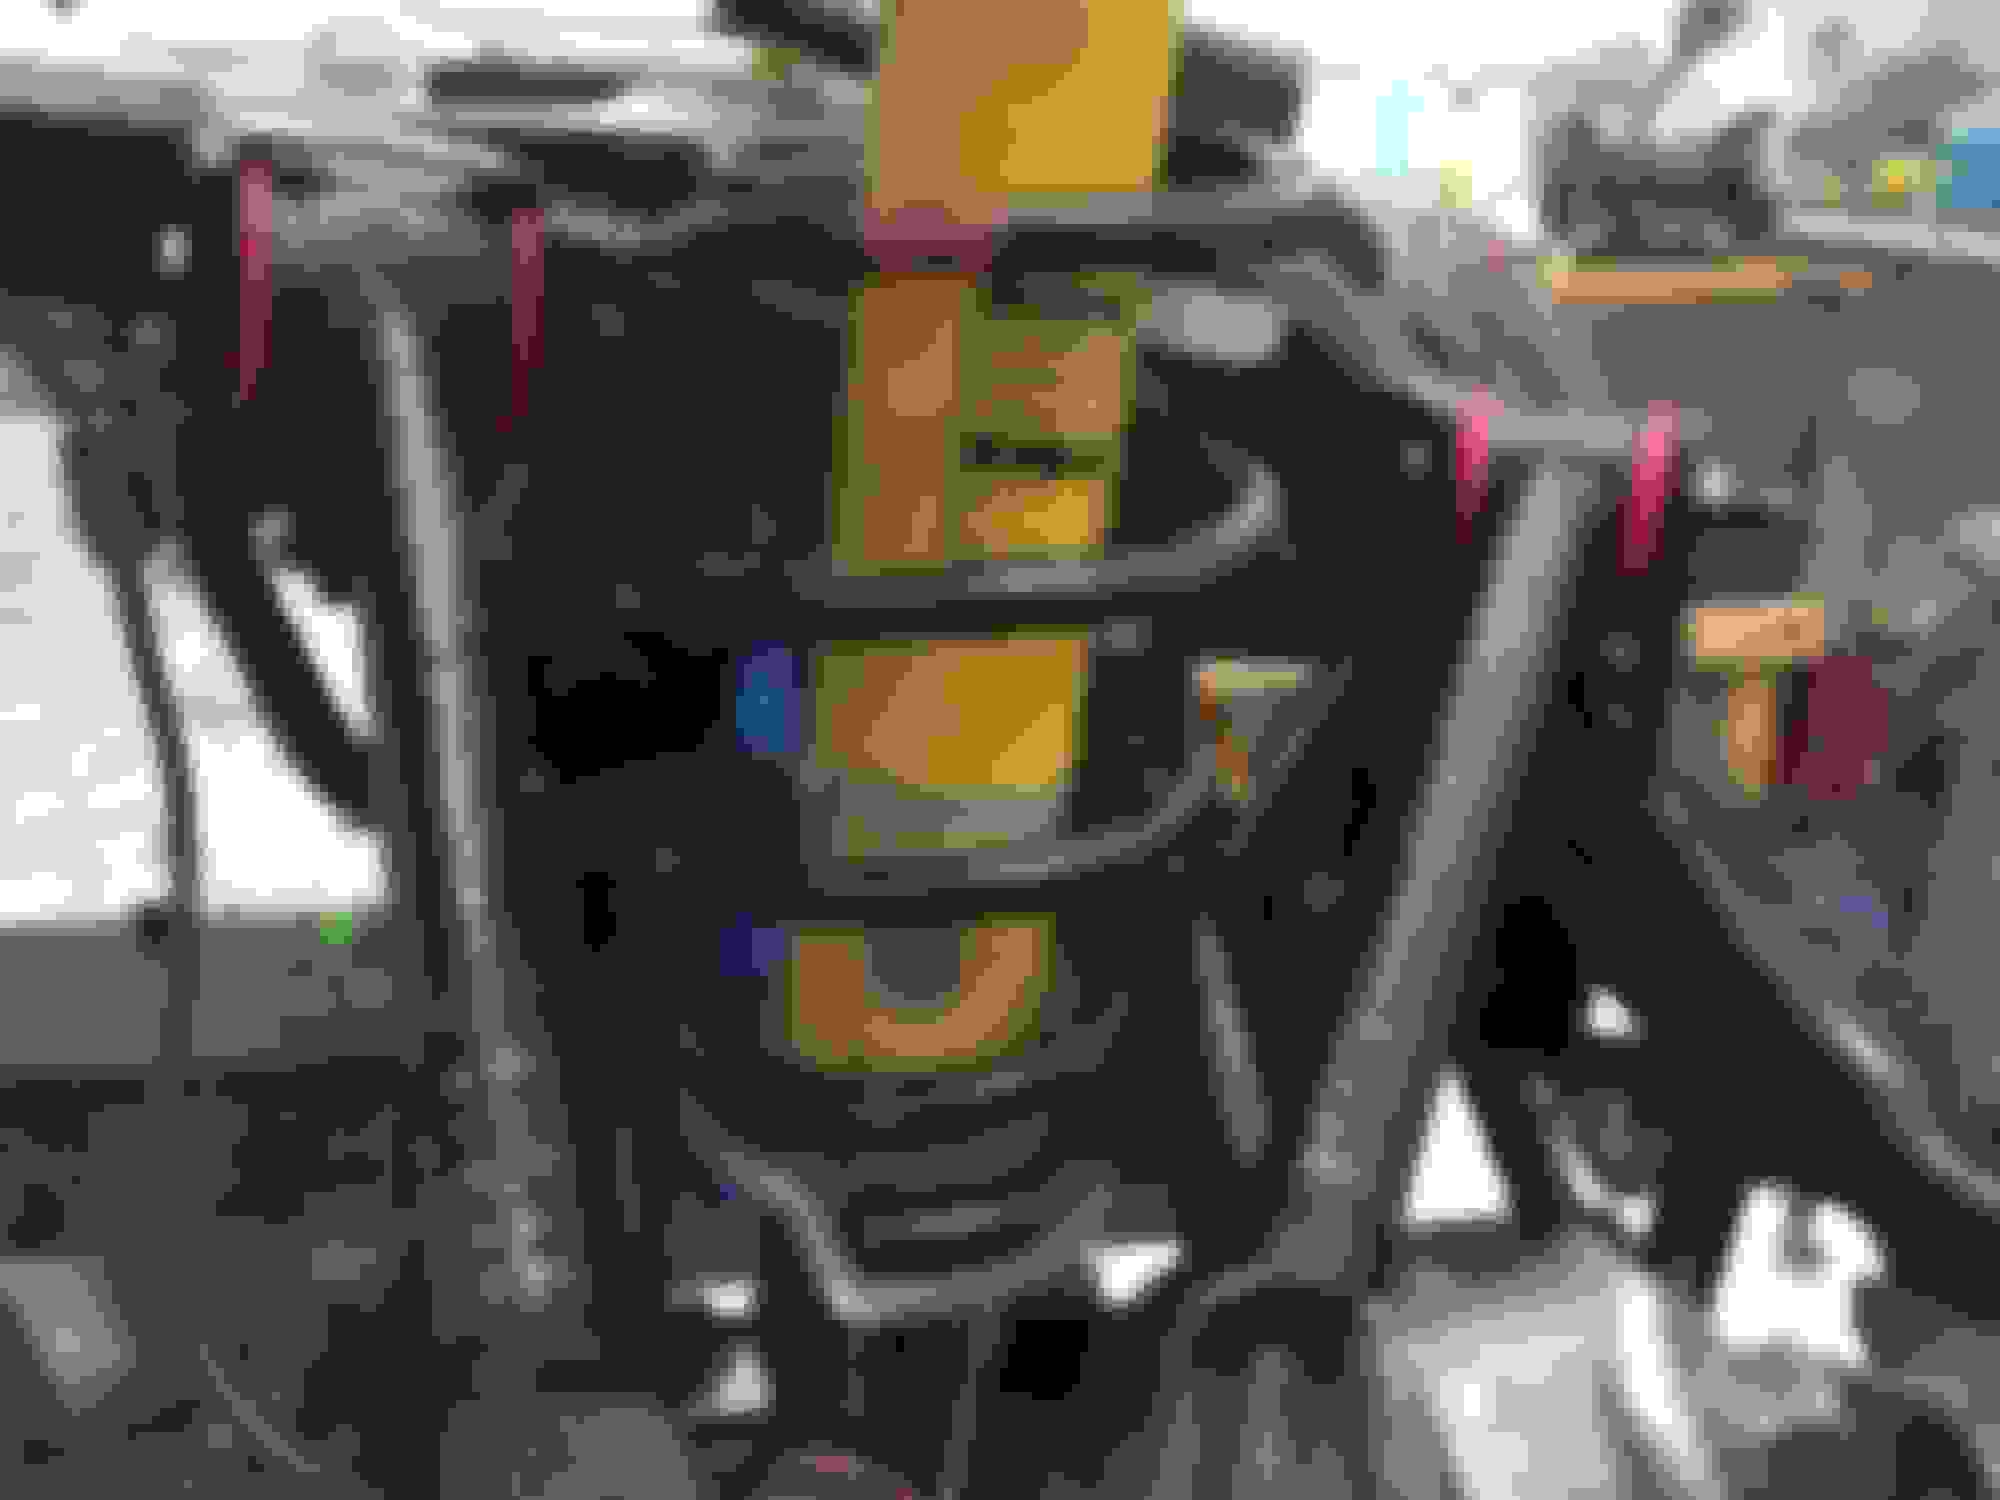
Before sandblasting, primer and paint
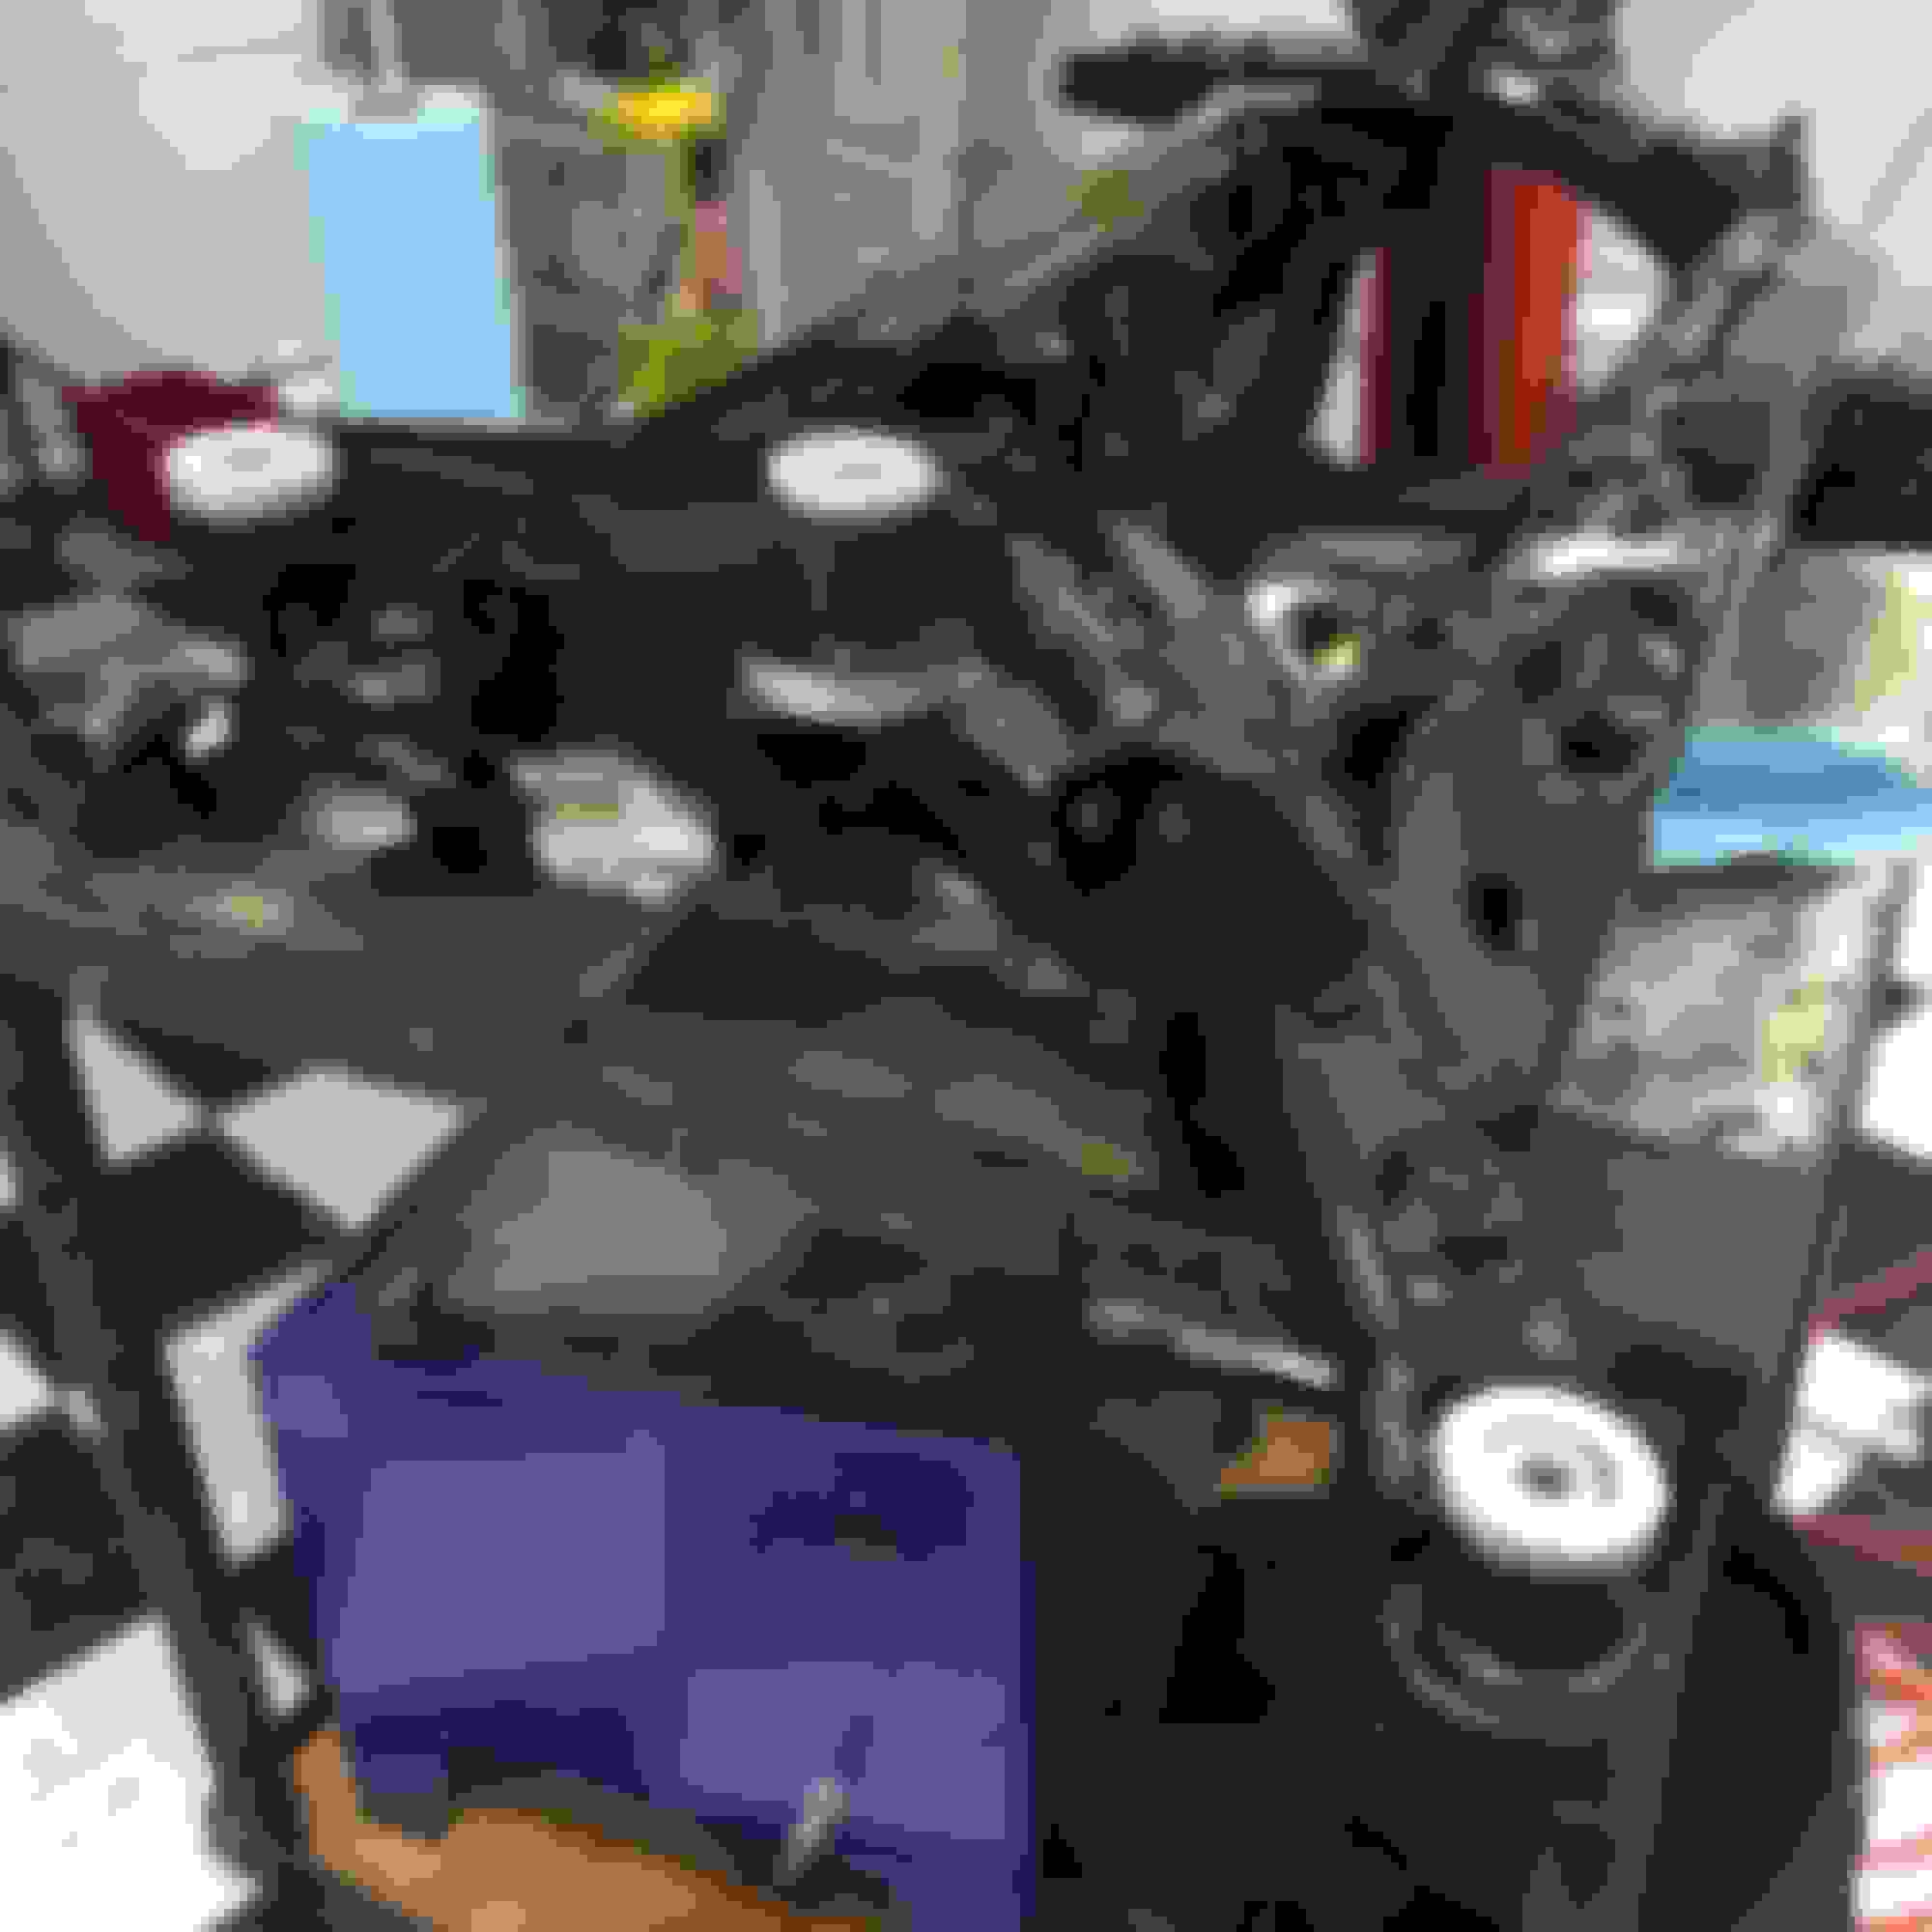
Before real cleaning!
Before cleaning and painting
Before cleaning
Cleaned up all the old bushing and boots, started installing new stuff!
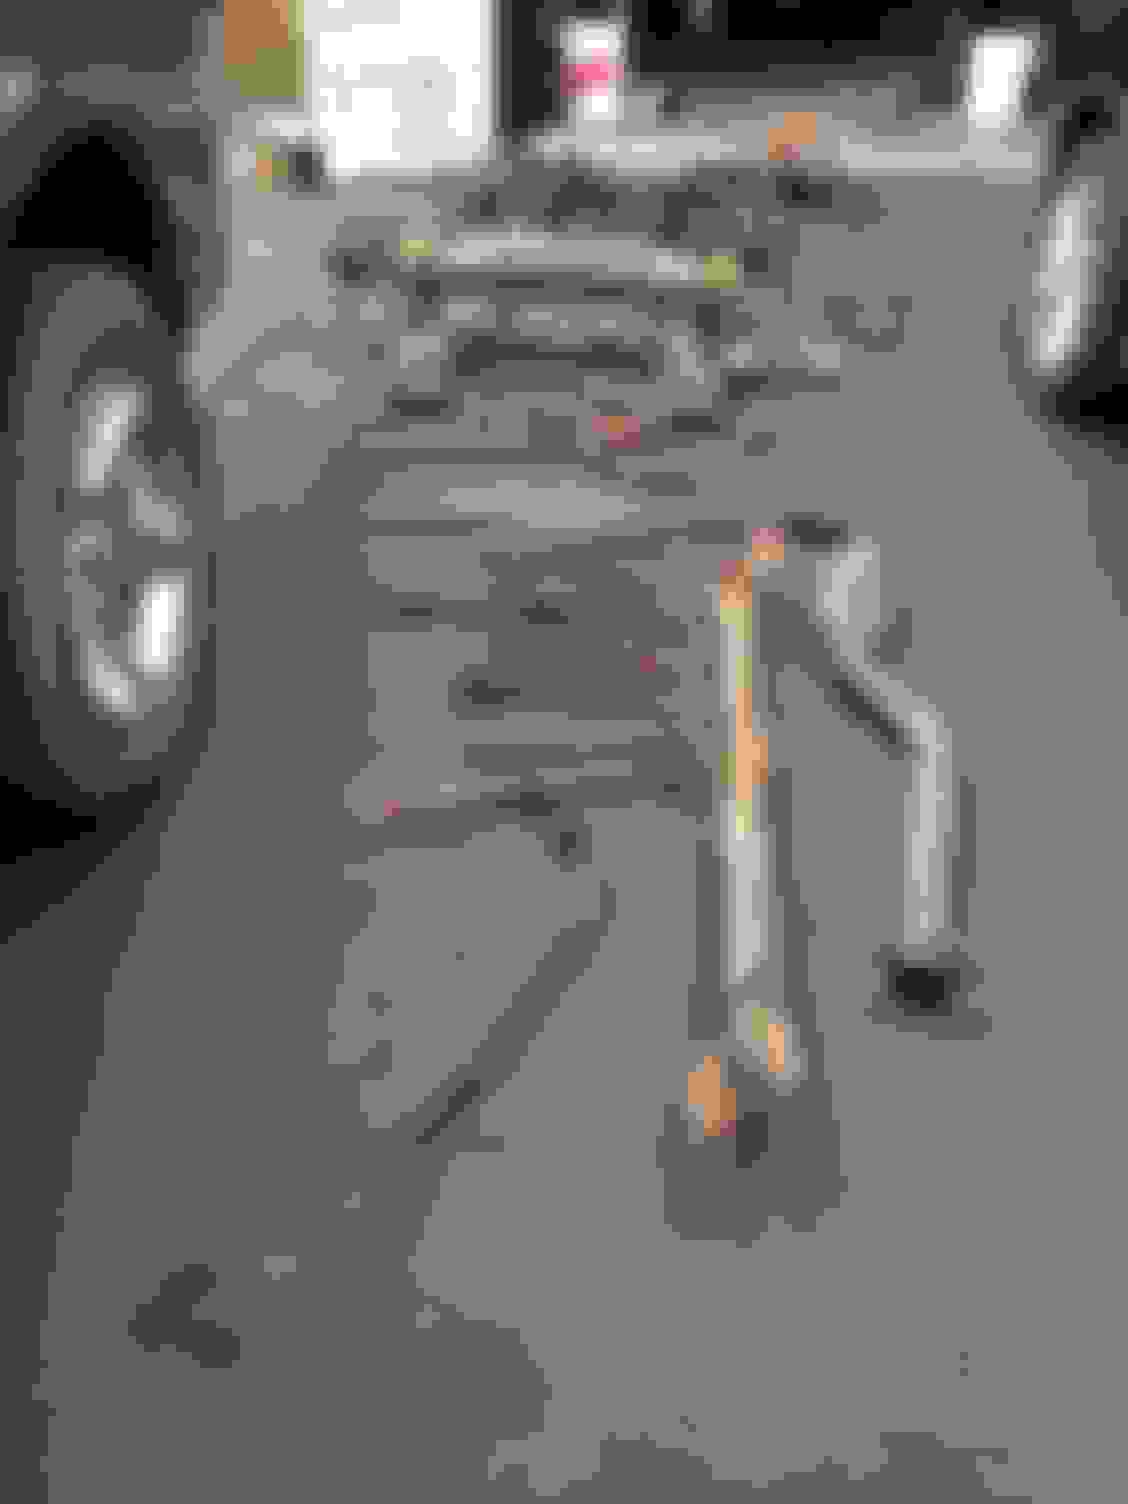
Just a quick update got the rear subframe completed! All Energy suspension bushing kit installed, the kit does not come complete and I ordered one of the arm bushings from Powerflex, they also want you to recycle 2 of the sleeves lucky for me they weren't seized but still I'm not a fan of using used sleeves in new bushings. Diff bushings are Powerflex and so are the sway bar bushings. Subframe bushings were a pita to get the old ones out, all cleaned up with Sikkys aluminum installed. All the arms got a fresh boot with Kawasaki XU high performance grease. There is 0 rust! The cooper color you can see is cooper anti-seize that was applied. Replaced all alignment cam bolts and cam washers along with other stuff that needed to be cut off. 2 new wheel bearings pressed is as well as 2 new axle seals. Rear diff was open and cleaned properly in case any sand made it's way in.
Pretty much a bran new improved rear subframe, installed last night didn't get pic. Next I'll be cleaning up the wiring harness and installing it properly.
Sorry for the lack of updates! I've been way to busy at work. Got the rear sub-frame all together and in. Got the front sub-frame and suspension all done and in. Hydro brake and bias valve are all in and plumbed. Been keeping busy with other toys...
Just a quick update no pictures. The parts car I have had factory HID. I search this forum and by multiple people it was clear it would not work and wires where a different size. To said people when you don't know what you a talking about there is no need to chime in!
Not only are the wires the same size, up to the connectors they are the same exact color (note left hand and right hand connectors are different don't mix them up)!! Very easy I used the connectors from the parts car but the connectors from my original headlamps could also have been used. With the HID plugin I disregarded the 3 wires used for the auto level, I can adjust manually like the regular halogen lamps. The ground for the HID bulb and peanut bulb are shared in the connector then split after. Extremely easy to perform and work as they should!
Also on the Mishimoto rad, the fan bolt up nice the lower mounts are perfect but the top mounts had to be modified it was way off, the forum had bad reviews for fitment and I would have to add I needed to fab upper mounts.
But it makes me wonder....wouldn't be easier/faster/cheaper to get another car without rust (maybe a rolling chasis with blown engine) and transplant the engine/tranny into it
But it makes me wonder....wouldn't be easier/faster/cheaper to get another car without rust (maybe a rolling chasis with blown engine) and transplant the engine/tranny into it
Lol always fun with the forum engineers!! Read and think about it again, I did not simply remove rust, I improved all aspects. To change and upgrade all the bushings, and seam weld the frame almost all the same work needs to be done.
Props to you dude I have rust troubles in my 8 and I have been wanting to restore her but make a her a street monster for the corners but the body would have to be striped all the way down.
Good luck to you and always know I'm very envious :P. Hopefully I'll have the knowledge for this one day and time.
Lol always fun with the forum engineers!! Read and think about it again, I did not simply remove rust, I improved all aspects. To change and upgrade all the bushings, and seam weld the frame almost all the same work needs to be done.
Having a bad hair day? Jeez... it was just a question.
I get it. Removing the rust from all the parts and doing the powder coating did not add time to the project.
Last edited by pistonhater; Jul 28, 2016 at 08:45 AM.
Having a bad hair day? Jeez... it was just a question.
I get it. Removing the rust from all the parts and doing the powder coating did not add time to the project.
Nah, I don't think he intended to be rude about it. I read his post to be a polite tone, but I may be wrong!
I just want to say that I really admire what you are doing! I really wish I can do what you are doing with my car! I thought about restoring my Rusty as well, and was unsure where to begin, but now I can just follow after you steps!
How much is all of this costing you? Unless this is your own shop, so it is costing you nothing but the price of that parts car?
Please PM me! I want to learn more about your project! I think I live near you, BTW!