

Reviving an S2 GT


Thread Starter
Registered
Joined: Jan 2020
Posts: 50
Likes: 27
From: Goodyear, az
Reviving an S2 GT
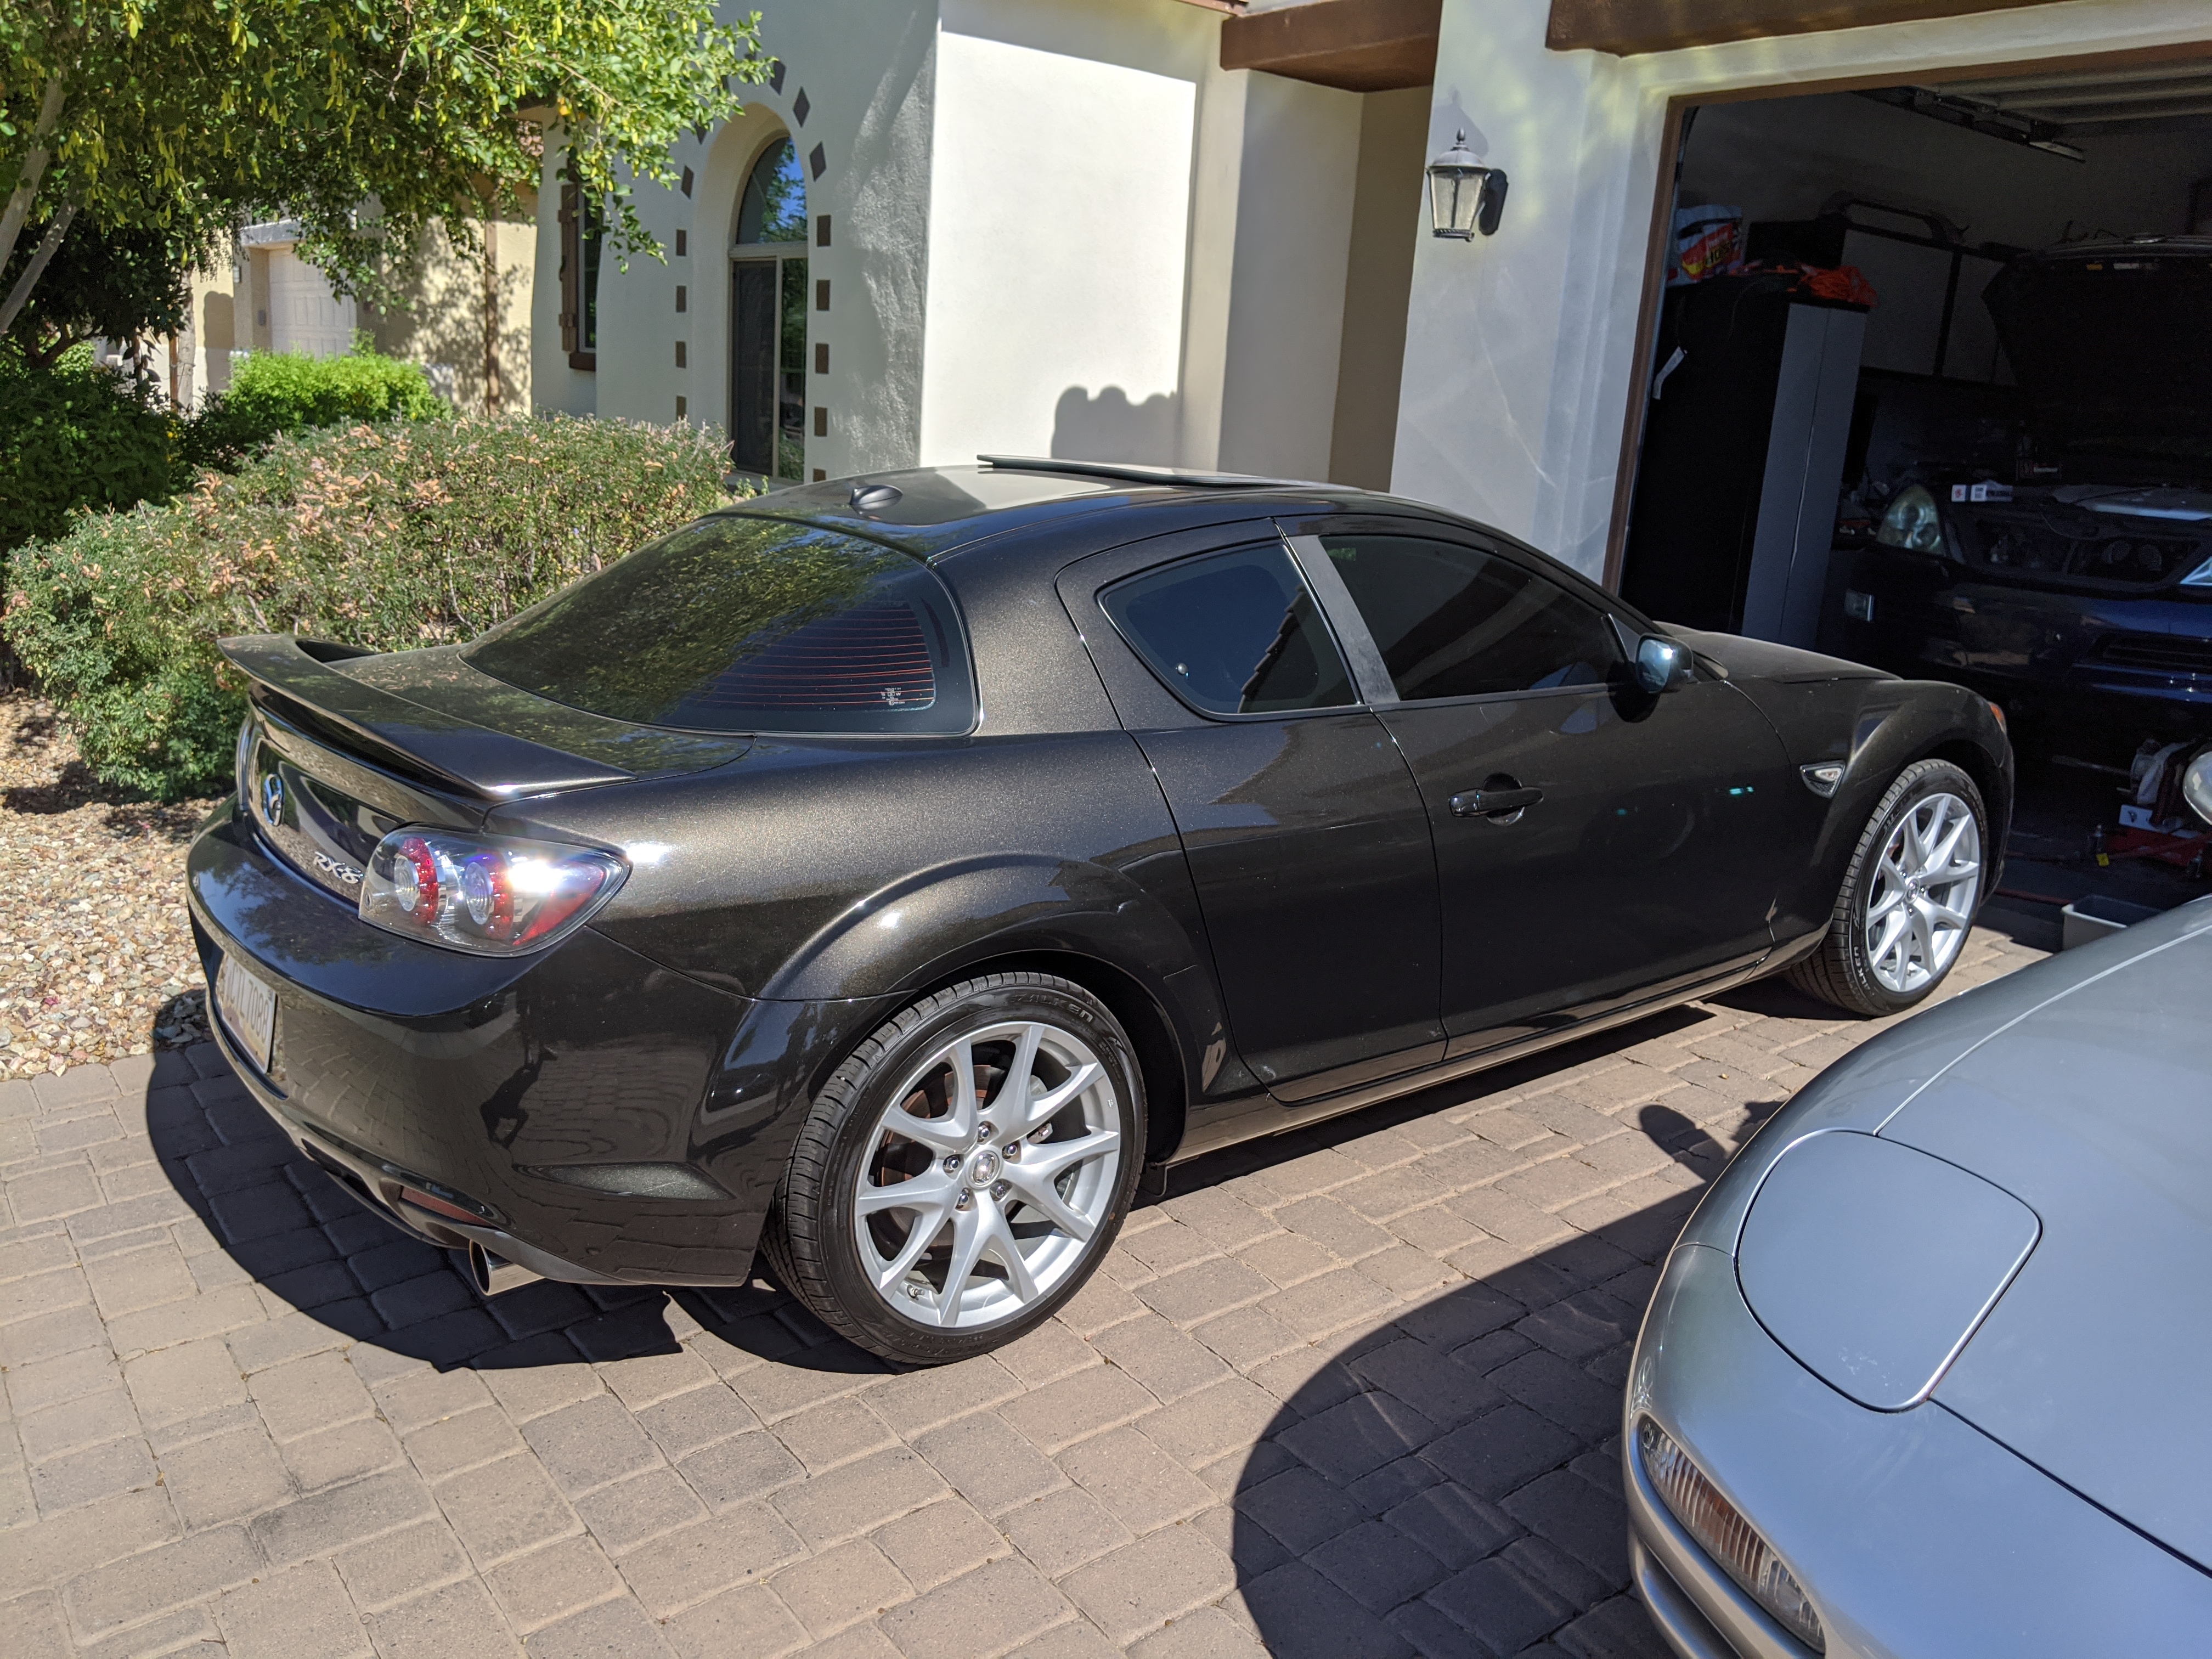
I bought this 2010 with only 79K on the clock. The seller had stated it had a blown motor and I picked it up cheaply.
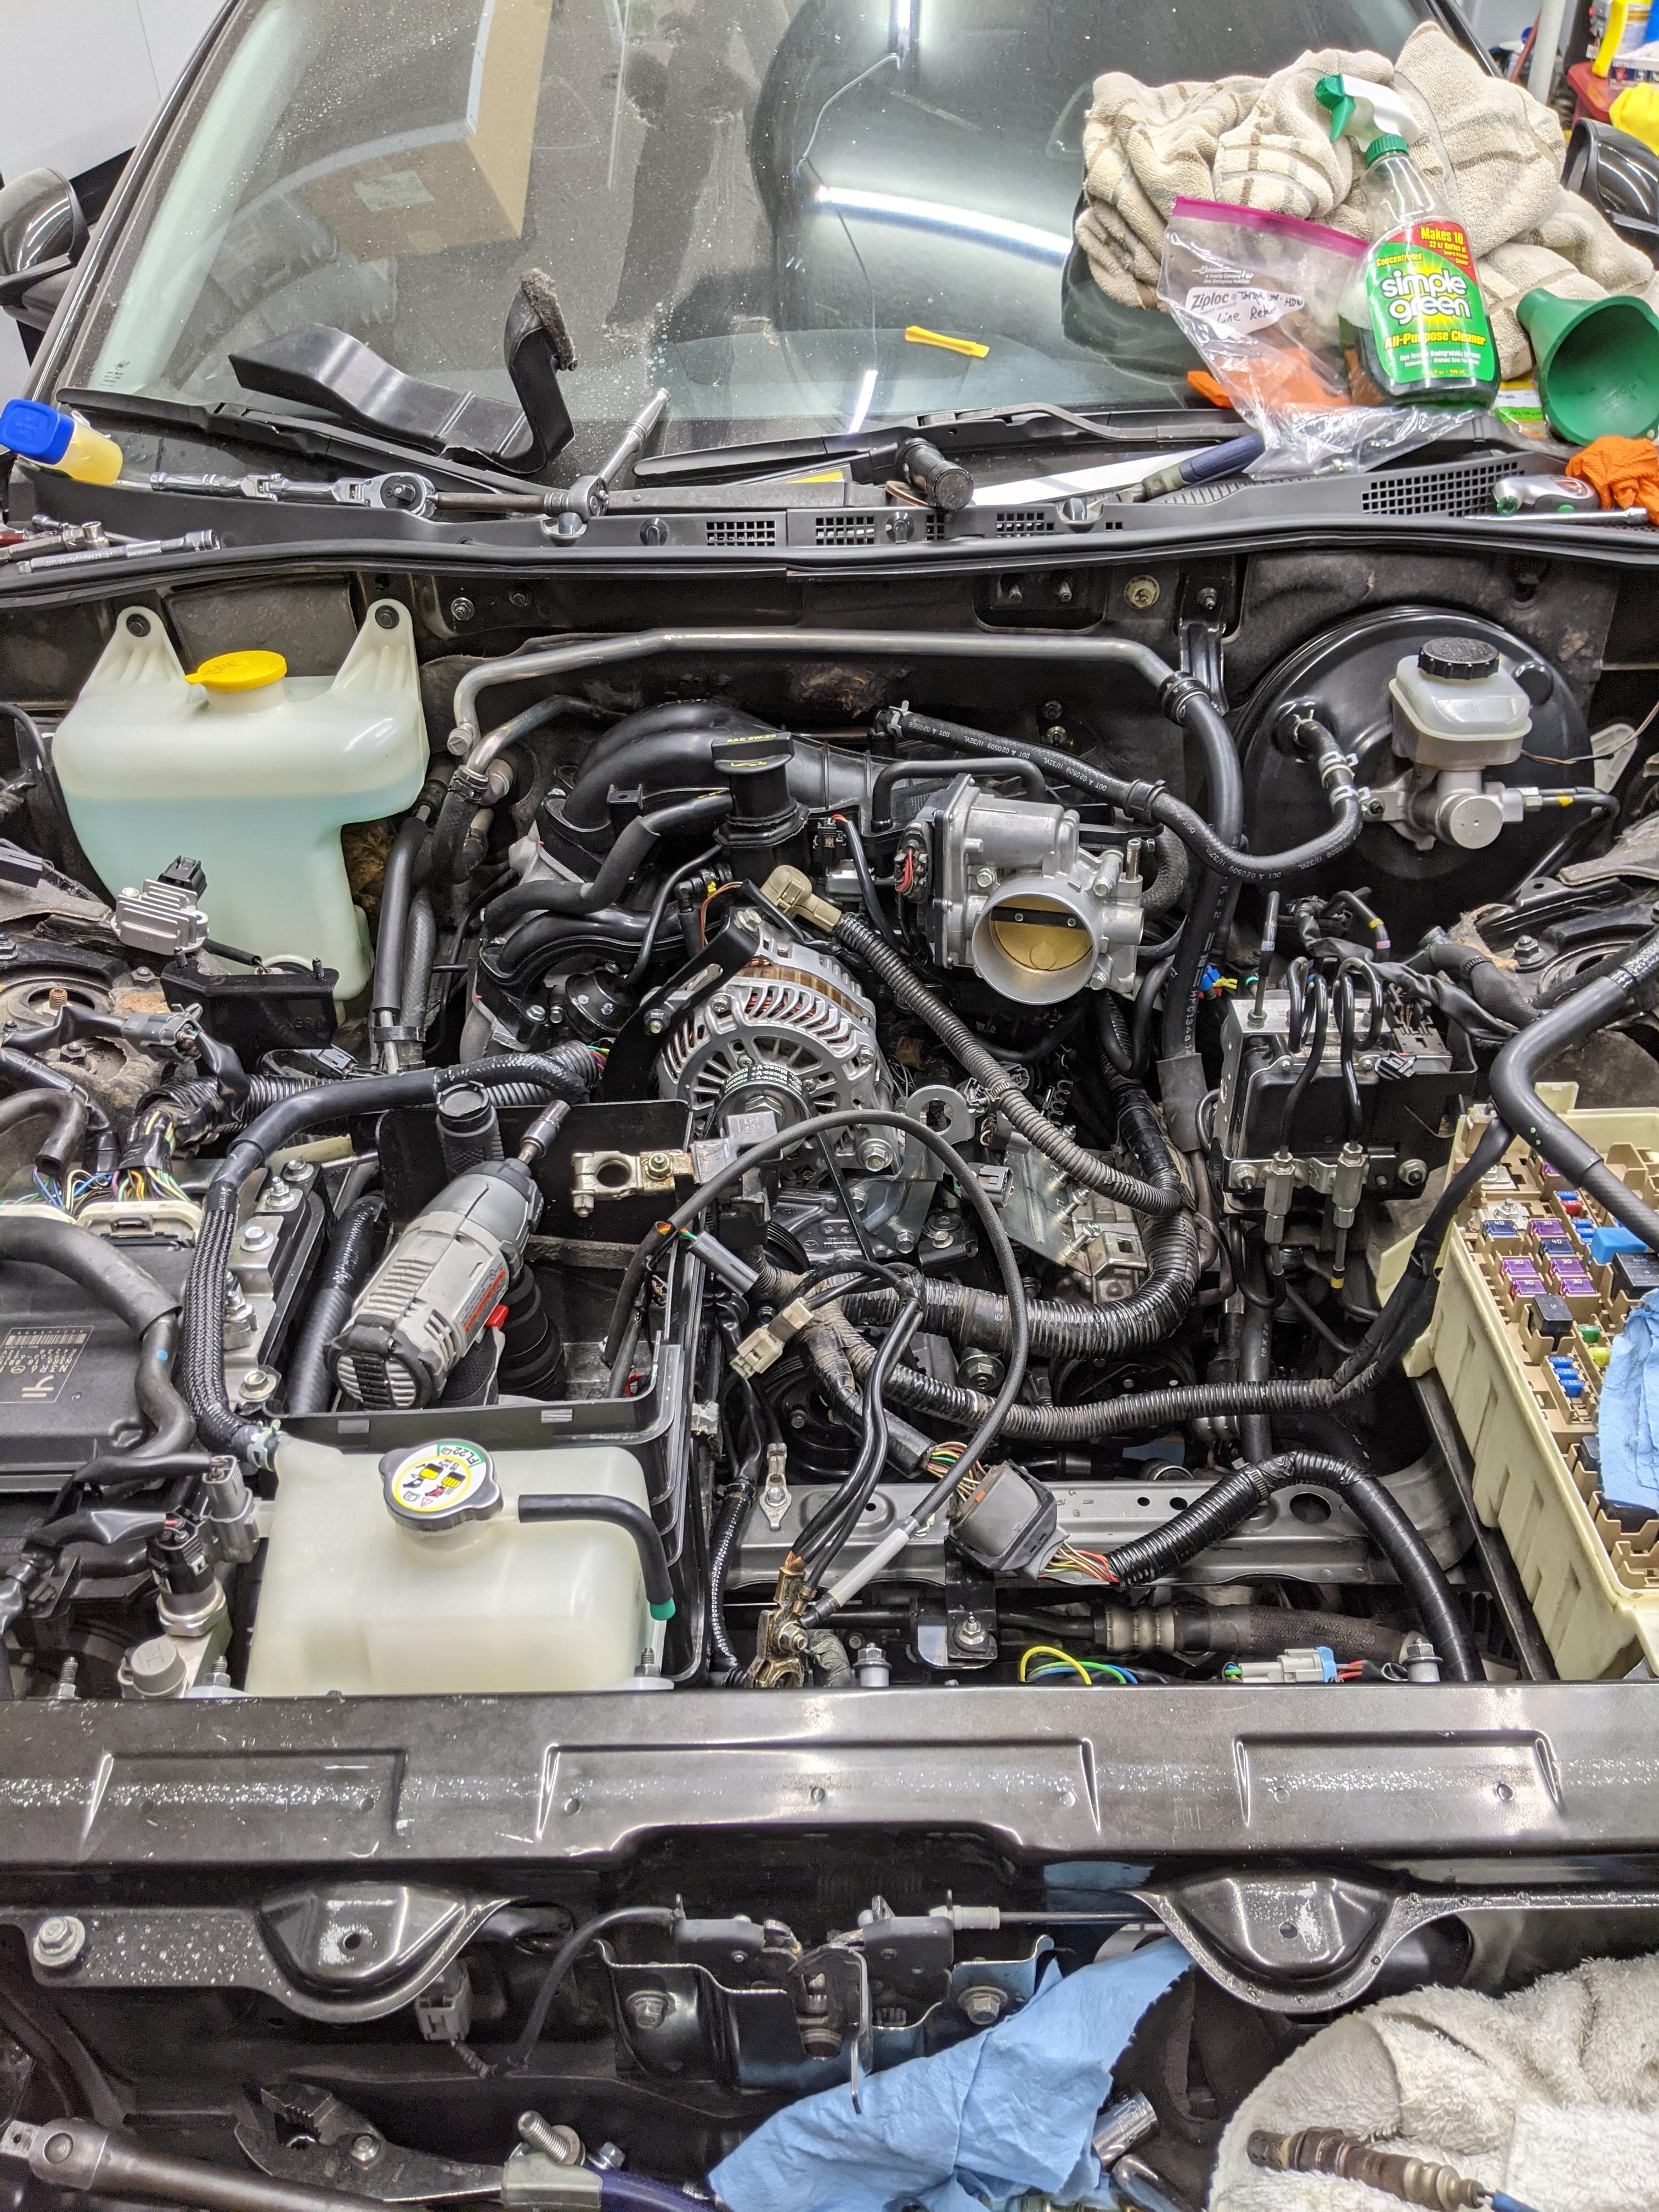
In the meantime, I installed the Bennet Built coilpacks and changed the plugs; she fired right up. I drove it like this for a few thousand fun miles and one day, it didn't want to start. I thought it was odd so I puled the plugs and cleaned them, which seemed to help. A few days later, same situation. Hard start when cold, OK start when hot. I thought I smelled coolant so I popped the hood and was greeted with this
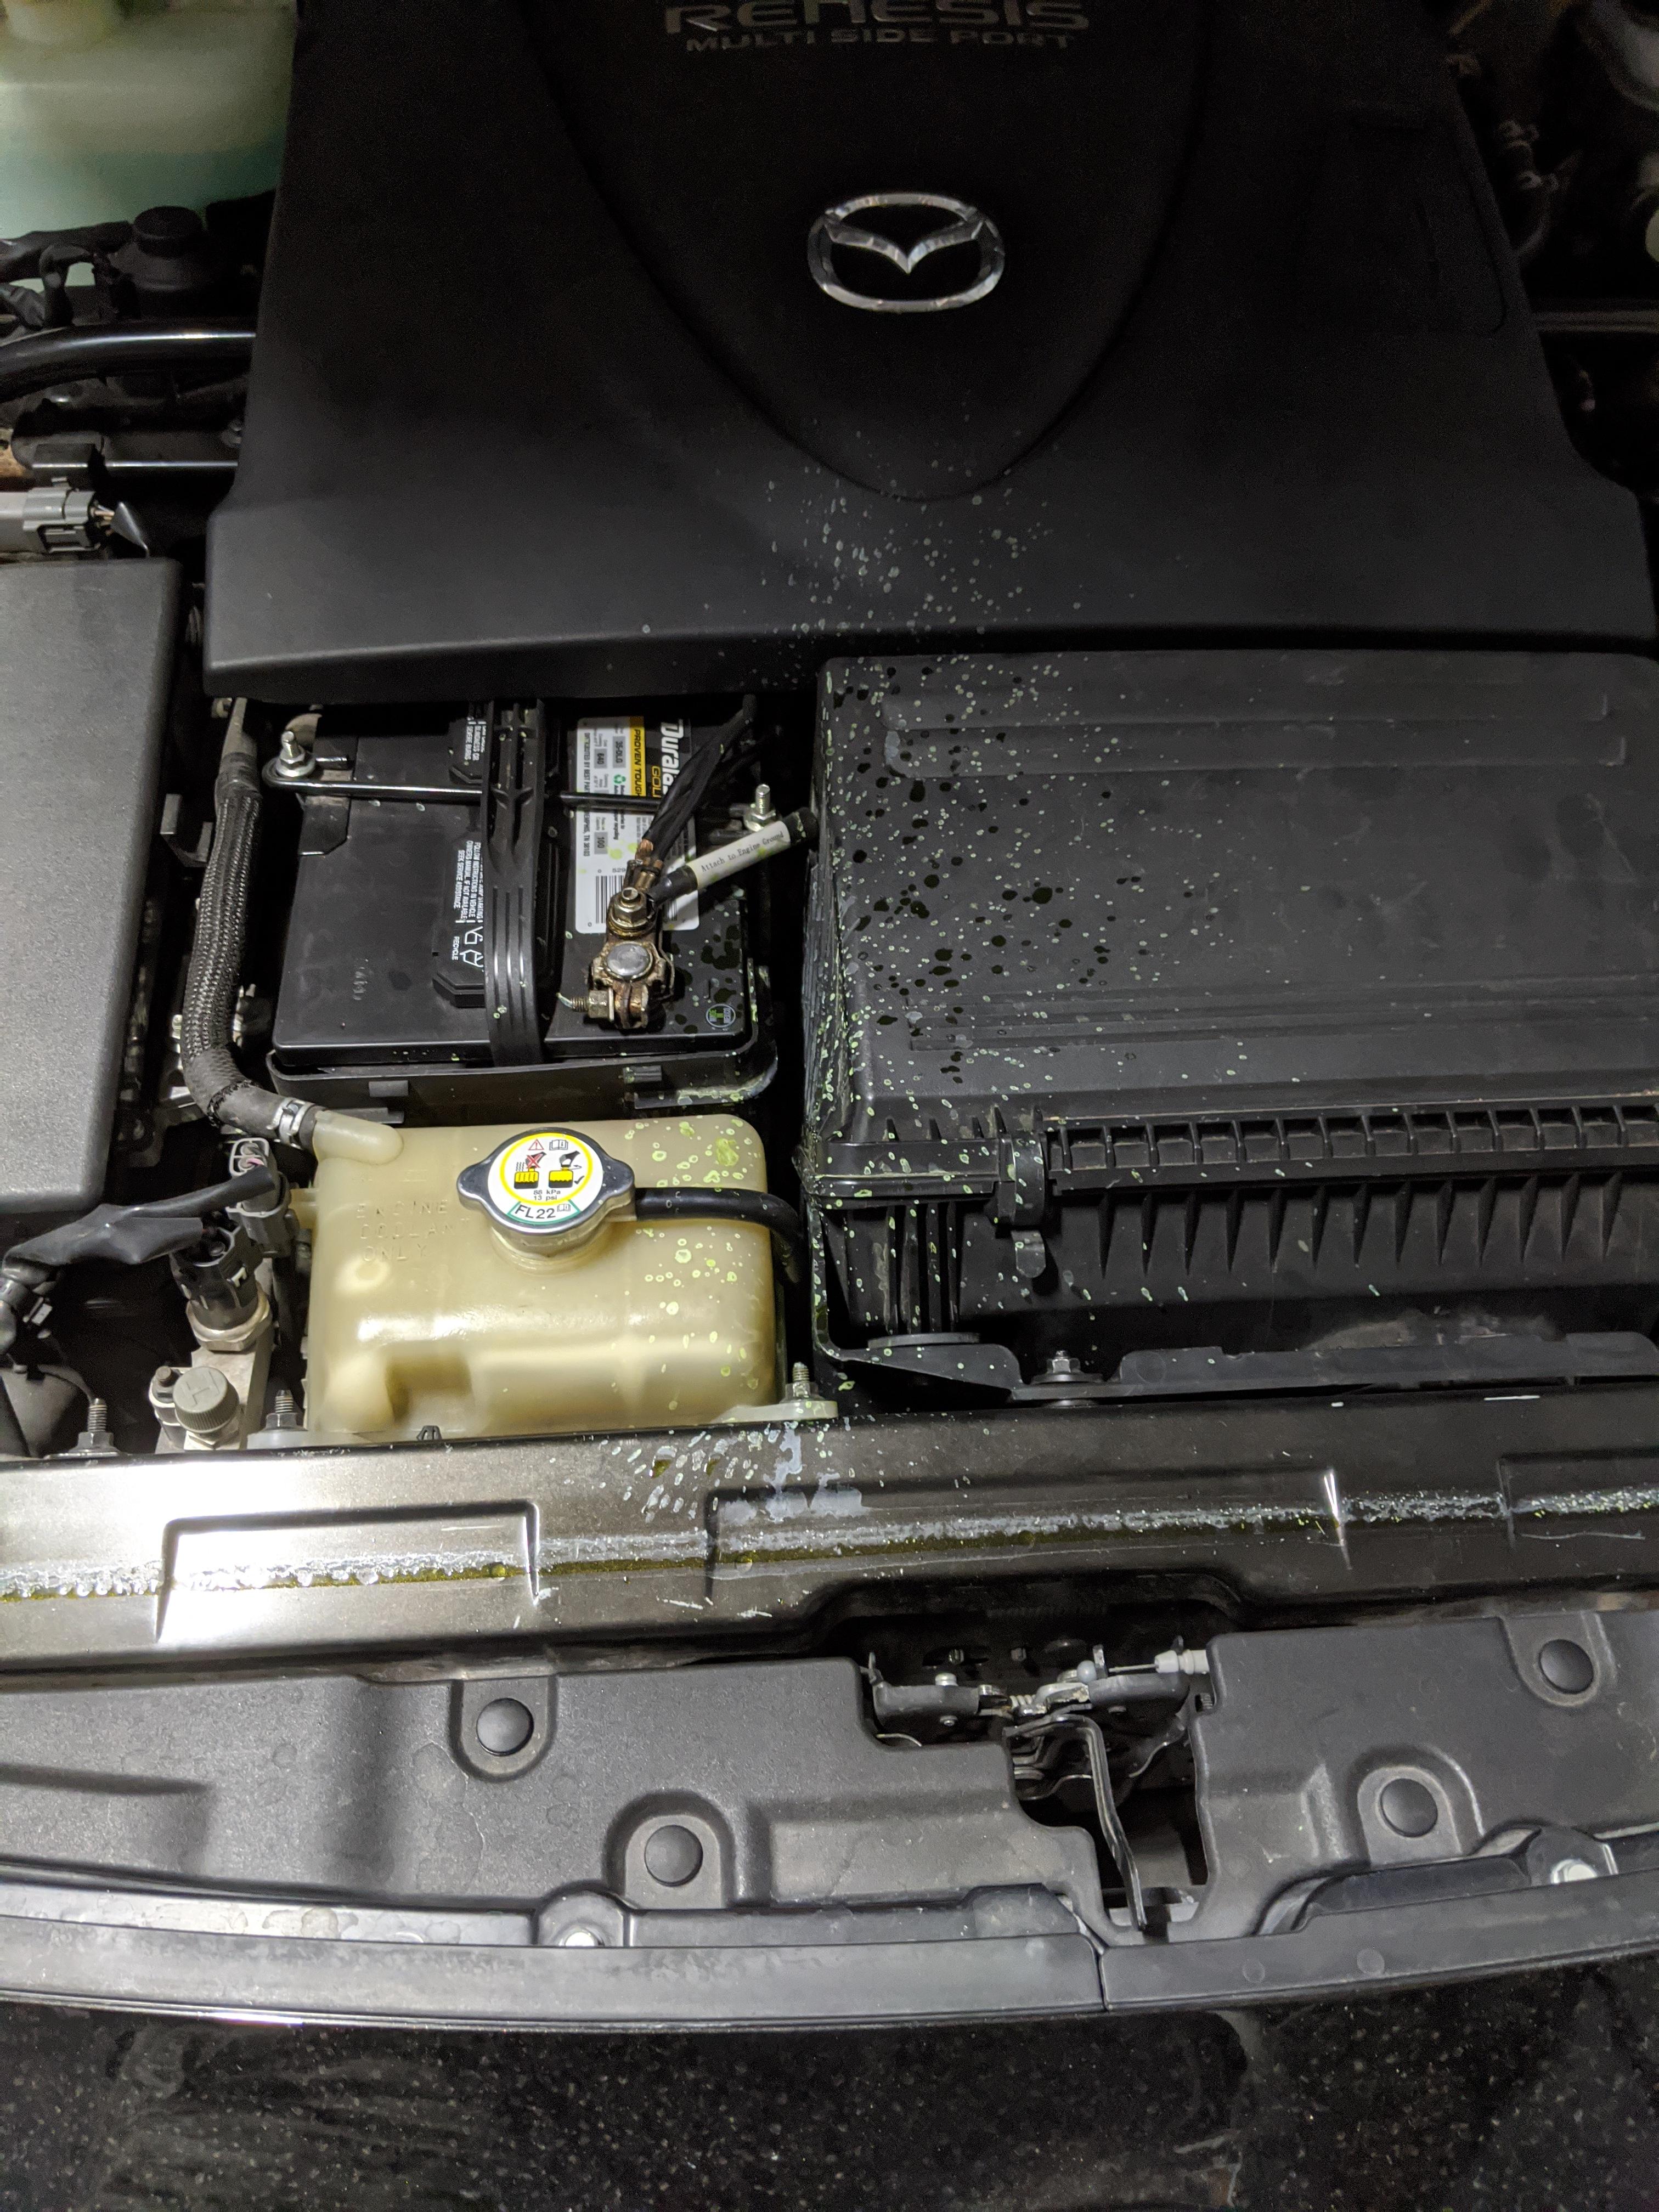
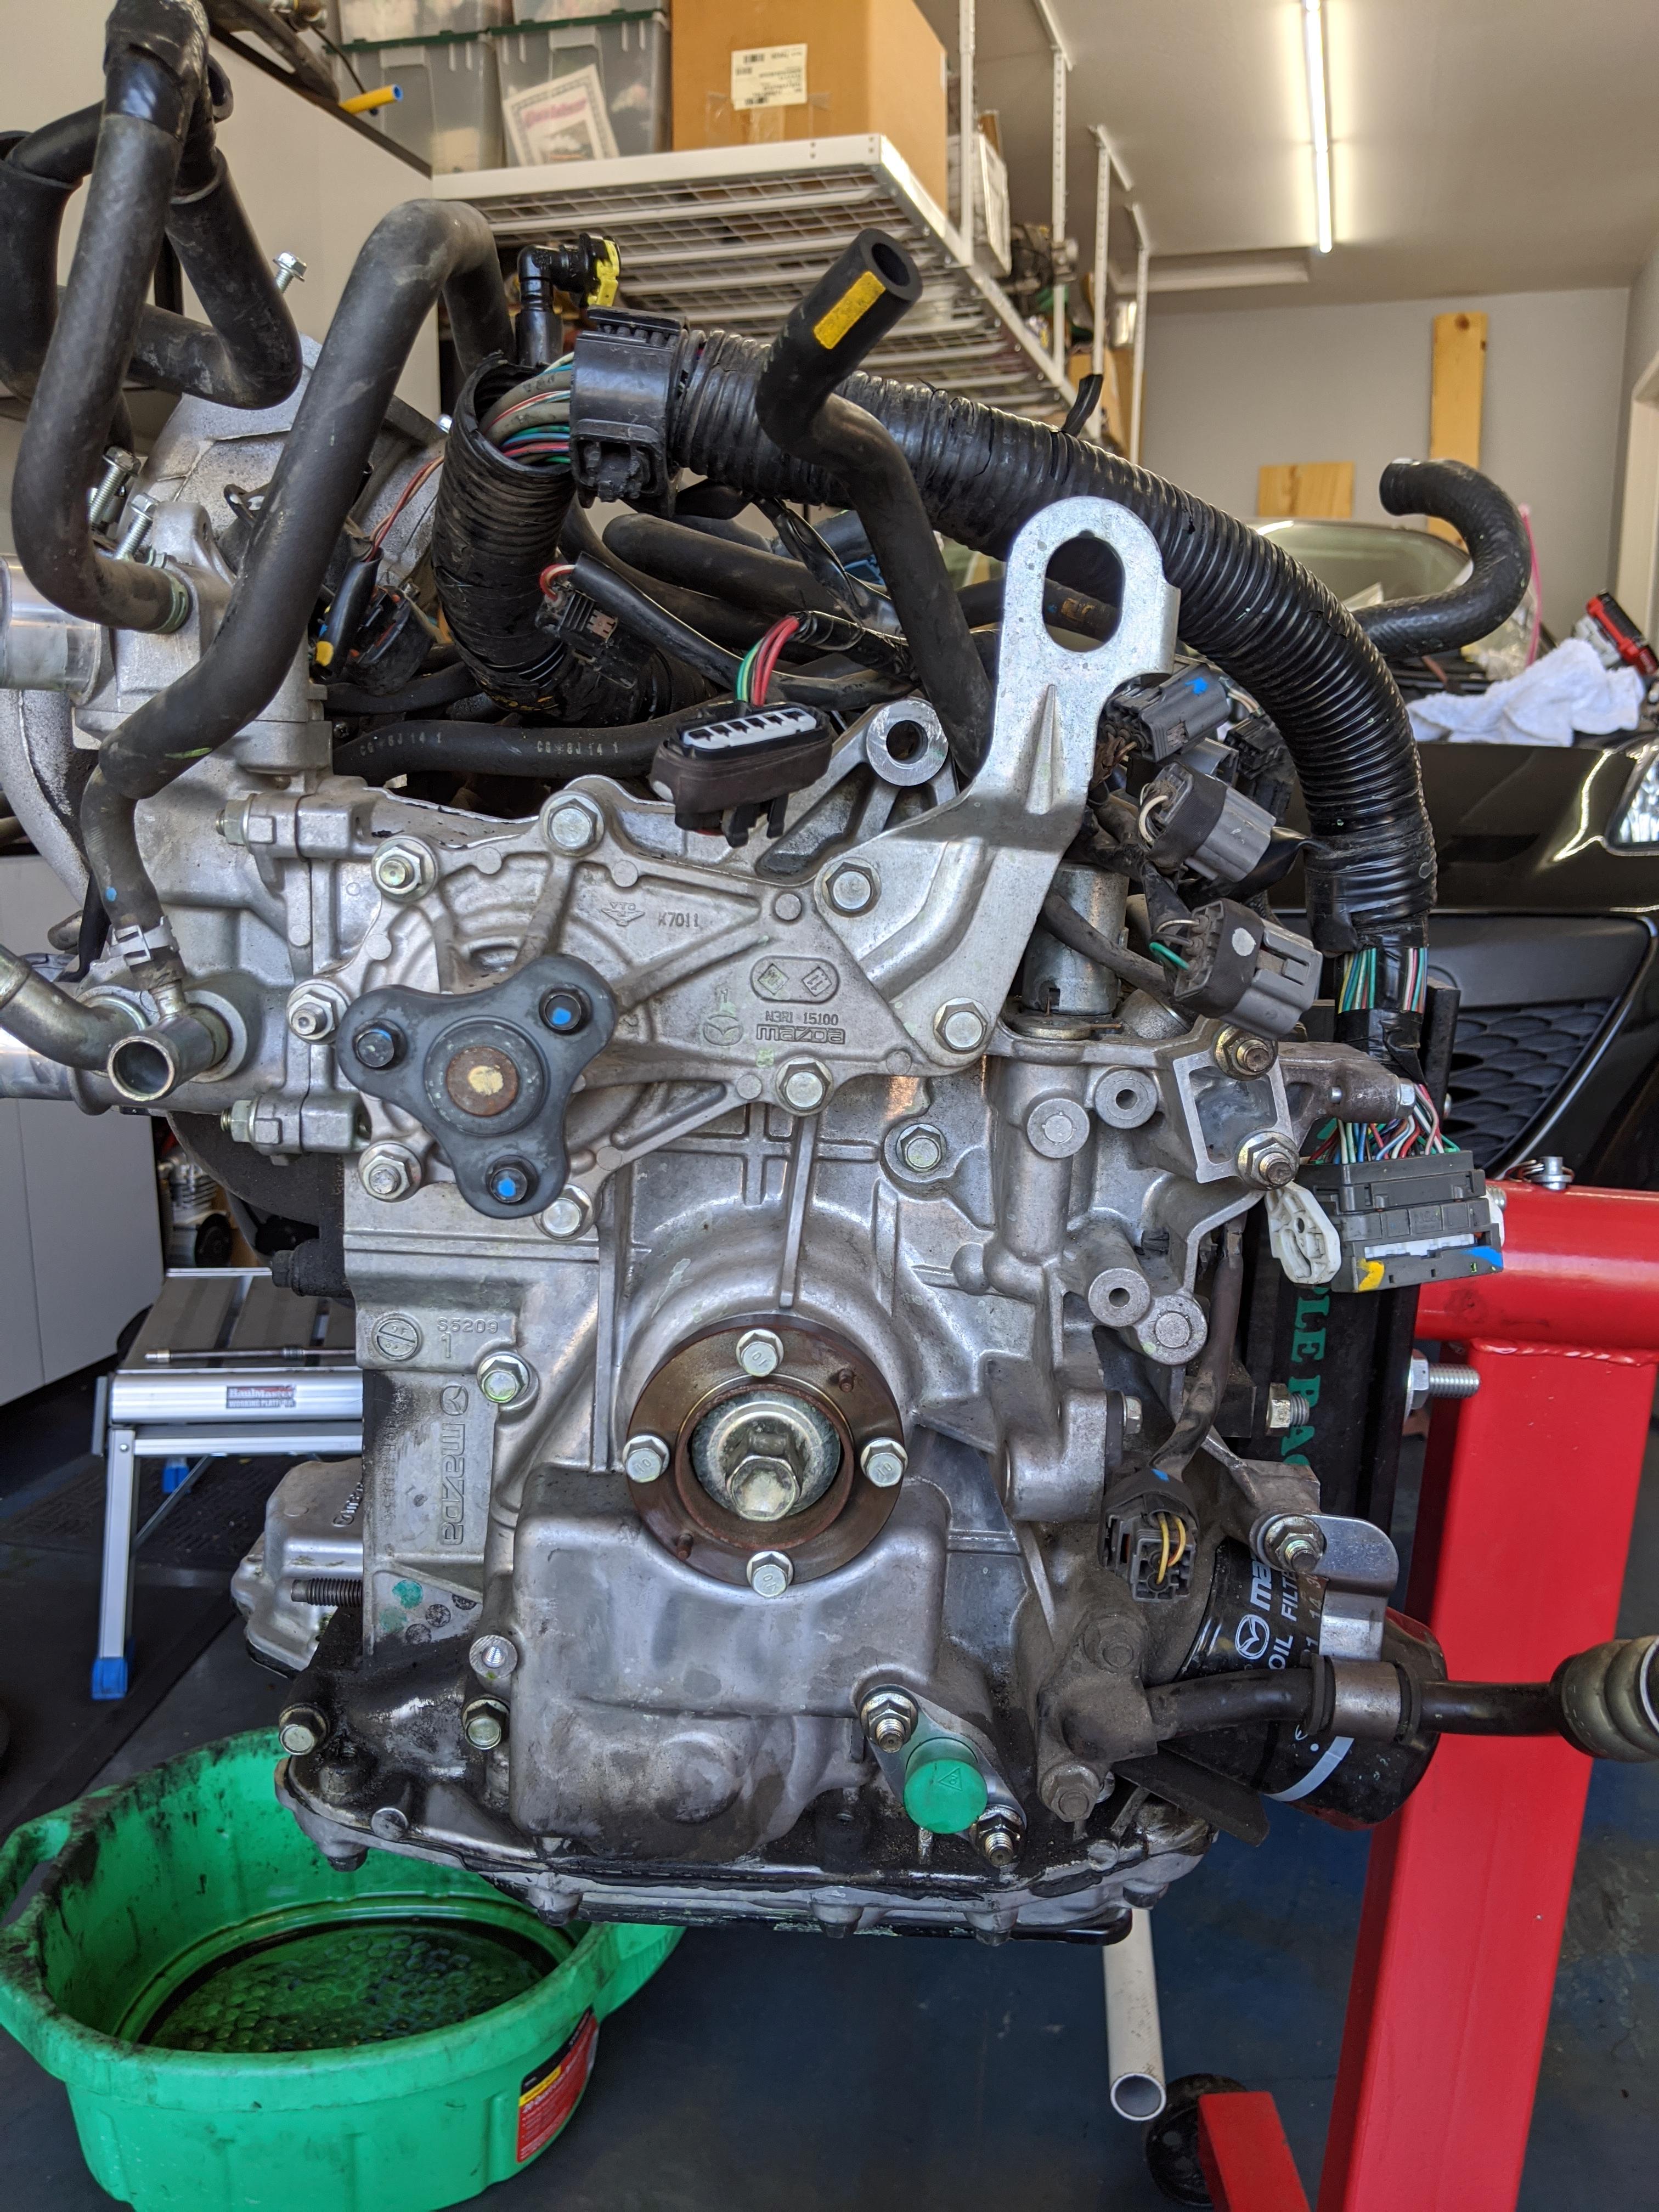
So, I yanked the engine out and got to work.
In the meantime, I installed the Bennet Built coilpacks and changed the plugs; she fired right up. I drove it like this for a few thousand fun miles and one day, it didn't want to start. I thought it was odd so I puled the plugs and cleaned them, which seemed to help. A few days later, same situation. Hard start when cold, OK start when hot. I thought I smelled coolant so I popped the hood and was greeted with this
So, I yanked the engine out and got to work.
Thread Starter
Registered
Joined: Jan 2020
Posts: 50
Likes: 27
From: Goodyear, az
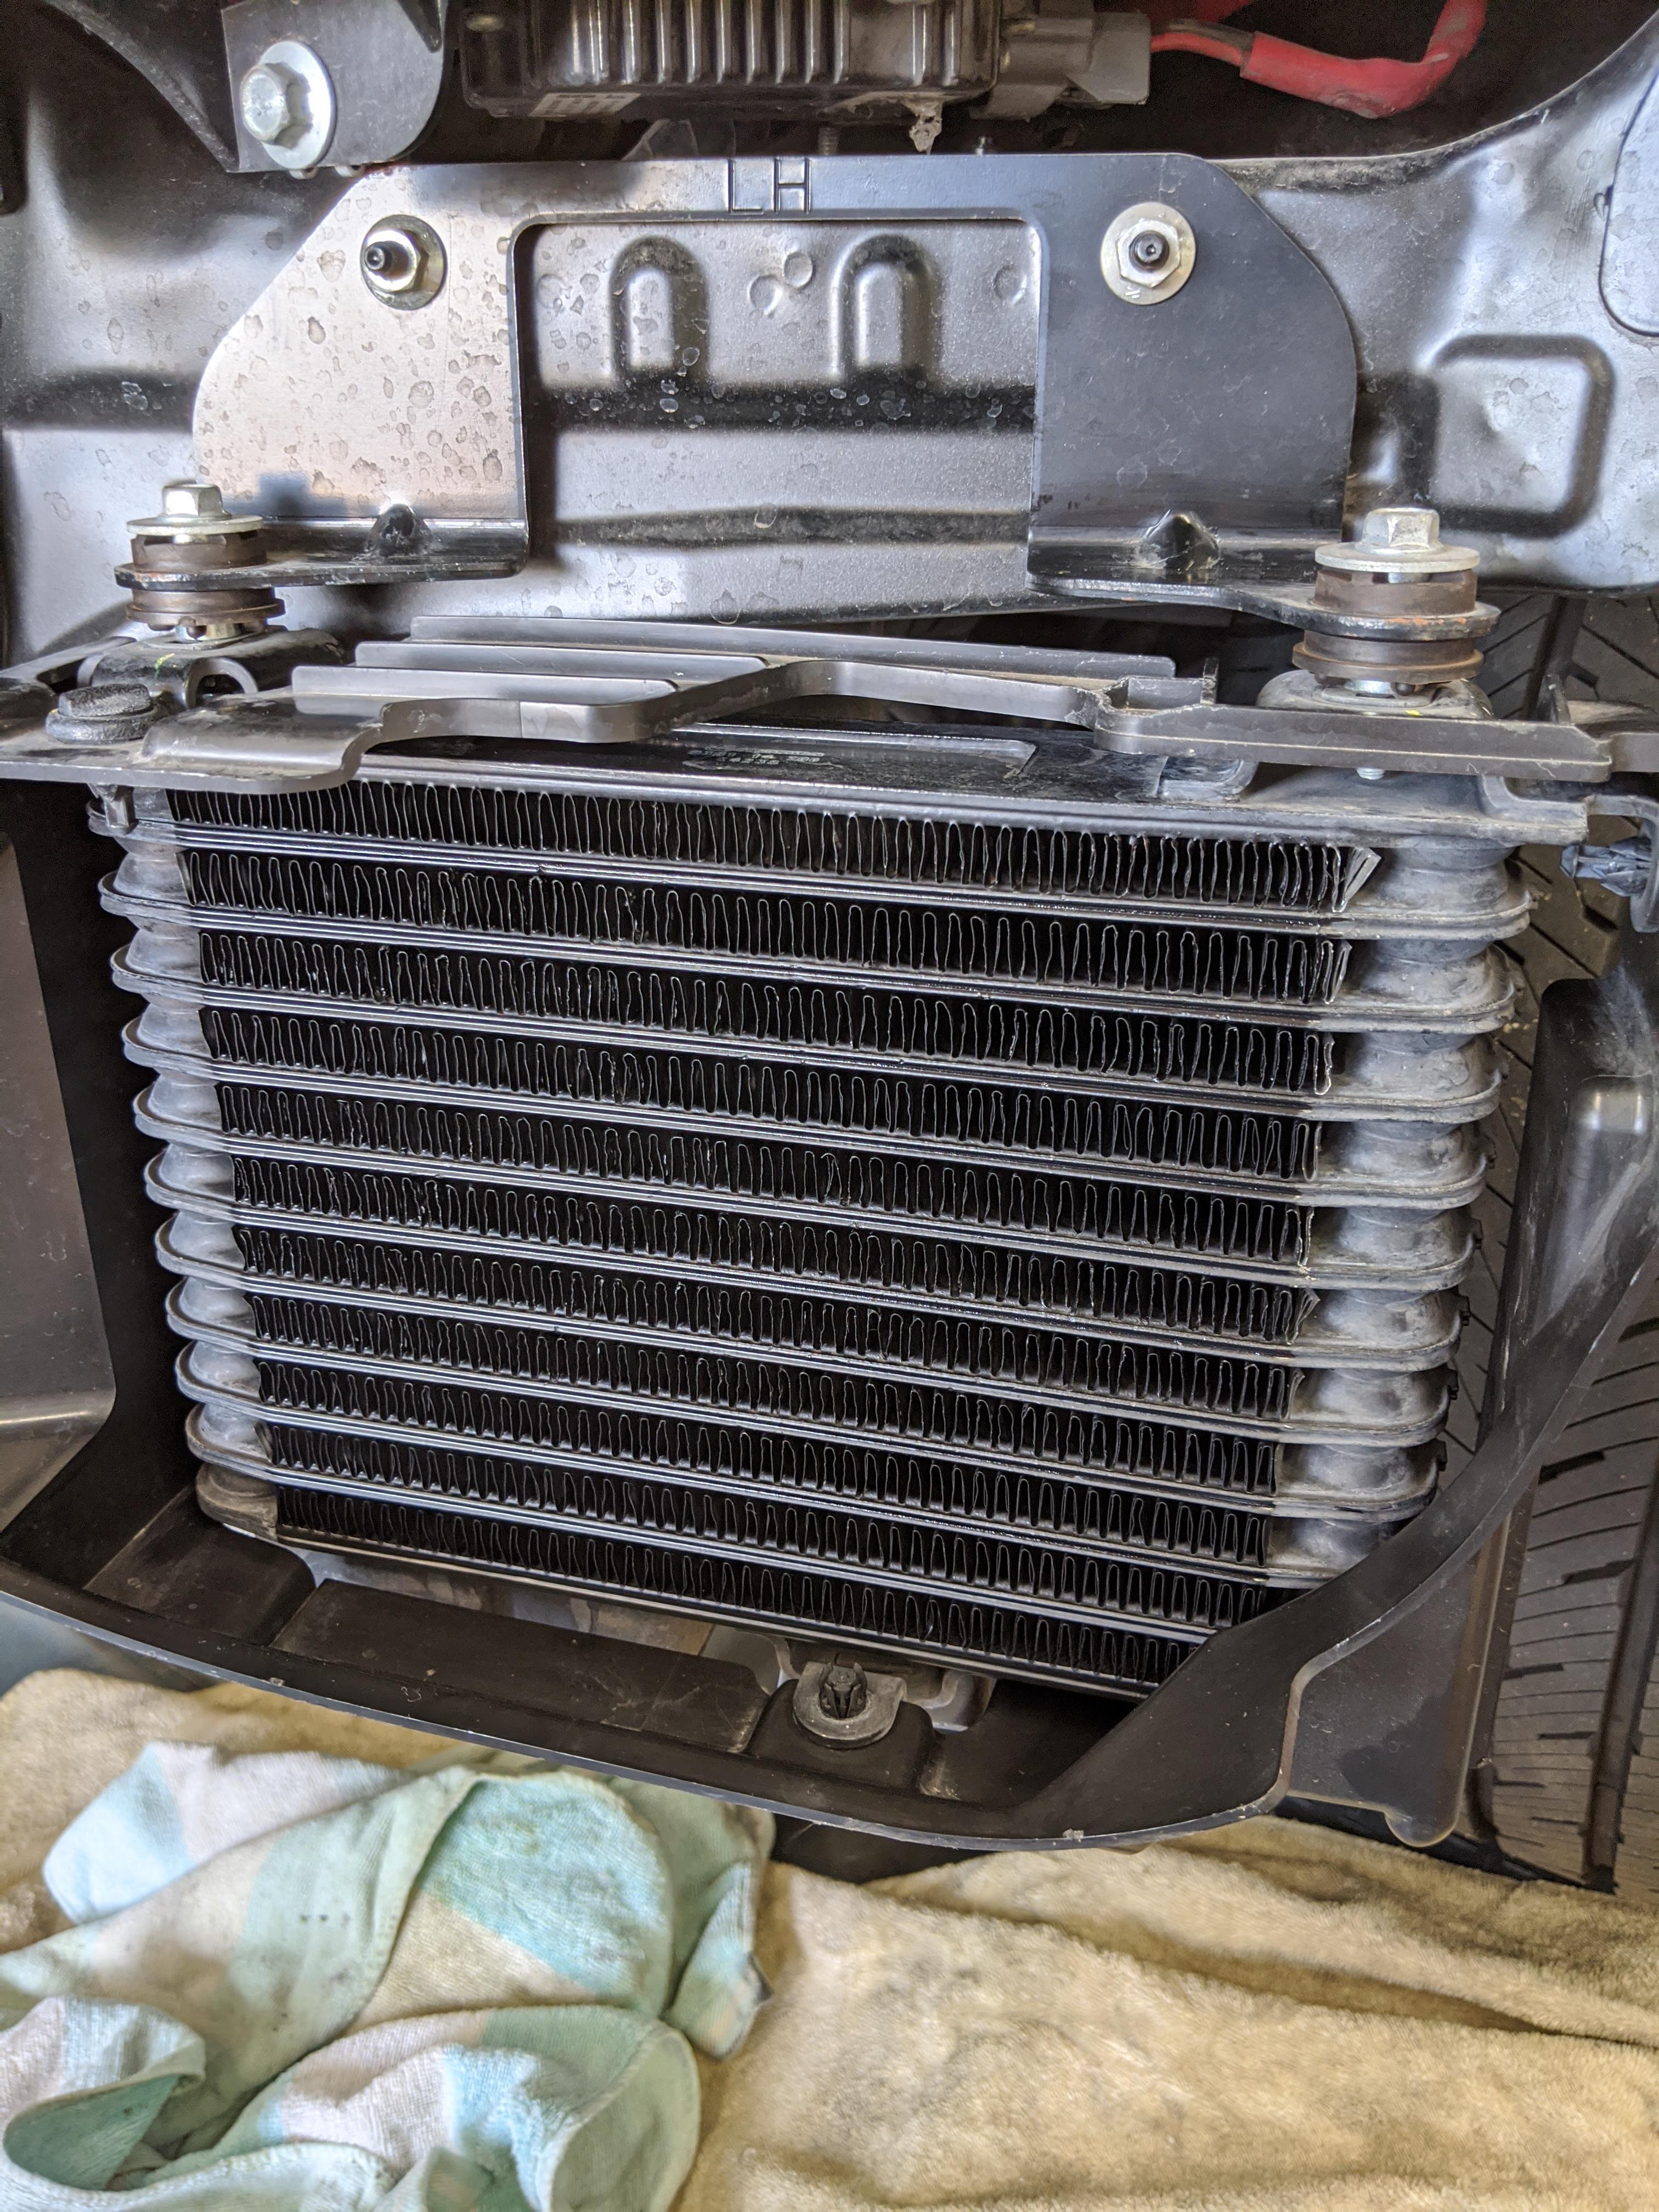
I decided I wanted to add some additional oil cooling, so I pulled the stock oil coolers from another S2 in a junkyard for $85 complete and hauled them home
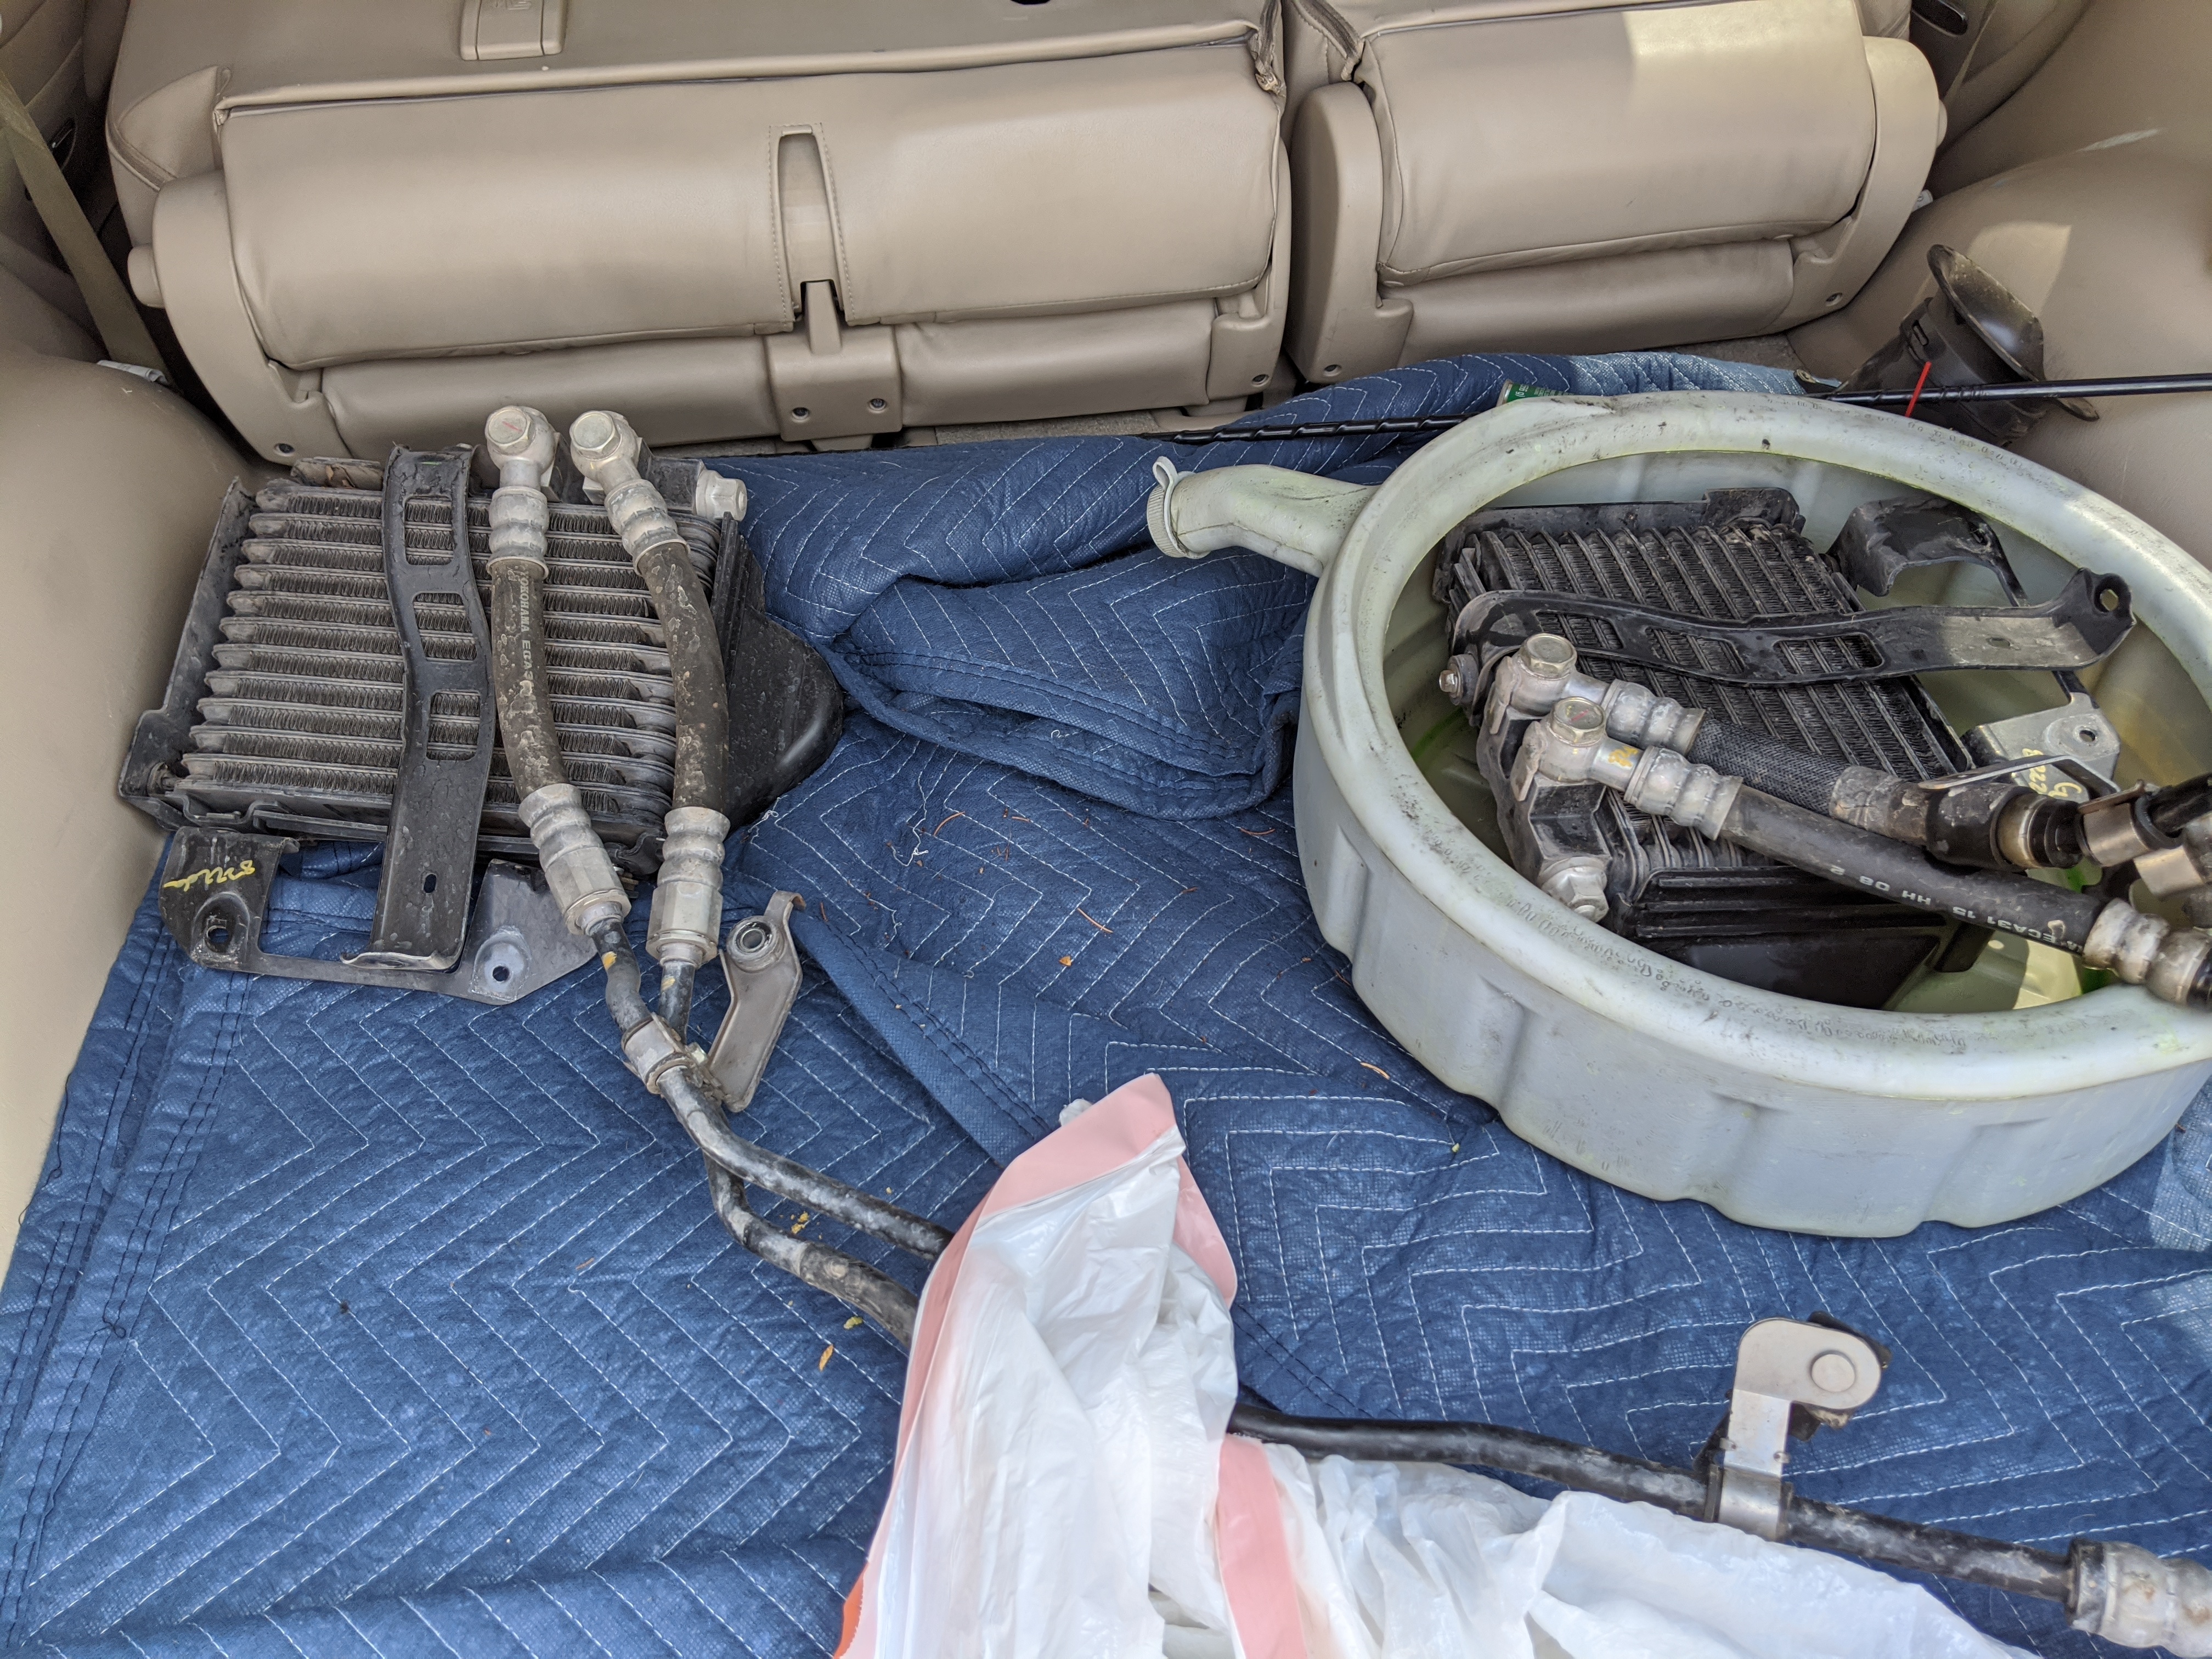
I swapped the stock RX8 oil thermostats to the FD RX7 oil thermostats which open at 170F instead of the RX8 230F!!! I cleaned them up by straightening the fins and then added a light coat of black paint to church them up a bit
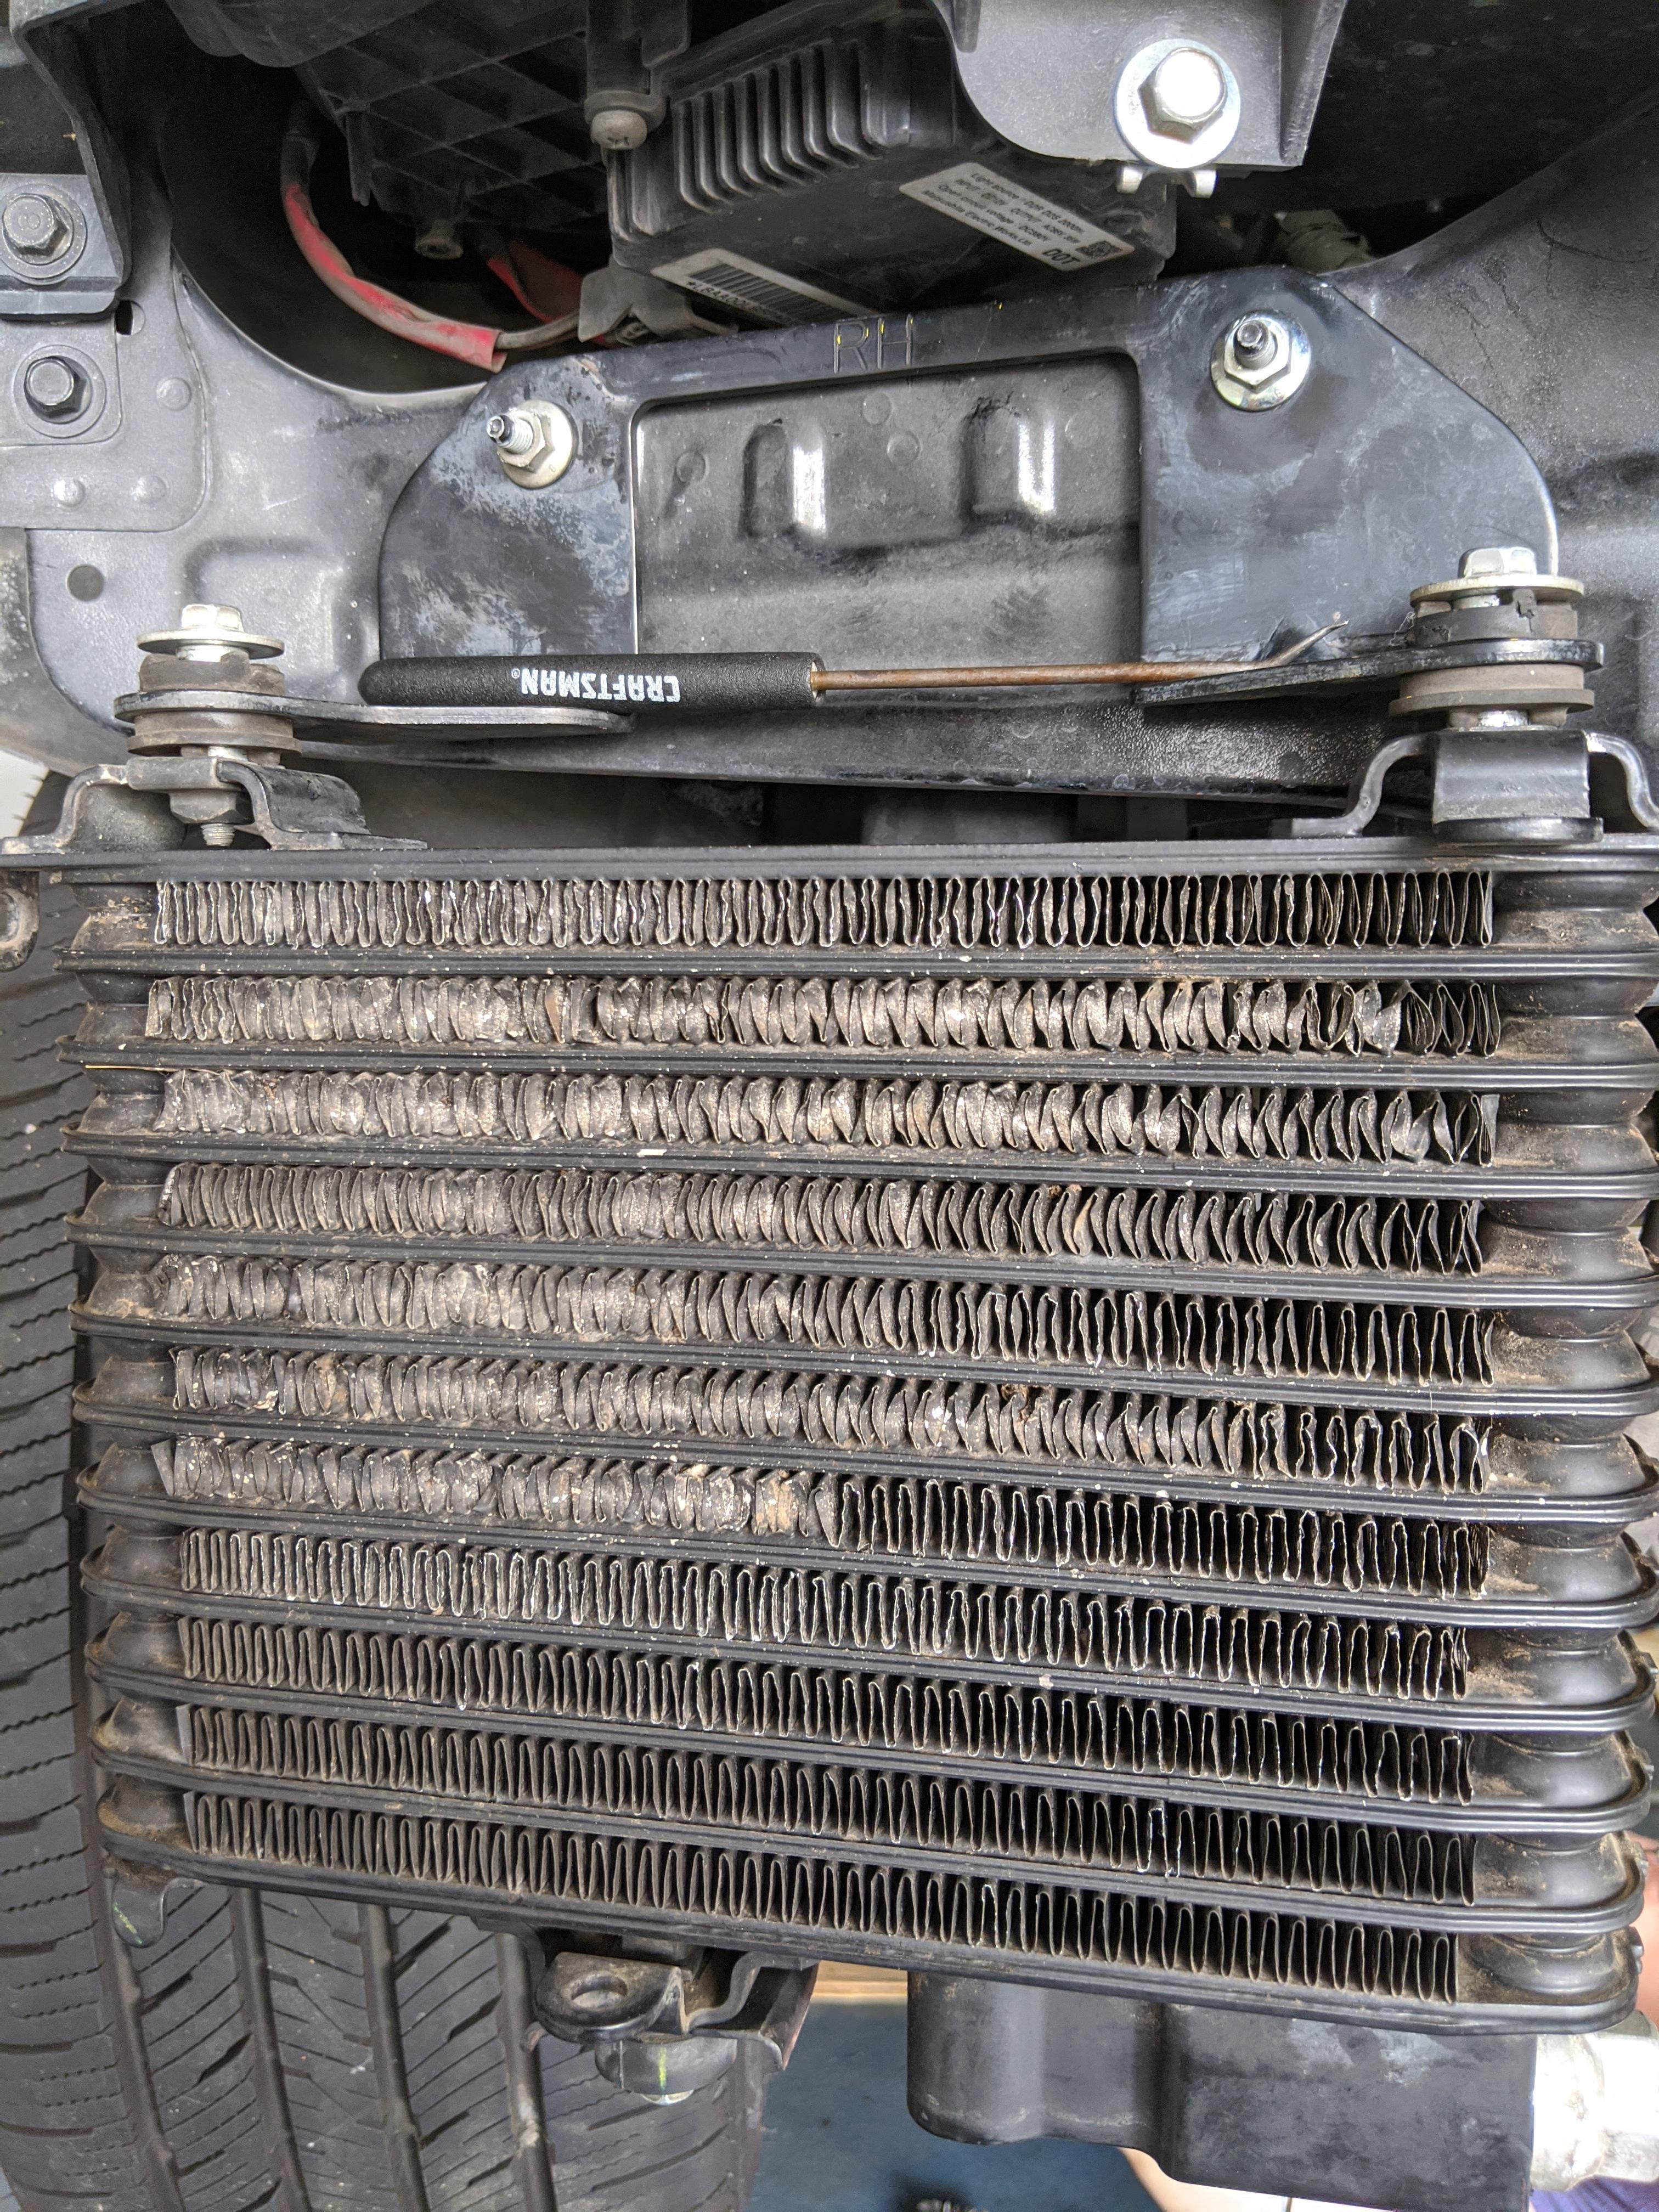
to this. Not perfect, but you need new oil coolers to achieve that. This was good enough for me.
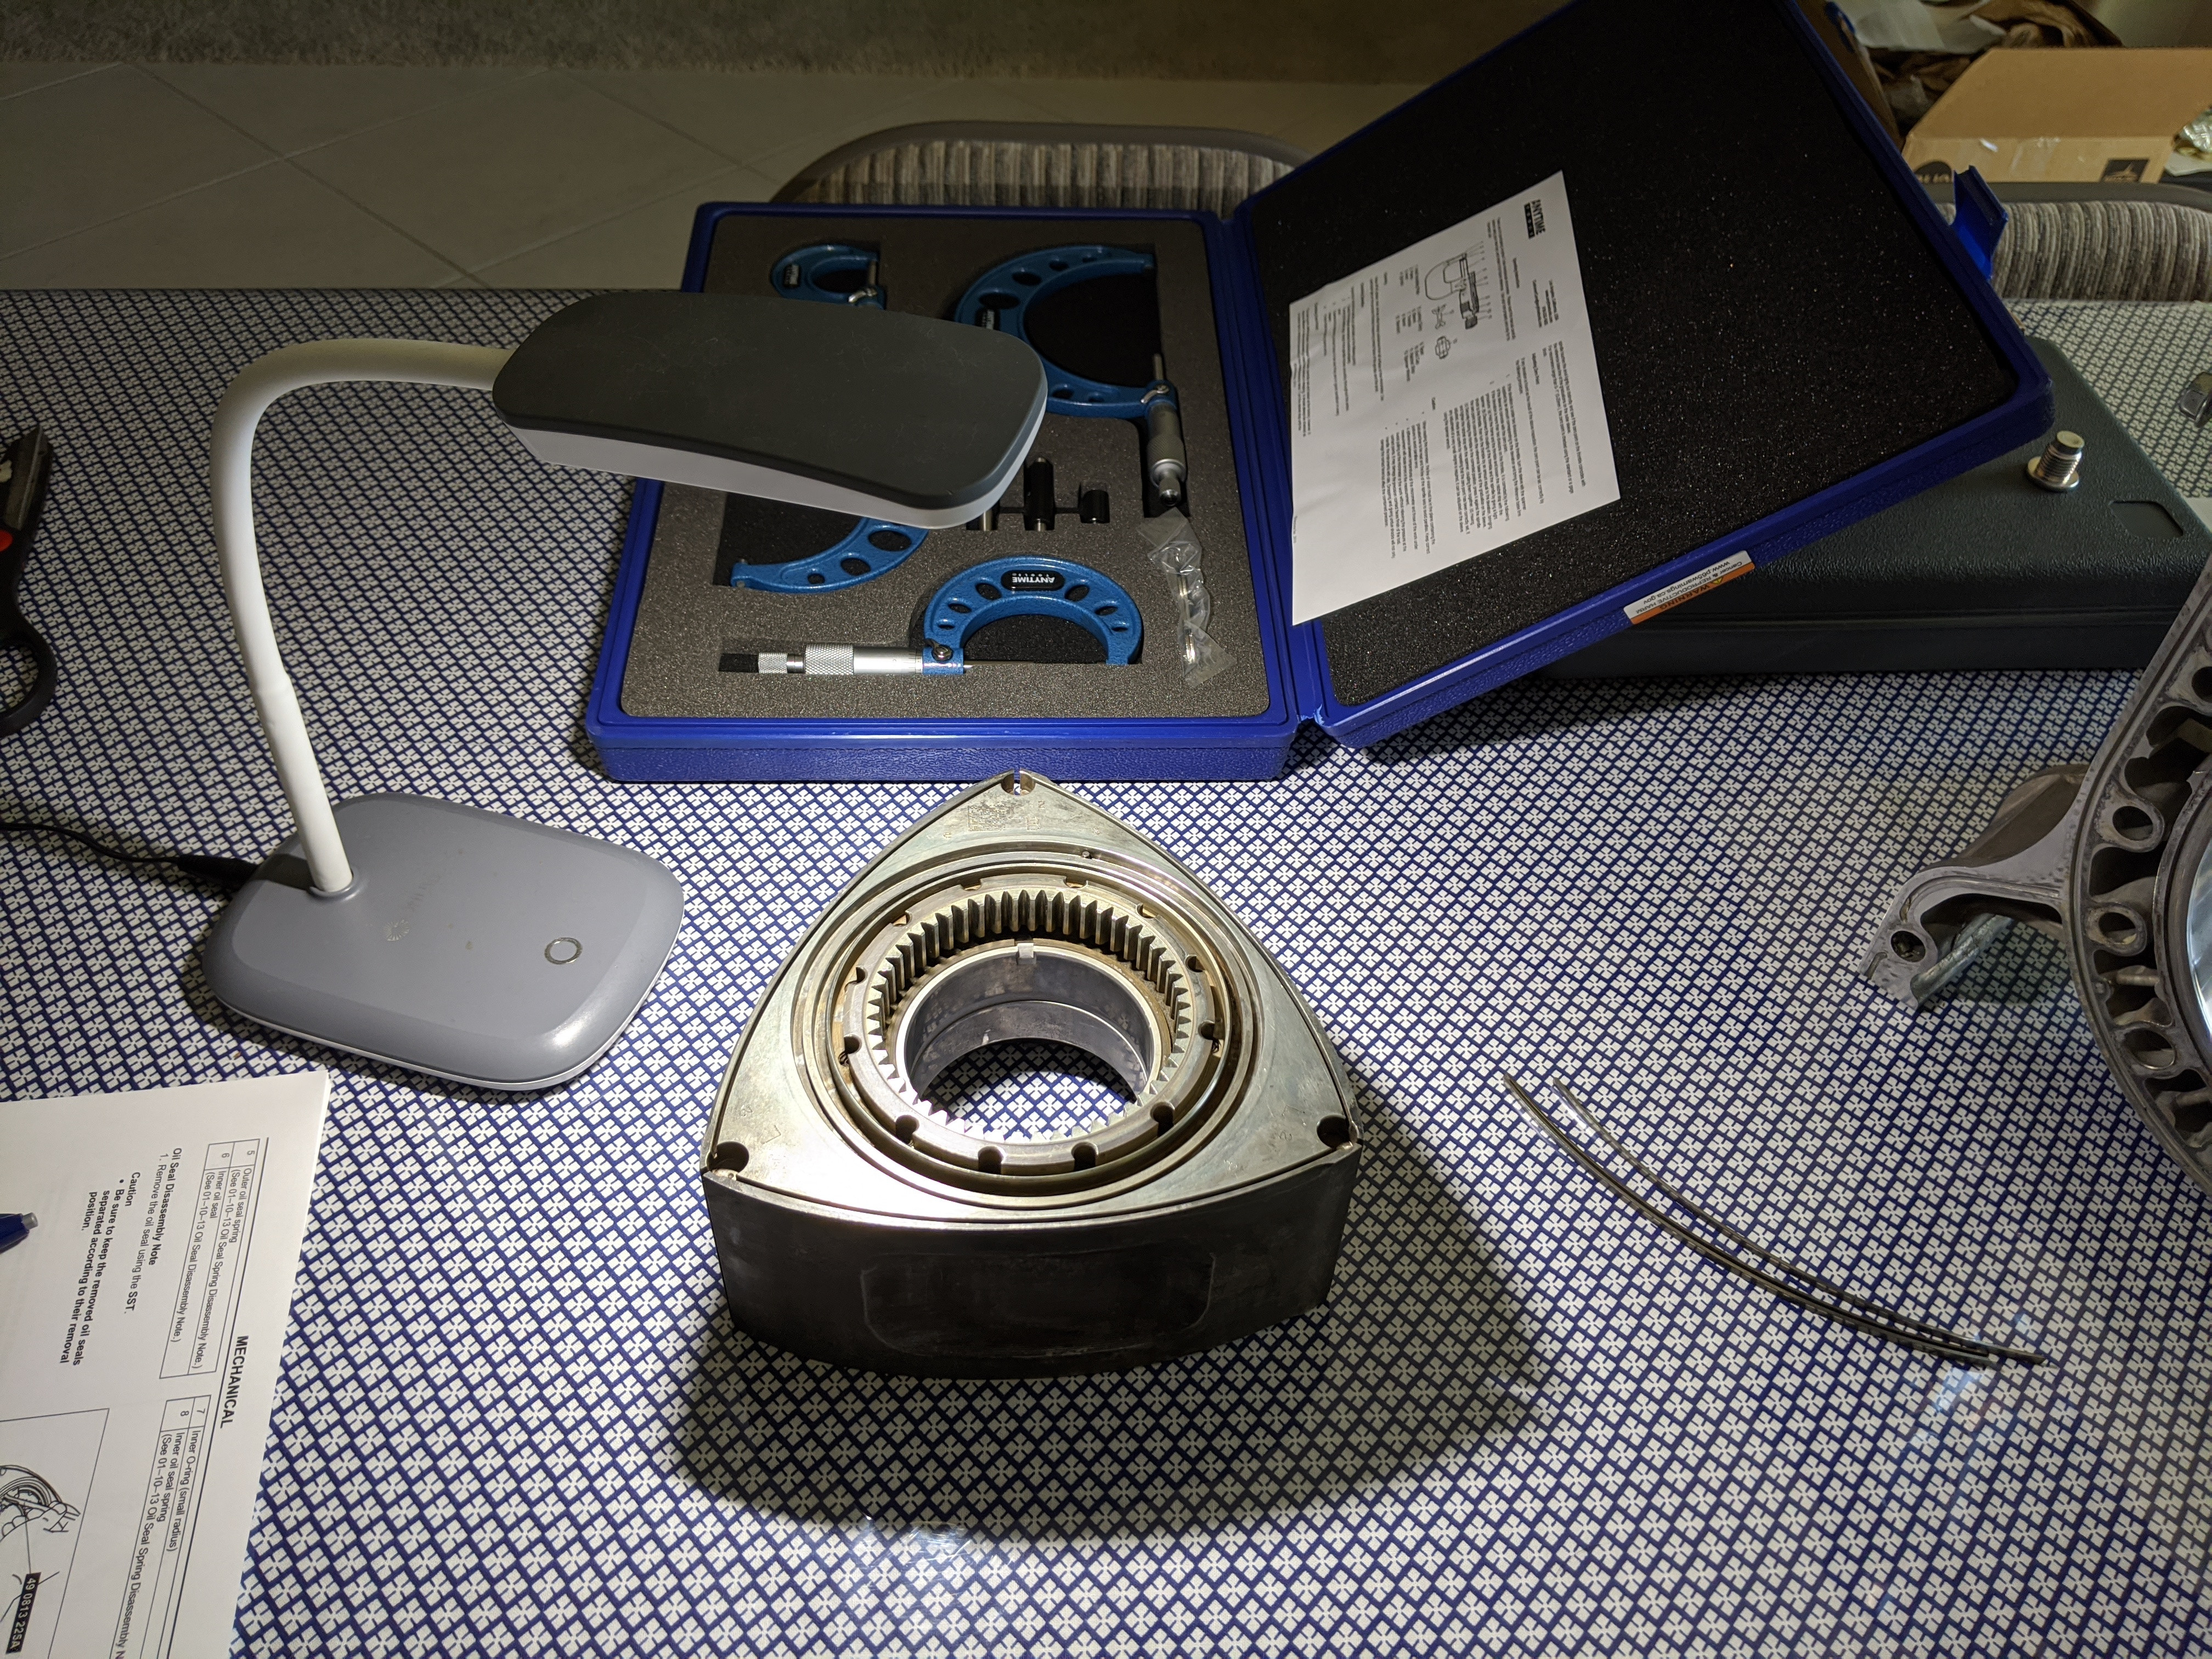
Then I got to work cleaning, measuring, and checking.
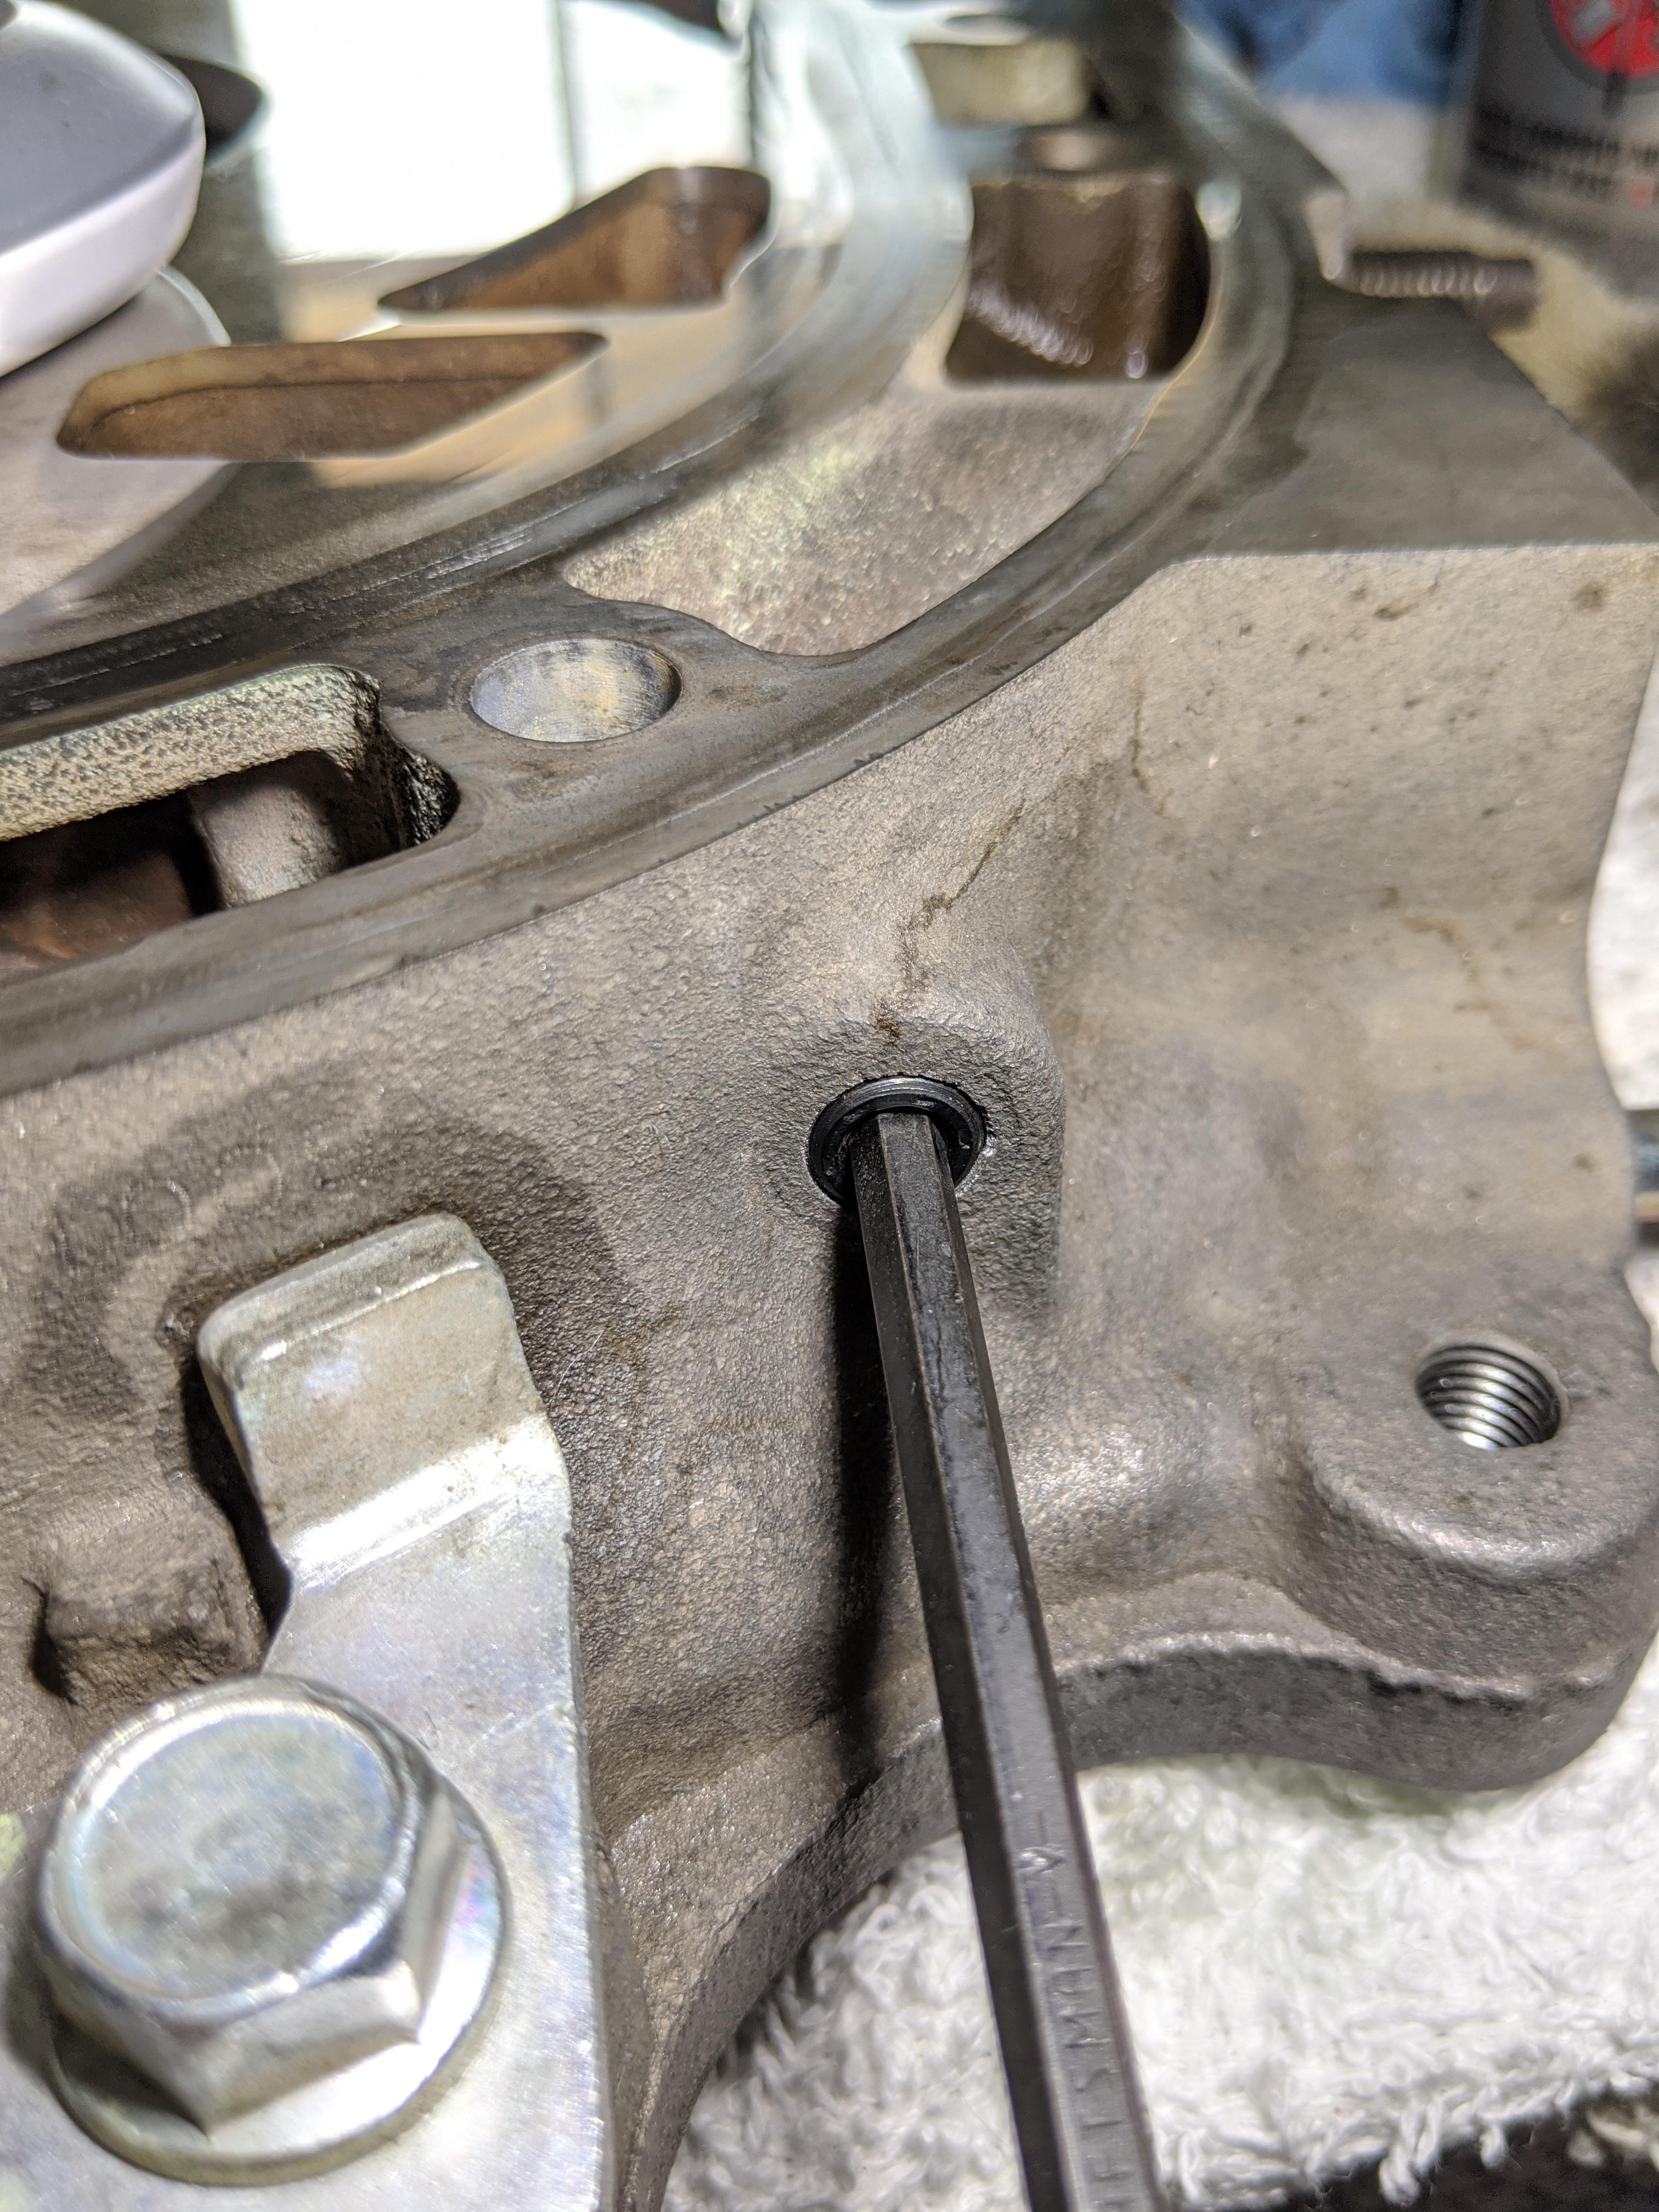
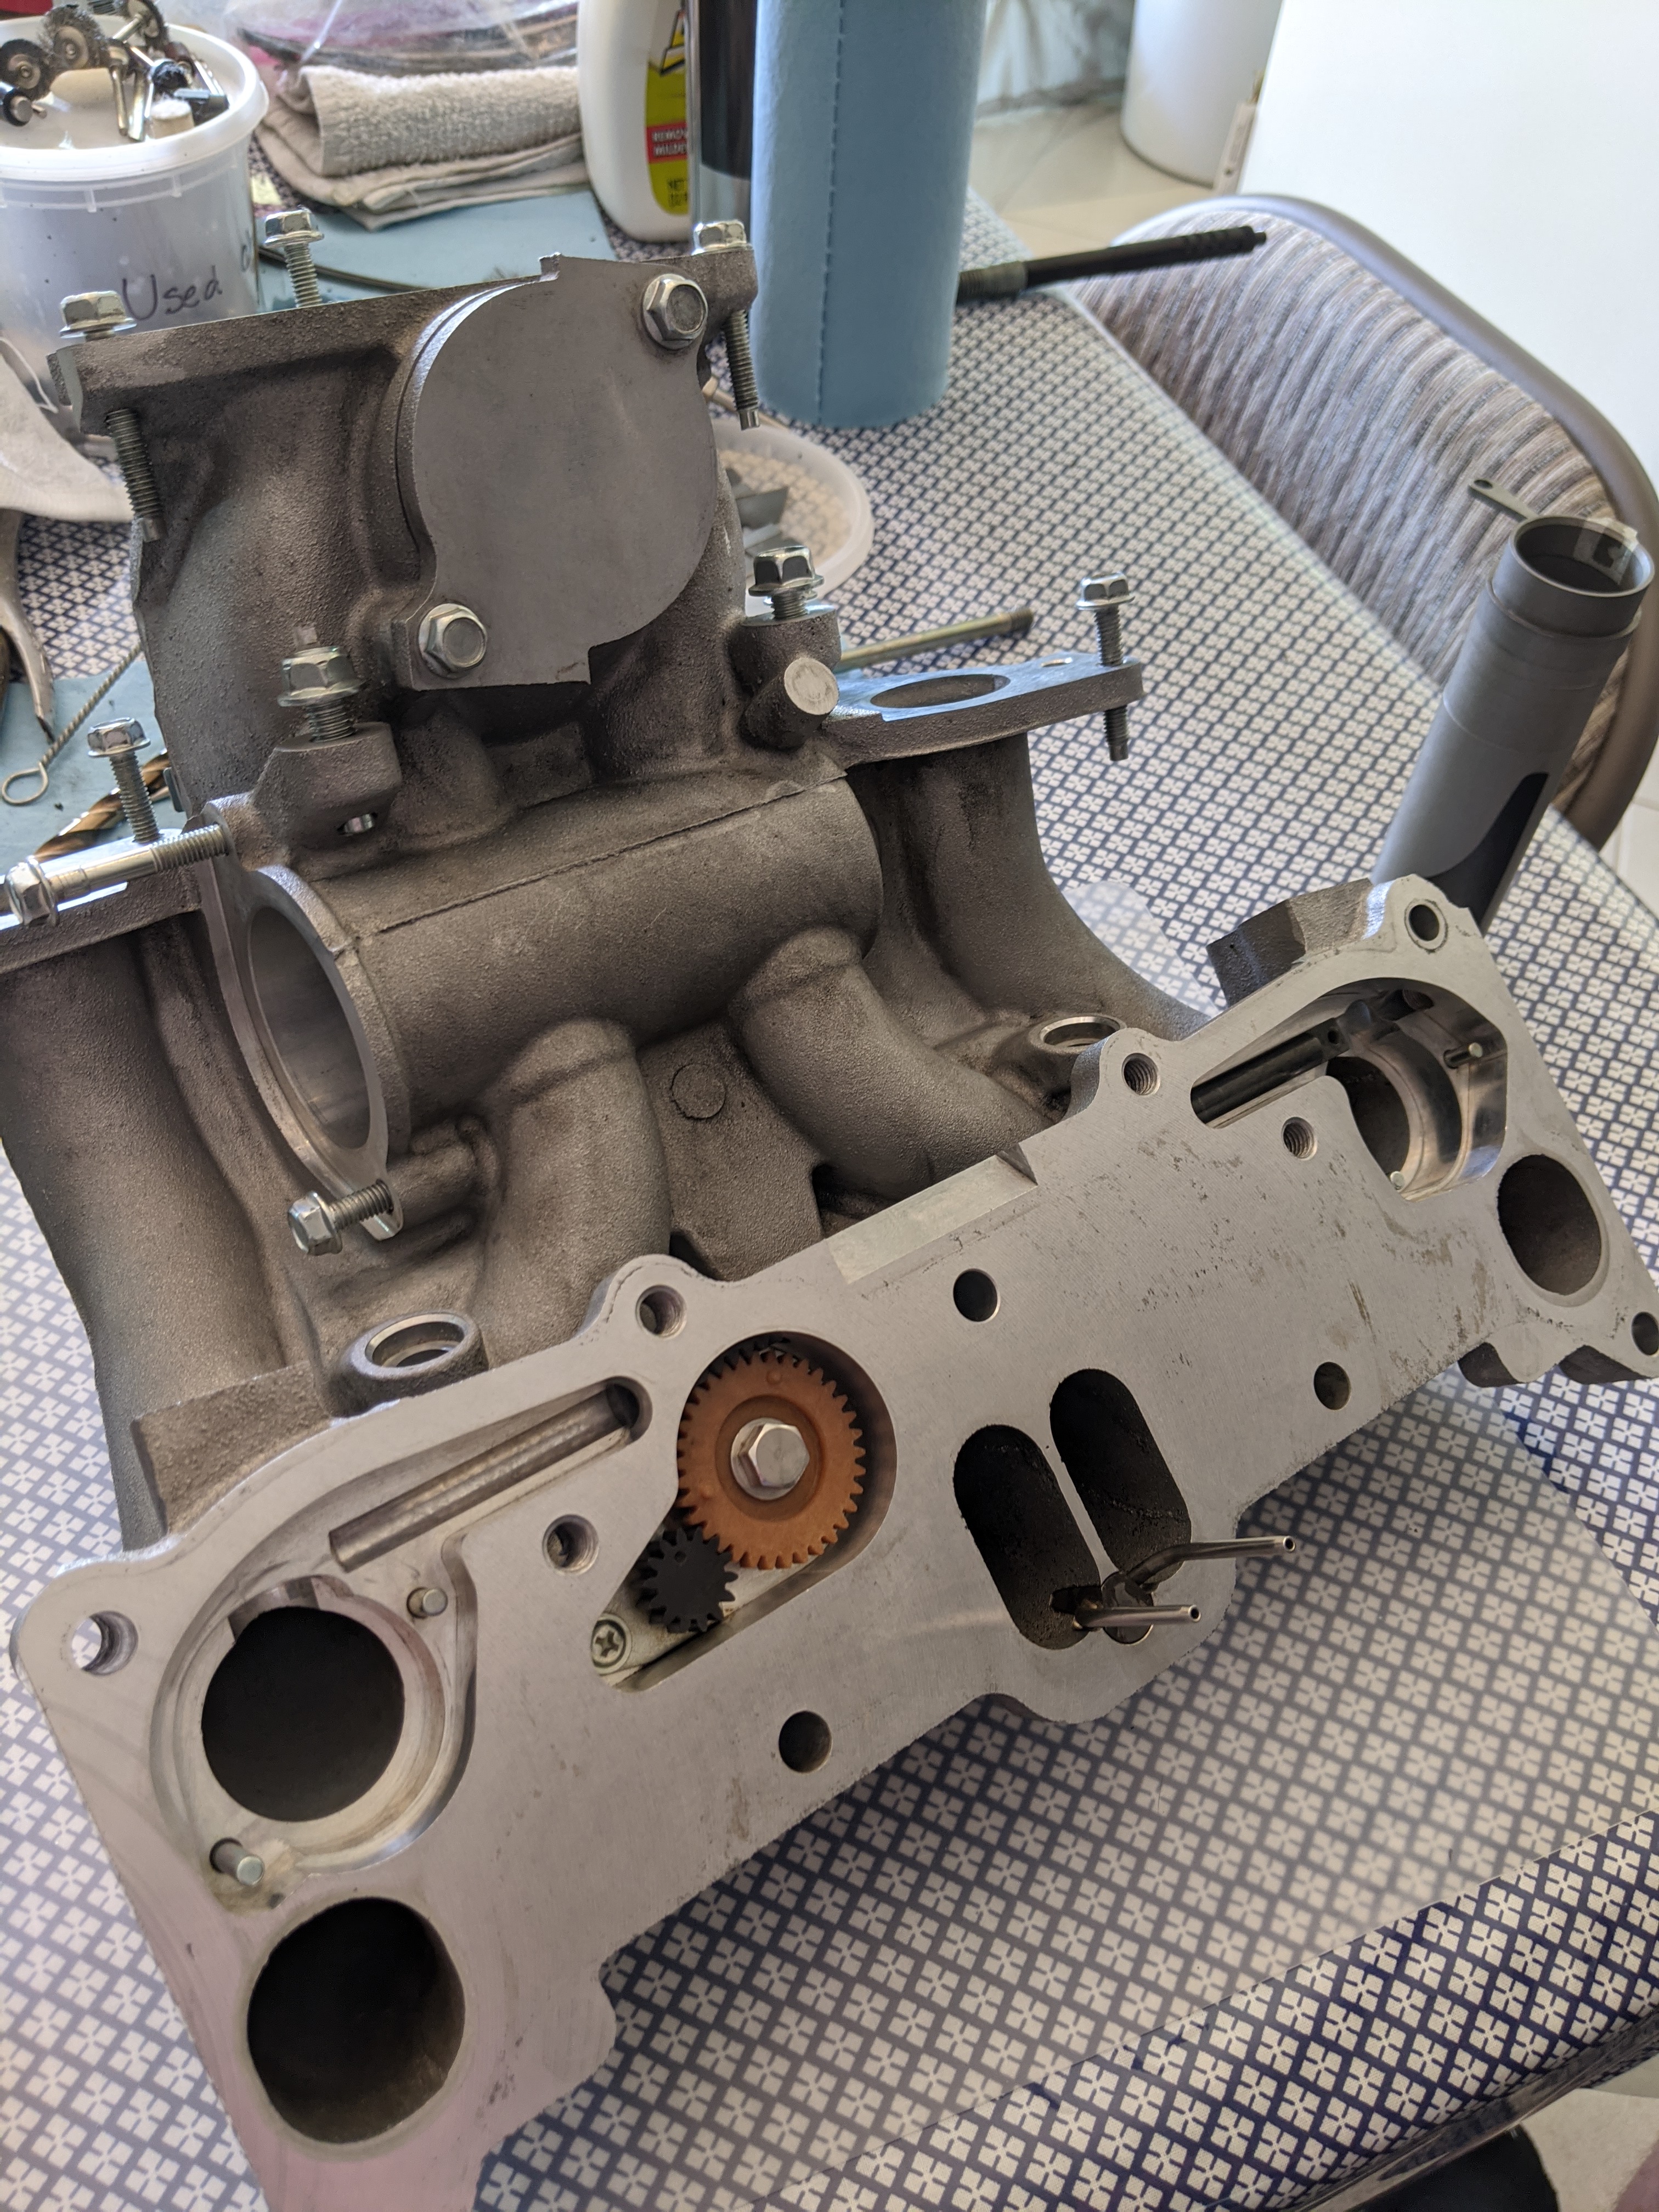
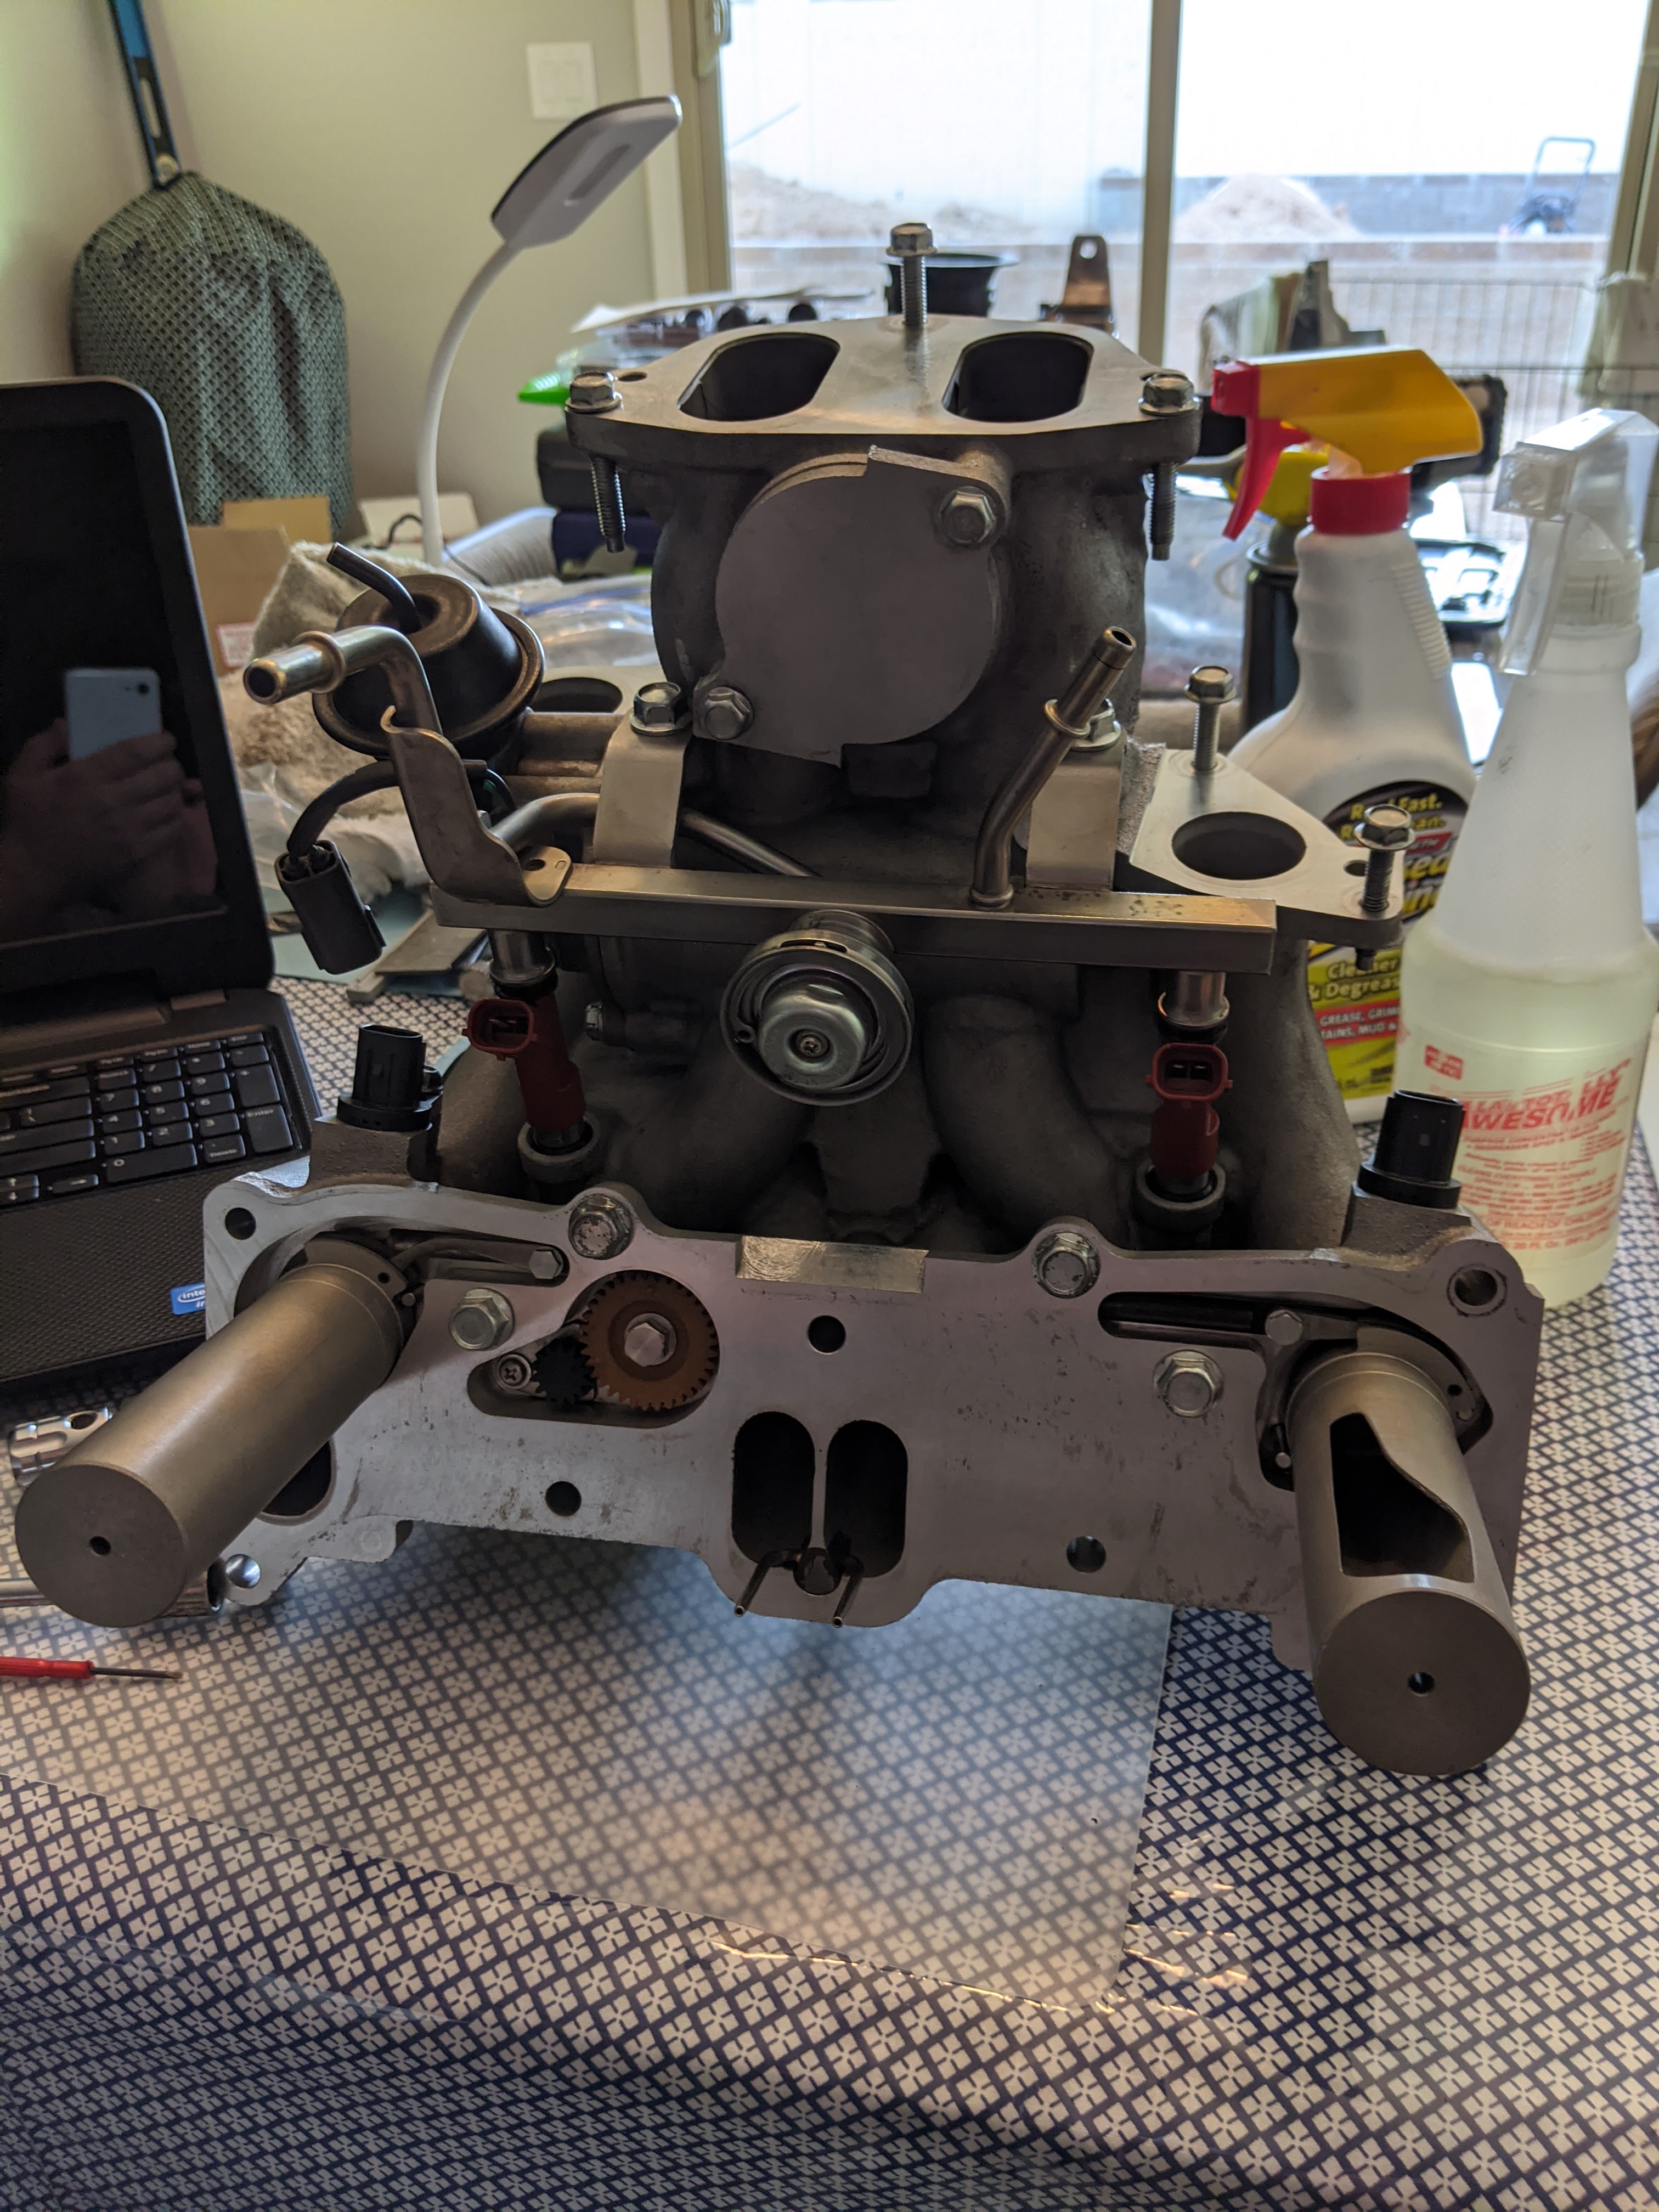
I wanted to delete the coolant hose and circuit going through the throttle body so I pulled the rear iron nipple out and tapped it, then installed a hex head plug.

I cleaned the intake manifold and the SSV completely. I was happy with the results.

I reassembled the intake manifold with all new gaskets, seals, and bolts on the slide valve pivot points and torqued to spec.
I swapped the stock RX8 oil thermostats to the FD RX7 oil thermostats which open at 170F instead of the RX8 230F!!! I cleaned them up by straightening the fins and then added a light coat of black paint to church them up a bit
to this. Not perfect, but you need new oil coolers to achieve that. This was good enough for me.
Then I got to work cleaning, measuring, and checking.
I wanted to delete the coolant hose and circuit going through the throttle body so I pulled the rear iron nipple out and tapped it, then installed a hex head plug.
I cleaned the intake manifold and the SSV completely. I was happy with the results.
I reassembled the intake manifold with all new gaskets, seals, and bolts on the slide valve pivot points and torqued to spec.


well I hope you understand that S2 including the engine is very limited production, and this engine was done in under 80k miles despite all the supposed improvements.
I would have found an S1 in equal or better condition to start with myself. Because at some point parts for the S2 are going to be harder to come by than the S1, and some are already NLA from Mazda btw, but best wishes just the same
.
I would have found an S1 in equal or better condition to start with myself. Because at some point parts for the S2 are going to be harder to come by than the S1, and some are already NLA from Mazda btw, but best wishes just the same
.
Thread Starter
Registered
Joined: Jan 2020
Posts: 50
Likes: 27
From: Goodyear, az
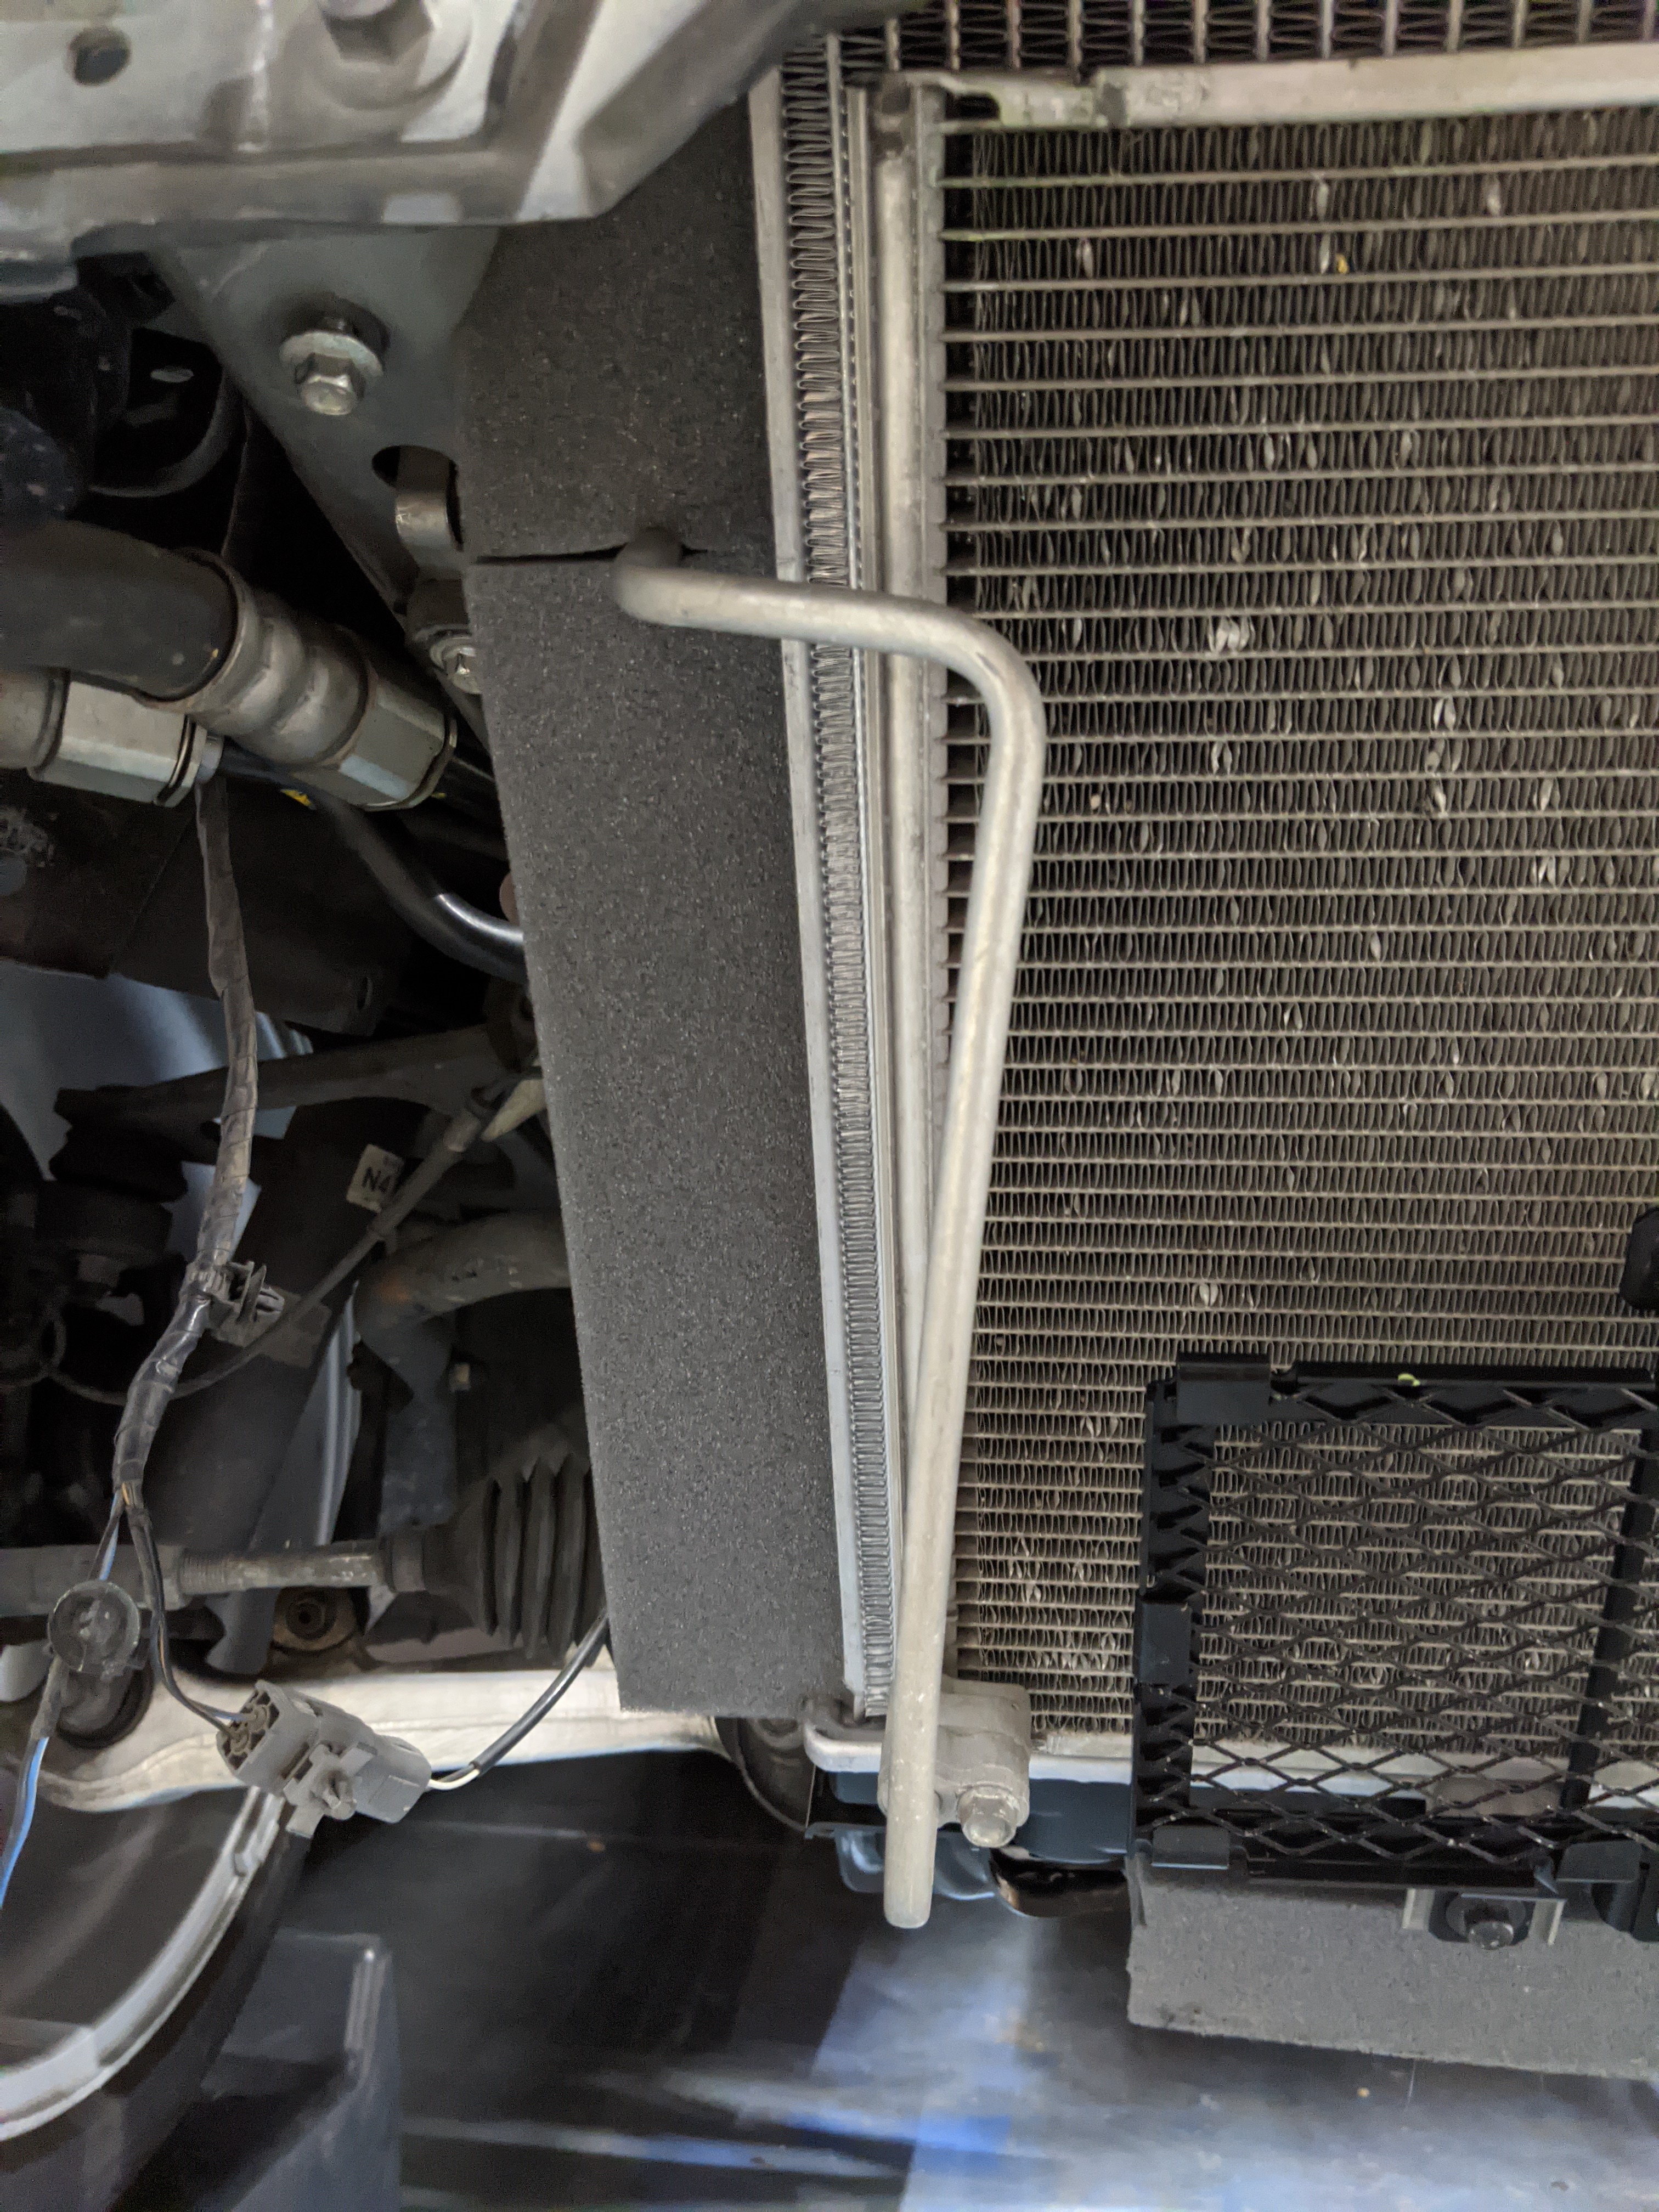
Next came a new radiator and I cleaned the fans up a bit
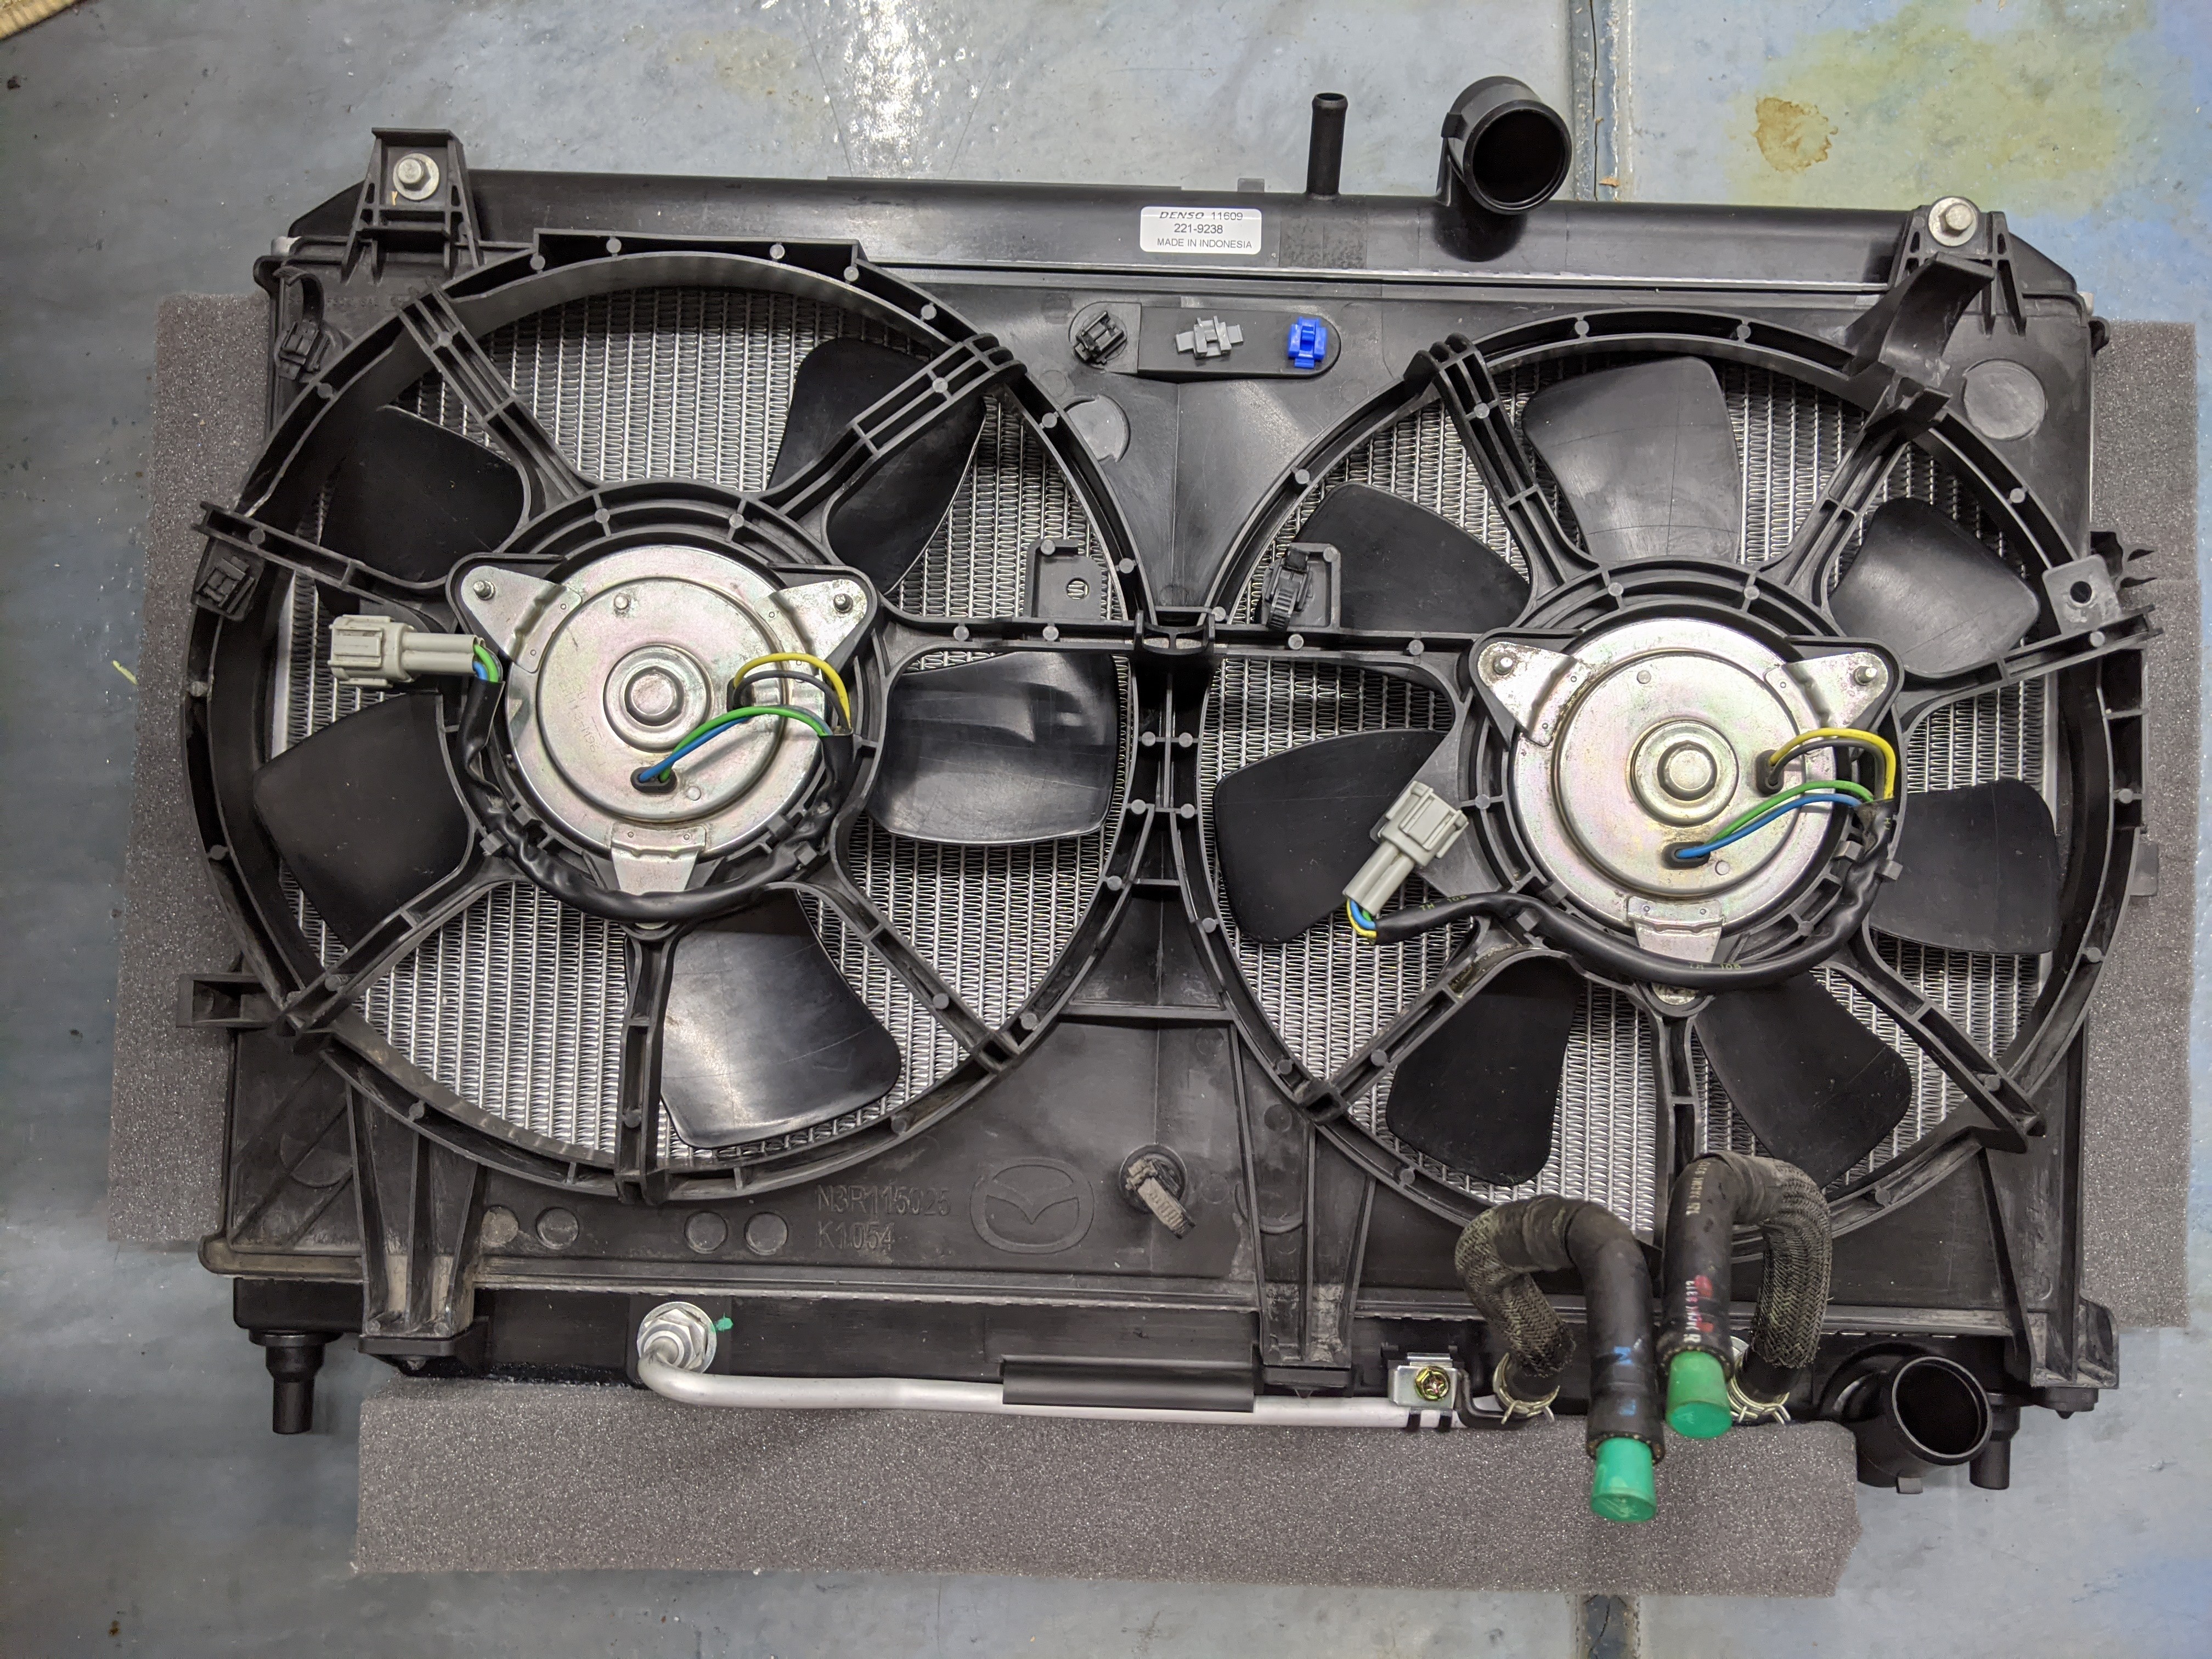
I added foam to the radiator on the bottom and the sides. I did a small write up on this in the S2 forum
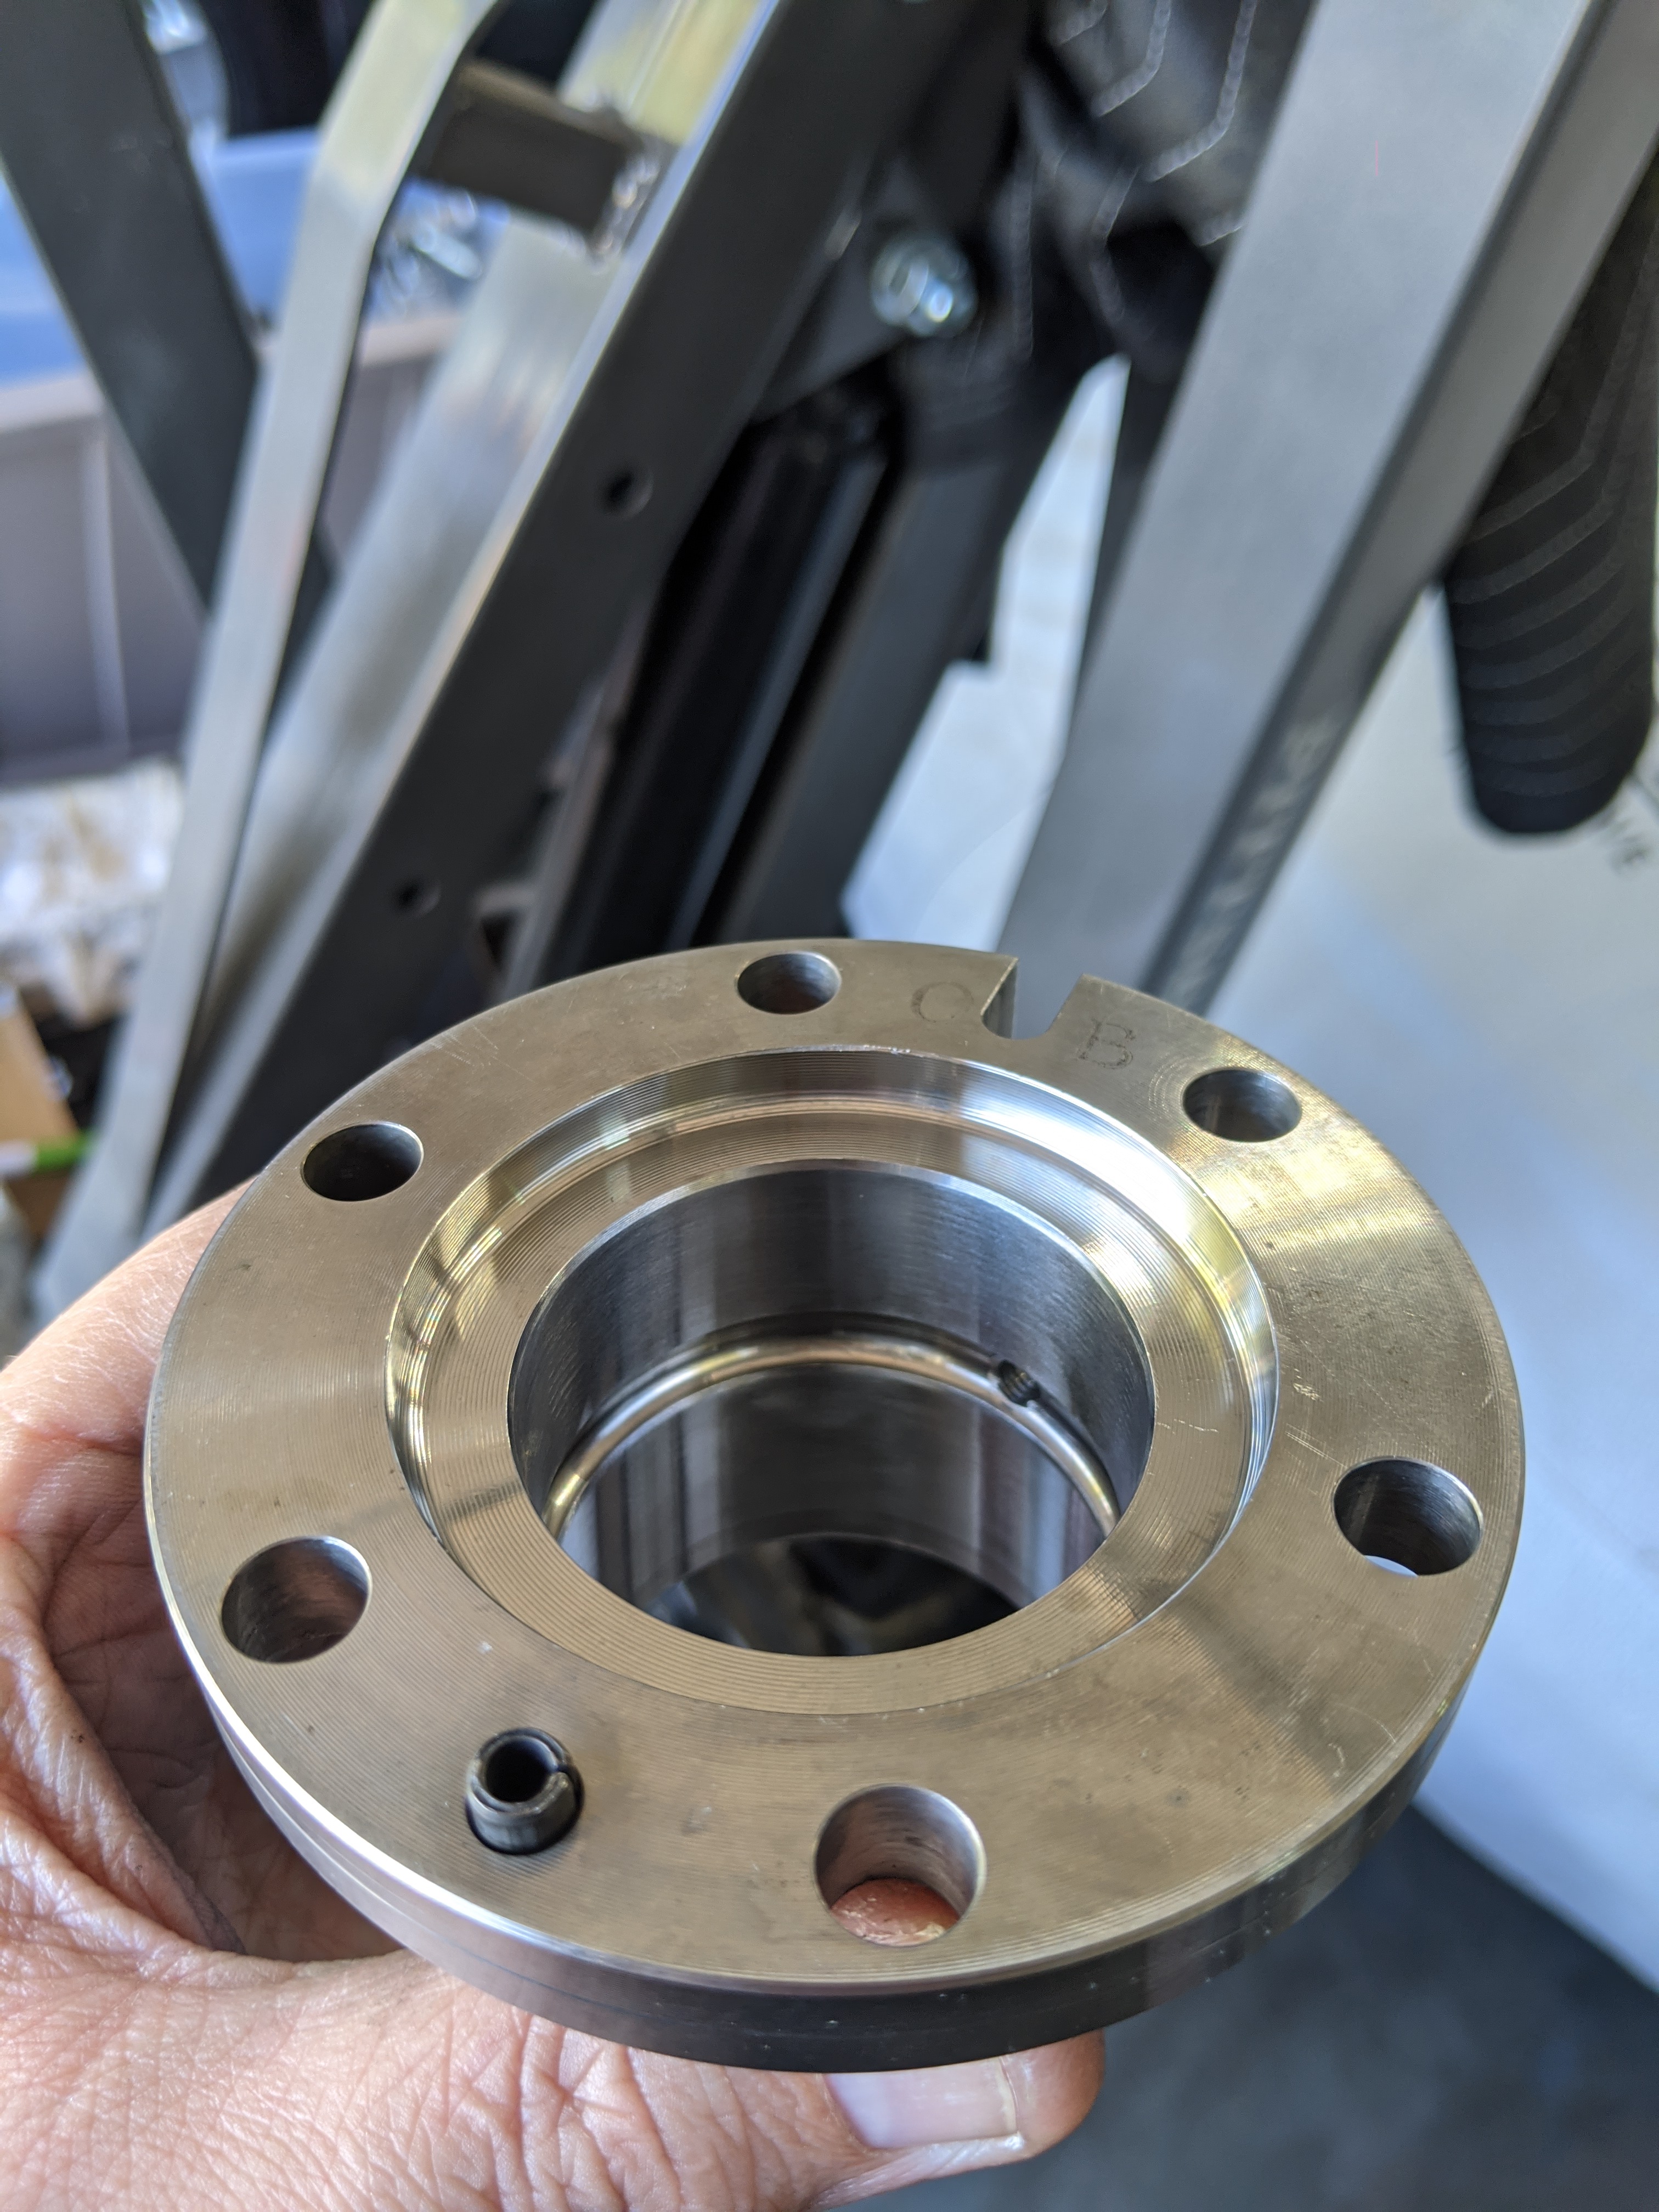
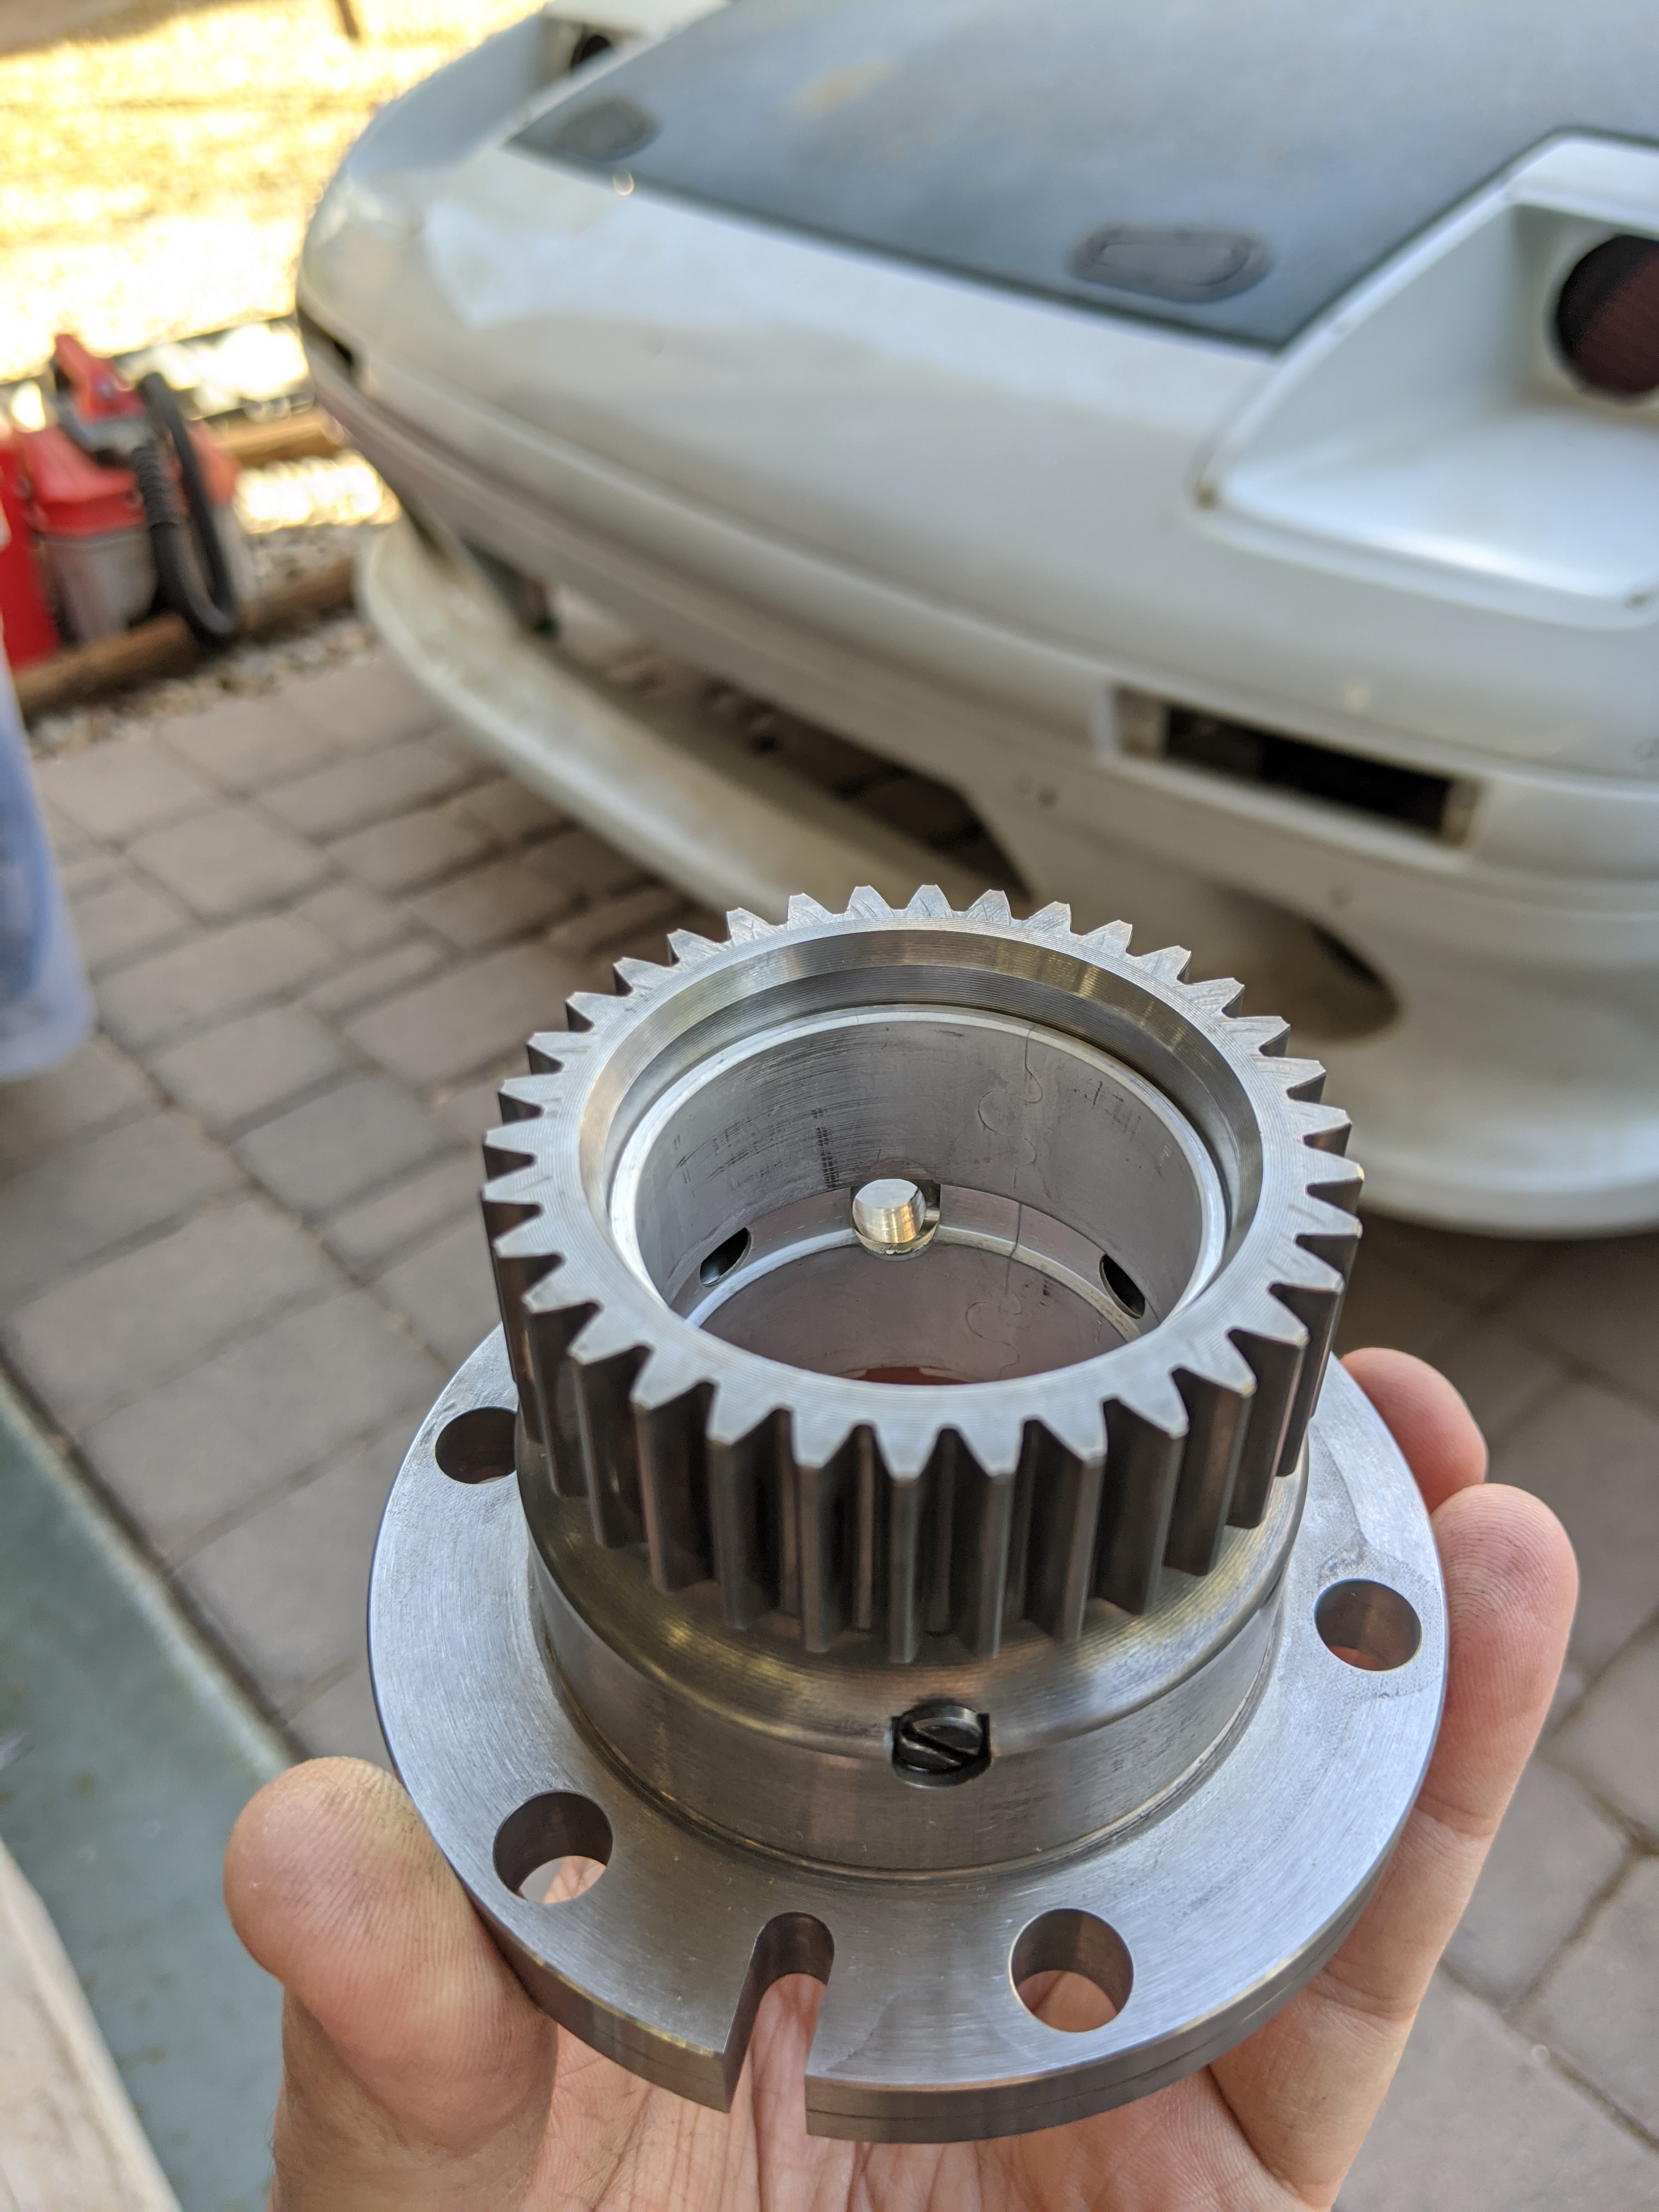
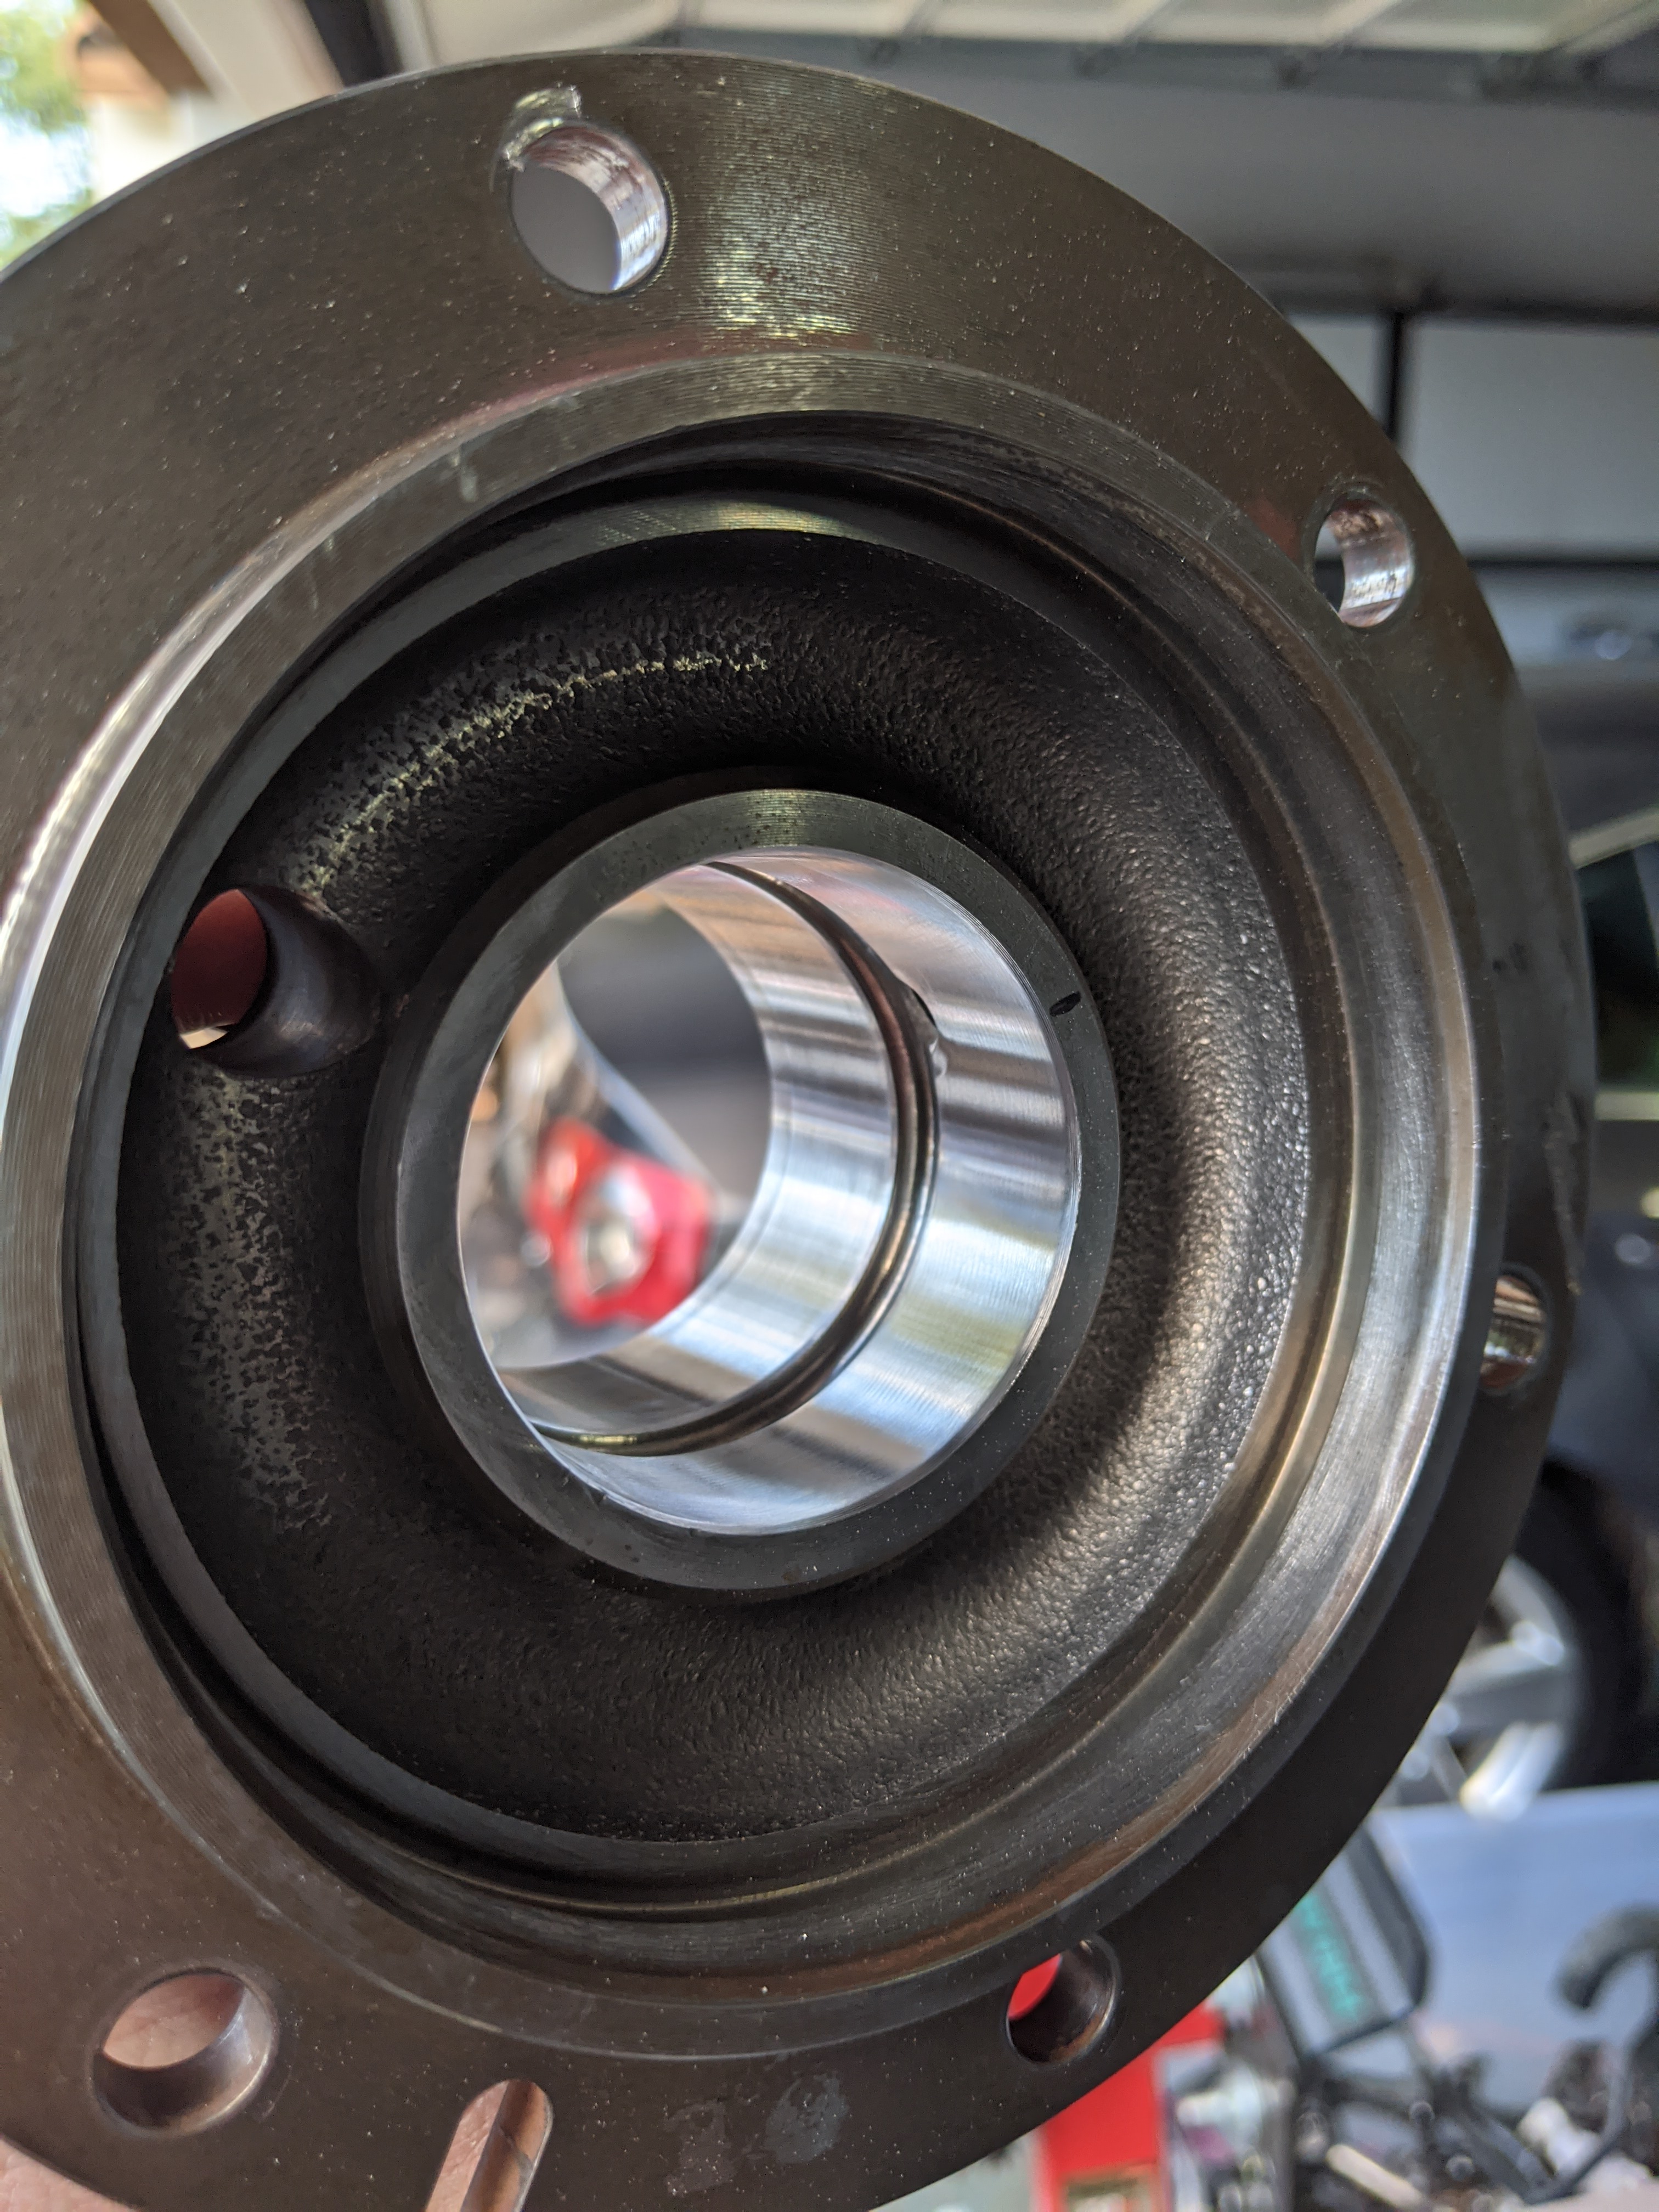
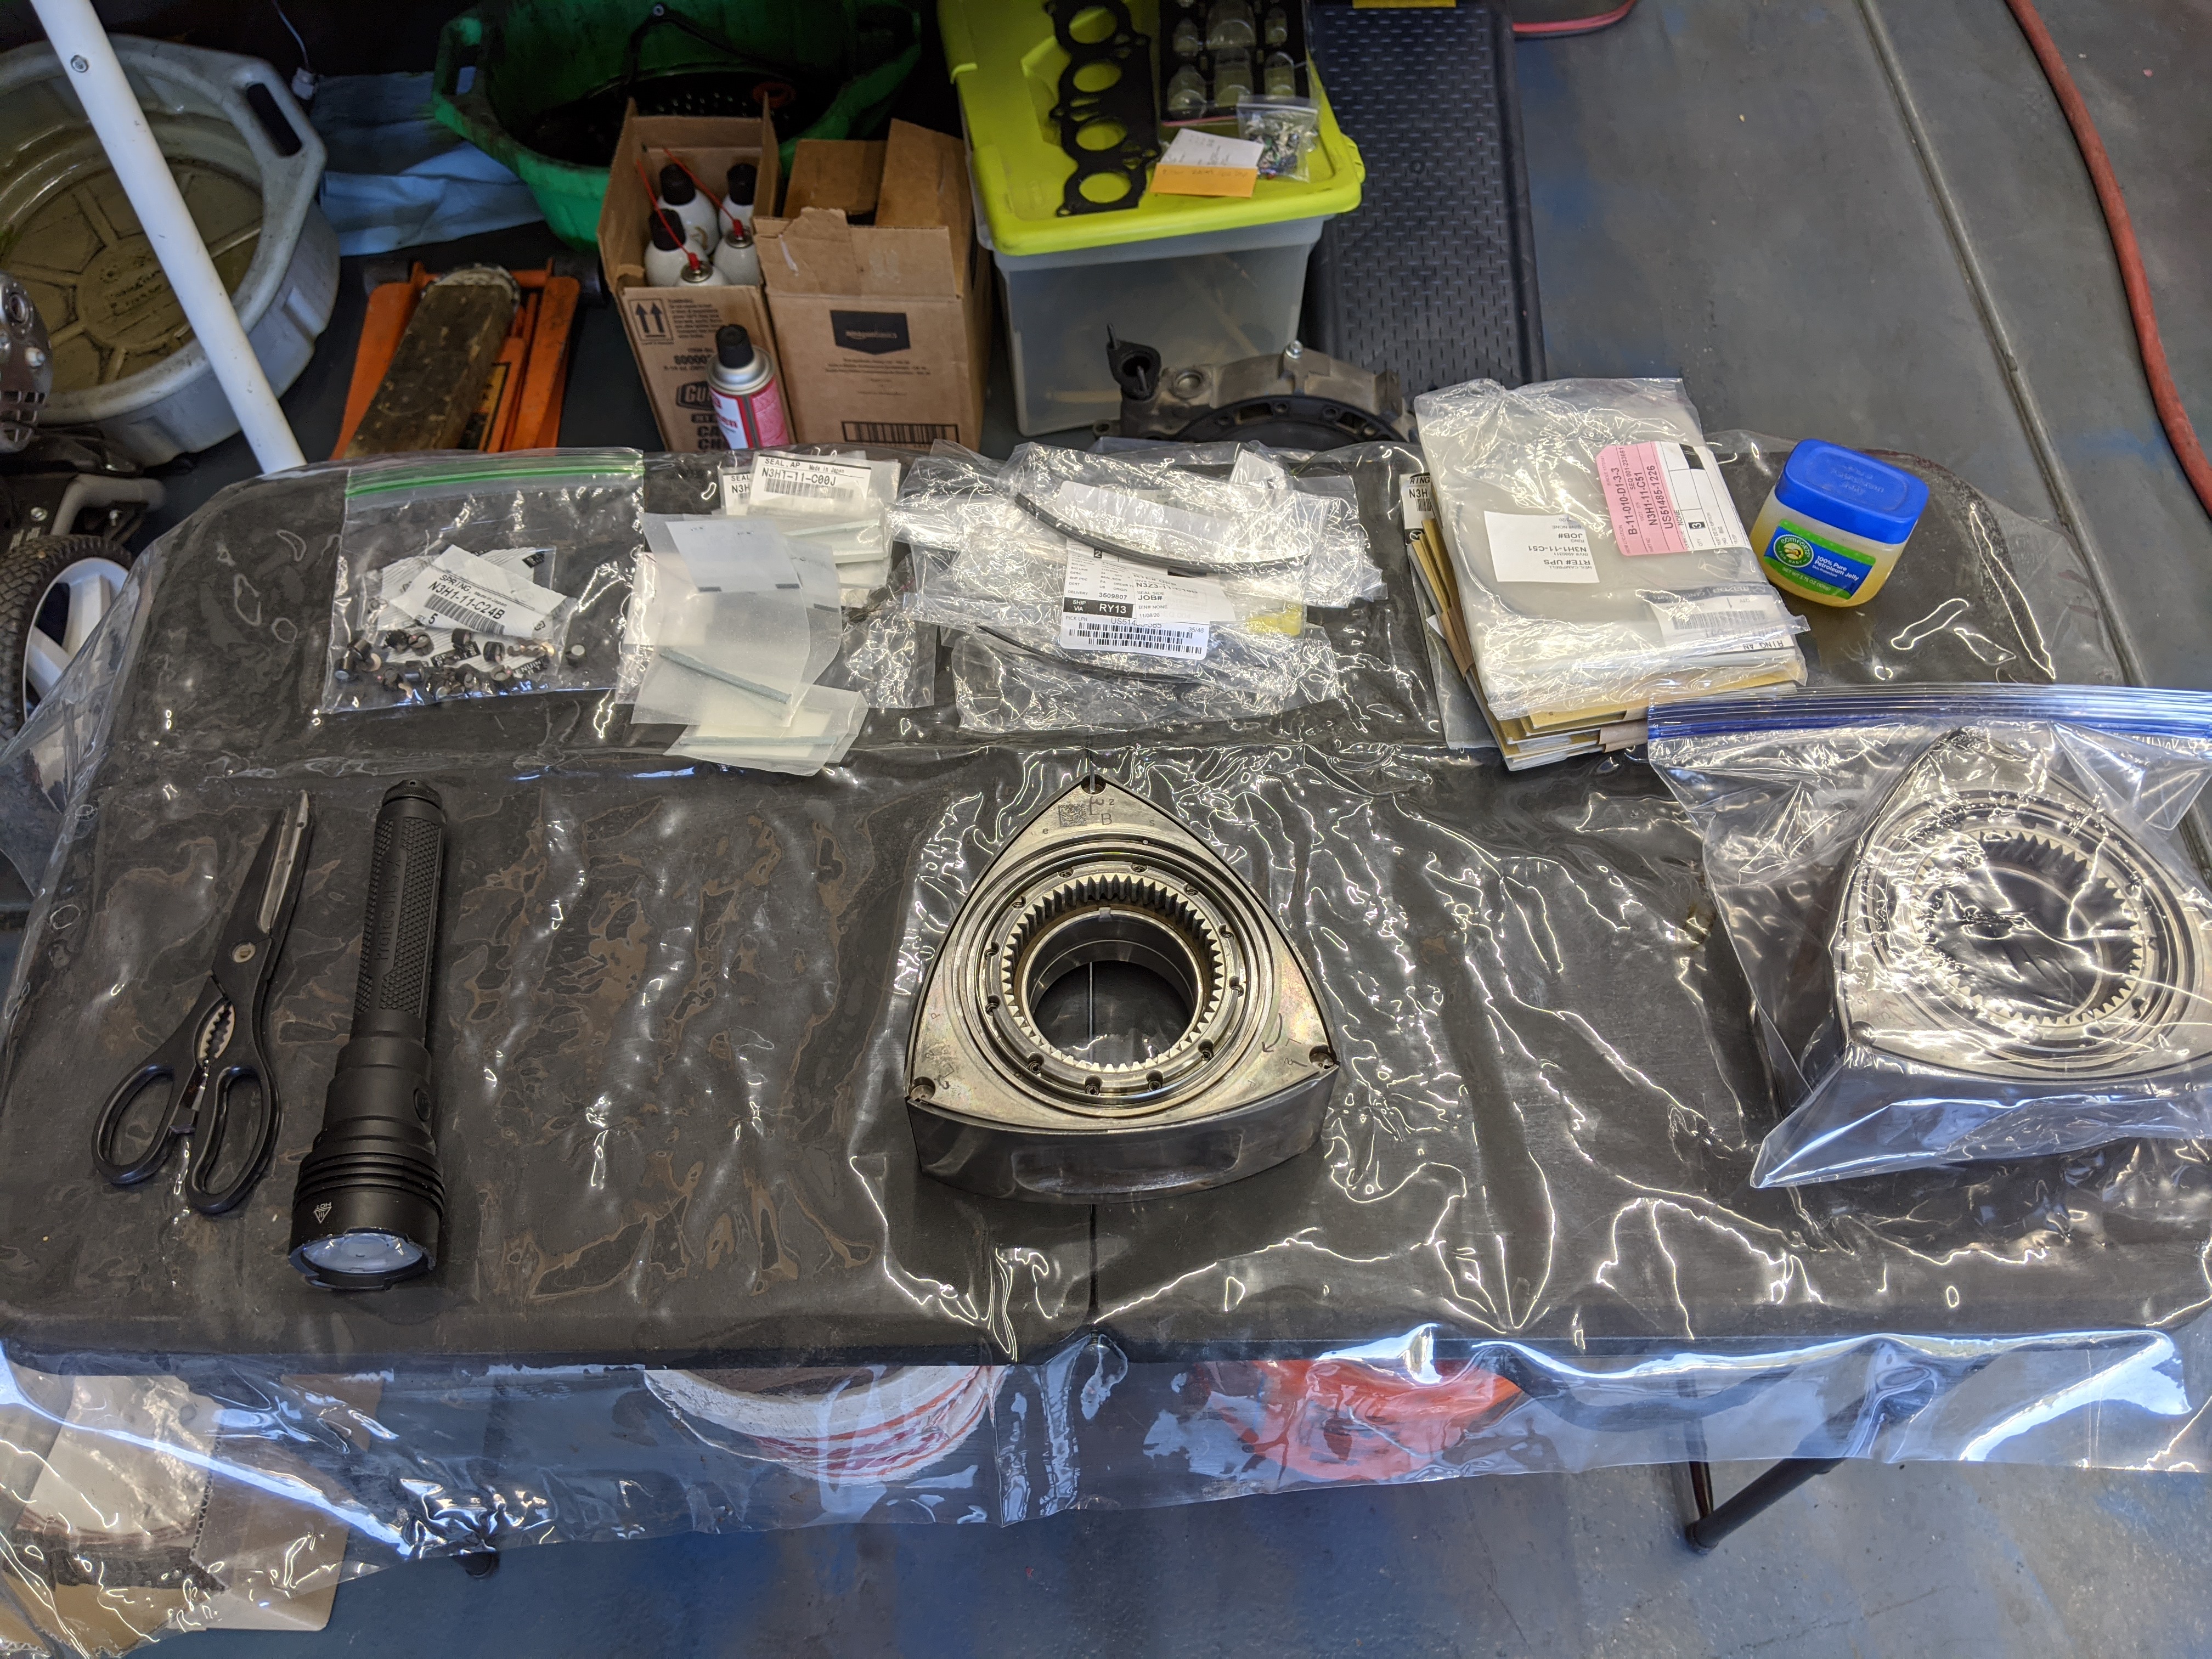
Next I cleaned up the journals of the stationary gears in preparation for two new main bearings. Red loctite on the lock screw completed the installation of both
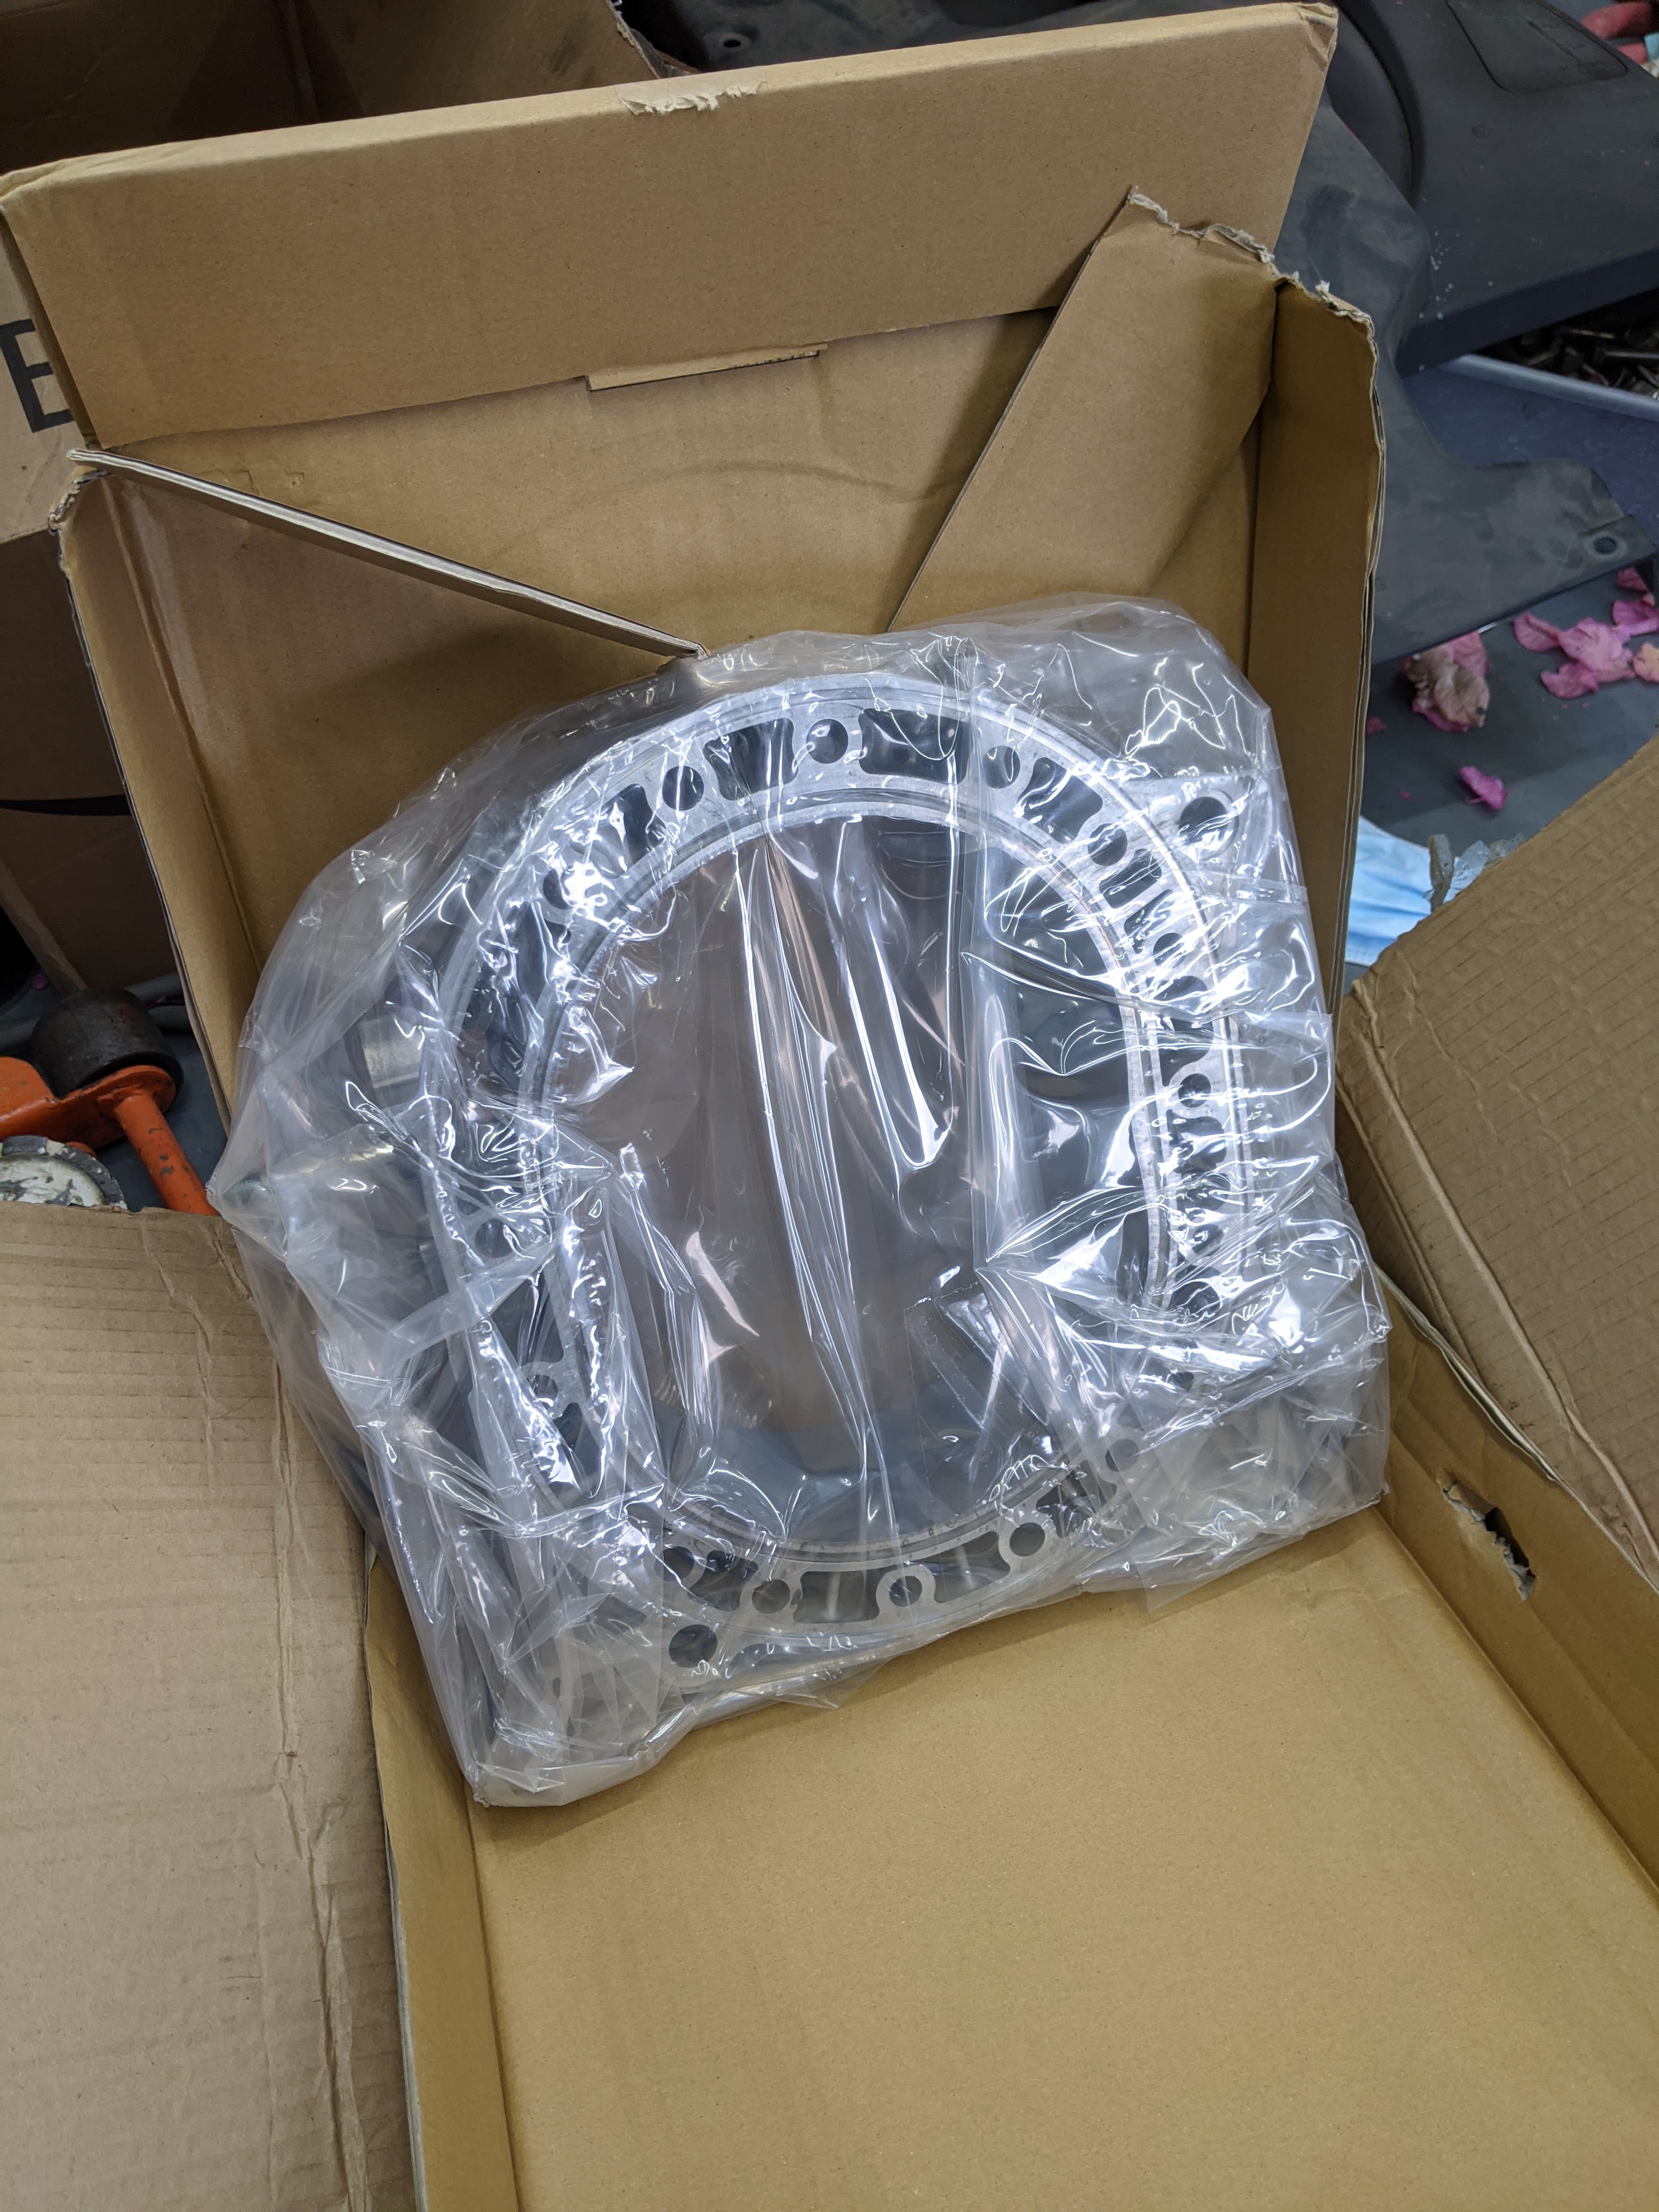
Two new rotor housings completed the remaining hard engine parts to be replaced.
The rotors were next to be pre assembled. New side seals, corner seals and apex seals + springs along with new oil control and oil scraper rings, all new and all new springs
Shortblock stacked and torqued

Run out was checked, came in at .003
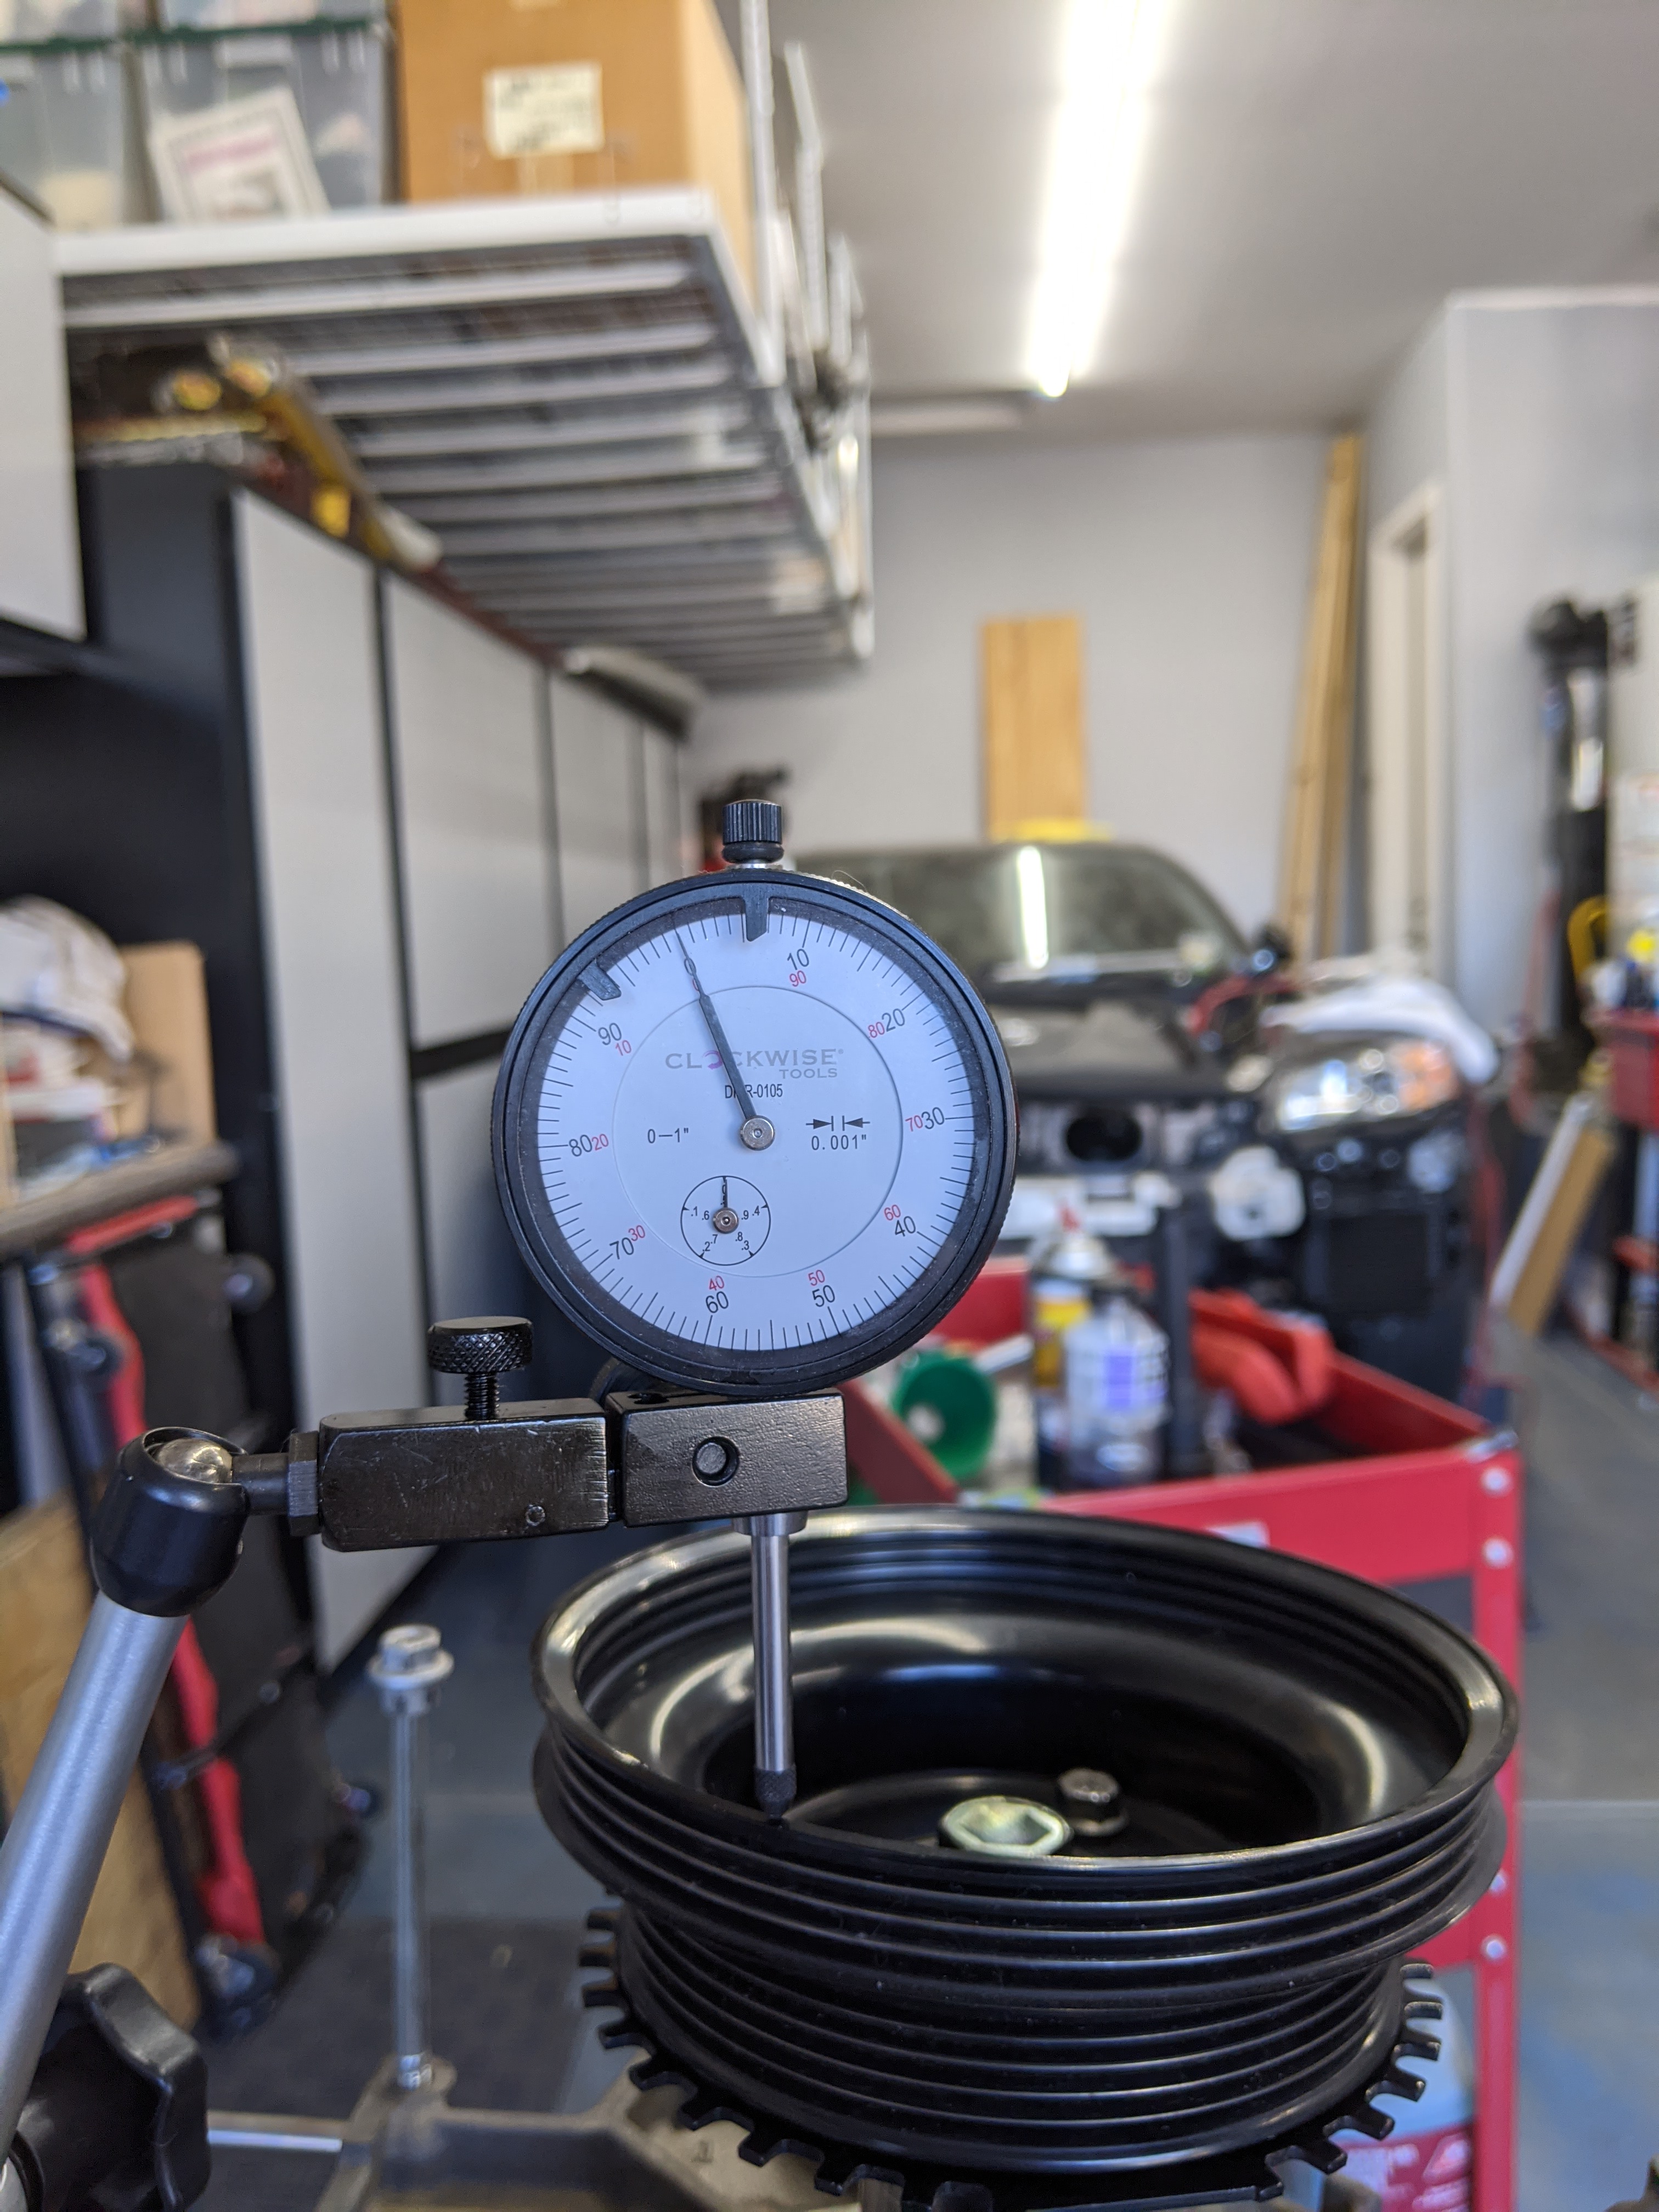
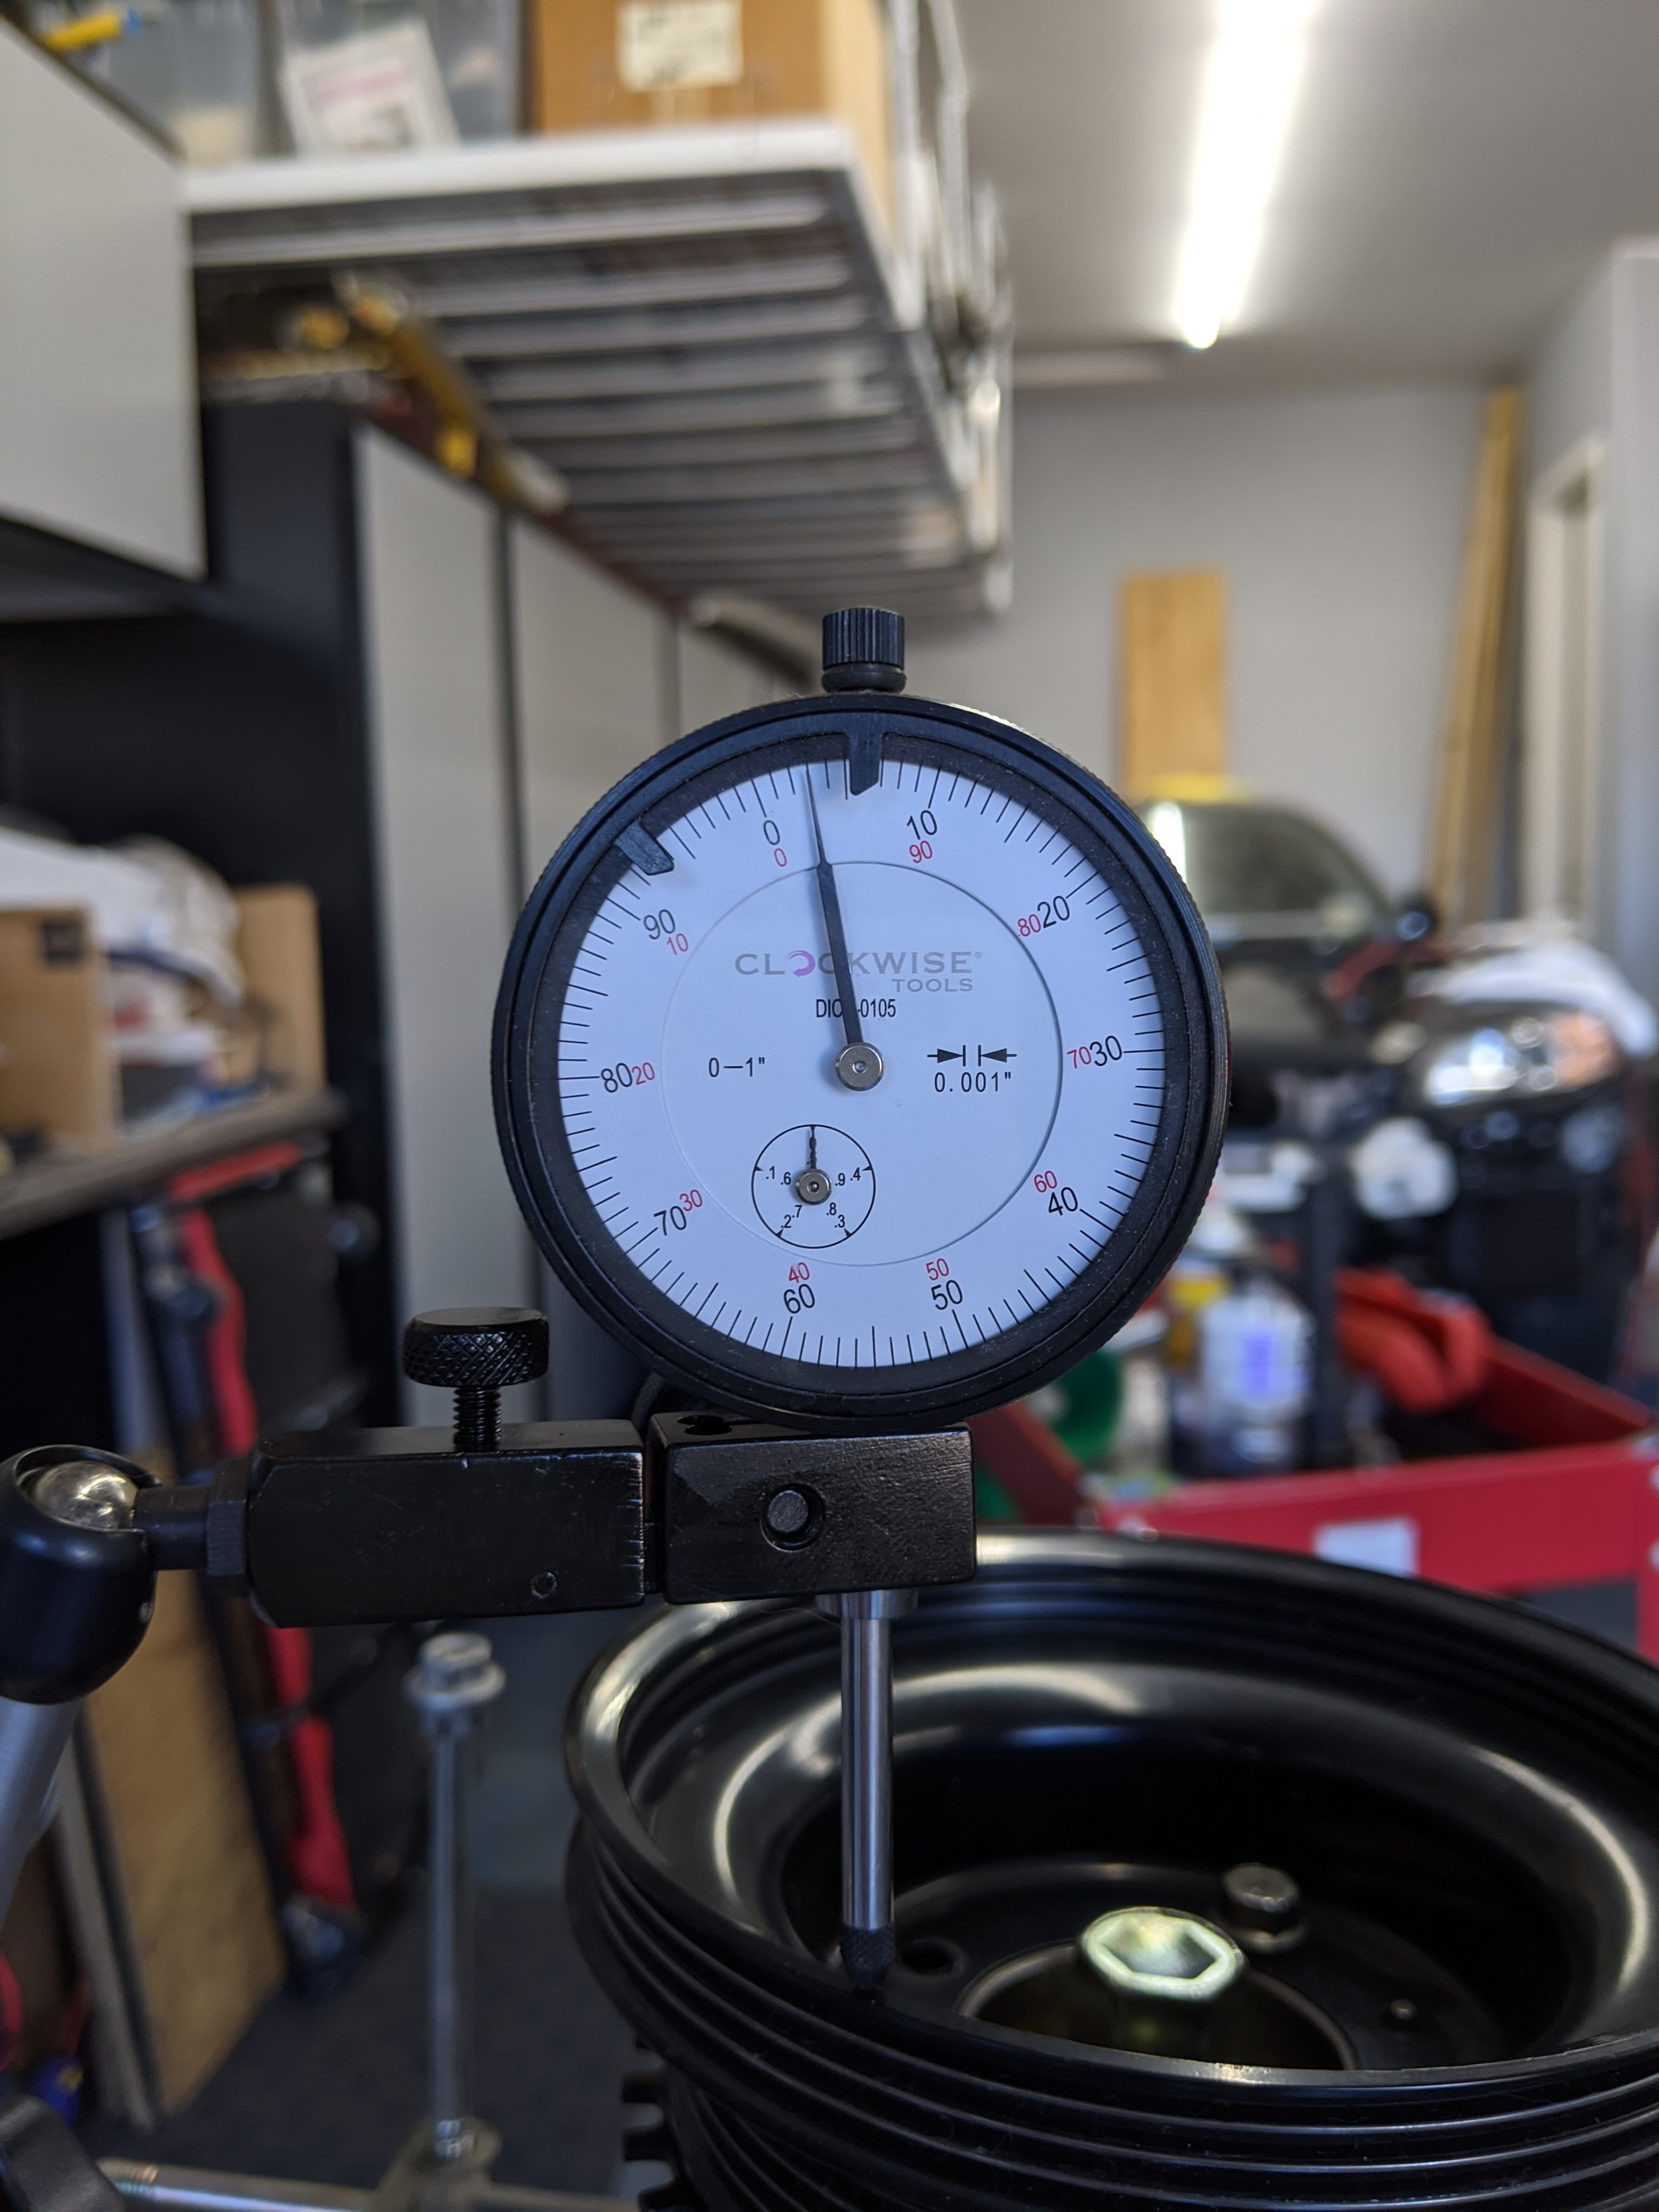
An Atkins Rotary thermo plug replaced the stock thermostat in the eccentric shaft and that completed the shot block build.
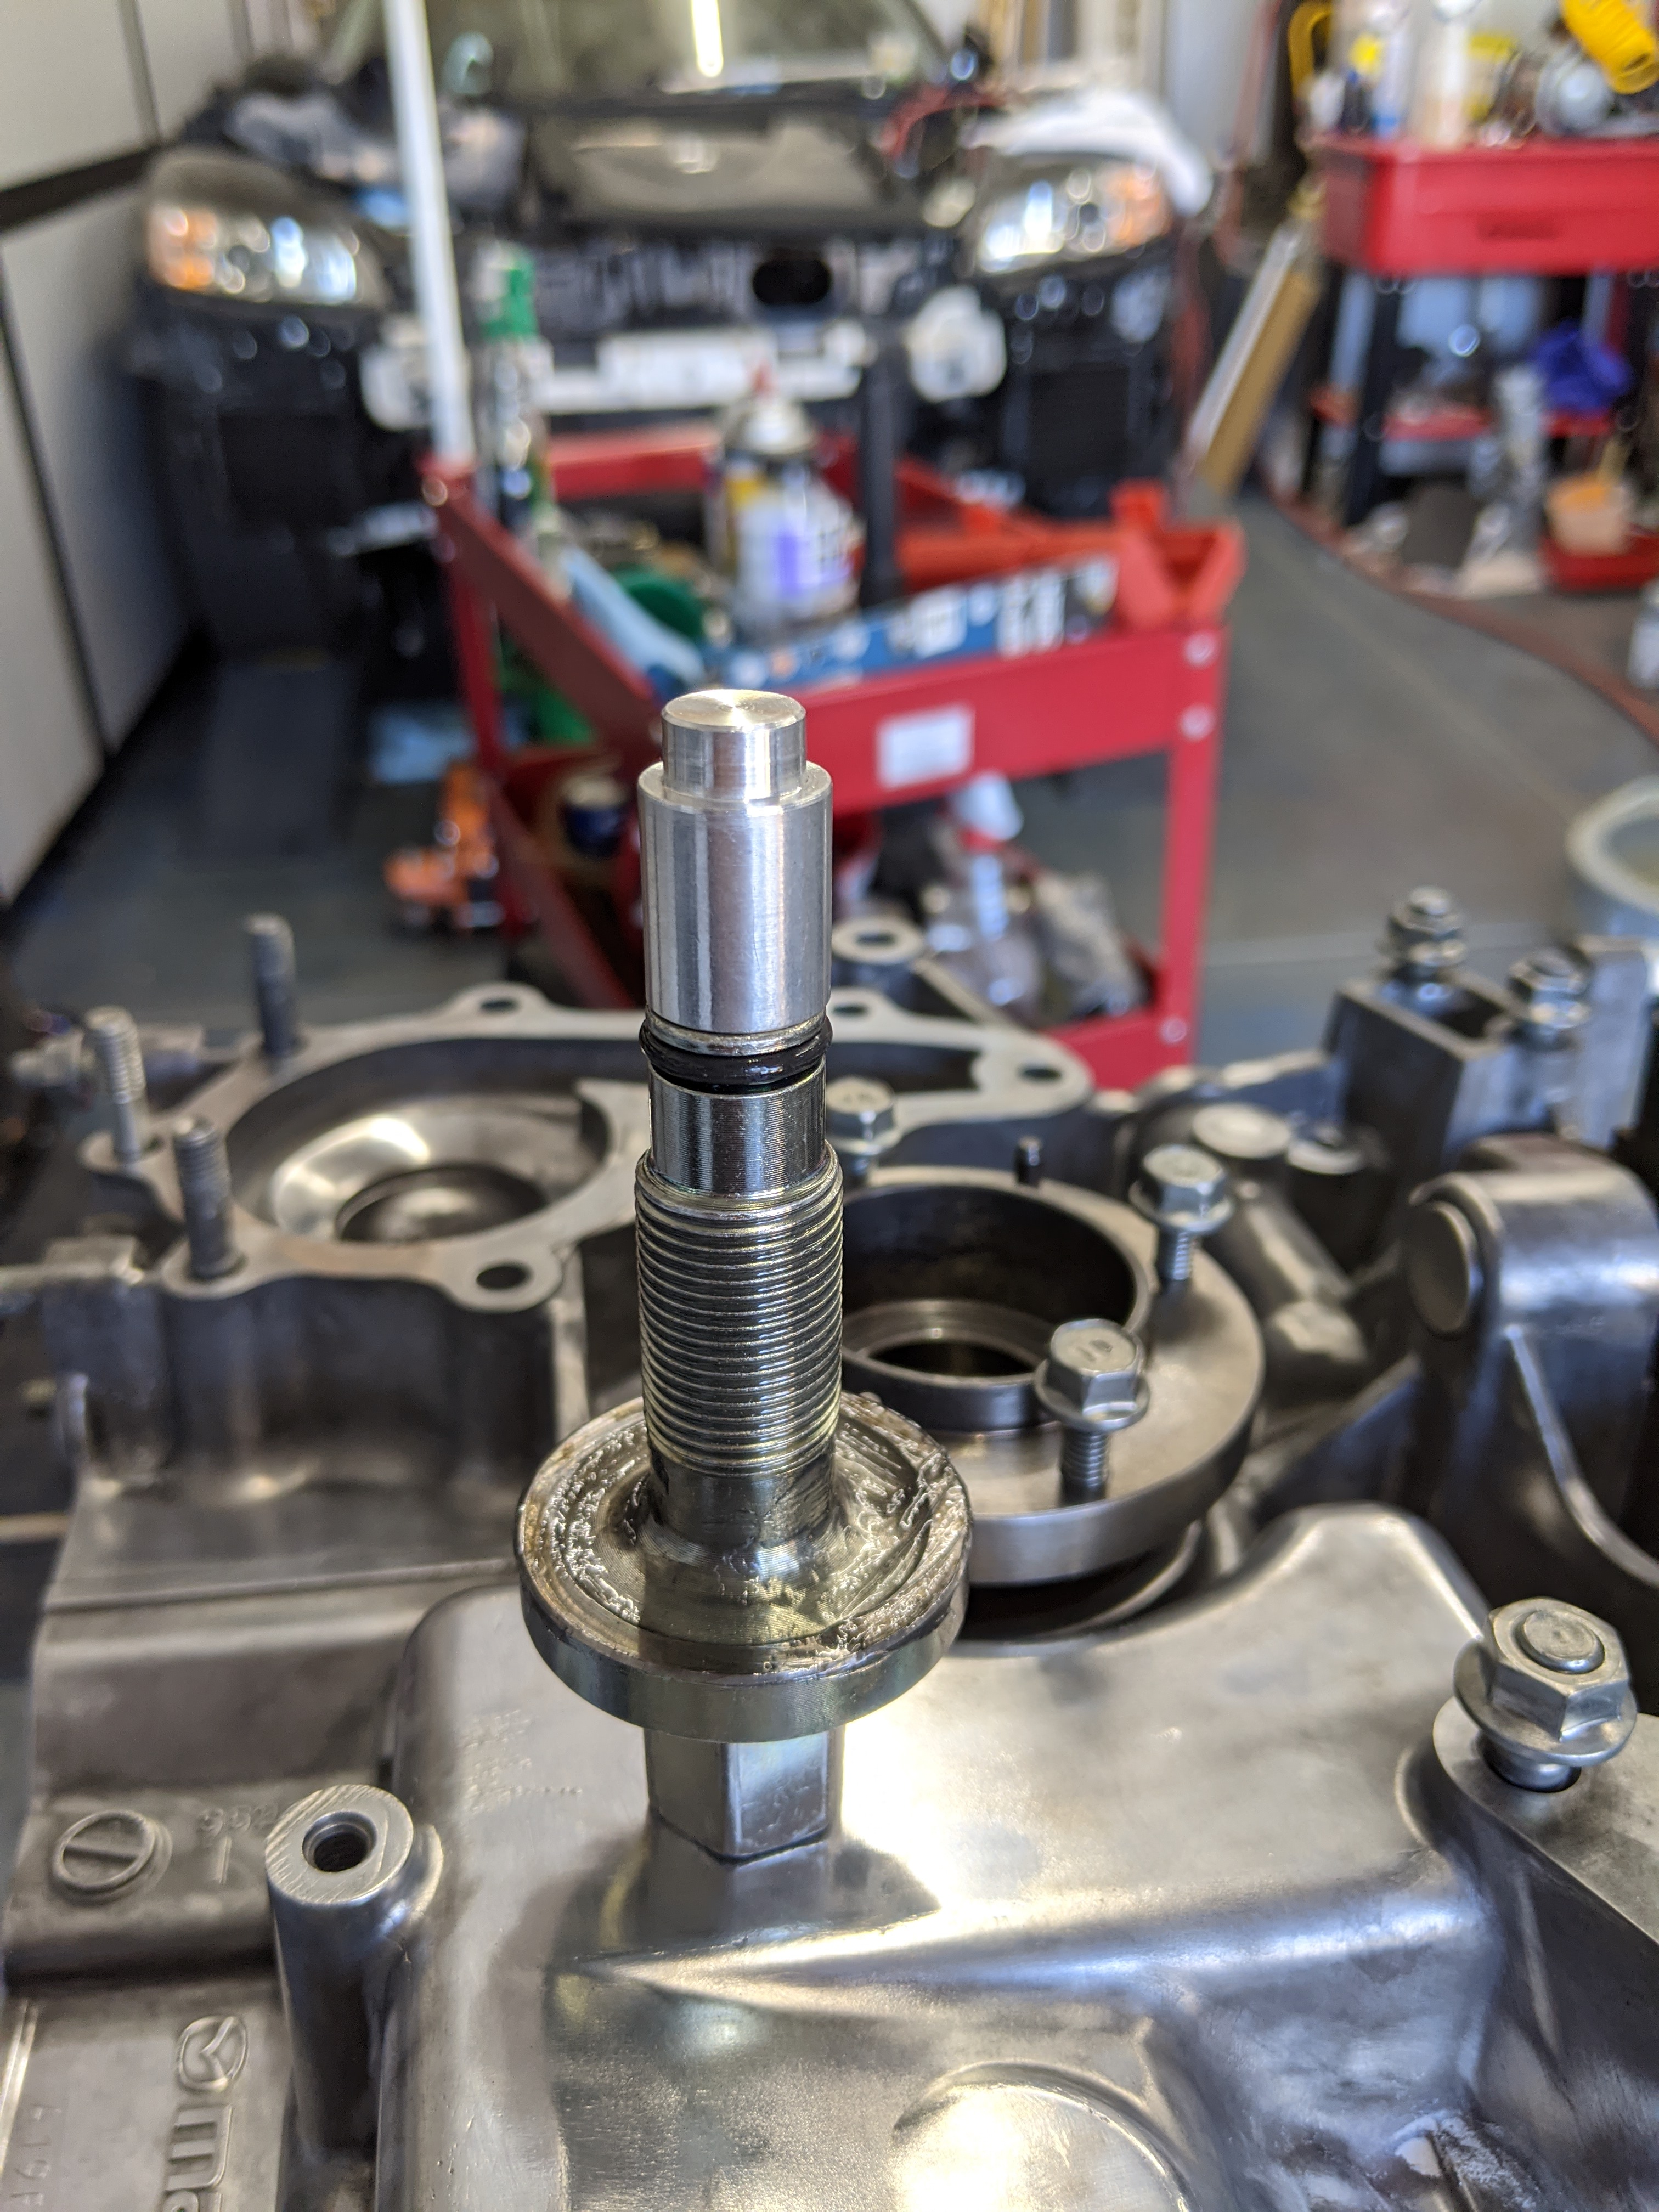
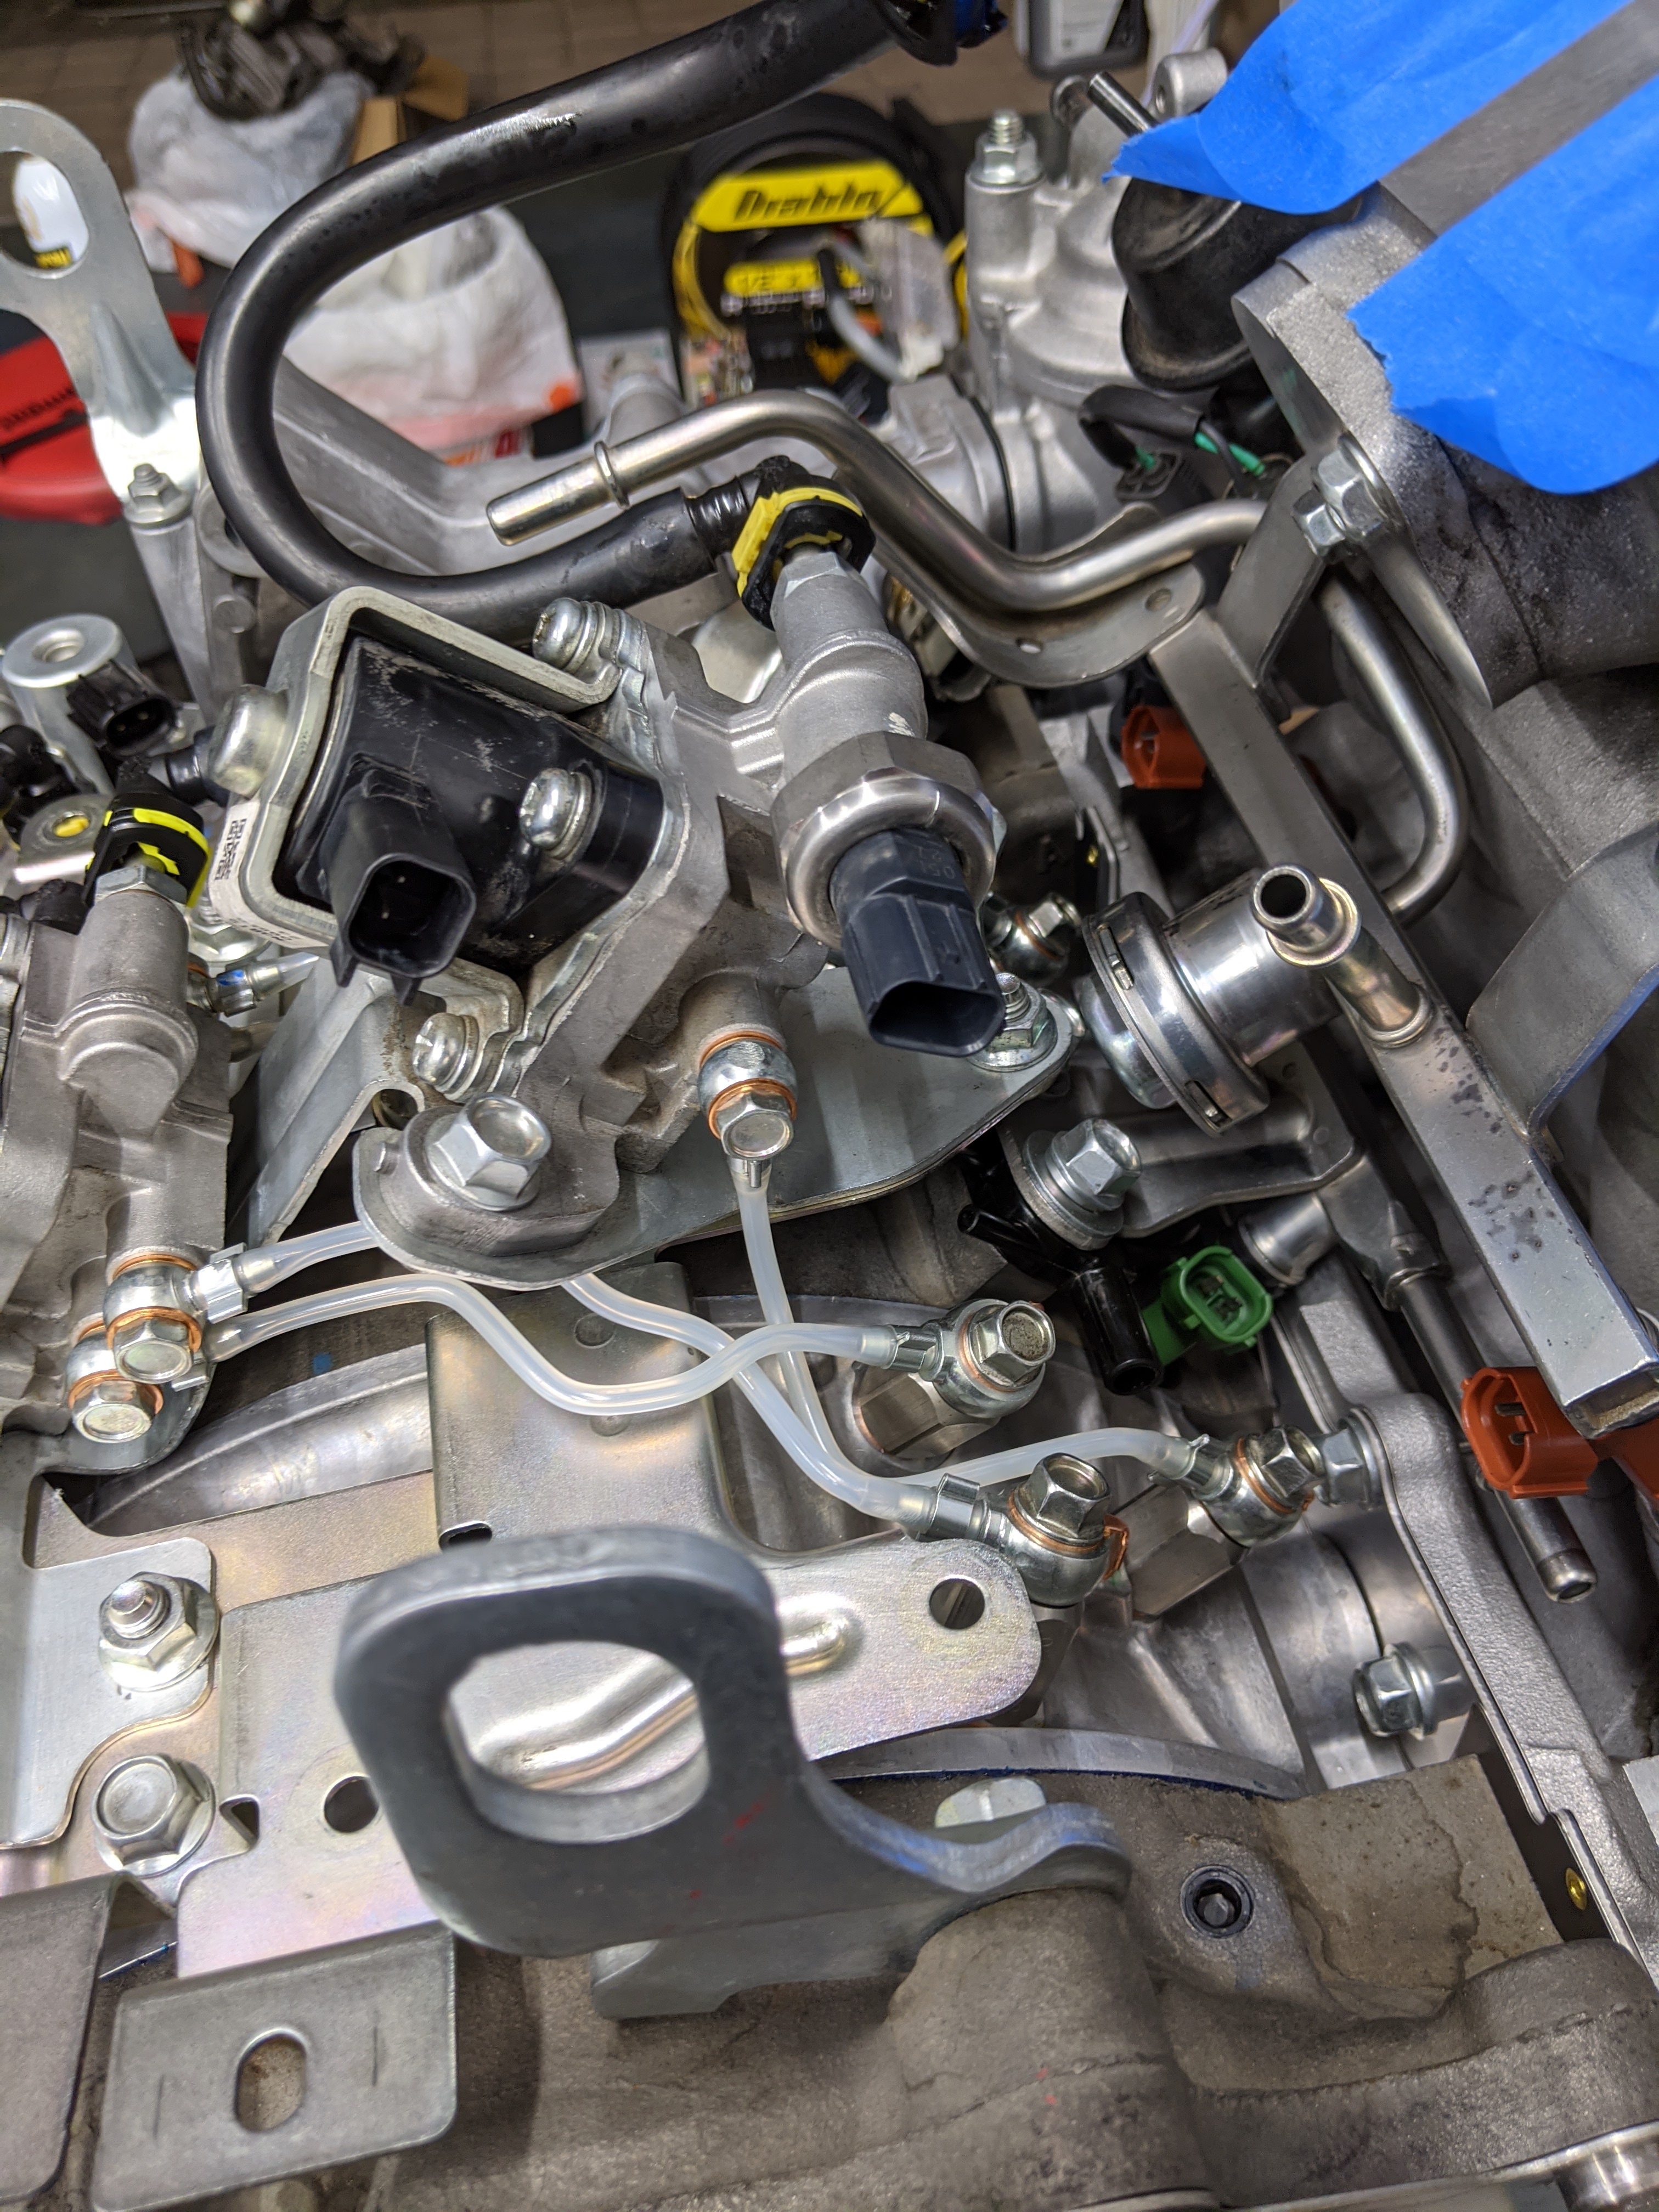
Everything on the engine was meticulously cleaned and inspected. I opted to replace the oil metering lines with new along with all the crush washers with new. Oil nozzles were cleaned and checked; all passed inspection
New waterpump installed, almost done
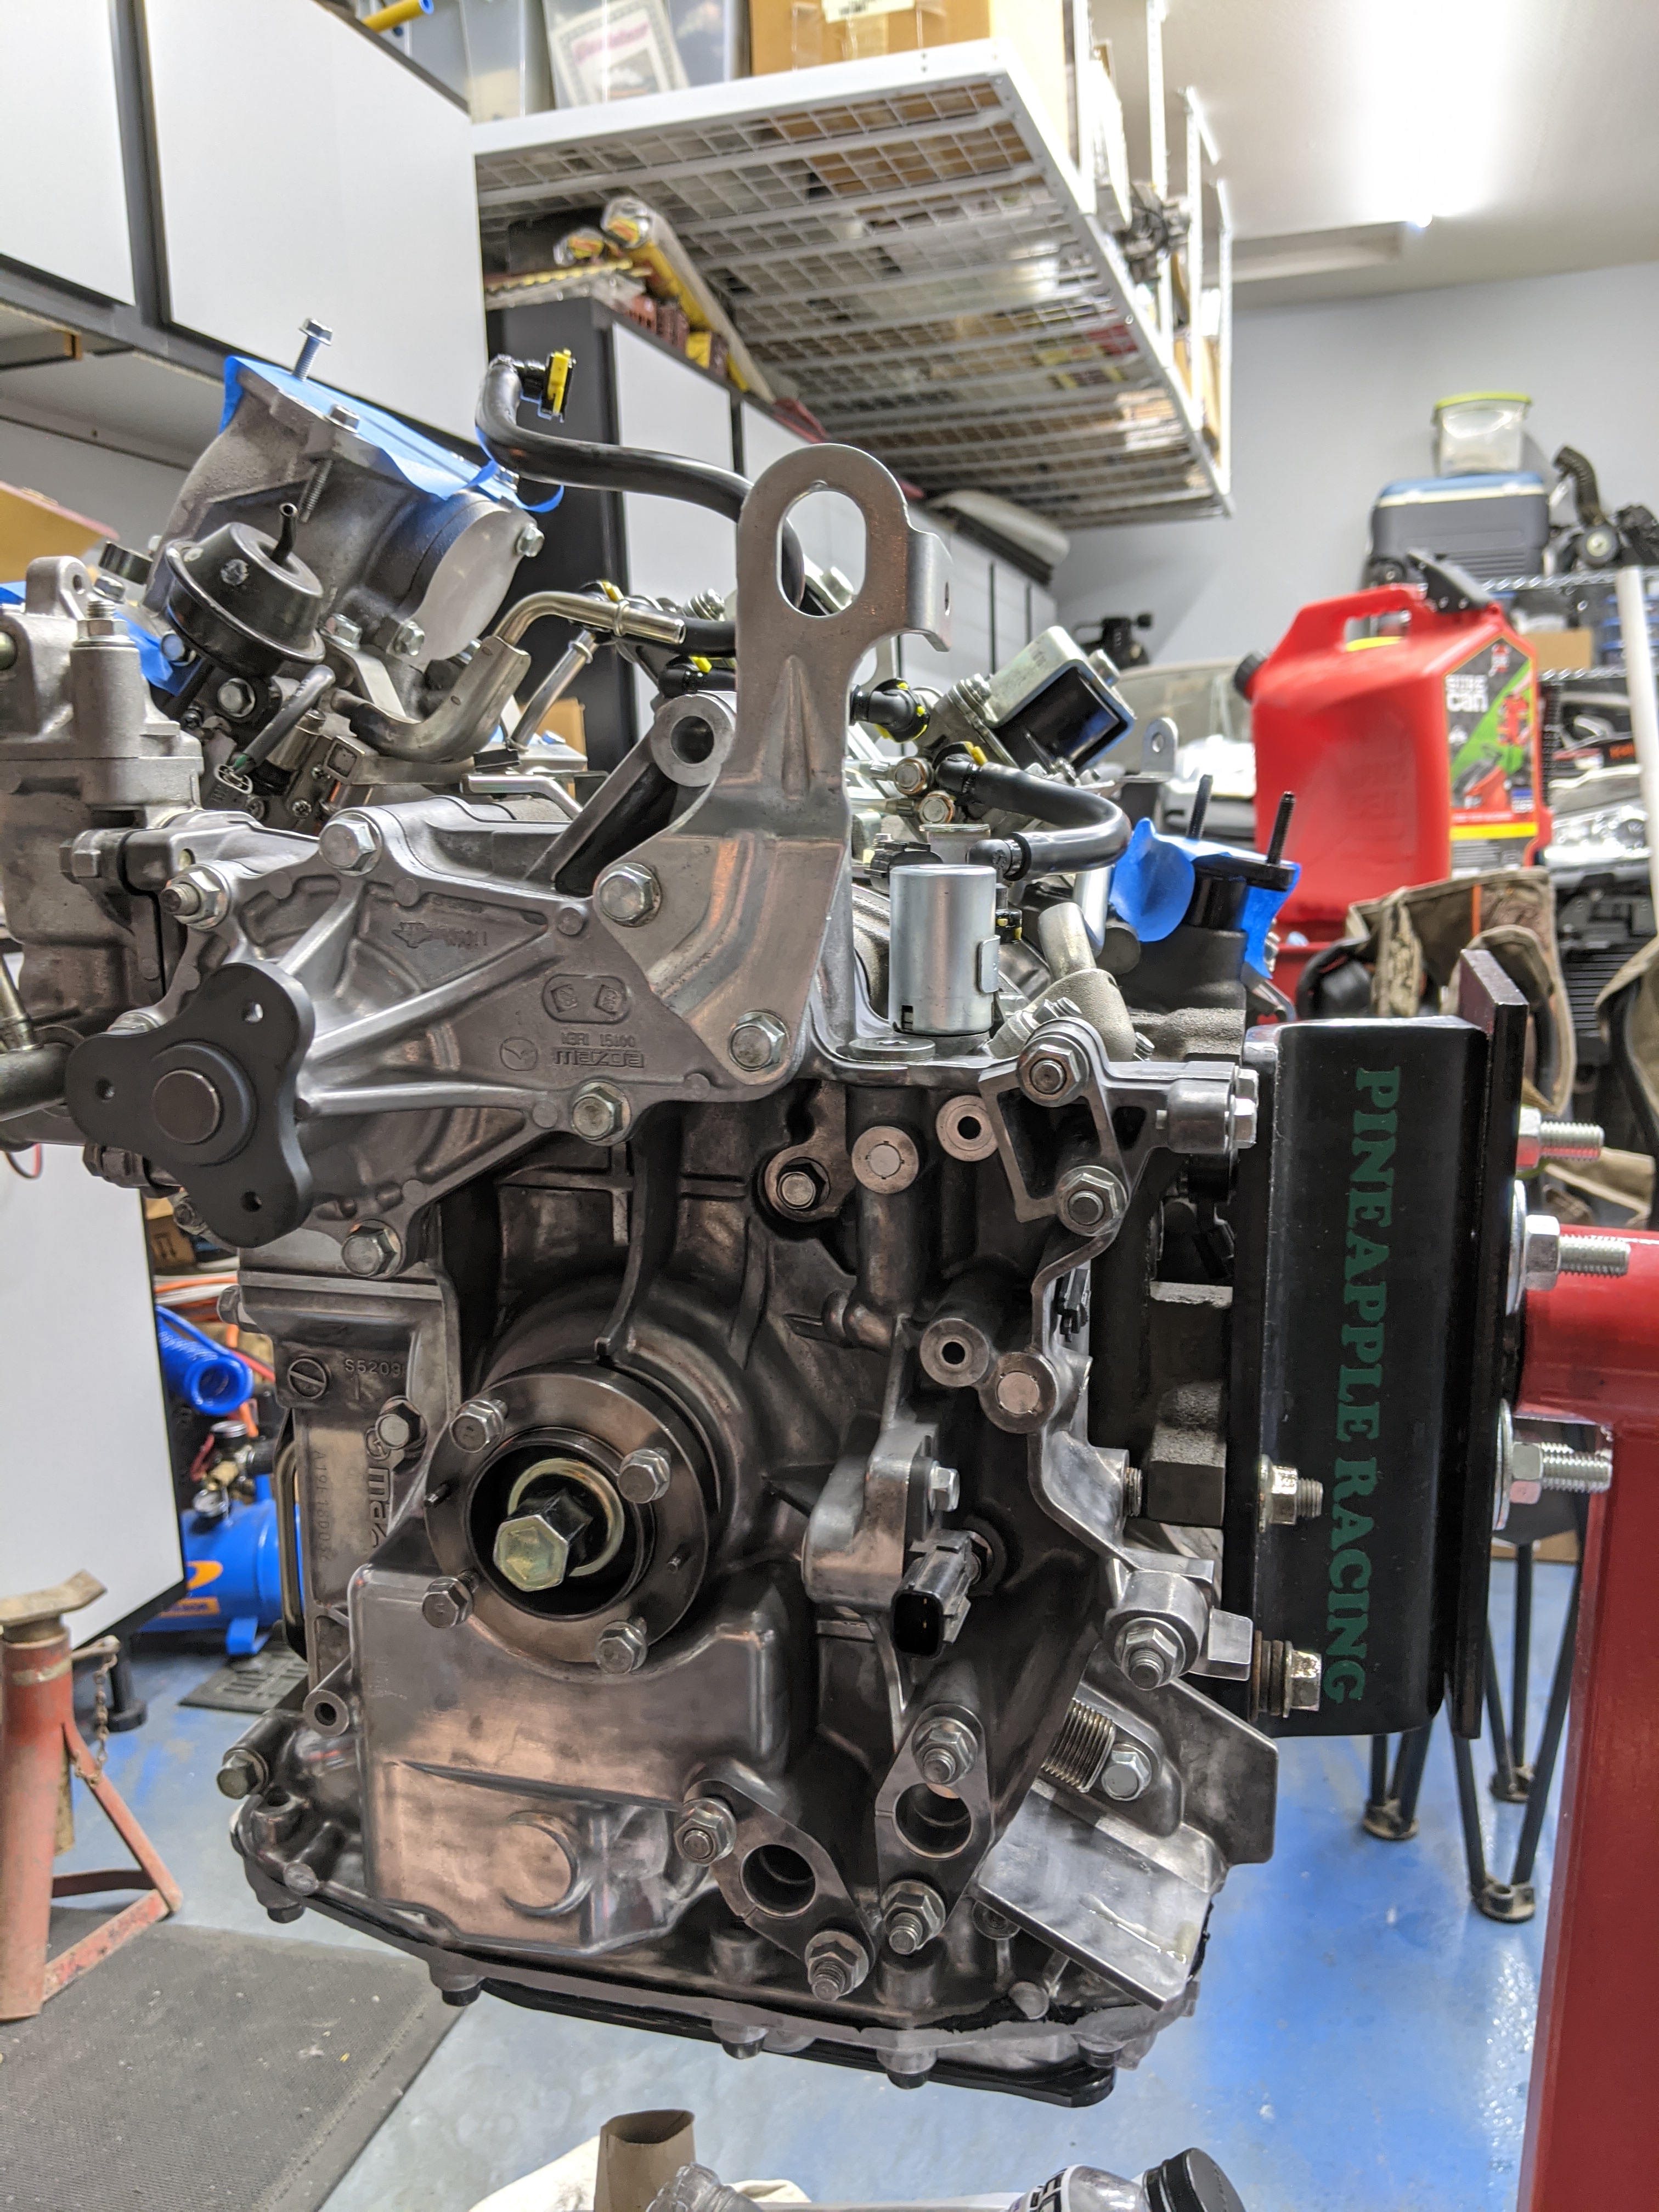
Engine ready to go back into its home!
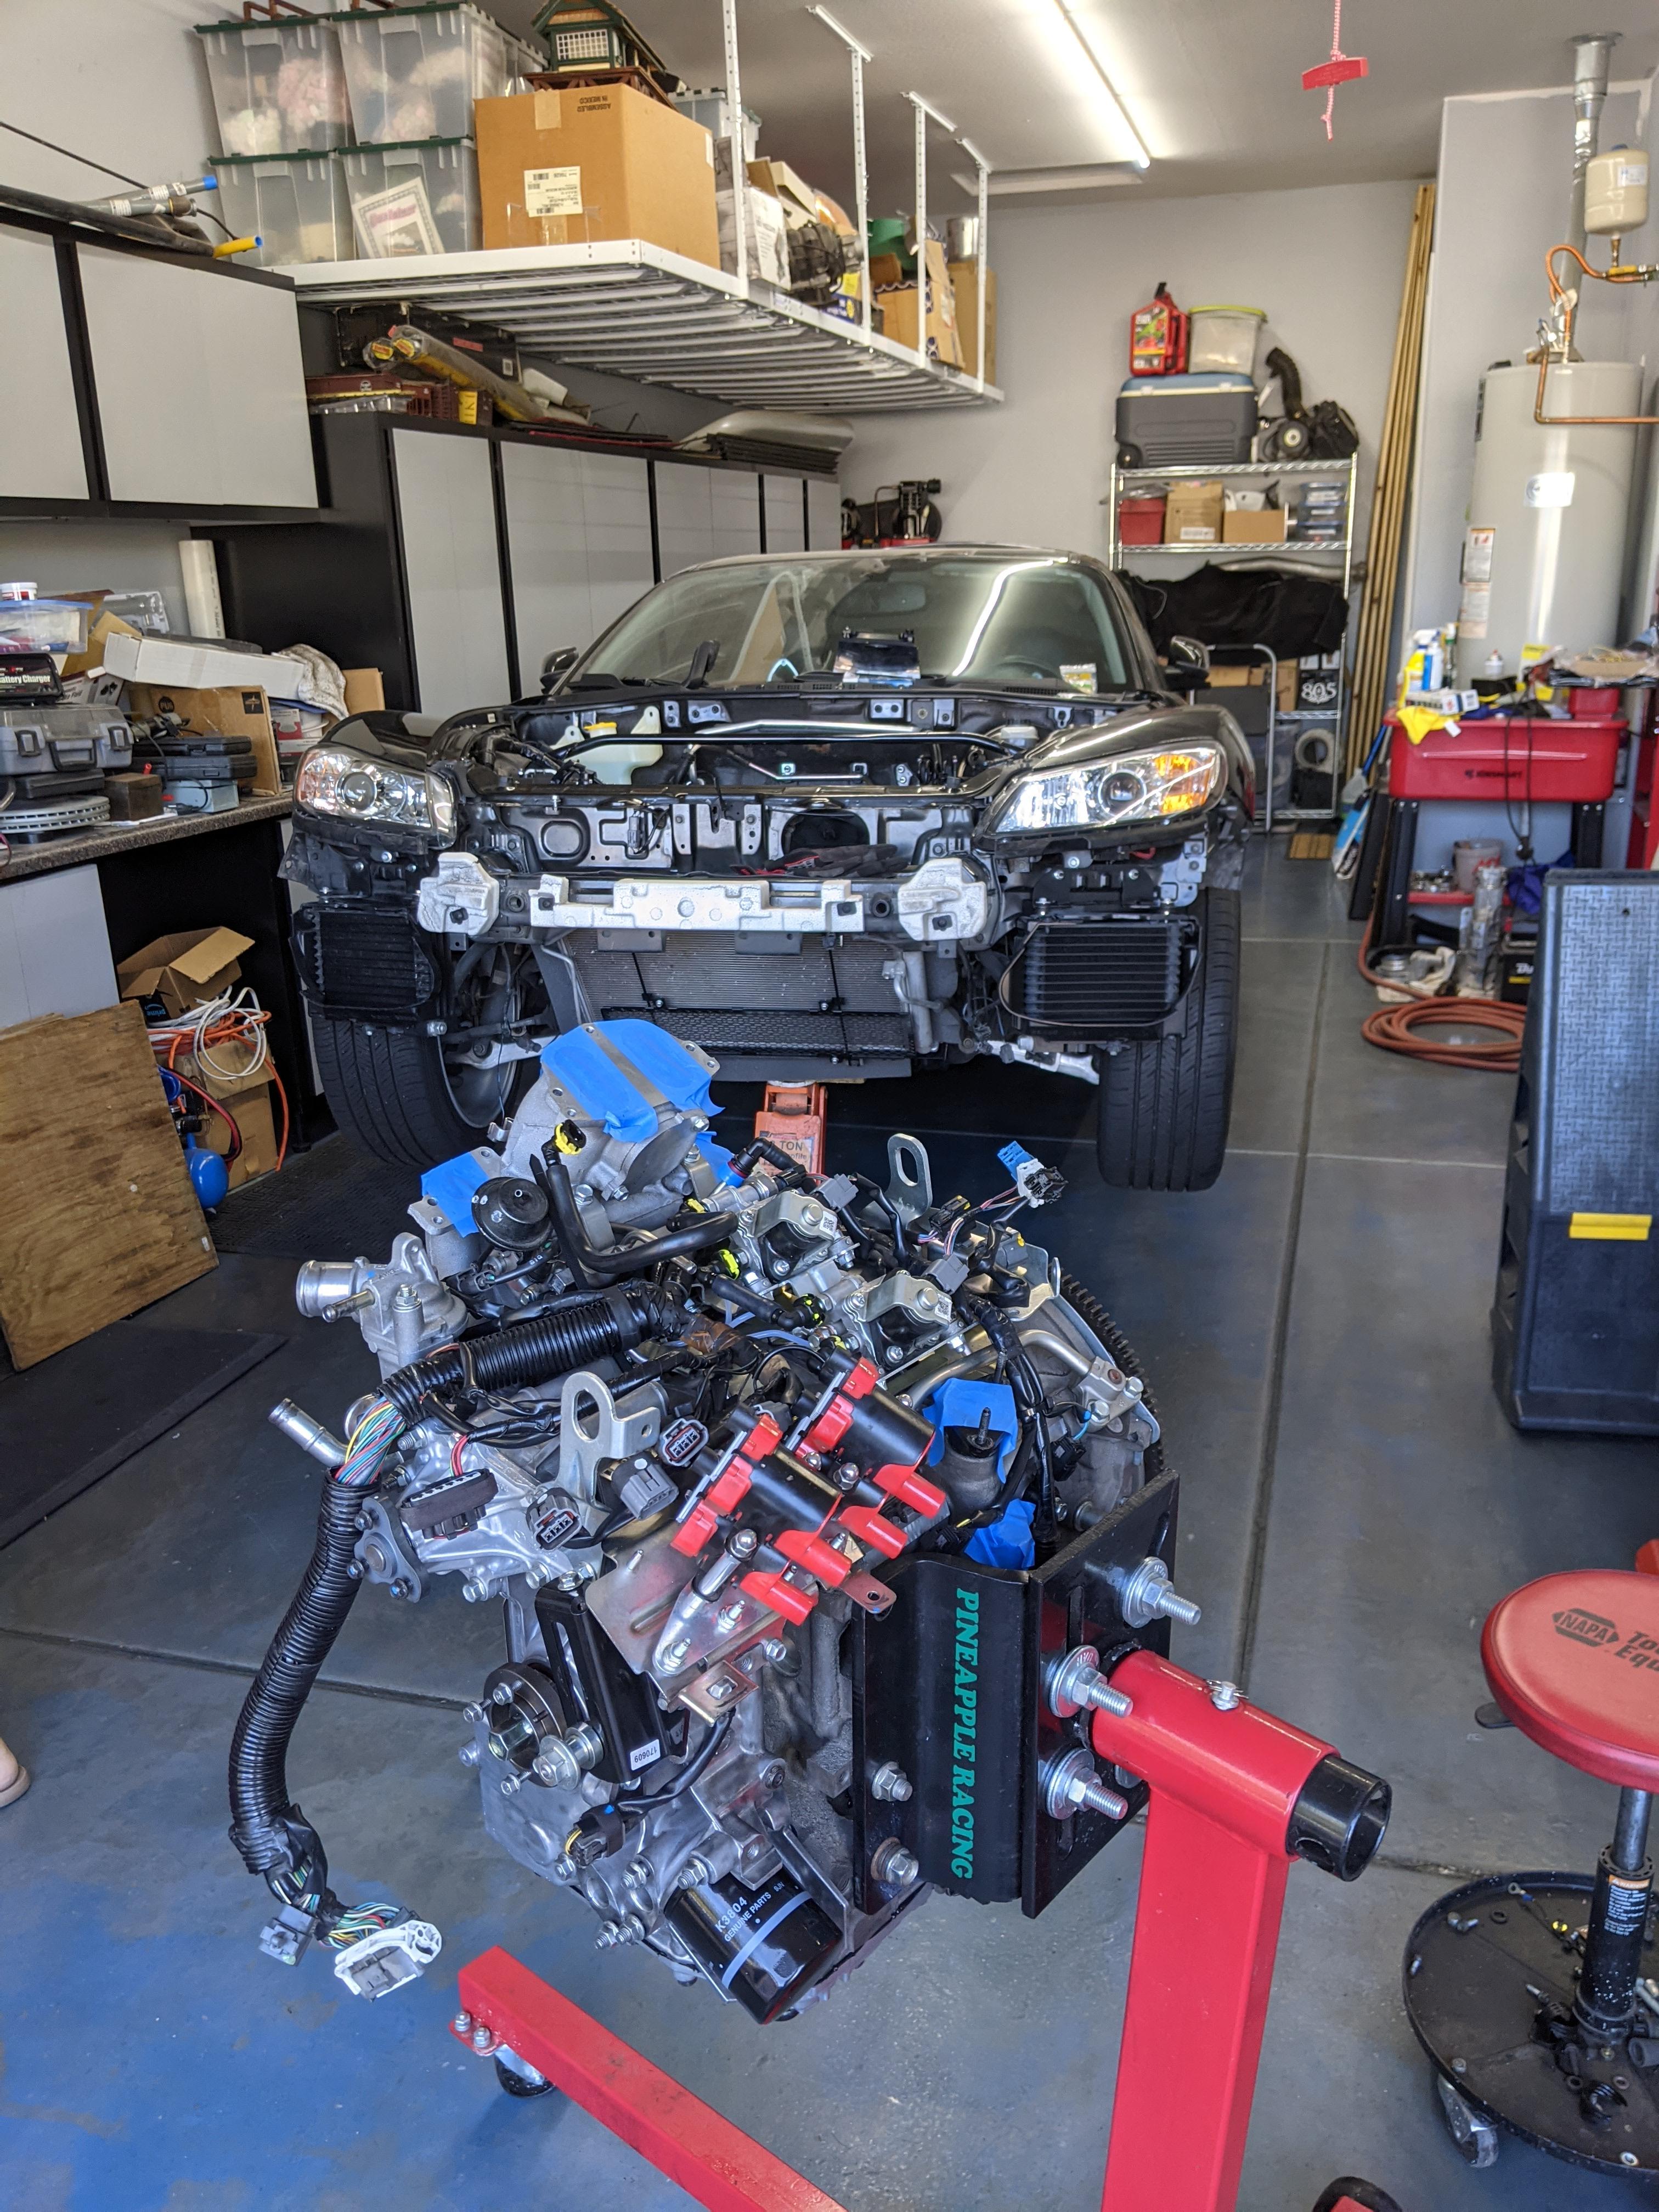
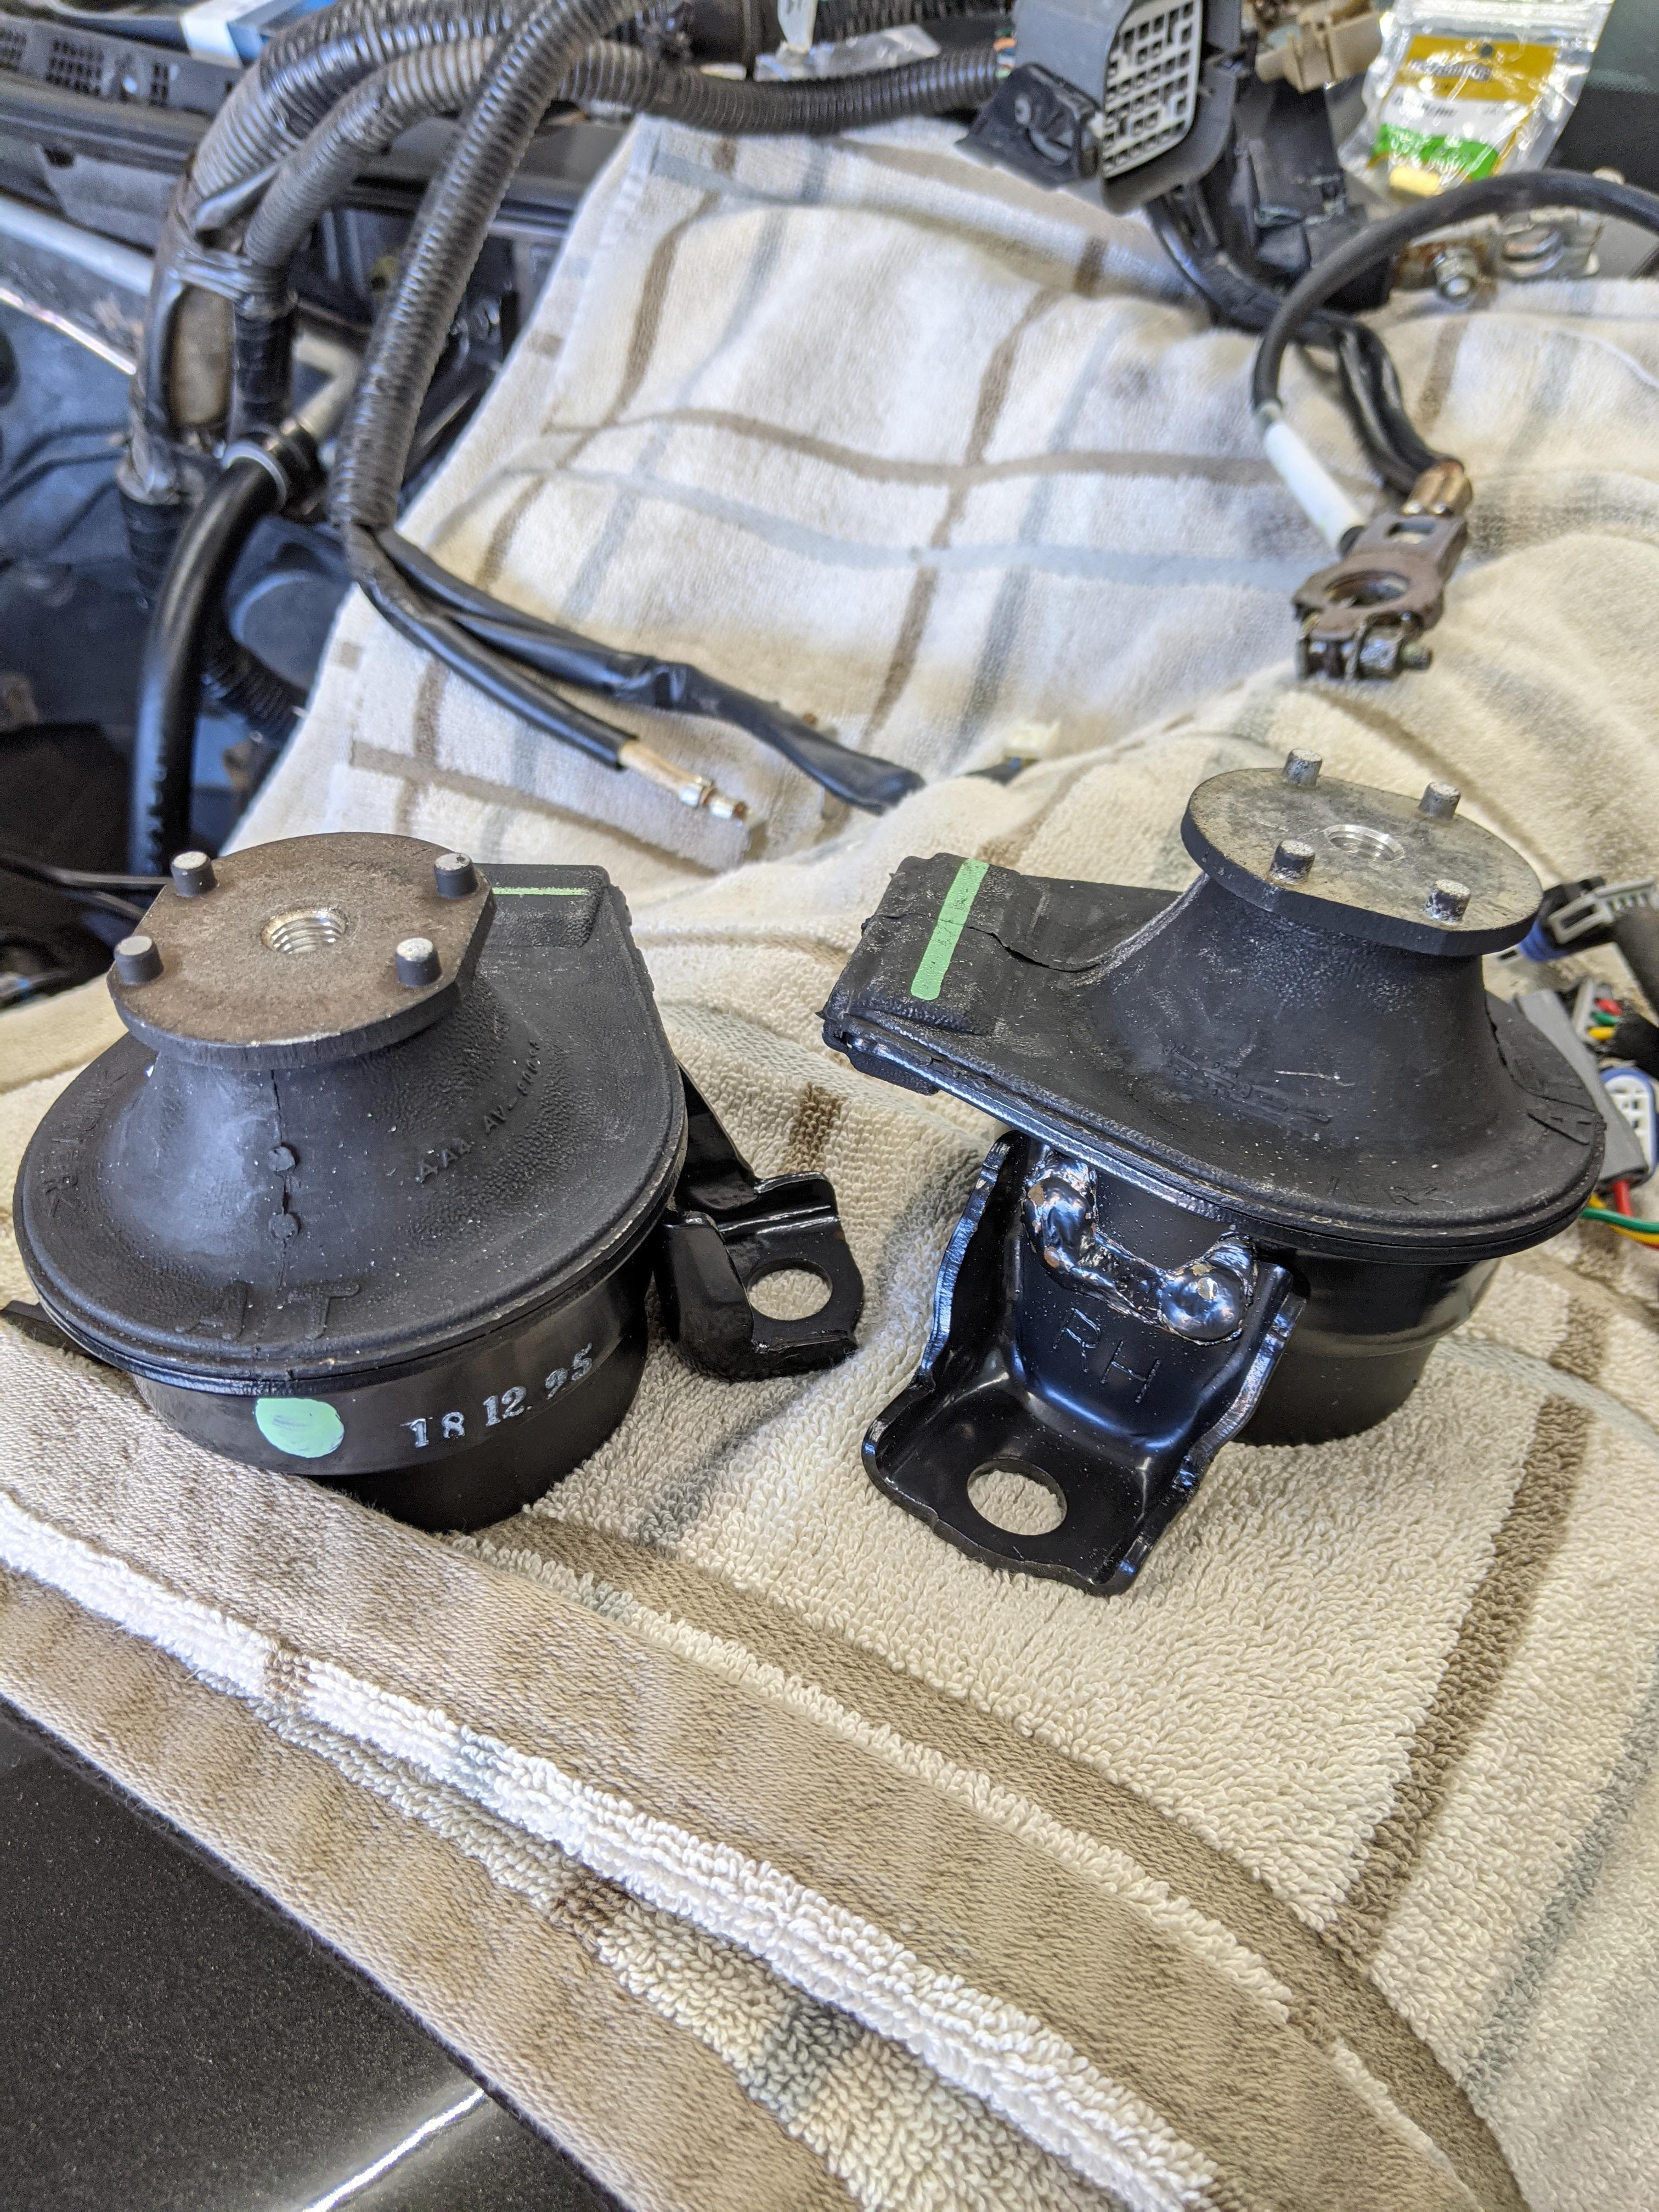
A couple of new motor mounts and I had the engine back in the car
Almost there!
Racing Beat supplied the cat replacement pipe and after this, I was basically done with the installation
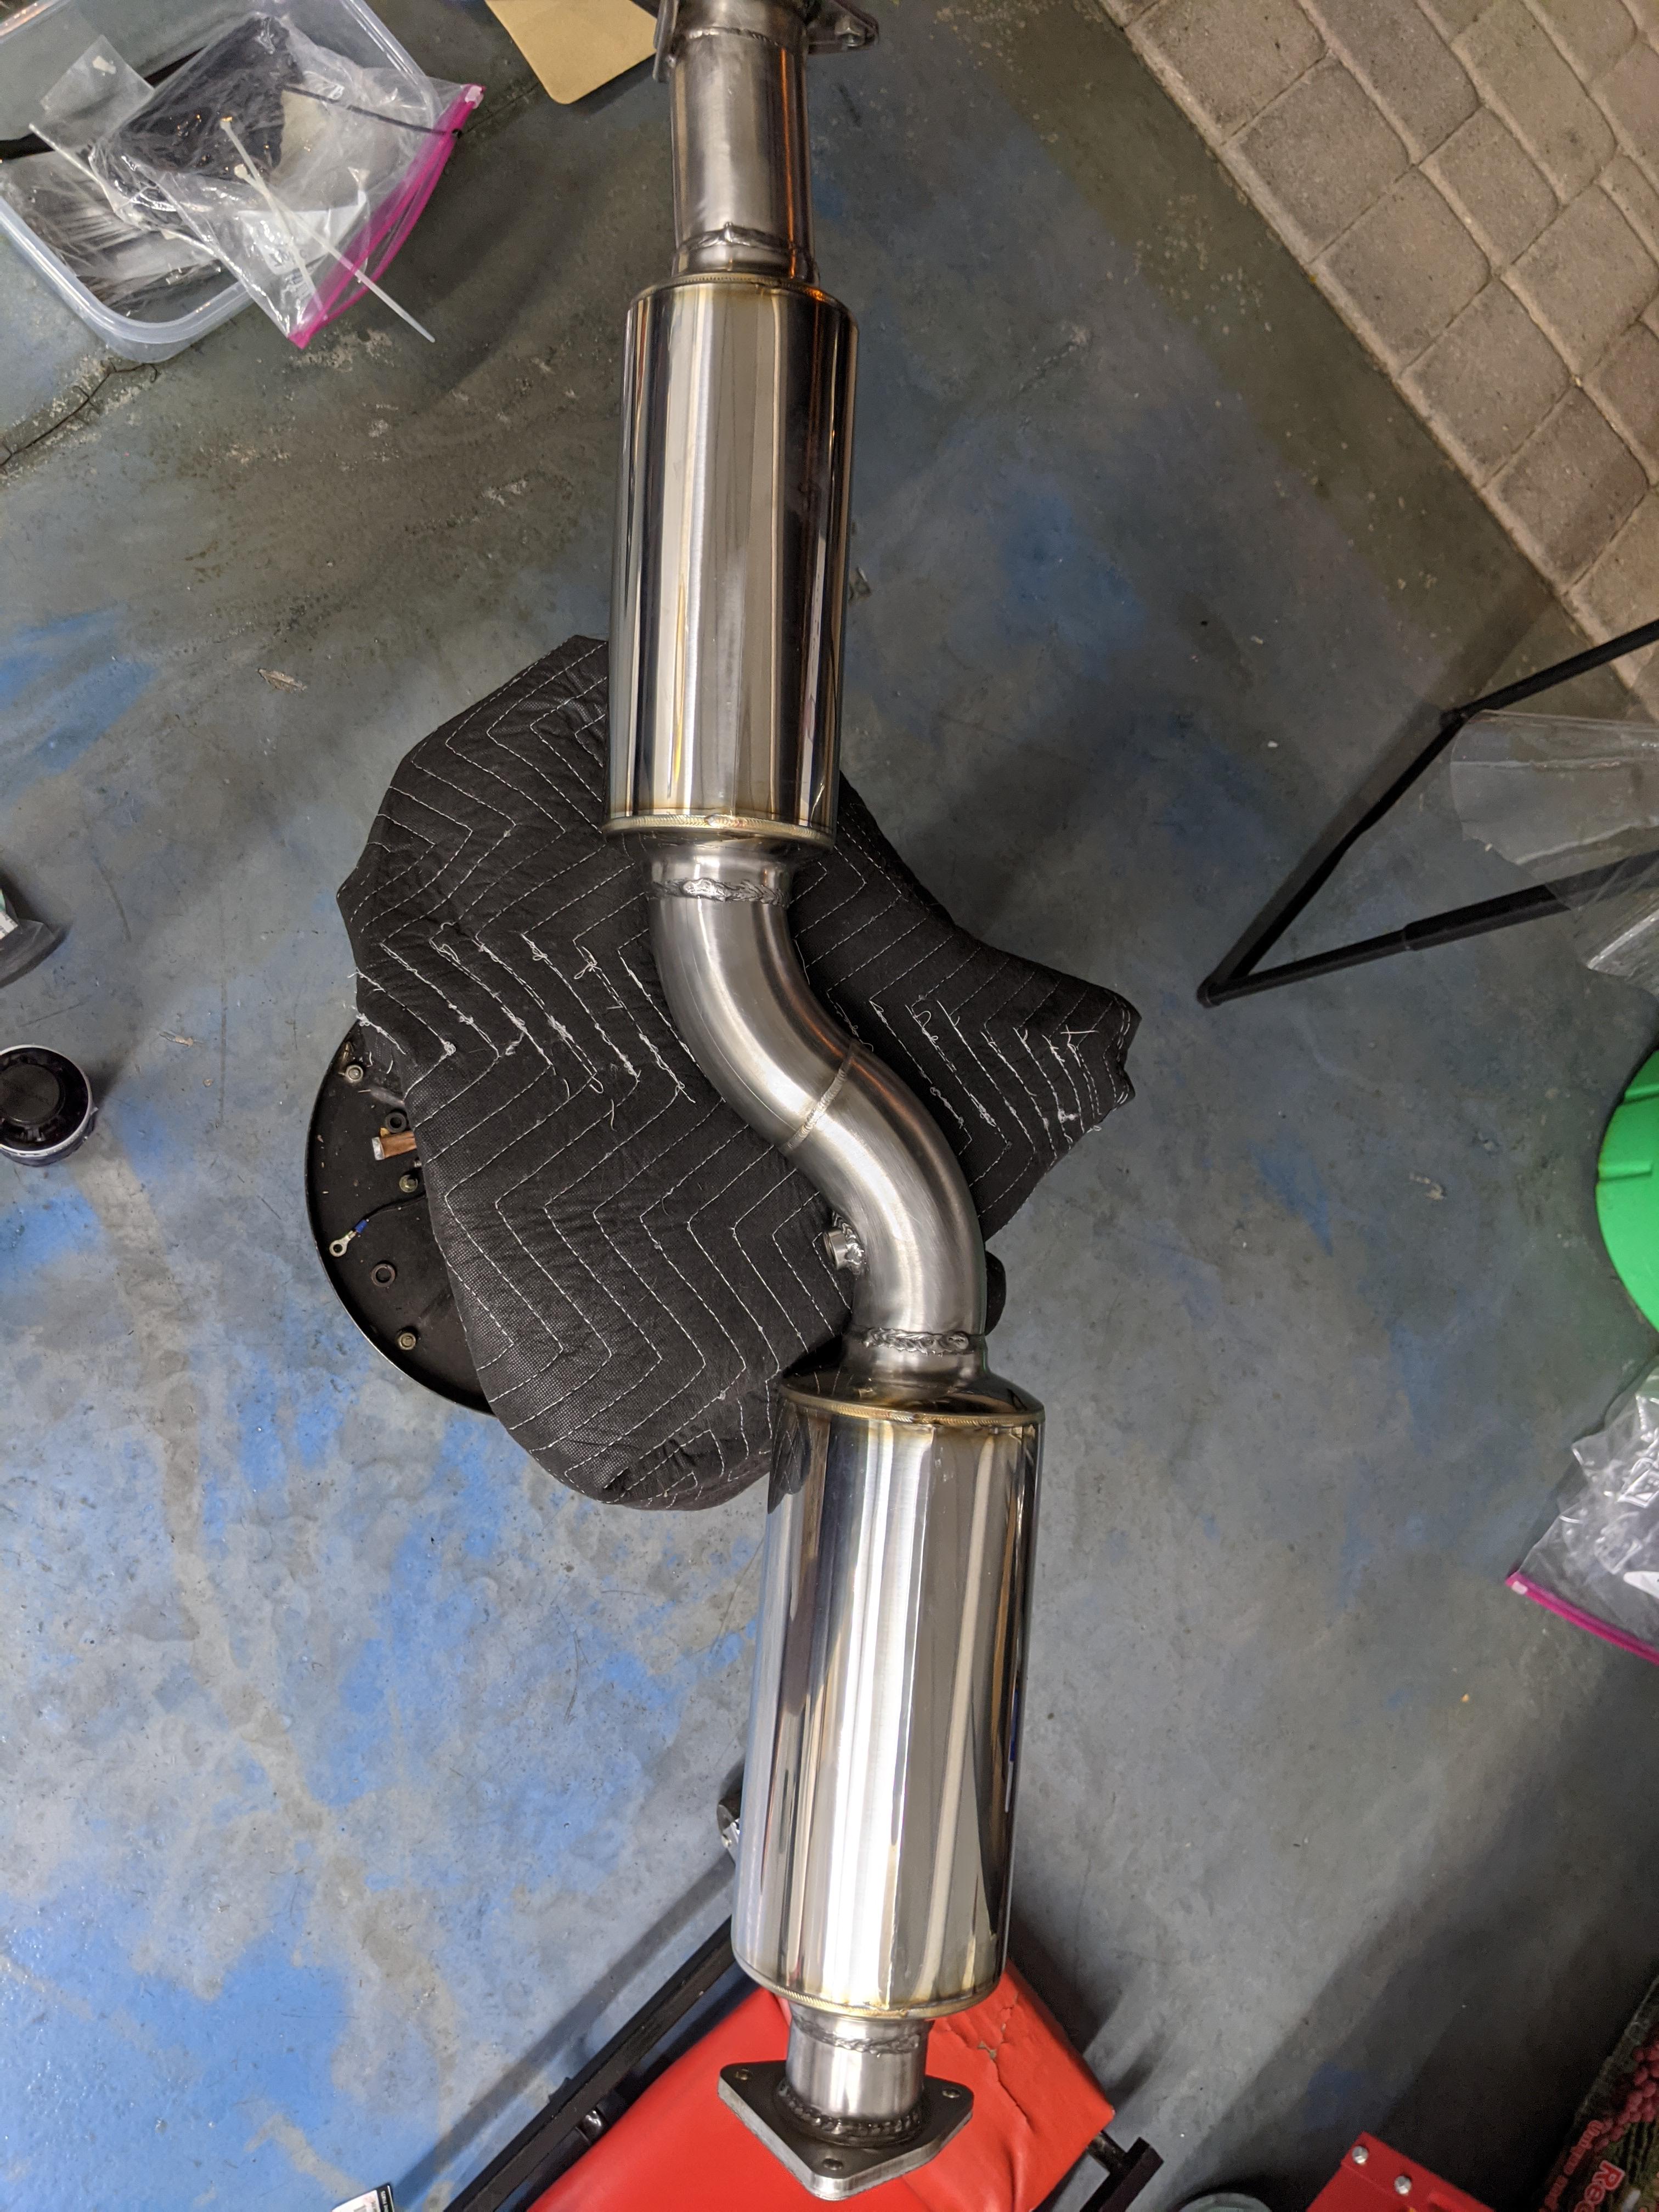
Engine fired right up on the first try and smoked me out of the garage for about 15 minutes as the oil, vaseline and assembly lube burned off. I took it for a quick 20 minute drive and all was well
All in all, the rebuild was easy enough. I set my own side seal gap at .0020. Currently the engine has about 115 miles on it. It semi hard starts each time but it has never not started. I am hoping that goes away as the engine wears in. Cheers!
I added foam to the radiator on the bottom and the sides. I did a small write up on this in the S2 forum
Next I cleaned up the journals of the stationary gears in preparation for two new main bearings. Red loctite on the lock screw completed the installation of both
Two new rotor housings completed the remaining hard engine parts to be replaced.
The rotors were next to be pre assembled. New side seals, corner seals and apex seals + springs along with new oil control and oil scraper rings, all new and all new springs
Shortblock stacked and torqued
Run out was checked, came in at .003
An Atkins Rotary thermo plug replaced the stock thermostat in the eccentric shaft and that completed the shot block build.
Everything on the engine was meticulously cleaned and inspected. I opted to replace the oil metering lines with new along with all the crush washers with new. Oil nozzles were cleaned and checked; all passed inspection
New waterpump installed, almost done
Engine ready to go back into its home!
A couple of new motor mounts and I had the engine back in the car
Almost there!
Racing Beat supplied the cat replacement pipe and after this, I was basically done with the installation
Engine fired right up on the first try and smoked me out of the garage for about 15 minutes as the oil, vaseline and assembly lube burned off. I took it for a quick 20 minute drive and all was well
All in all, the rebuild was easy enough. I set my own side seal gap at .0020. Currently the engine has about 115 miles on it. It semi hard starts each time but it has never not started. I am hoping that goes away as the engine wears in. Cheers!


Registered
Joined: Sep 2008
Posts: 26
Likes: 3
Next came a new radiator and I cleaned the fans up a bit

I added foam to the radiator on the bottom and the sides. I did a small write up on this in the S2 forum

Next I cleaned up the journals of the stationary gears in preparation for two new main bearings. Red loctite on the lock screw completed the installation of both


Two new rotor housings completed the remaining hard engine parts to be replaced.

The rotors were next to be pre assembled. New side seals, corner seals and apex seals + springs along with new oil control and oil scraper rings, all new and all new springs

Shortblock stacked and torqued

Run out was checked, came in at .003


An Atkins Rotary thermo plug replaced the stock thermostat in the eccentric shaft and that completed the shot block build.

Everything on the engine was meticulously cleaned and inspected. I opted to replace the oil metering lines with new along with all the crush washers with new. Oil nozzles were cleaned and checked; all passed inspection

New waterpump installed, almost done

Engine ready to go back into its home!

A couple of new motor mounts and I had the engine back in the car

Almost there!

Racing Beat supplied the cat replacement pipe and after this, I was basically done with the installation

Engine fired right up on the first try and smoked me out of the garage for about 15 minutes as the oil, vaseline and assembly lube burned off. I took it for a quick 20 minute drive and all was well

All in all, the rebuild was easy enough. I set my own side seal gap at .0020. Currently the engine has about 115 miles on it. It semi hard starts each time but it has never not started. I am hoping that goes away as the engine wears in. Cheers!
I added foam to the radiator on the bottom and the sides. I did a small write up on this in the S2 forum
Next I cleaned up the journals of the stationary gears in preparation for two new main bearings. Red loctite on the lock screw completed the installation of both
Two new rotor housings completed the remaining hard engine parts to be replaced.
The rotors were next to be pre assembled. New side seals, corner seals and apex seals + springs along with new oil control and oil scraper rings, all new and all new springs
Shortblock stacked and torqued
Run out was checked, came in at .003
An Atkins Rotary thermo plug replaced the stock thermostat in the eccentric shaft and that completed the shot block build.
Everything on the engine was meticulously cleaned and inspected. I opted to replace the oil metering lines with new along with all the crush washers with new. Oil nozzles were cleaned and checked; all passed inspection
New waterpump installed, almost done
Engine ready to go back into its home!
A couple of new motor mounts and I had the engine back in the car
Almost there!
Racing Beat supplied the cat replacement pipe and after this, I was basically done with the installation
Engine fired right up on the first try and smoked me out of the garage for about 15 minutes as the oil, vaseline and assembly lube burned off. I took it for a quick 20 minute drive and all was well
All in all, the rebuild was easy enough. I set my own side seal gap at .0020. Currently the engine has about 115 miles on it. It semi hard starts each time but it has never not started. I am hoping that goes away as the engine wears in. Cheers!

Thread Starter
Registered
Joined: Jan 2020
Posts: 50
Likes: 27
From: Goodyear, az
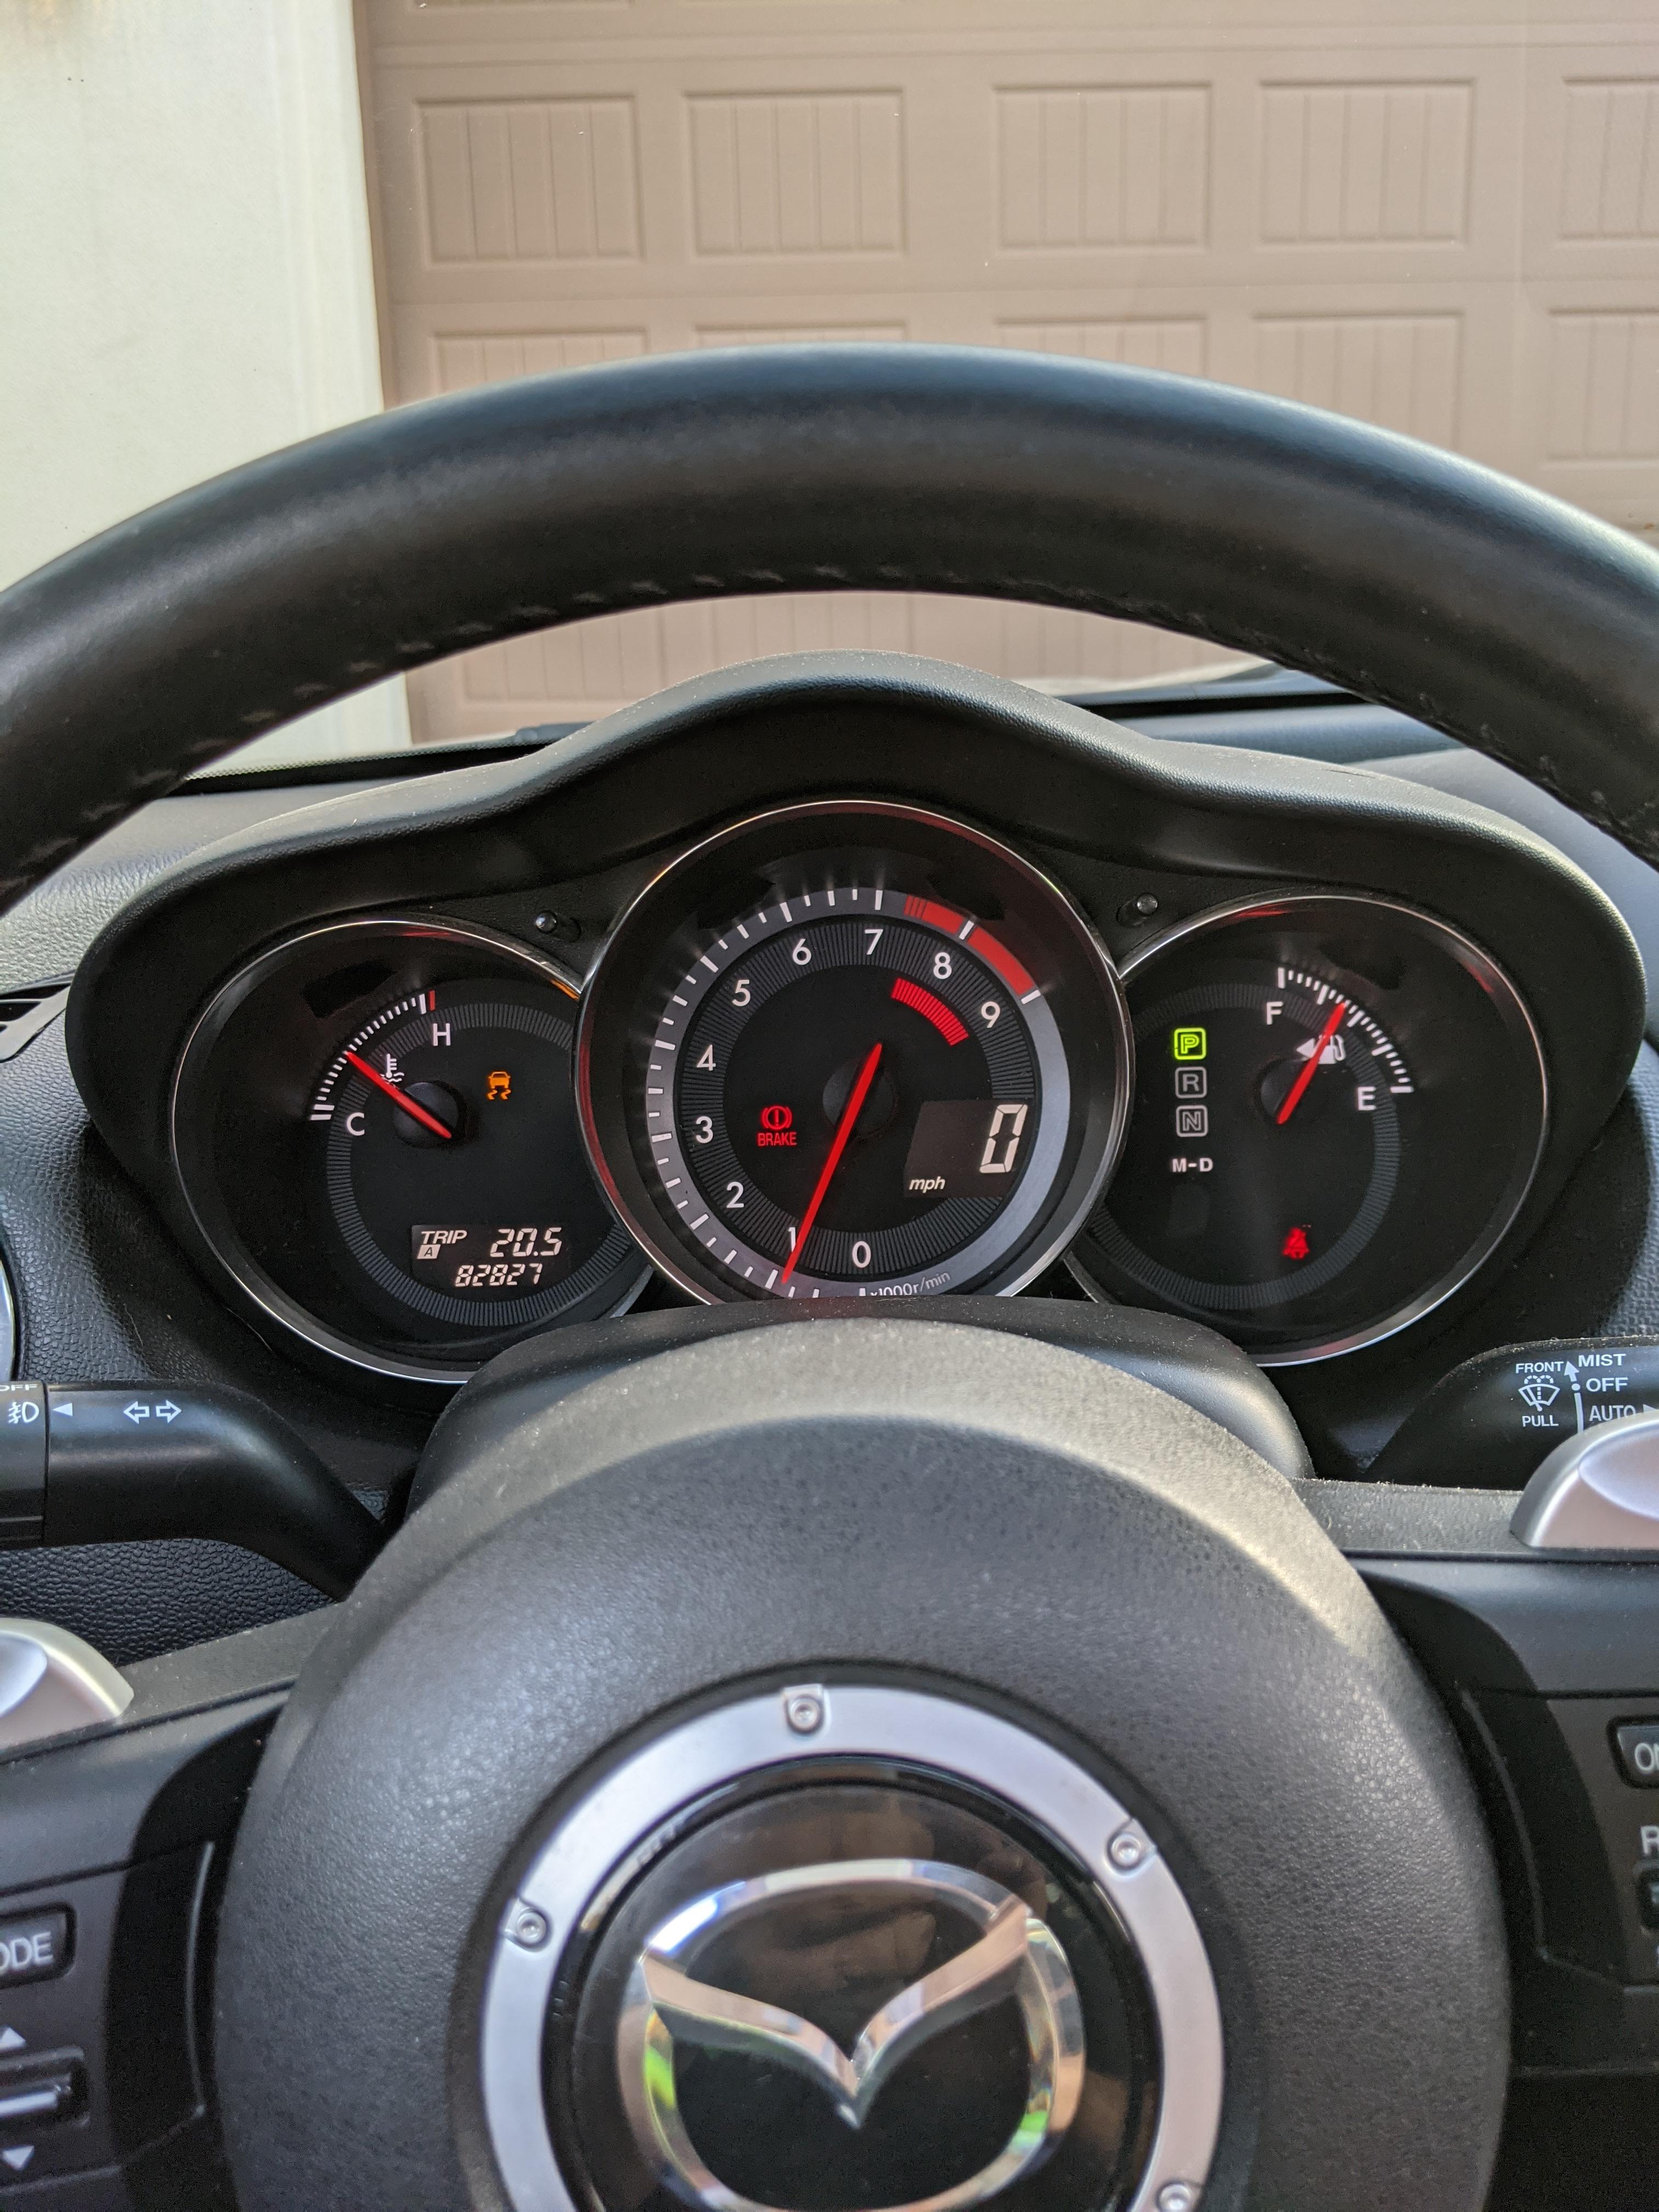
I did an initial compression test at roughly 600 miles and was getting 100s and 105s on both chambers. It still hard starts to this day and I have been troubleshooting the cause since I put the engine back in and I believe it to be caused by a vacuum leak somewhere although I haven't been able to find it with starting fluid or propane. I tested the solenoid tank with a vacuum tester and it holds vacuum, I checked the accordion tube and it's tight. I think I'm going to pull the intake manifolds off and check them for cracks and security. I used all new gaskets and I double checked all the vacuum lines, so this is aggravating.
Symptoms are:
hard start hot or cold - makes no difference
relatively high LTFT (14-18%)
MAF reads about 4 g/s at idle
mods are:
throttle body coolant loop delete
cat delete
air pump delete
GM coil packs and updated dwell settings
So far I have verified:
No vacuum leak at solenoid tank
No vacuum leak from tank vapor solenoid
intake tube is ok
Verified fuel pressure peak and bleed off, both within spec although the fuel pressure was closer to the low end, but still passed per the manual


Thread
Thread Starter
Forum
Replies
Last Post