When you click on links to various merchants on this site and make a purchase, this can result in this site earning a commission. Affiliate programs and affiliations include, but are not limited to, the eBay Partner Network.
Here is my REW swap build thread. Been a long time coming, many hiccups and delays.
13B-REW built and bridgeported by Marko at Force Fed. Recently had the keg opened up and looked through/reported. Most of the kit is also an old Force Fed REW swap kit. BWS366 turbo. Lots of other stuff included along the way.
I started off by really just building a new half 6pt roll bar in the car in practice for my FDs cage. Decision was to REW swap the car and instead of finishing my FD I fell down this rabbit hole. I got sick, was in the hospital for half a year and another year and half recovering. Everything is good and this is where were at. Picture time;
Editing note; None of these pictures are in order of events; Just kind of slapped them in order of what seemed right. Again this has been since 2019-Present.
This was pretty much the last time this car was driving.
I knew it was time to install a real roll bar. Practice for when I decide to do my FD. Every shop locally wanted to charge me an arm and a leg for a roll bar. I just bought a JD2 electric-hydraulic bender and do it myself.
Rear subframe out. Was swapping all arms to P2M, OS Giken Diff, Built2Apex diff cover, Sikky Billet bushings and Powerflex diff bushings. Time to clean all this up.
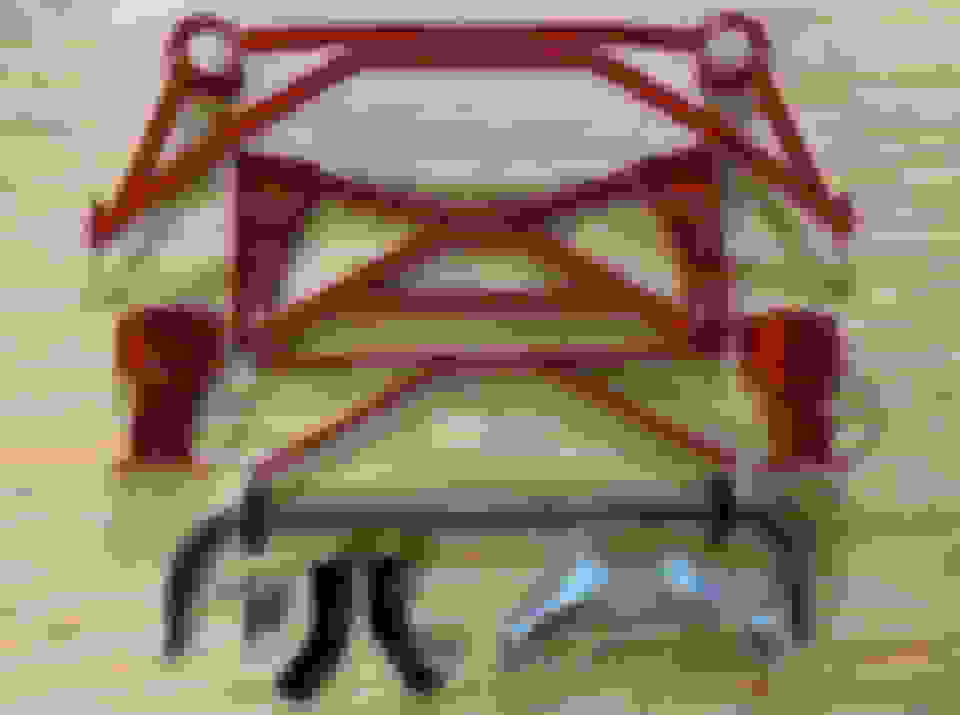
Subframe, front knuckles and some of the AutoEXE bracing all powder coated.
Rest of the AutoEXE bracing, front swaybar, radiator brackets and rear diff mount also powder coated.
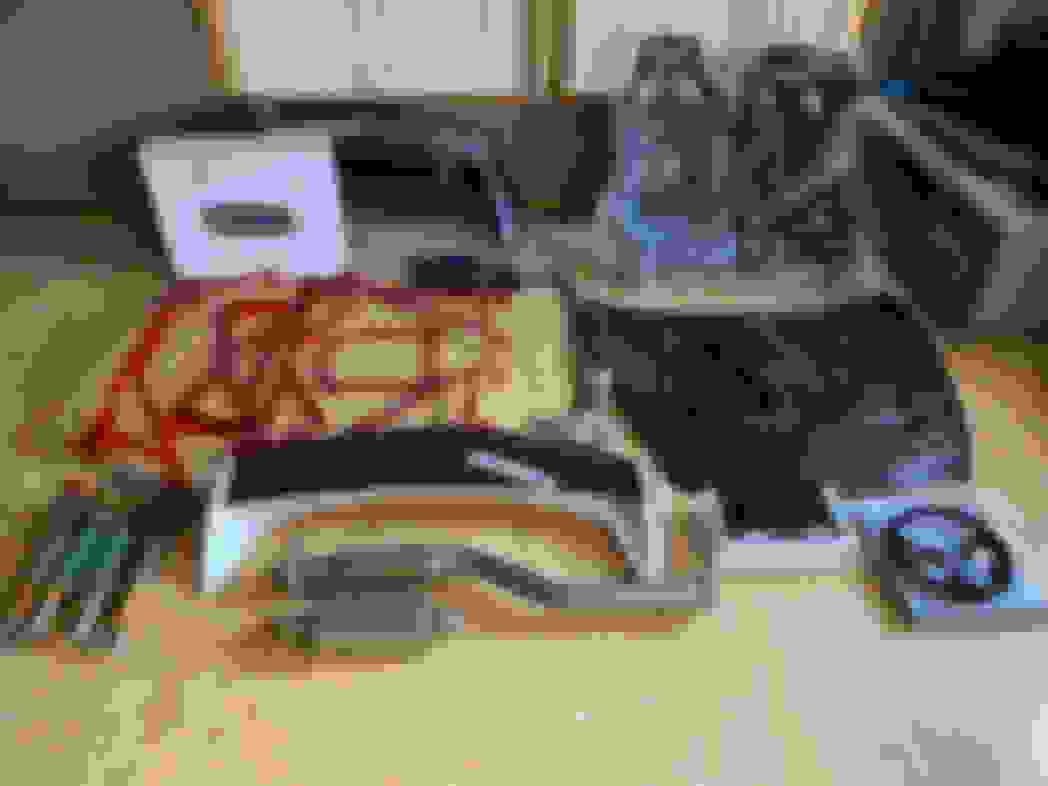
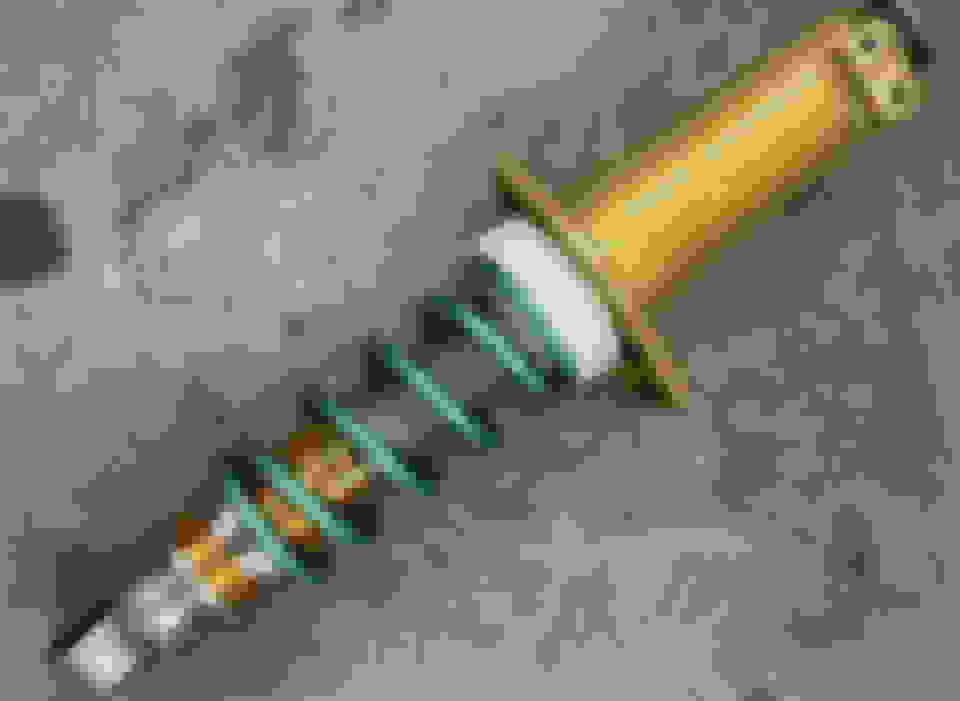
Bunch of other random bits. Ohlins revalved for stiffer Swift springs, R Magic wing, ReAmemyia hood, Koyo S2 rad, new rear bumper, Mocal oil coolers, BHR midpipe, Nardi wheel, CAE short shifter 5spd, Recaro seats. As you can see I dont have a wife...Also at the time I didnt finish painting my walls, I know someones going to comment.....
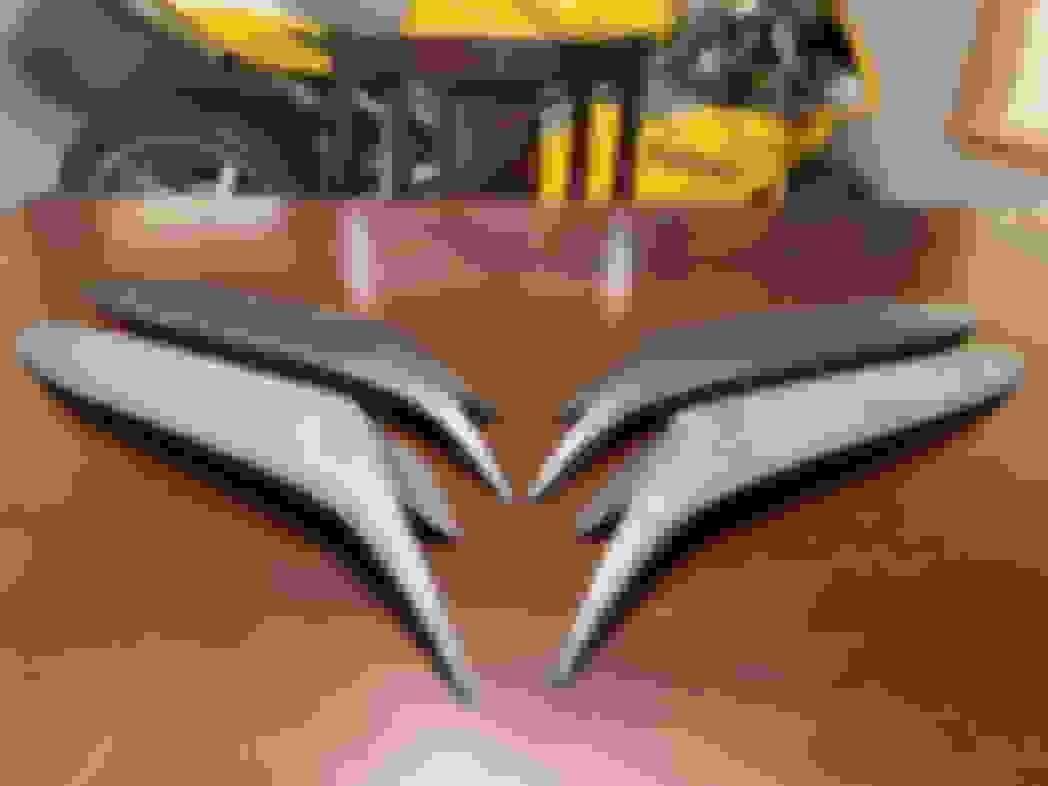
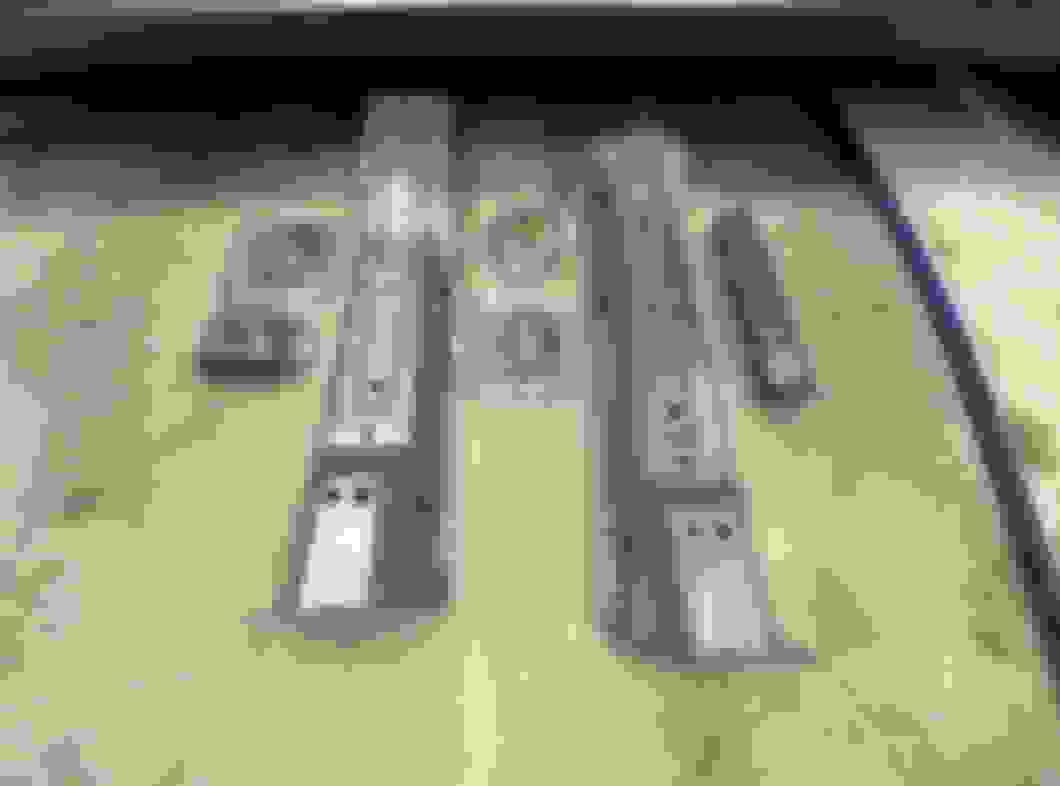
Top were the last set of Raceroot KEI Office eyelids he had. The front set are from a set of molds I made way back when Dondo brought back a set and did a group buy. I found the molds while cleaning out my garage.
P2M Arms.
I disliked the goodwin design that required the NC top hats. I just had a new derlin spacer turned up and powder coated the top hats as close to Ohlins gold the coater had.
Old and new Derlin spacers to fit into RX8 top hats
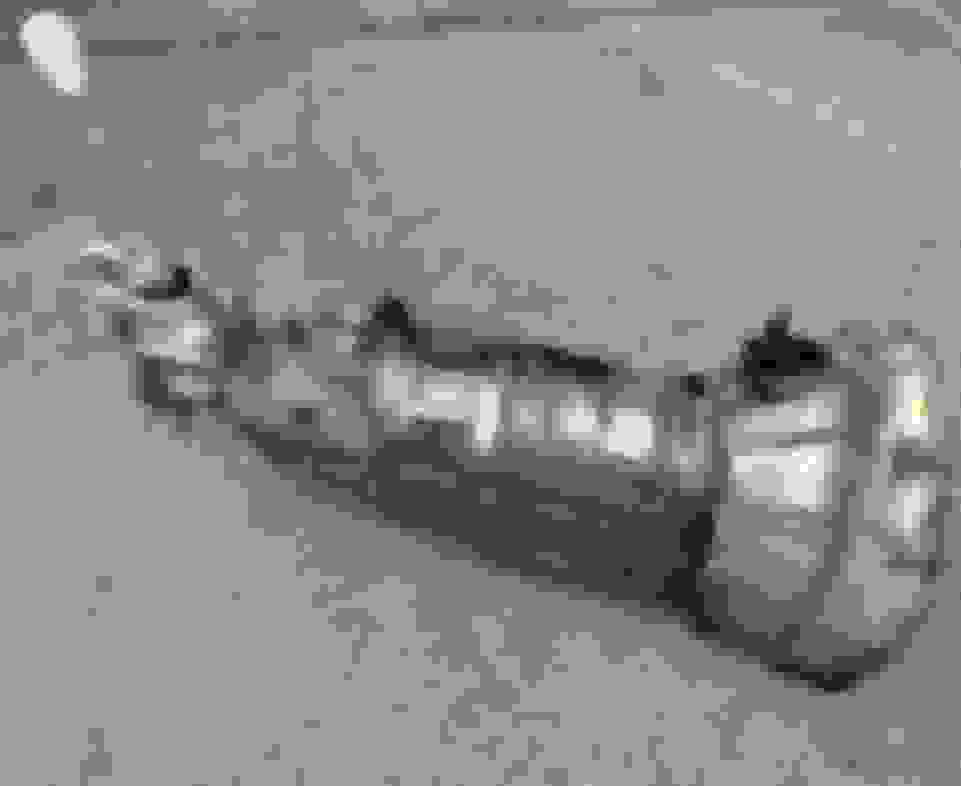
JDM 5 spd that Dan hooked me up with. I dropped it off at my local transmission shop I trust*. They inspected everything and gave me the thumbs up. Hate to install everything only to find out its got something wrong.
You'll never see it but I powder coated it too.
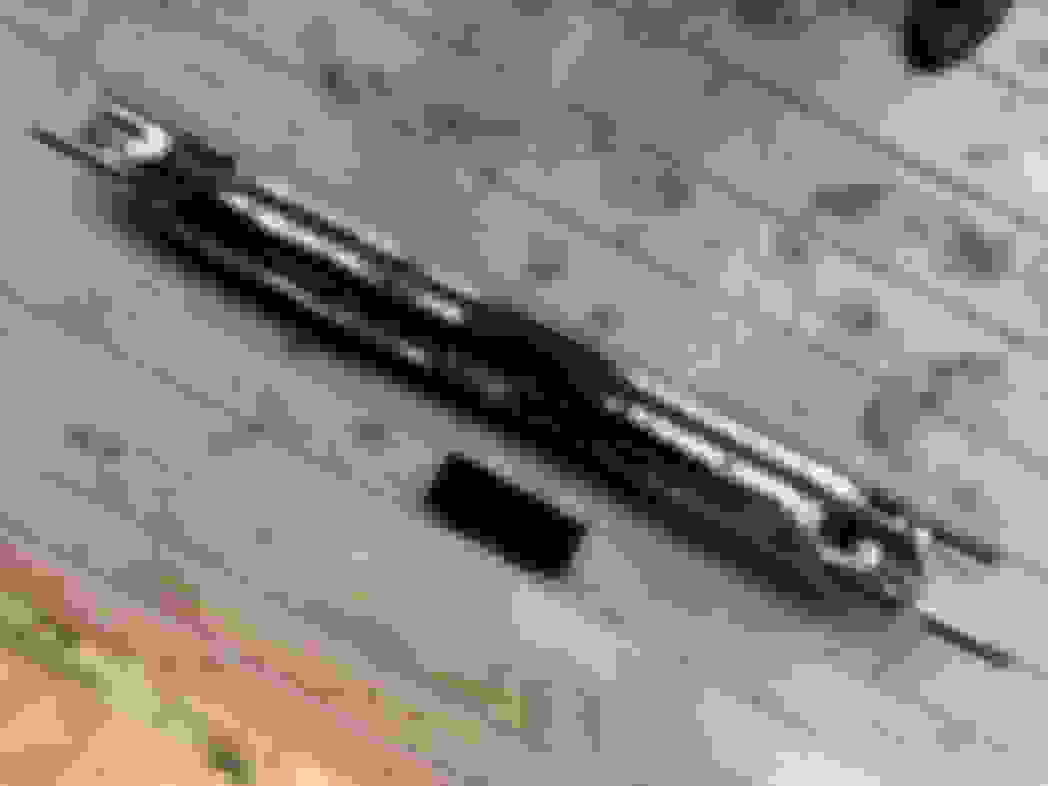
Steering rack looked ugly. It and the transmission were both dry ice blasted. The transmission cleaned up a little bit but not much. Its good enough since you wont see it. The rack you will. I put in an afternoon of elbow grease and a bit of paint.
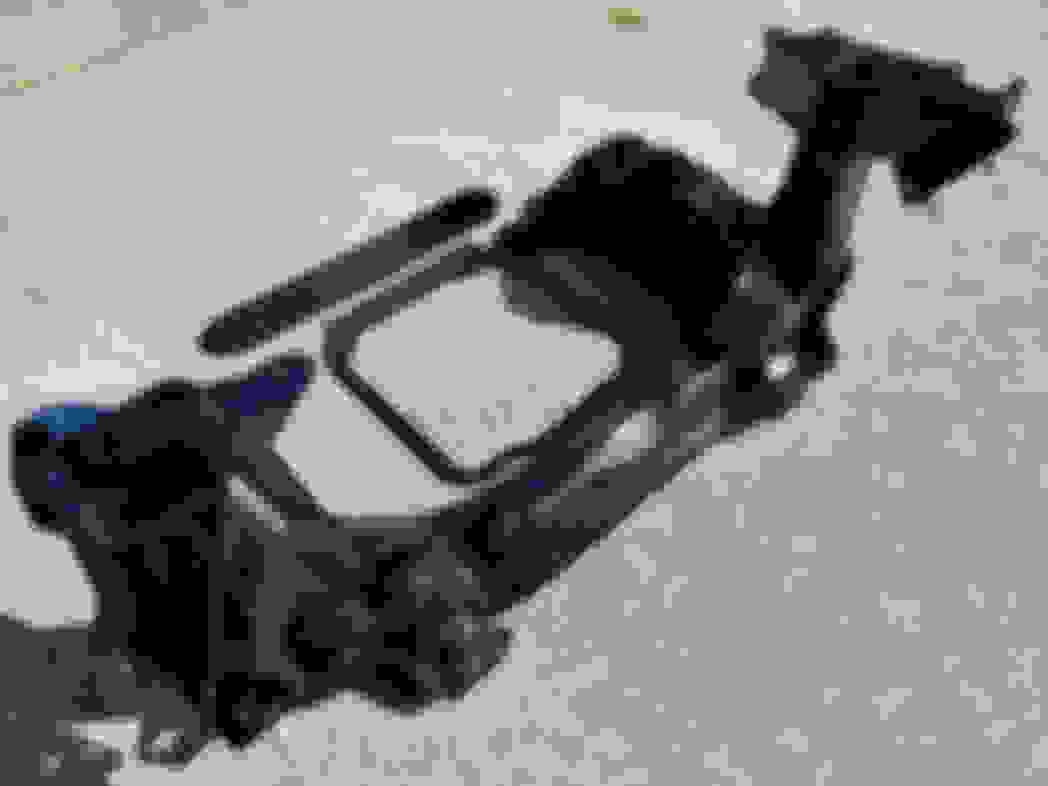
Front subframe modified for REW mounts, oil pan brace and rear engine mount brace...again powder coated.
Motor and bits...
EBC Balance Brake Kit. Ive became friends with EBC for awhile now. Been to their UK headquarters before going to Isle of Man for the TT. Been to SEMA with them for a few years. One year the told me they made a BBK for the RX8; Had to get one.
They didnt quite fit behind the standard RPF1 18x9.5+45 so I had to get a new set of wheels.
They do fit behind a set of TE37s 18x10.5+22 for my FD. I guess we need to get some TE37s...
Roll bar prep time.
Wont be needing these anymore.
NOW its time.
Seat check
First try ez pz. Rides the door cards firmly and pressed up against the headliner. This is still a street car.
Im honestly debating to myself is this ******* worth sitting back here snaked in regretting that Taco Bell I just ate...
Double X bracing because I want those extra street cred points.
These Recaro Profi XL seats dont exactly fit on the passenger side. I wanted more head room for a passenger to be safe.
I chewed a hole into the floor...
Patched it up and replaced factory seat structure with some 2x1 box that was conformed to the floor. Holes and captive nuts were welded to the floor for seat mounts and harness mount locations.
After all of that here is the headroom someone will have that's 6'3
I had a glorious mullet at the time. I would have done these different now but this was my way. Million ways to skin a cat.
I had helpers.
Last minute I decided to add door bars. Just seemed more "cool".
Pulled it all out mostly still tacked together. Mig welded it on the bench and stuck it back in to make sure nothing tweaked; it didnt.
Just another view of it.
Painted the whole thing outside of the car minus the feet and where else it was going to be welded.
Spray epoxy black paint the whole interior. Carpet isnt going back in but floor mats. Saw a S2000 on hoonigans YT chan that had something similar and I liked it.
I had the headliner recovered in black suede before reinstalling it back into the car. I didnt trust me ability to keep the suede glued down so I had a local professional shop do it.
Everything back together.
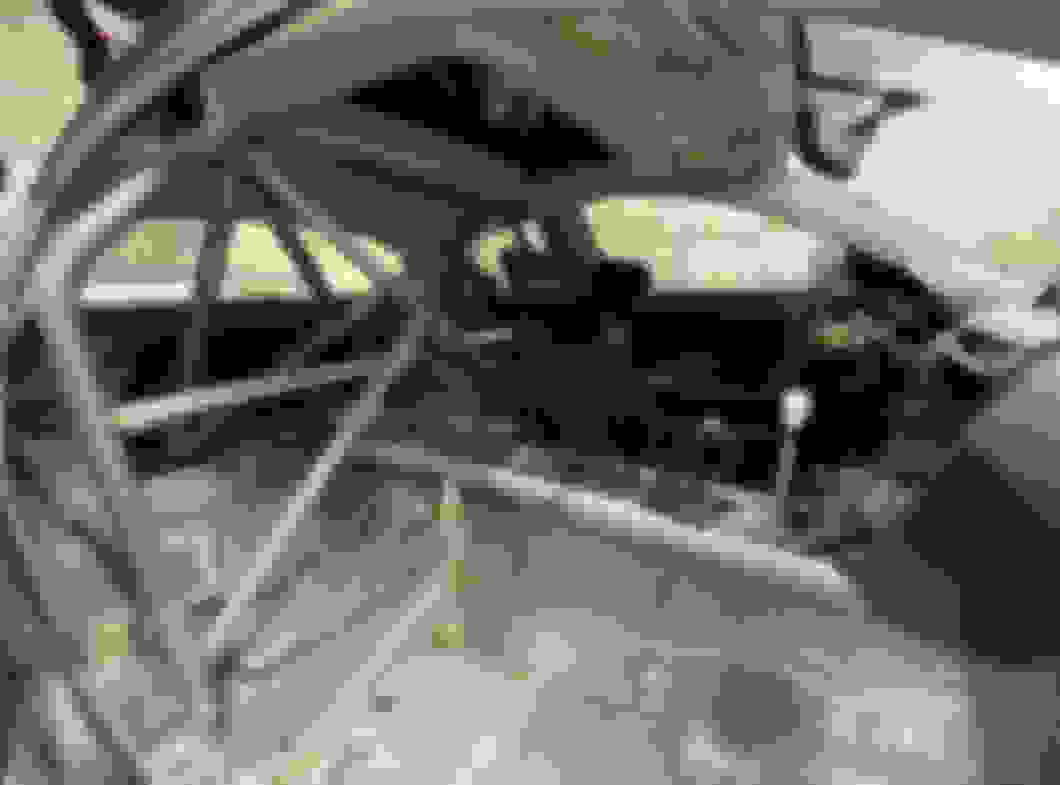
Double gauge pod over steering column for AFR/Boost and Lotek cluster with oil temp, pressure and water temp. Double din, nardi and CAE shifter.
This is where the car sat for a long time while I got sick and had a long recovery.
Out with the old.
I spent a lot of time cleaning the engine bay. I wanted to respray the bay when I respray the whole car but I know my OCD will be never ending and the car wont ever be done; like my FD sitting...
Little notching for the turbo
EBC BBK compared to my Wilwood Aero6 on my FD
Front suspension.
Gas tank out. Cleaned, Tank straps were powder coated.
Front to back cleaned everything with Acetone.
Since I cut a big hole in the floor and the factory heat shield around the transmission. I replaced it with DEI. This is the only picture I took. First time using it so looks like butt. Ive cleaned it up since. Ill take a better picture when I pull the engine back out of the car.
I have many helpers but sometimes they choose not to help. Ready to go into the car. Im still missing a clutch/flywheel but I need to start mocking and modifying stuff.
Currently this is how its sitting. Im waiting on a bunch of random bits.
Well I haven�t done too much. I�ve been waiting for my Bosch DBW throttle body, 120 degree elbow and alternator to show up. Been cleaning my garage cause it�s too messy and that�s taking a bit too long. I can�t push stuff to a corner anymore.
Meanwhile finally got my Progress Tech front sway bar bushings in the mail; long wait error on their part shipping but quickly fixed. It�s been over 13 years since I�ve installed a sway bar on an 8. Well I scratched some of the powder coating. Time to send it back; it�s no good. Jk. Can�t see it with the charge pipe.
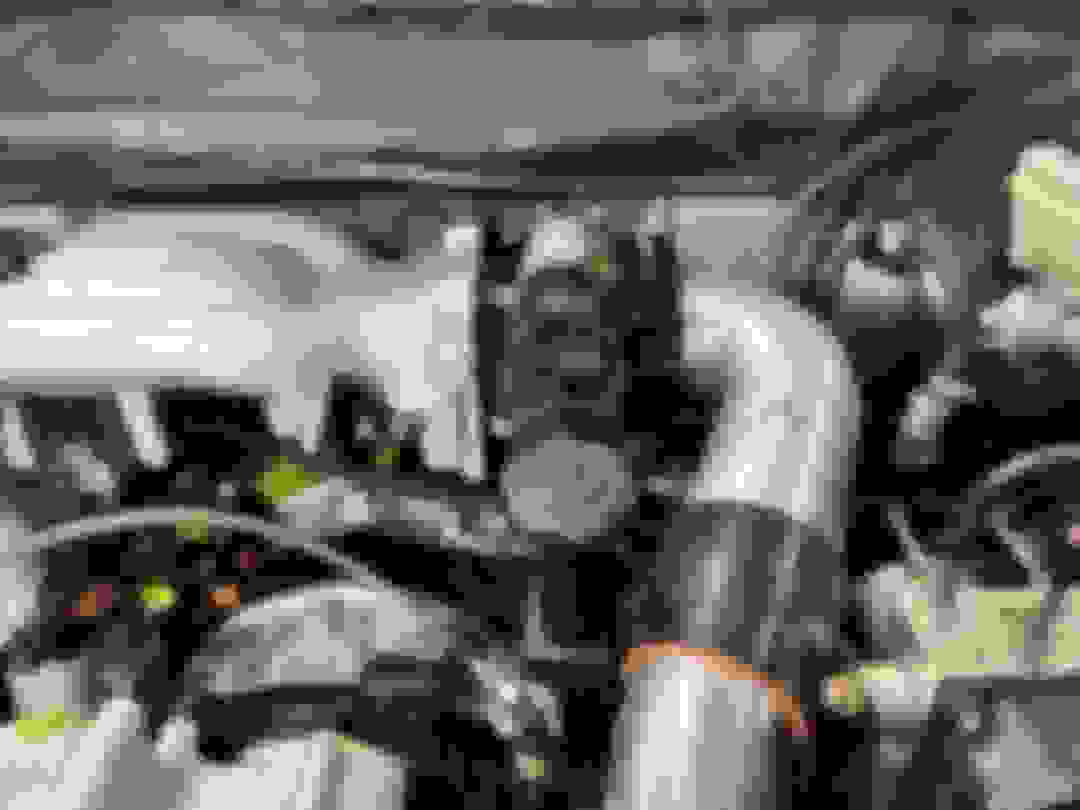
Things are slow as parts trickle in before I realize I need more stuff. I swapped over to a GM drive by wire throttle body (12679524), FFE REW to GM adaptor, Motion Raceworks 4-3" clam shell clamp and Vibrant 3 inch 120 degree elbow. Took some shaving off the throttle body where you'd normally put a hose clamp around a silicon hose. A bung for AEM water/meth nozzle when I get to that point to install it. Its something...
Thanks. I figured I would reboot the old 8club account and post here for those not on FB.
I'm working on new oil cooler brackets as the OEM brackets don't place the 25 row Mocal coolers nicely where I want them in the bumper opening. Also give me more room for routing the oil cooler lines the way I have planned. Just working around going to my friends shop to use his break to bend some aluminum. I haven't found me an old school break to add to the collection of tools yet.
I told Dan when we met for coffee at the boarder that I wouldn't be surprised if I posted on 8club if Team would come in and just talk ****/be a Debbie downer. Getting praise is like winning the lotto.
Just waiting on a bunch of -10 45 degree AN fittings to finish out all my oil cooler lines. Its been hot in Seattle and I would rather be at the beach/lake with my dogs than sitting in a oven of a garage. So you'll have to wait a bit longer for updates. Playing some cardboard arts and crafts making something else though.
Some fish food for you. I didn�t have much rod left so fusion* welded but it wasn�t squared sooo it cracked bending it back. Just an idea but it might change once I get all my oil lines crimped. Factory brackets don�t put the coolers in my desired location.
Waiting on my oil cooler stuff to come back from blasting/coating/paint before I update that. Working on fuel line routing before I order more BMRS fittings. Got Greddy pulley bracket but disliked it being blue so had to coated black. Got a ReacTiv titanium filler neck; solid product, great shipping and very responsive to any questions/comments.
Nothing real exciting. I made a new one cause my first version didn’t come out as I liked. So now this one goes back for blasting and paint. Since I’m running the oil cooler lines out the factory intake hole in the core support they didn’t have clearance to go under the headlight buckets. Cut a 3.5 pipe in half and notched each forward support. This gives lots of room for the cooler lines and just looks ‘mo clean’. I also didn’t like the center support so I cut that off too. The extra 2x2 handing under near the forward supports. Those have 2 M14 nuts welded inside for tow hooks at a later time. I was going to add 2 more nut plates with 2 M10 for front splitter support rods but when I get that far I’ll just add rivnuts.
Couldn’t find any compression fittings to fit the heater core outlets. I want to run as much BMRS crimped AN lines and little rubber as I can. Just for looking nothing else. So took some 8AN bungs and bored them out 15mm. JB welded them on. Might seem super ghetto but really it’s just coolant. Mainly didn’t want to pull the seats and play yoga crawling over a door bar trying to pull the dash back out again.
Slowly coming along. It’s getting colder so I’ve been doing house stuff before it turns total ****. So excuse the slow updates on stuff that seems like I could have done in 3 hours.
Slowly coming along. It’s getting colder so I’ve been doing house stuff before it turns total ****. So excuse the slow updates on stuff that seems like I could have done in 3 hours.
Dude you made more progress than me and I've been at it for a fate minute! Still, you started in 2019 good clean progress though!
Progress looks killer. Also I think you have an addiction to powdercoating. If you run out of stuff to coat and need some more to get your fill, lemme know I got plenty HA.
What are your plans for engine management?
Lastly the front Core support looks great. I applaud the idea, I was contemplating making my own since its a bit bent from a crashed parts car.
Well technically May 21' I had pancreatitis, in the ICU for 6 months and lots of recovery. I had a ileostomy reversal so I didn't really do much till spring this year. Not really motivated to crawl around with a poop bag. Were good now though
I do have a local sand blaster I went to school with so he gives me deals and my powder coater ive been using for 15+ years so hes always good to me. ECU im 99% sure im going to order a Haltech Nexus R3. Why not just do 1500/2500? Cause I want to. Just waiting a few more weekend OT to order it.
I might have to ask for your 3D printing for 2 hose separators for my catch can, coolant and wiring harness along the firewall. Ill know more when I get to that point how thick id need. Might make a prototype to send out for you to copy. I have an idea just need to make it.
edit; I try to do something every day for a couple hours. Lots of time i'm just sitting on a stool in front of the car visualizing or using scrap/random bits figuring out where stuff should/will go. Lots of making something and changing my mind after a couple days.
I applaud the R3, I wish I would have went that route, but considering it still in the box I have bigger fish to fry with the build currently ha.
Give me a heads up when you need something printed. Currently, the printer is down but can be back up in running in a matter of a few days. Been busy with the little one, luckily winter is here so I am confined inside more so hoping to make more progress with the car.
And nice! I need to find me a good local for blasting and powdercoating.
Outside of ecu and clutch/flywheel. Last big thing is painting the car; All the little dings/dents from daily driving the car since 07' and new body bits. I just want this to be done so I can move back to the FD and start that cage.
Without redoing my charge pipes. The Reactiv titanium filler neck 10AN for catch can doesn�t fit with my REW swap setup. Full disclaimer he offered to take it back and build my a new one with the AN port in another location. Stand up guy and top notch product. Go check out his stuff on IG @reactiv_fab.
I just decided to do it myself. First time welding titanium what could go wrong?
Well bash bar back from powdercoaters; galaxy gray Mazda and galaxy gray powder ain�t the same but close enough. Never see it behind the bumper. BMRS fittings crimped and looking good. Heater core lines, top line to the coolant reservoir, lower coolant line to reservoir next. I didn�t do the lower radiator hose cause it makes a wild turn over the rack/sway bar. You never see it anyways. On to the next thing!
Maybe I missed it, or am just ignorant... is that the stock REW upper manifold? I was always under the impression that they didn't clear the firewall... unless you took this into account when modifying the subframe since I don't see a firewall notch, and it's just hard to see from photos.
I believe it depends which engine support crossmember is being used. The (NLA) Banzai mount seems to place the engine more forward and lower some too. Which Banzai also had their own oil pan setup to go with their support brace.
ps: while what you have is common, it’s because most people don’t understand that a much larger air filter is needed than what is showing in the pictures above.
Rotary WHP x 1.92 = CFM Requirement
or
Compressor Map LBS/HR x 14.7 = CFM Requirement
the thing to always remember about a rotary engine is that it uses ~30% more airflow than a piston engine to make the same power level. The filters I see most people use end up having vacuum at the compressor inlet at max power from too small of a filter.
.
This is a custom modified subframe with ears welded to support a custom engine mount. The upper manifold has also been milled on. You might be able to see what was done in the picture of the powdercoated subframe.