When you click on links to various merchants on this site and make a purchase, this can result in this site earning a commission. Affiliate programs and affiliations include, but are not limited to, the eBay Partner Network.
I just wanted to share my solution for an AUX input to the RX-8 stereo. I know there are lots of ways to do this, but I think this way has some advantages.
1. Use the Tape/MD button to switch to AUX input!
2. No mods to the CD player
3. Relatively clean installation
Before I start, anything you do to your car you do at your own risk. I'm not responsible for any damage to you or your possessions. You'll need to know how to solder pretty well and have a basic understanding of electronics.
Essentially, I'm using an Arduino microcontroller to trick the stereo's head unit into thinking there's a tape deck installed. The stereo will activate the tape deck input, which you can plug your own audio signal into.
This project was an adaptation of a very similar project found here. All credit for the hard stuff (cracking the protocols) goes there. All I did was implement that project in a simpler way.
Step 1: Set up your Arduino
I'm using an Arduino Pro Mini from SparkFun Electronics because it's cheap and has everything you need built in. You'll also need a programmer. I won't go into how to program the chip - you can find that information elsewhere. I've attached the code I wrote (Aux_1_1). I know it's not pretty but it works fine. Upload that program to your Arduino.
Step 2: Take apart your stereo
There is plenty of info on this. Just do a Google search.
Step 3: Solder to the tape deck port.
There's a port on the bottom of the stereo unit for a tape deck. You need to solder your audio cord and Arduino to certain pins on that connector. Here is a pinout for that connector. Make these connections from the Arduino to the port on the stereo:
1. Arduino RAW to Accessor Power (Pin 11).
2. Arduino GND to Power Ground (Pins 5 or 6).
3. Arduino Pin 2 to Bus Data (Pin 1).
Solder your audio connection to pins 13-15 on the stereo.
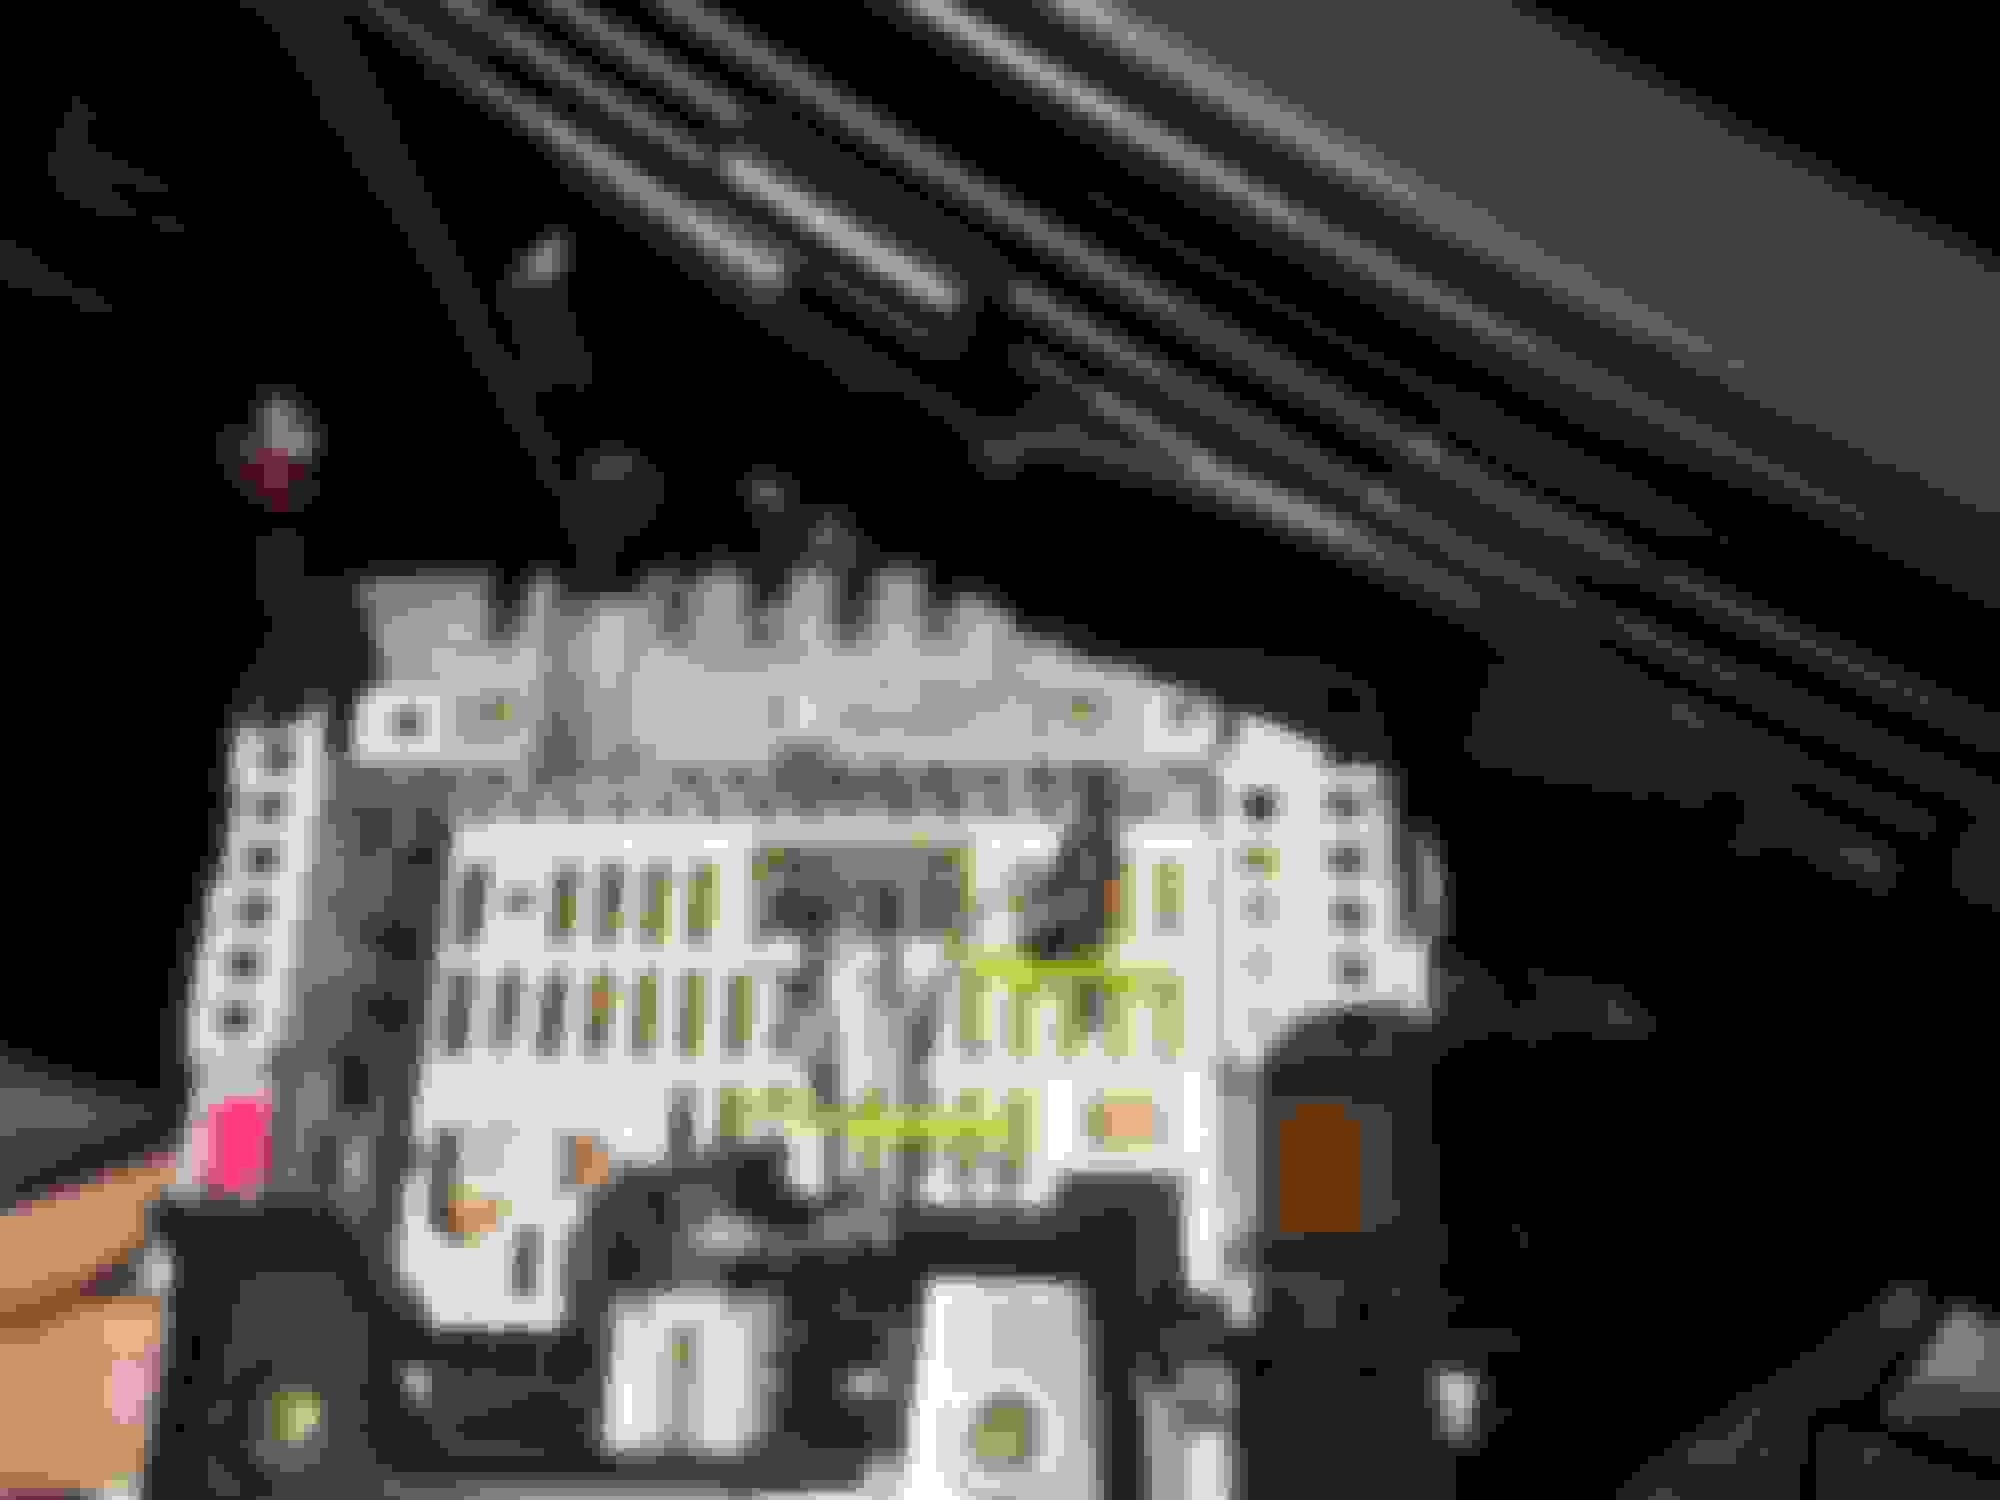
Here are a few pictures of mine. I used RCA jacks and a corresponding adapter but you can use whatever you want to get your signal in there.
I put electrical tape on everything to prevent shorts. The Arduino is to the right of the connector and the RCA jacks are below.
Another view.
Connector close-up.
The Arduino.
Step 4: Clean up and put everything back together.
Put electrical tape around the Arduino and anywhere that a short could occur. Plug in all the harnesses that and test the setup. When you turn on the stereo and press the Tape/MD button, it should show a "TAPE PLAYING" message. You should then be able use your AUX cord to play music! Finally, put your cables where you want them (going into the glovebox or in the center console area are good options).
This works great on my 2004 RX-8, and it should work with any other Mazda vehicle that uses the same head unit.
Wait, how is taking the stereo apart and soldering stuff to it not modding?
I've seen some threads where people tap into the CD player's audio lines. You don't have to mess with the CD player here. Sure, it's a mod to the stereo system as a whole but that's the point.
Hello i have mazda 3 2003 with head with and TAPE/MD button.
I done this mod and it works ok except its swiches off from tape playing after cca 1 min
Can you please help
I done this mod and it works ok except its swiches off from tape playing after cca 1 min
Hello,
I had that problem at first when I did mine, but changing some of the commands in the code fixed it. You have the same version of the code that works on my '04 RX-8. I'm guessing there's a firmware difference between our stereos that's causing a problem. Use a laptop to look at the serial monitor while everything is connected. The Arduino will print the codes it is receiving. Once you know what code it is stopping on (i.e. "Anybody home?", "Wake up", or "Control"), you can change the program until you find a setup that works. Let me know what code is coming out when the music stops and I'll try to help you modify the program.
I tried your solution with Arduino Nano and it worked like a charm. Thanks buddy, this really helped me a lot!
There is only one problem though. For some reason my CD changer is not working now. All the CD buttons, including Load, Eject and CD Mode select are not doing anything. I noticed this happens as soon as I connect the bus data to running arduino (connecting bus data on its own, or just arduino to power doesn't have this effect).
So basically I have aux now, but no CD - any idea how to fix this? Because this is clearly caused by the bus pin connected to running Arduino I'm guessing this might be a software problem? Like, e.g. your sketch always tells the Head Unit there is tape playing and it doesn't respond well to the HU trying to switch back to CD? I don't knowm I haven't analyzed it yet. Oh, and the FM/AM radio works just fine.
I guess it's not a big deal, I don't really listen to CDs anymore, and having the aux port was the main point anyway, but would be nice to have a solution which is 100% working and doesn't have any unwanted side effects.
Funny thing - when I power the Arduino from pins 11 and 5 (accessory power + ground) then the problem occurs as I described, I simply can't switch to CD anymore. But as I said I have an Arduino Nano, so I have the USB on the board. When I connect the USB to power source the problem is gone! I can use both tape and cd modes. Weird isn't it? So it appears to be somehow related to power supply, and not software? I even checked the same by disconnecting the accessory power completely and powering only through USB and it works perfectly fine, so I probably will just switch over to this power source, but the problem is really odd...
Maybe if I have used mini as you did I wouldn't experience that? After all, those are different boards.
This thing is pretty cool and pretty cheap. Works flawlessly, connects to the phone automajiclly every time I get in the car. Best FM Transmitter I have ever bought. I was considering going with one where the antenna cable physically connects, but for $12 I decided to try this and I have not been disappointed...and it's bluetooth.
Funny thing - when I power the Arduino from pins 11 and 5 (accessory power + ground) then the problem occurs as I described, I simply can't switch to CD anymore. But as I said I have an Arduino Nano, so I have the USB on the board. When I connect the USB to power source the problem is gone! I can use both tape and cd modes. Weird isn't it? So it appears to be somehow related to power supply, and not software? I even checked the same by disconnecting the accessory power completely and powering only through USB and it works perfectly fine, so I probably will just switch over to this power source, but the problem is really odd...
Maybe if I have used mini as you did I wouldn't experience that? After all, those are different boards.
Maybe when you power from the pins you draw current close to the limit of the wire, and not much is left to fully power the CD changer. Then you don't see the same problem when powering via USB, because USB has a limit on how much power it draws.
Funny thing - when I power the Arduino from pins 11 and 5 (accessory power + ground) then the problem occurs as I described, I simply can't switch to CD anymore. But as I said I have an Arduino Nano, so I have the USB on the board. When I connect the USB to power source the problem is gone! I can use both tape and cd modes. Weird isn't it? So it appears to be somehow related to power supply, and not software? I even checked the same by disconnecting the accessory power completely and powering only through USB and it works perfectly fine, so I probably will just switch over to this power source, but the problem is really odd...
Maybe if I have used mini as you did I wouldn't experience that? After all, those are different boards.
That is an odd problem - the CD mode seems to work on my setup. I think your problem will be solved if you use pin 3 or 4 for power (Constant +12V) rather than pin 11 (Accessory Power). I'm not sure what the difference is the two power sources, but that seems to be the cause of your problem.
If the car cuts off power to pin 11 when switching to CD mode, the Arduino will turn off and (maybe) pull the data line low constantly, thus preventing the CD player from communicating. Does your FM radio work or is it just the CD player?
Yes, my FM/AM is always working, regardles the CD mode is functional or not.
I might try your suggestion to use other pin to power my arduino. I'll let you know how did that go.
For now I have a workaround which is powering arduino from my cigarette lighter (12V) via USB (I have Nano) and it works fine.
Sometimes though the radio turns off completely by itself - it never happened before this modification and it never happened in my other Bose in Mazda 6. But it happened only like 2-3 times since then. I guess it might be related to the same powering issue - probably something is going crazy on the radio power lines when arduino is on. But it's really hard to debug.
Helo,
I have tried your solution for my Mazda 6/2005 but I have some problems:
1. When I connect the Arduino Pro Mini I can activate the TAPE/MD but the audio way is not opened - there is no sound on the speaker.
2. Also the CD changer it can't be activated.
I tried to power the module from pin 11 and also from pin 3.
I know it's been years, but I stumbled upon your post yesterday and decided I'll try it since the CD changer port on my head unit is not working.
I have a 2005 Mazda 2 (or Demio if you prefer) and it does have an MD/TAPE button.
I've tried a mod similar to yours, but it didn't work at all. I'm using an arduino nano v3 and an 7805 regulator from ACC to the arduino 5V pin.
Downloaded your program and when I press the MD/TAPE button, I get 'TAPE PLAYING' on the head unit LCD, but no sound.
The serial monitor shows a bunch of "anybody home?" and after I press the MD/TAPE button I get lots of "wake up".
Any ideas?
Hmm, that sounds strange. Did you connect, the audio input signal from the connector, pin 13,14,15 in this diagram, Mazda Entertainment System - Connector Documentation - nikosapi.org wiki ? An easy way to check would be to touch the input signal and you should hear an audible hum from the speakers. In general, the serial port is very slow and it is best to avoid printing to the serial port, especially on time-sensitive applications. I am not saying that the problem is due to this, but just as a caveat.
I have recently done this mod to connect a Bluetooth module to my Mazda 2 2005 (European model) and worked fine. I used an Arduino Leonardo (for the lack of having anything small) and modified the original code from nikosapo.org. I have included an LED with a 1K resistor on one of the digital output pin for debugging. In the code, you can uncomment DEBUG definition and this LED would start blinking periodically on receiving timer interrupt roughly every one second. I have attached the code if you want to have a quick try with this.
In general the serial port is very slow and it is best to avoid printing to the serial port, especially on time sensitive applications. I am not saying that the problem is due to this, but just as a caveayt.
I know it's been years, but I stumbled upon your post yesterday and decided I'll try it since the CD changer port on my head unit is not working.
I have a 2005 Mazda 2 (or Demio if you prefer) and it does have an MD/TAPE button.
I've tried a mod similar to yours, but it didn't work at all. I'm using an arduino nano v3 and an 7805 regulator from ACC to the arduino 5V pin.
Downloaded your program and when I press the MD/TAPE button, I get 'TAPE PLAYING' on the head unit LCD, but no sound.
The serial monitor shows a bunch of "anybody home?" and after I press the MD/TAPE button I get lots of "wake up".
Any ideas?
Hi there !
I have try and get same problem, I get 'TAPE PLAYING' on the LCD, Serial monitor shows a messenger "Init....", but no sound.
I use PIN D3 for data bus on arduino nano v3 and code is https://pastebin.com/6d78w4Jh
Some body can help me please !
Thank !. Sorry my english !
Hi there !
I have try and get same problem, I get 'TAPE PLAYING' on the LCD, Serial monitor shows a messenger "Init....", but no sound.
I use PIN D3 for data bus on arduino nano v3 and code is https://pastebin.com/6d78w4Jh
Some body can help me please !
Thank !. Sorry my english !
Again its been years, but if anyone happens to come across this problem try changing the delays a little in the sendnibble function. Have a mazda 2 2005, changed the 1700ms delay to 1750ms and sound suddenly appeared. Still have a really minor stutter every 70s but is not really an issue and can hopefully also be fixed through software.

 05-30-2016, 03:52 PM