DIY: Custom Interior Console colors... NO PAINTING!!!
 07-15-2011, 09:00 PM
#26
The X is silent
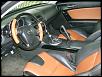
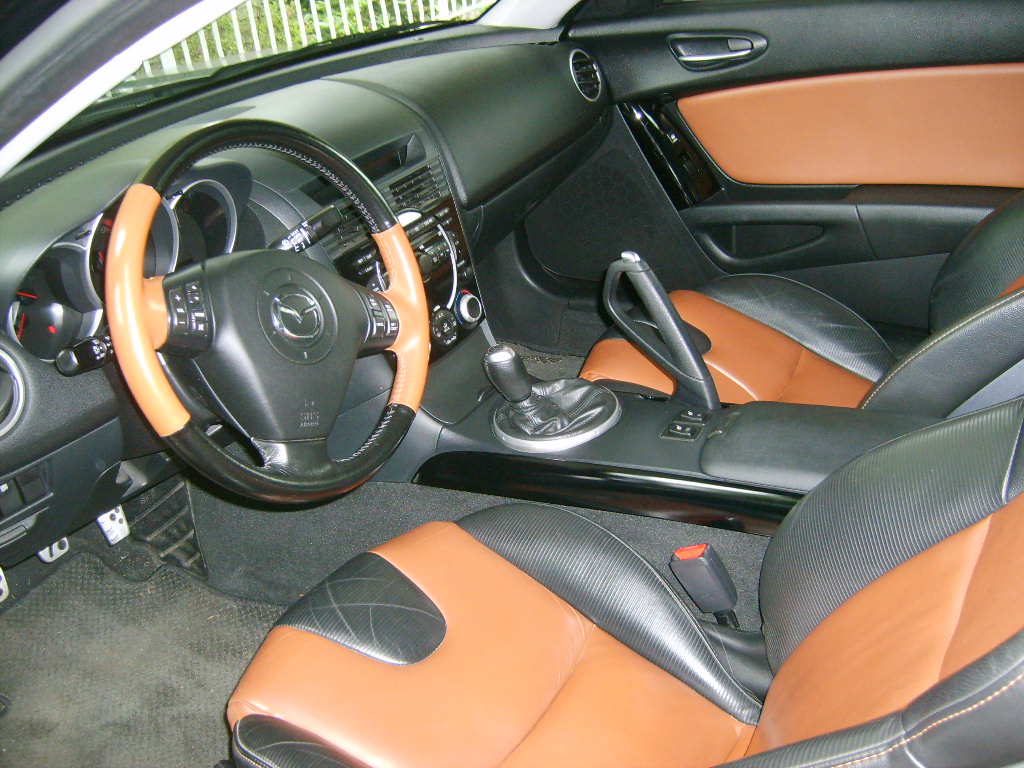
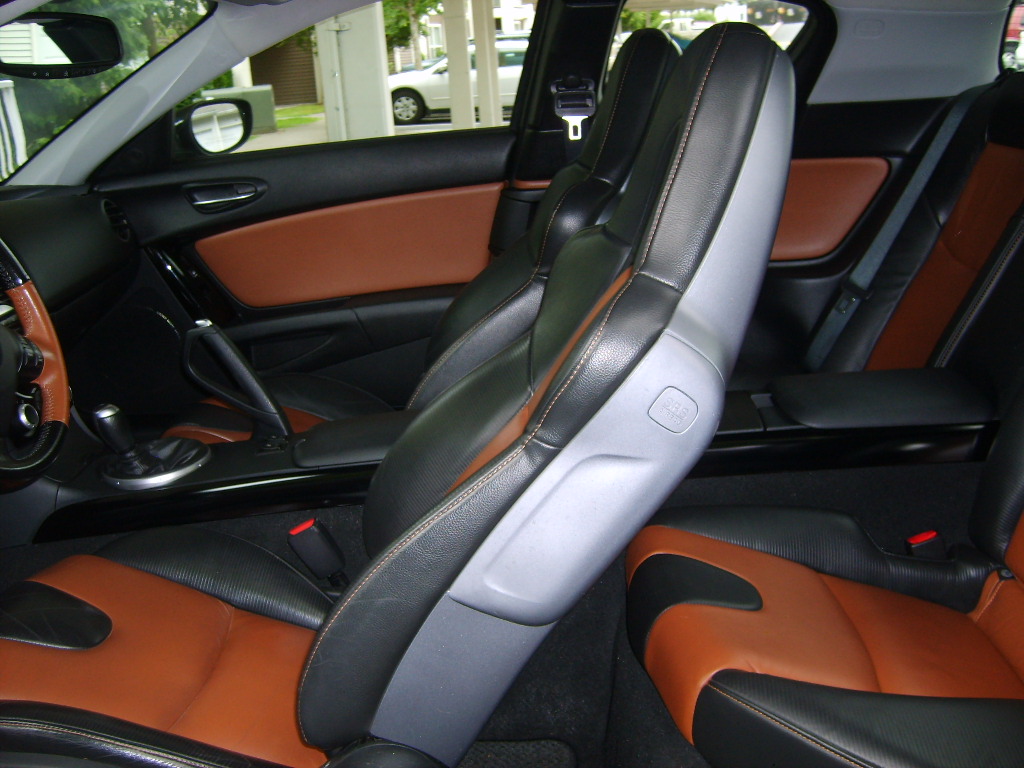
I bought $50 worth of piano black vinyl and did this over the course of three days. This isnt my DD, so I had no need to rush. I am VERY satisfied with the results. The most difficult part is the area around the E-brake handle, but if you take some time and add some heat from a hair dryer it will turn out nicely. I have the black and tan leather interior, and now that the silver has been subdued, the brown leather really pops. My interior feels much classier now. If anyone in my area wants to do this and doesnt want to spend $50, let me know and I'll sell you enough to do your ride for a proportional fee. I have enough to do about 5-6 more cars, I think. I'm also going to use this on my B-pillars when I get a nice day because mine are faded and marked up pretty badly.


 07-15-2011, 09:24 PM
#28
The X is silent
To be completely honest Chad, I think the shipping to Canada would negate the savings you might gain from it. I went to a local sign shop (Sign-a-rama) to buy my materials. I've heard that surcharges are killer. If I am incorrect about that, or if its worth it to you anyway, let me know.
Send me a PM if you're interested.
Send me a PM if you're interested.
Last edited by RXeligion; 07-16-2011 at 02:54 AM.
01-12-2012, 09:32 PM
#29
Registered User

Join Date: Apr 2011
Posts: 32
Likes: 0
Received 0 Likes
on
0 Posts
Whether going the vinyl route or taking a shot at re-painting those silver trim lines down the center console, the link to the service manual pages to dismantle the center console no longer connects to a webpage so does anyone else know where to find a diagram of that job? A 350 page owner manual .pdf I found was obviously not the right one as pages 142-143 were nothing to do with the center console assembly.
Thanks
Thanks

 02-02-2012, 12:17 PM
#33
02-03-2012, 11:23 AM
#34
Registered

Join Date: Apr 2009
Posts: 918
Likes: 0
Received 0 Likes
on
0 Posts
 02-03-2012, 01:40 PM
#35
Registered

Join Date: Jan 2010
Posts: 95
Likes: 0
Received 0 Likes
on
0 Posts
Really nice things are here guys 
Check out my selfmade interior: https://www.rx8club.com/members/corres78-61884-albums-new-interior-4327/
Check out my selfmade interior: https://www.rx8club.com/members/corres78-61884-albums-new-interior-4327/
02-03-2012, 03:30 PM
#36
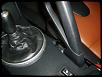
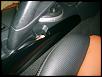
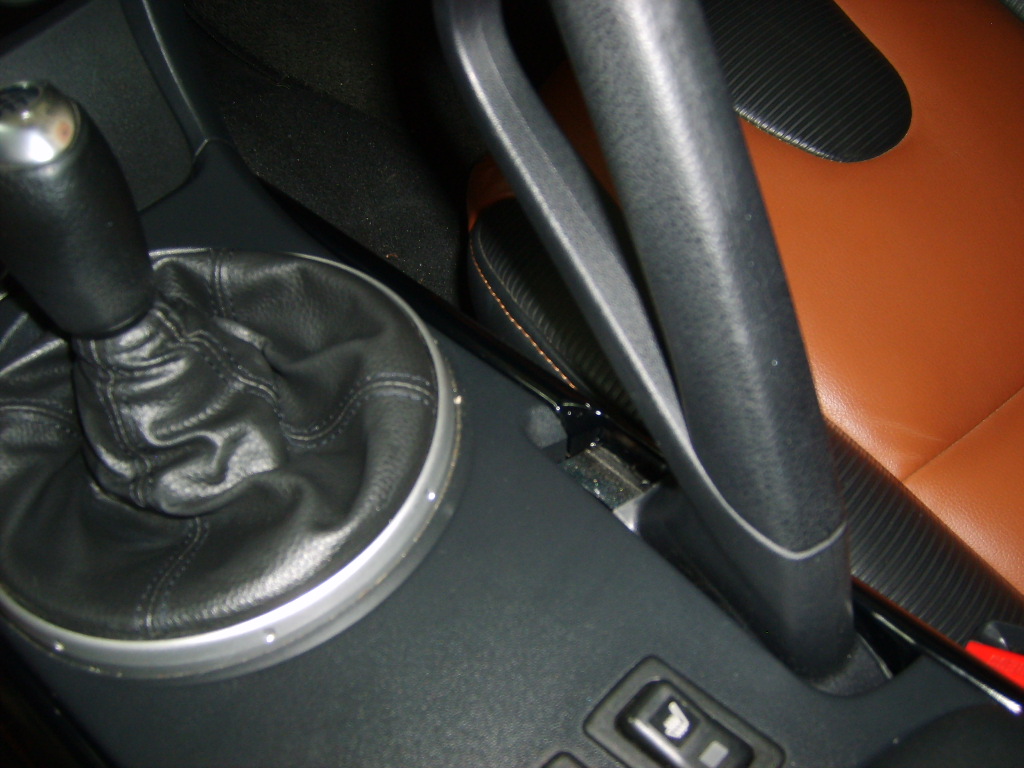
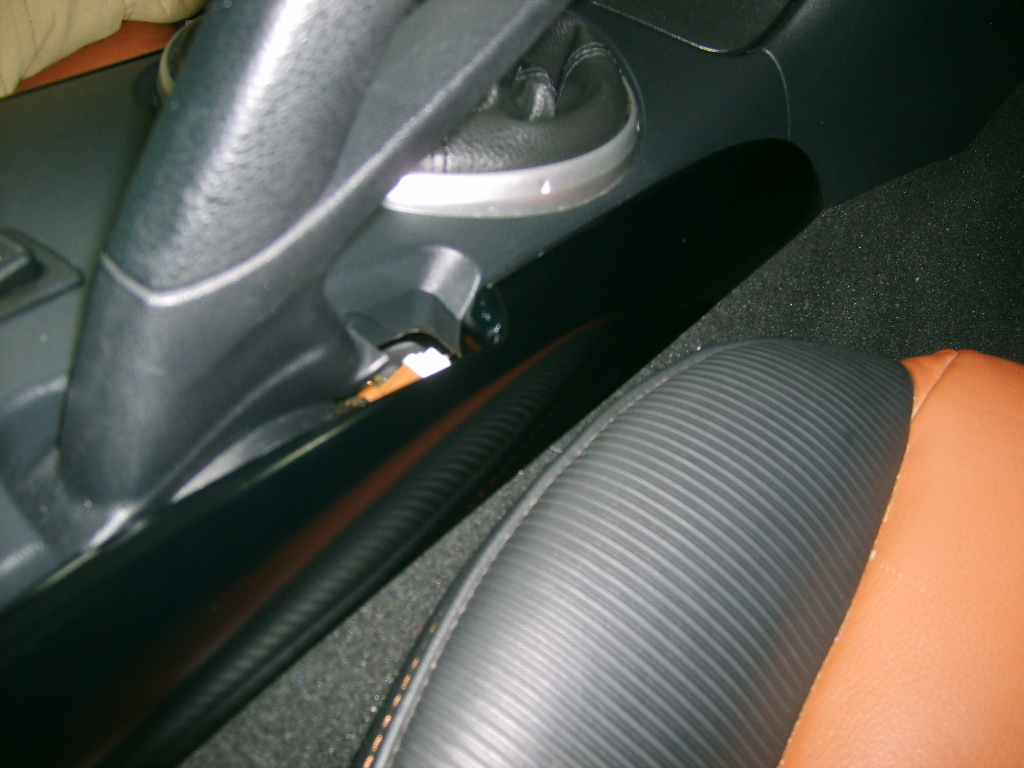
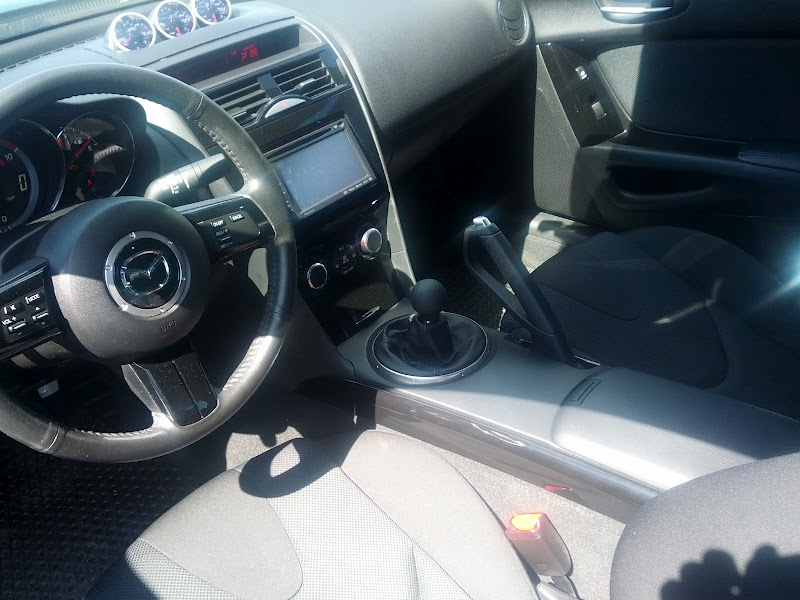
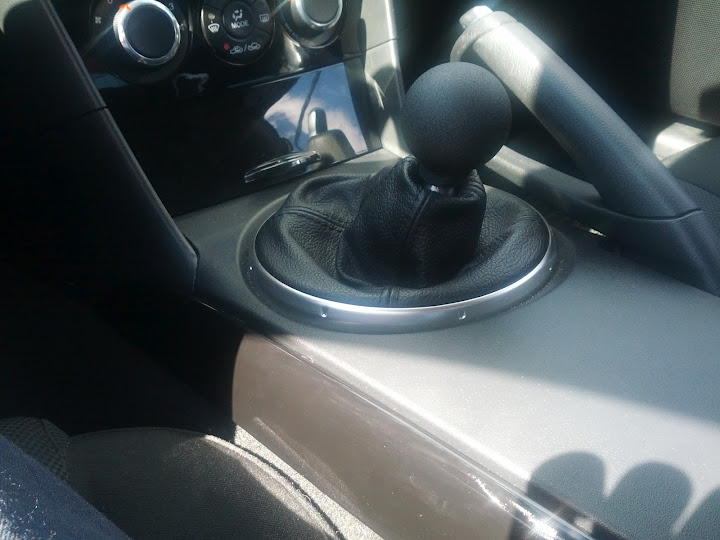
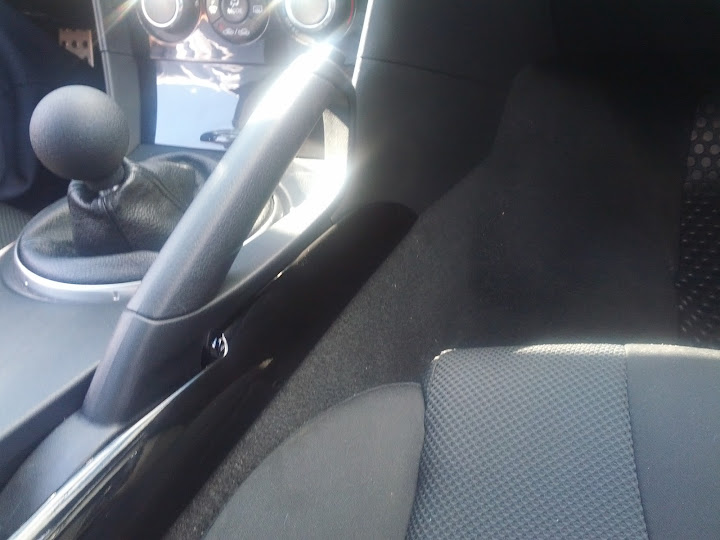
the shift boot needed to be modified to fit and was a real pain in the *** to get to the point of being presentable but looks decent in the end. on mine I had to remove the aluminum piece on top of the boot and re install it due to it being VERY crooked... LINK
I had enough vinyl to do the center console trim and the little panels on the doors that have the window/lock buttons and I still have a good amount left over. and the vinyl I used... LINK
total cost: $51.92
02-04-2012, 10:57 PM
#38
Registered
Join Date: Apr 2009
Posts: 918
Likes: 0
Received 0 Likes
on
0 Posts
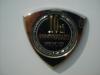
Just a heads up the **** is from china and is a little small in diameter but that doesn't bother me much... LINK
the shift boot needed to be modified to fit and was a real pain in the *** to get to the point of being presentable but looks decent in the end. on mine I had to remove the aluminum piece on top of the boot and re install it due to it being VERY crooked... LINK
I had enough vinyl to do the center console trim and the little panels on the doors that have the window/lock buttons and I still have a good amount left over. and the vinyl I used... LINK
total cost: $51.92
well thank u very much for the link man.... yea, can see why need some altercation for the shift boot...
thanks alot man!
02-12-2012, 01:40 PM
#39
Registered

Join Date: May 2009
Posts: 31
Likes: 0
Received 0 Likes
on
0 Posts
http://www.flxpaint.com/FLX-Paint_Gloss_Colors.htm
Check this stuff out. A little pricey, but it is actually paint on vinyl. More importantly I'm going to see how close the peal white colors are to the pearl white exterior I have. I think it would really set off the interior to be able to color match the beautiful pearl white exterior on the inside. What do you guys think?
Check this stuff out. A little pricey, but it is actually paint on vinyl. More importantly I'm going to see how close the peal white colors are to the pearl white exterior I have. I think it would really set off the interior to be able to color match the beautiful pearl white exterior on the inside. What do you guys think?
 02-13-2012, 05:48 AM
#41
Registered
Join Date: Apr 2009
Posts: 918
Likes: 0
Received 0 Likes
on
0 Posts
http://www.flxpaint.com/FLX-Paint_Gloss_Colors.htm
Check this stuff out. A little pricey, but it is actually paint on vinyl. More importantly I'm going to see how close the peal white colors are to the pearl white exterior I have. I think it would really set off the interior to be able to color match the beautiful pearl white exterior on the inside. What do you guys think?
Check this stuff out. A little pricey, but it is actually paint on vinyl. More importantly I'm going to see how close the peal white colors are to the pearl white exterior I have. I think it would really set off the interior to be able to color match the beautiful pearl white exterior on the inside. What do you guys think?
any idea how thick is the vinyl? and how long it will lasts?
have eyes set on some matte options
06-08-2012, 08:11 AM
#42

I did mine, but I used the "stamped" CF with the adhesive already applied. The hope is that it will be easier to clean :D Pretty much same process, but if you aren't as experienced, u may find this a lot easier since you can cut it with scissors, and don't have to worry about fraying.
Sorry about the resolution, my phone gets it right sometimes, and sometimes not.
Sorry about the resolution, my phone gets it right sometimes, and sometimes not.

 08-05-2013, 09:19 AM
#46
Registered

Exactly as mentioned, vinyl can just peel right off. I might post mine, mine is a hot rod red (since 3M doesn't have any small cuts of their darker red, but it does well imo.)
08-06-2013, 03:14 AM
#47
 02-24-2014, 06:39 PM
#49
I wrote one a while ago. There are actually a few floating around. Use the advance search instead of the regular search in the future and you'll have much better results.
/quote
I saw one around here somewhere, hold on... I added the attachments from it below...
1) open the center console and using a plastic panel remover, or carefully with a flat head pry out a small block on the passenger side, near parking brake, toward the rear.
2) Follow attached instructions for removing first few panels, you won't need to take out the kickpanel bolt, nor the understeering wheel panel, those are for radio removal...
Throughout this whole section look for more bolts... I'm doing this from memory...
3) there are 2 bolts underneath the panel beneath the shifter
4) there are another two in center console rear compartment under the liner, (immediately behind FRONT cup holders)
4.5) remove the cigarette lighter in the compartment from step 4, just pop it out, and remember to press it through when you pull the back half out later on
5) two more in the center console rear compartment under the liner, (immediately behind REAR cup holders)
6) two more underneath the removable panel between rear seats and trunk entrance
7) DON"T FORGET THESE, remove whatever you have below radio, and there are two directly under the radio.
The entire center console can be split in two, its held together by the same clips from step 2. Remove the rear half first, by lifting towards ceiling while hodling front section down (a knee if you are delicate) the seam is right between the front two seats, you'll see it.
Once you remove the the rear section move on to the front. Don't forget the clips behind the panels in the wheel wells (basically dont yank it off, pull the front section towards the rear for removal. The clips slide in...
I'll add more later, if I forgot anything, but this should get ya started.
/endquote
02-25-2014, 04:15 PM
#50
Registered

Join Date: Feb 2014
Posts: 8
Likes: 0
Received 0 Likes
on
0 Posts
thanks, this is very helpful.
QUOTE=Silverhorn;4573494]I wrote one a while ago. There are actually a few floating around. Use the advance search instead of the regular search in the future and you'll have much better results.
/quote
I saw one around here somewhere, hold on... I added the attachments from it below...
1) open the center console and using a plastic panel remover, or carefully with a flat head pry out a small block on the passenger side, near parking brake, toward the rear.
2) Follow attached instructions for removing first few panels, you won't need to take out the kickpanel bolt, nor the understeering wheel panel, those are for radio removal...
Throughout this whole section look for more bolts... I'm doing this from memory...
3) there are 2 bolts underneath the panel beneath the shifter
4) there are another two in center console rear compartment under the liner, (immediately behind FRONT cup holders)
4.5) remove the cigarette lighter in the compartment from step 4, just pop it out, and remember to press it through when you pull the back half out later on
5) two more in the center console rear compartment under the liner, (immediately behind REAR cup holders)
6) two more underneath the removable panel between rear seats and trunk entrance
7) DON"T FORGET THESE, remove whatever you have below radio, and there are two directly under the radio.
The entire center console can be split in two, its held together by the same clips from step 2. Remove the rear half first, by lifting towards ceiling while hodling front section down (a knee if you are delicate) the seam is right between the front two seats, you'll see it.
Once you remove the the rear section move on to the front. Don't forget the clips behind the panels in the wheel wells (basically dont yank it off, pull the front section towards the rear for removal. The clips slide in...
I'll add more later, if I forgot anything, but this should get ya started.
/endquote[/QUOTE]

Thread
Thread Starter
Forum
Replies
Last Post
nferguson88
RX-8 Parts For Sale/Wanted
1
10-06-2015 12:45 PM
ShellDude
RX-8 Parts For Sale/Wanted
5
10-01-2015 09:55 PM
{WTB/WTT} WTB Right Undertray Riser and Guard
archon
RX-8 Parts For Sale/Wanted
3
10-01-2015 06:08 AM