Notices
Series I Do It Yourself Forum Wanna save some coin or time/money in the shop? Read up on Do-It-Yourself custom mods and repairs & post your own here.

DIY: Fuel Tank Leak - Cap Ring

Thread Tools
 
Rate Thread
 
Old Nov 12, 2023 | 09:21 AM
  #1  
Nuke It's Avatar
Thread Starter
Registered
 
Joined: Jul 2006
Posts: 28
Likes: 1
From: Jensen Bch, FL
DIY: Fuel Tank Leak - Cap Ring

Filled up my tank, and would get terrible (more than usual) fuel economy. Noticed a fuel smell, and a wet spot under the passenger side of the car, under rear seat. There was a recall for cracked rings, but I didn't take advantage of it as I had already upgraded my fuel pump.

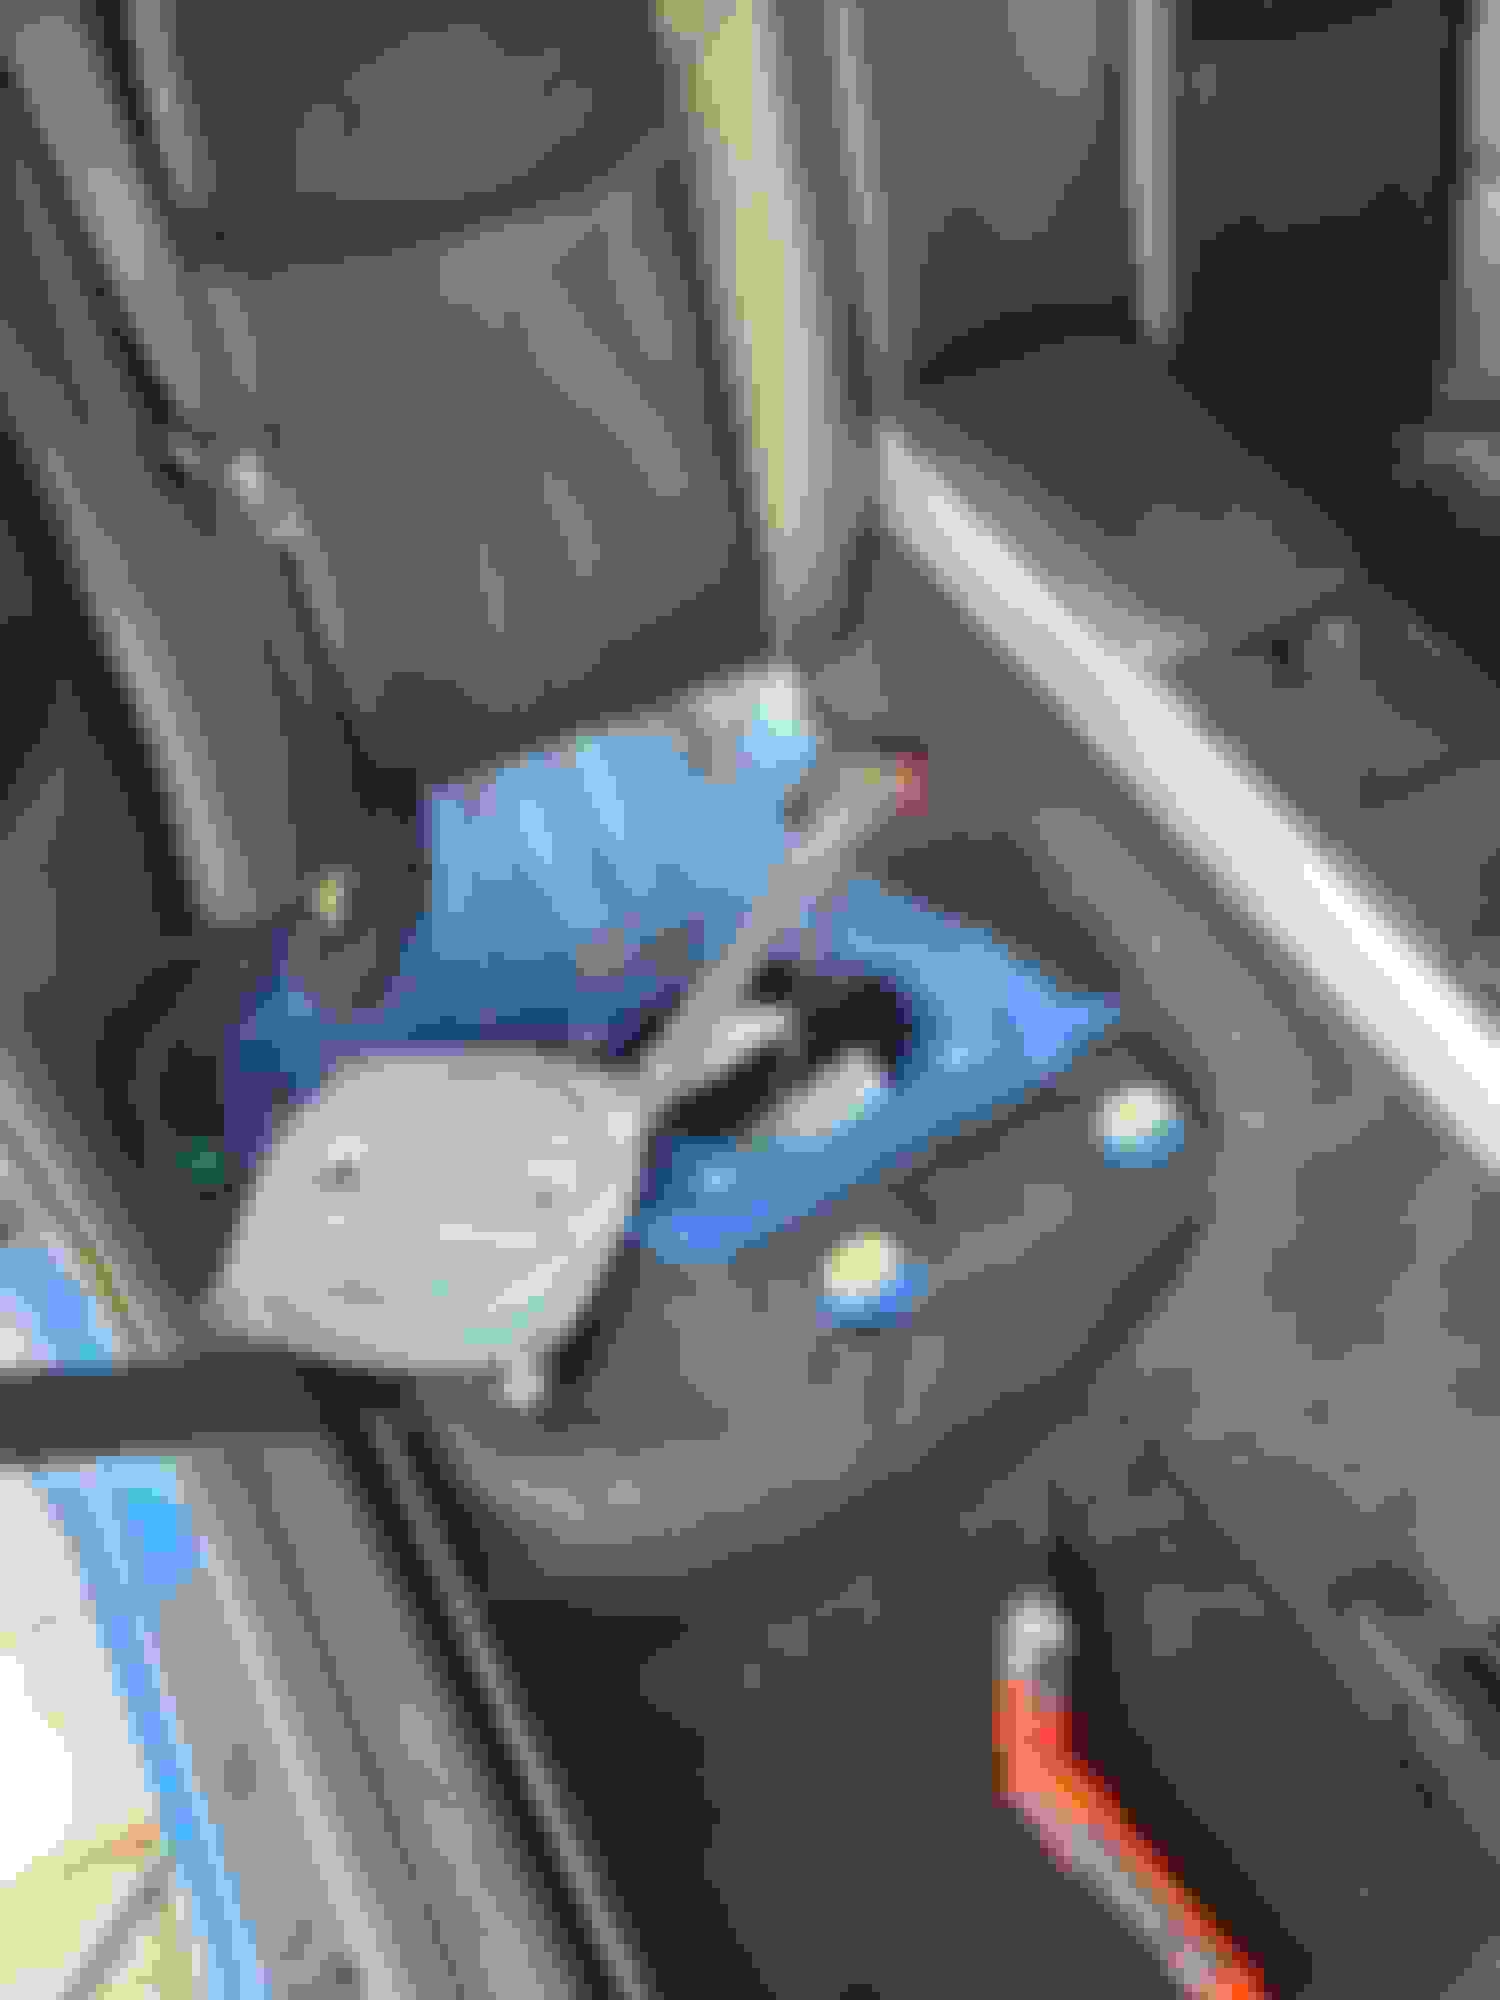
This fuel ring replacement applied to both Drive and Pass sides, but I only have pix of the Pass side.

Parts you will need:
Cap Ring (white plastic) F151-42-A14A
O-Ring (black elastomer) F151-42-A61

Tools you will need:
Phillips head screwdriver
Possible needle nose pliers
Cap Ring tool (I got mine from BHR)
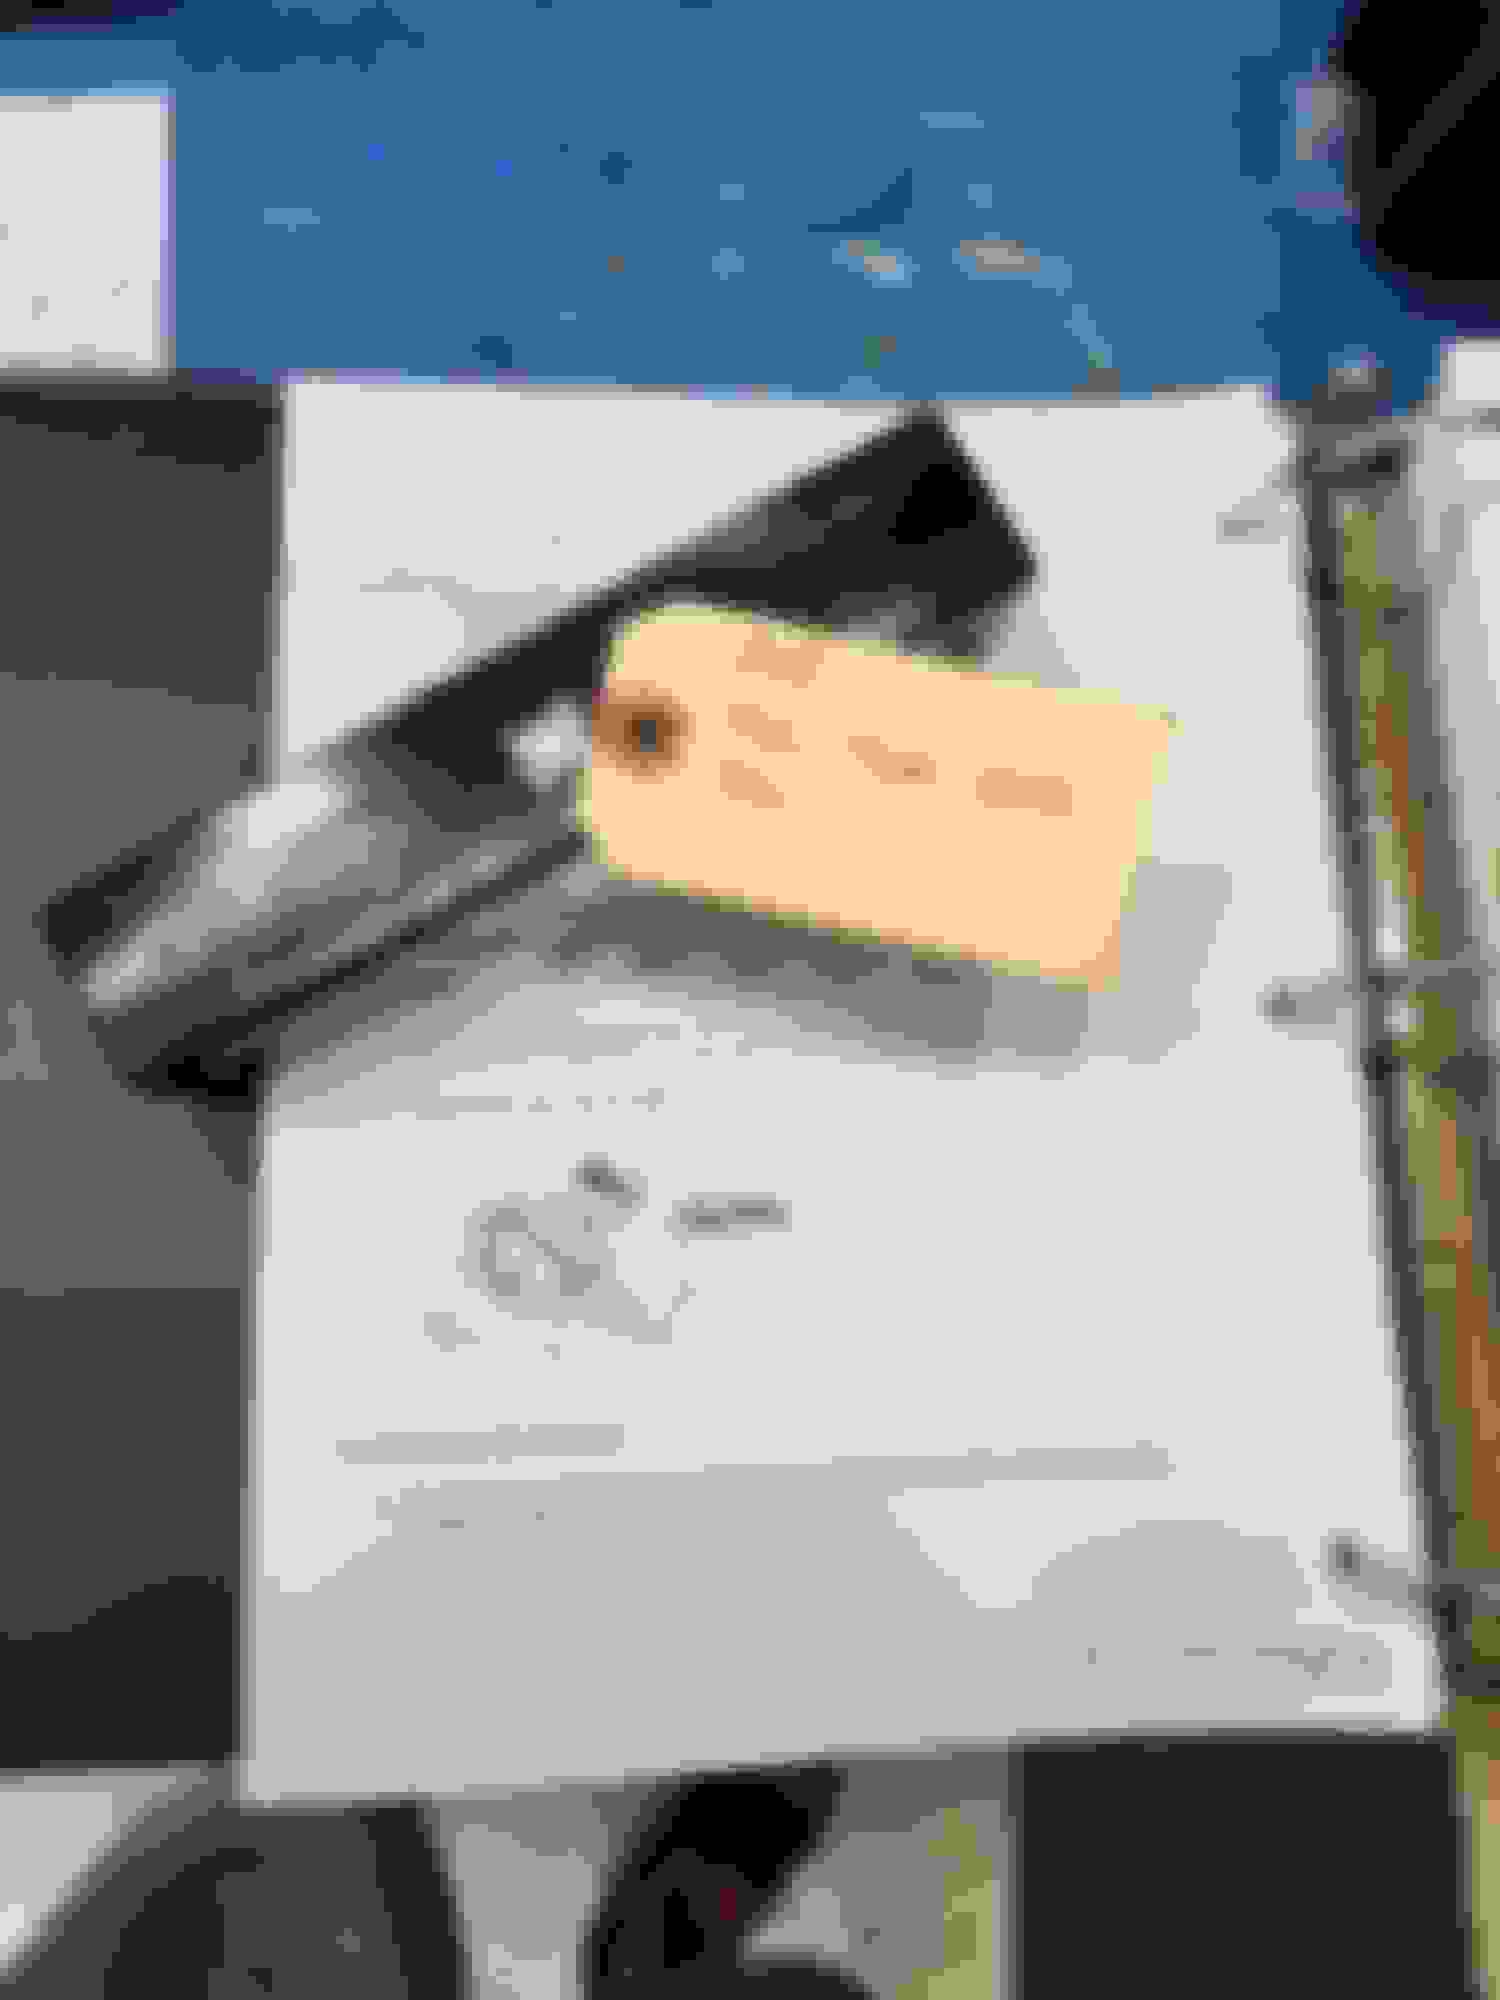
Pages from Mazda Manual (see pix)


BHR tool vs Factory tool

Items of note in the Manual

Items of note in the Manual

New Cap Ring and O-Ring gasket from MazMart
Reply
Old Nov 12, 2023 | 09:23 AM
  #2  
Nuke It's Avatar
Thread Starter
Registered
 
Joined: Jul 2006
Posts: 28
Likes: 1
From: Jensen Bch, FL
Step 1: Remove rear seat bottom (dependent on the side). It removes by hand, no tools.

I took the opportunity to clean the seat bottom and
Reply
Old Nov 12, 2023 | 09:24 AM
  #3  
Nuke It's Avatar
Thread Starter
Registered
 
Joined: Jul 2006
Posts: 28
Likes: 1
From: Jensen Bch, FL
Step 2. Remove the metal access plate. Held on via 4 Phillips head screws.

Step 3: Remove the wiring connections / hose connections. Needle nose pliers may come in handy here.

Step 4: Use the tool to remove the ring (pix shows installing, but same thing)


Using BHR tool to tighten new ring
Reply
Old Nov 12, 2023 | 09:26 AM
  #4  
BigCajun's Avatar
Banned
iTrader: (1)
 
Joined: Jan 2013
Posts: 0
Likes: 2,703
Good DIY.

But, why didn't you use the recall to get it fixed?
Why would you pay for parts you can get for free?

Jus sayin.


Reply
Old Nov 12, 2023 | 09:31 AM
  #5  
Nuke It's Avatar
Thread Starter
Registered
 
Joined: Jul 2006
Posts: 28
Likes: 1
From: Jensen Bch, FL
Step 5: Clean with paper towels ring area and threads. This will impact how easy it is to tighten later.

Step 6: Install (lay in) gasket ring.

Step 7: Lay white round plate (part of fuel pump or pick up depending on the side) in place, noting the position arrow and discussed in the manual.

Step 8: Hand install cap ring, tight by hand at least 1 full turn.

Step 9: Use tool to tighten, per manual (50 to 140 degrees, 60 to 95 ft lbs)


Items of note in the Manual

Using BHR tool to tighten new ring
Reply
Old Nov 12, 2023 | 09:34 AM
  #6  
Nuke It's Avatar
Thread Starter
Registered
 
Joined: Jul 2006
Posts: 28
Likes: 1
From: Jensen Bch, FL
Step 10: Connect wires / lines.

Step 11: Replace the metal cap using the 4 screws

Step 12: Replace seat bottom.

Step 13: clean up & done.
Reply
Old Nov 12, 2023 | 09:39 AM
  #7  
Nuke It's Avatar
Thread Starter
Registered
 
Joined: Jul 2006
Posts: 28
Likes: 1
From: Jensen Bch, FL
Pix of the cracked ring

Cracked original cap ring
Reply
Old Nov 12, 2023 | 09:43 AM
  #8  
Nuke It's Avatar
Thread Starter
Registered
 
Joined: Jul 2006
Posts: 28
Likes: 1
From: Jensen Bch, FL
Originally Posted by BigCajun
Good DIY.

But, why didn't you use the recall to get it fixed?
Why would you pay for parts you can get for free?

Jus sayin.

The recall required replacement of the fuel pump, and I had already upgraded mine. I didn't want to go backwards, so I passed on the recall. Free would have been better....
Reply
Old Nov 12, 2023 | 06:01 PM
  #9  
BigCajun's Avatar
Banned
iTrader: (1)
 
Joined: Jan 2013
Posts: 0
Likes: 2,703
Originally Posted by Nuke It
The recall required replacement of the fuel pump, and I had already upgraded mine. I didn't want to go backwards, so I passed on the recall. Free would have been better....
Wait, are you saying you're forced to buy a fuel pump to get your recall addressed?

That doesn't seem right.

It's the only recall I haven't taken care of yet, I don't even remember reading the letter.
Reply
Related Topics
Thread
Thread Starter
Forum
Replies
Last Post
dannobre
Series I Do It Yourself Forum
153
Apr 27, 2021 06:37 PM
abesRX8
Series I Do It Yourself Forum
7
Feb 4, 2019 10:15 PM
RogueTadhg
Series II DIY
23
Sep 9, 2015 05:46 PM
BJP
Series I Do It Yourself Forum
9
May 20, 2013 10:05 PM
EricB
General Automotive
7
Aug 19, 2012 11:06 AM


You have already rated this thread Rating: Thread Rating: 0 votes,  average.


All times are GMT -5. The time now is 04:33 AM.