When you click on links to various merchants on this site and make a purchase, this can result in this site earning a commission. Affiliate programs and affiliations include, but are not limited to, the eBay Partner Network.
Tools Required:
Replacement Horn � PIAA 85110 115 db 400HZ + 500HZ Horn https://smile.amazon.com/gp/product/...?ie=UTF8&psc=1
13 mm wrench and 13 mm socket
10 mm socket
8 mm socket
Phillips & Flat screwdriver
Jack
Jack Stands
Tire Iron
Pair of M8 bolts, � inch length (approx.)
Pair of M8 nuts
2 x regular washers for M8 bolt
2 x crush washers for M8 bolt
I didn�t see any good guides when I was looking for horn information, but decided to give the project a try and took a few photos along the way. I found that my factory horn was not nearly loud enough as it seemed to take forever and a half for other drivers to hear me honk while I dodge their land missile guided by someone too busy with their coffee to stop and/or look for traffic at an intersection (/end rant). Enjoy.
I chose this horn from amazon because it seemed to be a similar form factor as the OEM horn. Reading through the RX-8 shop manual I found that the existing horn setup does in fact have a relay that is fused at 15 Amps.
1. Jack up car and remove front wheel
Save yourself a lot of trouble and just remove the front wheel. You will need to jack up the car in order to have clearance to work, so save yourself some trouble and get the wheel off and out of the way.
2. Remove the wheel well panel
The horn is located behind and slightly above the oil coolers on both sides. There are two main panels in the wheel well, you only need to remove the smaller one that located behind the oil coolers (it has vent holes in it). The panel has numerous of those push snaps holding it in place, use a Philips screw driver to give them a quarter turn. Then use the flat screwdriver to remove snap assembly. There are three 10 mm screws on the underside of the car to hold this in place. You will need your 10 mm wrench here.
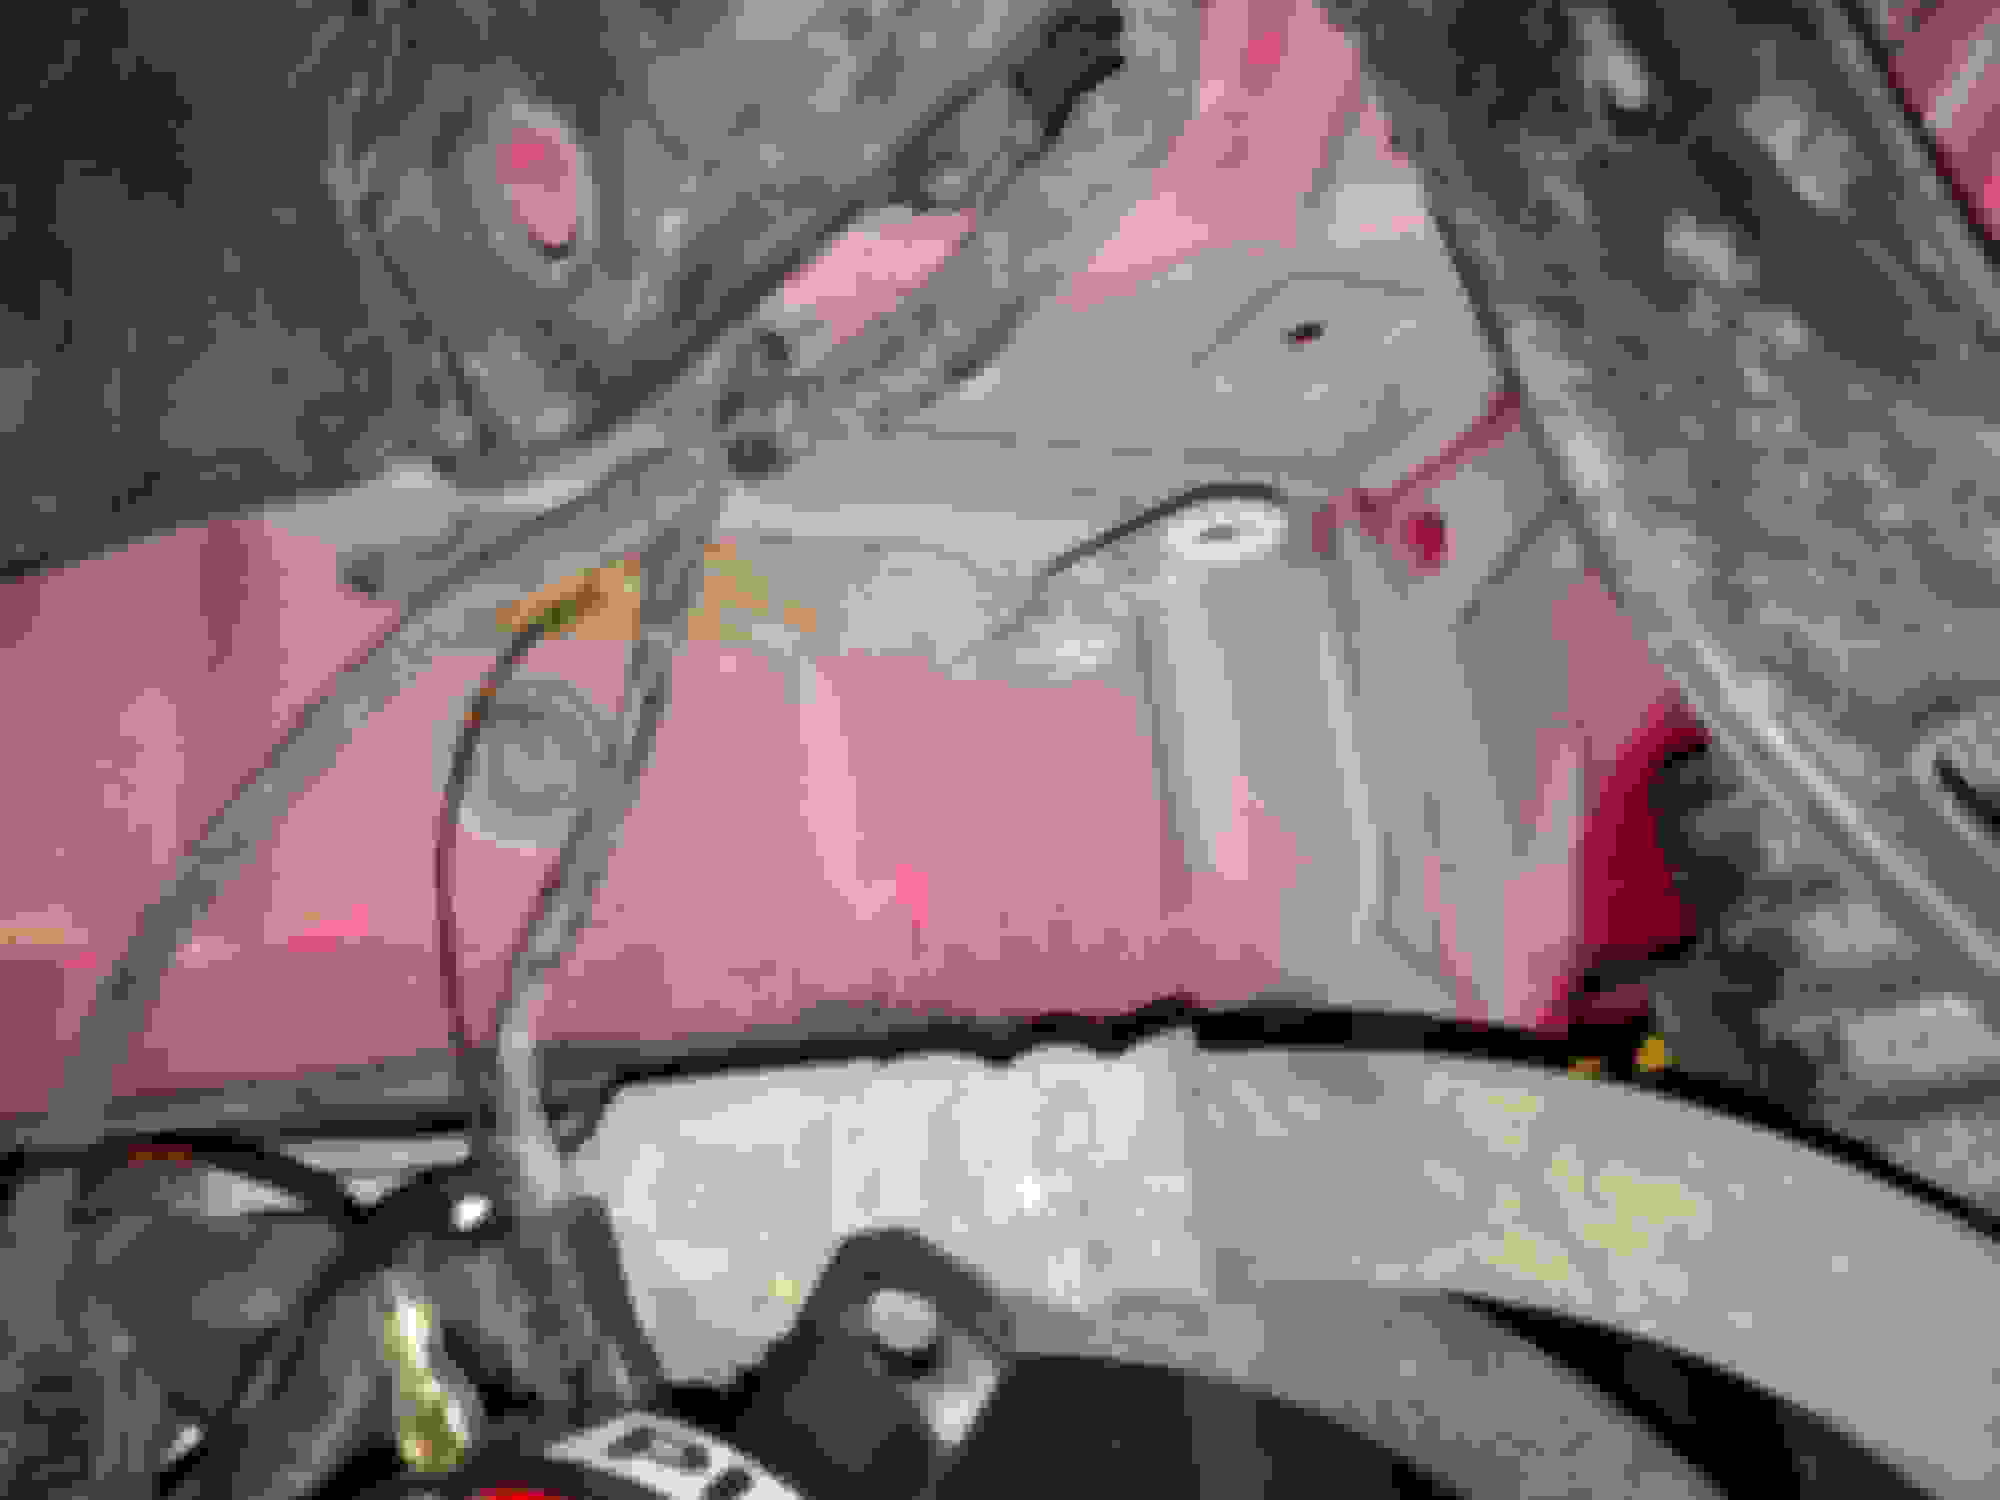
3. Remove the existing horn
The horn is bolted onto an L-shaped bracket that is held in place with a 13mm nut. This nut and bracket serve as the ground. The single wire provides 12 volts when the horn is depressed, it has a retaining clip that can be released by pinching the connector at the correct location.
4. Install the ground wire for the new horn
The new horn came with two ground wires, therefore we loosen up the 10mm bolt on the bracket and attach one of the ground wires here at the bolt. The black wire with red stripes in the pic is the new ground wire, see how it fits nicely onto the horn bracket. We simply reuse the 12 volt line from the OEM horn. The PIAA horn has terminals that match our OEM horn, so no modification is needed here.
5. Wire up new horn
The instructions with the horn say to orient the horn with the text upright and the terminal on top will be positive. Connect the existing wire to this top terminal. Connect the new ground wire to the bottom terminal.
6. Mount new horn
If you don�t want to run to the hardware store for some misc. nuts/bolts, you can probably just remove the L-Shaped bracket and mount the new horn directly onto the existing 10mm bolt. I chose to keep the bracket in place. The new horn does not have an embedded mounting bolt, therefore I purchased some M8 nut/bolt hardware to mount the new horn at the end of this bracket. Your choice.
7. Test horn
8. Replace Wheel well panel and front tire
9. Repeat steps 2 through 8 for other side of the car.
My RX-8 is a 2011 R3 model. Same setup should apply to sports or grand touring models.
I think one of my OEM horns was not always activating, which made it too quiet when I most needed it. At 115 dB the new horn is noticeably louder, though think I would have liked a 118 dB (2x louder) or 121 bB (4x louder) horn better. Hope you found this useful.
awesome . thanks for the great write up.i may have to end up doing this soon since my fuse and relay for the horn check out good....so must be the horns themselves.