When you click on links to various merchants on this site and make a purchase, this can result in this site earning a commission. Affiliate programs and affiliations include, but are not limited to, the eBay Partner Network.
This can be done in a couple hours in the garage or driveway. Not much fun, but not bad. No major surgery or special tools required. You have to get your hands pretty far up under and into the bum of the car, but it is do-able. It is a good cheap mod which makes an immediate and noticeable difference. I did this to reduce drivetrain slop and improve feel, after installing Race Roots engine mounts (which at $200 are a great replacement/mod). I purchased a used diff mount from a forum member to experiment with, so 2 are shown in the pics.
Needed:
Floor jack
Jack stands
Whiteline diff mount bushing part #W93394 (bought mine from Amazon)
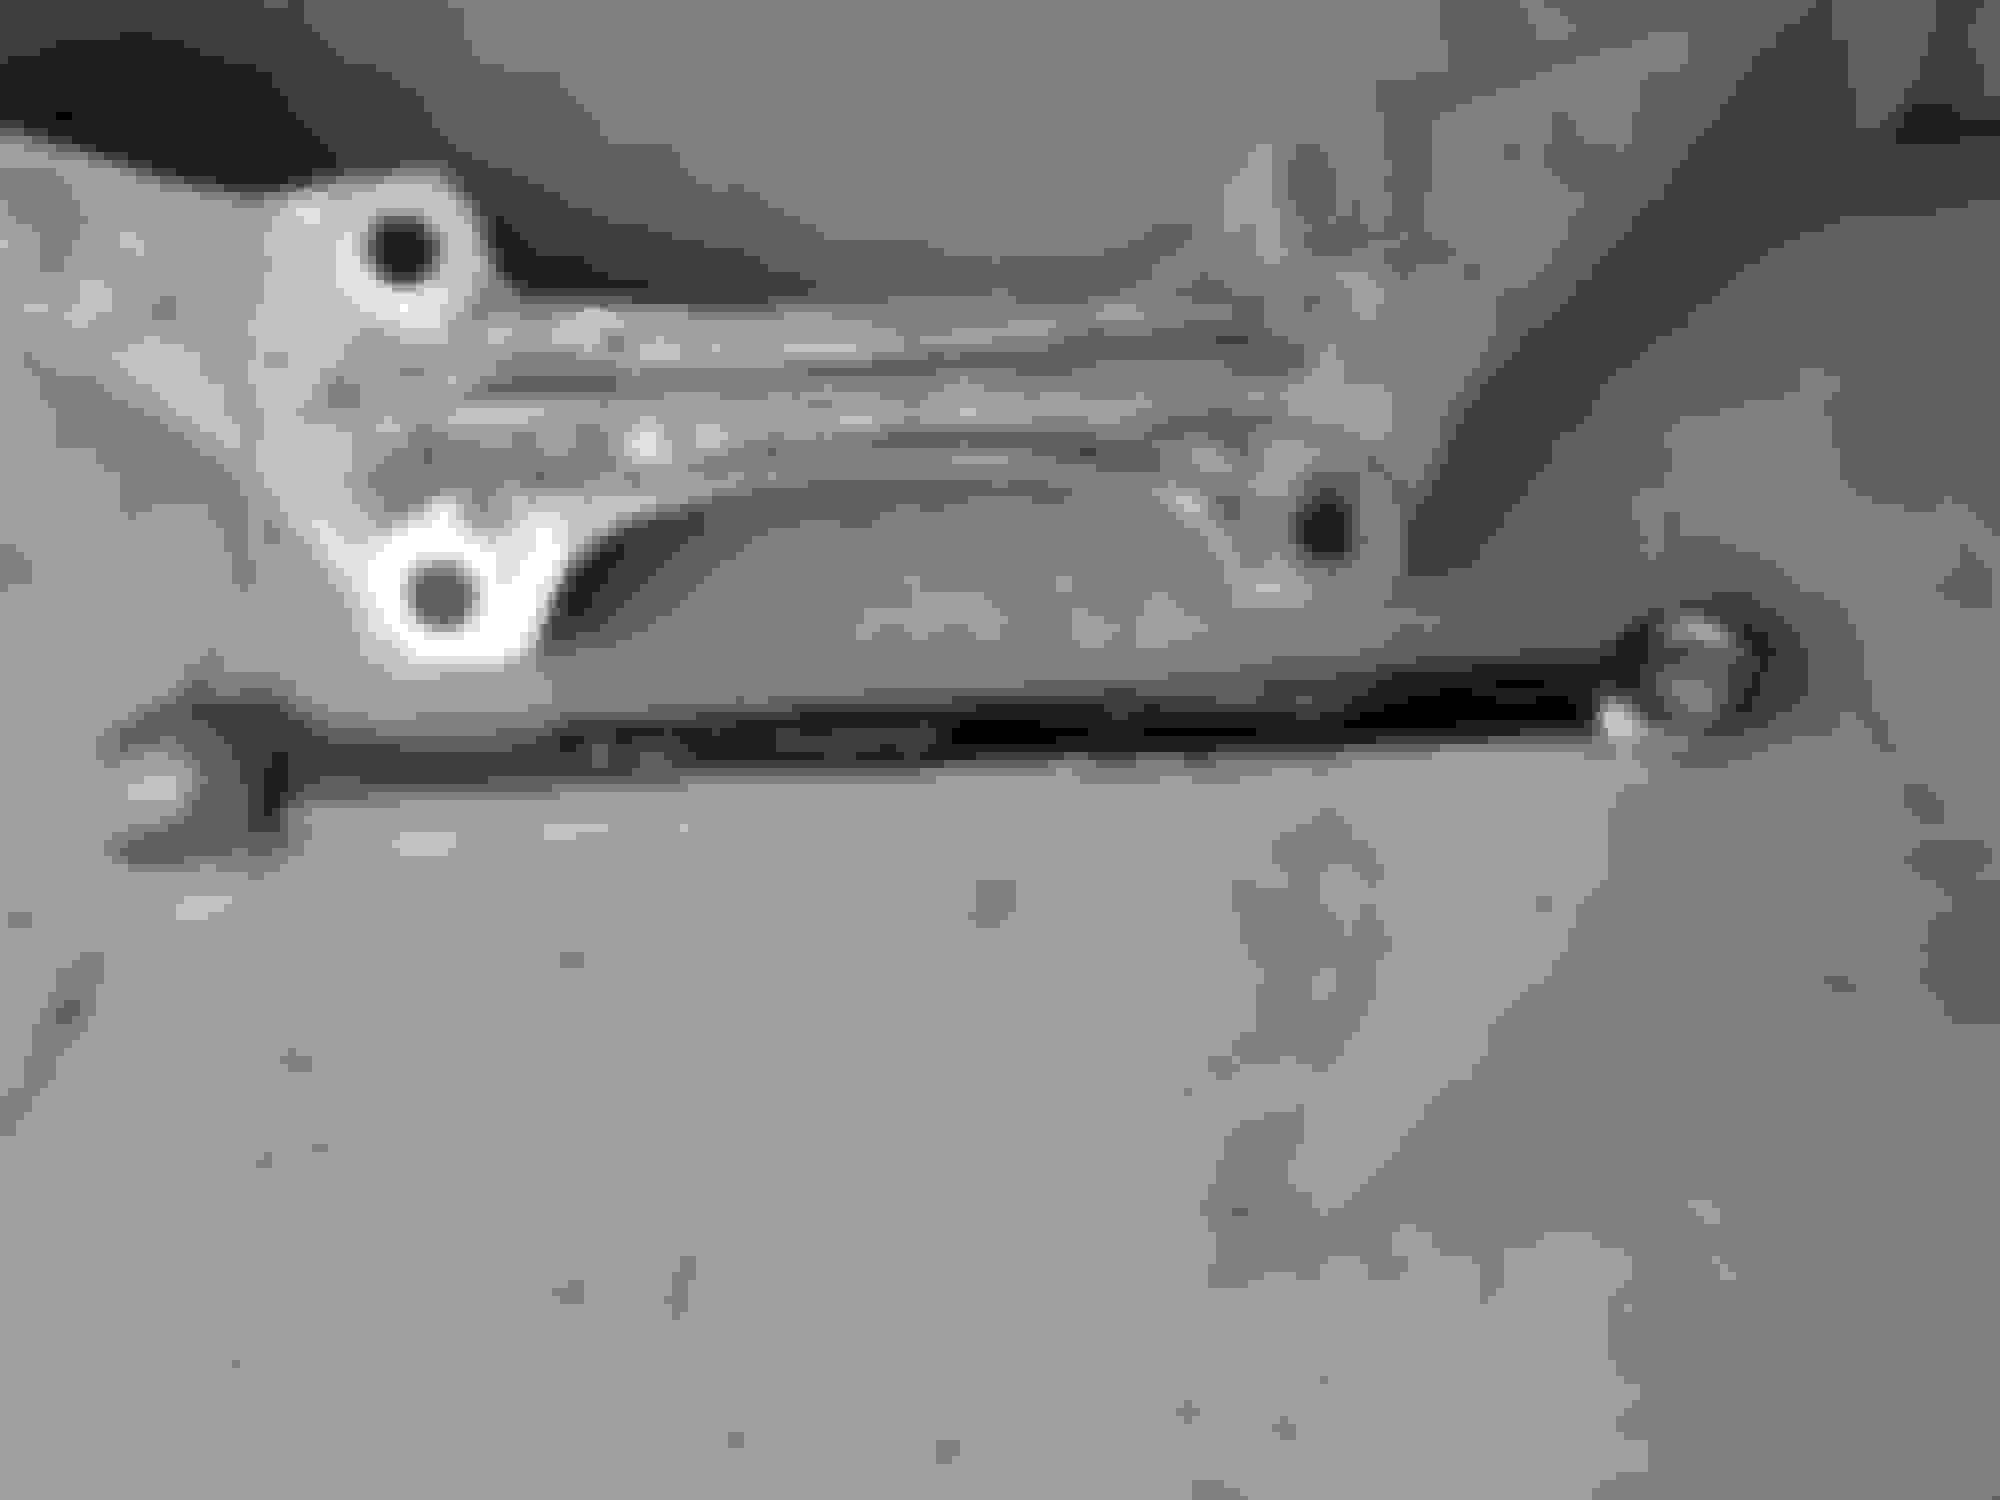
long 17mm combo wrench
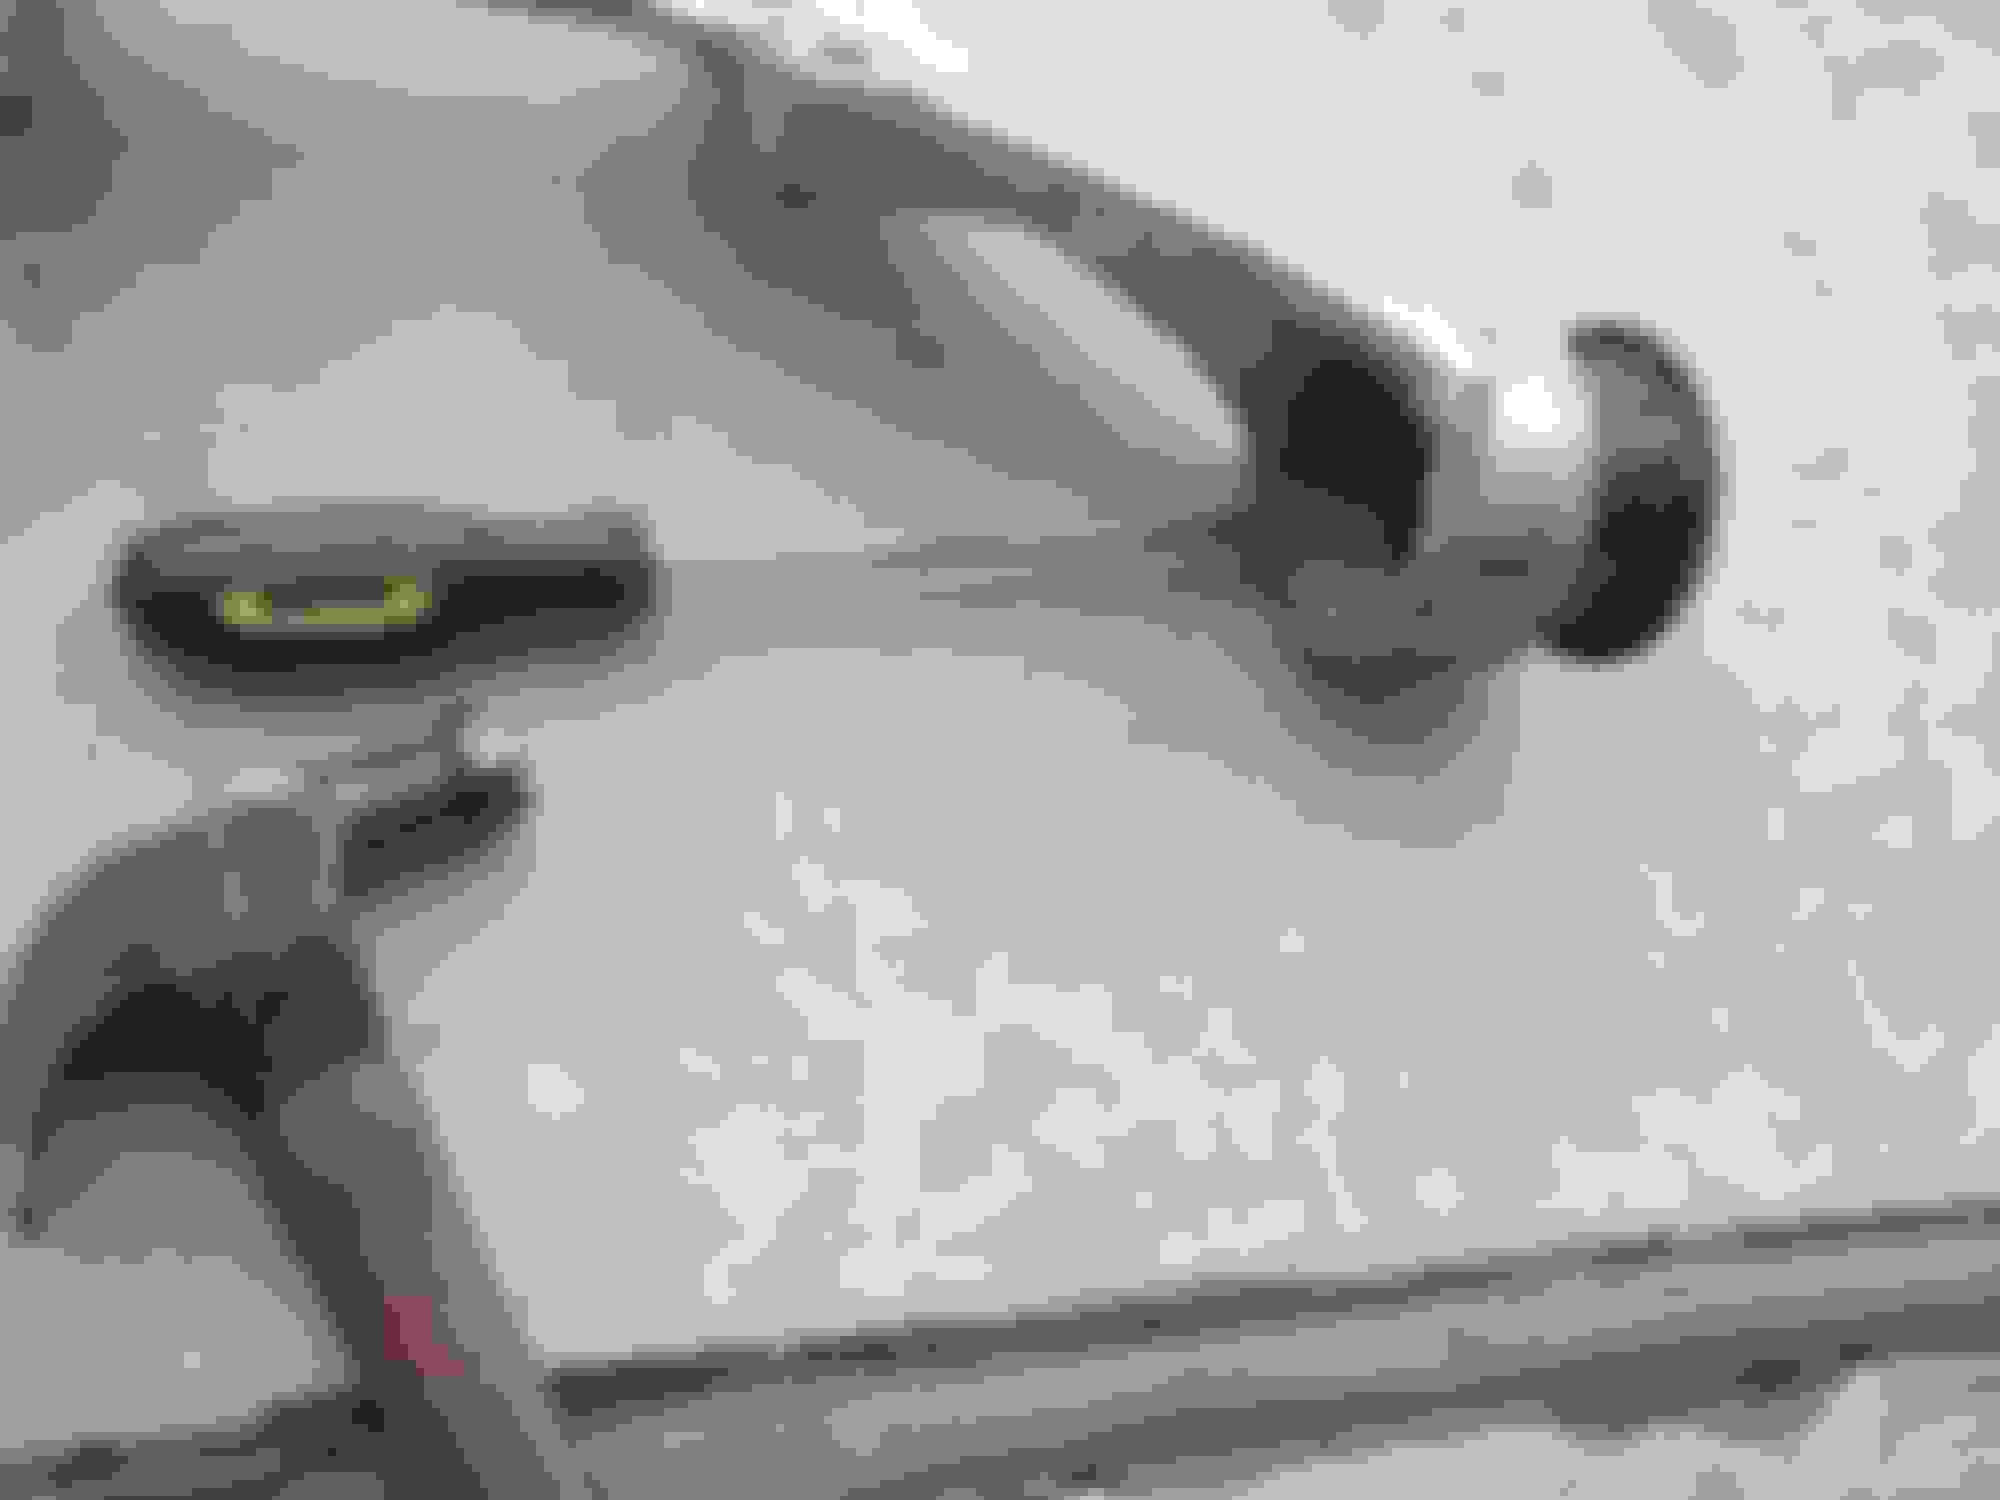
hacksaw
hammer
large screwdriver
tools to remove the exhaust
1 - Jack up the car (safely!)
2 - remove rear exhaust section ('catback') for easy access around the diff.
3 - support diff gently with floor jack
4 - remove the bolts which attach the diff mount to the subframe. This is easy. There are just 2, one on each side, and fairly easy access.
5 - Remove the 4 nuts on top of the diff mount, which attach the mount to the diff. This is a pain because they are invisible on top of the diff. A nice long 17mm wrench is needed for this. My Harbor Freight 17mm combo wrench was perfect. Adjust the diff height as needed with the floor jack while doing this. I carefully bent the muffler heat shield a bit out of the way for access. Be careful, and it will bend back easily.
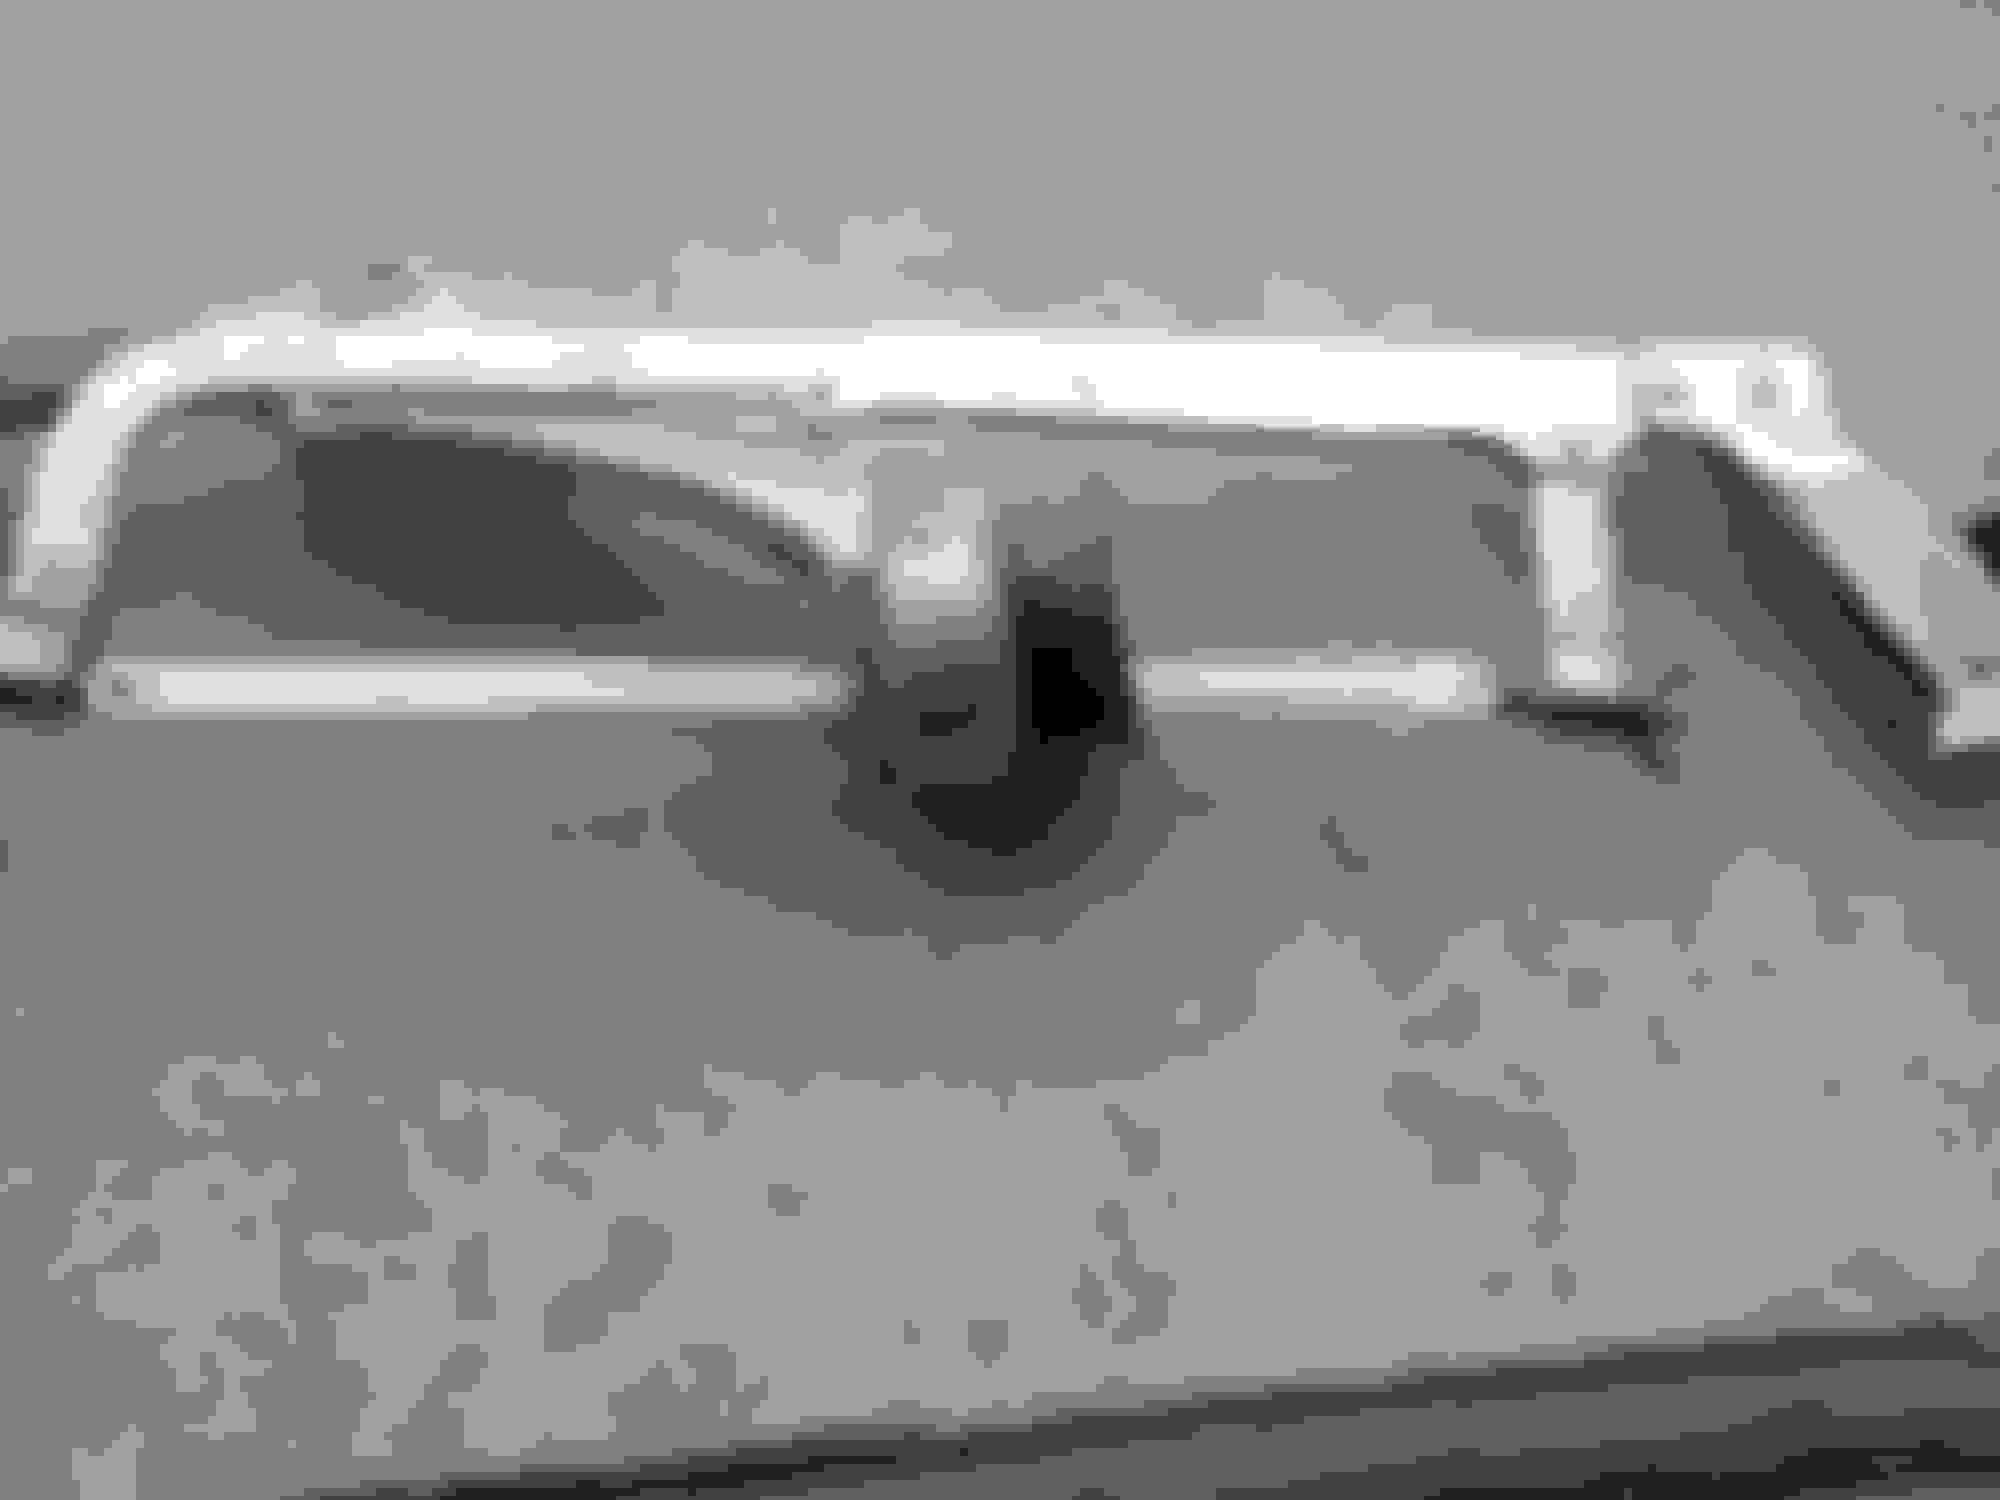
6 - Now the diff mount can be snaked out of the car. Yes it will come out! Again, raise and lower the jack holding up the diff to get it out.
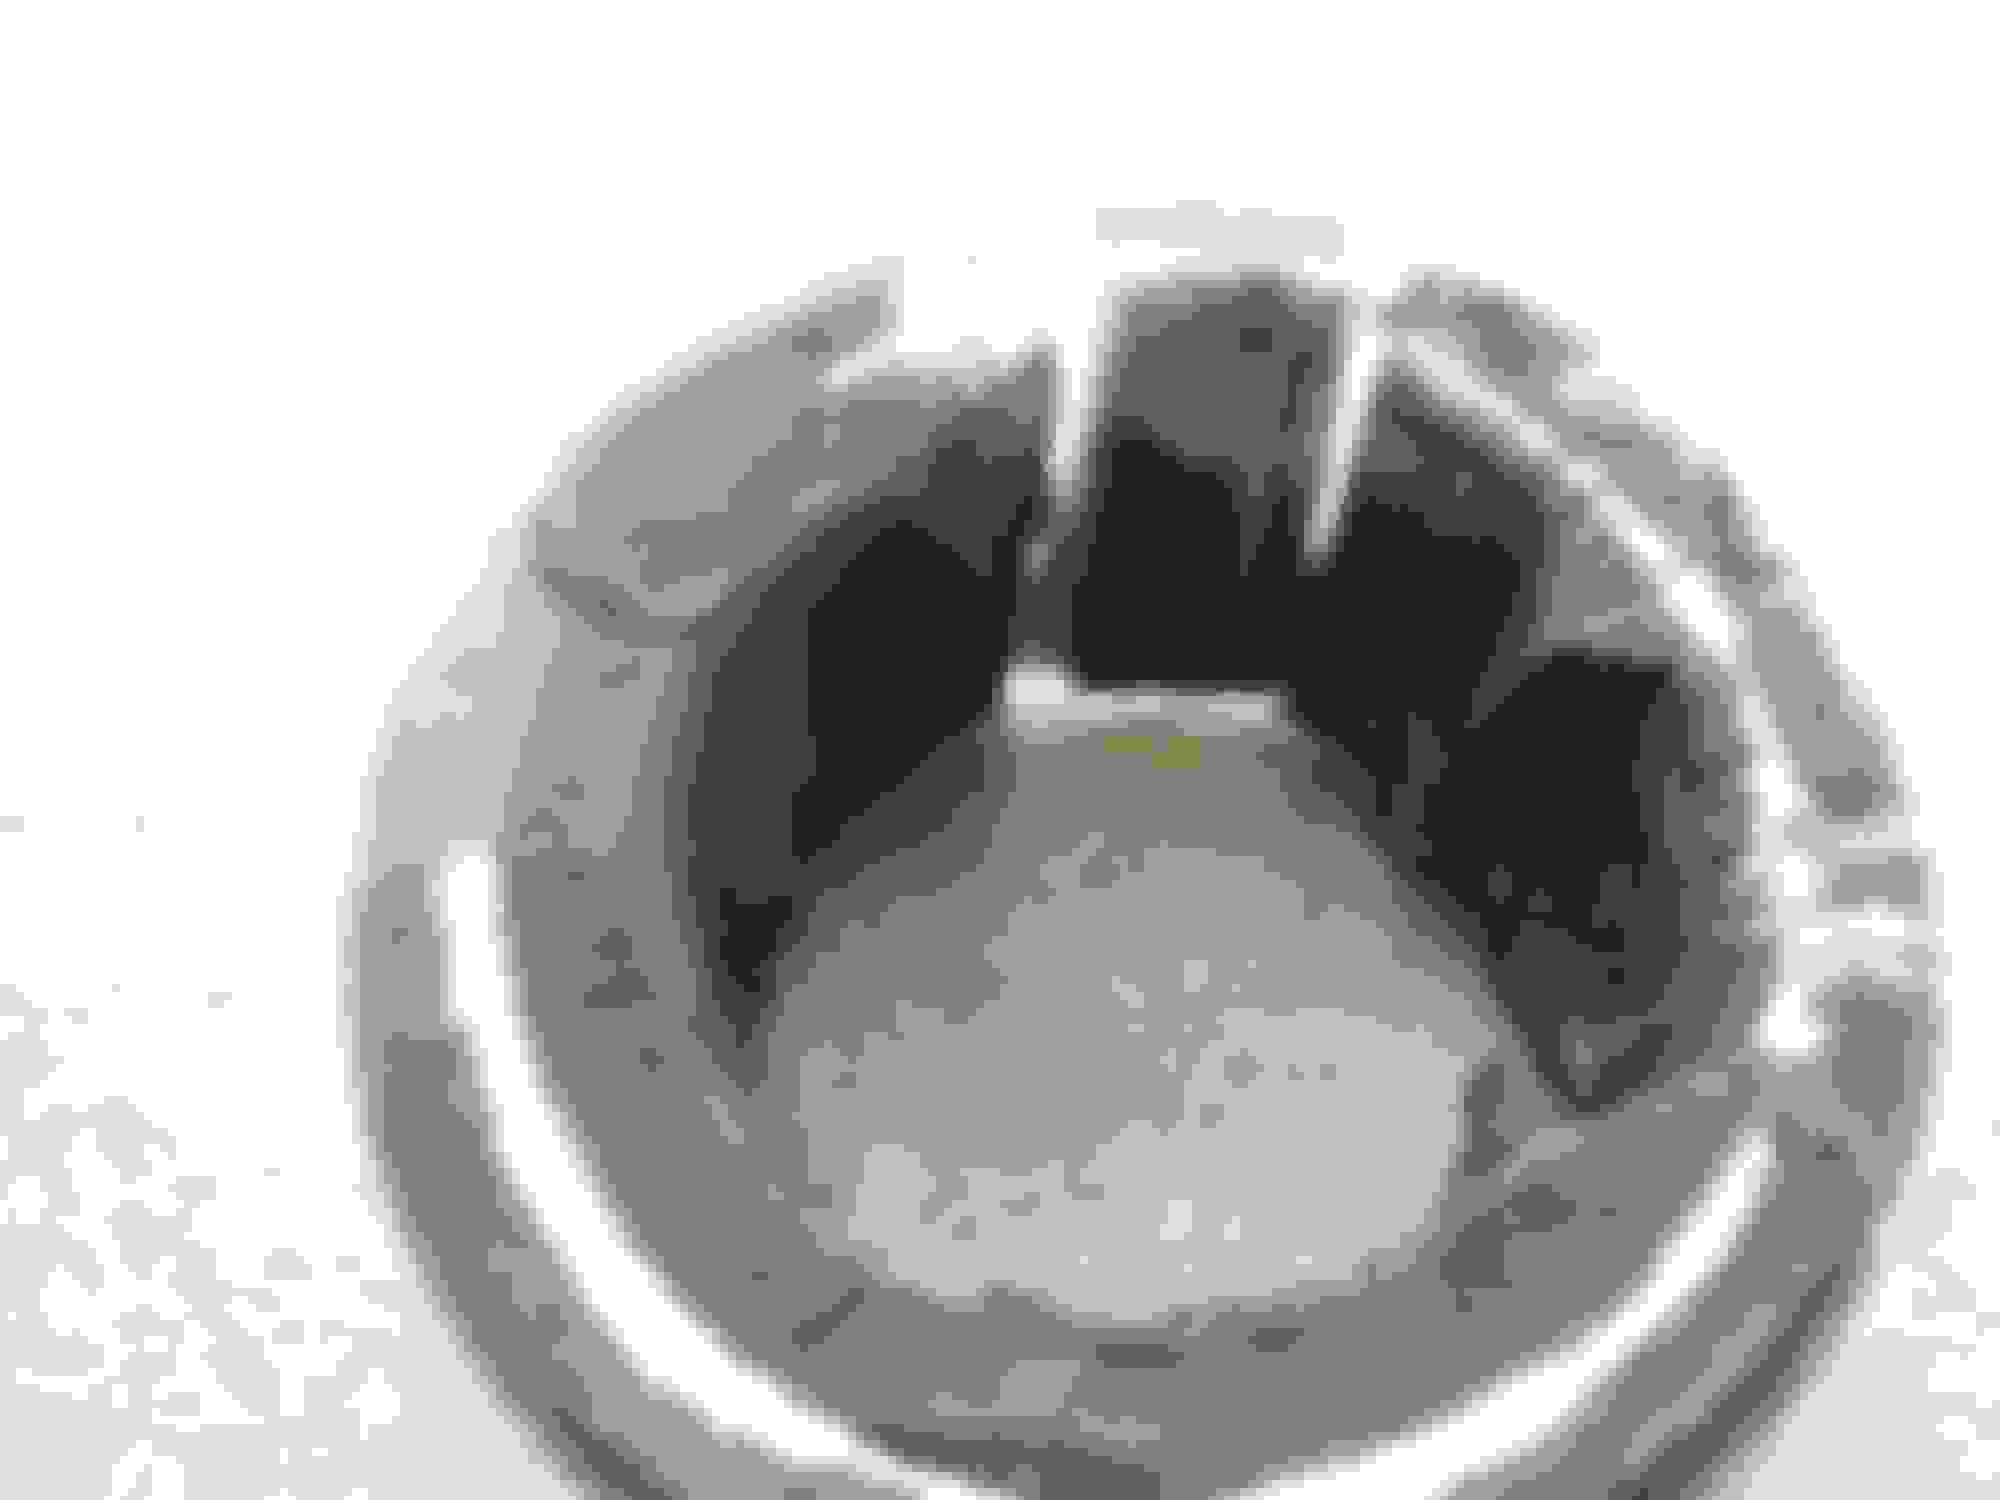
7 - Now, replace the bushings. This is a hassle because the stock bushing is rubber in a steel ring with a lip. The steel, lipped ring is pressed into the aluminum diff mount. Cut out the rubber portion of the old bushing with a bare hacksaw blade. Then assemble the hacksaw with the blade through the bushing and saw through the steel insert. Luckily the steel is soft and cuts easily. Be careful not to cut into the aluminum. I suggest do this in 2 places. Then remove the hacksaw from the center of the bushing and saw across the remaining top 'lip'. The steel insert should then be easy to punch out of the diff mount with a large screwdriver and hammer. This took me a total of about an hour for both bushings - 45min on the first side, then 15min on the second.
8 - pop in the new Whiteline bushing. I lubed up the bushing with supplied grease.
9 - Snake the diff mount back into place
10 - install the 4 nuts holding the diff mount onto the diff
11 - install the 2 bolts holding the diff mount to the subframe
12 - re-install exhaust
Done!
I like the mod a lot in combination with Race Roots engine mounts. The stock engine/diff mounts are very compliant. They are good for NVH purposes but to me felt loose and vague. The shifter moved around a lot in the car, indicating the entire powertrain was wobbling about. The poly diff & engine mounts will give a little engine 'tingle' in the shifter. Driveline slack and wheel hop is significantly reduced. From what I can tell there is slightly more road noise in the rear of the cabin but it is unobjectionable. The diff is still isolated from the car by the subframe.
I tried this but I don't think there's any way I can get those top 4 mounting bolts off the diff. They are way too stuck on there to remove, and there is no room for a breaker bar or impact. How did yours come off?
Bend the exhaust heat shield back like OP said and it should be EZ!! Also, depending on how your cat/midpipe is set up with the studs, you can do this all without dropping that. I did this all by just chocking the front and lifting the rear. Easy easy.
THANK YOU!!
Last edited by dmarkmd5; Mar 29, 2025 at 02:48 PM.