
Kinky Kelsey's Build Thread


Thread Starter
Registered User
Joined: Feb 2010
Posts: 94
Likes: 0
From: Utah
Kinky Kelsey's Build Thread
I thought it'd be good to share my mods and some pics and tech support so I can look back on this later, and also others can look at how I did things if they are considering a similar mod...
apologies for some bad pic quality, most pics are with my camera on my phone.
apologies for some bad pic quality, most pics are with my camera on my phone.
Last edited by Kinky_Kelsey; Jun 30, 2010 at 04:18 AM.

Thread Starter
Registered User
Joined: Feb 2010
Posts: 94
Likes: 0
From: Utah
From the dealership!
Picked her up for $11,000 out the door, Touring Package 2004 Mazda RX-8 with 49,000 miles in sunlight silver with tinted tails.
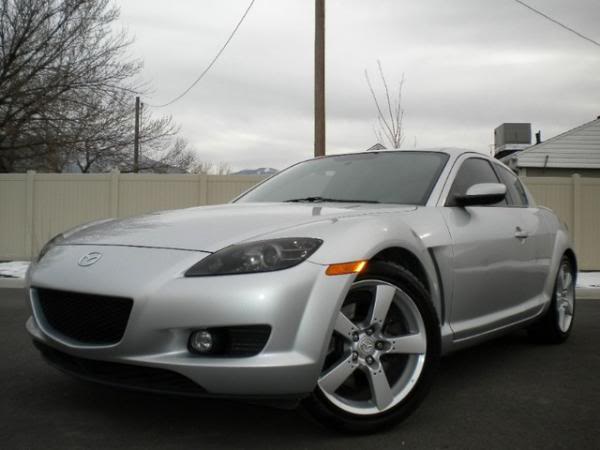
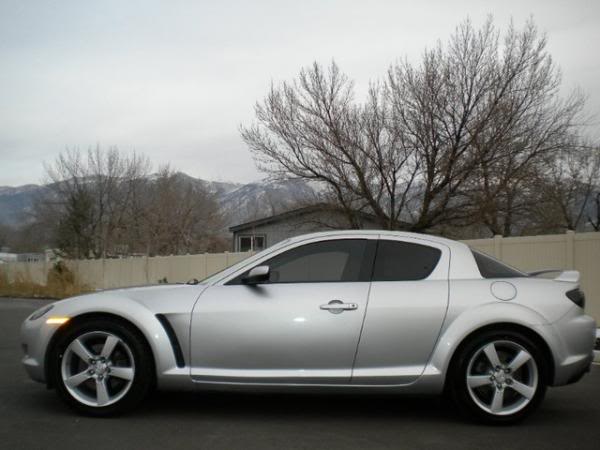
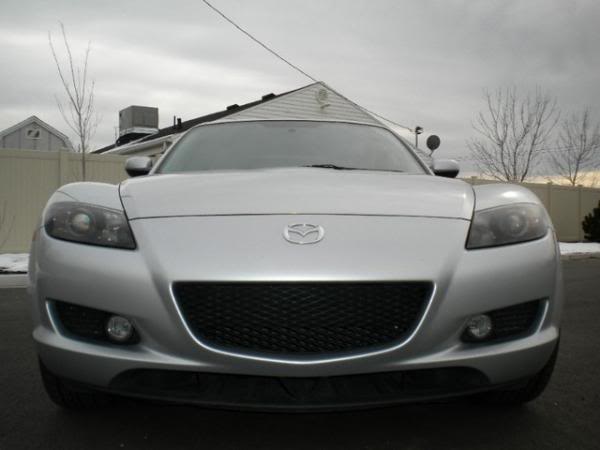
It was love at first sight
And from this point forward she was named Kinky Kelsey
It was love at first sight
And from this point forward she was named Kinky Kelsey
Last edited by Kinky_Kelsey; Aug 7, 2010 at 12:02 AM.
Thread Starter
Registered User
Joined: Feb 2010
Posts: 94
Likes: 0
From: Utah
Step 1
First Mod was a temporary Intake. Picked up a K&N drop in filter to help performance a little, then tinted the side markers so they weren't so orange.
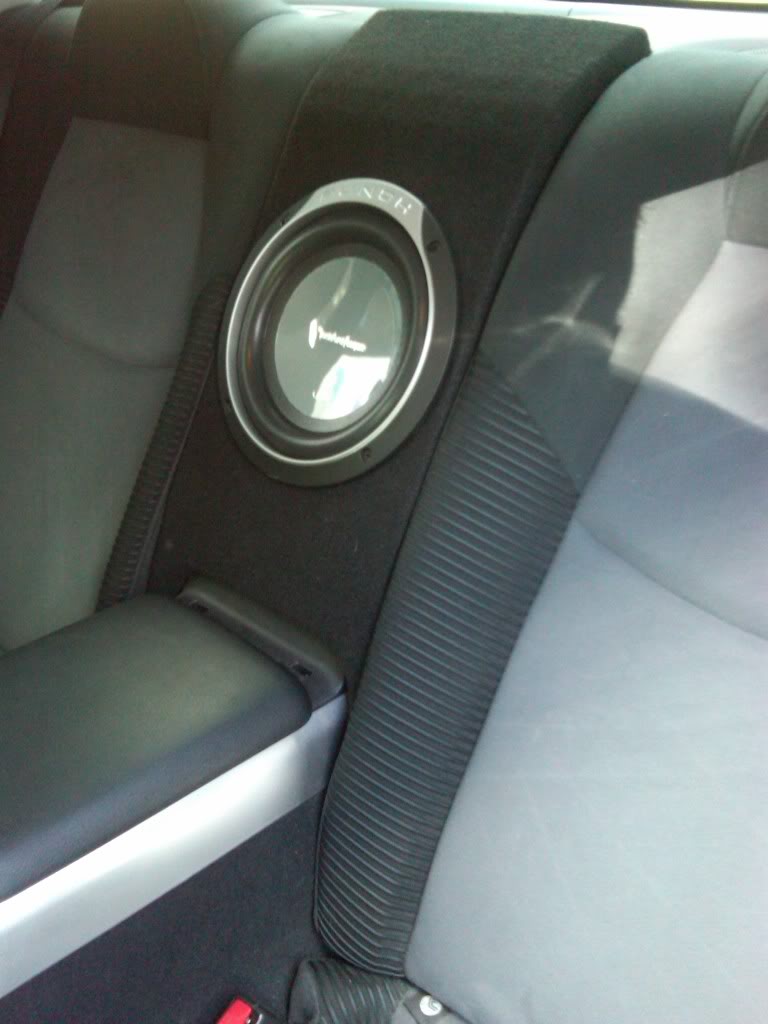
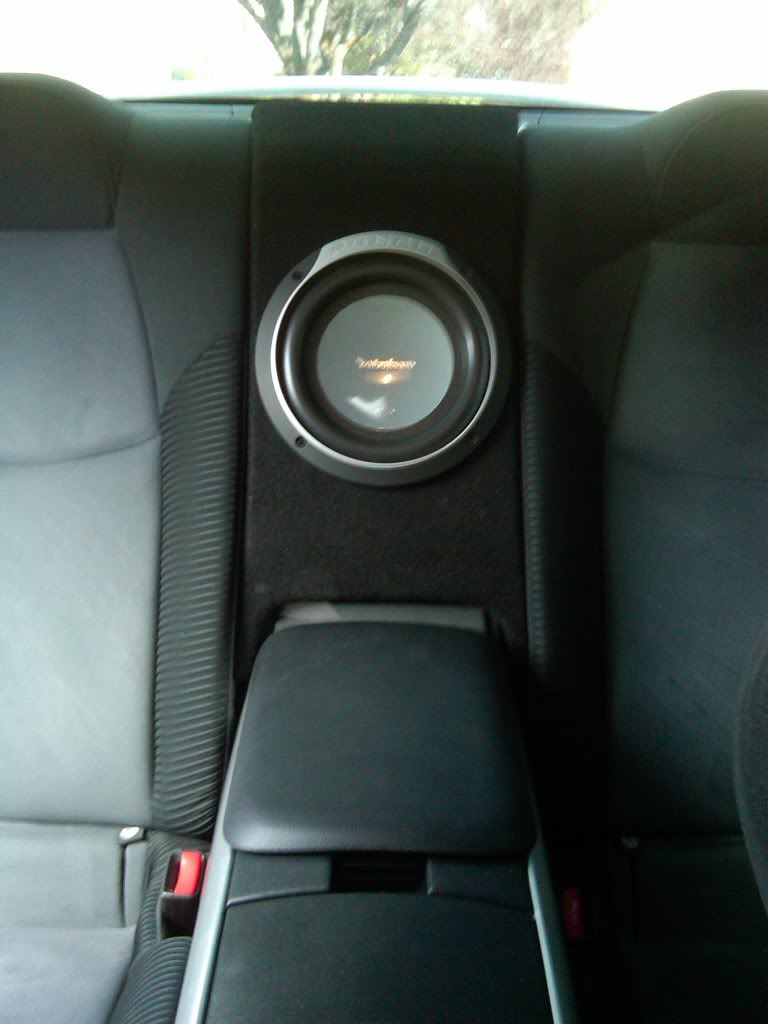
I then started noticing the Bose sound system. It was decently loud and definitely clear, but I needed a little more umph for my liking.
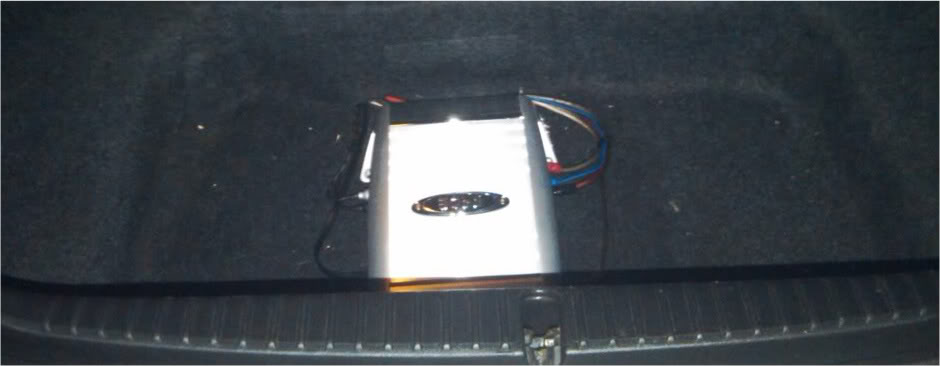
So, i grabbed some audio goodies online and ended up with a rockford fosgate P2 8in subwoofer between the rear seats powered by a boss 400 watt amp in the trunk. I was hoping to stay as light as possible while still getting a good audio fix. and it worked out perfectly.
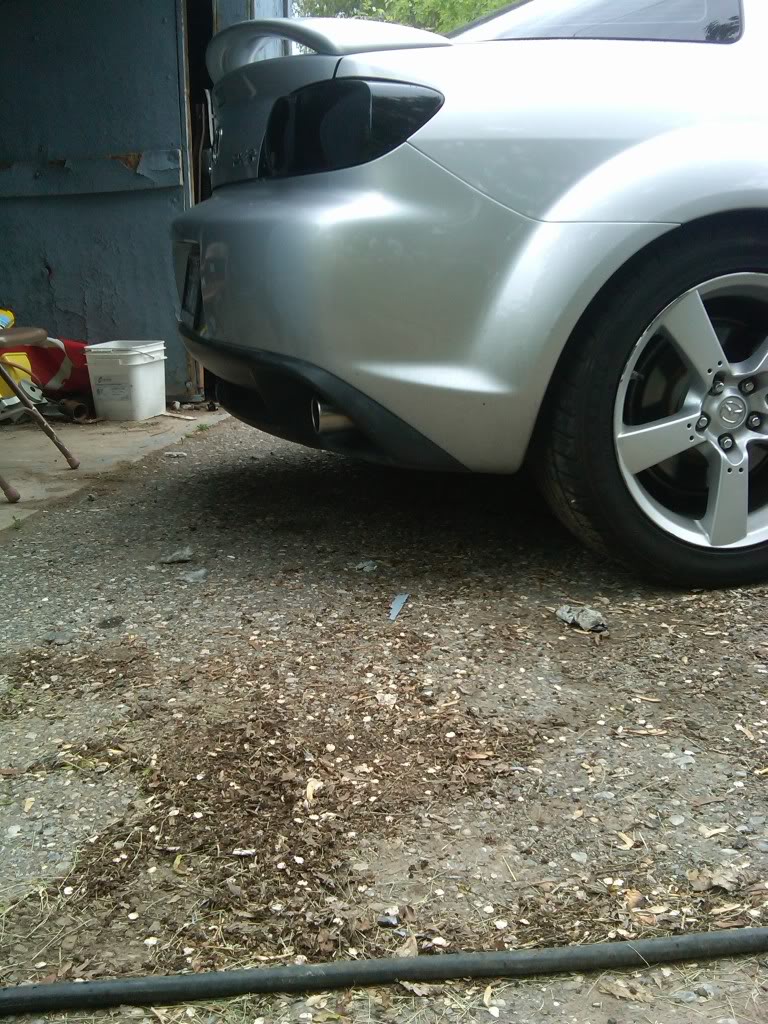
Dirty car but i wanted to get some pics up
I then started noticing the Bose sound system. It was decently loud and definitely clear, but I needed a little more umph for my liking.
So, i grabbed some audio goodies online and ended up with a rockford fosgate P2 8in subwoofer between the rear seats powered by a boss 400 watt amp in the trunk. I was hoping to stay as light as possible while still getting a good audio fix. and it worked out perfectly.
Dirty car
but i wanted to get some pics up
Last edited by Kinky_Kelsey; Jun 30, 2010 at 04:20 AM.

Thread Starter
Registered User
Joined: Feb 2010
Posts: 94
Likes: 0
From: Utah
Clutch started slipping, (which was no suprise, i drive it every day like i stole it). But This was good, I wanted my supporting mods before big power mods. So ordered the SR motorsports 50% over stock clutch kit w/ lightened flywheel.
it was one hell of a job, i consider myself an amatuer mechanic. I can find my way around a shop and car, but i'm no expert. So it took me about 12 hours to do. For anyone who is considering a clutch or flywheel replacement themselves, I recommend you make sure you have all the right tools and equiptment: Car lift, transmission jack, correct size socket for the flywheel bolt, torque wrench that is rated at 400 ft/lbs or more, and of course basic sockets and hand tools.
It was an awesome learning experience though, thanks goes out to Don for letting me use the shop and his help.
Going under the knife...
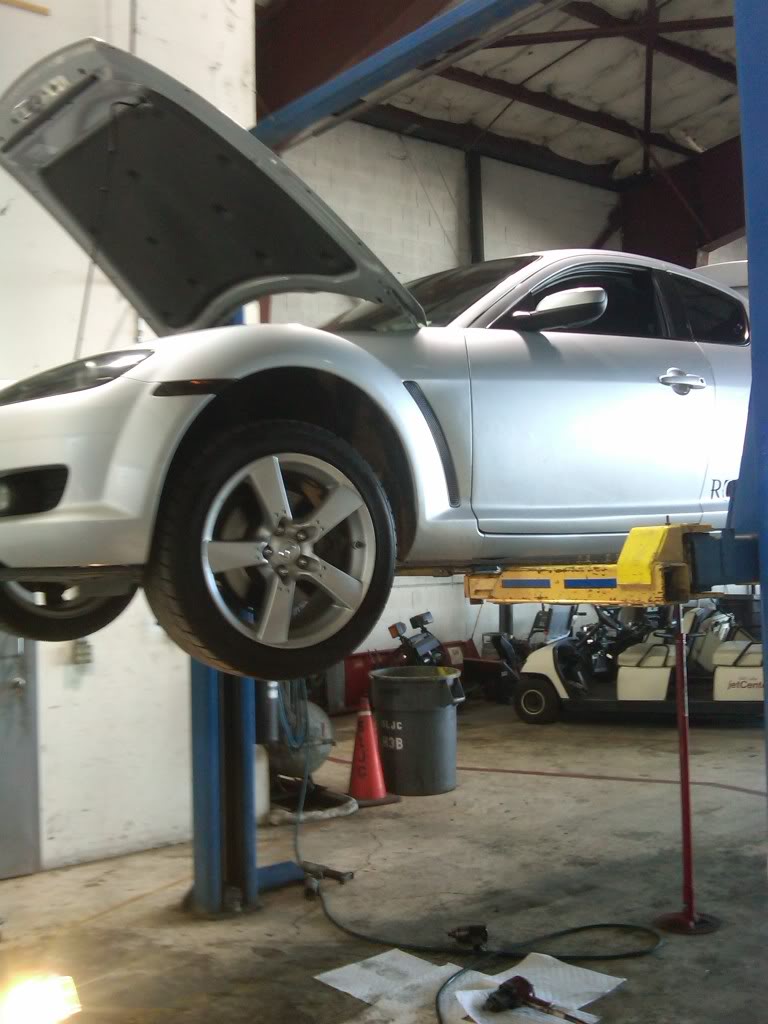
Braces, exhaust, and drive line out (which is made out of carbon fiber i guess, it was weird to take it out haha i was expecting this big heavy piece and it was ridiculously light!)
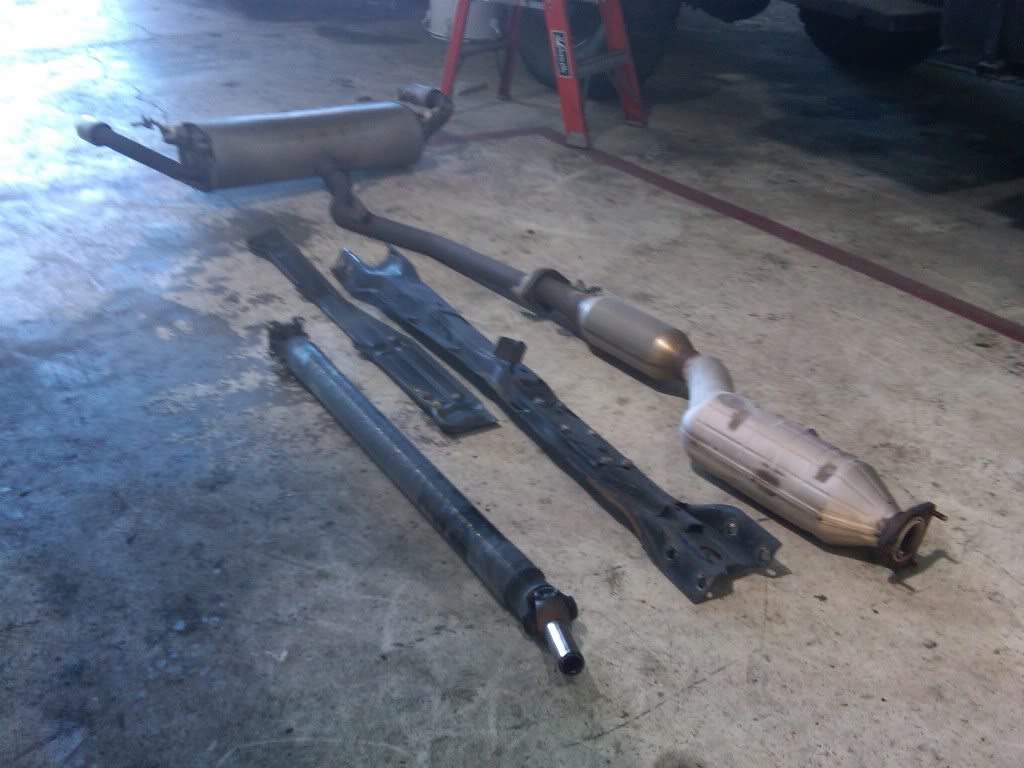
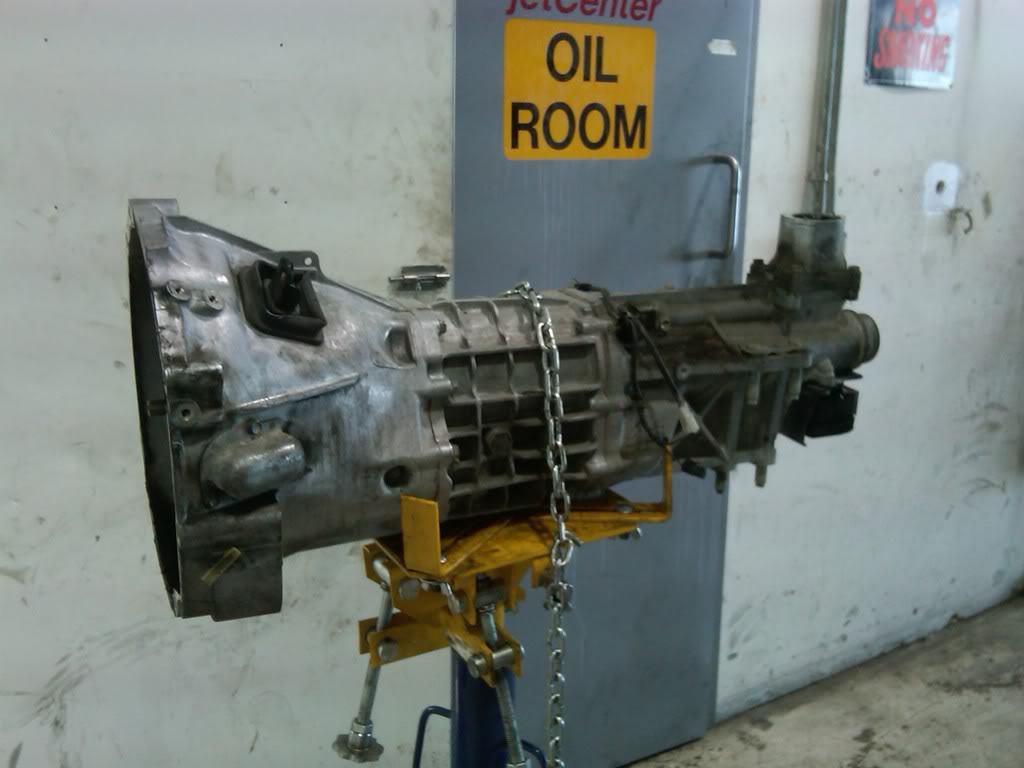
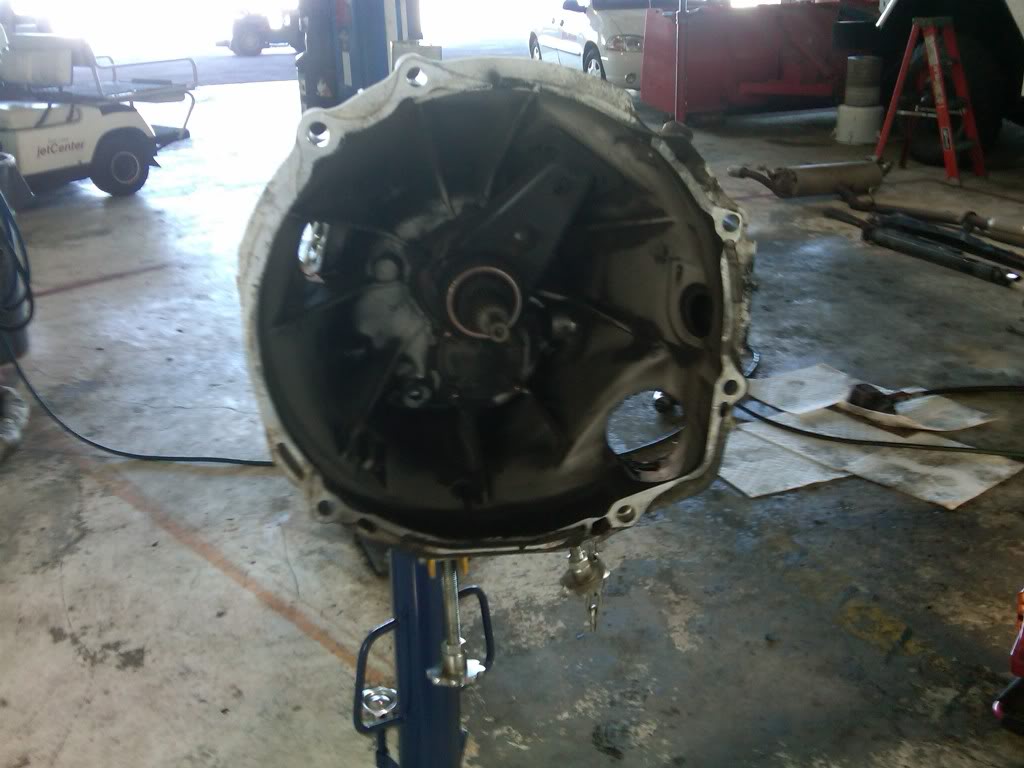
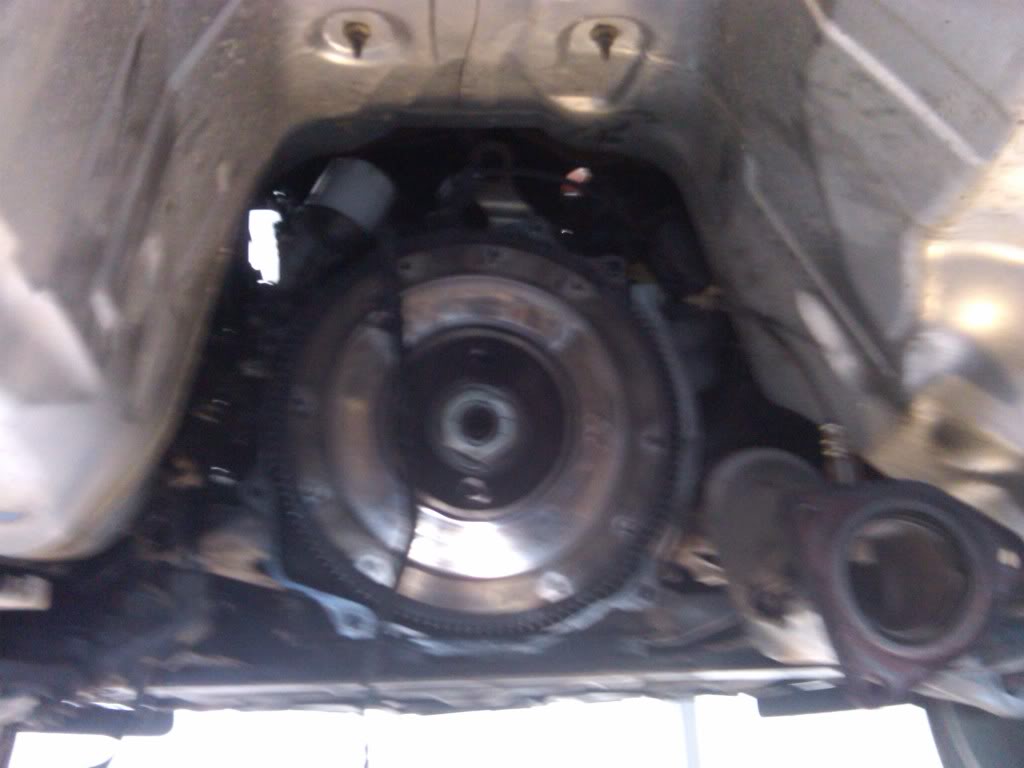
Transmission out...
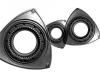
Pressure plate removed (notice all the hot spots)...
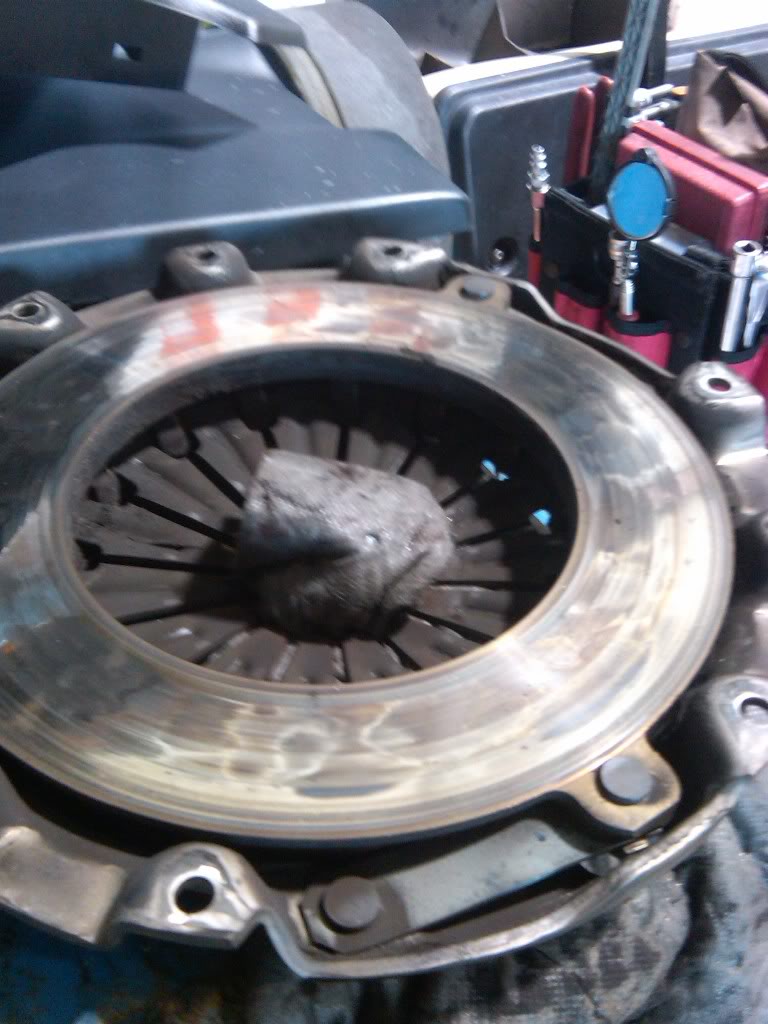
jacked up clutch disk...
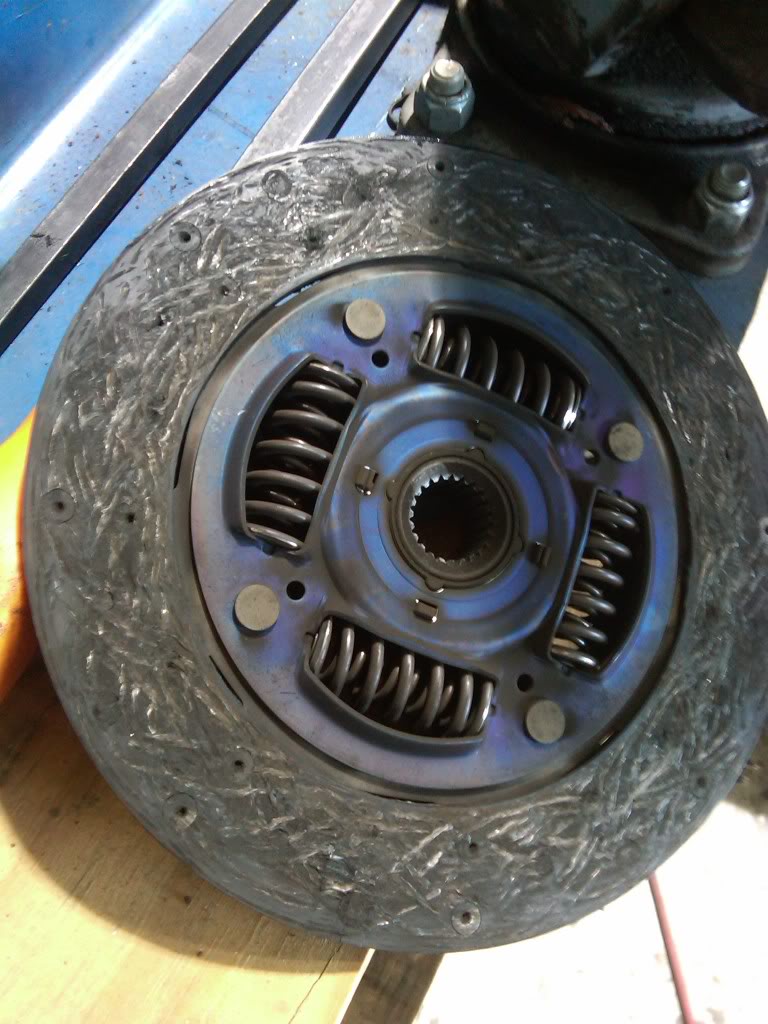
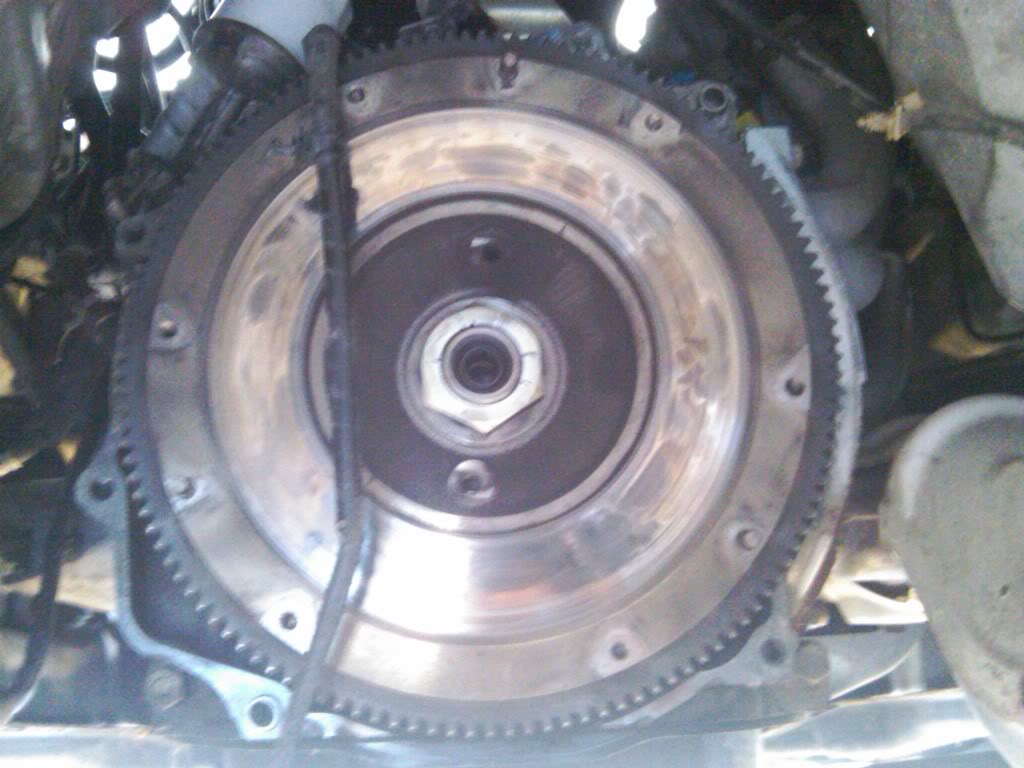
you can see the big bolt holding on the flywheel, i had to call 6 specialty shops and call in a few favors to get that size socket on a sunday. used a t-bar puller to remove the flywheel.
Forgot to take pics of the installed clutch kit, but it's in there haha. Awesome clutch and flywheel, grabs hard and the butt dyno says acceleration is slightly improved.
it was one hell of a job, i consider myself an amatuer mechanic. I can find my way around a shop and car, but i'm no expert. So it took me about 12 hours to do. For anyone who is considering a clutch or flywheel replacement themselves, I recommend you make sure you have all the right tools and equiptment: Car lift, transmission jack, correct size socket for the flywheel bolt, torque wrench that is rated at 400 ft/lbs or more, and of course basic sockets and hand tools.
It was an awesome learning experience though, thanks goes out to Don for letting me use the shop and his help.
Going under the knife...
Braces, exhaust, and drive line out (which is made out of carbon fiber i guess, it was weird to take it out haha i was expecting this big heavy piece and it was ridiculously light!)
Transmission out...
Pressure plate removed (notice all the hot spots)...
jacked up clutch disk...
you can see the big bolt holding on the flywheel, i had to call 6 specialty shops and call in a few favors to get that size socket on a sunday. used a t-bar puller to remove the flywheel.
Forgot to take pics of the installed clutch kit, but it's in there haha. Awesome clutch and flywheel, grabs hard and the butt dyno says acceleration is slightly improved.
Last edited by Kinky_Kelsey; Oct 28, 2010 at 12:07 PM.
Thread Starter
Registered User
Joined: Feb 2010
Posts: 94
Likes: 0
From: Utah
Nitrous install
well i found a steal on a used zex nitrous kit, $400 for the kit, illuminated purge, and bottle heater.
Got antsy about waiting for supporting mods (intake, exhaust, EM, ignition) probably not the best idea, but i looked at some other nitrous installs on stock rx8's.
So the nitrous went in, another 11 hour job. shouldn't have started so late.. took me all night... no install pics. but i got some finals.
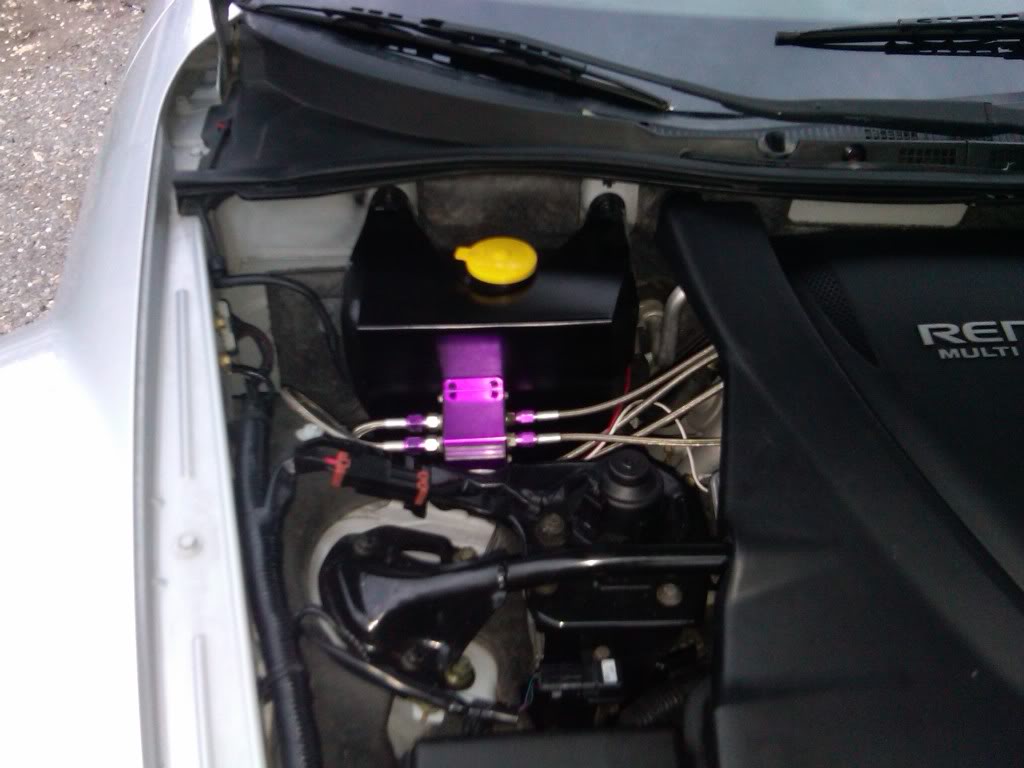
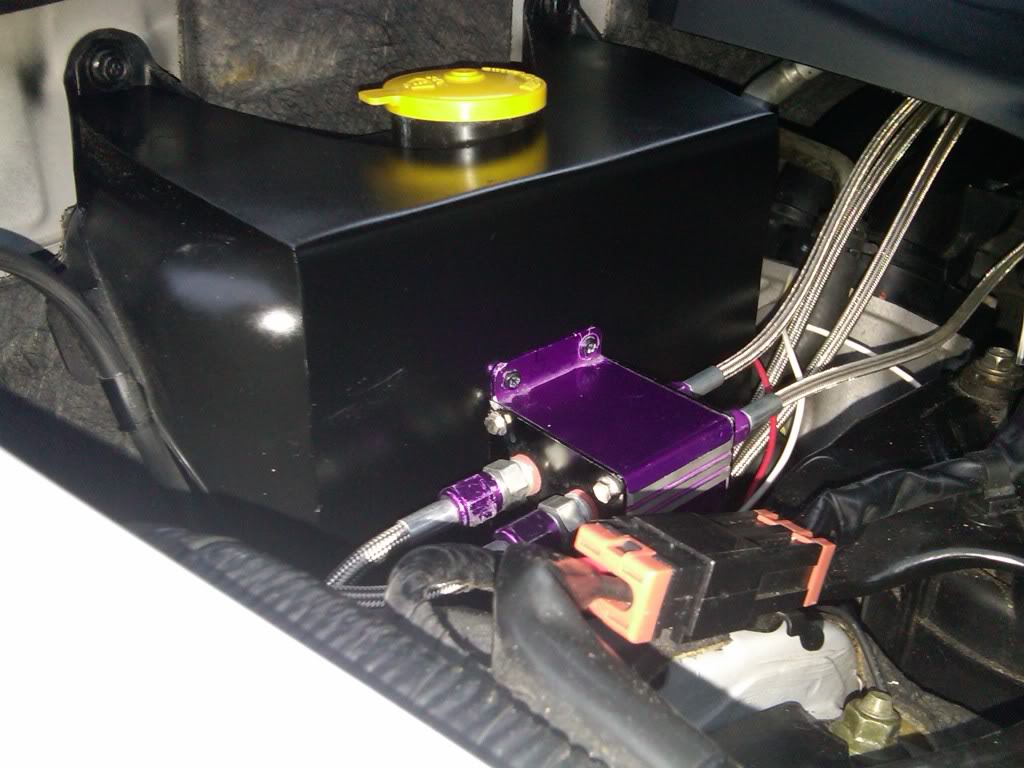
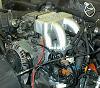
made a custom bracket out of sheet metal to mount the NMU so it was a little more natural looking than in some random spot in the engine bay...
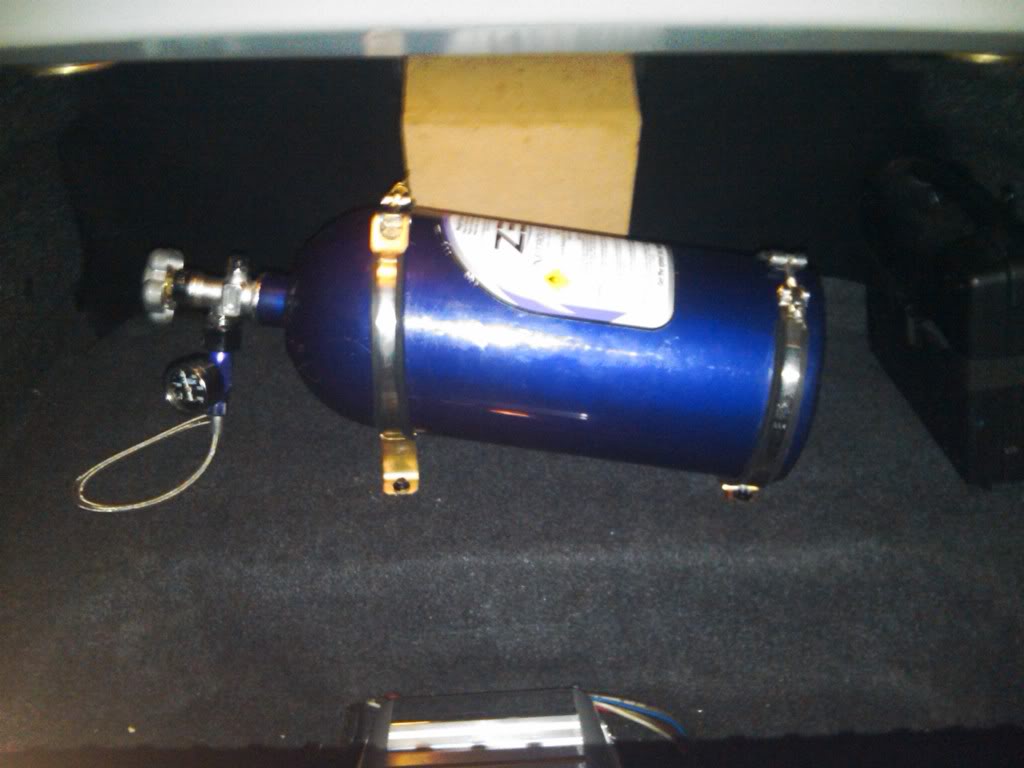
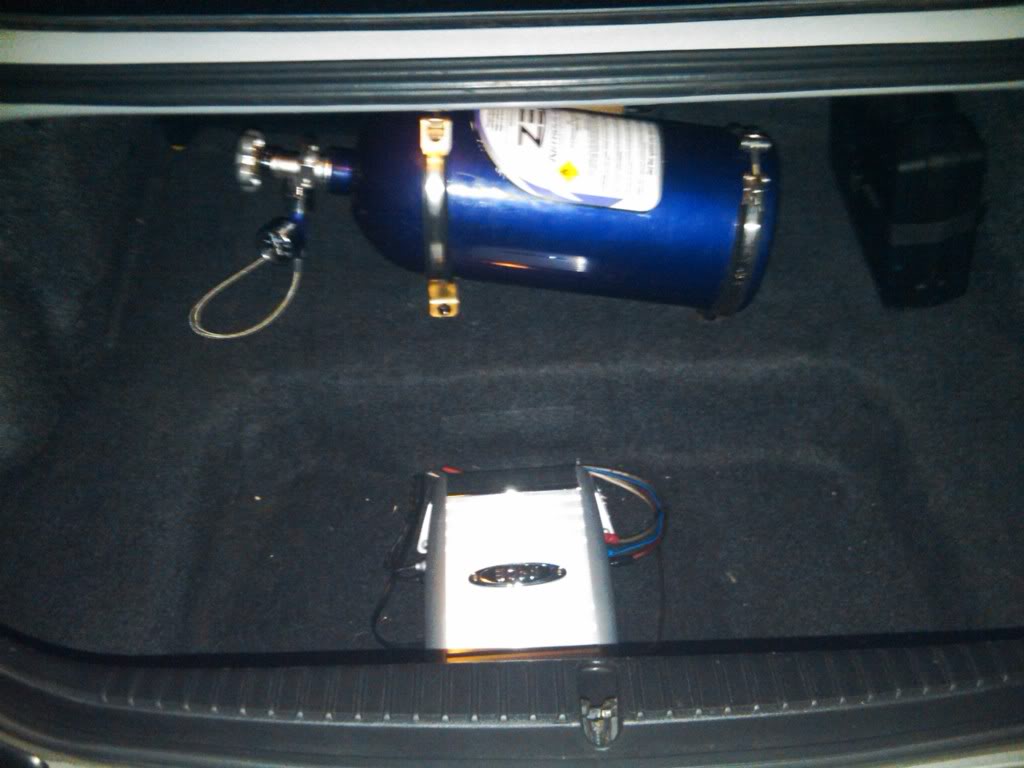
pic of the trunk mounted bottle, you can see the sub box here i need to paint it black or something. the wood look bothers me.
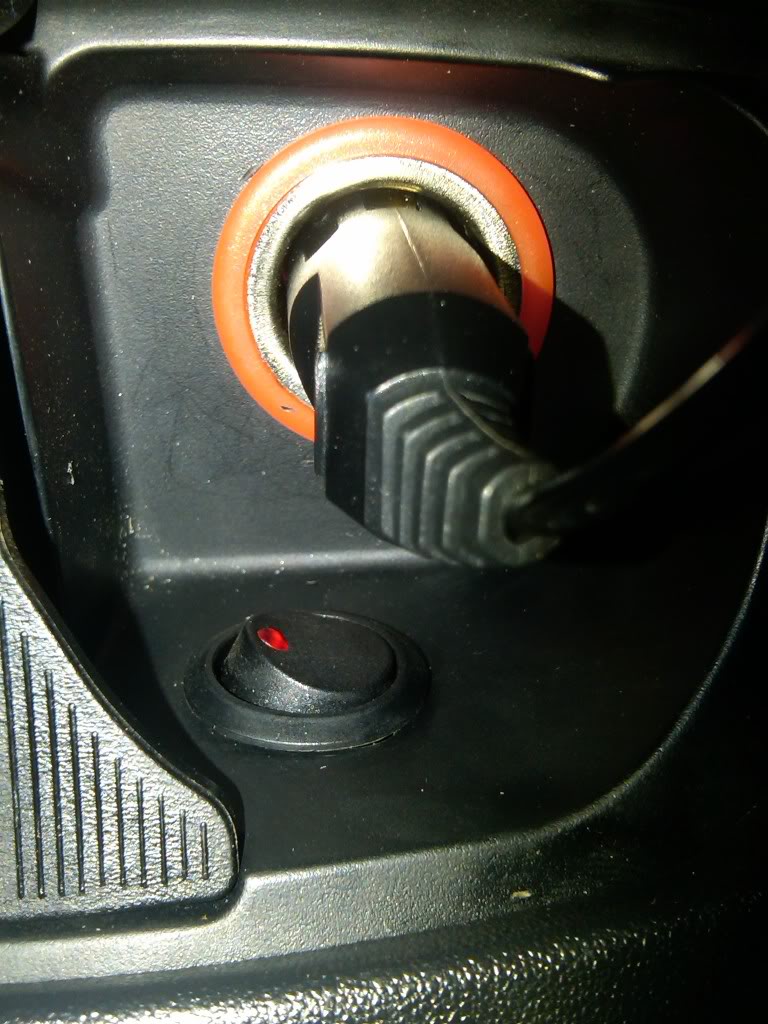
Then rather than using the huge, cheesy nitrous switch. i picked up a low profile one and put it right under the cigarette lighter for easy access :D
And a clean job!
Super fun! noticed a difference, not super huge but it gives it a little kick. I was advised to never start spraying until 4100 rpms, so i've stuck with that and no troubles so far. Gotta love the screetch of the tires in between gears though :D
A more detailed explanation of the nitrous install: https://www.rx8club.com/series-i-major-horsepower-upgrades-93/zex-55-shot-nitrous-install-199000/
Got antsy about waiting for supporting mods (intake, exhaust, EM, ignition) probably not the best idea, but i looked at some other nitrous installs on stock rx8's.
So the nitrous went in, another 11 hour job. shouldn't have started so late.. took me all night... no install pics. but i got some finals.
made a custom bracket out of sheet metal to mount the NMU so it was a little more natural looking than in some random spot in the engine bay...
pic of the trunk mounted bottle, you can see the sub box here i need to paint it black or something. the wood look bothers me.
Then rather than using the huge, cheesy nitrous switch. i picked up a low profile one and put it right under the cigarette lighter for easy access :D
And a clean job!
Super fun! noticed a difference, not super huge but it gives it a little kick. I was advised to never start spraying until 4100 rpms, so i've stuck with that and no troubles so far. Gotta love the screetch of the tires in between gears though :D
A more detailed explanation of the nitrous install: https://www.rx8club.com/series-i-major-horsepower-upgrades-93/zex-55-shot-nitrous-install-199000/
Last edited by Kinky_Kelsey; Oct 28, 2010 at 12:09 PM.
Thread Starter
Registered User
Joined: Feb 2010
Posts: 94
Likes: 0
From: Utah
I ran into another awesome local deal for a used greddy exhaust and AEM intake. both for $140! even though it's used, i'm short on cash and it'll do just about as good of a job as a brand new one. Not installed yet, but hopefully i'll get some time to get some welding done in the next couple of weeks.
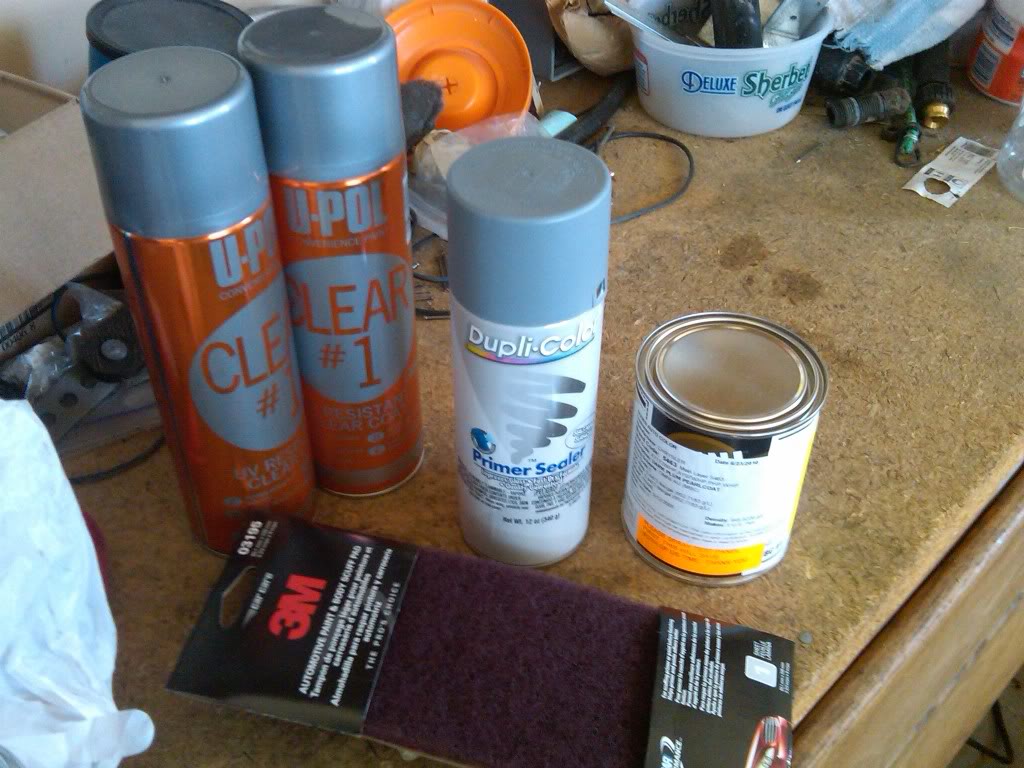
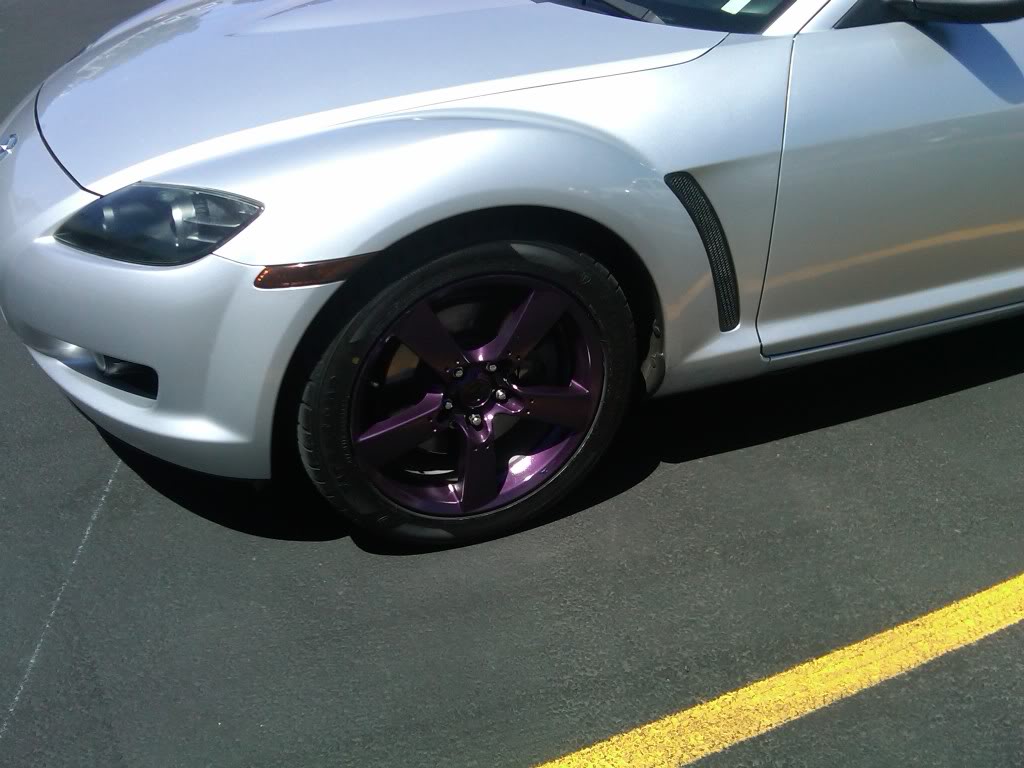
Started getting a little bored with the exterior, experimented and researched some ideas on the computer. I wanted something totally different, but still looked sick. I love the stock rims, so i just decided to paint them. Went to the auto paint store and picked out a sick purple color. paid about $90 for all the paint, clear coat, primer, etc. and i couldn't be happier. it was just the look i was going for.
Supplies...
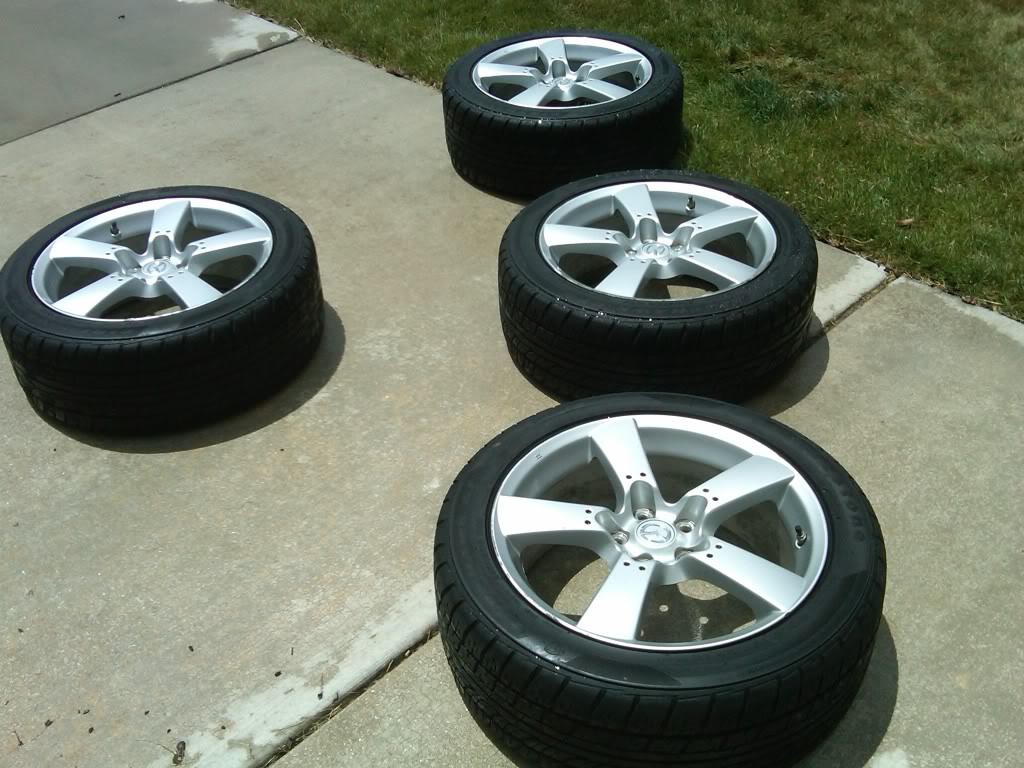
Started by washing and degreasing the rims really well...
wet sanded, dry sanded, then washed again, and masked them up!
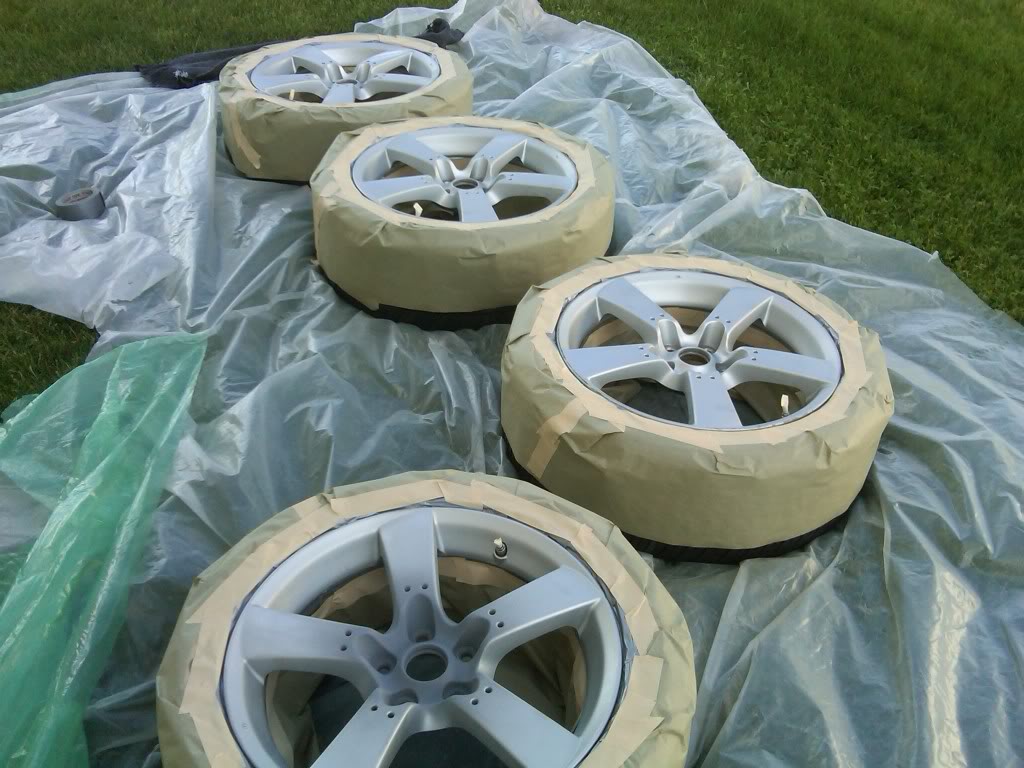
One coat of primer...
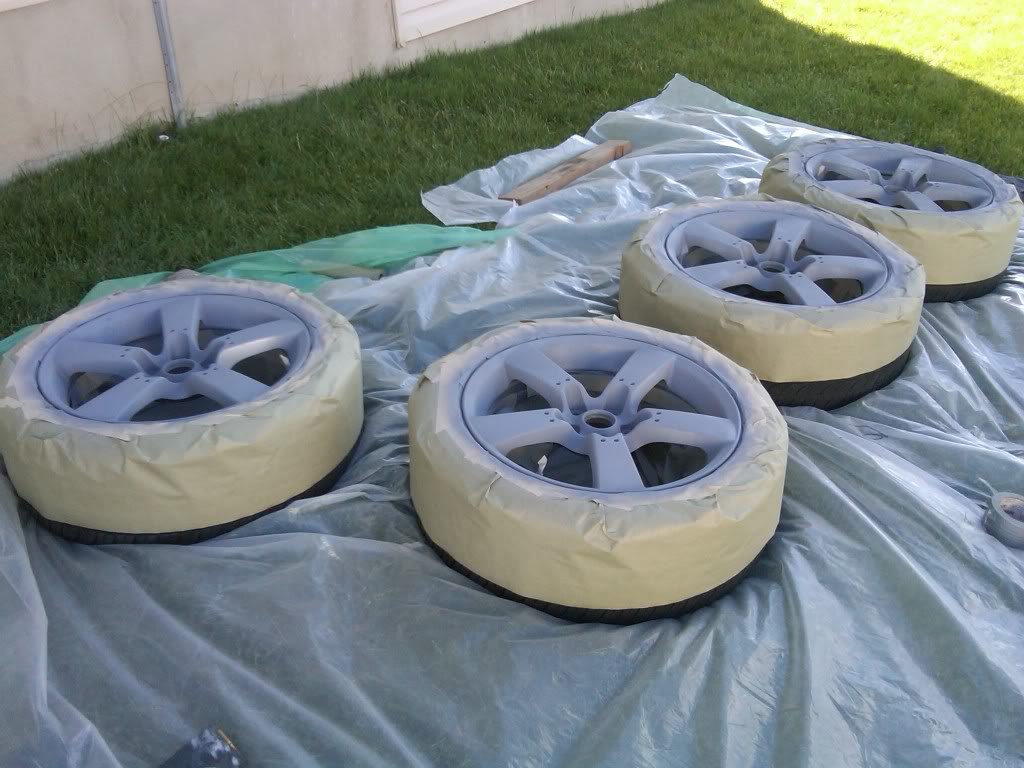
3 coats of paint, and 3 coats of clear...
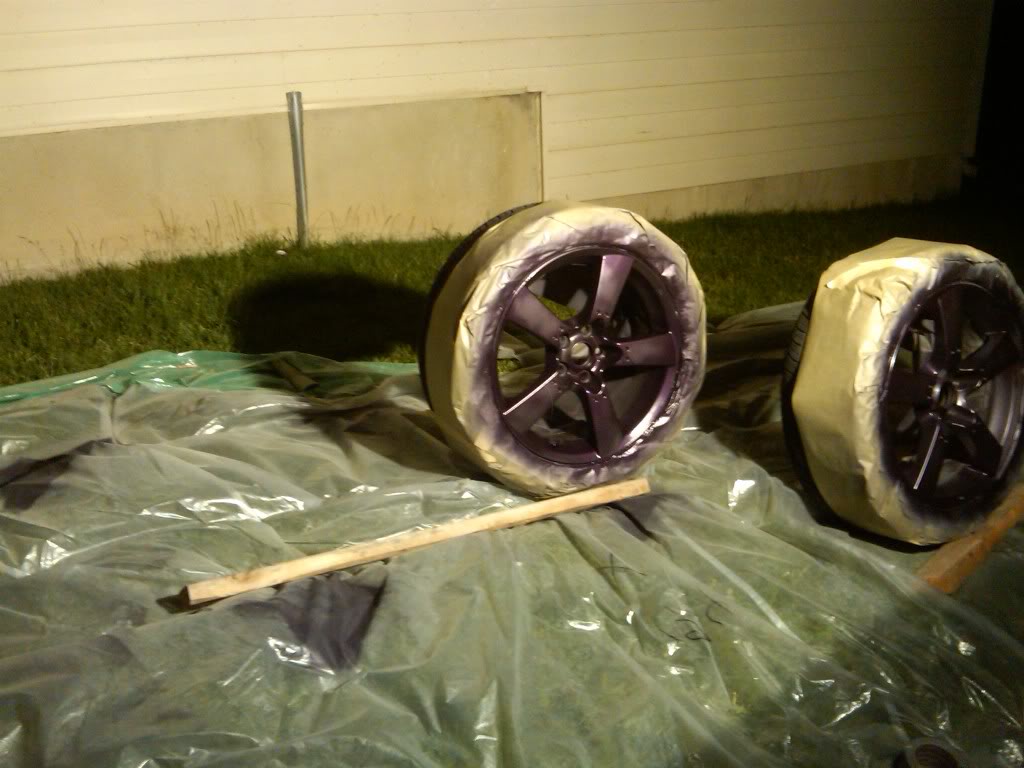
I would also recommend using a legit paint gun for this, alot of people rattle can theirs or powder coat. I just happened to have an uncle who used to do auto painting and has all the equiptment. I figure this would be my best option over rattle can and powder coating because i can do touch ups with extra paint with out looking too ghetto or breaking the bank
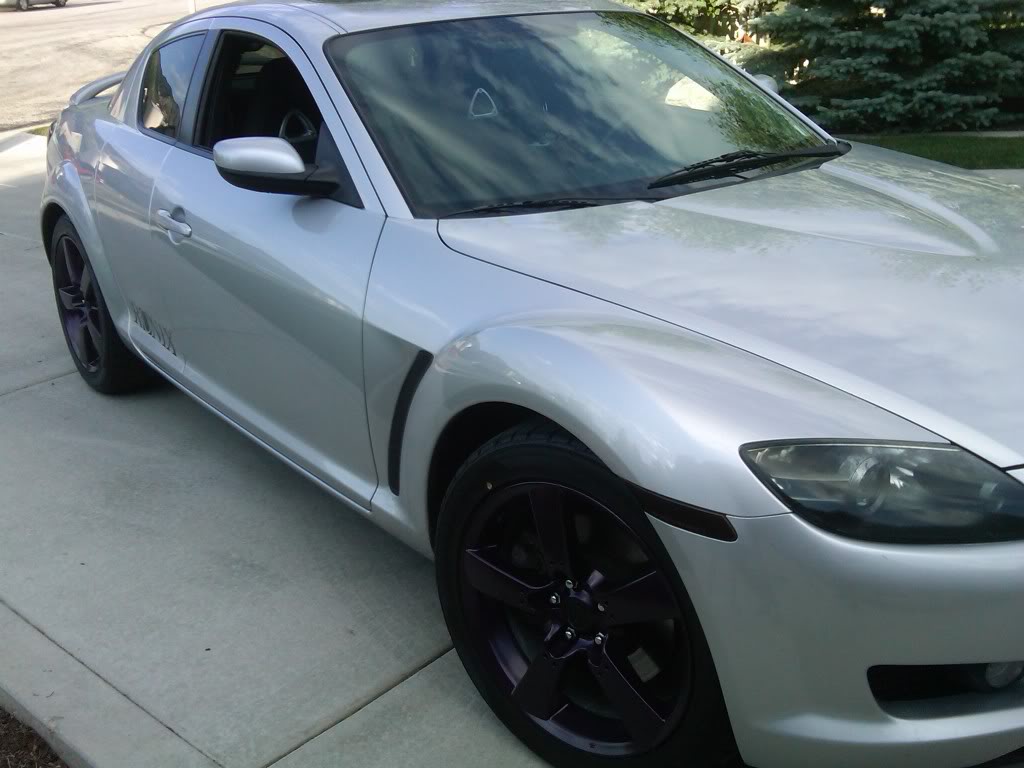
Dried and back on the car
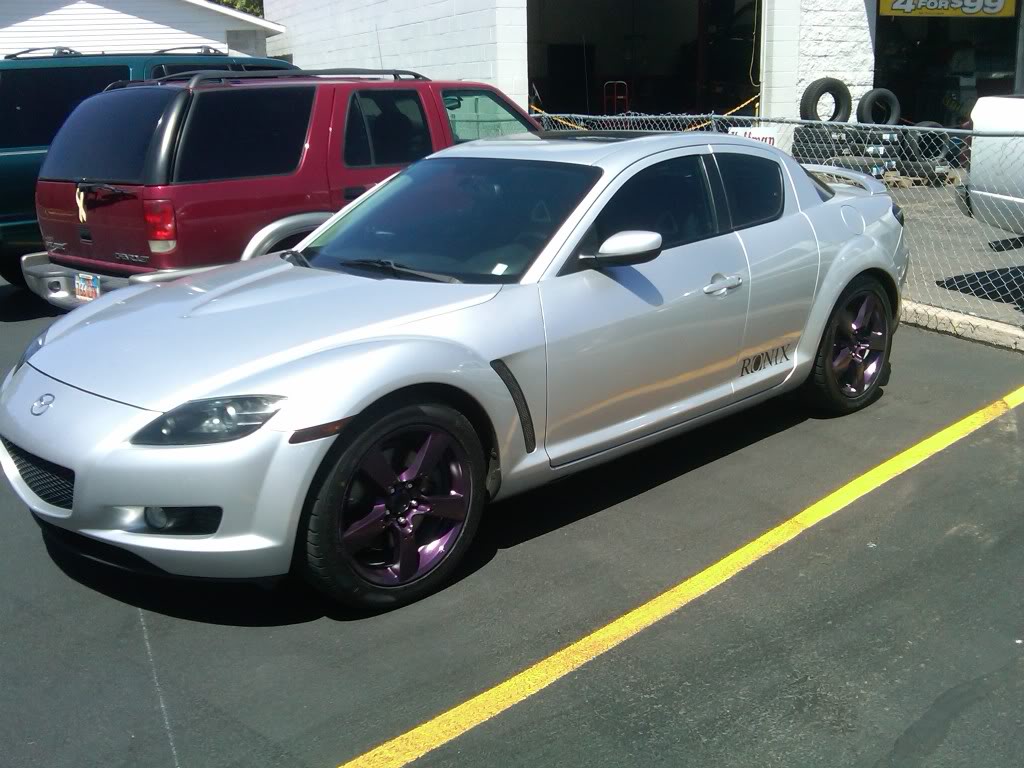
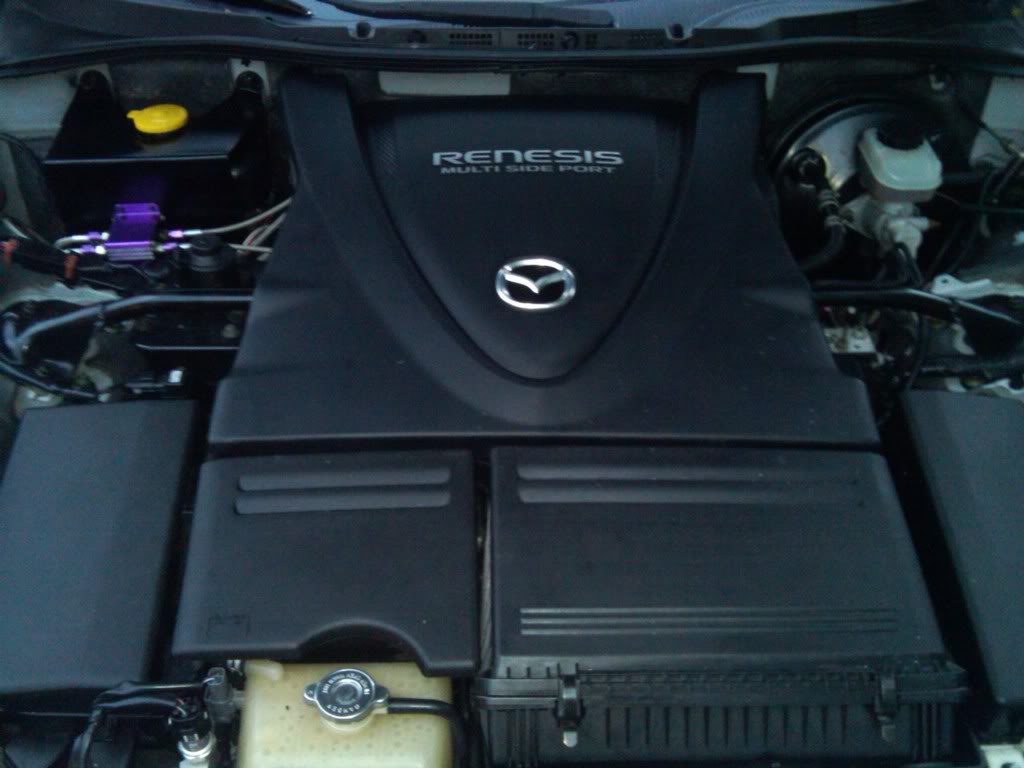
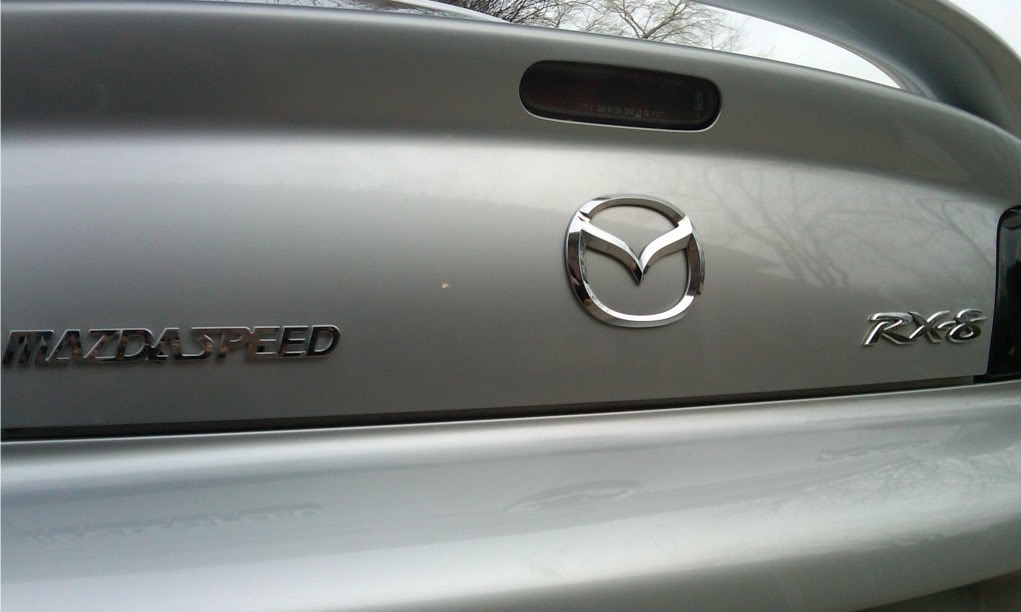
Also picked up a mazdaspeed emblem to replace the old mazda badge...
Started getting a little bored with the exterior, experimented and researched some ideas on the computer. I wanted something totally different, but still looked sick. I love the stock rims, so i just decided to paint them. Went to the auto paint store and picked out a sick purple color. paid about $90 for all the paint, clear coat, primer, etc. and i couldn't be happier. it was just the look i was going for.
Supplies...
Started by washing and degreasing the rims really well...
wet sanded, dry sanded, then washed again, and masked them up!
One coat of primer...
3 coats of paint, and 3 coats of clear...
I would also recommend using a legit paint gun for this, alot of people rattle can theirs or powder coat. I just happened to have an uncle who used to do auto painting and has all the equiptment. I figure this would be my best option over rattle can and powder coating because i can do touch ups with extra paint with out looking too ghetto or breaking the bank
Dried and back on the car
Also picked up a mazdaspeed emblem to replace the old mazda badge...
Thread Starter
Registered User
Joined: Feb 2010
Posts: 94
Likes: 0
From: Utah
And just today, I installed some NGK laser iridium 6700 spark plugs, and boy what a difference. They make the overall performance of the car better. in acceleration, daily driving, idle, and when spraying nitrous. They made a big enough difference for me to forget about the $20/each price tag. I would definitely recommend these plugs for any rx8.


Just a heads up for the future the flywheel nut is 2" 1/18 socket you can pick it up at sears.
I would also look into a BHR ignition a midpipe of some sort and an exhaust system.
I would also look into a BHR ignition a midpipe of some sort and an exhaust system.
Last edited by shadycrew31; Jun 30, 2010 at 12:34 PM.


just an FYI, for flywheel removal you do not need a puller. use a 3lb sledge and smack the flywheel outside of the surface area below the ring gear. one or two small whacks will jolt the flywheel loose. the 2 1/8 socket can be had at sears hardware for under $30.
Thread Starter
Registered User
Joined: Feb 2010
Posts: 94
Likes: 0
From: Utah
Haven't gotten the AEM intake/Greddy exhaust in yet, but i did a little photoshoot today...
https://www.rx8club.com/showthread.p...54#post3632754
https://www.rx8club.com/showthread.p...54#post3632754

Thread Starter
Registered User
Joined: Feb 2010
Posts: 94
Likes: 0
From: Utah
Exhaust should be on by the end of this week... hopefully.
just about ready to order the s-tech's as well. but i was thinking about porting in the future. where would be the best place to have this done at?
just about ready to order the s-tech's as well. but i was thinking about porting in the future. where would be the best place to have this done at?
The most you'll get is 10-15 whp with some great tuning work and every bolt on you can imagine.
For me its worth it becuase I was already rebuilding my engine. Most the greddy guys are getting 240 whp on average and I'm hoping to sit around 220 whp.
