When you click on links to various merchants on this site and make a purchase, this can result in this site earning a commission. Affiliate programs and affiliations include, but are not limited to, the eBay Partner Network.
DIY: Engine removal - tons of photos, supplemental to RotaryResurrection's DIY
First I just want to say thanks to RotaryResurrection. His engine removal DIY is amazing, and has surely helped countless RX-8 owners, including myself. Here's his original DIY:
I recently had to pull my engine, so I used his method. To be sure I would remember how everything goes back together, I took photos of every bolt, nut, connector, and hose that I disconnected. I imagine this will be helpful to others as well, so with RotaryResurrection's blessing, I decided to post them all here. This is really meant to be supplemental to his DIY, so if you are planning to remove your engine, the thread linked to above is required reading. Be sure to read all posts in that thread. There is a lot of useful information tucked away in there. WARNING: IF YOU ATTEMPT TO REMOVE YOUR ENGINE USING ONLY MY PHOTOS, YOU WILL MISS IMPORTANT STEPS WRITTEN IN ROTARYRESURRECTION'S THREAD!
What you'll see below is mainly the photos I took, along with a few comments about challenges I faced along the way.
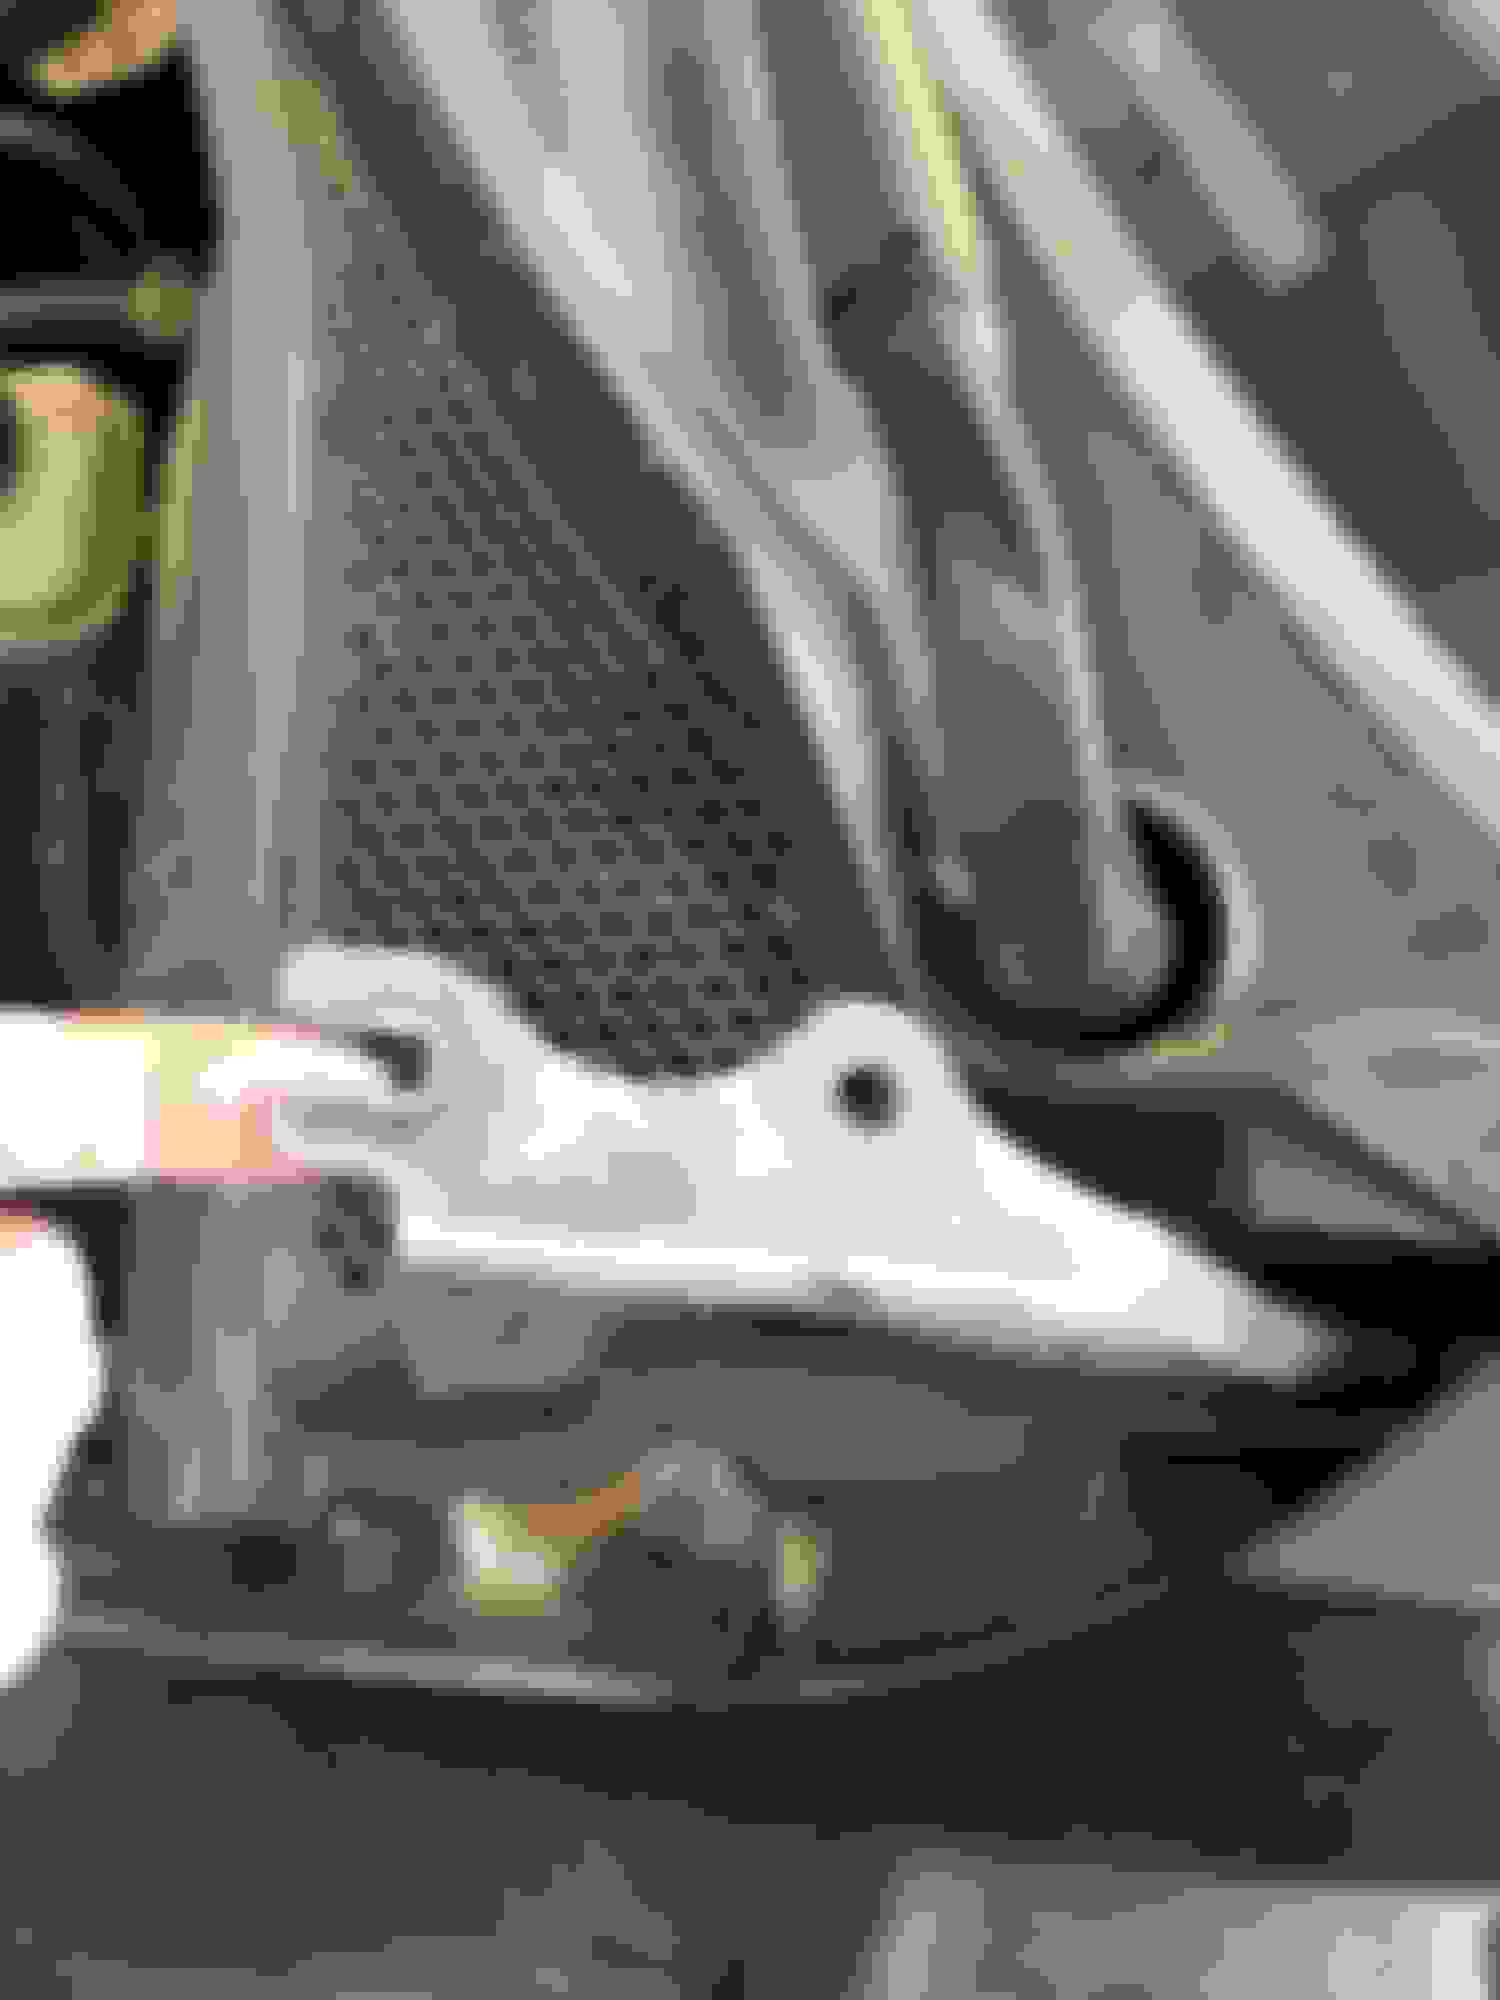
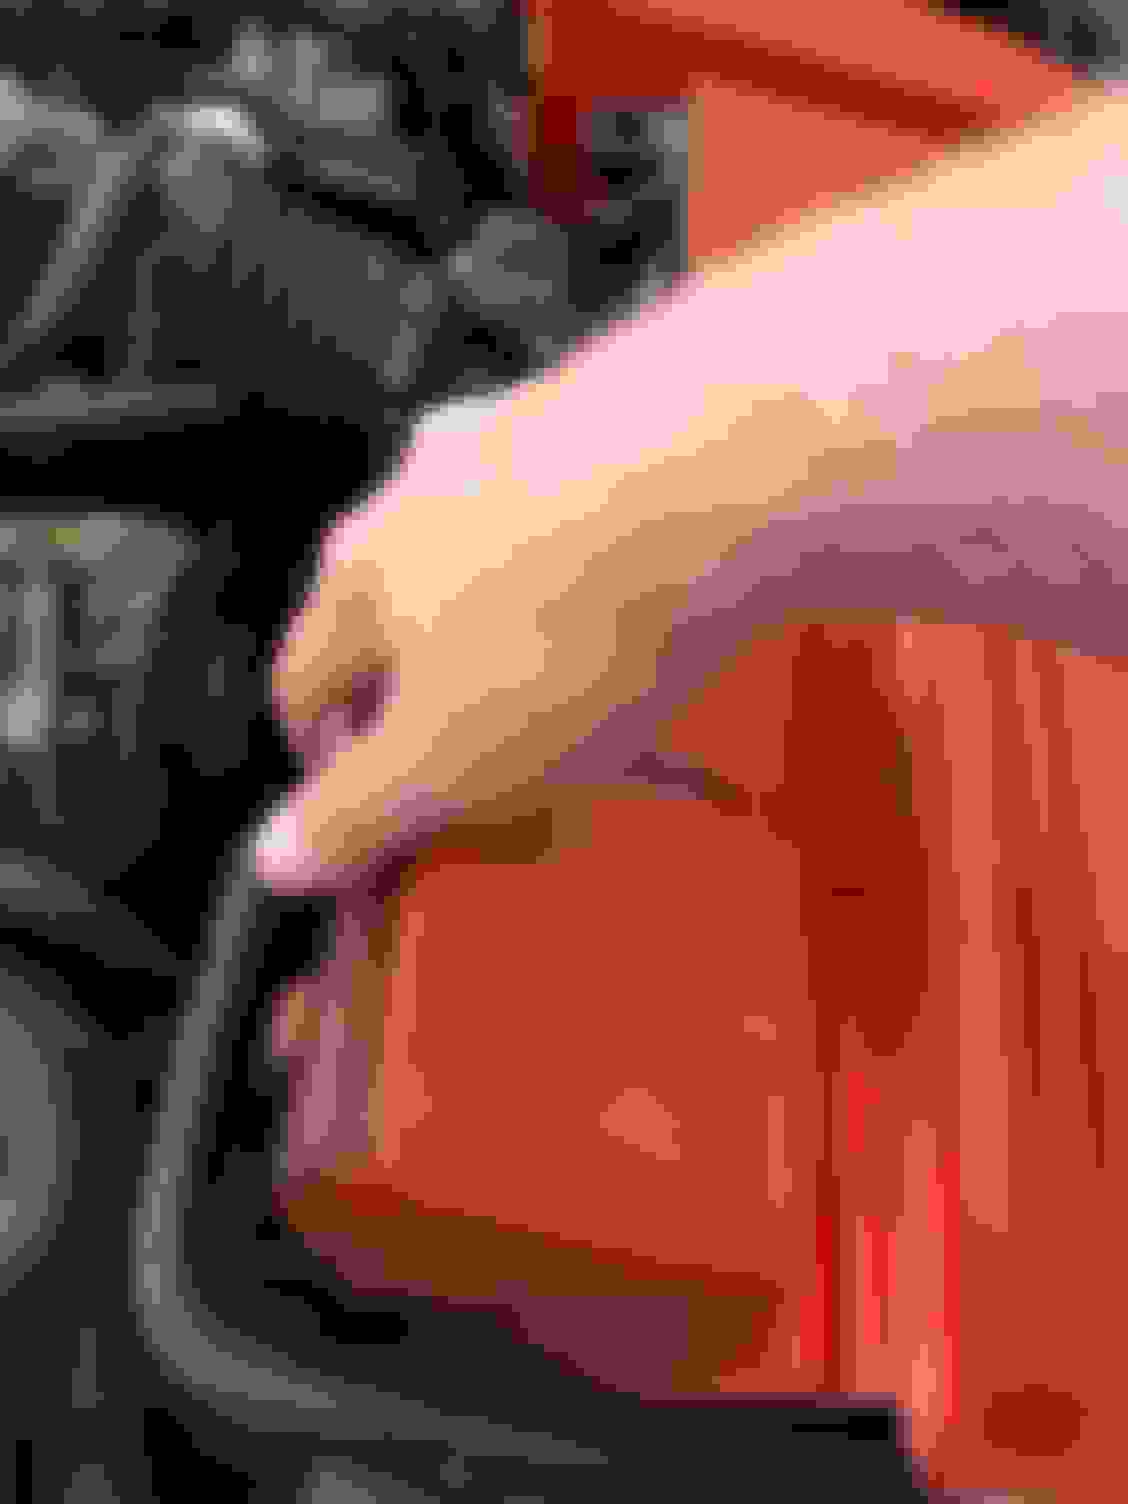
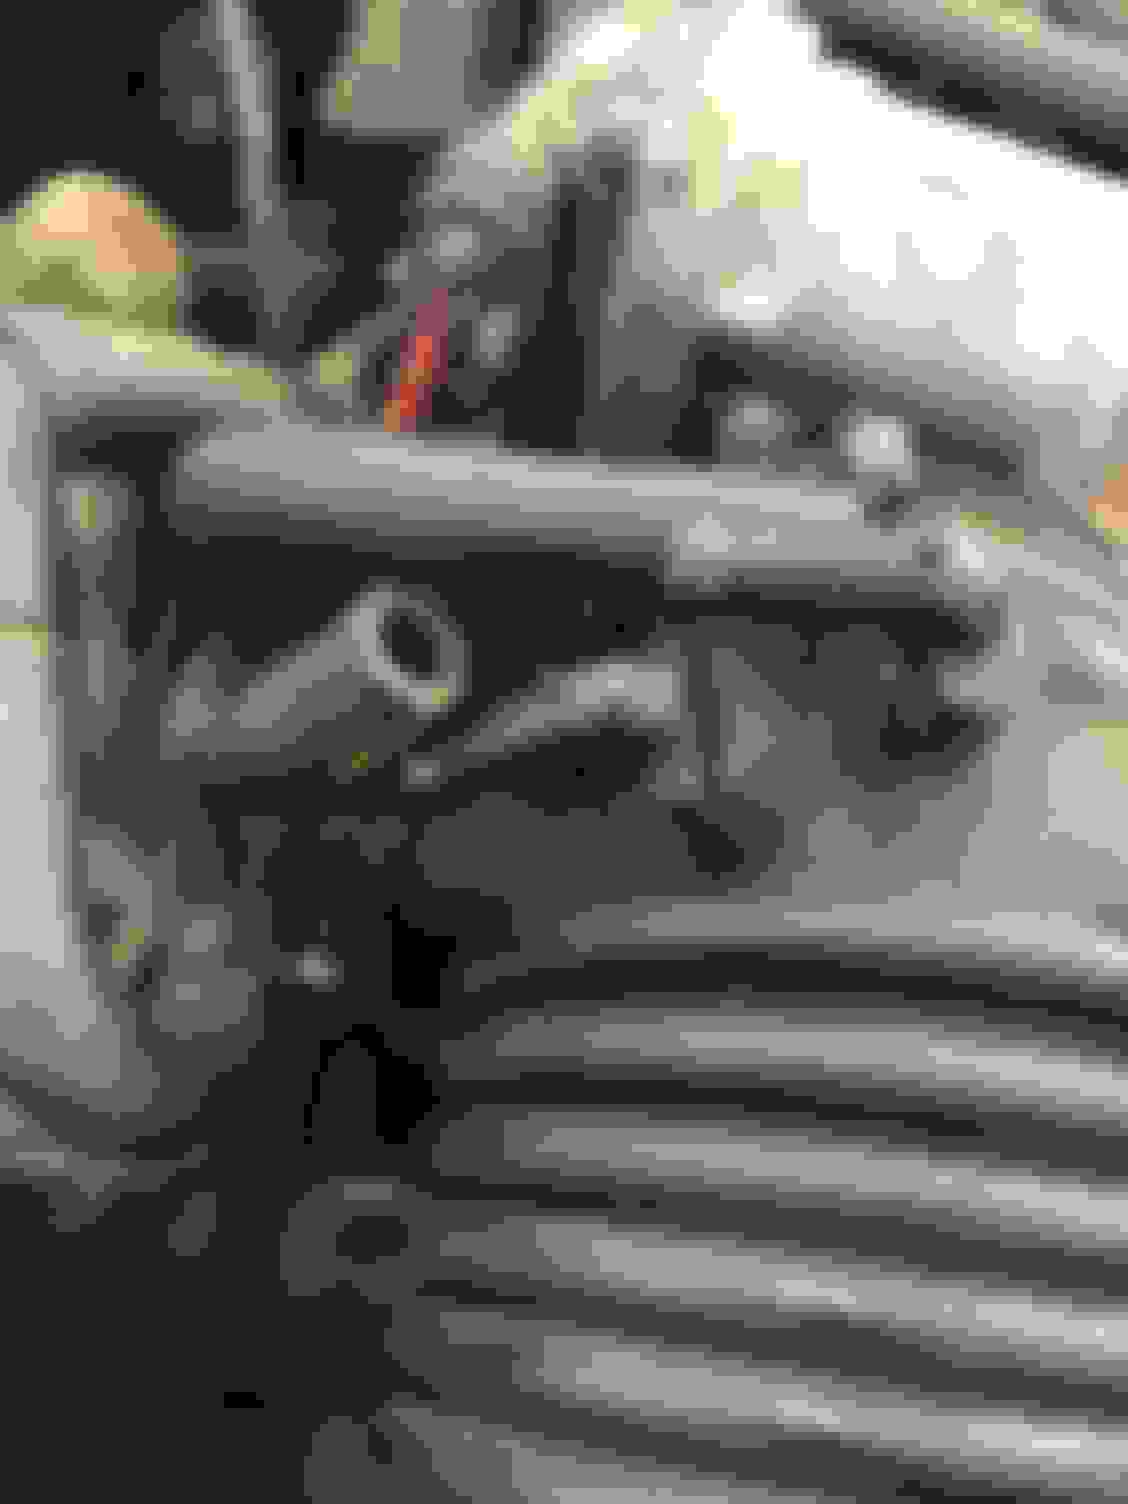
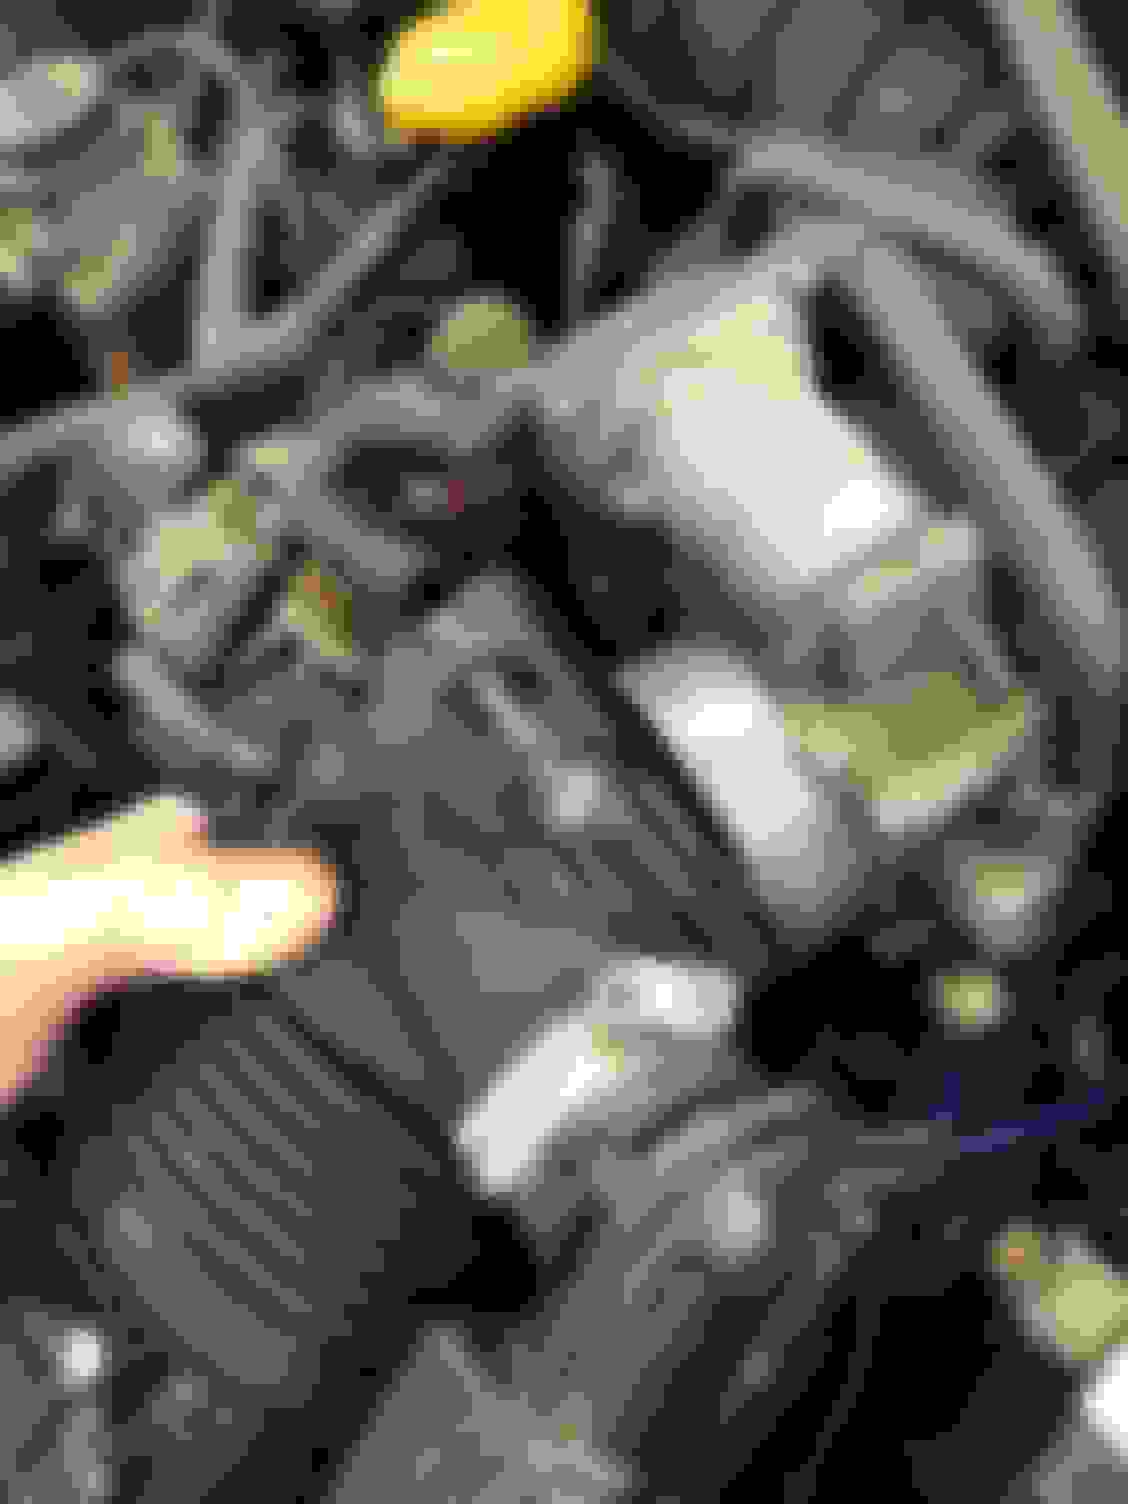
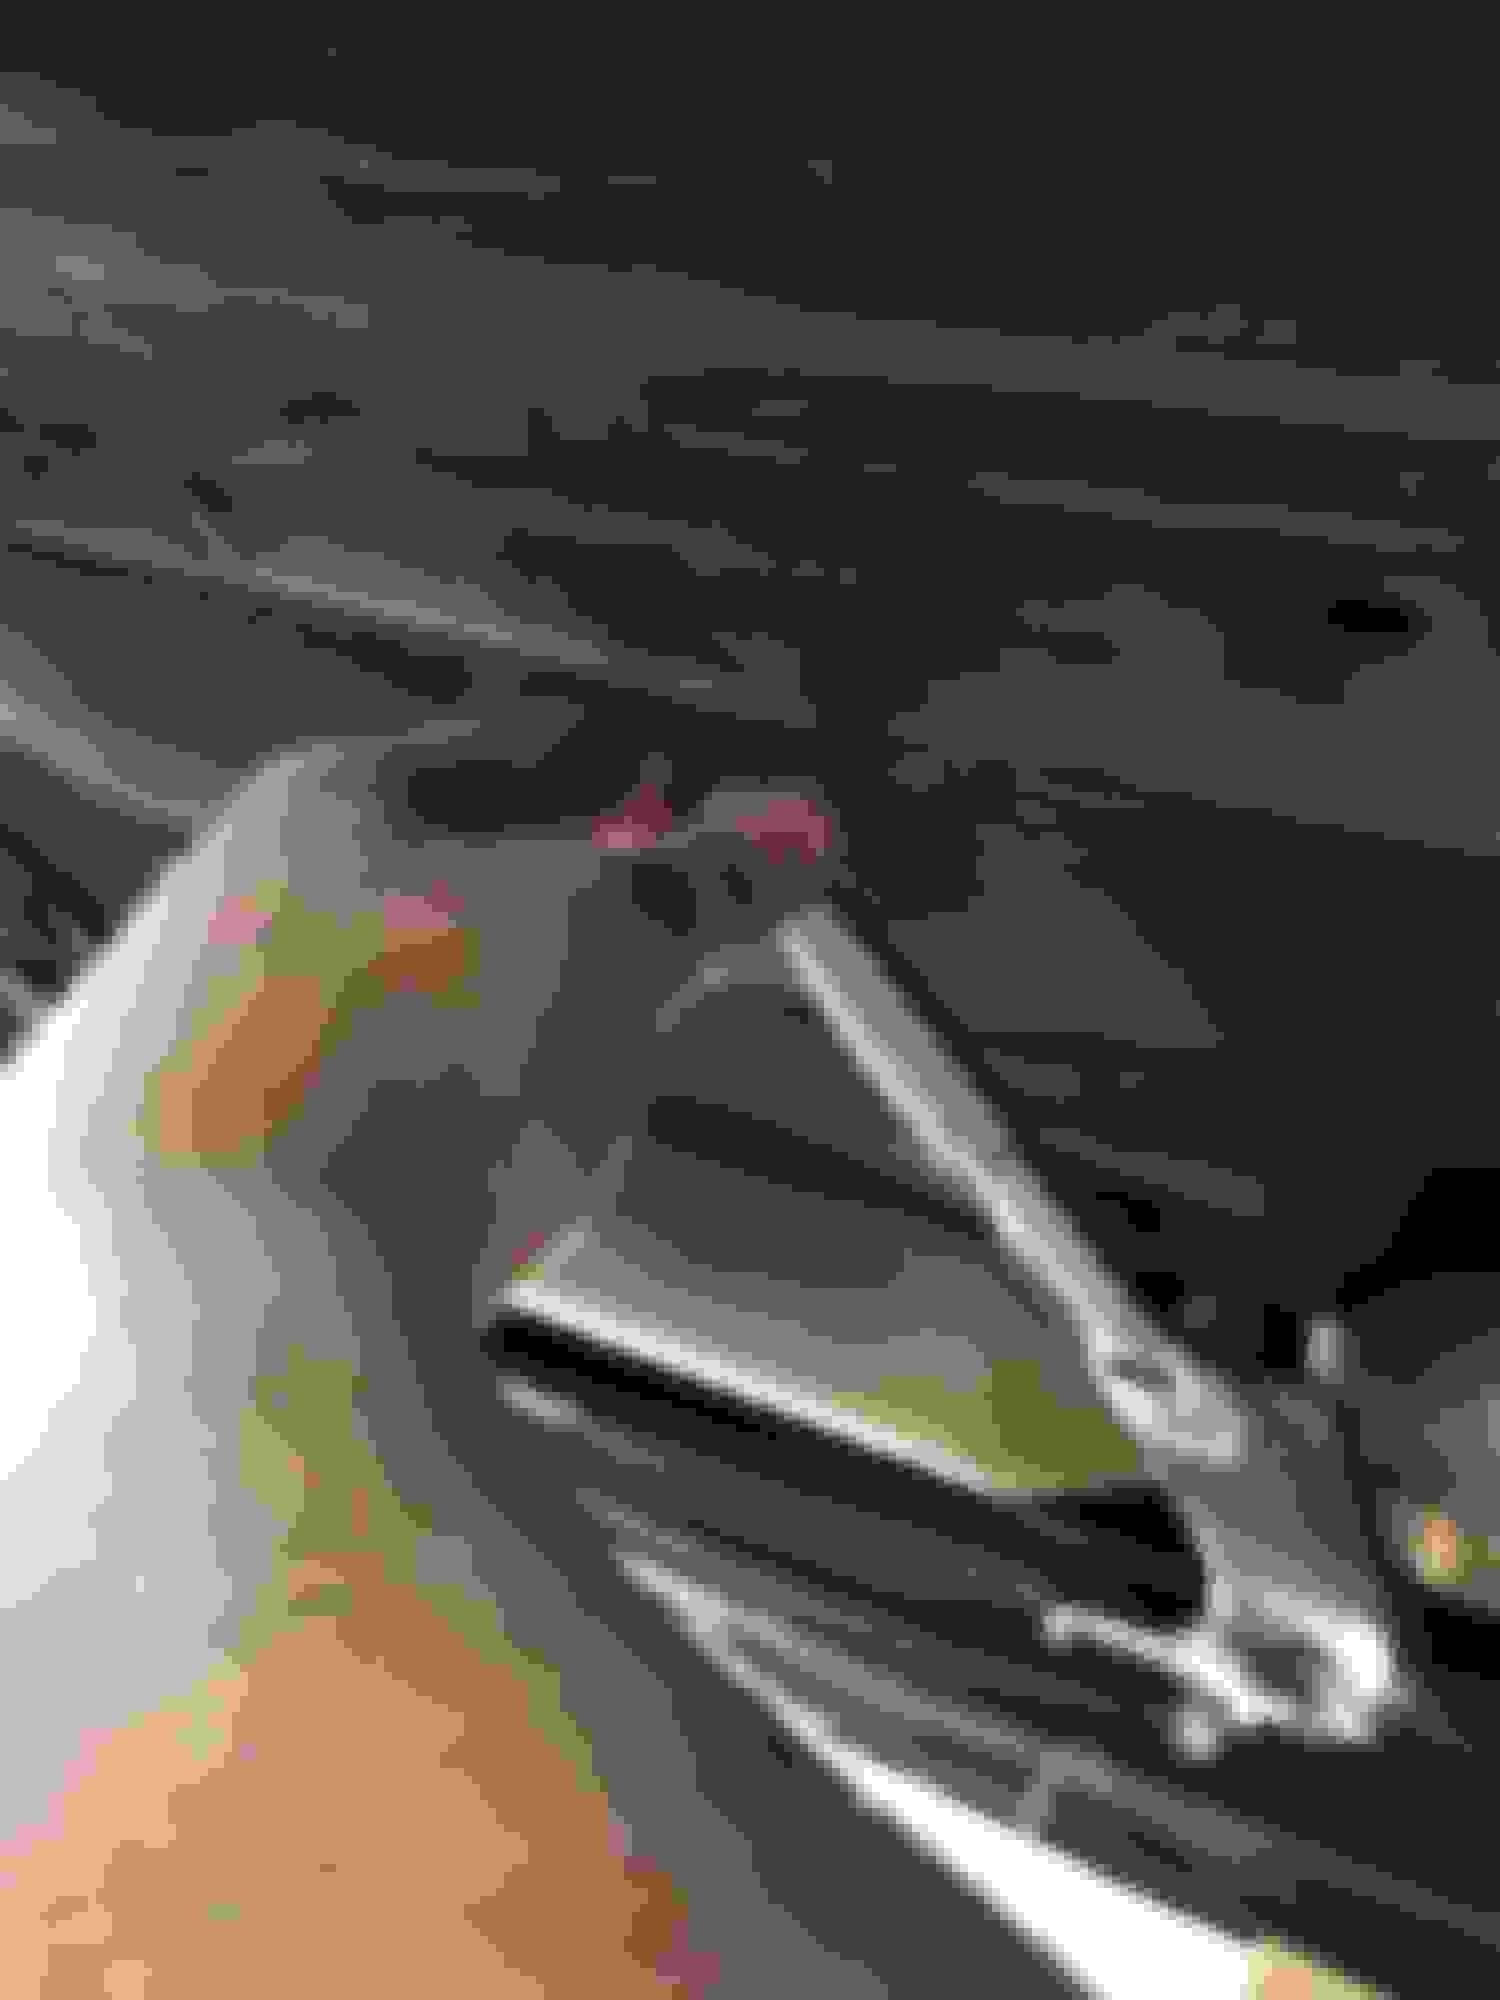
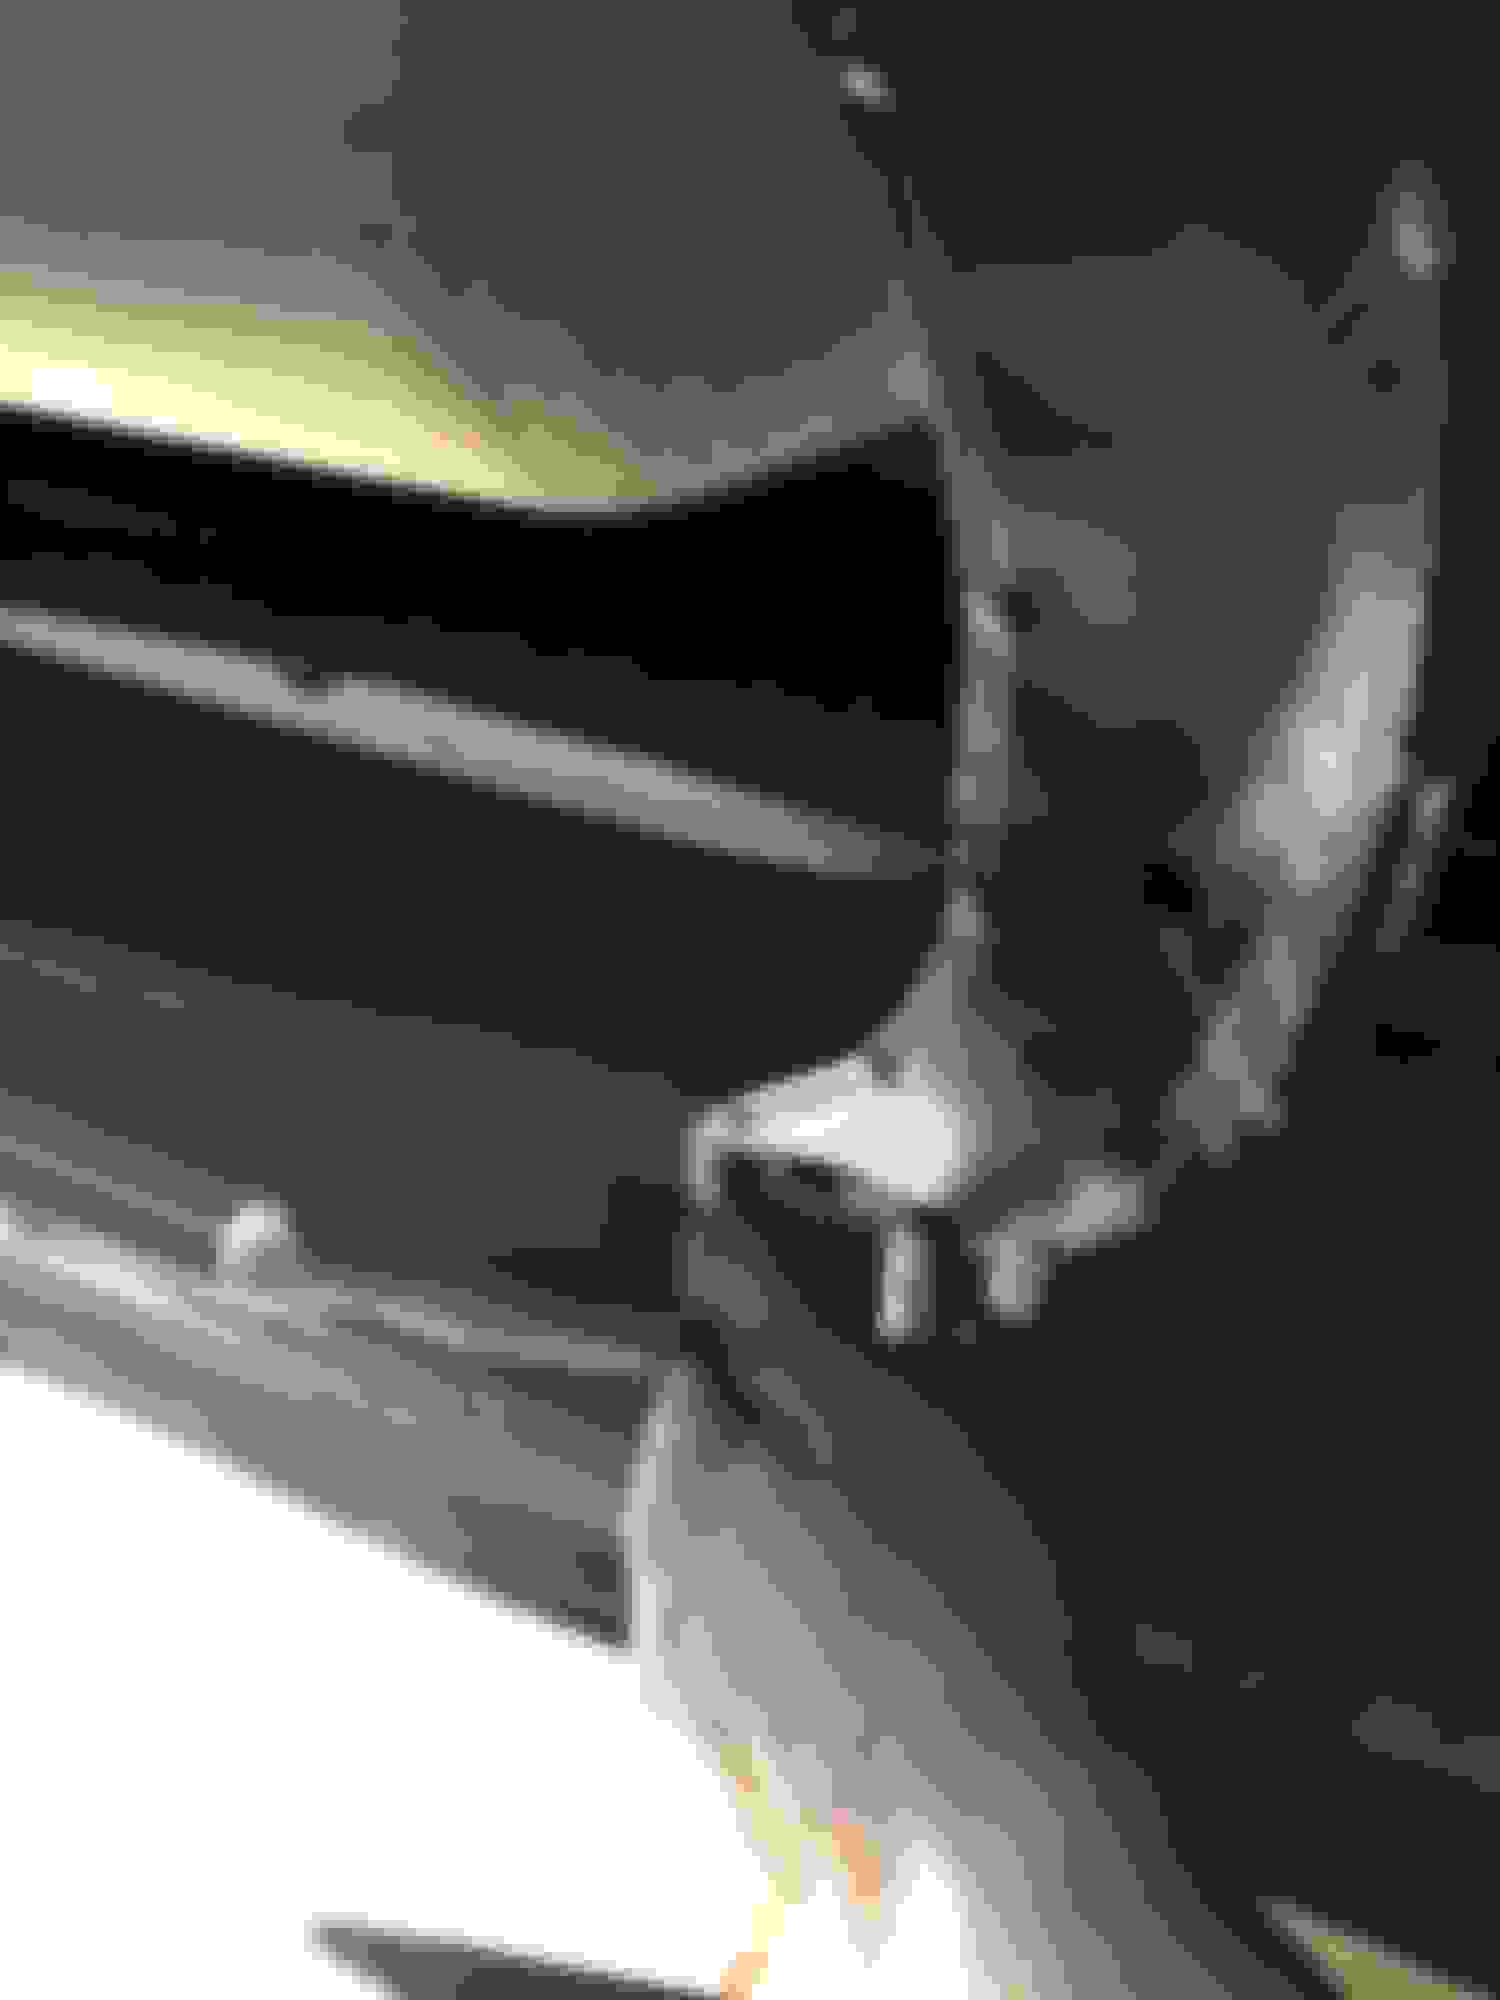
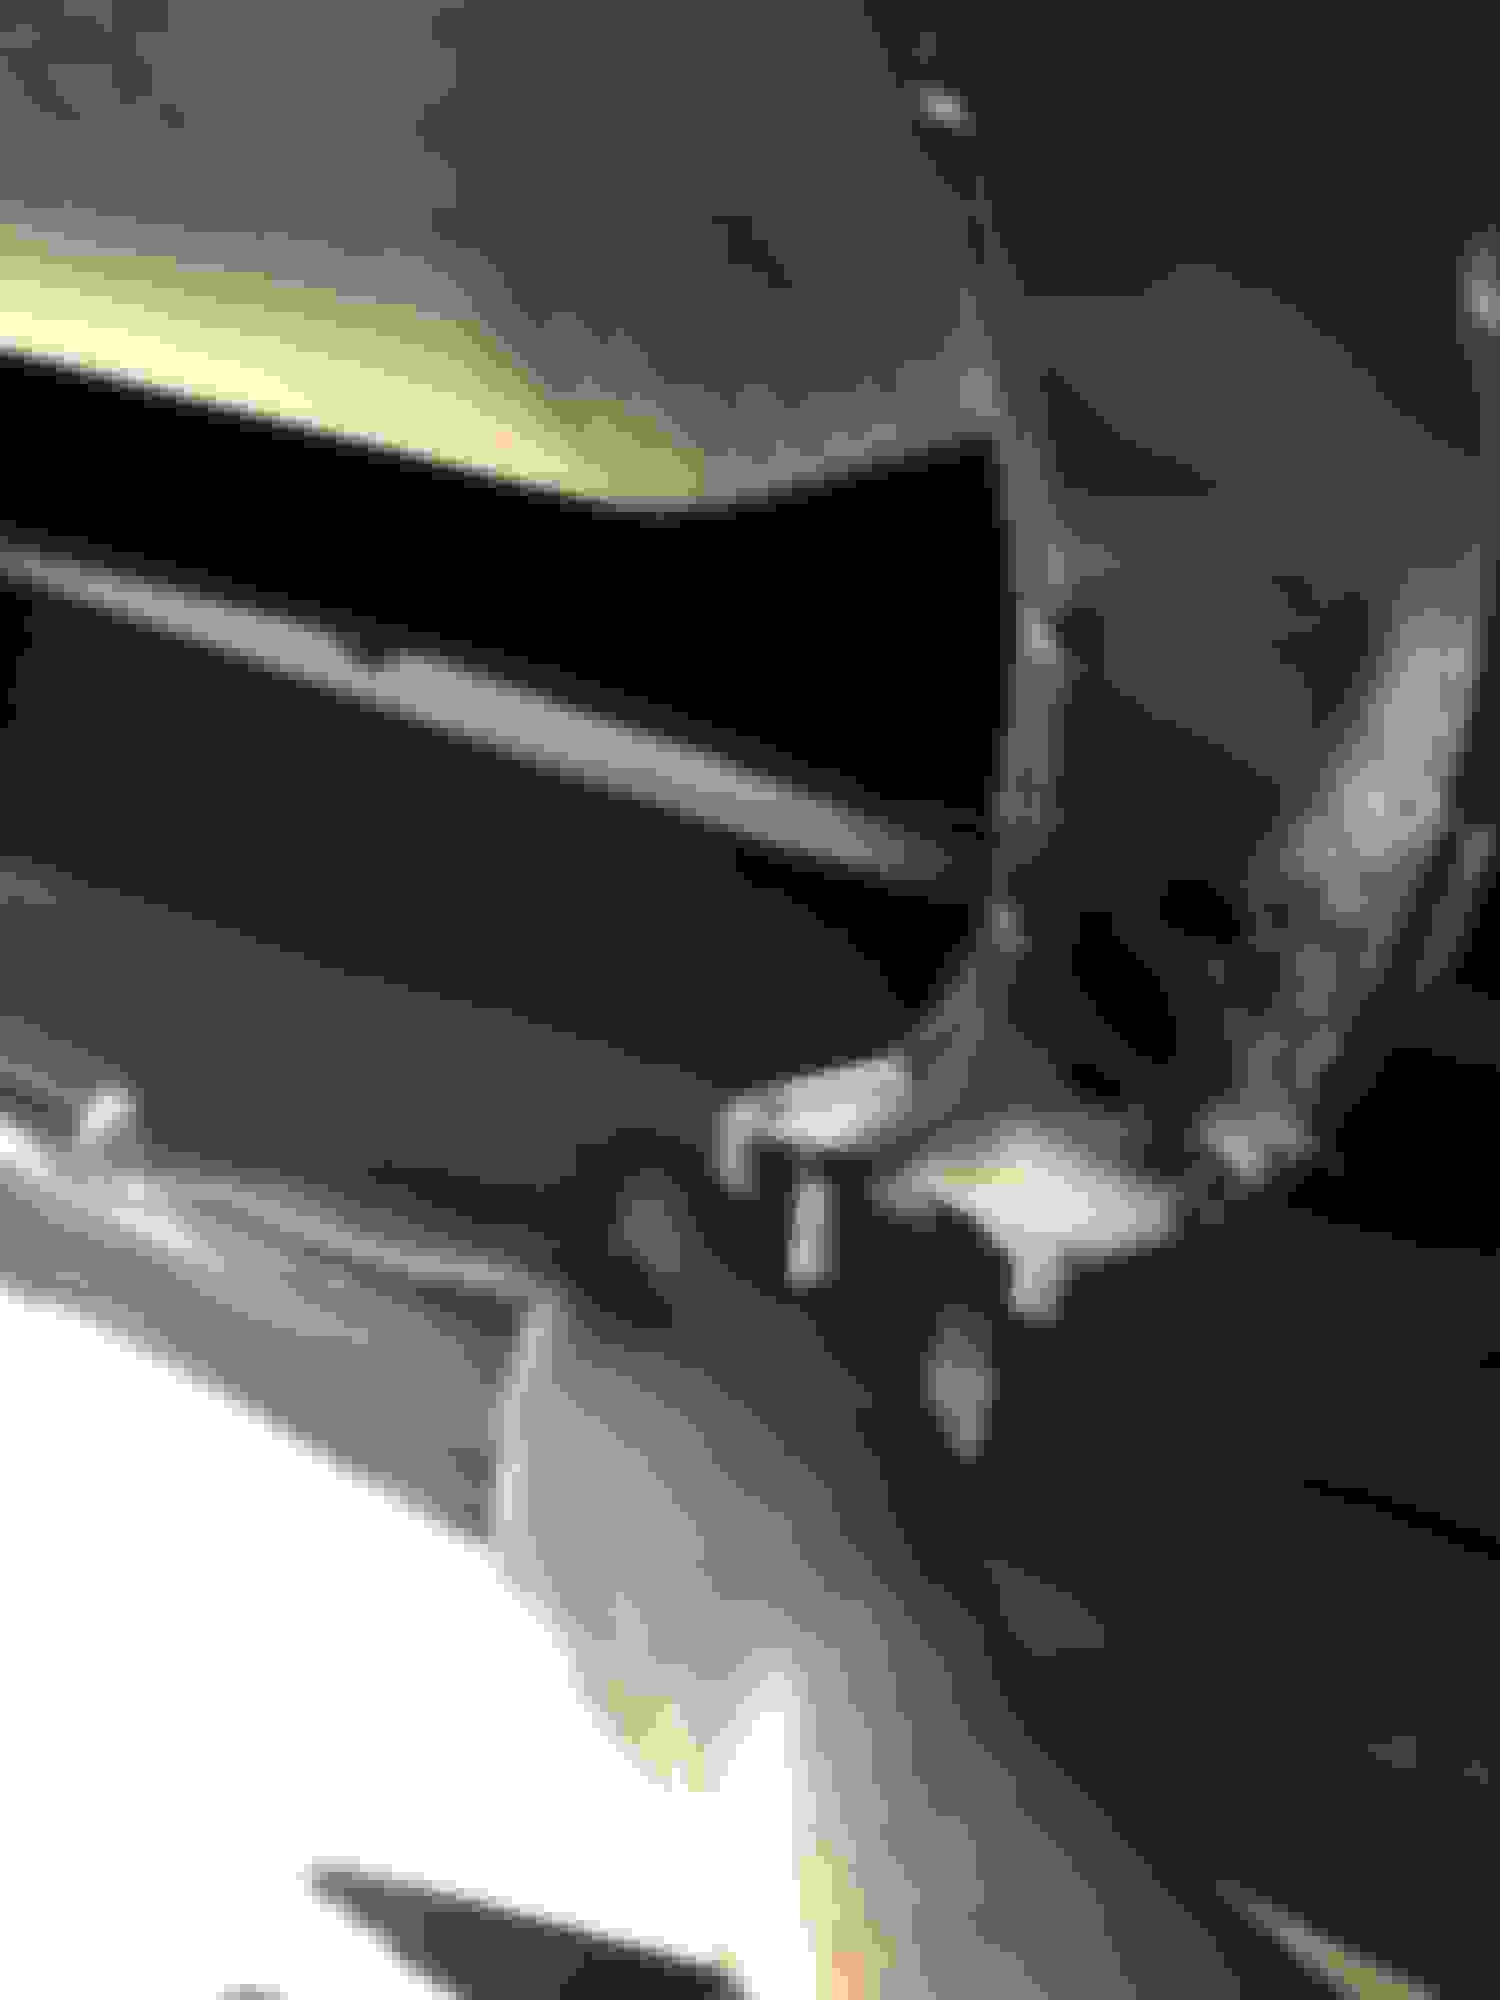
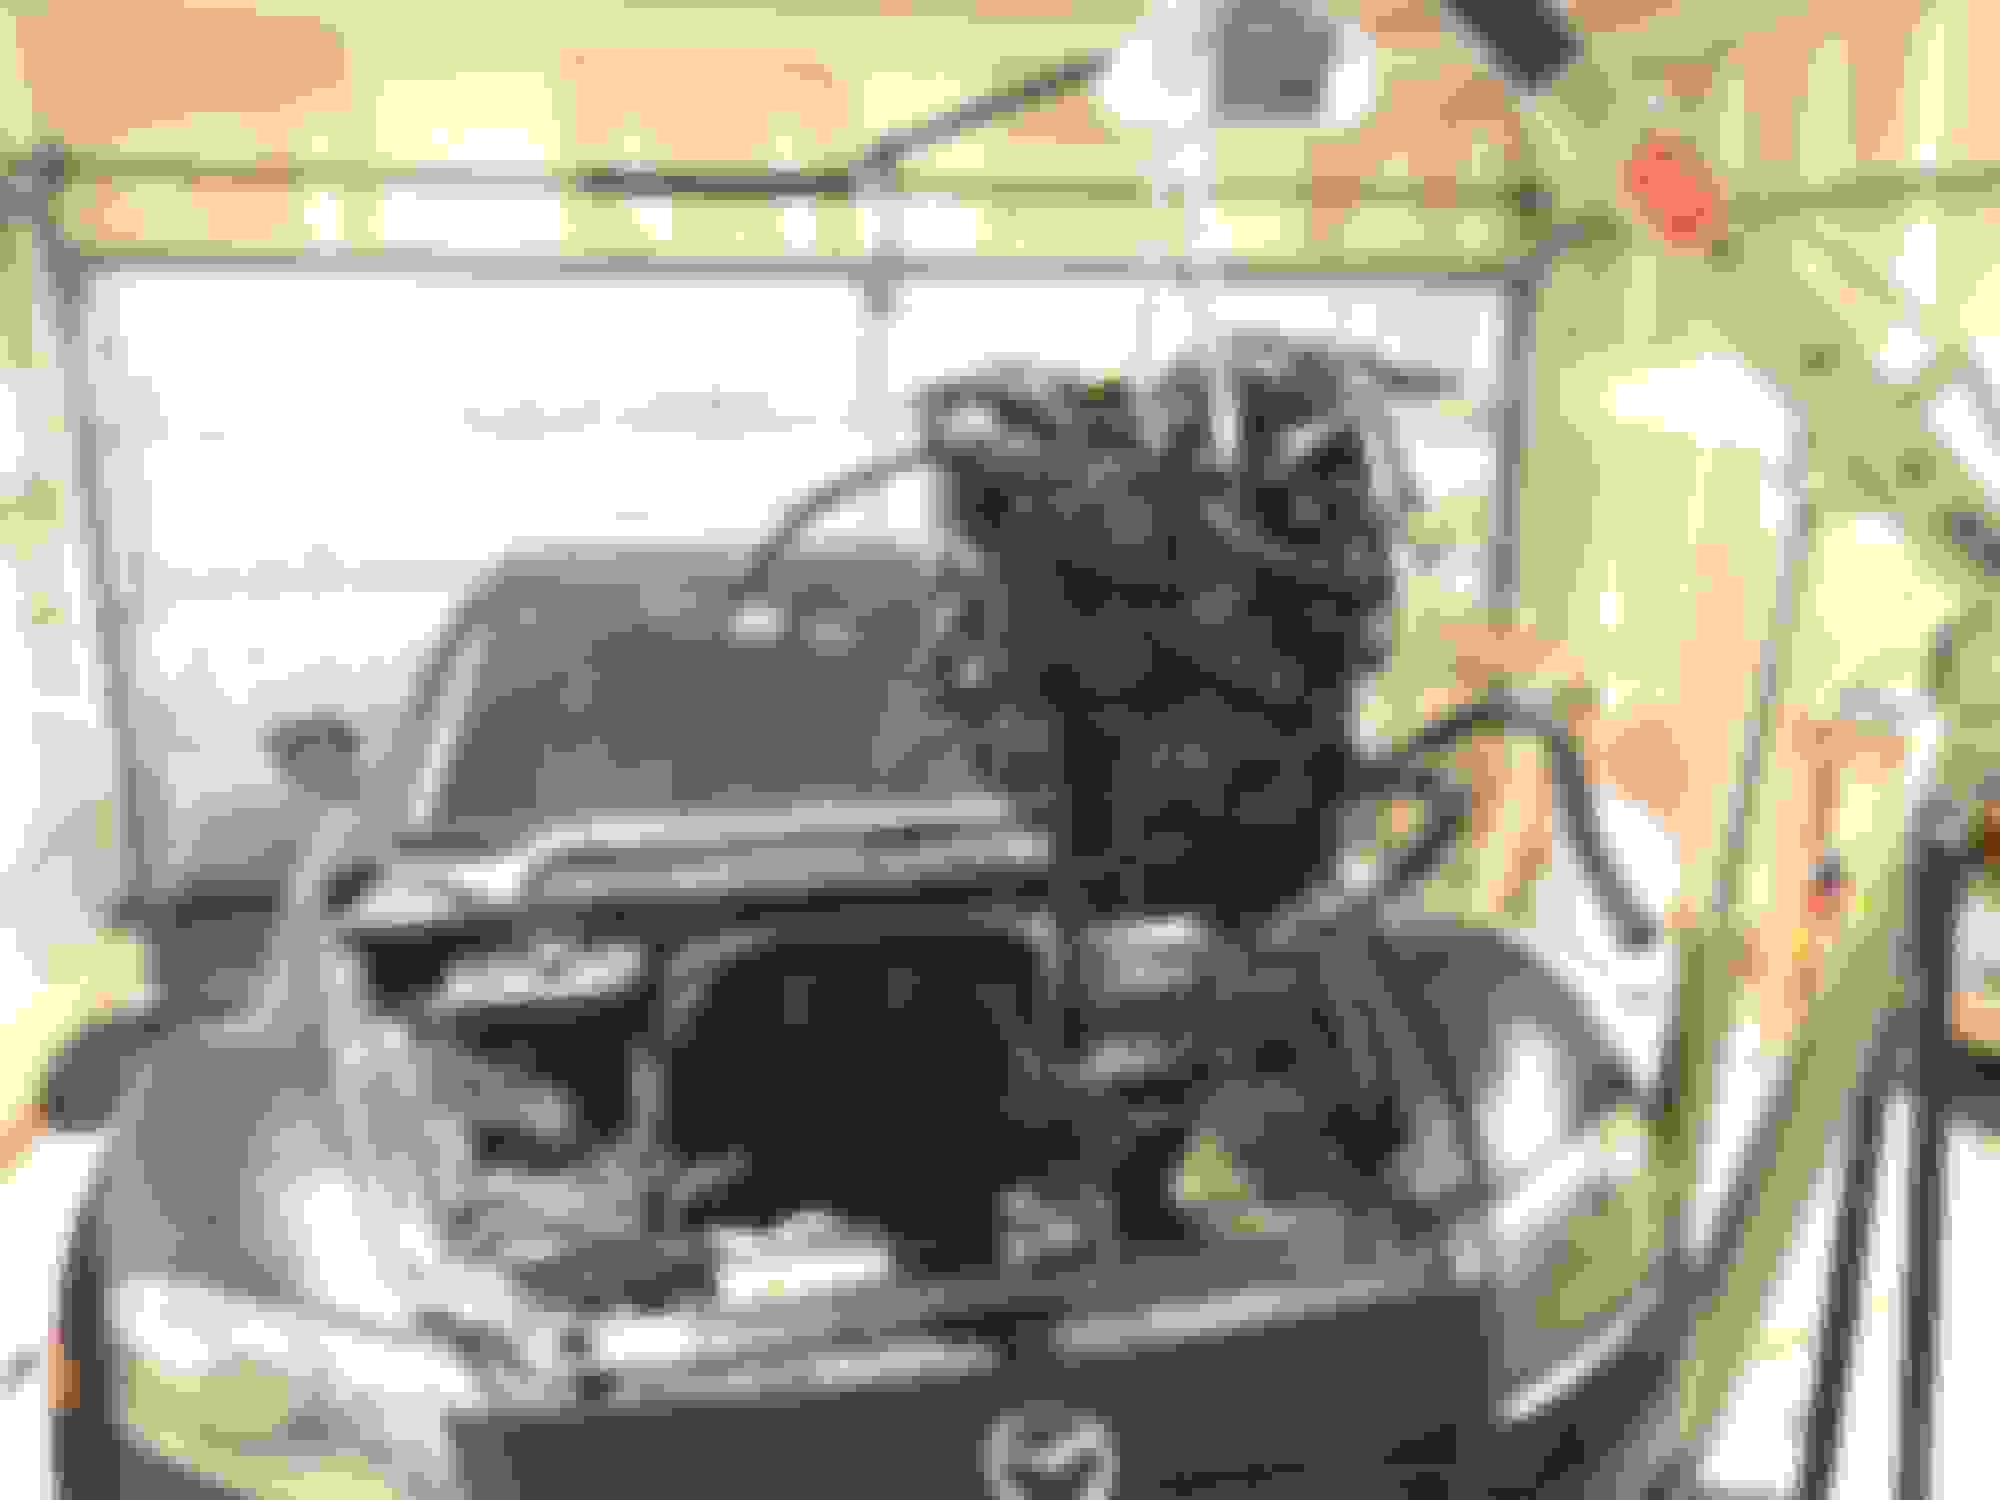
RotaryResurrection didn't say to remove this crossbar, but I found that it was stressing when I lowered the engine and transmission. Maybe I lowered them too much. In any case, I removed it temporarily. I put it back after raising the engine and disconnecting the exhaust manifold at the end so it could support the catalytic converter's weight.
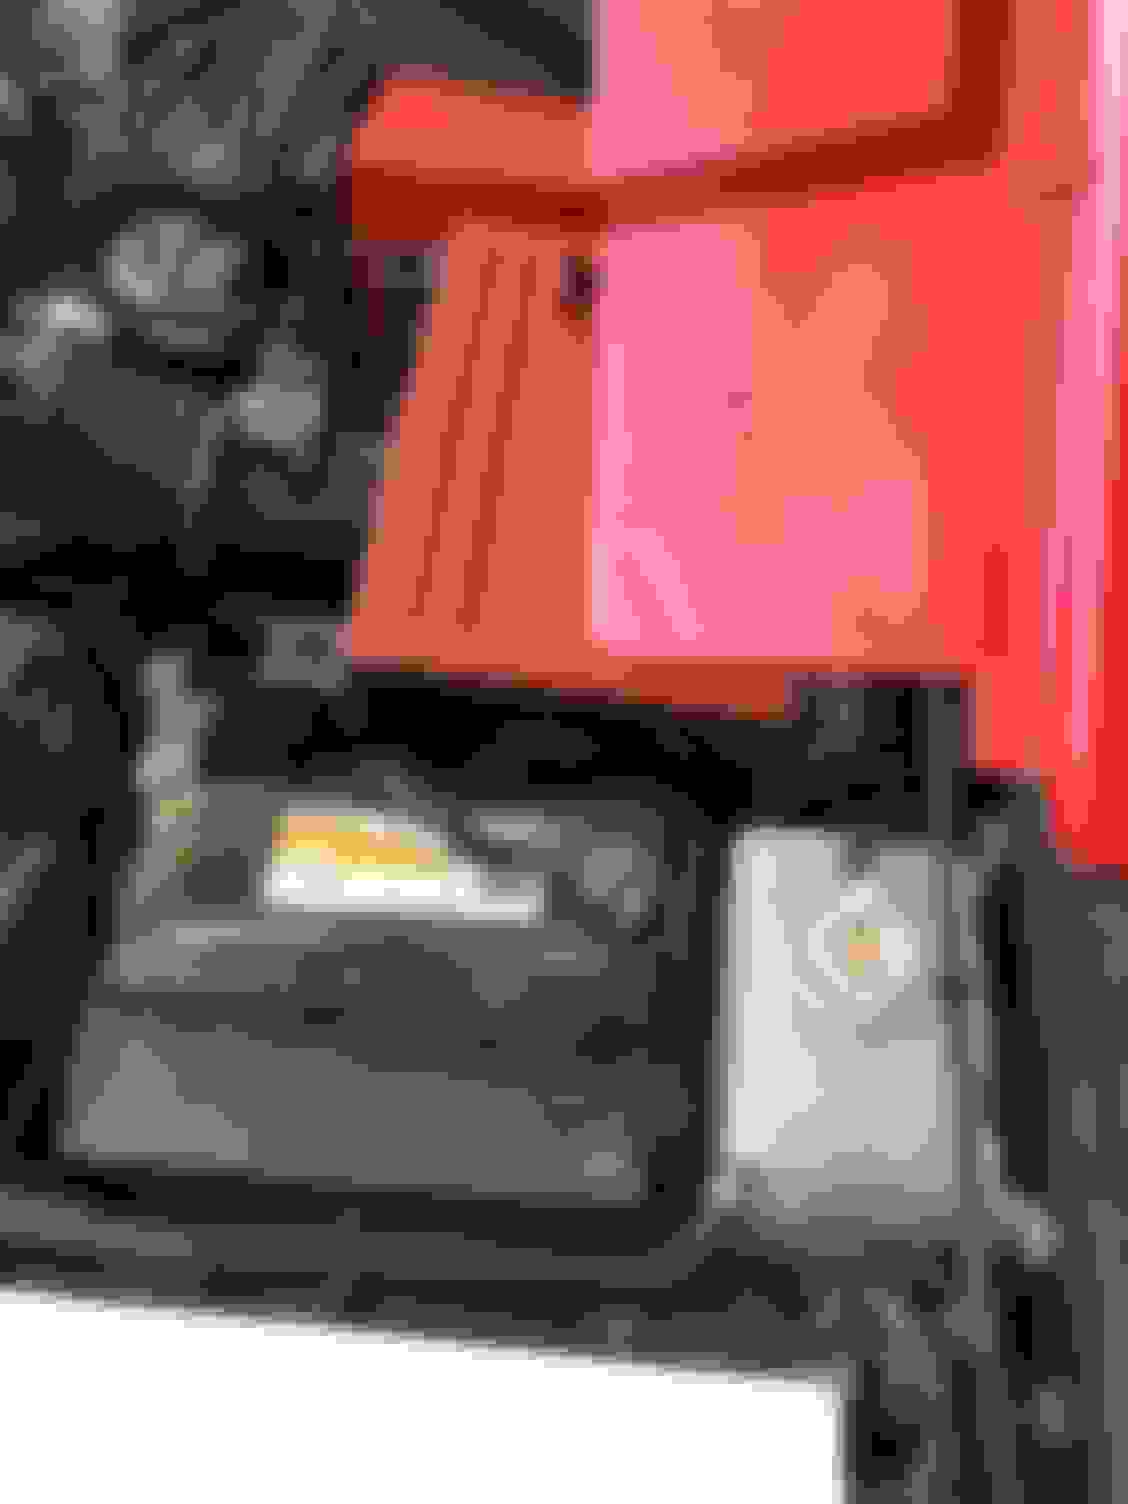
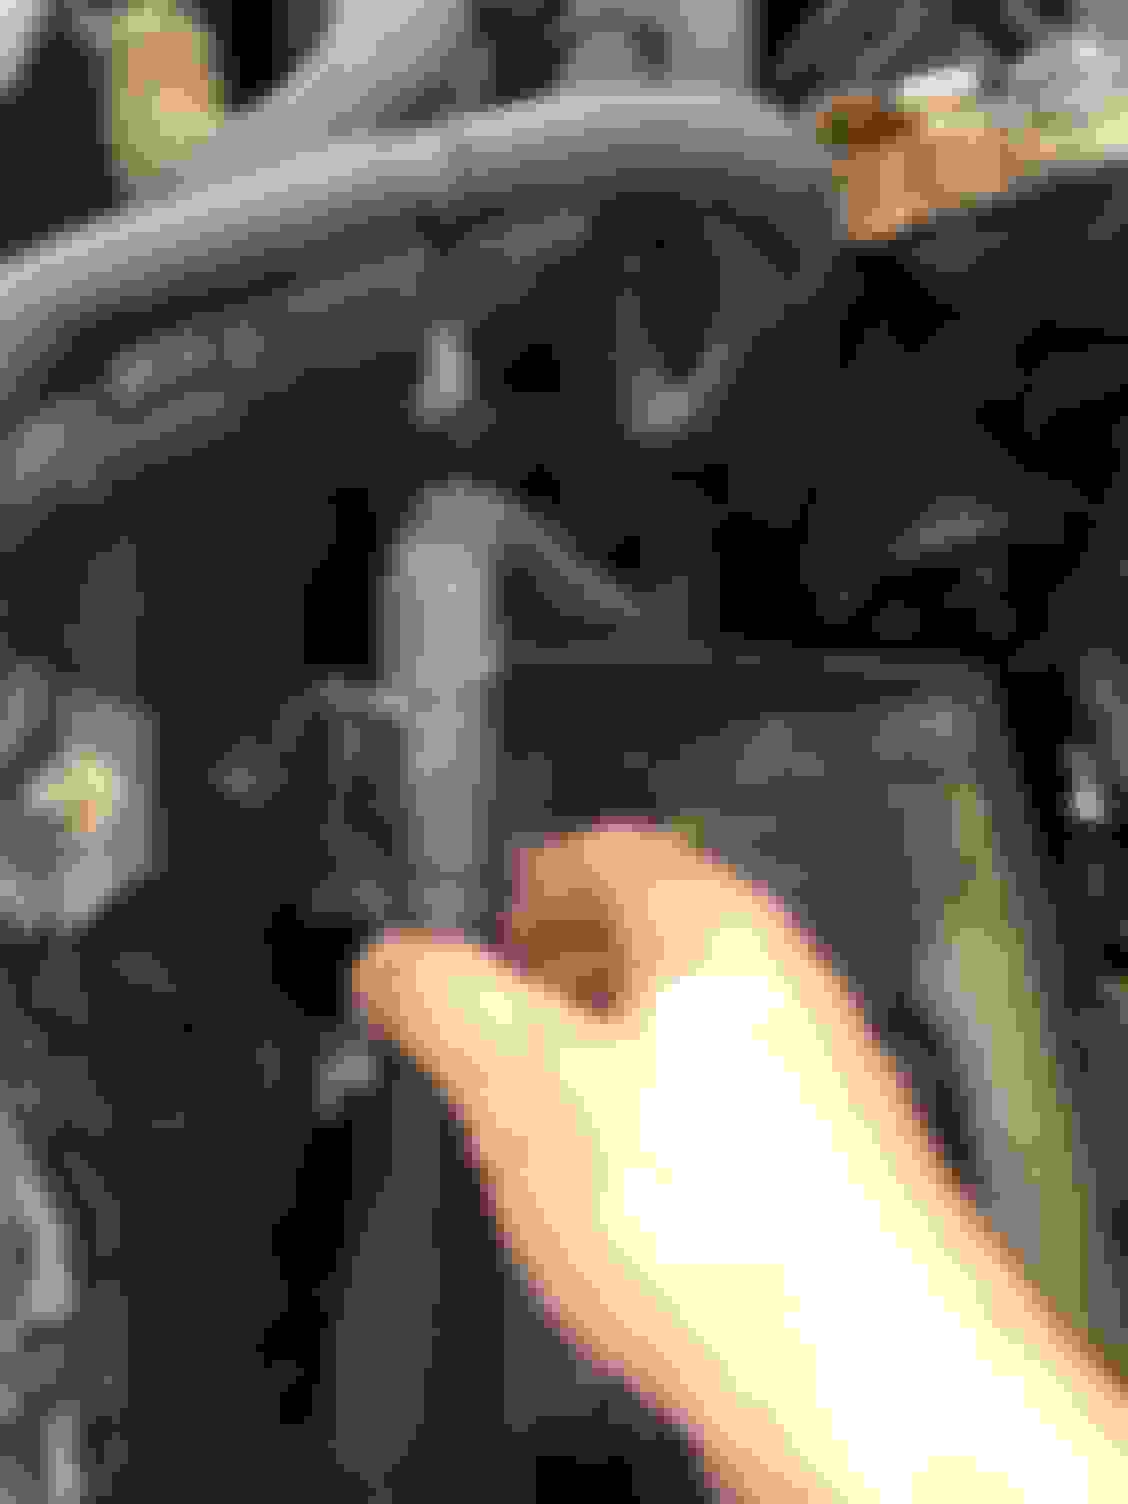
I had a terrible time maneuvering the engine forward and up with the exhaust manifold attached. The rusty triangle piece that connects to the cat just kept getting in a bind between the bellhousing and the underbody of the car, and I was in danger of damaging the $250 front O2 sensor as well. After hours of trying to get it out without damaging anything, I decided to just remove the exhaust manifold. It made the job soooo much easier. I wish I had done that to begin with. There's probably a reason that RotaryResurrection didn't suggest this in his thread, but it changed the outlook of the engine removal from "impossible" to "easy as pie" for me.
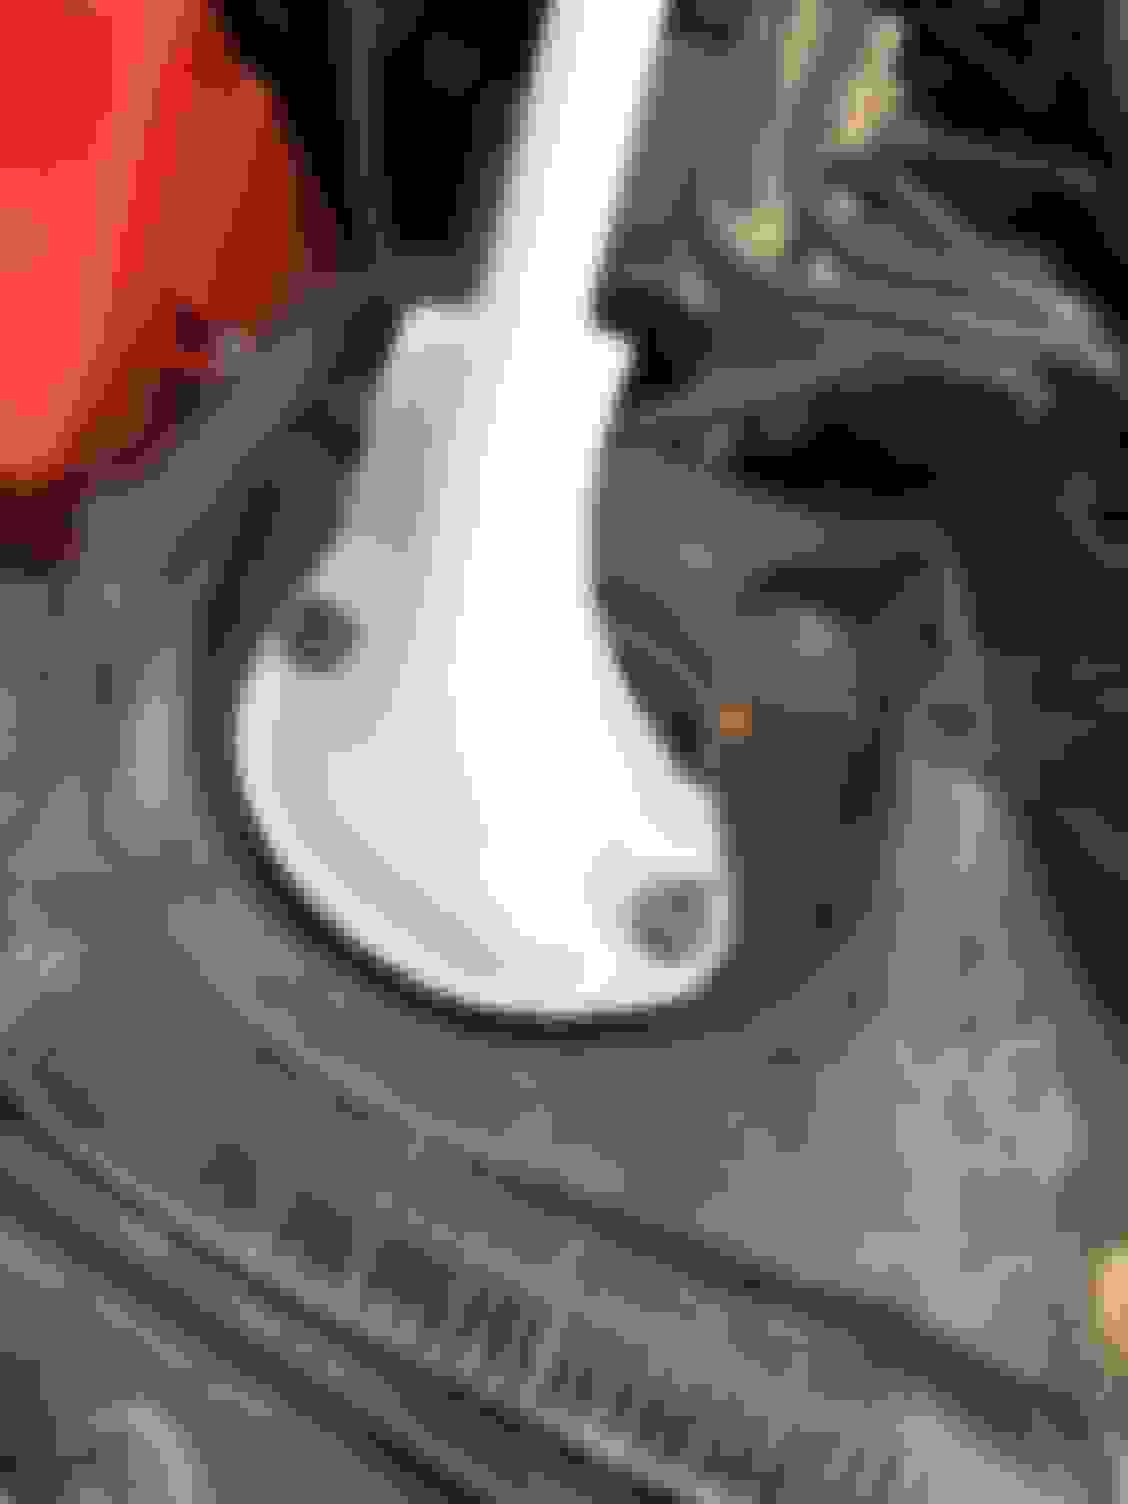
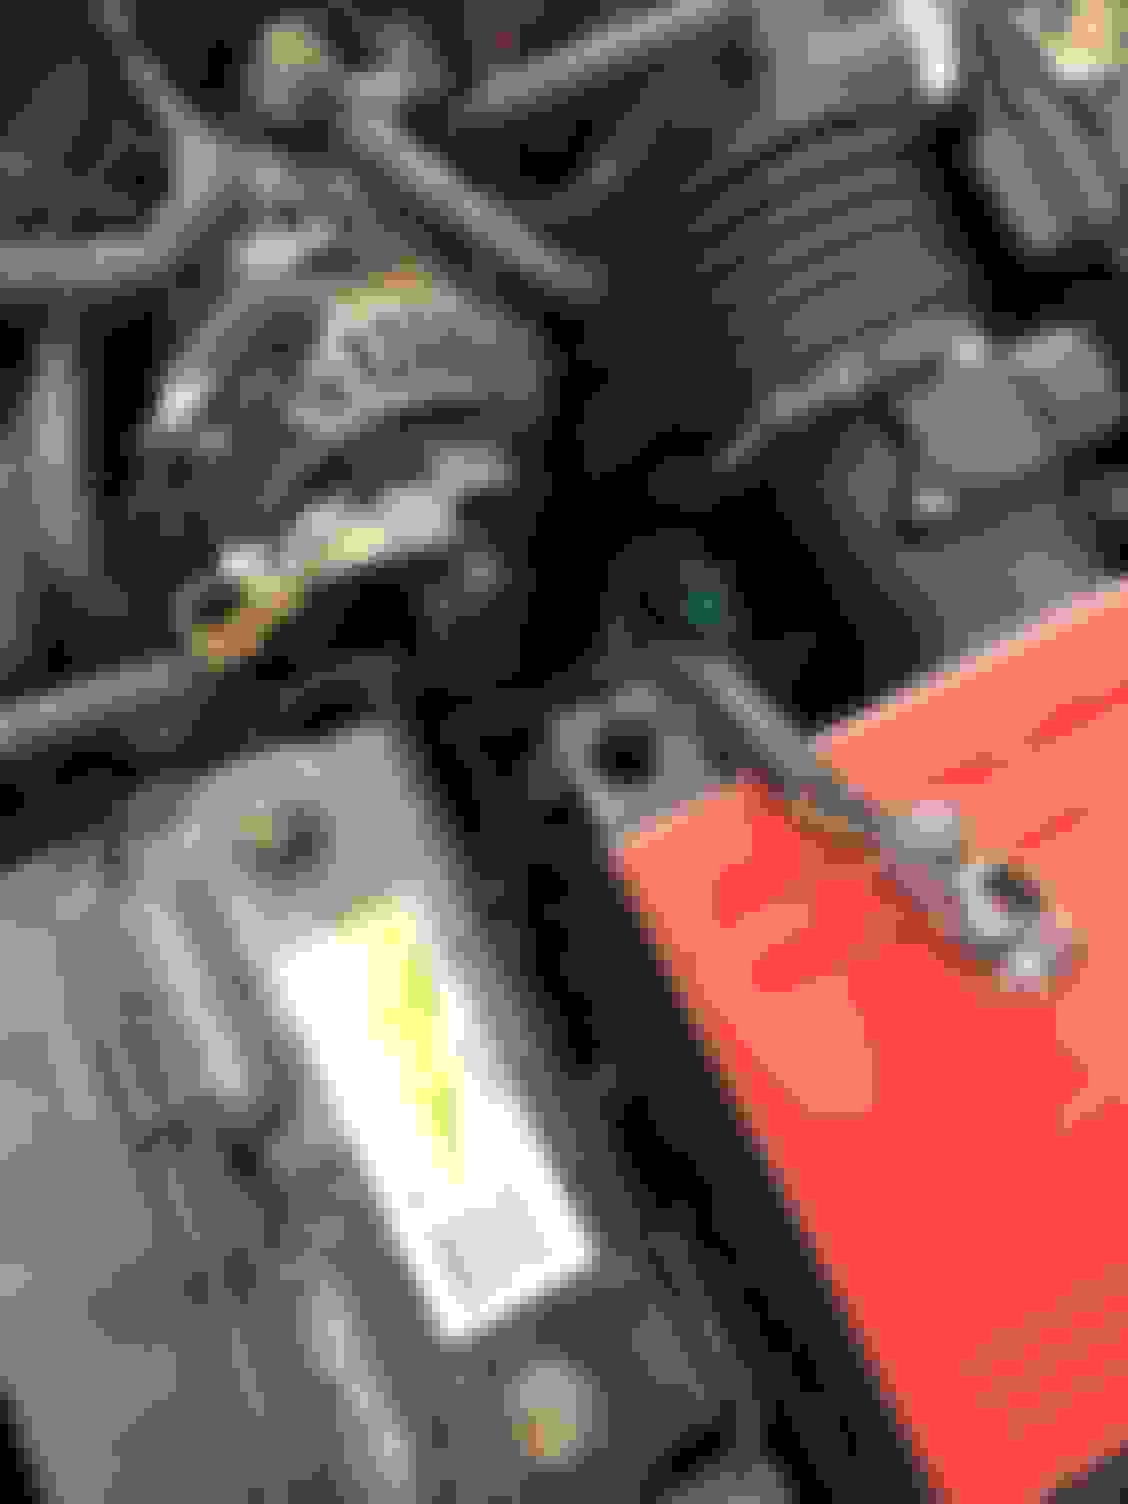
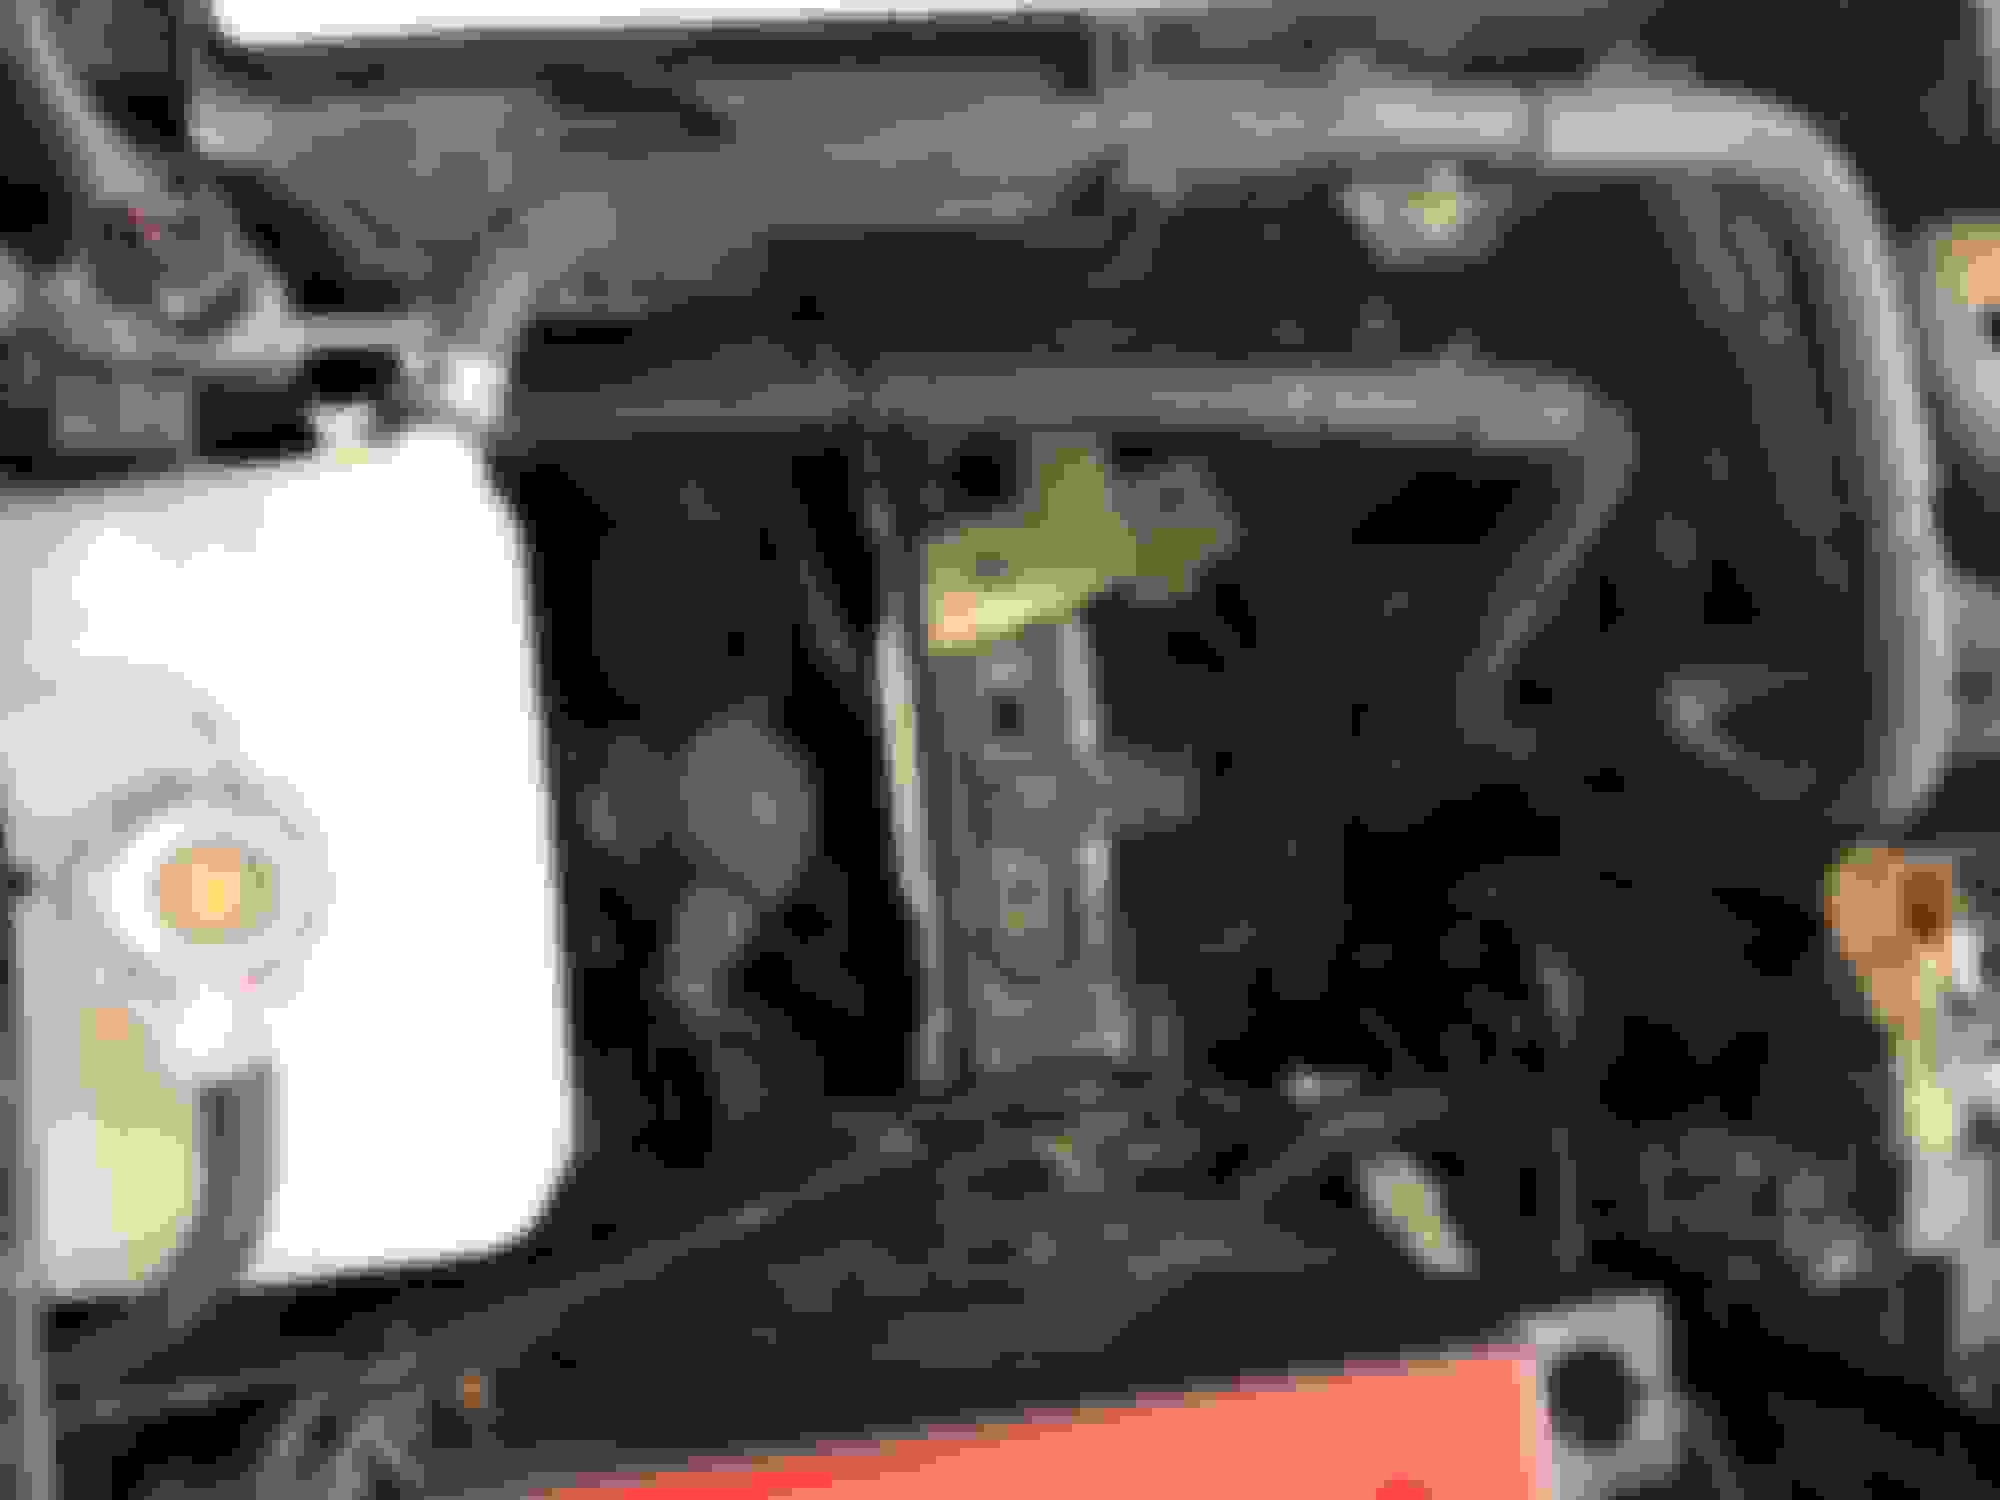
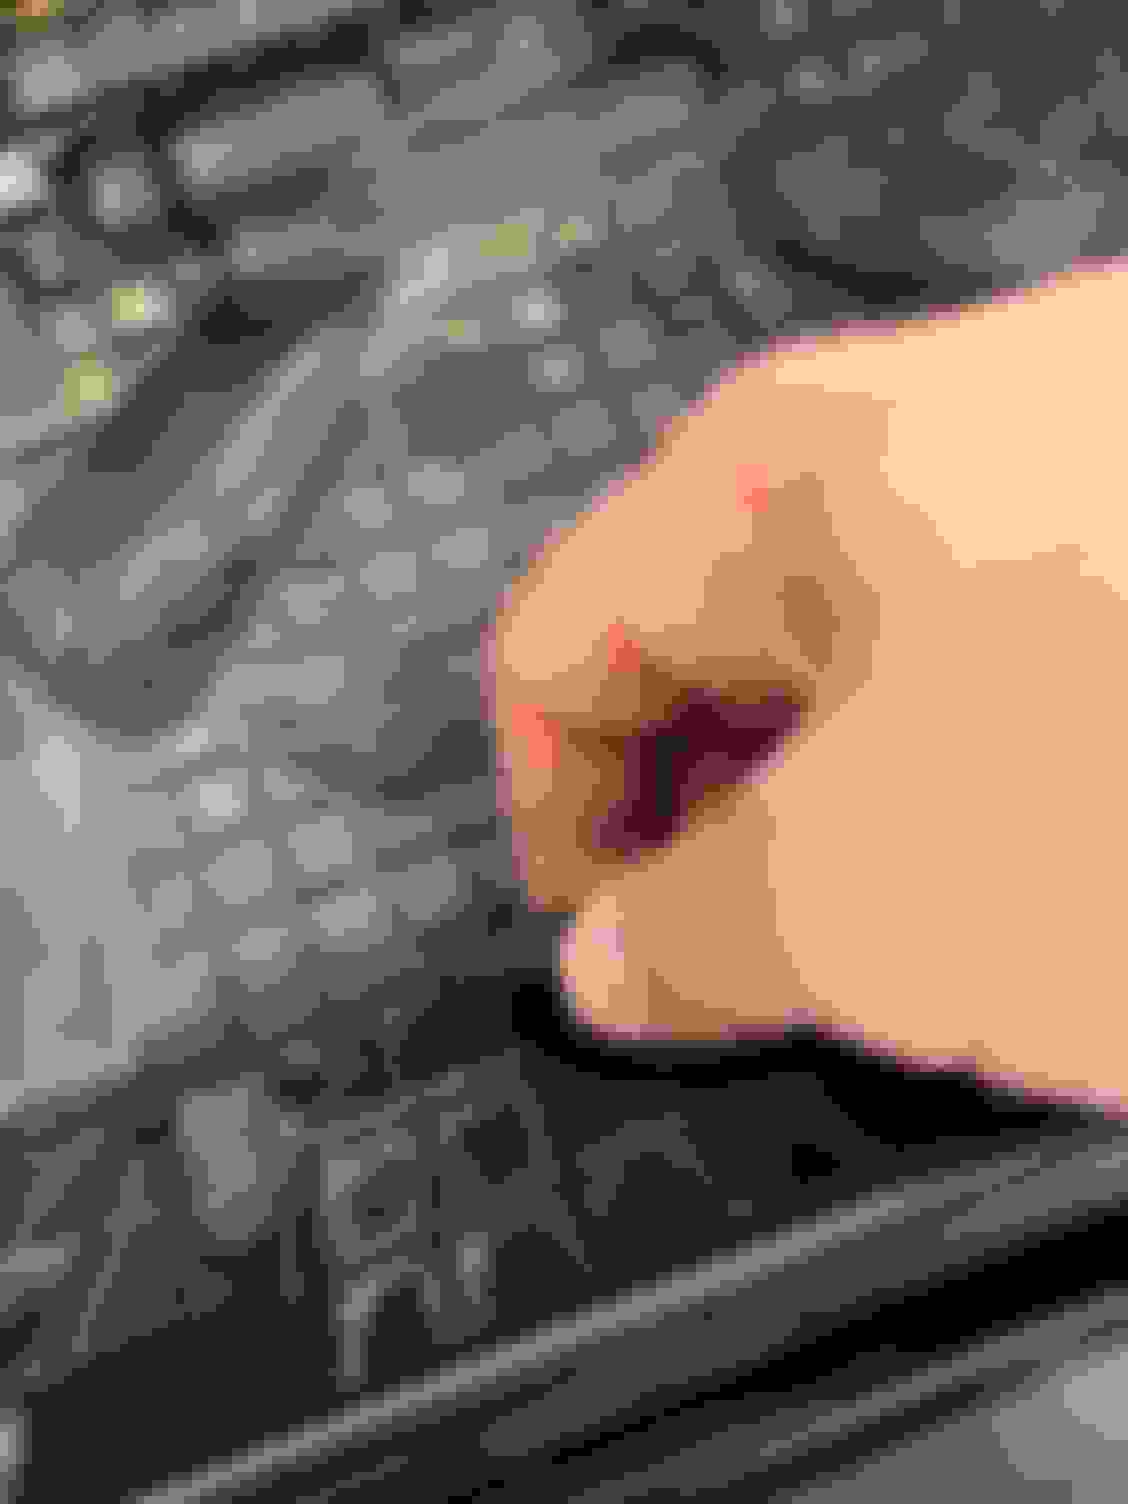
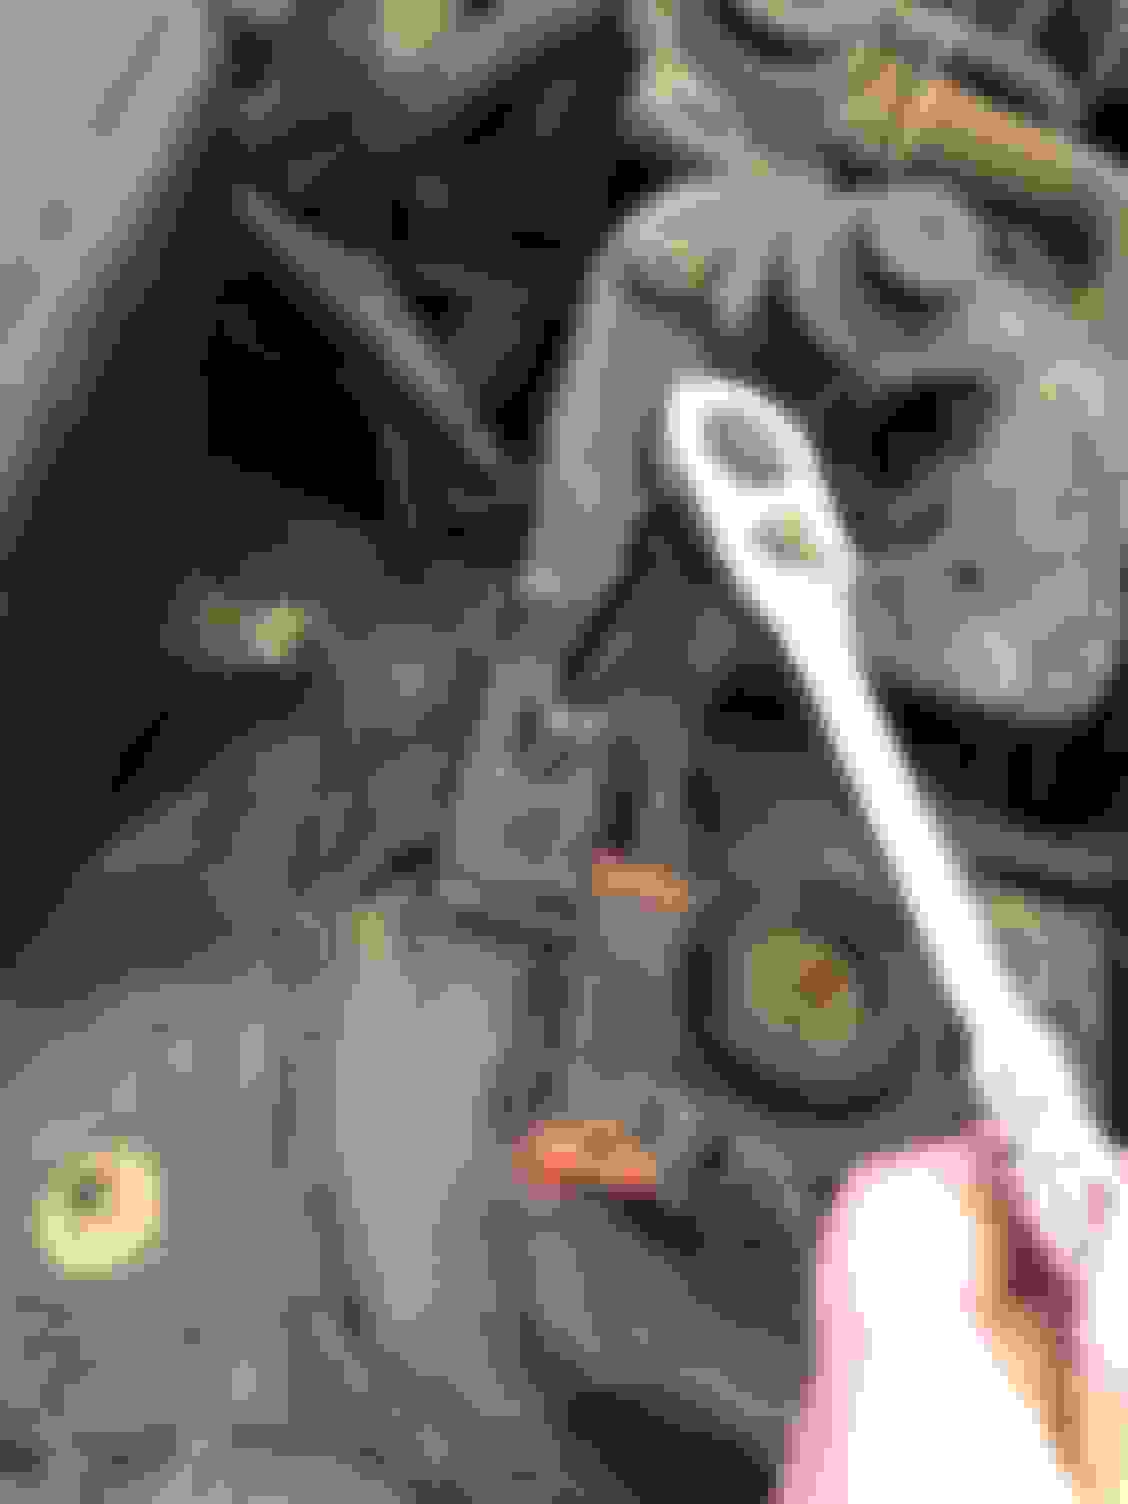
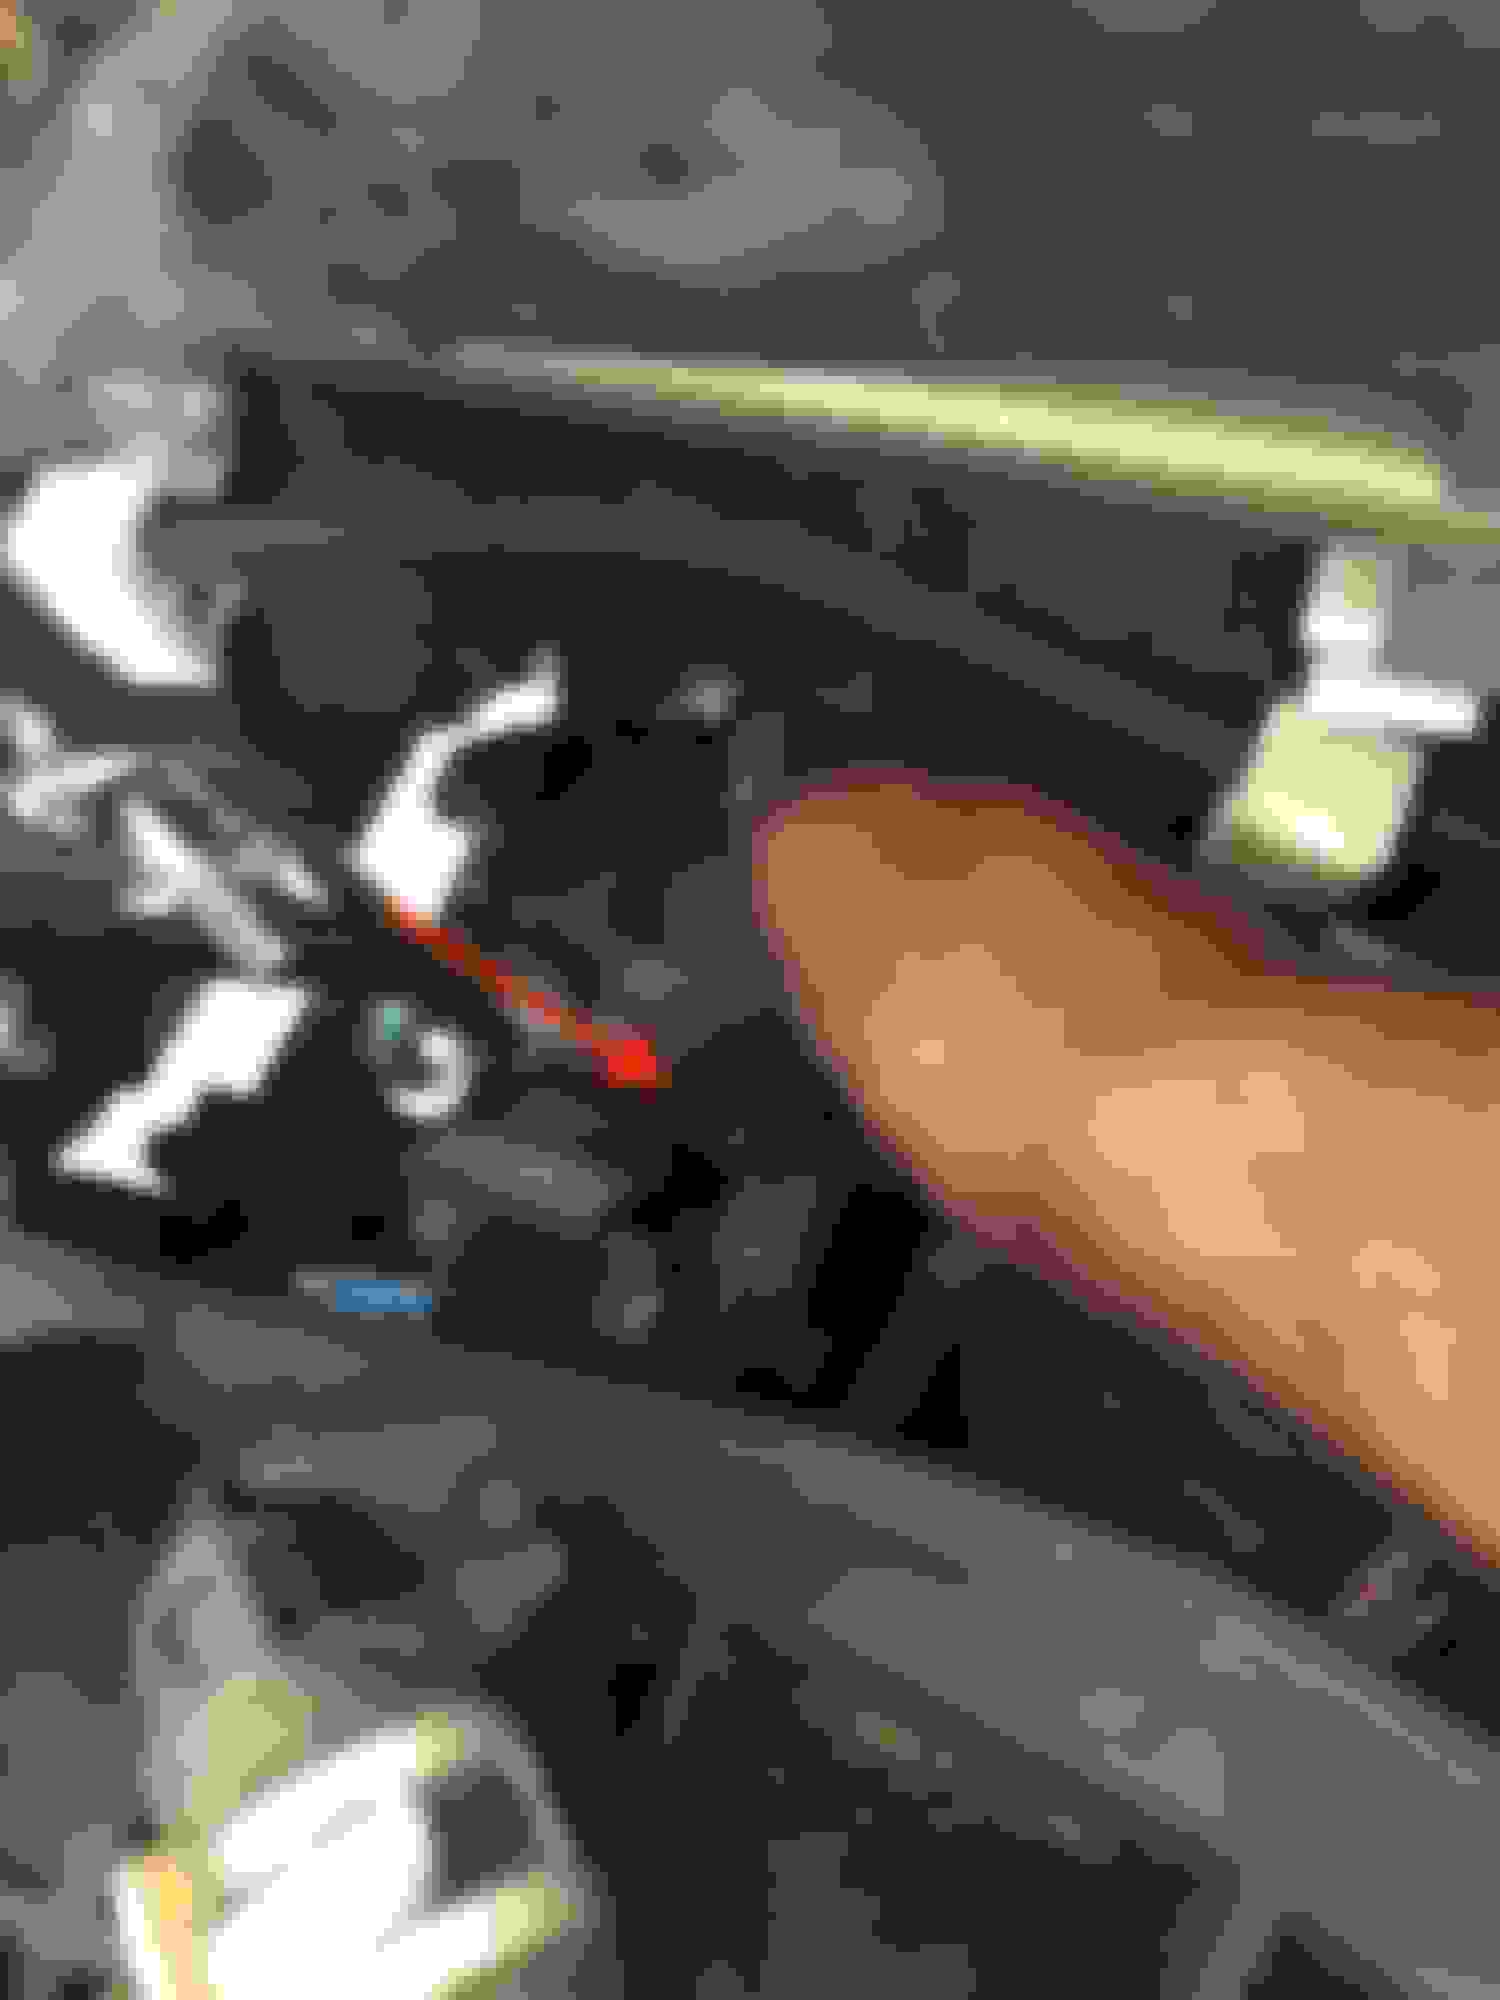
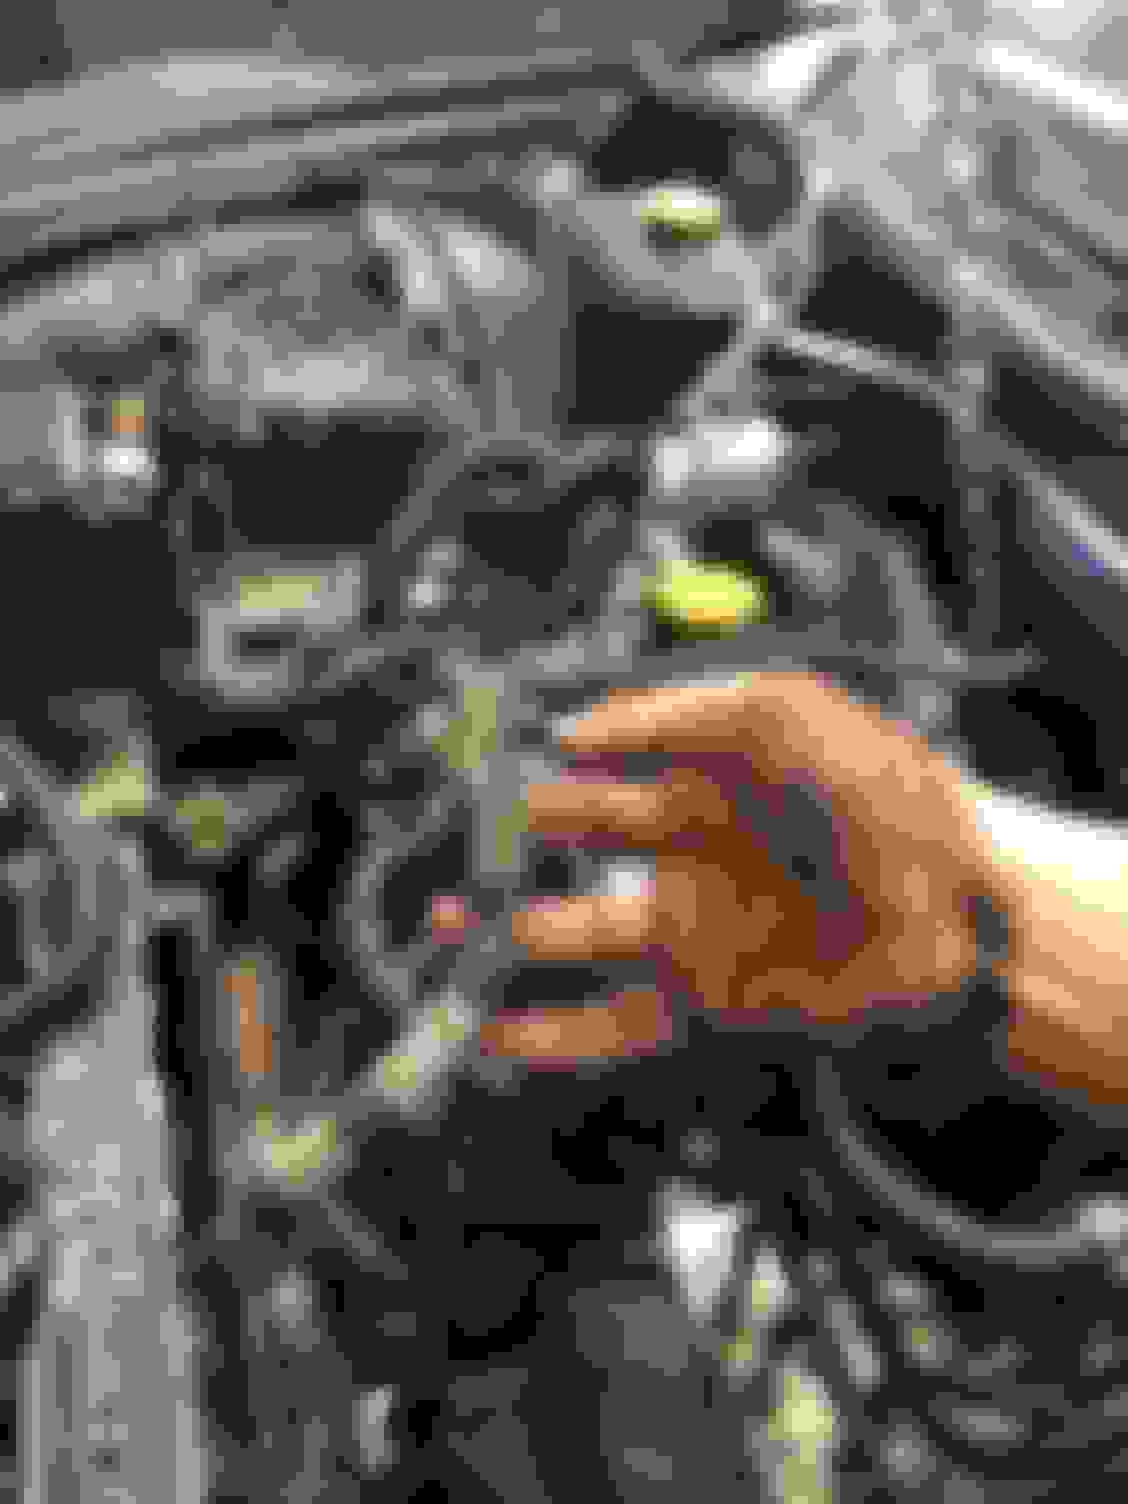
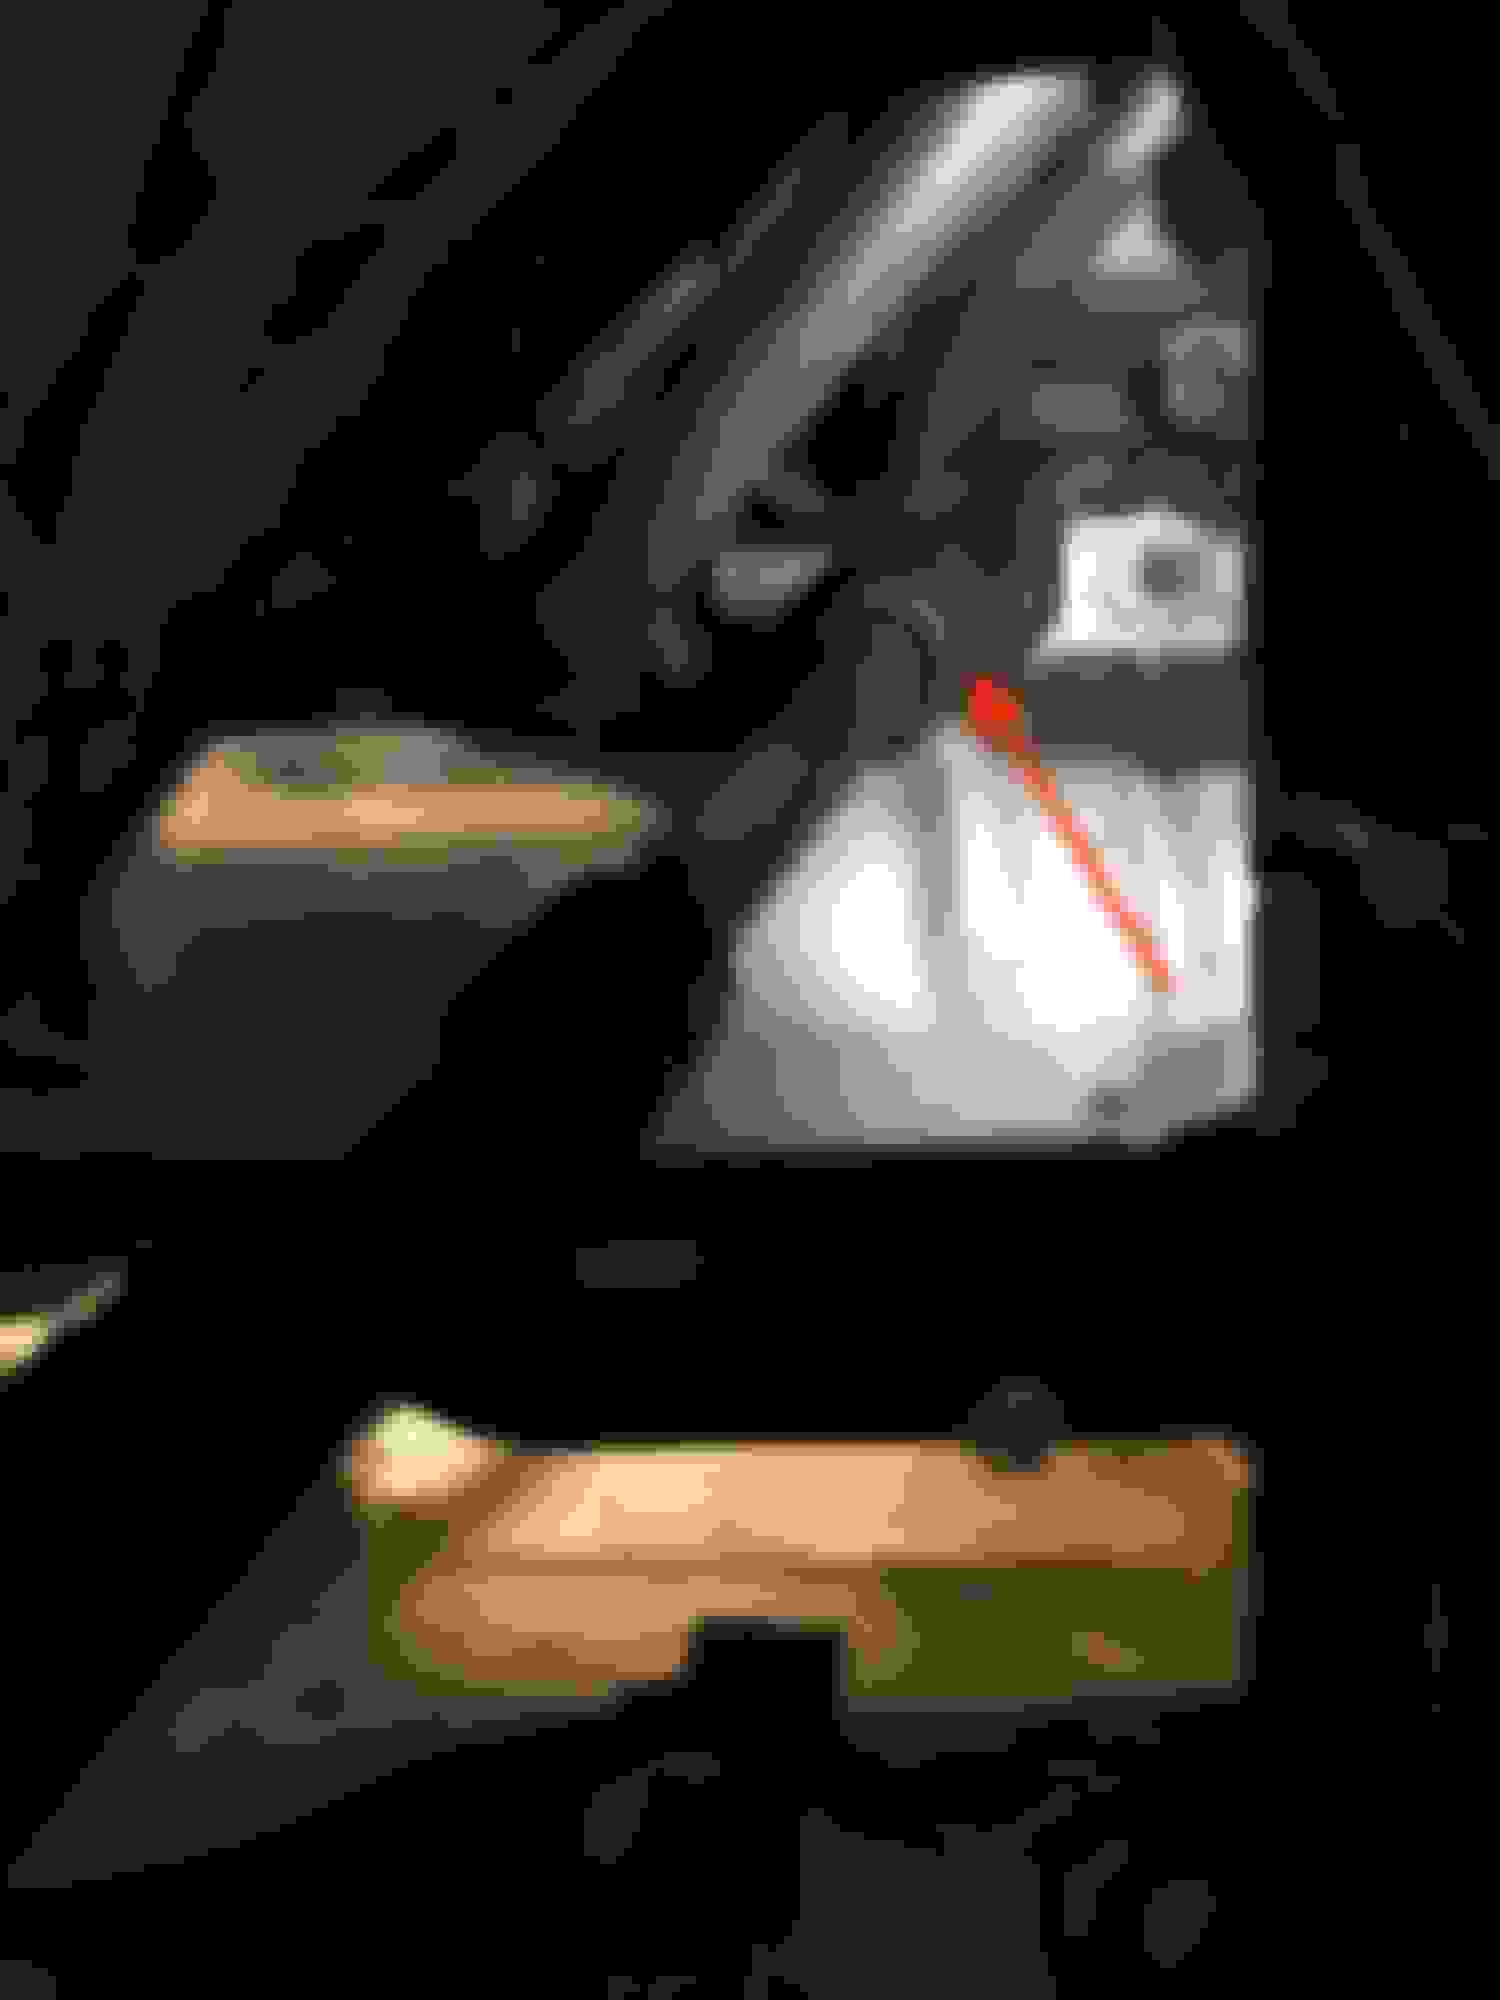
Disconnecting the bracket on the air pump valve to provide clearance to remove the exhaust manifold.
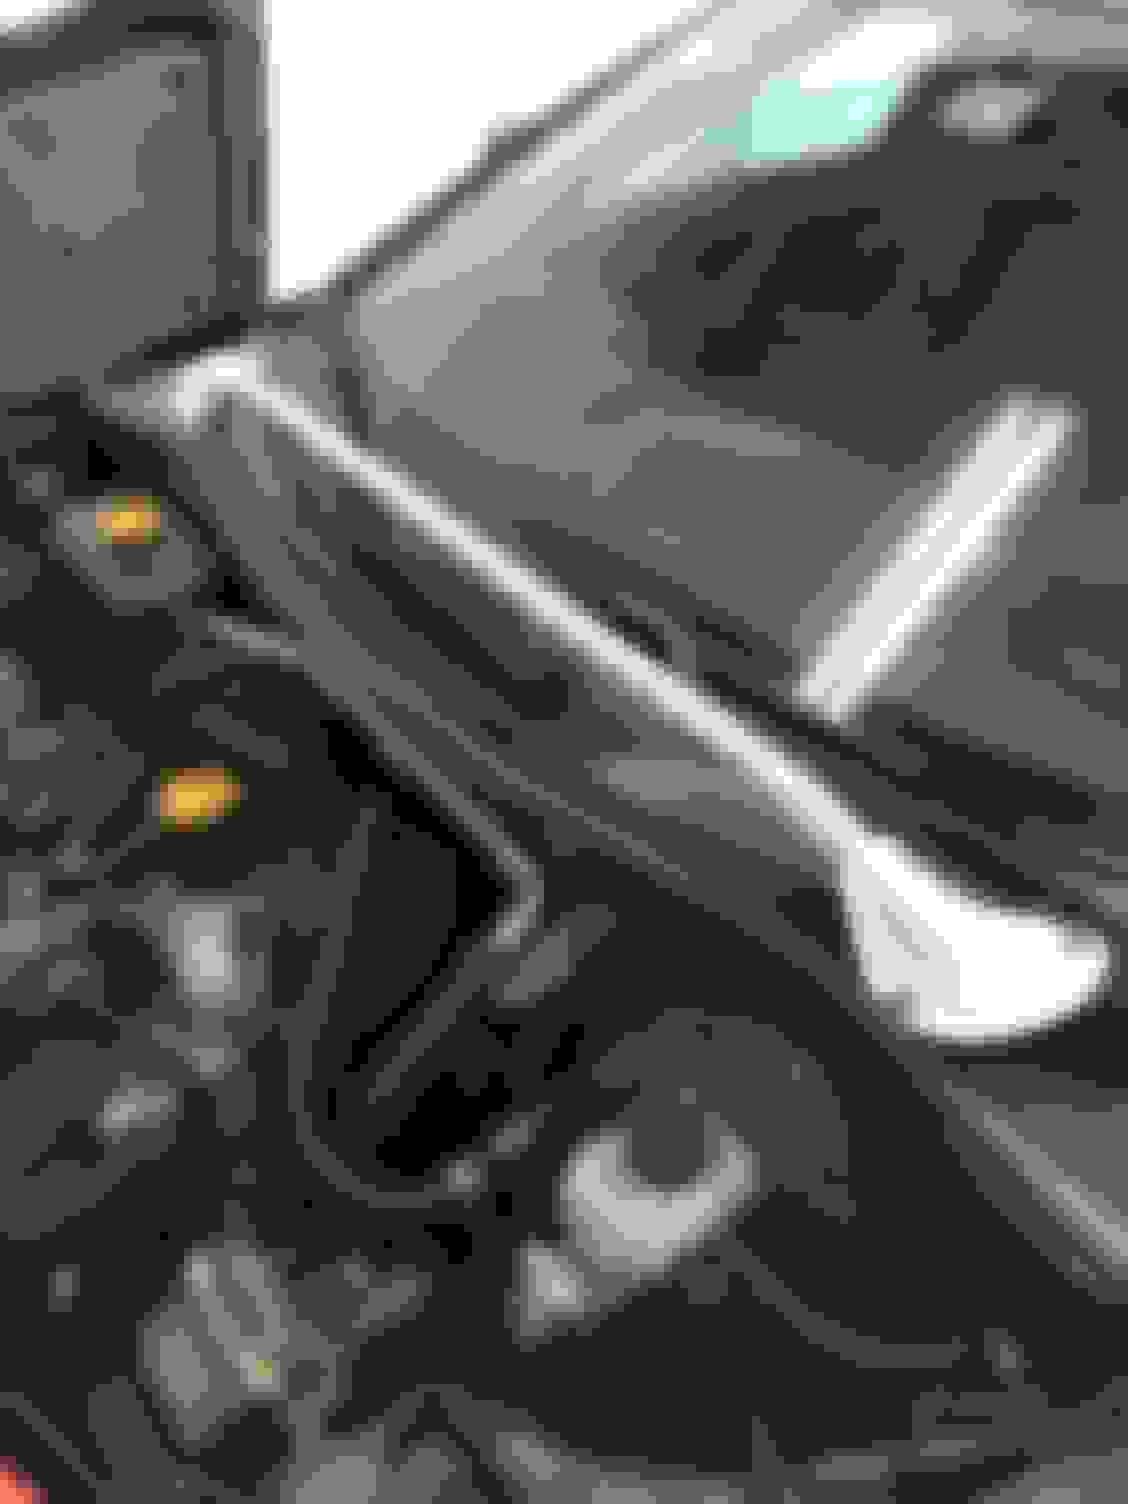
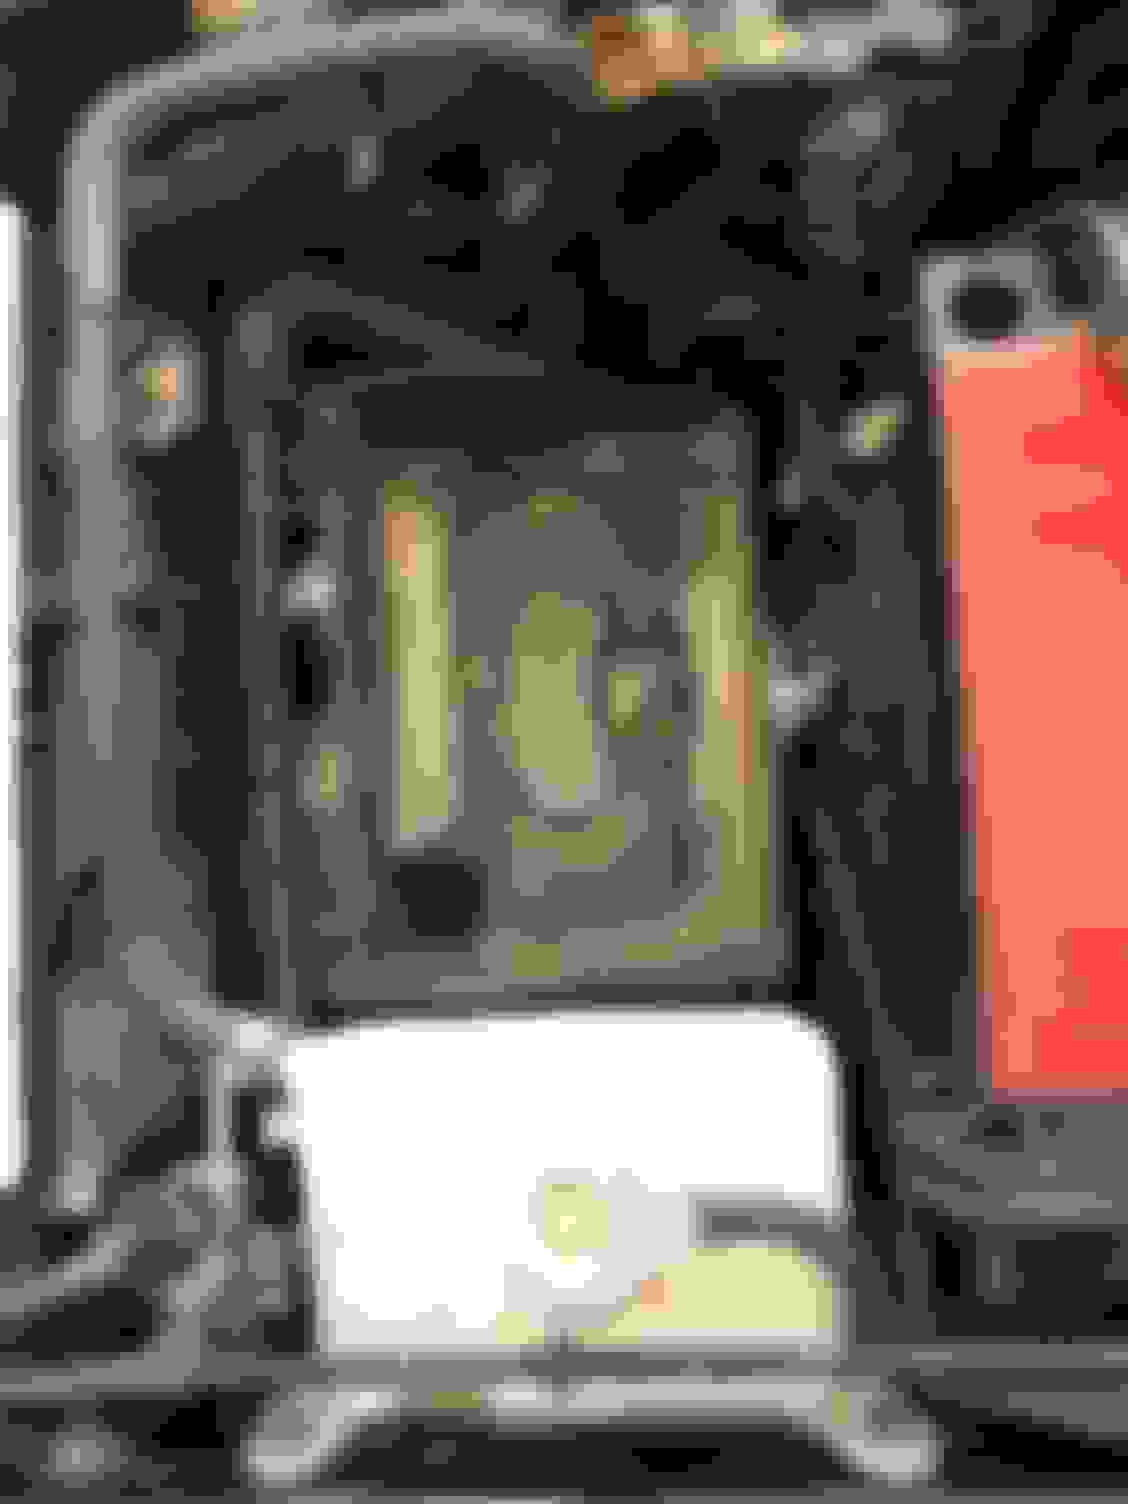
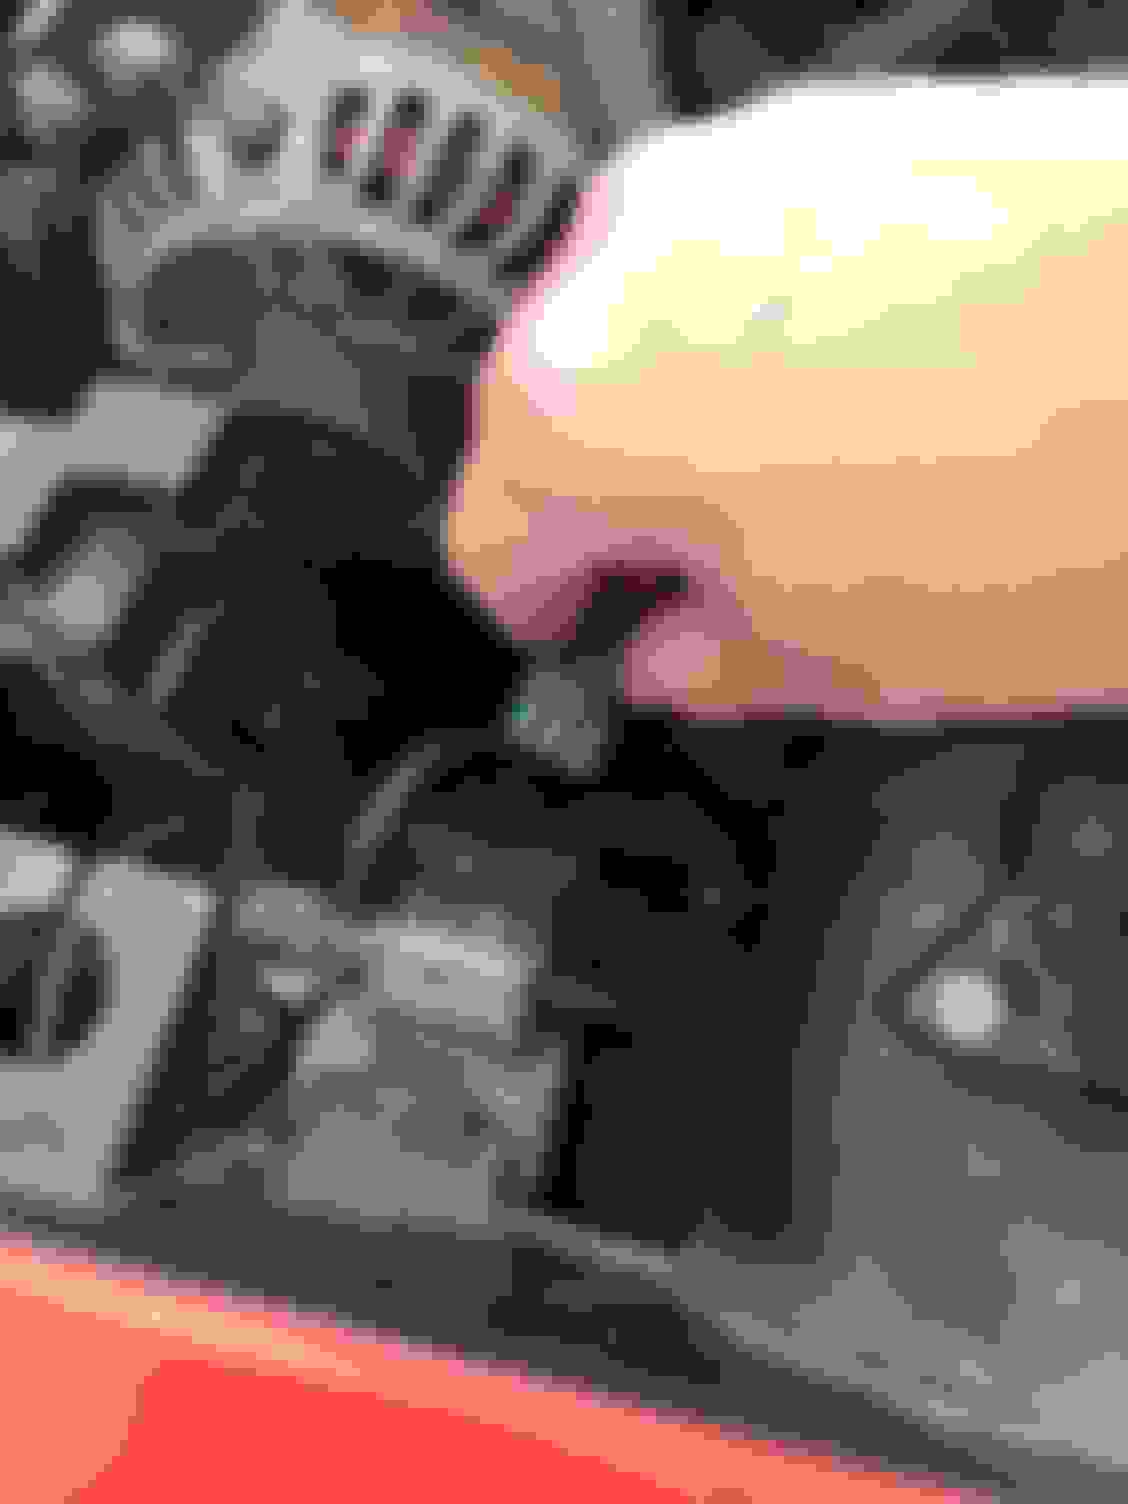
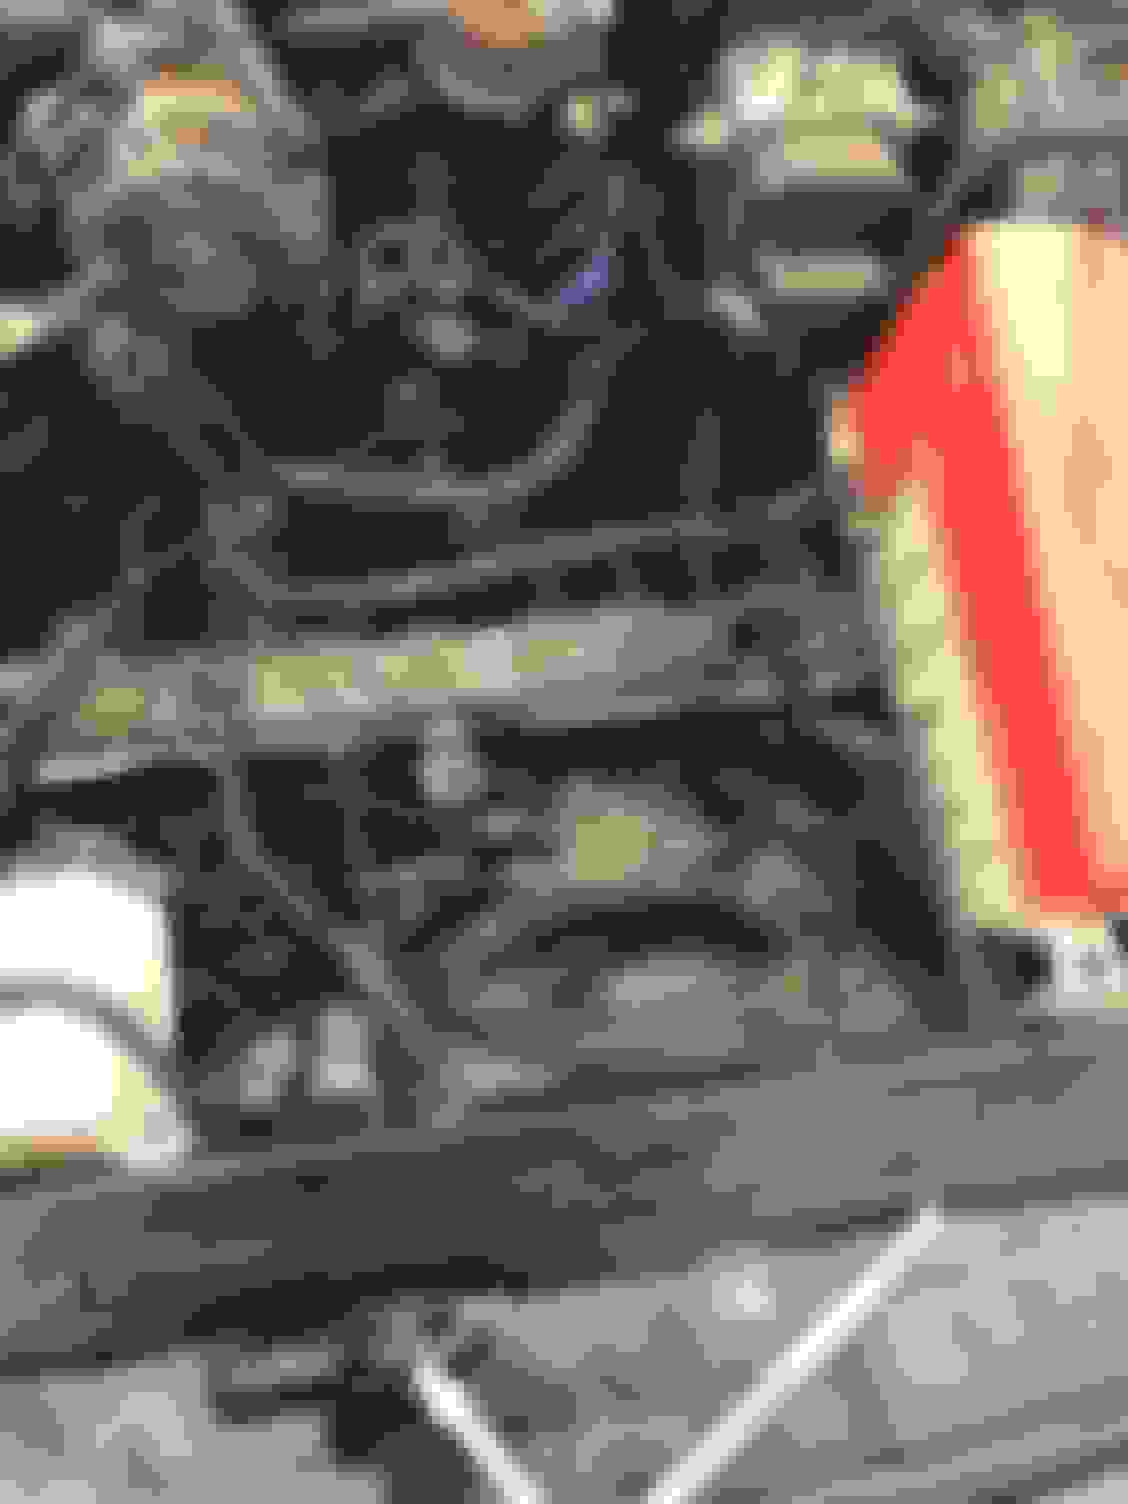
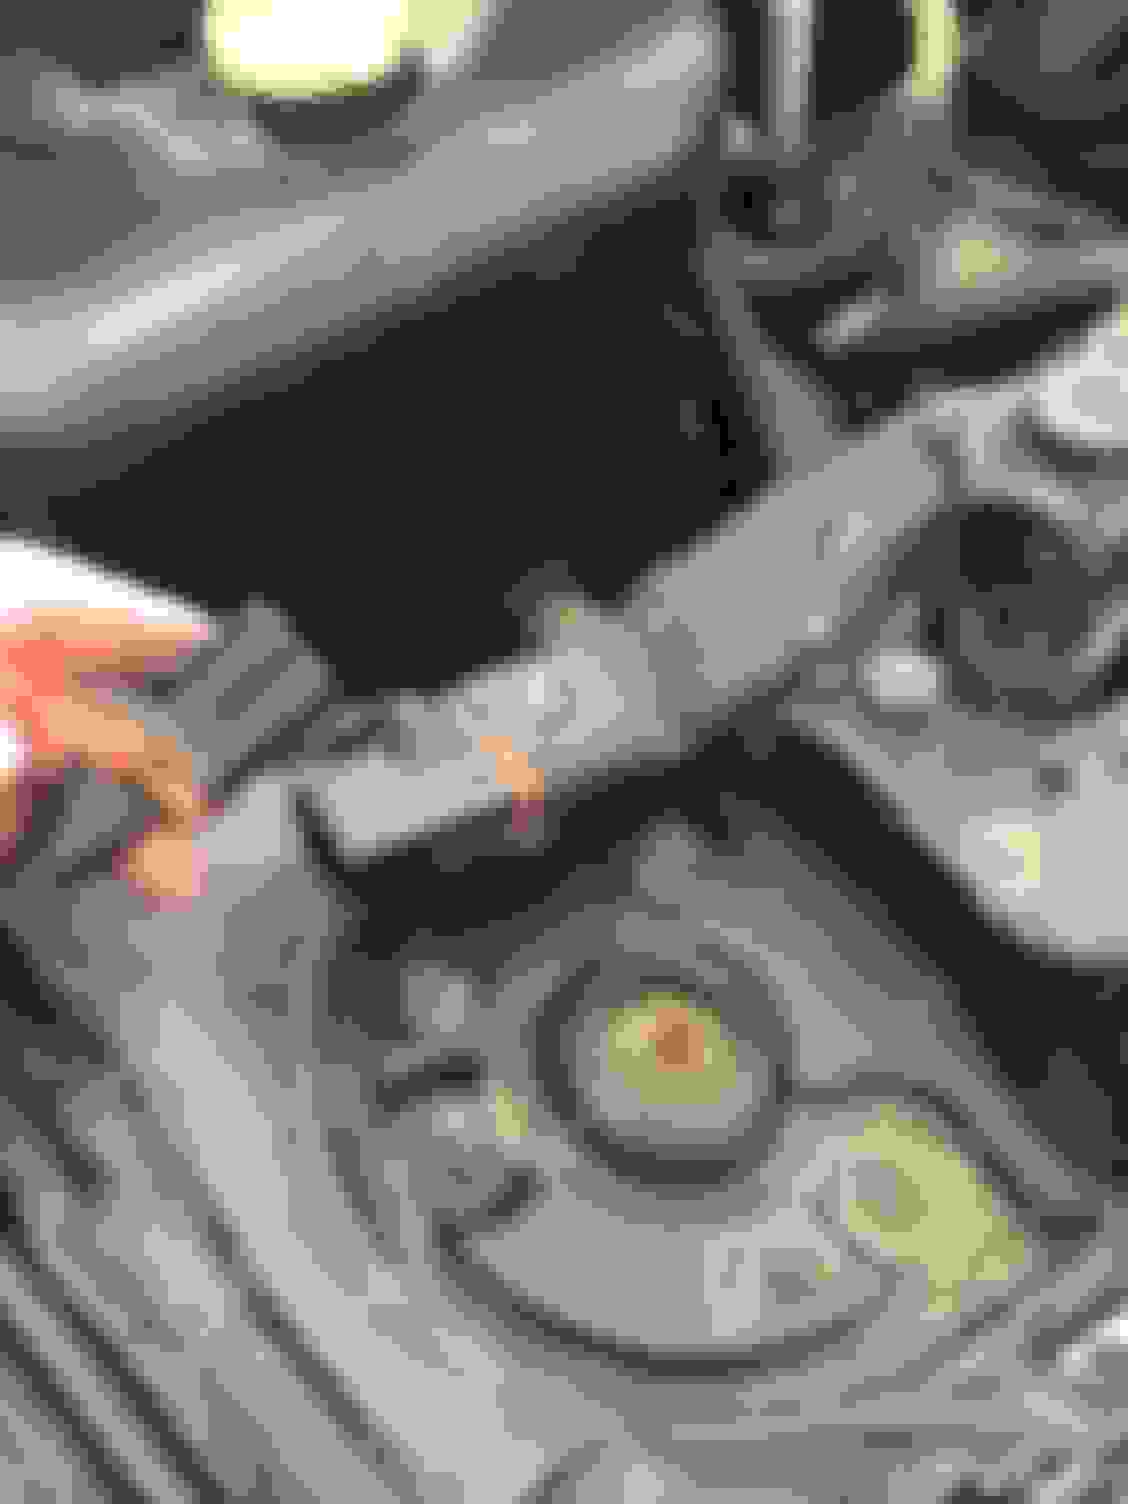
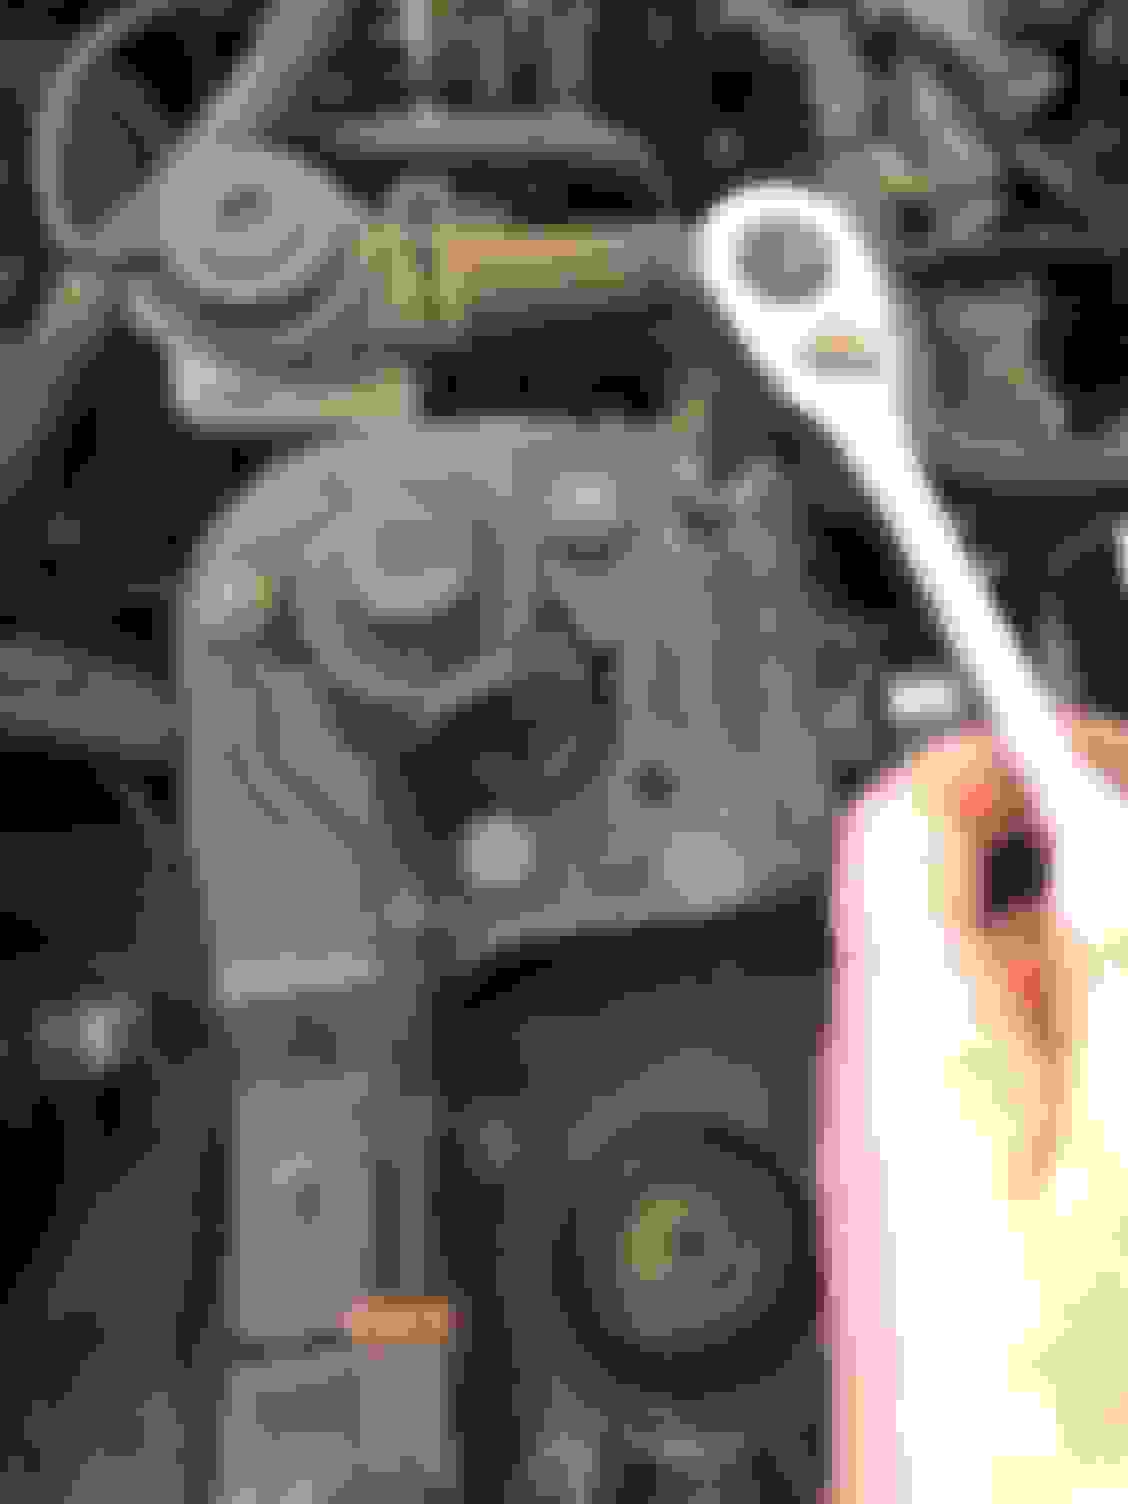
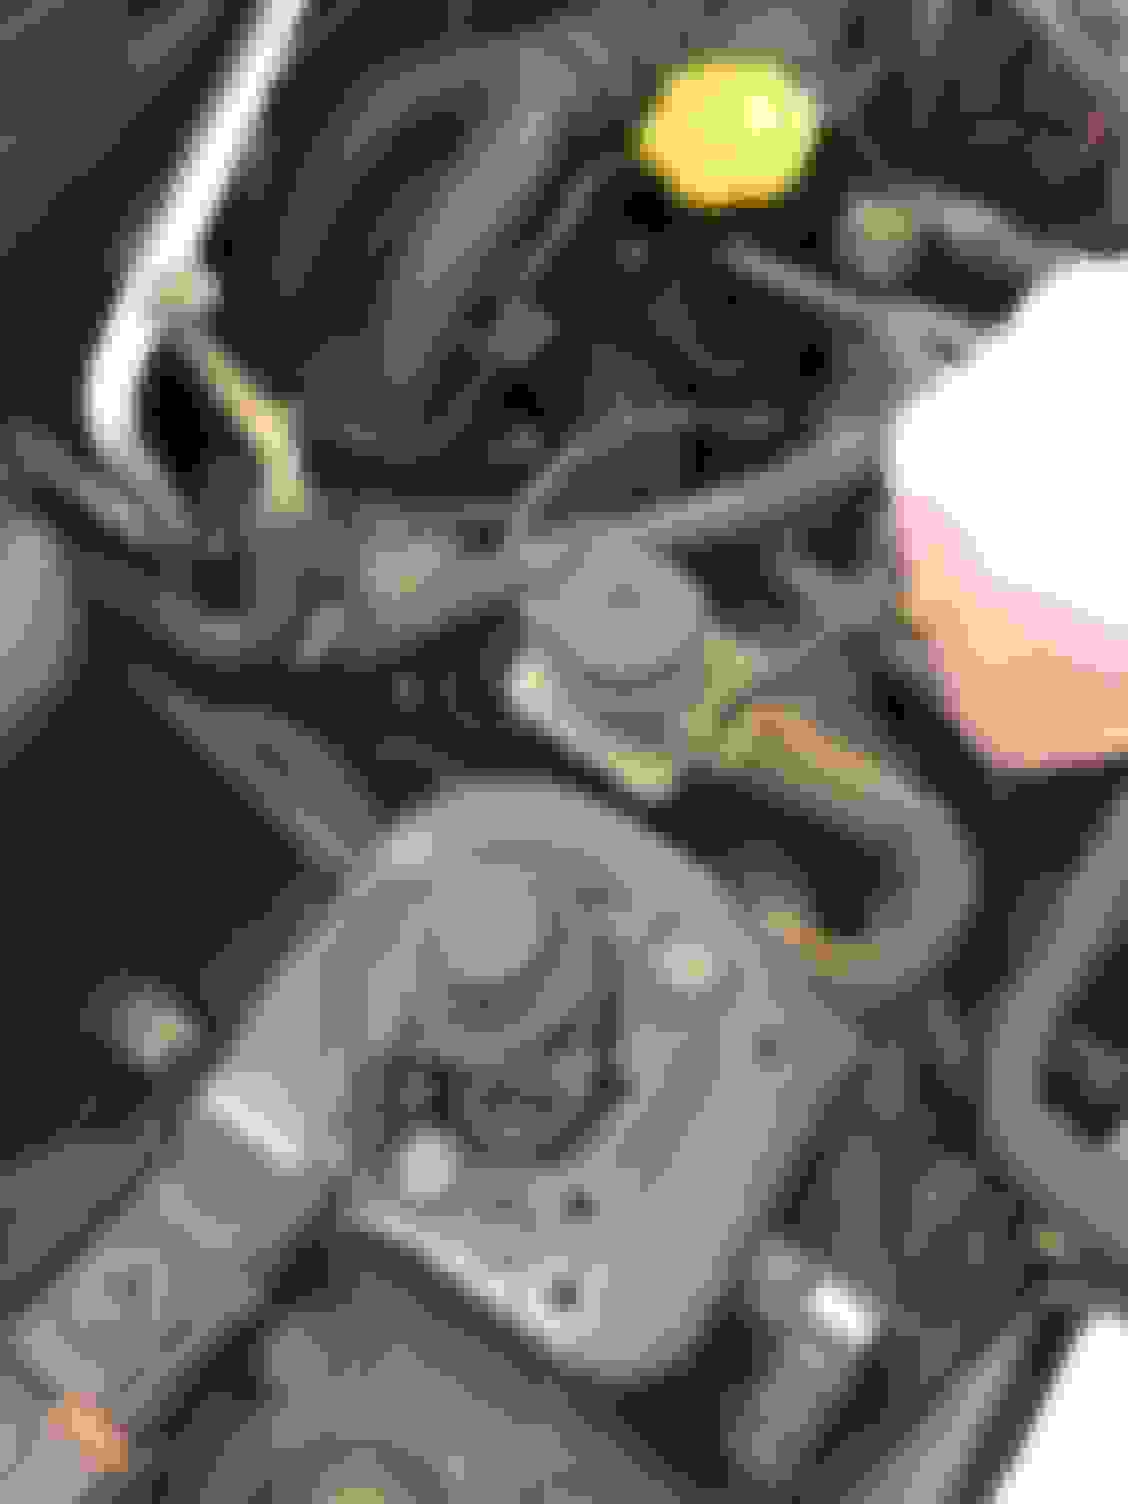
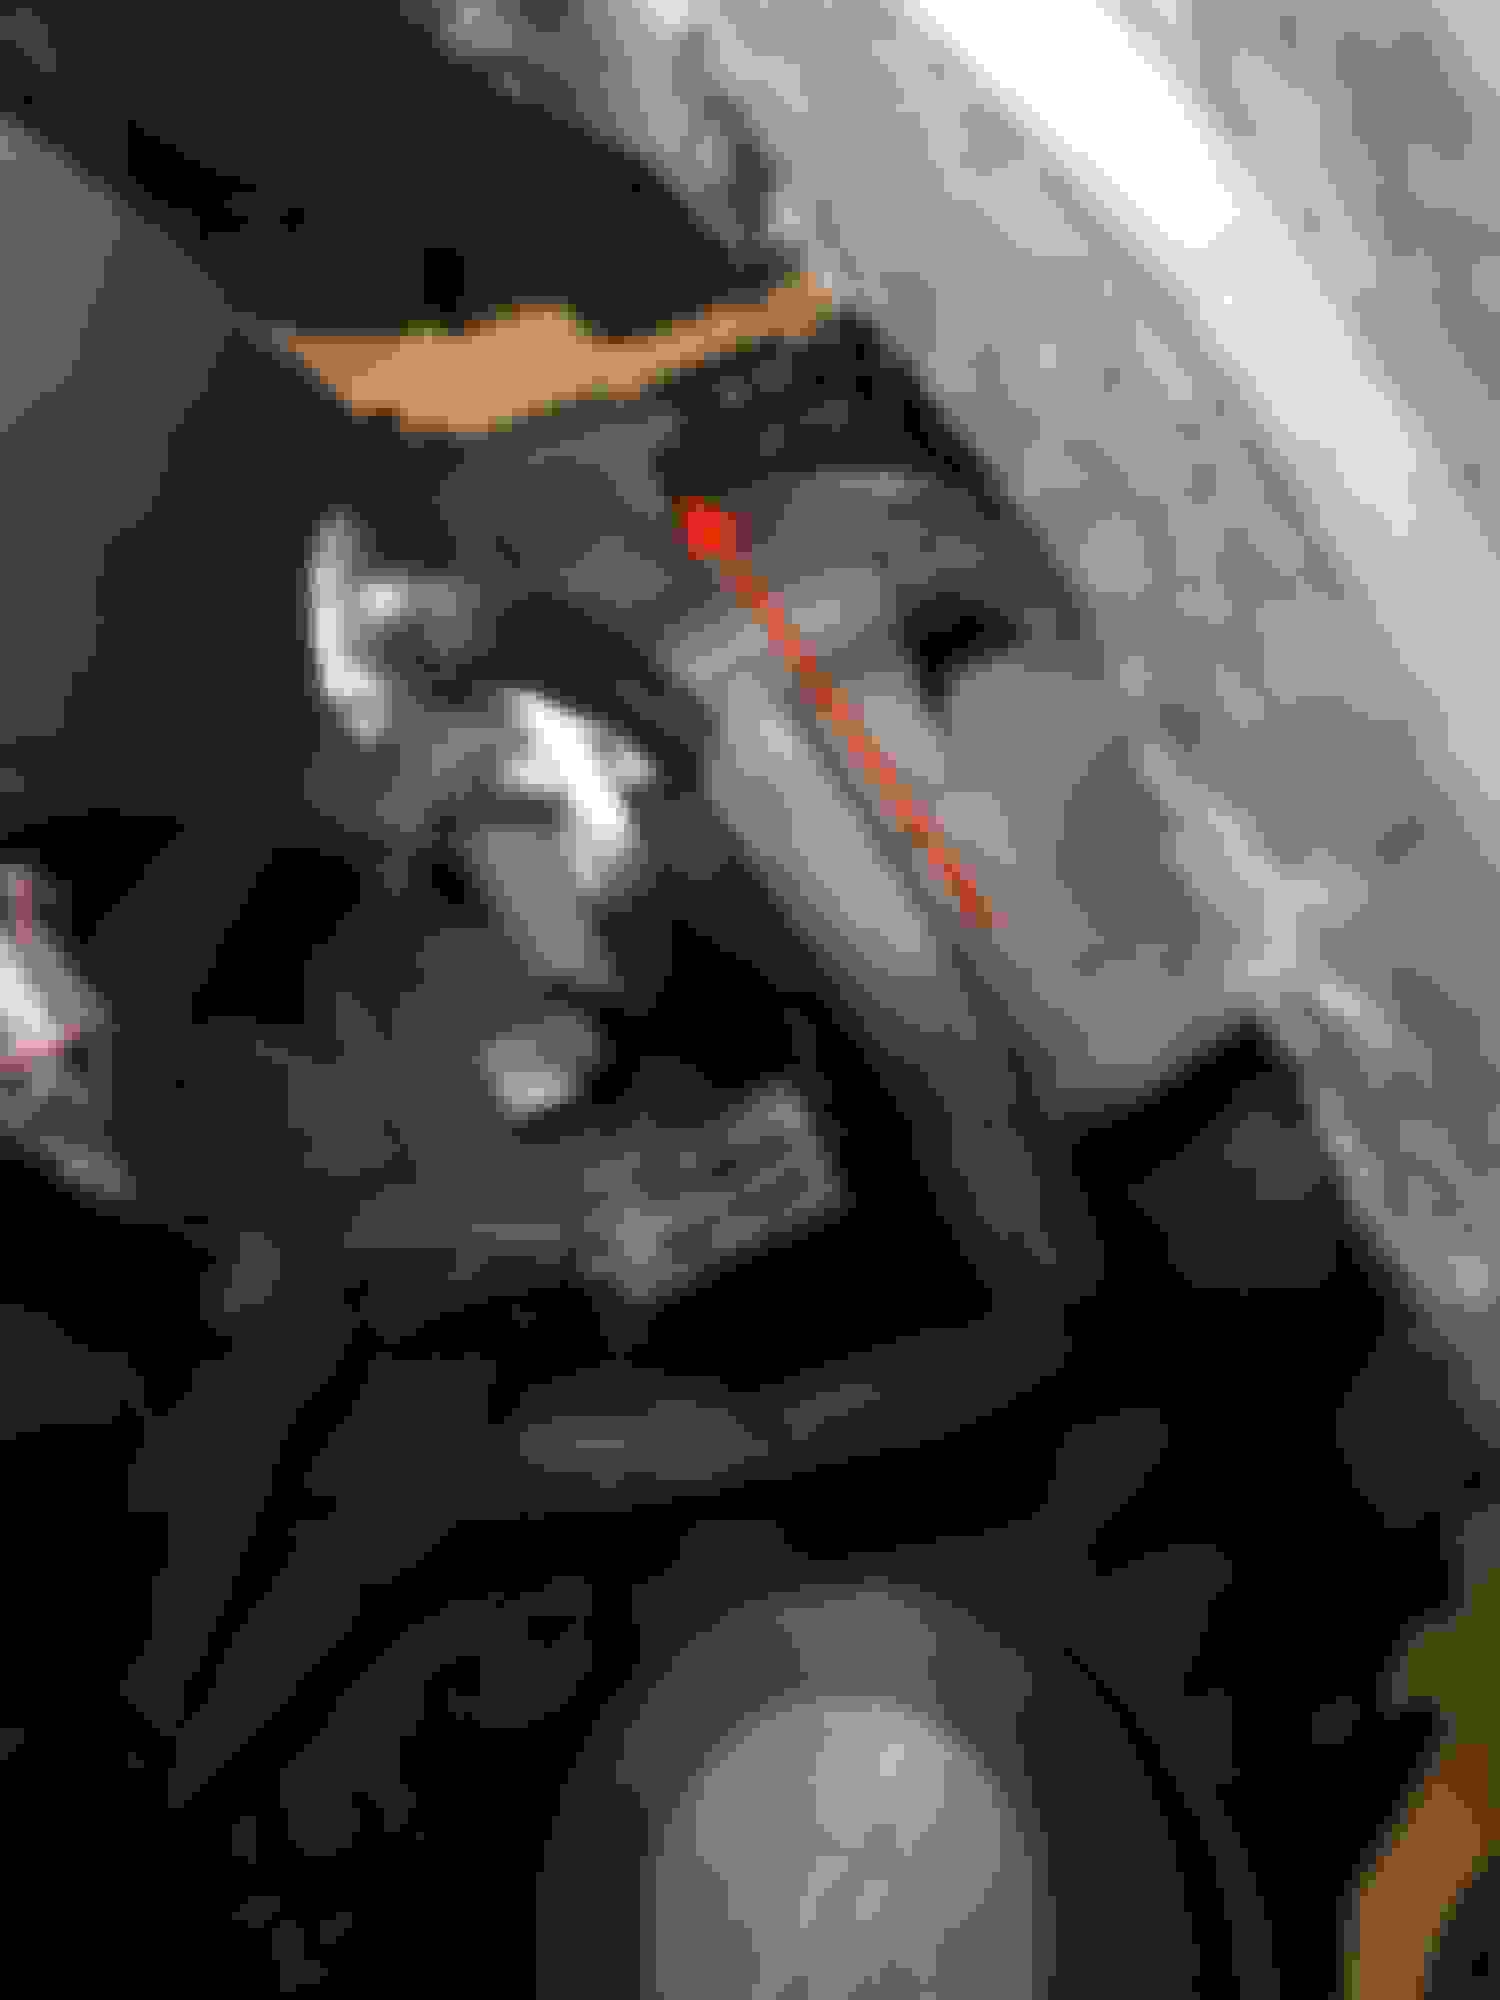
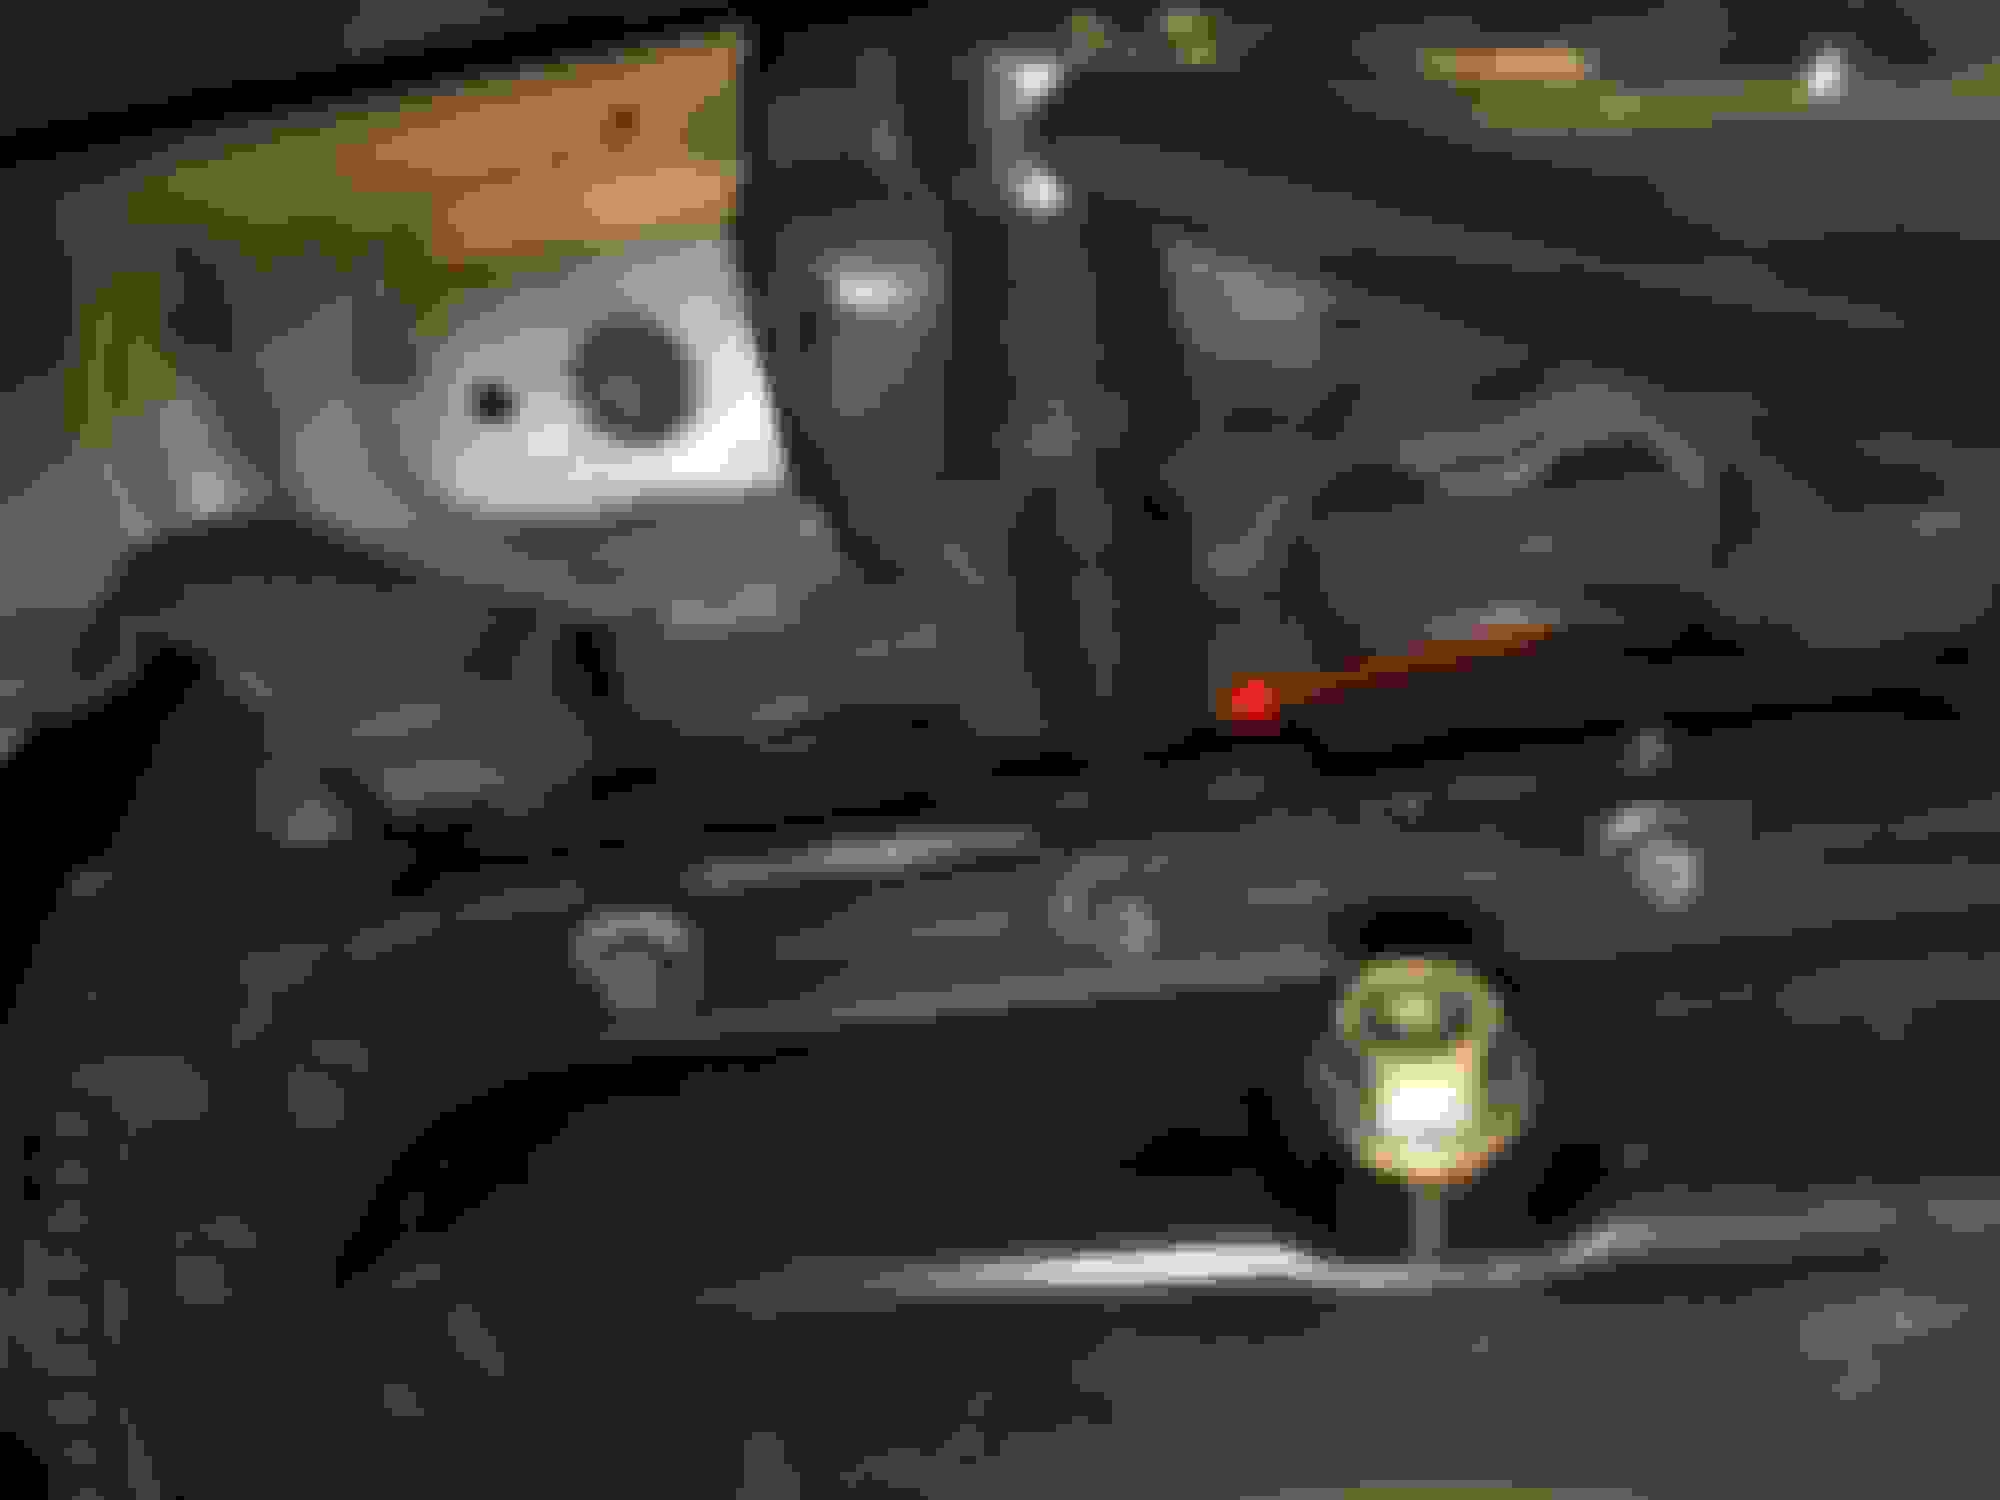
Temporarily removed this bracket to provide a little extra clearance for the OMP.
Whew!!!
Last edited by gummyAvenger; Nov 1, 2016 at 11:58 PM.