
Just Finished!! Painted Headlight Housing


Thread Starter
Registered
Joined: Jan 2007
Posts: 248
Likes: 0
From: Eureka, California
Just Finished!! Painted Headlight Housing
I have been doing all the reasearch in the world on this for the past few months so I wouldnt mess it up. And well since it is all the rage lately I decided I would finally start counting my chickens and go ahead with painting the inside of my light..
The steps are fairly simple, storm the castle, fight the gaurds, climb the stairs... nothing major actually.
First is do the process to take off the headlights, then clean them puppies up. disconnect and remove all the bulbs and burnables..
dont do what I did and snip the HID wire to try to remove the ballast, the ballast will be fine...
anywho, remove the screws that hold the light together, toss it in the oven- 220 f for about 8 minutes on the first go around. Then pull it out (caution kinda hot) use an everyday butterknife to try to break the seal of silicone all around the light.. then throw it back in the oven... Repeat for about 3 times. Then it pulls apart.
To put back together is just as simple as taking apart... make sure you didnt adjust the projector any and well everything pops right back together.
Same over trick, but try and put the screws back in on the second run of the bake, and for the third one just make sure everything is nice and tightly sealed.
Use some silicon if you dont think you have a good enough seal around the lights..
Thats basically it.
Heres some sweet pics I took-
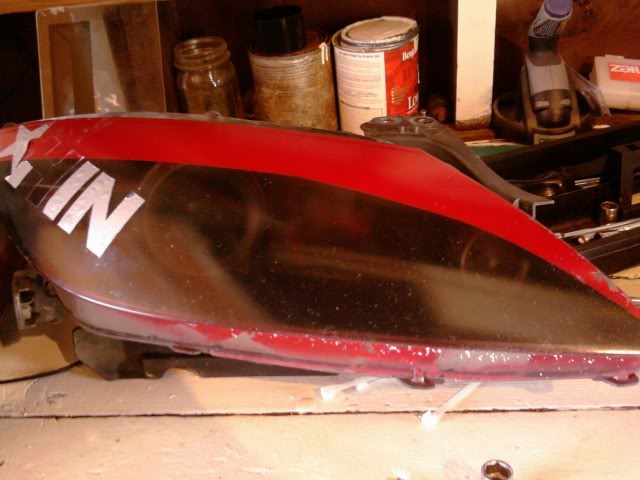
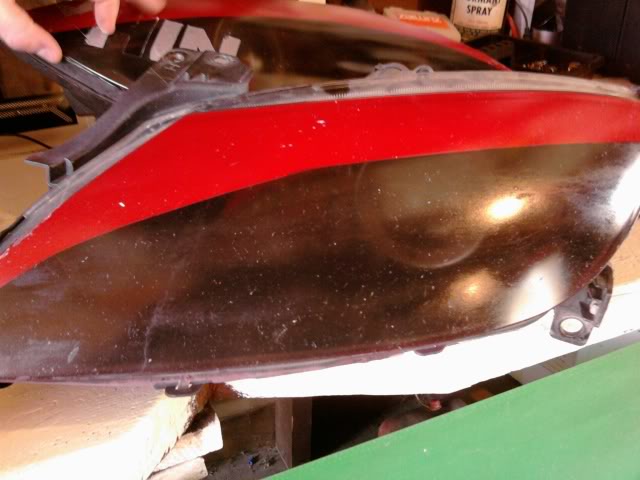
DONT USE GOO GONE AND RAZOR BLADES!!!

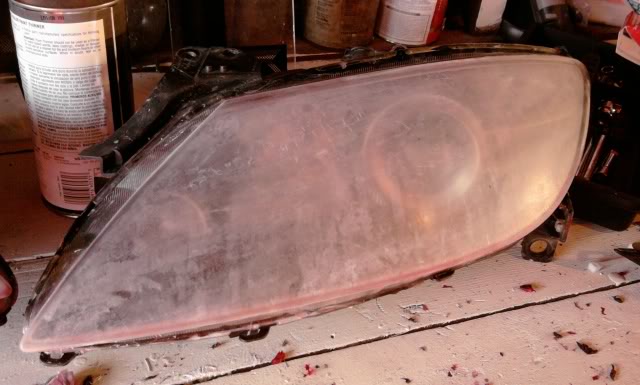

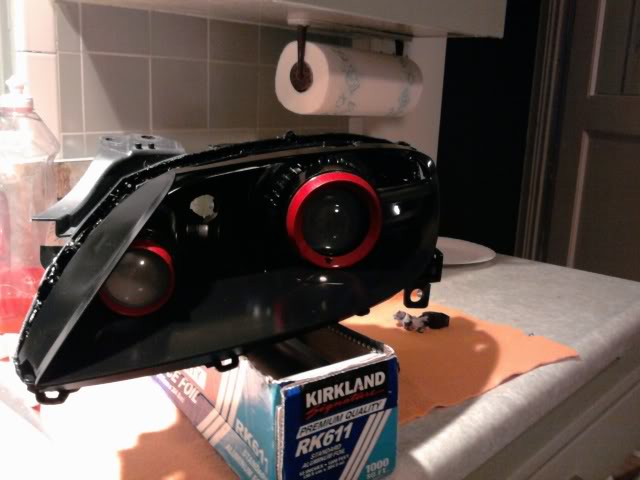
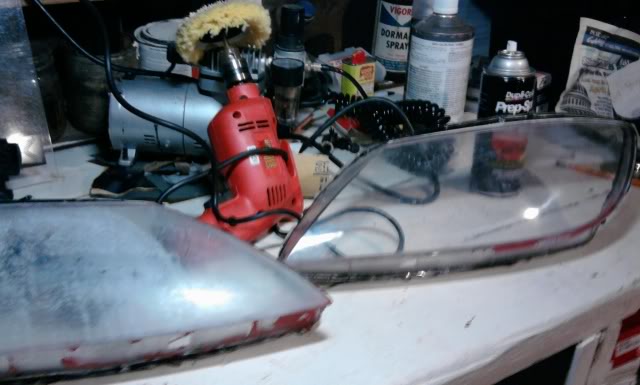
Using Some Headlight Restoring Kit.... Kinda Helped
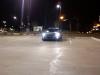
I will post up soem daytime pics soon
The steps are fairly simple, storm the castle, fight the gaurds, climb the stairs... nothing major actually.
First is do the process to take off the headlights, then clean them puppies up. disconnect and remove all the bulbs and burnables..
dont do what I did and snip the HID wire to try to remove the ballast, the ballast will be fine...
anywho, remove the screws that hold the light together, toss it in the oven- 220 f for about 8 minutes on the first go around. Then pull it out (caution kinda hot) use an everyday butterknife to try to break the seal of silicone all around the light.. then throw it back in the oven... Repeat for about 3 times. Then it pulls apart.
To put back together is just as simple as taking apart... make sure you didnt adjust the projector any and well everything pops right back together.
Same over trick, but try and put the screws back in on the second run of the bake, and for the third one just make sure everything is nice and tightly sealed.
Use some silicon if you dont think you have a good enough seal around the lights..
Thats basically it.
Heres some sweet pics I took-
DONT USE GOO GONE AND RAZOR BLADES!!!
Using Some Headlight Restoring Kit.... Kinda Helped
I will post up soem daytime pics soon
Last edited by Lil_Gato; Jul 25, 2009 at 06:29 PM.


you snipped the HID wire, damn.... You shouldve just followed my DIY when i did mine, or the one someone else did on the Black 09 RX8 a few weeks ago, probably wouldve helped out. Get some wet sandpaper and sand that lens down starting with 400,600,800,1000,1500,2000, then buff out with some plastic restorer or rubbing compound. Hopefully that works, the housing looks really good, the lens looks like sh#t.
Last edited by shakeyourbrakes; Jul 25, 2009 at 07:56 PM.


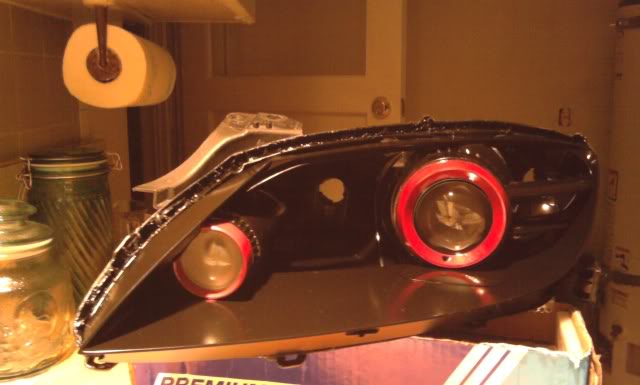
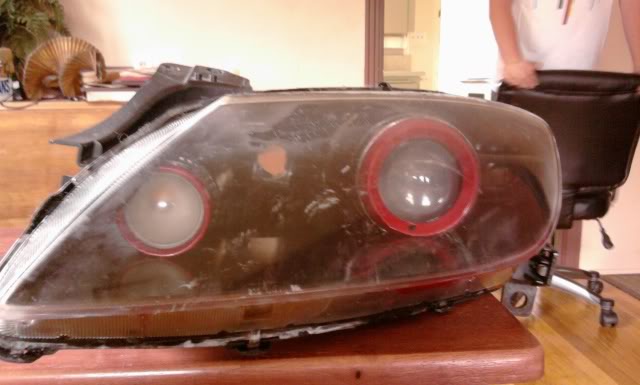
I eventually ended up painting the whole housing a dark gunmetal wrinkle, with slightly lighter accents..actually looked the best out of the colors and variations I tried because all you really see standing out is the HID lenses.
[IMG]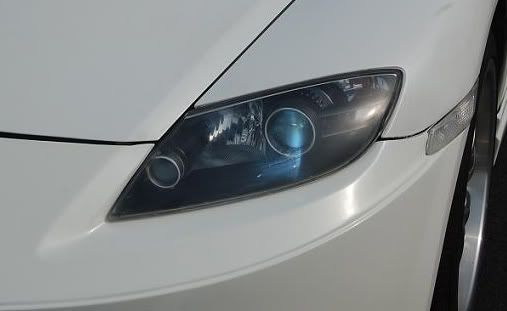 [/IMG]
[IMG]
[/IMG]
Last edited by shakeyourbrakes; Jul 27, 2009 at 11:36 PM.

Thread Starter
Registered
Joined: Jan 2007
Posts: 248
Likes: 0
From: Eureka, California
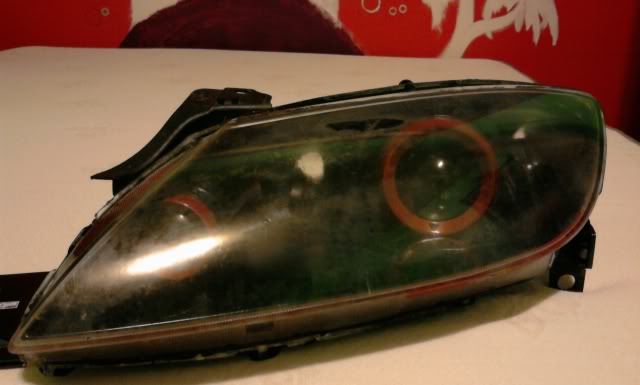
thanks for the compliments... and yeah my lens are hella shitty I have been sanding and buffing them for like a week... just no bueno. I think I need new lenses. Haha, if it wasnt for my horrible looking outsides I think my head lights would look alot better.
And I would have not snipped the HID wires, if I had really known the ballast would have been ok.. I didnt have any internet connection so my valueable information about the headlights was kinda hit and miss on the memory.
But yeah Thanks everybody and I got my idea for the lights from some porsches I seen... Firgued they looked pretty b-to the a!


HEADTURNER
Joined: Jan 2007
Posts: 1,100
Likes: 0
From: University of Missouri & STL
^^^dang call that man out. maybe he is havin a good time with a lady friend? he will get back to ya when the time is right. ha ha ha im lovin the car though gato. clean looking VR.

Thread Starter
Registered
Joined: Jan 2007
Posts: 248
Likes: 0
From: Eureka, California
basically I will probably need some new lenses on those bad boys... I still have a few tricks up my sleeves for these things.. but totally open for suggestions aside from the obvious sanding down, cause I have treated them like a saharan dessert storm for the past while.. Haha.
Anyway thanks for the input and compliments, and yeah no more high beams but who needs them with the HIDs???
OH extra question... are the tail lights able to be broken into or are they permasealed?? Cause I was thinking about doing the same scheme on the rear... but yeah if anyone knows, you know... spill the beans
Last edited by Lil_Gato; Jul 28, 2009 at 11:19 PM.
maybe you burned the lens so bad theres no clear plastic underneath to sand down to...who knows, it seems like eventually you should get them resurfaced though with sandpaper.
As far as the taillight, theyre perm. sealed. The only thing you can do it use a hot knife, and cut the entire backside of the taillight off going around the edges but not going too deep. I did it to mod up some led taillights but never finished. Its tough, but possible...Rotary Rasp's led taillights are a prime example.
As far as the taillight, theyre perm. sealed. The only thing you can do it use a hot knife, and cut the entire backside of the taillight off going around the edges but not going too deep. I did it to mod up some led taillights but never finished. Its tough, but possible...Rotary Rasp's led taillights are a prime example.

Registered
Joined: Feb 2007
Posts: 301
Likes: 0
Well,
Those scuffs look uncomfortably similar to the marks I have on my own lenses. A long time ago, I took my HIDs apart, mostly to buff out the "cloudy"ness from the inside. I used a Headlight Restorer kit, much like yours, (and yeah, I used a Buffalo drill too lol). It did wonders, but I got impatiently greedy.
The drill piece it came with was too big to fit in the little corners of the inside of the lenses, so I took a dremel...and a cotton bit...level 4...burnt some huge lines from the inside. The results of which look like your pictures. I could be wrong, but you may find yourself caught up in a cycle of buffing and rebuffing in the wrong areas/wrong sides(outter inner) of the marks.
Hope not. I ended up spraying over my lenses with a smoke colored spray paint, now the burnt lines I made only show up at night, doesn't look bad really, kinda cool maybe? Like my 8 is cryings somehow...lol, I'll try to take some pics.

Thread
Thread Starter
Forum
Replies
Last Post
Shankapotamus3
Series I Trouble Shooting
28
Mar 14, 2021 03:53 PM
jamespond24
RX-8 Parts For Sale/Wanted
11
Dec 1, 2015 11:11 PM
jasonrxeight
RX-8's For Sale/Wanted
2
Sep 30, 2015 01:53 PM
drlubell
RX-8's For Sale/Wanted
0
Sep 26, 2015 11:58 PM