
DIY: Footwell lights


Thread Starter
The Professor
Joined: Aug 2004
Posts: 3,479
Likes: 7
From: Omaha, NE
DIY: Footwell lights
Interested in something like this:
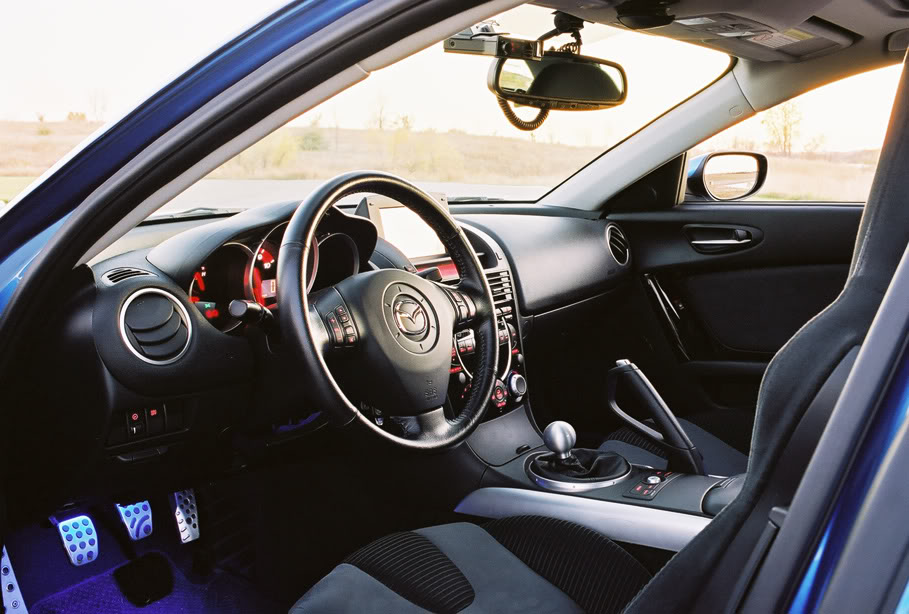
Without having to pay $80 that Mazda currently charges?
Here is the DIY:
First order your choice of LEDs at http://www.superbrightleds.com/
I like these a lot better than those at autoillumination, I find those always burn out after a month or two.
Ok now we want the light bar category.
http://www.superbrightleds.com/cgi-b...oduct=BARS#LB3
Choose:
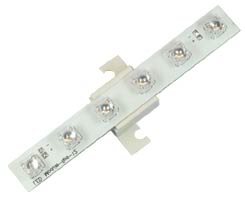
LB3 series LED Light Bar
Light Bar with 6 High Flux 60 Degree LEDs 10~14.5 VDC Operation
Bars are 4.32 inch long and include 5 inch long Interconnect Jumper and adhesive backed Plastic Mounting Track
Select LED Color
$ 3.95
Ok you have your choice of:
Cool white, warm white, blue, green, red, and amber.
So basically this mod will cost you under $10
Tools needed:
Wire cutters
Pliers
Wire Taps
Splices
Wire Crimps (optional)
4x 4in Length of 18, 20, 22 ga wire ( recommend 18 ga)
Step 1.
Locate the Correct wire tap location in this picture, the wire bundle we are seekind is the one that is going into the door, its hard to see but be sure to pick the correct location since there are wire duplicates in the car.
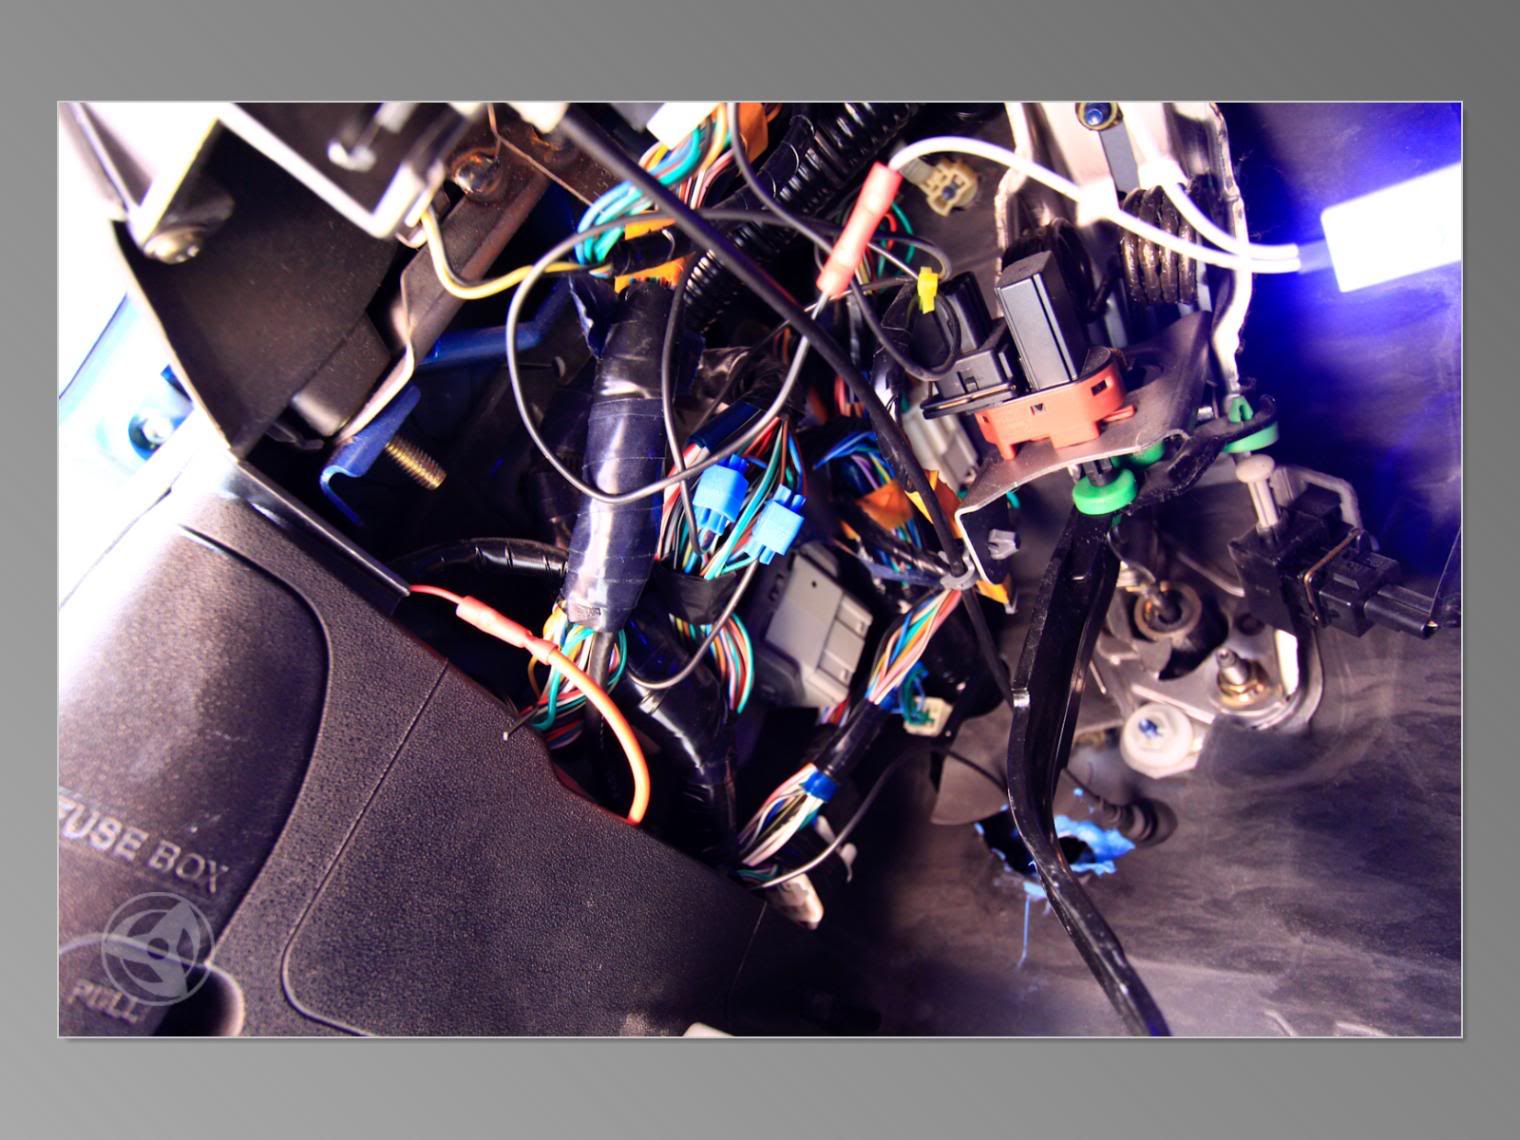
We are looking for a solid green wire with a black stripe, and a solid blue wire with a red stripe
Now use the wire taps and connect one of the 4 inch wire sections you already cut to these wires in the bundle, you may need to remove some electrical tape from the wire bundles to get them exposed like I have in the picture.
Now I found a good place to mount the LED bars were right on the clutch sensor under the dash, see picture:
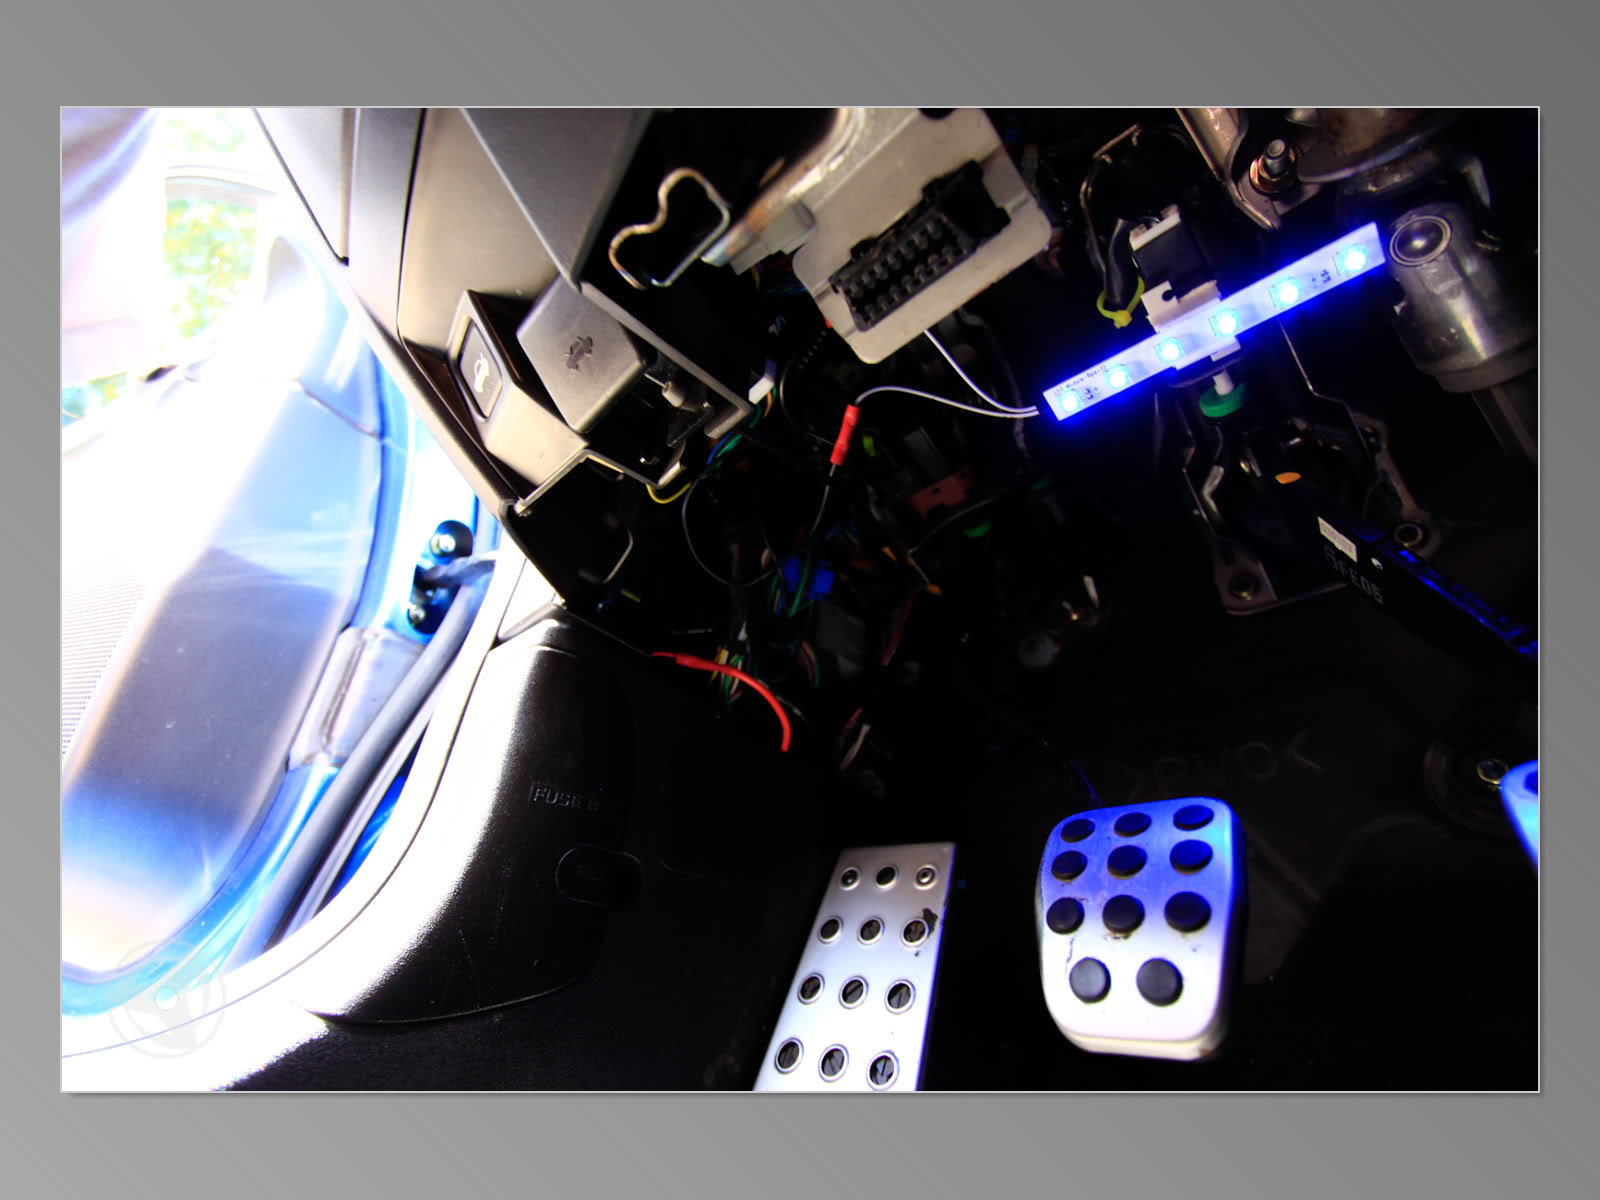
The light bars come with their own length of wire with a connector on it to connect it to the strip itself. I cut this in half to get to exposed wire then stripped off 3-4mm section on the white wire and on the 4inch length we already cut. I spliced them together.
LEDs can only be connected one way but the light bars come with a reversible connector attached to the bar (black connector in the pic) so you can just connect it the other way to change the polarity and light up!
Ok Done!
Now for the passenger's side
This bundle is a bit harder due to the fact that there is less space and less exposed wiring. It's been a while but you may need to cut electrical tape off the bundles to get the wires exposed.
Again we are looking for a solid green wire with a black stripe, and a solid blue wire with a red stripe
Now the solid blue wire with a red stripe is connected to the bottom of a white connector attached to the car.
the solid green wire with a black stripe is inside the wire bundle to the left of the white harness connection you just made.
Do the same thing you did on the other side with the lengths of wire, taps and the splices.
Again don't worry about if they don't light up, you can flip the light bar connector around (little black connector in pic) and it will change the polarity so they will light up.
K!
Done!
$10 footwell lights
Without having to pay $80 that Mazda currently charges?
Here is the DIY:
First order your choice of LEDs at http://www.superbrightleds.com/
I like these a lot better than those at autoillumination, I find those always burn out after a month or two.
Ok now we want the light bar category.
http://www.superbrightleds.com/cgi-b...oduct=BARS#LB3
Choose:
LB3 series LED Light Bar
Light Bar with 6 High Flux 60 Degree LEDs 10~14.5 VDC Operation
Bars are 4.32 inch long and include 5 inch long Interconnect Jumper and adhesive backed Plastic Mounting Track
Select LED Color
$ 3.95
Ok you have your choice of:
Cool white, warm white, blue, green, red, and amber.
So basically this mod will cost you under $10
Tools needed:
Wire cutters
Pliers
Wire Taps
Splices
Wire Crimps (optional)
4x 4in Length of 18, 20, 22 ga wire ( recommend 18 ga)
Step 1.
Locate the Correct wire tap location in this picture, the wire bundle we are seekind is the one that is going into the door, its hard to see but be sure to pick the correct location since there are wire duplicates in the car.
We are looking for a solid green wire with a black stripe, and a solid blue wire with a red stripe
Now use the wire taps and connect one of the 4 inch wire sections you already cut to these wires in the bundle, you may need to remove some electrical tape from the wire bundles to get them exposed like I have in the picture.
Now I found a good place to mount the LED bars were right on the clutch sensor under the dash, see picture:
The light bars come with their own length of wire with a connector on it to connect it to the strip itself. I cut this in half to get to exposed wire then stripped off 3-4mm section on the white wire and on the 4inch length we already cut. I spliced them together.
LEDs can only be connected one way but the light bars come with a reversible connector attached to the bar (black connector in the pic) so you can just connect it the other way to change the polarity and light up!
Ok Done!
Now for the passenger's side
This bundle is a bit harder due to the fact that there is less space and less exposed wiring. It's been a while but you may need to cut electrical tape off the bundles to get the wires exposed.
Again we are looking for a solid green wire with a black stripe, and a solid blue wire with a red stripe
Now the solid blue wire with a red stripe is connected to the bottom of a white connector attached to the car.
the solid green wire with a black stripe is inside the wire bundle to the left of the white harness connection you just made.
Do the same thing you did on the other side with the lengths of wire, taps and the splices.
Again don't worry about if they don't light up, you can flip the light bar connector around (little black connector in pic) and it will change the polarity so they will light up.
K!
Done!
$10 footwell lights
Last edited by staticlag; Jul 26, 2009 at 07:19 PM.

Btw. The ones you have in that picture were made by a forum member, rotary rasp.
He stopped making them earlier this year.
But ya, the reason the others are more expensive (one reason at least) is because they use bulb sockets, so that you can change the bulb for color or whatever reason.
Good write up
He stopped making them earlier this year.
But ya, the reason the others are more expensive (one reason at least) is because they use bulb sockets, so that you can change the bulb for color or whatever reason.
Good write up
Thread Starter
The Professor
Joined: Aug 2004
Posts: 3,479
Likes: 7
From: Omaha, NE
IDK, I made these myself a few years ago.
Posted 11-2-05 https://www.rx8club.com/rx-8-show-shine-26/zainoed-winning-blue-painted-calipers-etc-56k%3Dno-75831/
I don't recommend bulbs as they draw a lot of current, and their light color is inconsistent.
Posted 11-2-05 https://www.rx8club.com/rx-8-show-shine-26/zainoed-winning-blue-painted-calipers-etc-56k%3Dno-75831/
I don't recommend bulbs as they draw a lot of current, and their light color is inconsistent.
Last edited by staticlag; Jul 26, 2009 at 01:17 PM.

Thread Starter
The Professor
Joined: Aug 2004
Posts: 3,479
Likes: 7
From: Omaha, NE
Check the first pic
http://img.photobucket.com/albums/v5...iclag/new6.jpg
They will last longer than the car, they are LEDs
http://img.photobucket.com/albums/v5...iclag/new6.jpg
They will last longer than the car, they are LEDs
so just tap into a 12v source?
could i tap into the cigarette lighter wires and put a switch in without having to do anything else?
so i could have them on without having to have my running lights or low beams on
could i tap into the cigarette lighter wires and put a switch in without having to do anything else?
so i could have them on without having to have my running lights or low beams on
Thread Starter
The Professor
Joined: Aug 2004
Posts: 3,479
Likes: 7
From: Omaha, NE
If your going to do that its easier to just tap into the acc fuse at the fusebox since your in that area already.
The DIY i just made will come on with the other lights in your car. So if you have the door open or if you turn on the interior lights.
They will also fade out when the lights go off.
Very stock.
you don't need to tap into the fuse. There are a bunch of wires behind the fuse box, one of which is acc.... I did it. I don't remember what the wire colors were...
alexb
i was just wondering where to tap
and id put a switch in so i could have them on whenever
is there a diy on which wires for that??
i searched and of course this one that taps into courtesy lights and some that come on with parking lights
oh well ill figure it out no big deal
im also trying to think how i would include putting a strip under the back of the fron seats to light the floor in the back also
i dont know if that would be too much trouble or would it be too ricey?
Last edited by AJRx892; Jul 26, 2009 at 01:33 PM.
Thread Starter
The Professor
Joined: Aug 2004
Posts: 3,479
Likes: 7
From: Omaha, NE
alexb
i was just wondering where to tap
and id put a switch in so i could have them on whenever
is there a diy on which wires for that??
i searched and of course this one that taps into courtesy lights and some that come on with parking lights
oh well ill figure it out no big deal
im also trying to think how i would include putting a strip under the back of the fron seats to light the floor in the back also
i dont know if that would be too much trouble or would it be too ricey?
i was just wondering where to tap
and id put a switch in so i could have them on whenever
is there a diy on which wires for that??
i searched and of course this one that taps into courtesy lights and some that come on with parking lights
oh well ill figure it out no big deal
im also trying to think how i would include putting a strip under the back of the fron seats to light the floor in the back also
i dont know if that would be too much trouble or would it be too ricey?
Look at the acc fuse position in the fusebox, then just look at the back of the fusebox and it will be clear which one to tap into.
Yeah you can run light to under the seats, just run the wires under the carpet.


Registered User
Joined: Sep 2009
Posts: 6
Likes: 0
From: West Lafayette, IN
So I thought I would be really crafty and tap into the fuse box, this way I don't have to splice into anything. However when I turned on the lights I blew my ignition fuse, can someone explain why this happened, I was rather perplexed. I don't remember exactly which fuse it was, but it was a 15A fuse.

So I thought I would be really crafty and tap into the fuse box, this way I don't have to splice into anything. However when I turned on the lights I blew my ignition fuse, can someone explain why this happened, I was rather perplexed. I don't remember exactly which fuse it was, but it was a 15A fuse.


Registered
Joined: Jul 2004
Posts: 59
Likes: 0
Thanks for the DIY.
I'm using a light strip thats rated at 14V, and it worked fine for a few days. However, after checking today, looks like the LEDs and the strip are burned out (black and brown and no longer lights up). Any ideas on this? Looks like the LEDs might be drawing too much current?
I'm using a light strip thats rated at 14V, and it worked fine for a few days. However, after checking today, looks like the LEDs and the strip are burned out (black and brown and no longer lights up). Any ideas on this? Looks like the LEDs might be drawing too much current?

Zoom Zoom... Real Talk
Joined: Dec 2009
Posts: 54
Likes: 0
From: Seattle, WA
If you go here the company in the OP sells a 3 led version with 36" of wire. Personally I wired mine to the courtesy (door) lights. Creates a nice fade in and fade out. Like it was said above its not a good idea or much less needed to have it on while driving. The 3 led version I linked has more color choices as well. White, Blue, Green, Red, Amber, Orange, and UV.

Geek
Joined: Feb 2010
Posts: 17
Likes: 0
From: Greenville, SC
Thank you for the DIY. I used your guide to wire in my footwell lights.
I did make one change though. I use two LED bars on each side. I put the ones on top like you posted and then put LED bars on the back walls and angled them toward the seats so I'd get more light coverage.
I think it turned out really well. It looks good with the blue interior and puddle lights I installed.

Tejas
Joined: May 2006
Posts: 520
Likes: 0
From: Tejas
Can someone please help!!!!!!!!!! We tried this DIY on a friend's car, and it seems were tapping wrong wire. We found both the wires specified but they do not go off with the interior lights, then we found out they would blink with the turn signals so obviously were on wrong wire. Is there any other tips you can help me with? Also does it make a difference on an rx-8 with the keyless entry?

Yeah if you find the wires that are at from the wrong bundle they will blink with the turn signals...double check that you are tapping into the wires from the correct bundle
Geek
Joined: Feb 2010
Posts: 17
Likes: 0
From: Greenville, SC
Speaking of blinking lights and turn signals I've been toying with the idea of Adding some blinkers to my side mirrors. Seems as though this might be easier than I thought.
So if I'm understanding you right, The Reverend. The solid green wire with a black stripe, and a solid blue wire with a red stripe in the other bundle are the blinkers?
So if I'm understanding you right, The Reverend. The solid green wire with a black stripe, and a solid blue wire with a red stripe in the other bundle are the blinkers?