
DIY: Custom made dash screen / surround


Thread Starter
Registered User
Joined: May 2010
Posts: 10
Likes: 0
DIY: Custom made dash screen / surround
Hi everyone, this below is copied over from my old thread on the UK owners club forum. Bits are cut out so sorry if it does not really flow. Just thought I would open it up to a wider audience and that it may help / inspire someone.
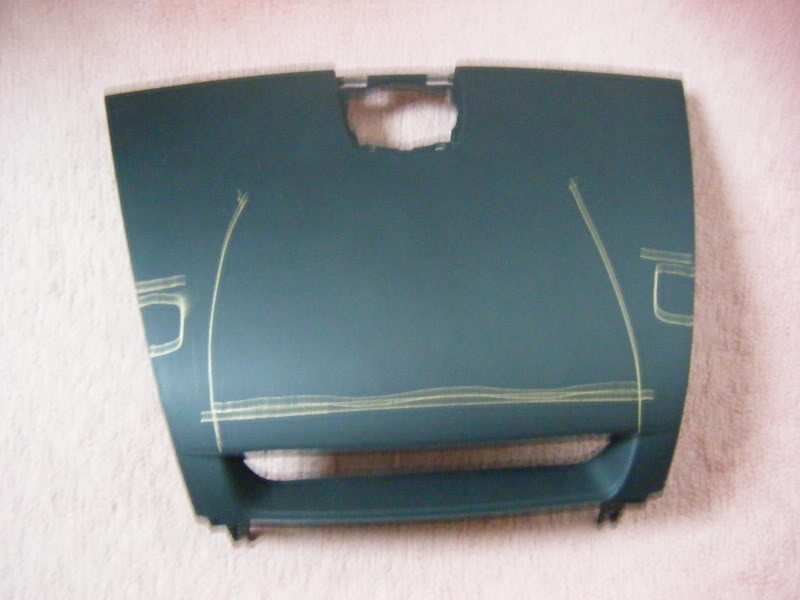
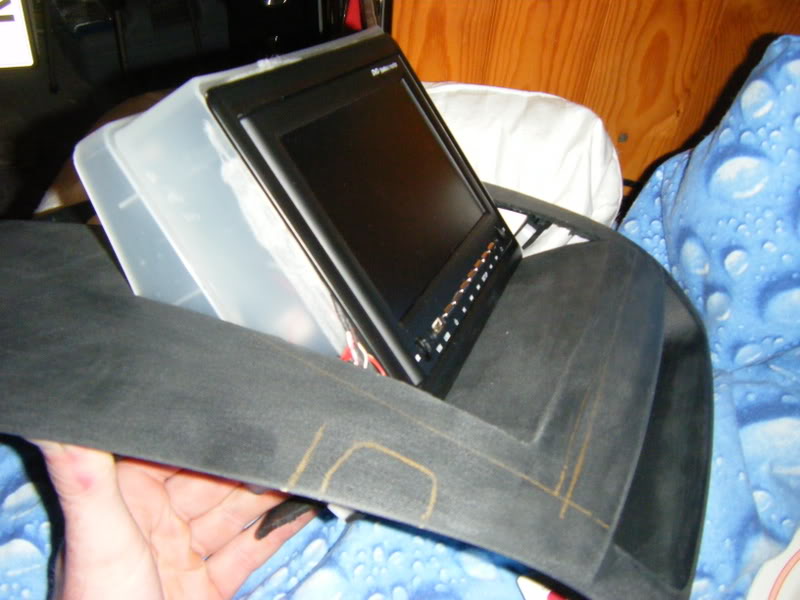
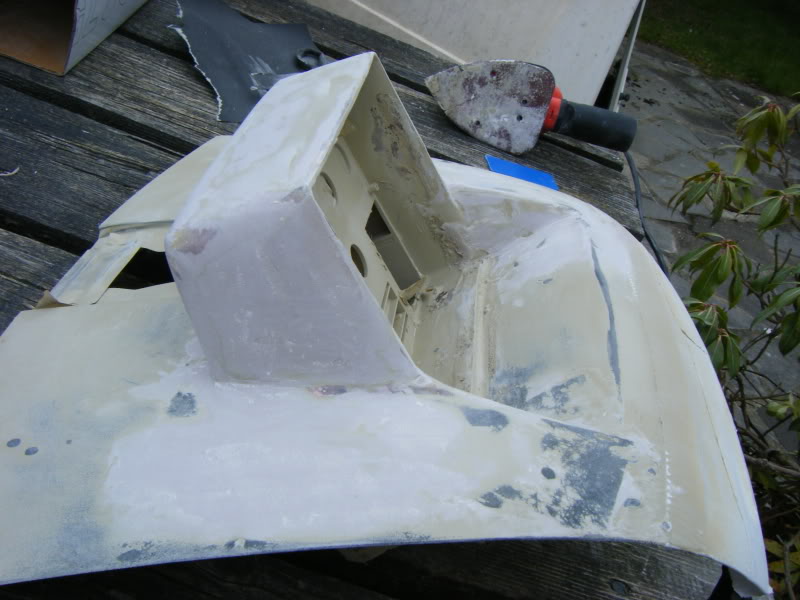
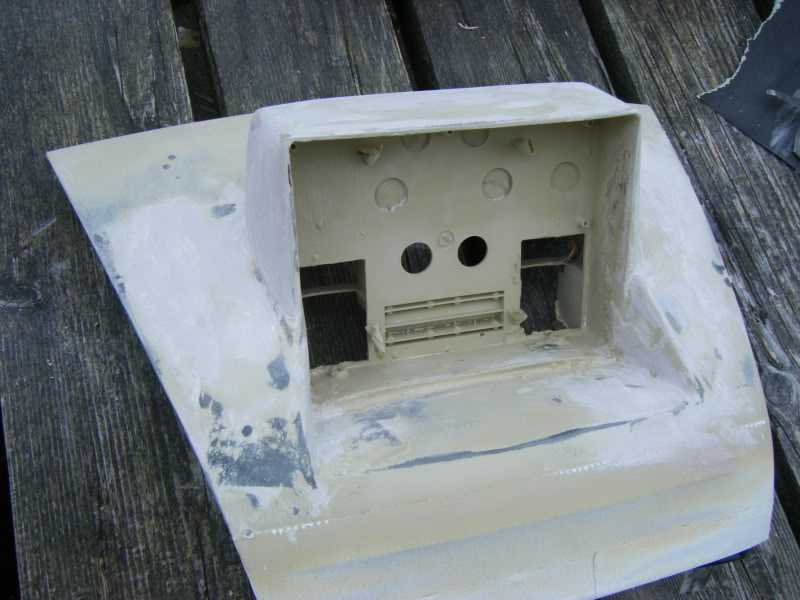
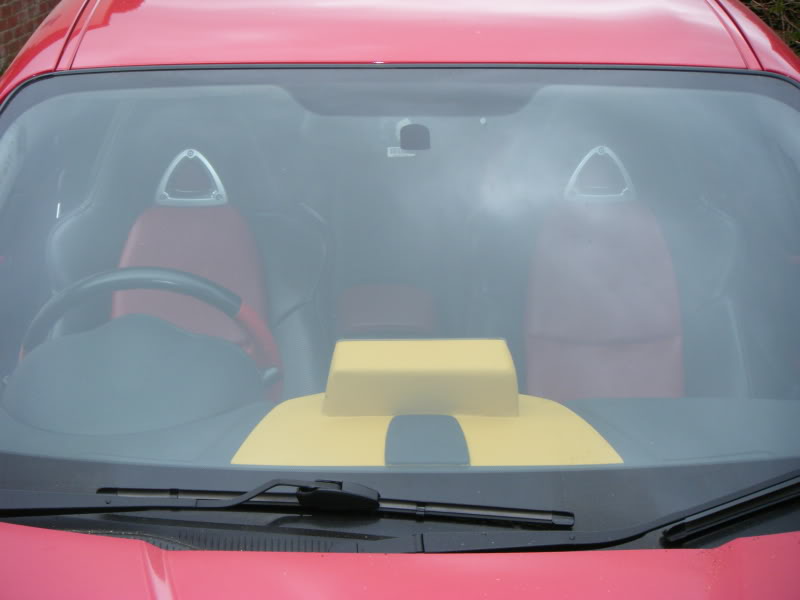
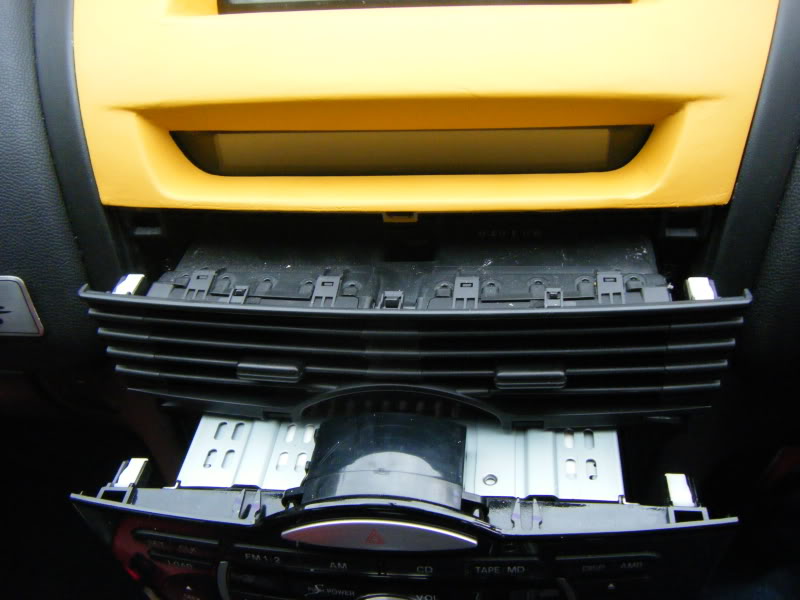
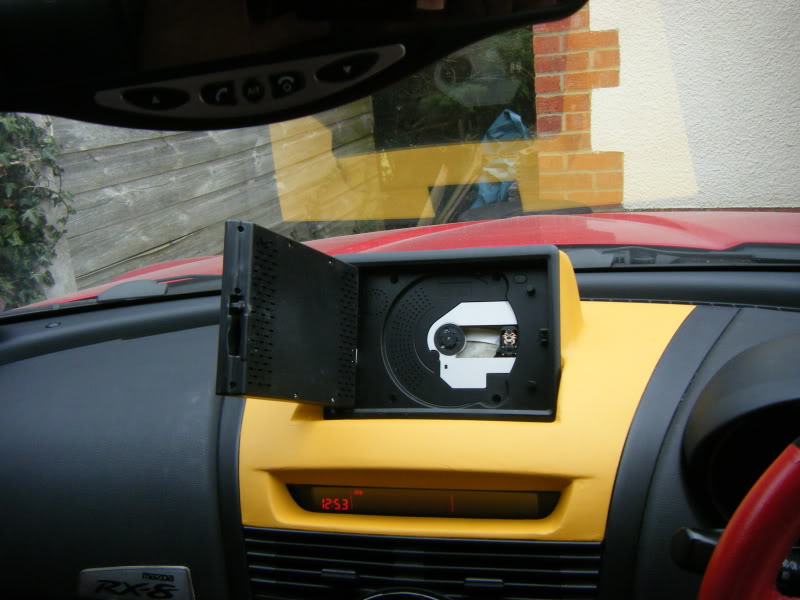
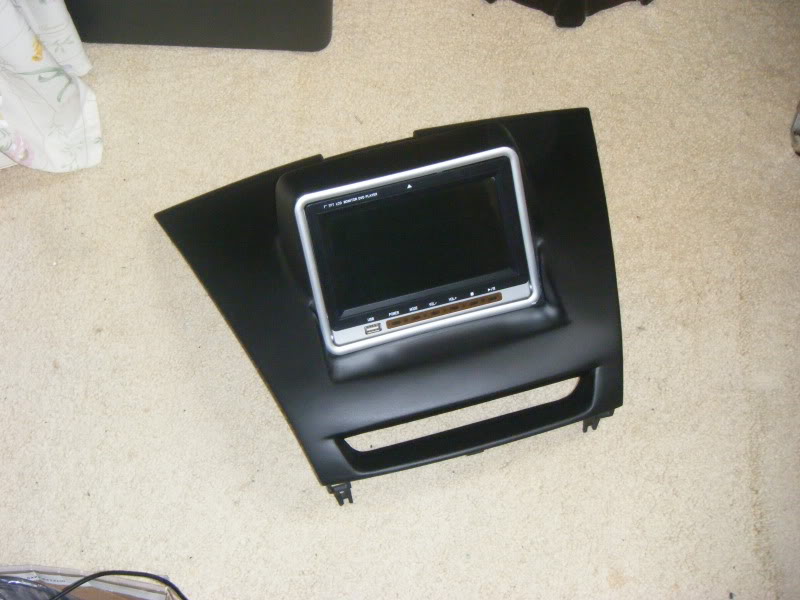
I marked some measurements on the panel made some cuts and scored a lip to form a hinged down flap. I wanted to have the cutaway positioned so that it would allow the monitor to be sat into it in such a way that allowed a good viewing angle but also kept the speaker grille in place and did not go too low down to prevent it from fitting backk into the car.
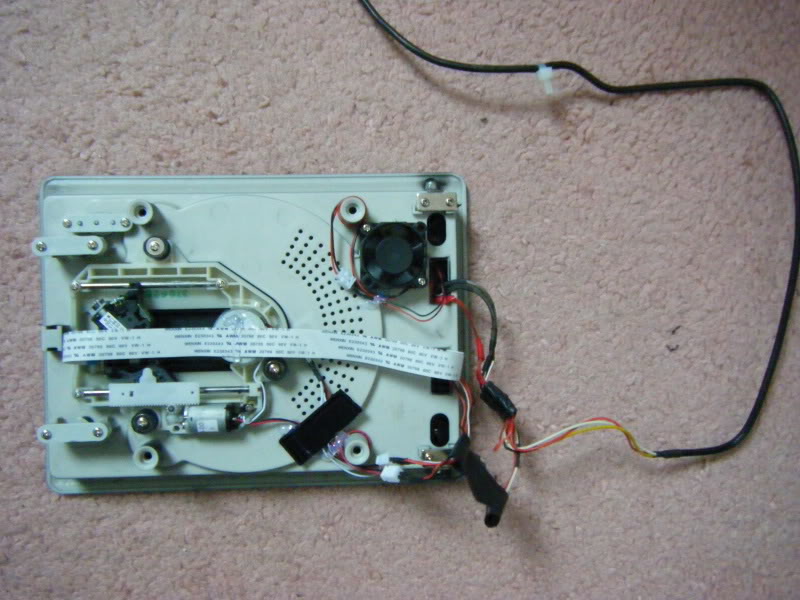
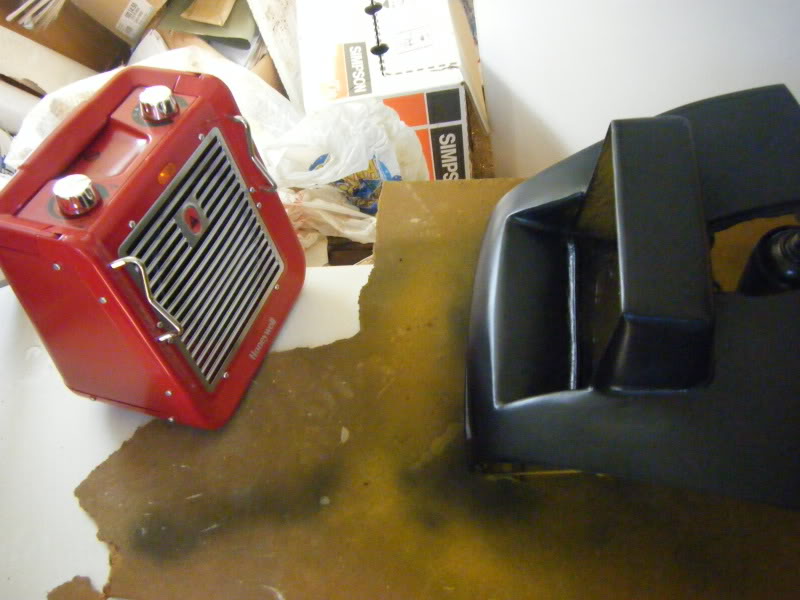
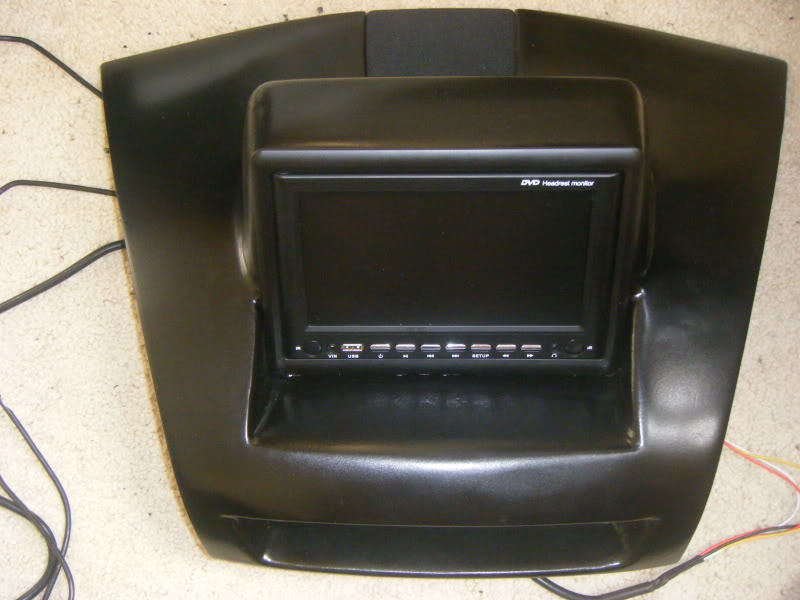
I then dismantled a all in one DVD monitor that was contained within a car headrest.
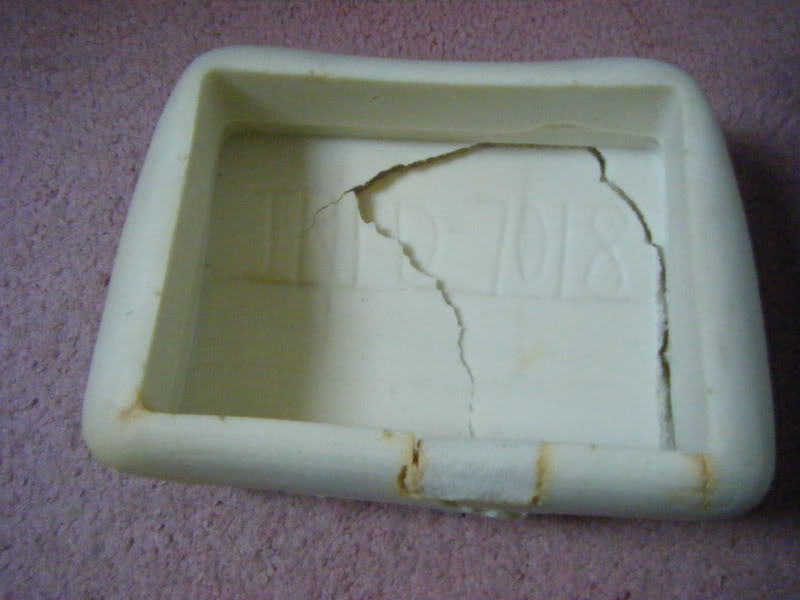
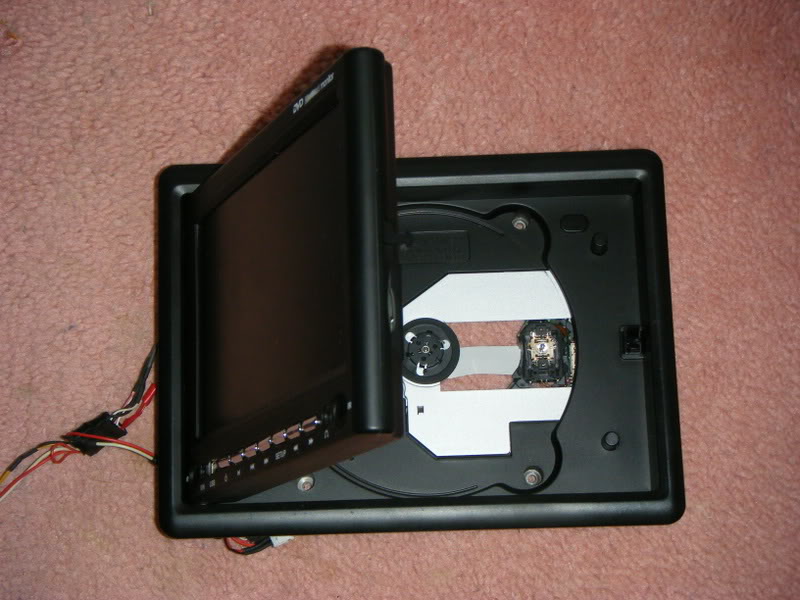
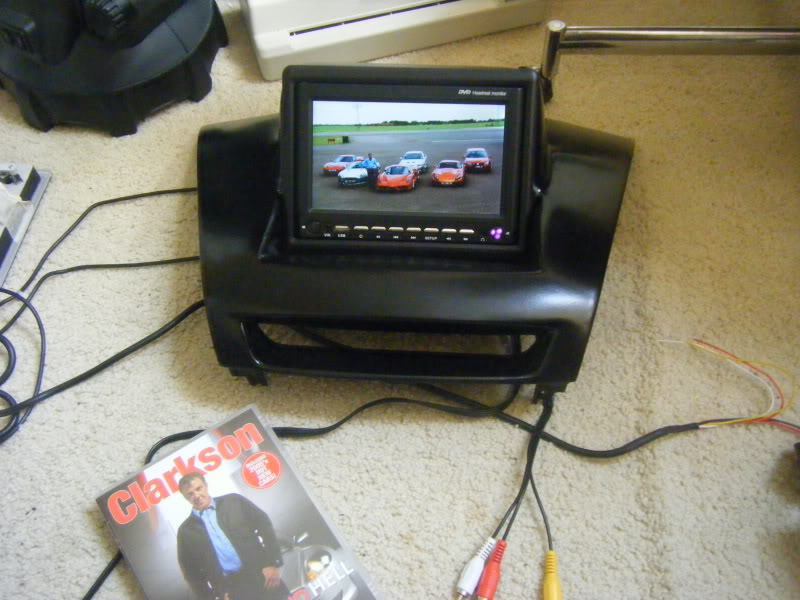
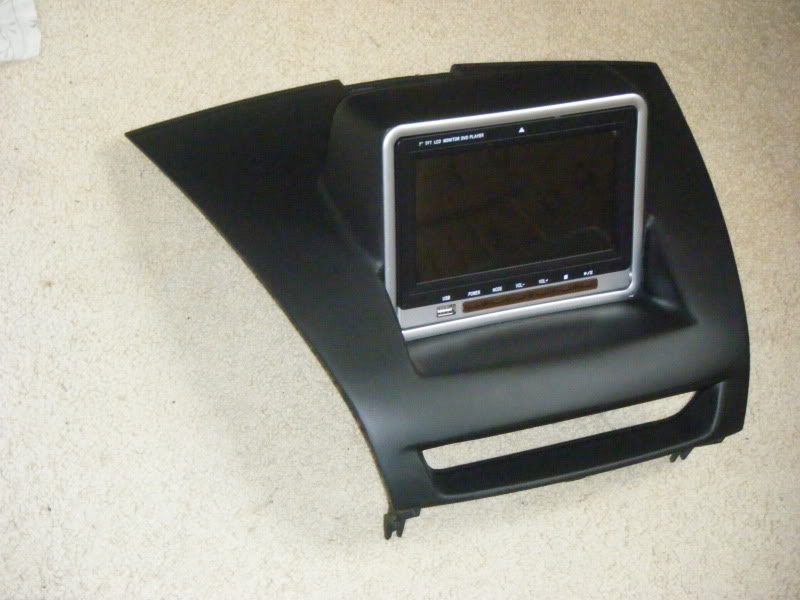
I then modified a plastic casing structure so the screen mounted flush against it and tried it for size in the hood panel.
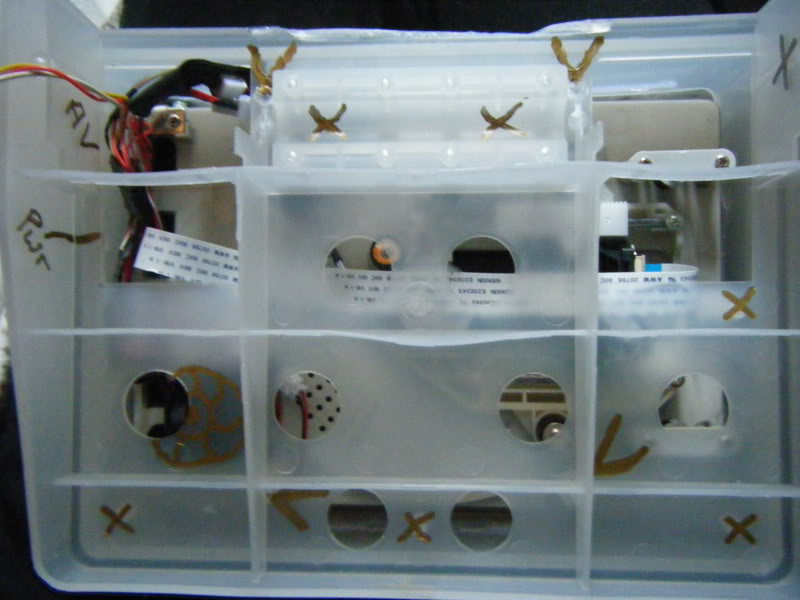
Next I secured the casing in the right place with screws and began layering fibre glass over it.
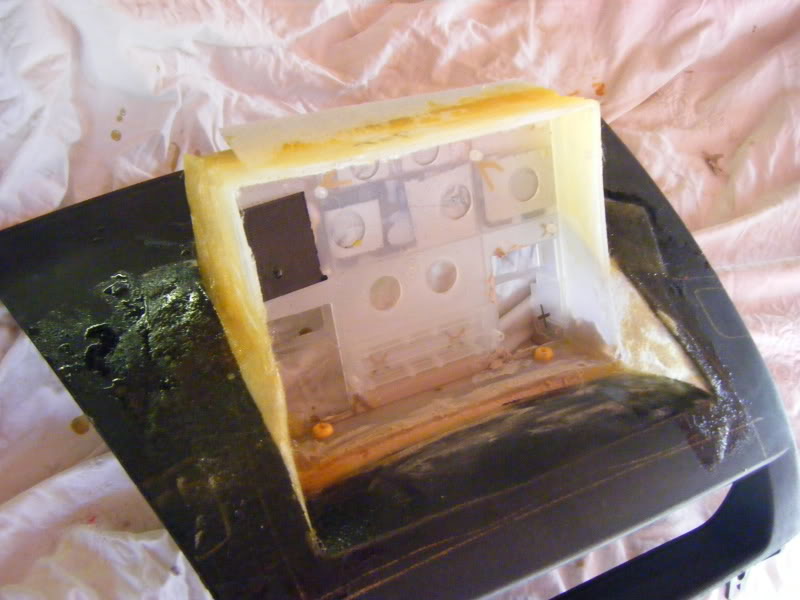
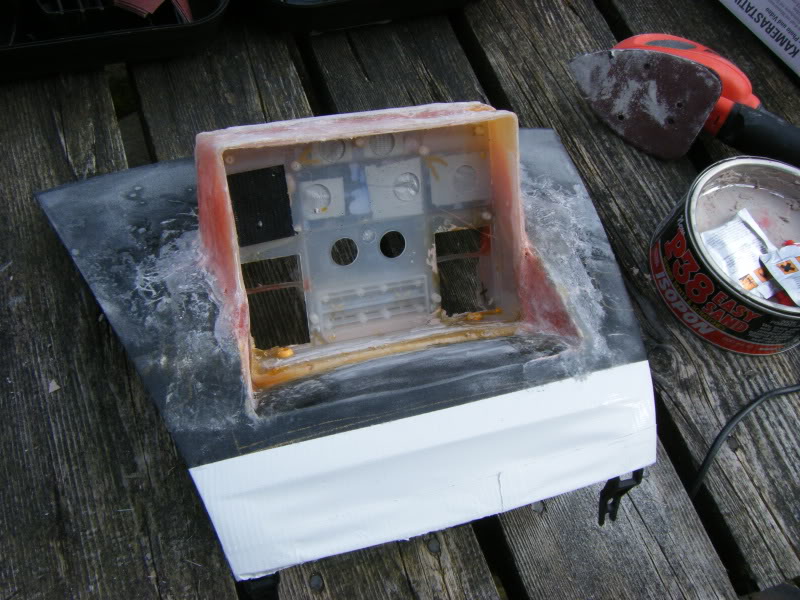
Once I had built up enough layers to make it secure and start to give it some form I used P38 body filler to layer on top and further start to make a nice shaped surround.
After A LOT of sanding back it was time for a coat or two of high build and 2k primer folowed by a rough coat of random glossy paint just to show up imperfections better.
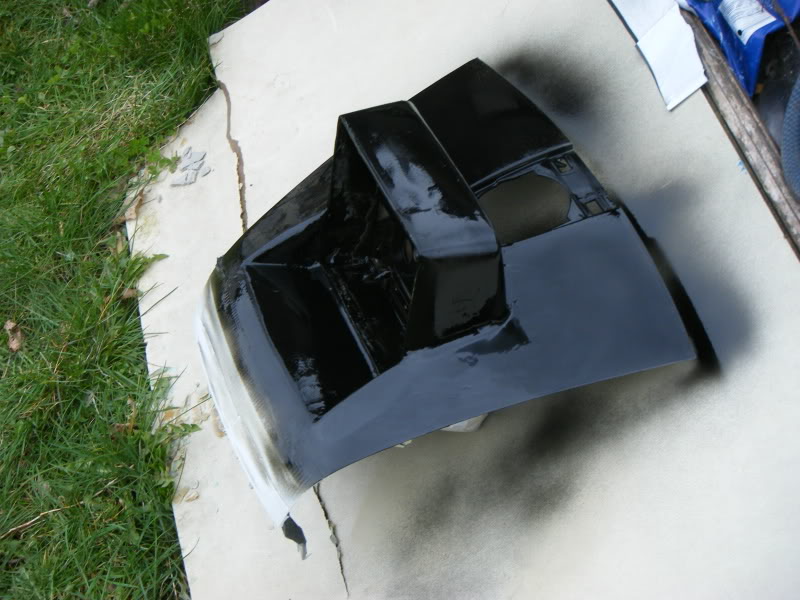
Then back to do a bit more low grit sanding before finally being ready to get a few top coats on. -
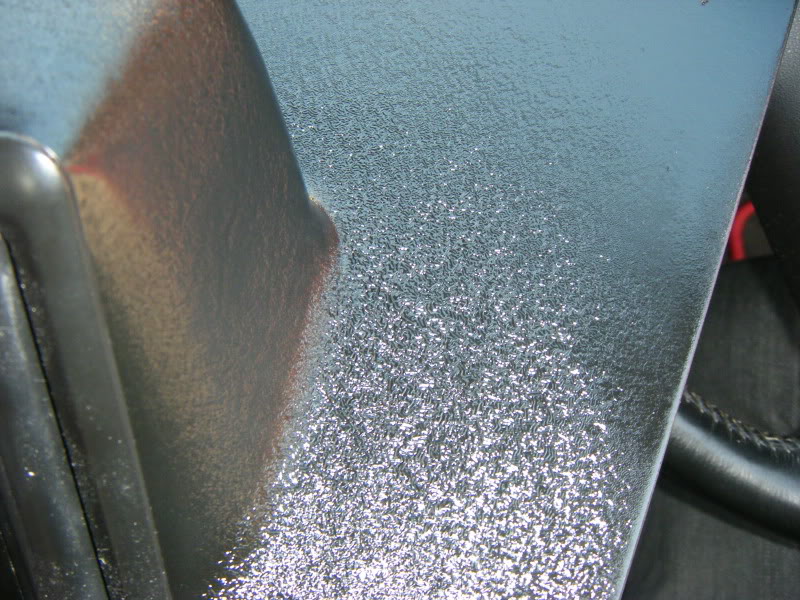
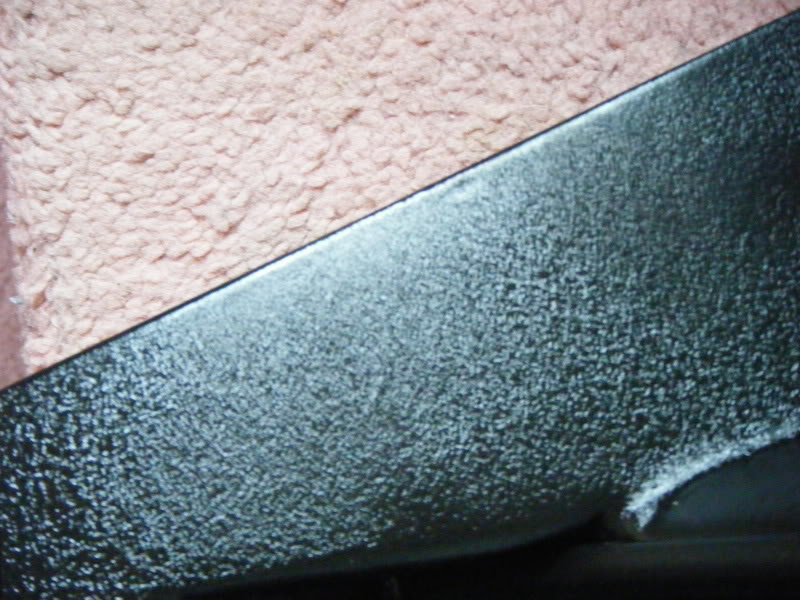
I did try some 'wrinkle finish' dashboard paint which would have been great if it was on a large flat surface but once it was on and dry due to the multiple angles on the surround it seemed to reflect light very differently on the vertical and horizontal surfaces and made it LOOK very patchy.Although if you where to look from a different angle you could see it was actually perfect all over. The photos don't really do it justice it was in fact a very intricate and even swirly pattern.
Any way I was not happy with the finish so had to spend blimin ages getting it all off again which was no easy task. Due to it being rubbery I had to literally scrape it all off with a knife. Sanding was no good as it simply got warm with the friction and made it go all gloppy and stick even harder! :evil:
When this was eventually removed it was back to the smoothing and prepping stage as the surface was left badly scarred and uneven.
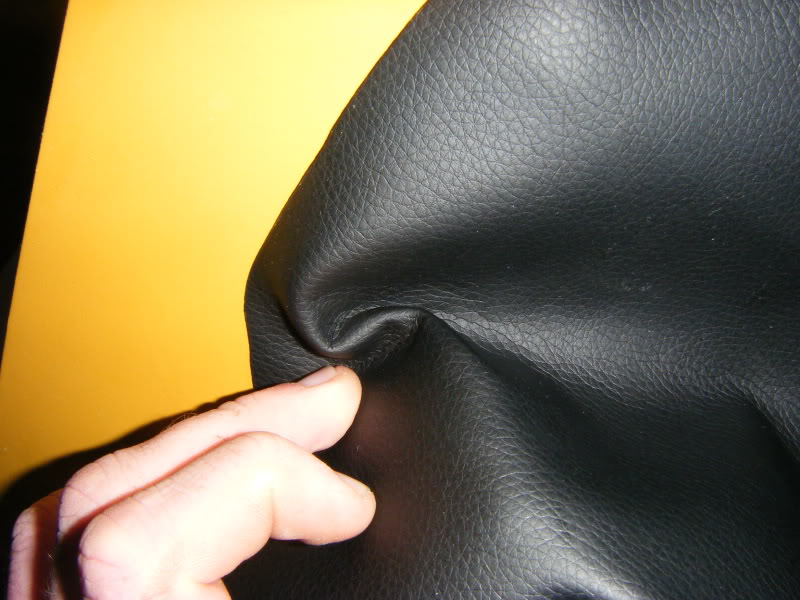
It was at this stage I did consider the idea of trying to cover it in black leather.
However this was quickly dismissed as getting it to strech around the contours all in one piece was going to be near impossible.
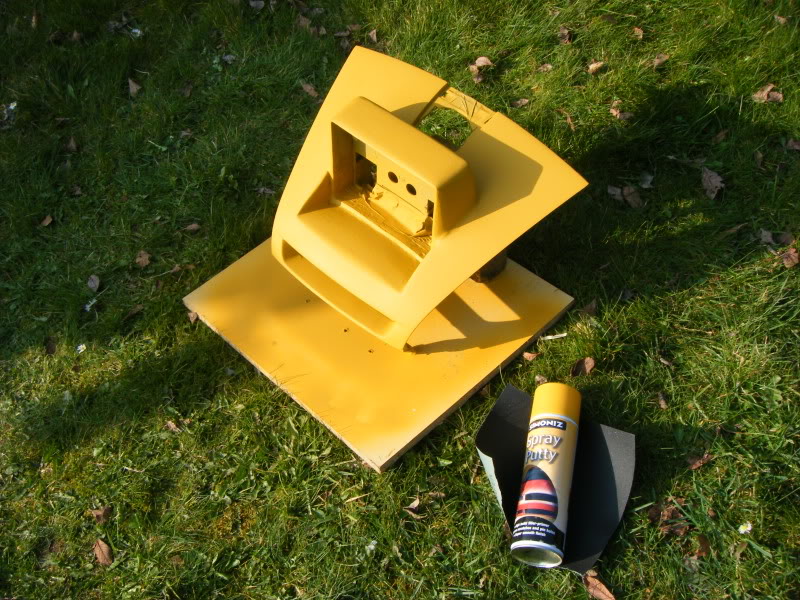
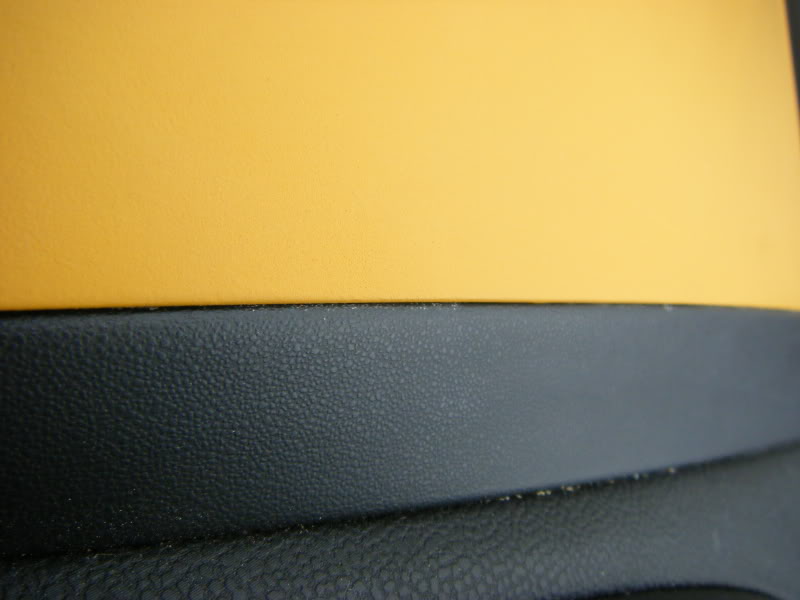
Once it was nearly ready I went for a trial fit in yellow primer (which I think looks strangly nice and contrasting against the speaker grille, dash and monitor.)
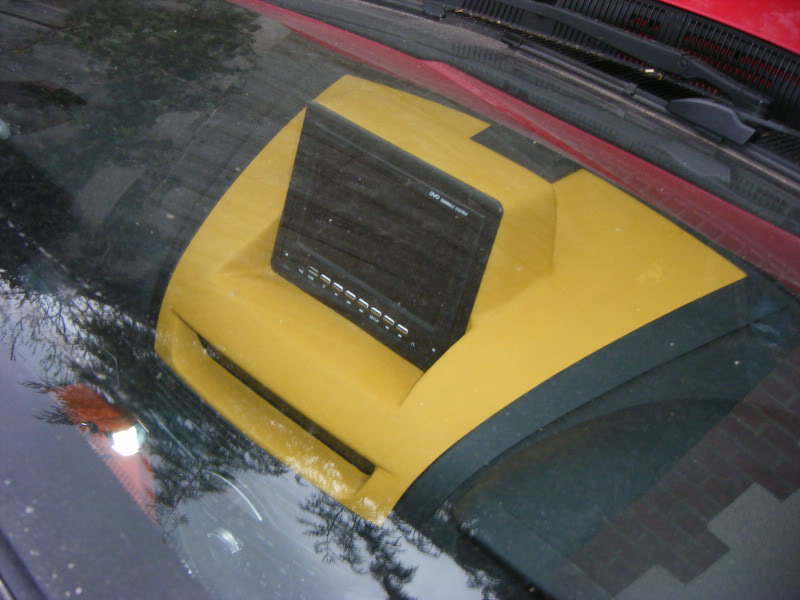
When all was seen to be well I sprayed a top coat in a colour I was fairly happy with and then it was time to install the monitor, wire everything up and try it all out. 8)
Repainted in a matt black to better match the dash and with a different design screen -

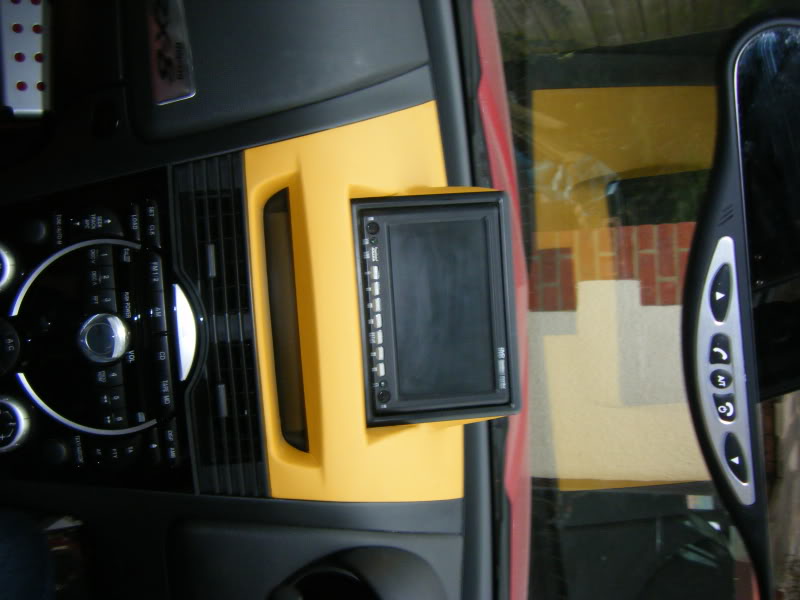
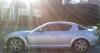
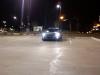
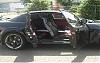
Finished thing installed in a car.
You can wire it up to a free to air digital TV reciever, games console, reversing camera, CAMP 2 gauges etc and maybe GPS.


I marked some measurements on the panel made some cuts and scored a lip to form a hinged down flap. I wanted to have the cutaway positioned so that it would allow the monitor to be sat into it in such a way that allowed a good viewing angle but also kept the speaker grille in place and did not go too low down to prevent it from fitting backk into the car.
I then dismantled a all in one DVD monitor that was contained within a car headrest.
I then modified a plastic casing structure so the screen mounted flush against it and tried it for size in the hood panel.
Next I secured the casing in the right place with screws and began layering fibre glass over it.
Once I had built up enough layers to make it secure and start to give it some form I used P38 body filler to layer on top and further start to make a nice shaped surround.
After A LOT of sanding back it was time for a coat or two of high build and 2k primer folowed by a rough coat of random glossy paint just to show up imperfections better.
Then back to do a bit more low grit sanding before finally being ready to get a few top coats on. -
I did try some 'wrinkle finish' dashboard paint which would have been great if it was on a large flat surface but once it was on and dry due to the multiple angles on the surround it seemed to reflect light very differently on the vertical and horizontal surfaces and made it LOOK very patchy.Although if you where to look from a different angle you could see it was actually perfect all over. The photos don't really do it justice it was in fact a very intricate and even swirly pattern.
Any way I was not happy with the finish so had to spend blimin ages getting it all off again which was no easy task. Due to it being rubbery I had to literally scrape it all off with a knife. Sanding was no good as it simply got warm with the friction and made it go all gloppy and stick even harder! :evil:
When this was eventually removed it was back to the smoothing and prepping stage as the surface was left badly scarred and uneven.
It was at this stage I did consider the idea of trying to cover it in black leather.
However this was quickly dismissed as getting it to strech around the contours all in one piece was going to be near impossible.
Once it was nearly ready I went for a trial fit in yellow primer (which I think looks strangly nice and contrasting against the speaker grille, dash and monitor.)
When all was seen to be well I sprayed a top coat in a colour I was fairly happy with and then it was time to install the monitor, wire everything up and try it all out. 8)
Repainted in a matt black to better match the dash and with a different design screen -
Finished thing installed in a car.
You can wire it up to a free to air digital TV reciever, games console, reversing camera, CAMP 2 gauges etc and maybe GPS.

Thread Starter
Registered User
Joined: May 2010
Posts: 10
Likes: 0
I've got loads if they are going to be of use to people. Don't know why I have not made the effort sooner, only really read this forum before and not registered until now. Still getting the hang of things here, its a lot bigger than what I'm used to and things seem to get a bit lost within the mass of info and I don't know where to put things.
Realised now this thread would have been better in Series I section.
Realised now this thread would have been better in Series I section.


Thread Starter
Registered User
Joined: May 2010
Posts: 10
Likes: 0
I had the sound going through the built in FM modulator so just had to have the radio on a certain frequency and it would transmit to that and play through the cars speakers or you could just use the small speaker inside or headphones. It is now fitted to a friends car and he has it wired directly into the HU via the optional Tape / Mini disc connection so this will give a crisper sound quality.
You can have Nissan style gauges on it in the form of the Camp II unit going through AV.
You can have Nissan style gauges on it in the form of the Camp II unit going through AV.


Thread
Thread Starter
Forum
Replies
Last Post
TotalAutoPerformance
Vendor Classifieds
12
Oct 17, 2018 09:00 AM