
DIY: Better Looking OEM Rear Diffuser


DIY: Better Looking OEM Rear Diffuser
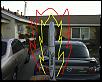
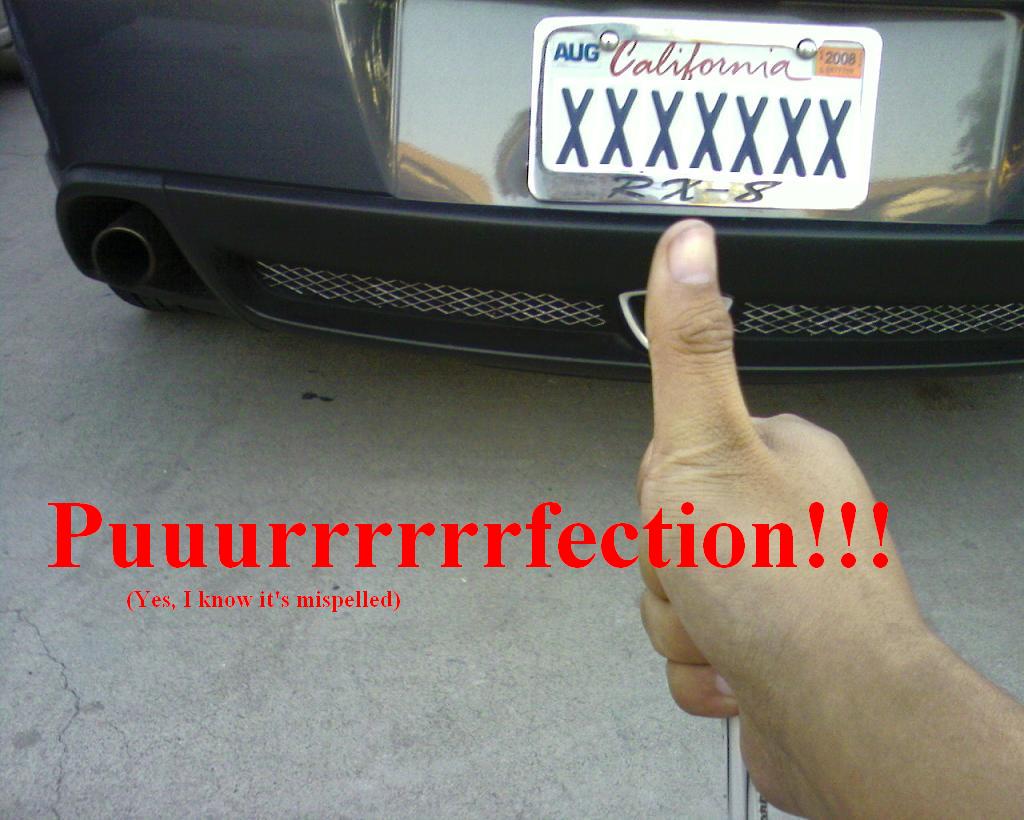
Tired of looking at that black ugly useless mesh on your rear diffuser? Ever wonder why Mazda created something that hideous? Well, for the price of only $0.99, you can make it look a hundred times better! ::Insert Gasp here:: Here's how to do it.
Tools:
Silver Sharpie
Requirements:
Must pass Kindergarten: Coloring Within the Lines with a C Grade or better.
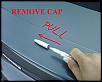
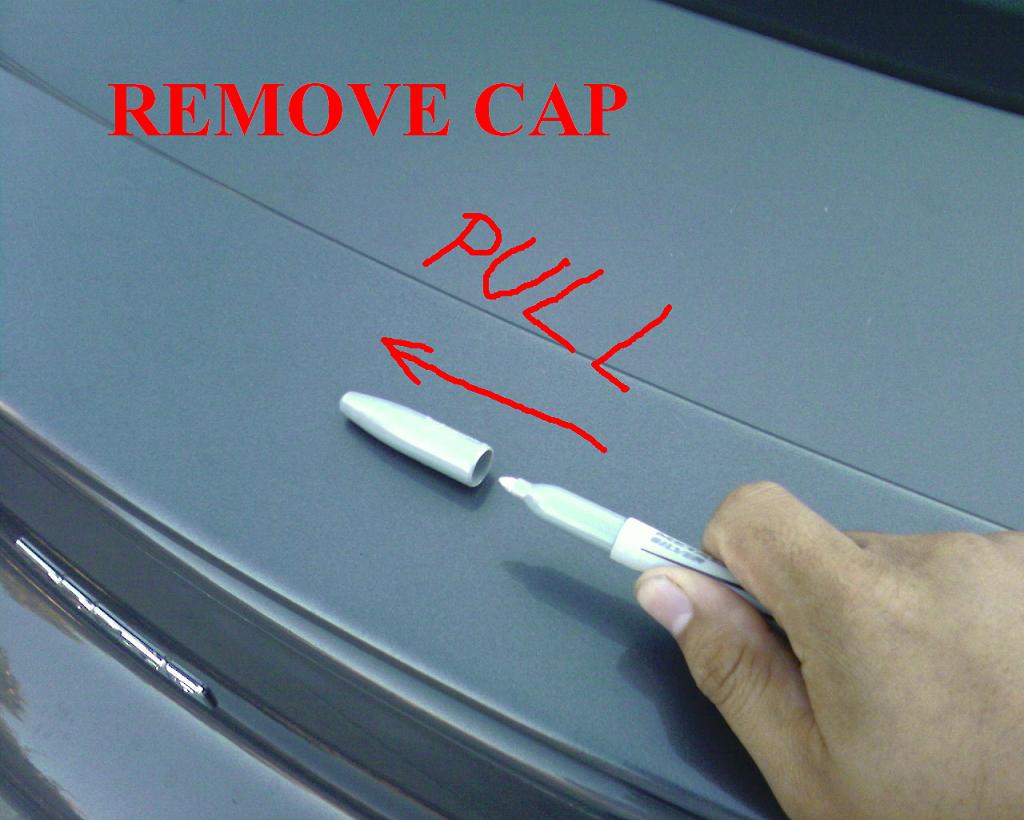
So, basically, you will need to open the cap of the sharpie.
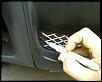
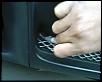
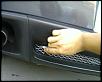
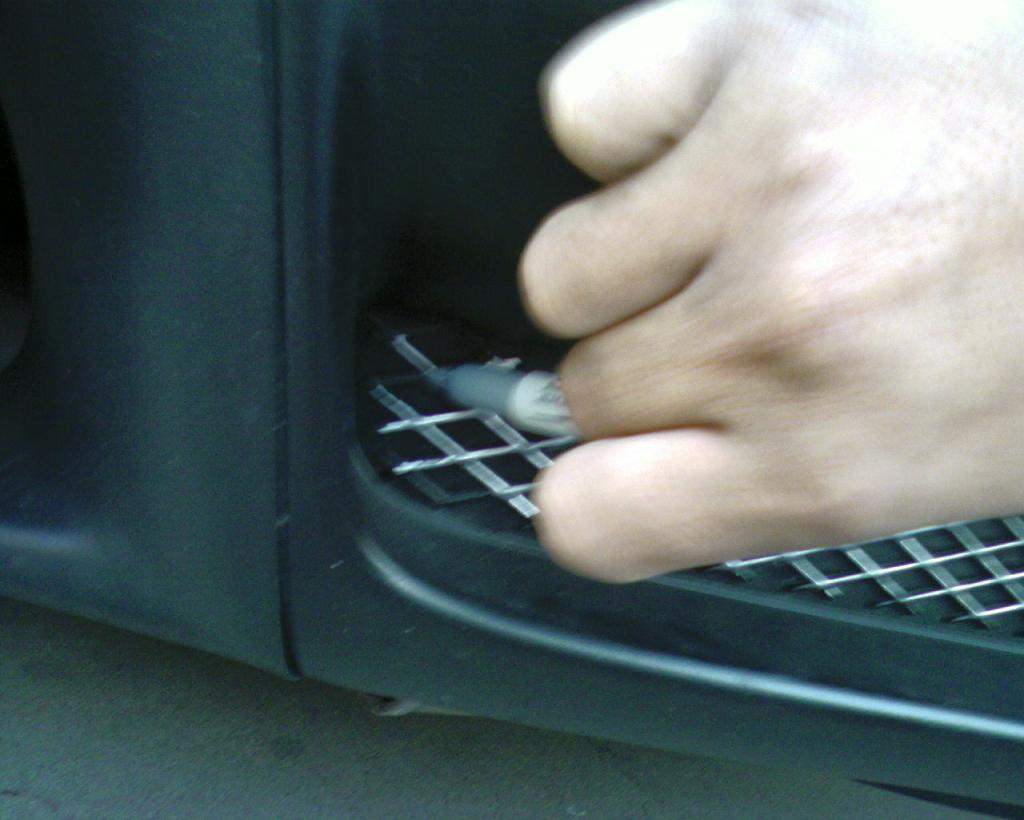
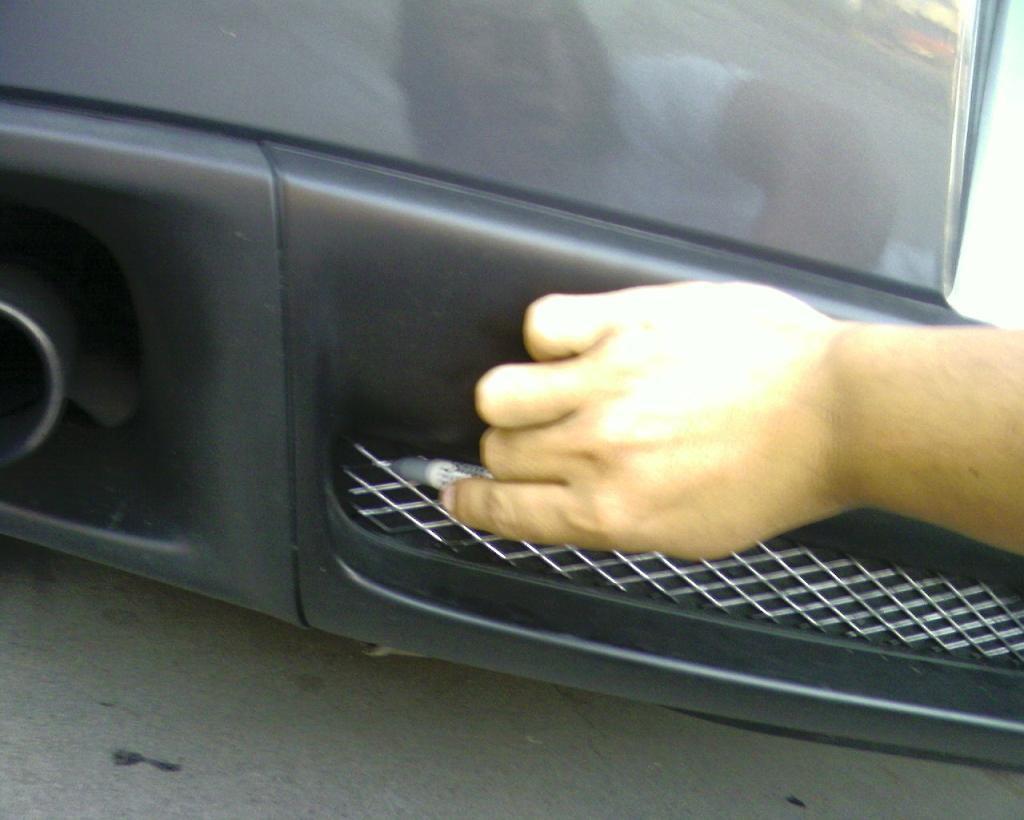
After that, use the skills that you obtained in Kindergarten and work on your rear diffuser like so:
Tools:
Silver Sharpie

Requirements:
Must pass Kindergarten: Coloring Within the Lines with a C Grade or better.
So, basically, you will need to open the cap of the sharpie.
After that, use the skills that you obtained in Kindergarten and work on your rear diffuser like so:


Momentum Keeps Me Going
Joined: Sep 2002
Posts: 5,036
Likes: 5
From: Colorado
Nice work! Here's a variation on this I used that works pretty well. Instead of a paint pen, use some plastic paint and a brush like this avail. anywhere for >$1.00 - It makes the whole project a 5 minute job.
The thing with that thing is that it won't just cover the mesh part but under it too.
")


Momentum Keeps Me Going
Joined: Sep 2002
Posts: 5,036
Likes: 5
From: Colorado
I did mine in 2004 I think, and I used 2 coats silver plastic paint and one clear coat. It's nearly '08 and wash the car regularly in warm weather. So far no problems; peeling, flaking, etc. whatsoever.