When you click on links to various merchants on this site and make a purchase, this can result in this site earning a commission. Affiliate programs and affiliations include, but are not limited to, the eBay Partner Network.
Realized its been a while since I did an update here... lots of pics to follow.
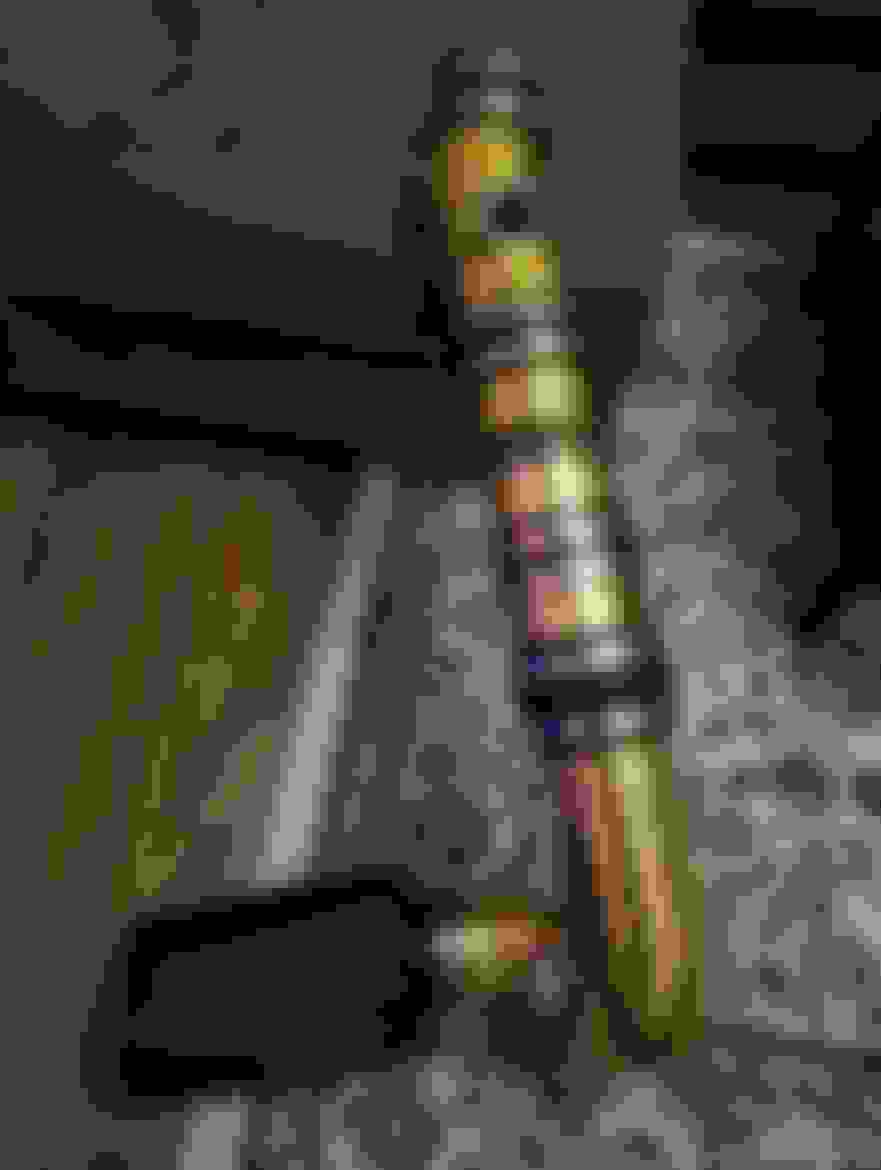
On nights where I wasn't out working on my car.. I was browsing Kijiji for fun and maybe some good deals. Ended up picking up an AEM intake and wrapping it in gold heat reflective tape. Turned out pretty good if I say so myself
There was also a sale on some Back to Black which I heard some people use to restore the exhaust shrouds. It works as a good cleaner/polisher but in no way restores them back to a new look. Left side is done, right side is not
Back to the body work .. continuing to weld a little bit of the passenger side at a time as I work on other things. Took it for a spin the other day, boy I miss driving this car. The passenger side just needs to be cleaned up and some small patches but for the most part is solid.
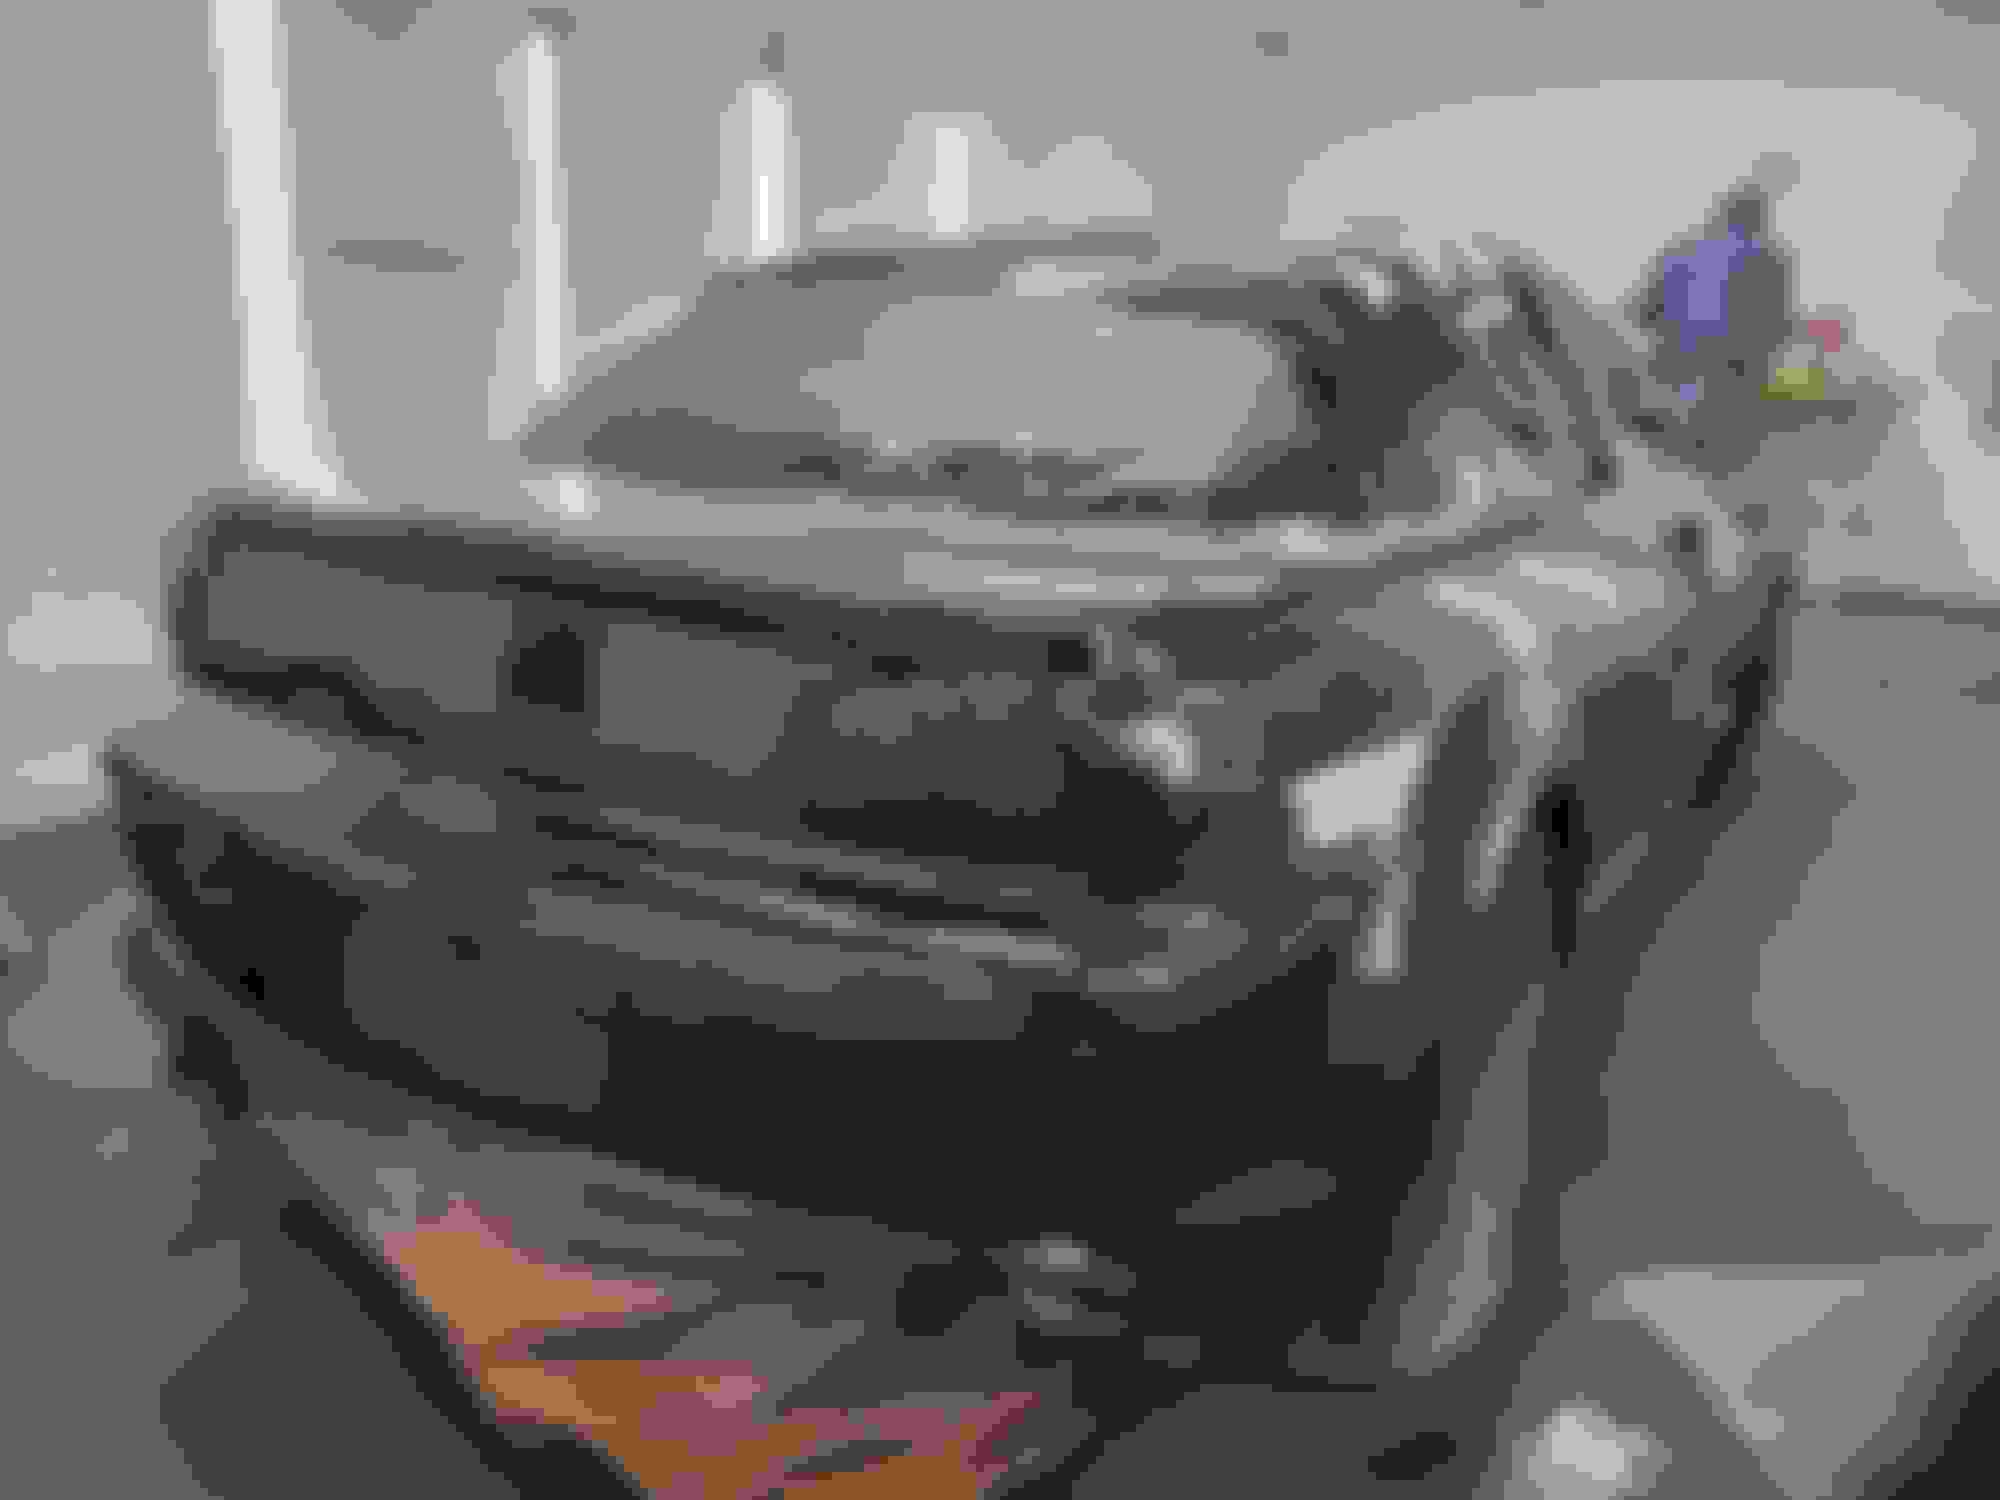
Driver side is up next .. can see how we've mapped it out
We learned that popping out the spot welds would make this a much easier job and limit out welding, so we worked on that. We cleaned up all the seam sealer and drilled the spot welds out.
The body is basically made up of multiple plies in some areas that just peel apart once the spot welds are loose.
And now we have a missing driver side
If anyone reading this has a lead on an OEM front lip I would love one to complete the rest of the appearance package pieces I've bought. If not .. well just keep tuning in for updates.
Looking great man! im in the process of doing the same thing, except mine isn't as much work as yours. Keep going with those updates i wanna see the final product
Late to the party but regarding your, "back to black" attempt, don't bother with products. Take a heat gun to black plastic trim and it will look like new. Then use whatever UV blocker you want to protect it (303, ceramic coating, etc).
Yeah its more work than I thought it was going to be. Thanks for following lol.. I know its not as exciting as a turbo or 20b build but this is real life RX8 stuff.
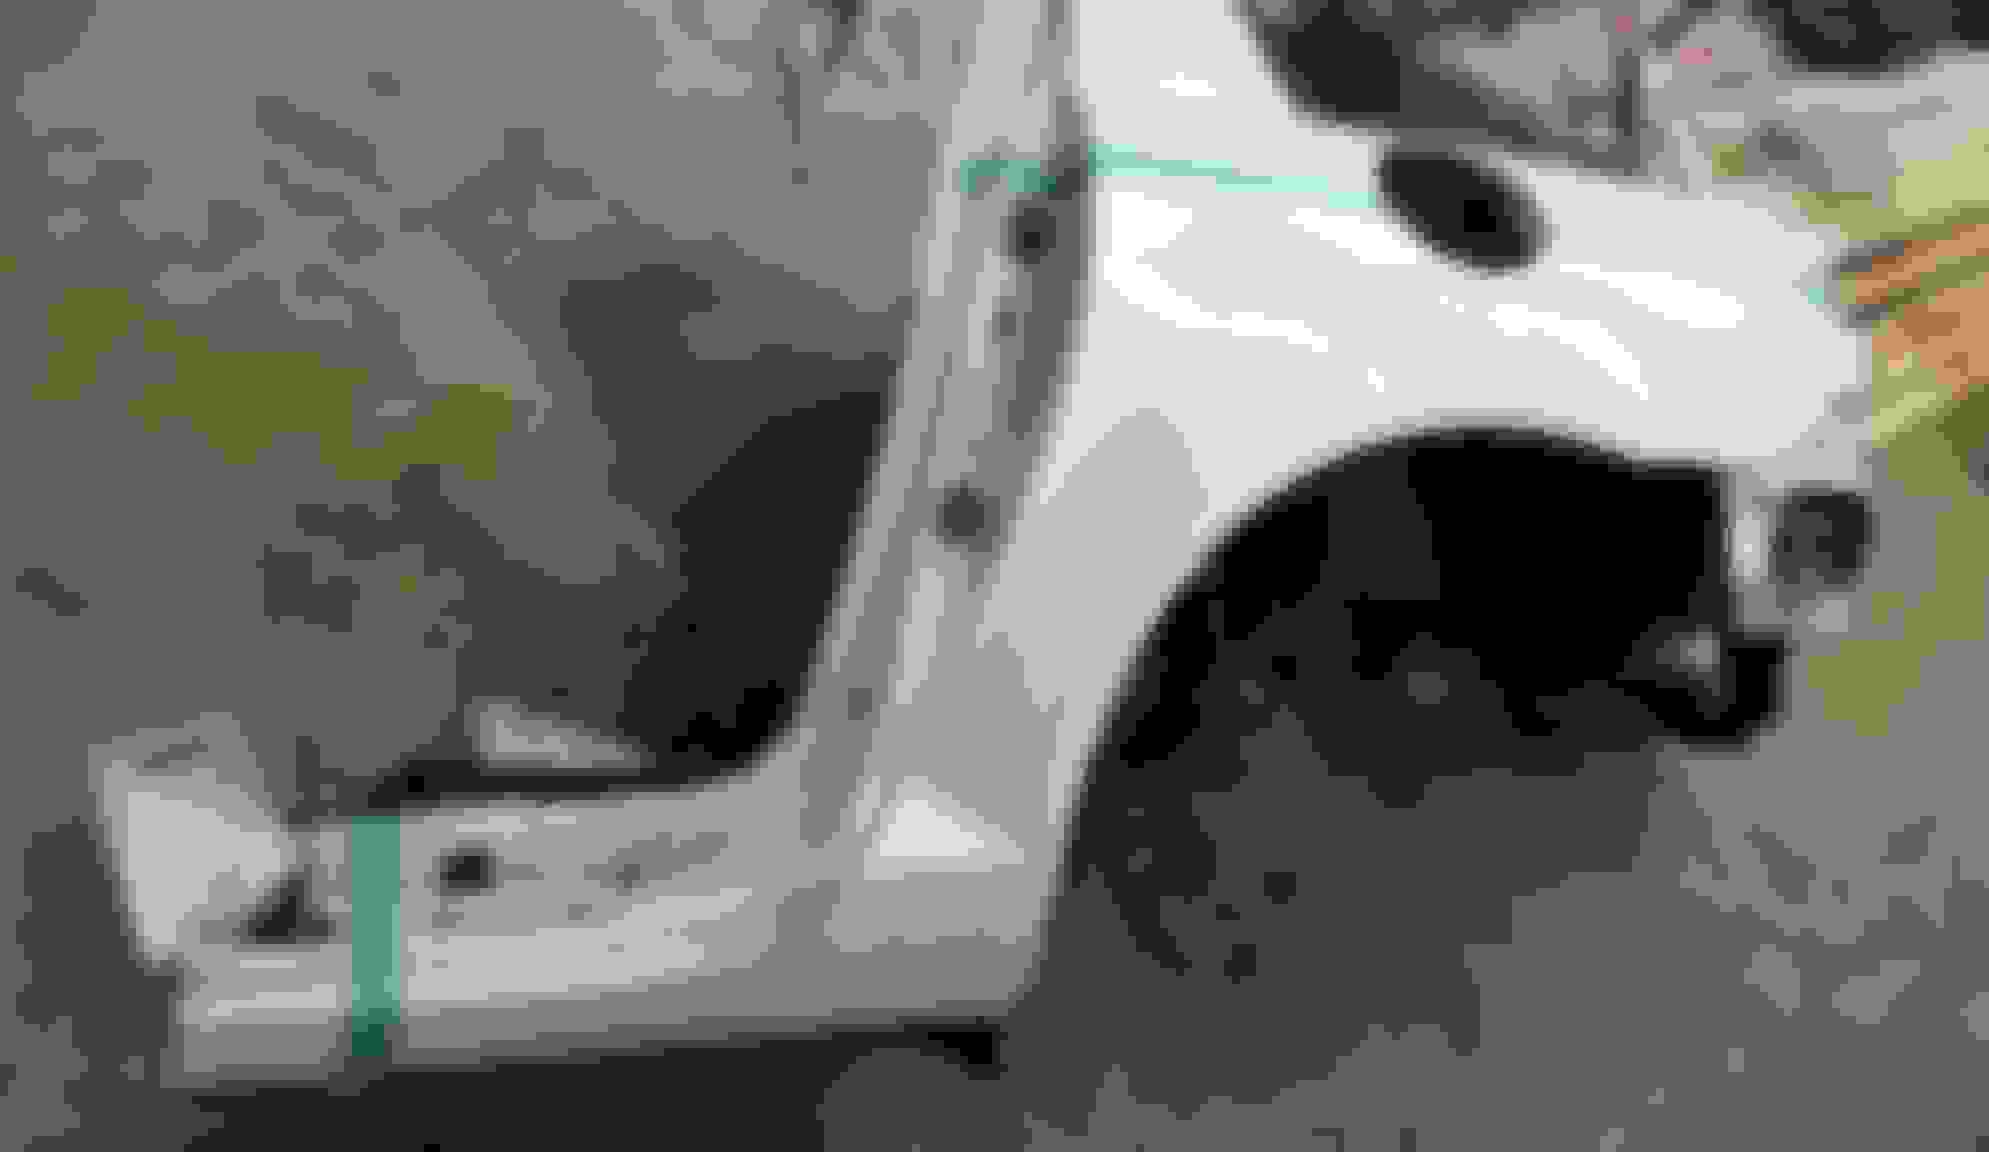
Here's the plan. White quarter panel measured up ...
And here it is just kinda held in place. I might make this work after all !
Some nicer spring weather allowed me to get out and do some sandblasting. Look at my black and red/white/blue 'Merica RX8.
Along the way I picked up a damaged BHR midpipe and damaged authentic MS front bumper. They're both in need of a ton of work... I dont know I have some kind of sickness for fixing up stuff that should probably just be scrapped :P
OK so back to the car... got things clamped in place and some tacks laid down . Using the spot-welds this time is so much easier... definitely learned my lesson.
Using some uni-spots to pull out low spots. If you've never used this its a cool little tool... it welds these posts on and then you use a slide-hammer to pull them out.
Finished the welds and grinded them down. Starting to look pretty good!
Did some more work just patching rusty holes in the wheel wells... I have one small spot along the rocker and then metal work will be done. So excited to be (almost) moving on to the next stage of fiberglass/bondo. Put fenders and bumpers on and everything lined up perfectly, I couldn't believe it. I couldn't help but take it for a little rip too... fired right up and didn't miss a beat.
Long time no update! Just a quick one.. my friend/welder was tied up with other jobs this summer and so I still need to finish a bit of metal work. In the meantime, I brought the car home to my garage where I have been sanding it with 320grit in prep for some filler and high build primer. Unfortunately its looking like I probably won't get it out on the road this year
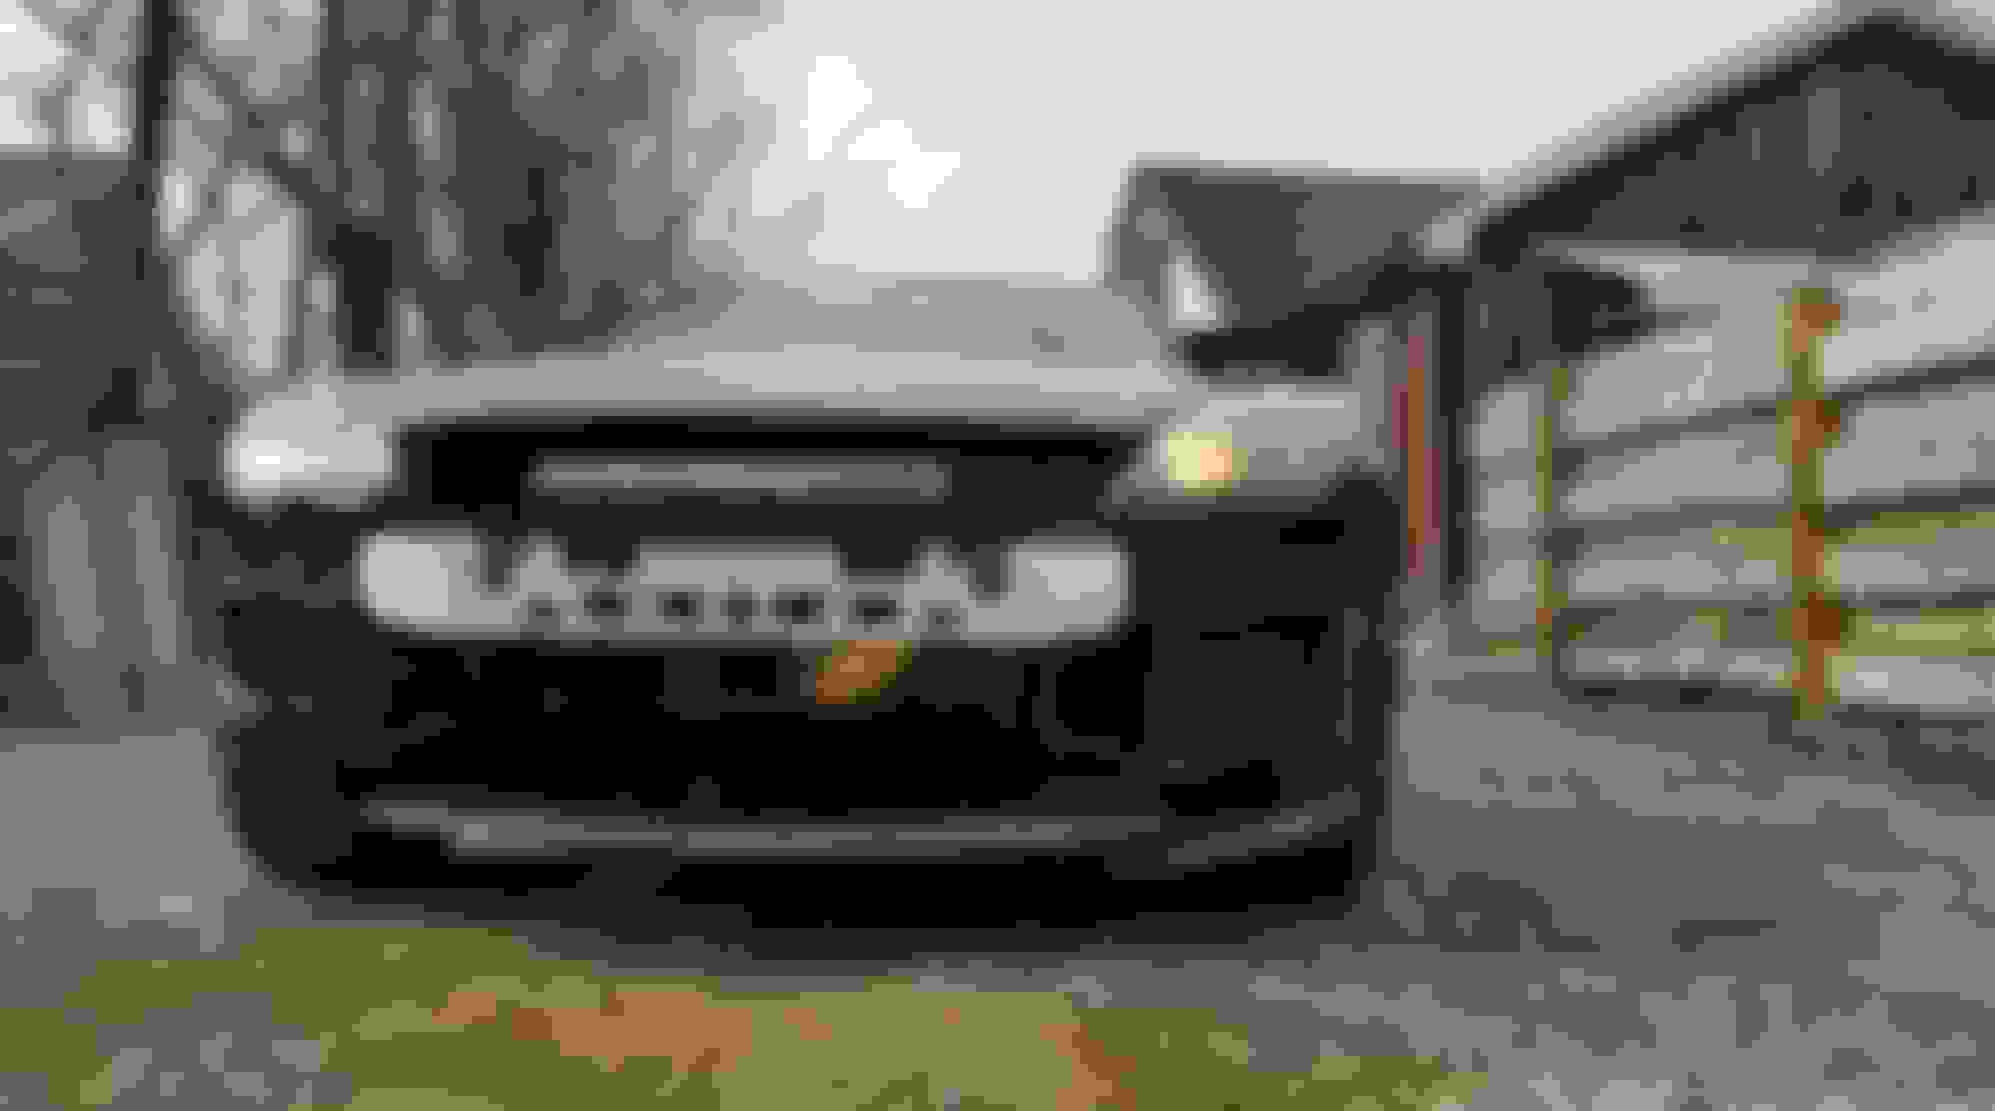
(stopped sanding front bumper under I pick up a heatgun and some fishin line to debadge)
Thanks for following Neo ... always nice to have some words of encouragement.
My Dad is a member of a car club in Hamilton, the "Road Runners" ... they have a clubhouse/shop, so I brought it up there to use the hoist and finish some welding work on the rocker panels. This was the last "patch" going in
When you forget your welding mask lol.....
After the welding was done, we cleaned things up with wax/grease remover, and then coated with epoxy primer (light grey paint) where there was any exposed metal. We let that dry a couple days, and then covered the welds with Seam Sealer... a thick goopy rubbery compound that will dry and fill in any micro-cracks that may have been missed. Its not pretty.... do I care? NO. This will all be covered in a ruberized undercoating, and then with fender liners... and honestly I just want to drive my car so bad lol
And as I tend to do on days where I can't work on my car.... I search for things for my car. I don't have factory nav but I've picked up a Nexus tablet and interior trim to make this dash mod. Still working on figuring out the motor open/close piece, but I did some customizing to the tablet
- Rooted (admin control of tablet)
- Installed custom firmware/bootloader so tablet would power on when it detects "charging" . End result = Tablet powers on when car powers on.
- Used MacroDroid to create a macro ... when charging is turned OFF ... wait 5 minutes, then power down the tablet. End results = Tablet powers off 5min after car powers off.
- Install Double-Tap ... double tap to screen on/off since buttons are inaccessible
- TorquePro app
Nice progress!!
You're getting there..
It's a good thing you have a few things taken apart. I wouldn't be able to do that tablet mod to mine. For 1, mine doesn't have the little fold out Navi portion. I think there was an option for series 2 to come with the nav built into the center console... not sure about that though.
Don't worry about the welds. Everything will look factory fresh once you get it coated!
My car didn't come with the navigation hood either. Have to get the whole dash panel and popup piece from another car, not sure if it fits S2 or if they had an option? Certainly not in the R3 that I've seen but maybe GT?
Inching closer .. the metal work is all done which is nice.
After the seam sealer we sprayed some rubberized undercoating.
This little lip is basically where all the rust starts to build up on the quarter panels, where the outer and inner panels meet. We will be taking special care to seal this lip.
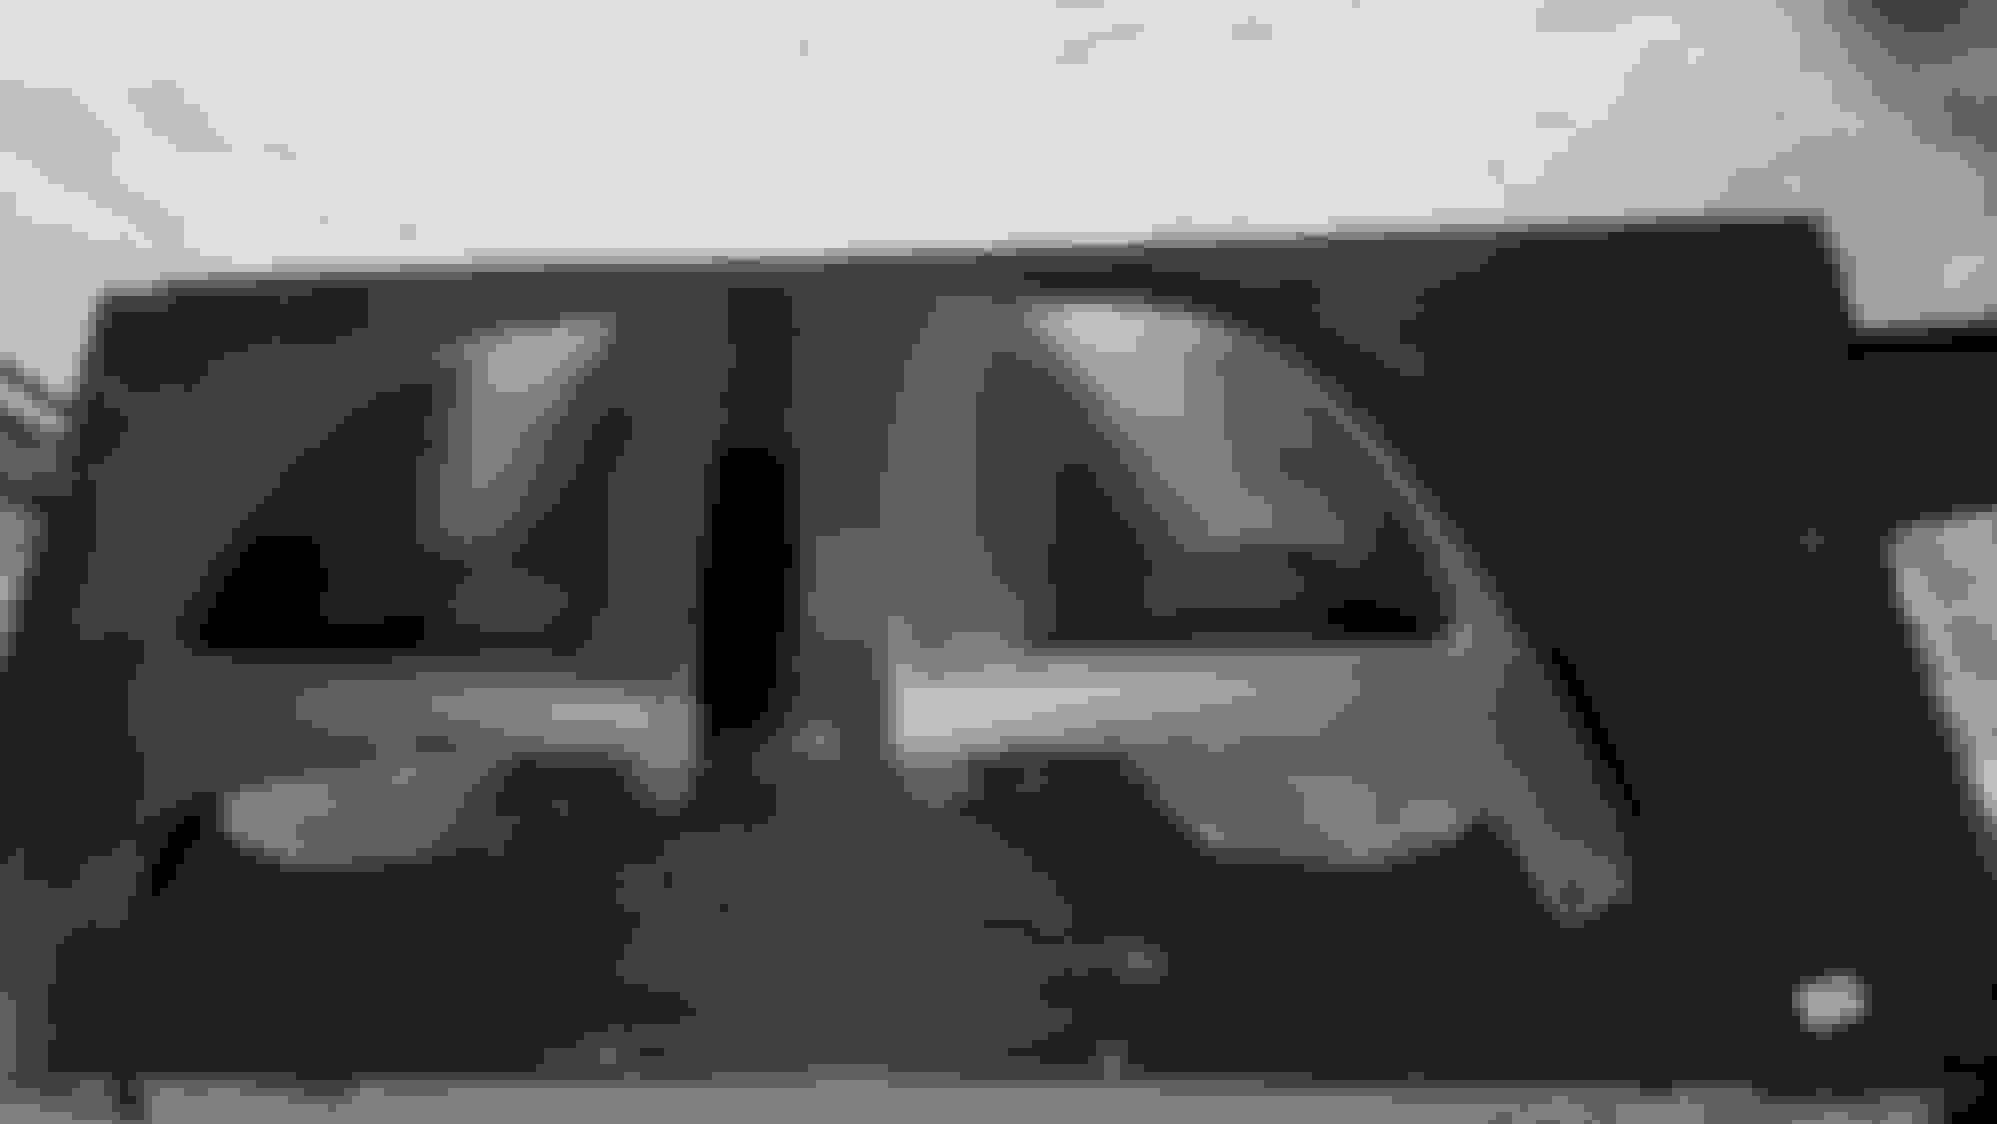
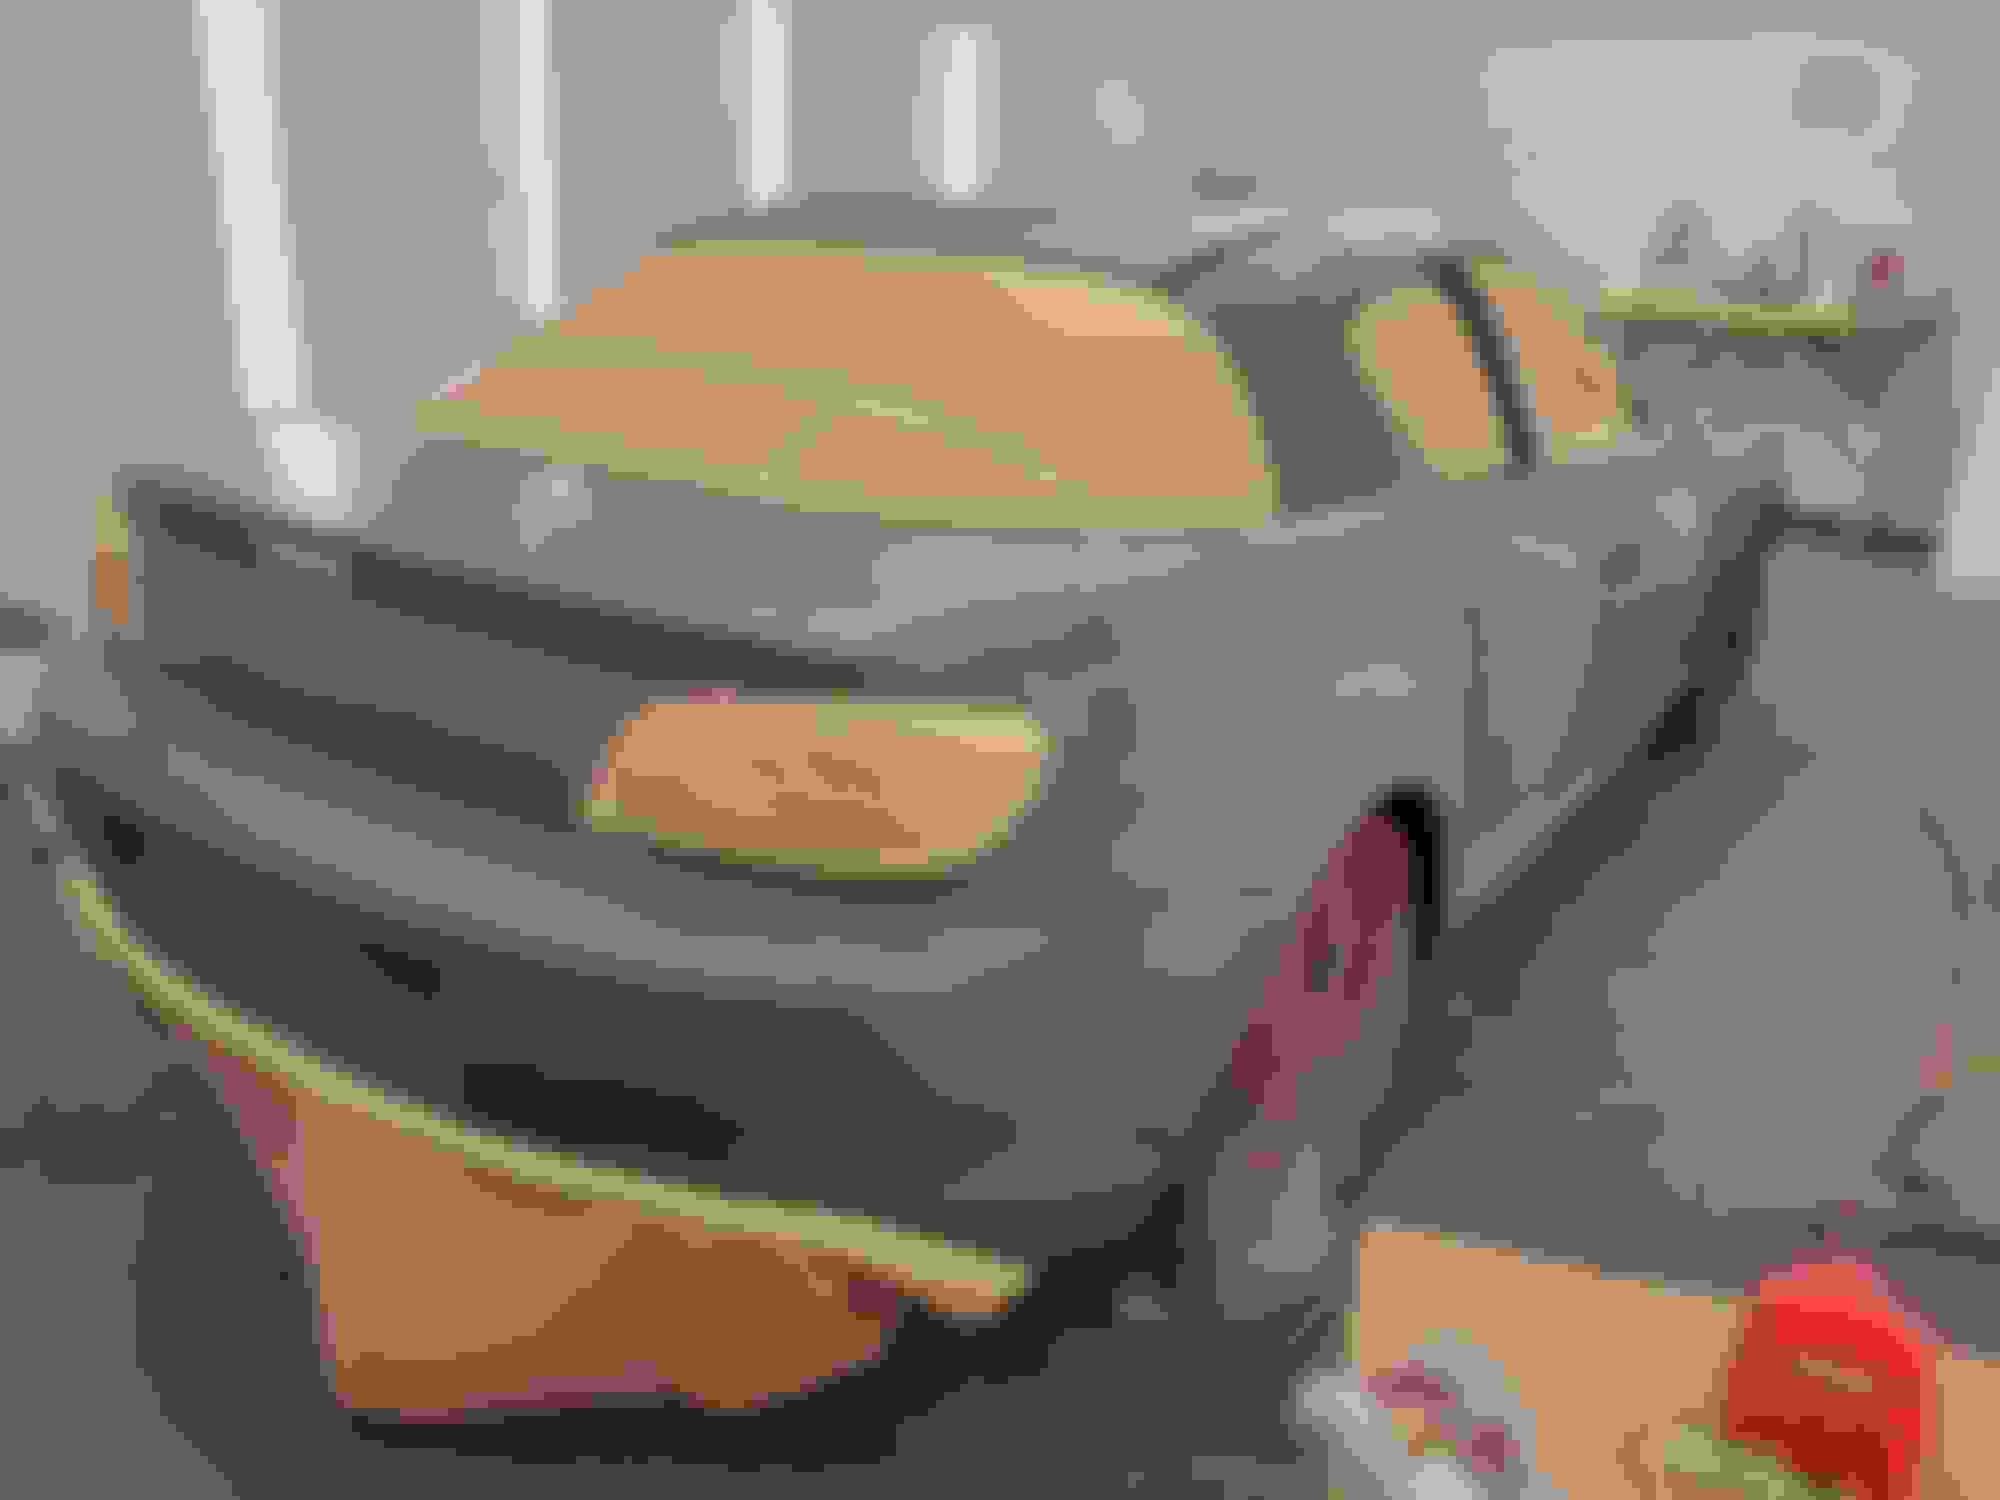
Then we took the rear doors off and masked things off in prep for some epoxy primer. Once the bare metal is all sealed up with epoxy primer we'll move to fiberglass and filler. Can't wait to be on the road in 2021 again. Starting to see the light at the end of the rusty tunnel
Oh I also scooped up this Racing Beat midpipe on Kijiji! Guy didn't know what he was selling managed to get it for $80. Fixing my BHR pipe will be the end goal... I like the resonator construction better... but this pipe will be a direct fit so I can get to premixing
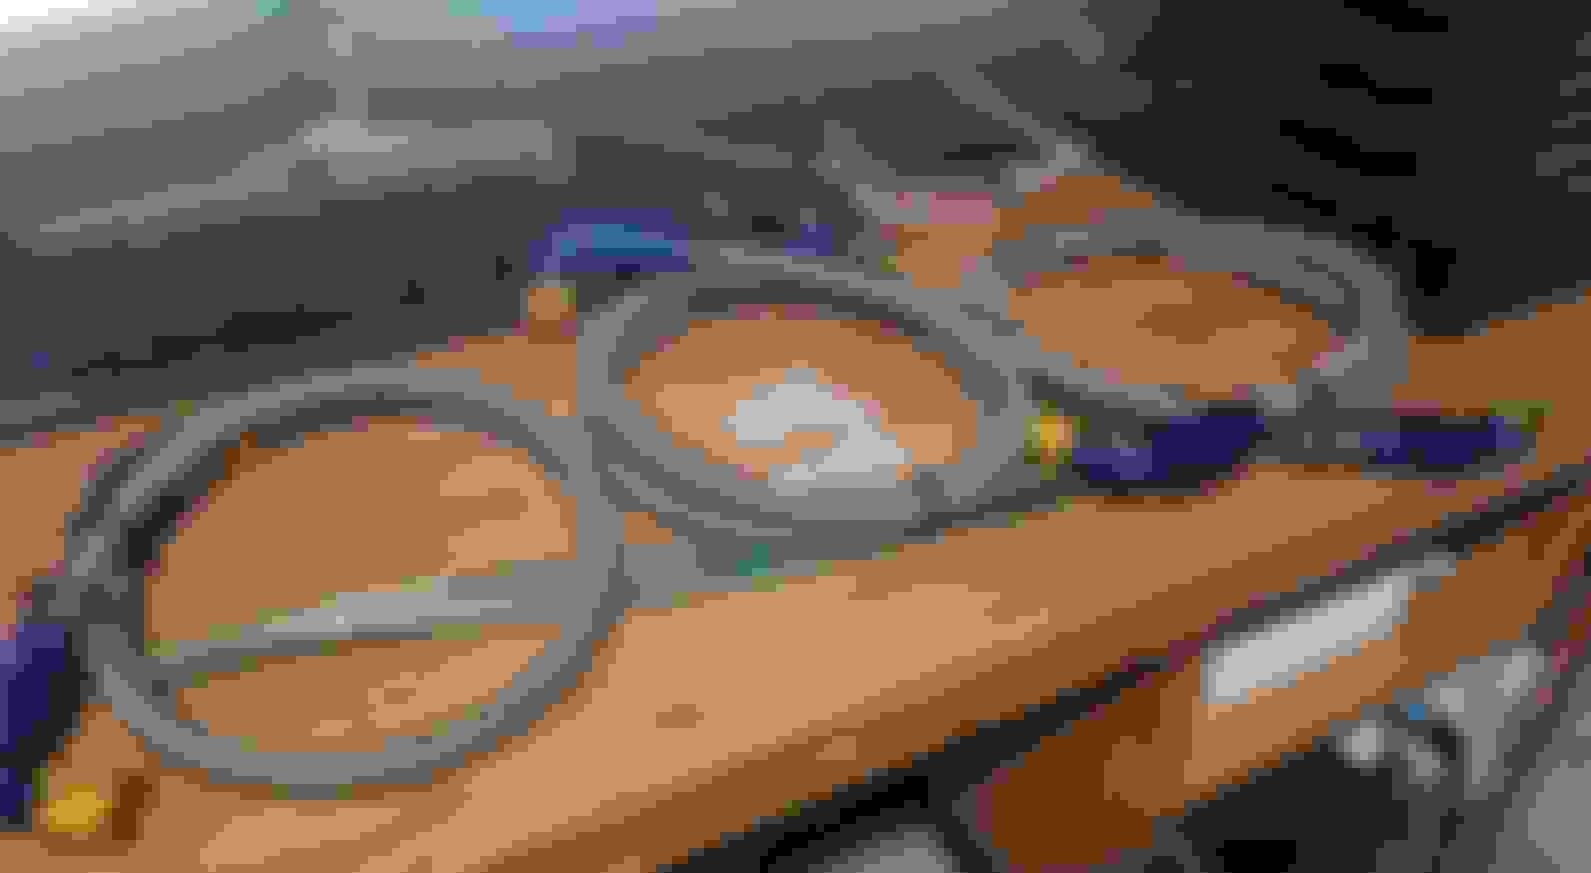
And more of a "need" than a "want"... some new oil cooler lines from TREX. They took almost 2 months to arrive, not thrilled with the service there but at least they're here now.
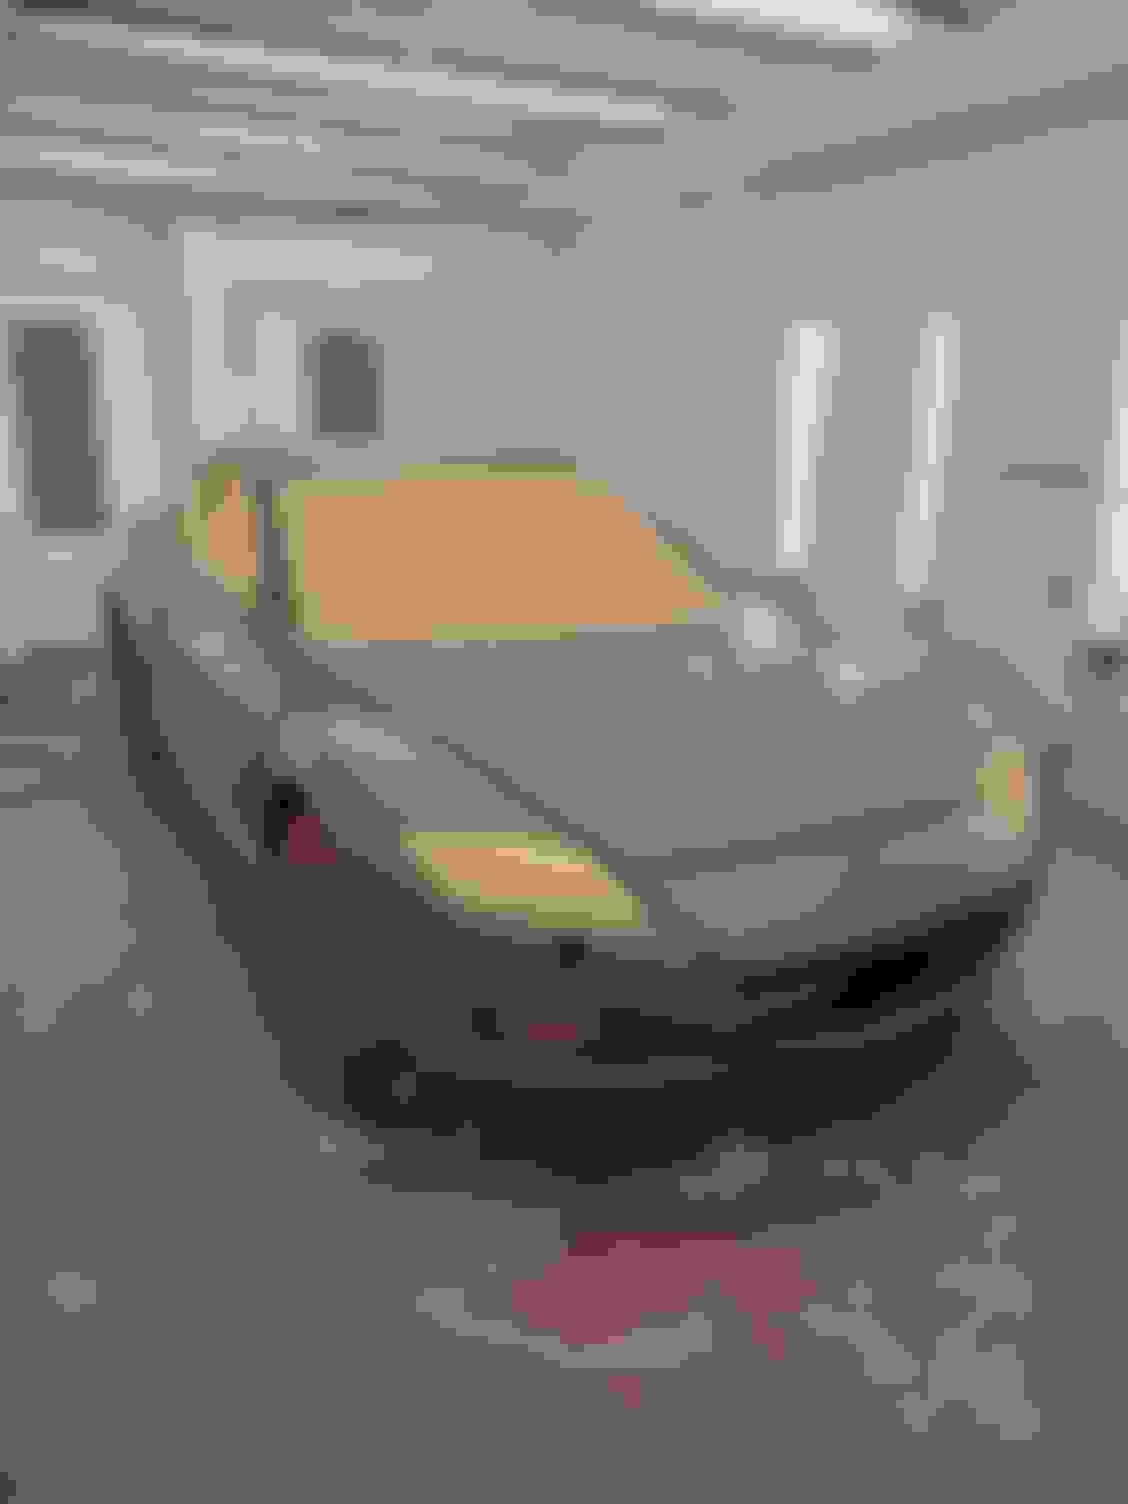
Hit it with primer last night....so satisfying to just see the panel as a solid colour. You can see by the time we got to the second panel we've already improved a lot lol. The first (passenger) side will still require some work before applying fiberglass but the driver side is pretty much ready to go.
Its been a lot of sanding, and masking, and filling, and sanding, and masking.... and today, it was priming. There is still a bit of work on the rocker panel but the quarter panels are mostly there, the priming helps see things in a better light. It is so satisfying to see the car in one colour again. Going into it I knew nothing about masking and now I know a bunch of techniques and feel pretty confident with it which is good. My spraying isn't bad either but I'm leaving it to my more experienced buddy (below) for the final coats.
What the ffffffffffff....... MORE rust? Behind the mirrors? WHY?! I dont even know what I'm going to do about that. Going to have to chop it and put a new piece in and hope my mirrors fit flush. More setbacks.......
Also want to give a shout out to good guy @Dodo23 who had this beautiful Greddy Spectrum Elite exhaust up for sale in the summer ... and although he was across the country in BC, and had multiple local offers.... he held on to it as long as it took to build a wooden box by hand, and safely ship it freight all the way to me in Ontario (4250km). It's such a beautiful exhaust.... and like all my car parts this also passed Kingston's nose inspection.
(not my picture below)
Almost forgot... I also picked up these carbon fiber hydro-dipped engine bay covers from the same person who I got my AEM intake from. @iverzc thanks again buddy !
Currently in the middle of doing rust repairs on my 8. The arches aren�t as bad but the floors are horrendous 😴 Nice to see someone else repairing instead of throwing away! Keep up the good work
I�m doing the same to our black 8 too at the moment. Found the same Rust behind the mirrors... but rear fenders and sills are the worst on mine. German winters are not good for the 8 .... its a 2004 model that had no good protection to begin with. Our 2007 one is still in great shape without any rust at all but they put in some grease/wax from the factory.
Thanks for reading guys 🙂 I haven't posted much here... I was I could say things moved along quickly but it has been slow. I'm working on the car 2-3 times per week but it always seems to hit set backs. I was pretty discouraged for a while as I saw another summer slip away.... But as my girlfriend said, "shavings make a pile" and I have been trying to remind myself of that.
The body line that runs through the 8 and the wheel flares have been the toughest to do. A few weeks ago I thought we finally had it but when we peeled all the tape back the line was not even on both sides of the rear wheel.... Tough to describe, but frustrating and time consuming for amateurs to say the least.
Today we ironed out what I THINK is the last bits of the body line and wheel arch. I honestly don't even care anymore I just want to ******* paint it and drive it haha. Couple more pics to hold you over until something nice to look at
It's good to see someone treating the 8 with some respect instead of how the poor things are usually beaten to death or modded in ways to destroy the value. It'll all come out in the end, I've had one in project status for 4 years and is only now coming back together. I'm jealous of the exhaust system, nice score.
Thanks guys .. it was a lucky chance that I was chatting with dodo23 when he was getting rid of that exhaust, it's one I quite like too but haven't installed just yet.
Just a teaser for now .. More pics in a couple days
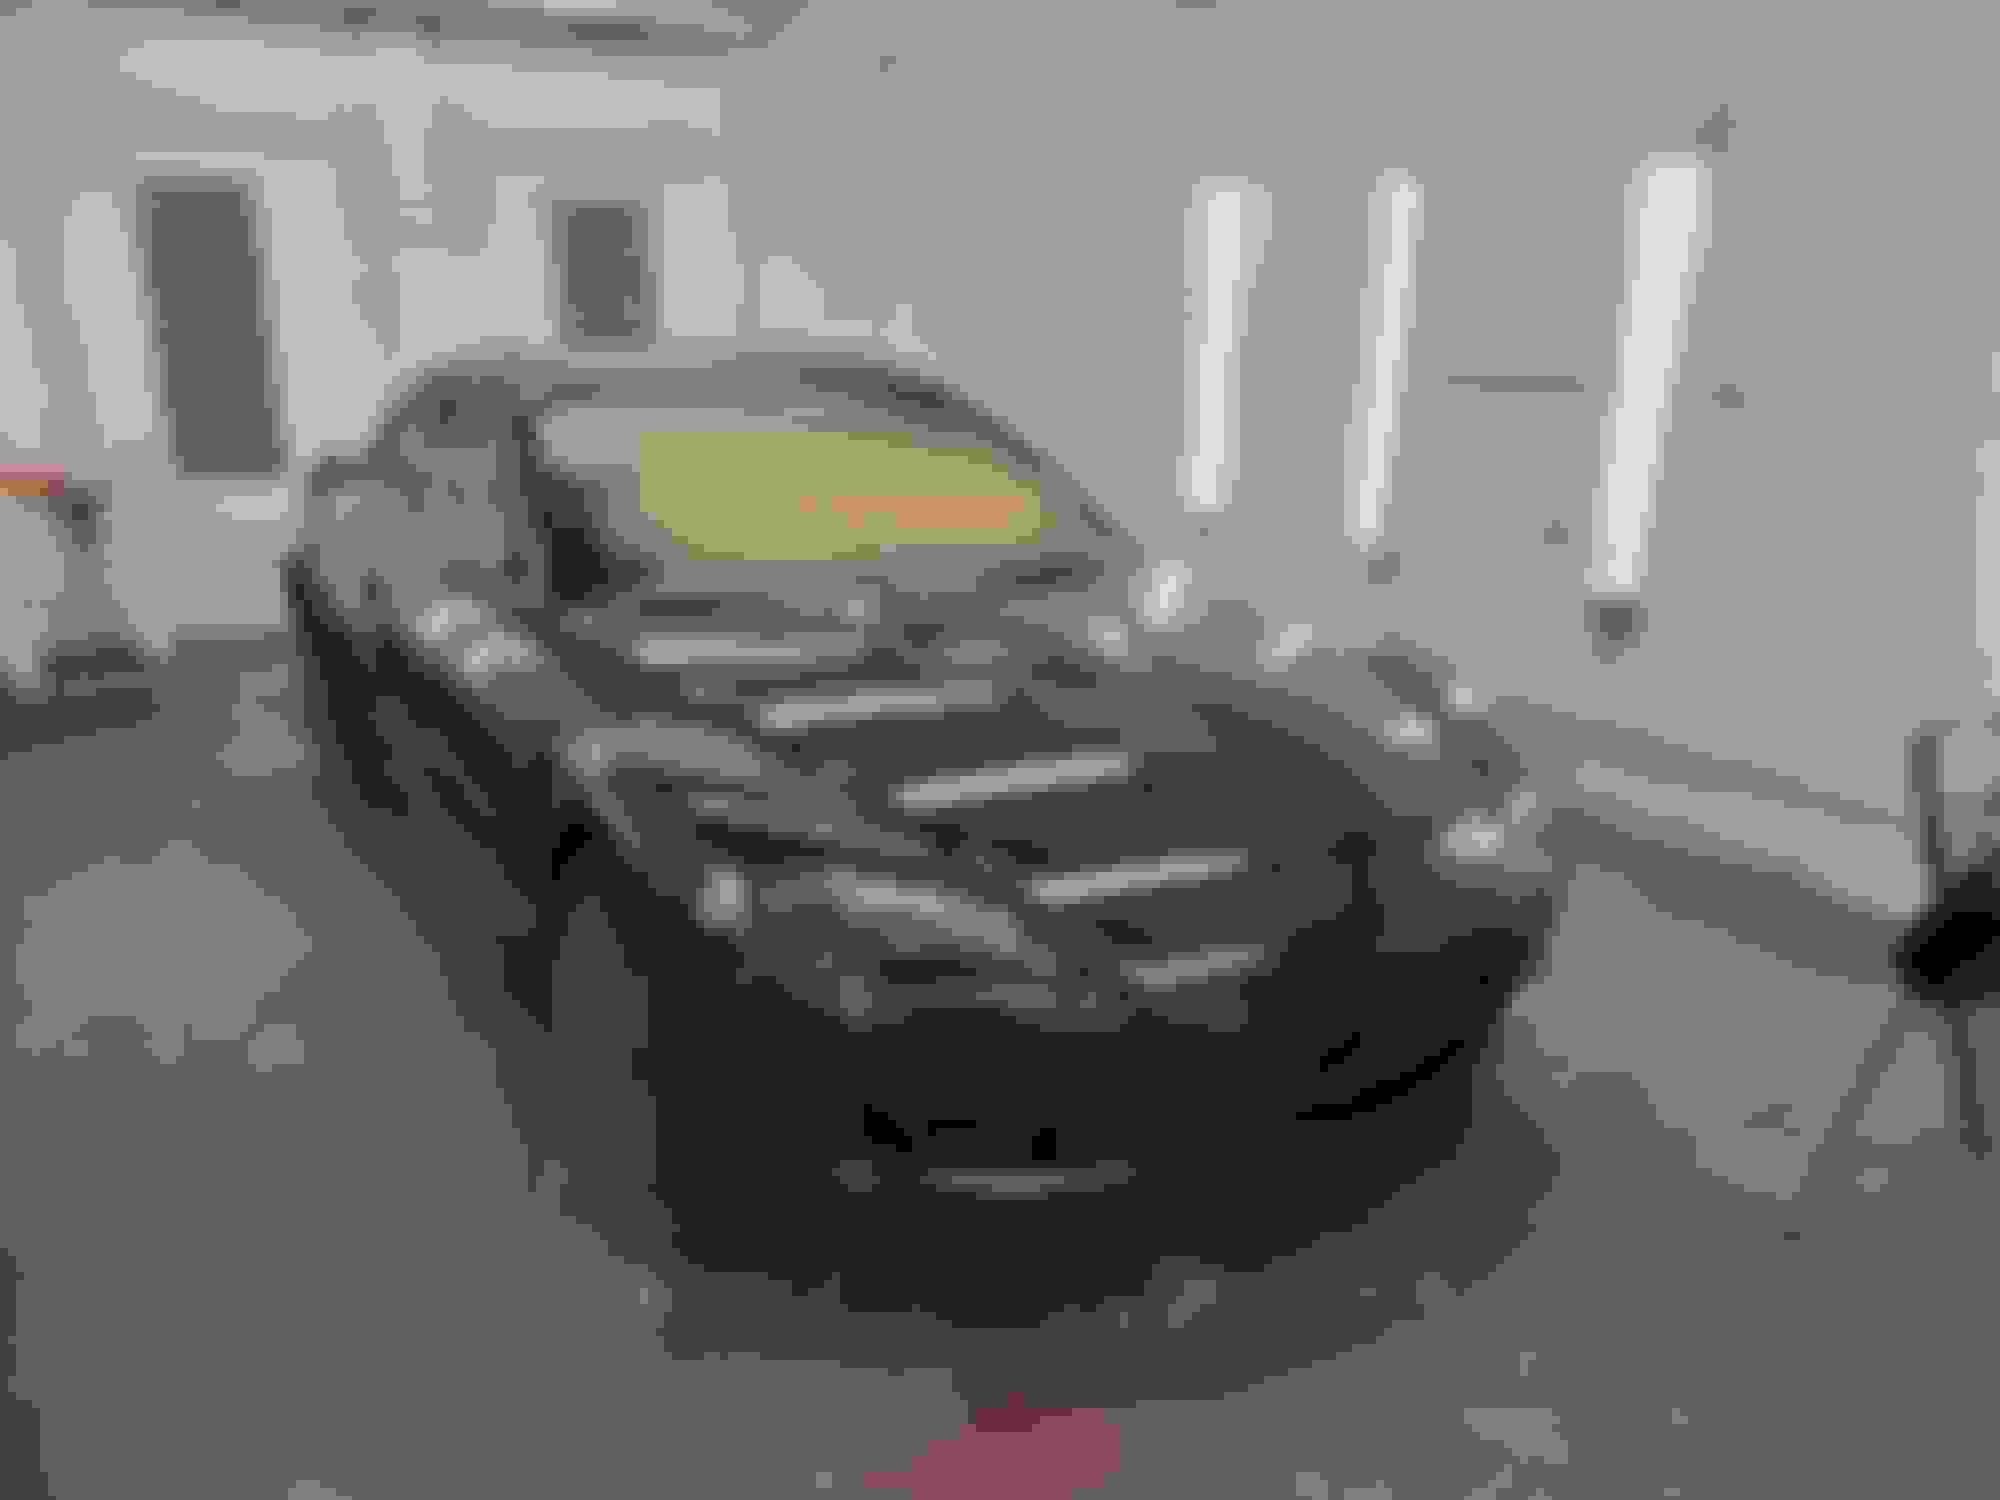
Few pics of paint day. Got the ol pro George to help me out. He is a friend of my Dad/buddy's and has been painting a long time. Probably could have tackled the job with my buddy but it was nice to be able to hand over the reigns for a bit.
Biggest test... How does the body line look!? Can you tell we chopped that quarter panel in half :D
Still don't have all the aero trim and windows and stuff in but... It's good to be back in one solid color
Thanks folks! Hope to get it all buttoned up for a few nice autumn pictures haha. Was really bummed to not be able to make it to the GTA (Toronto) Rotary meet this year but next spring should be for sure
For the rusty mirror area...I did the only thing Kip (I'll stop calling him my buddy now) would allow me to do. Cut it out and weld in new metal lol.
I don't have a great picture of that actually.... But you can kind of see here. Luckily the 3 holes for the mirror bolts were ok so we only had to replace some strips of metal in between and give it a couple 90 degree bends to match