When you click on links to various merchants on this site and make a purchase, this can result in this site earning a commission. Affiliate programs and affiliations include, but are not limited to, the eBay Partner Network.
You can see in the pictures what I did. And this works fine if both wheels move up and down at the same time. But the issue is, If one wheel moves up independently from the other, the one wheel being pushed up is well supported, but the opposite side will receive a pulling motion. The end result of this could very well be a broken sway bar link ear on the control arm. And I have ripped these off on one of my Miata track cars before. Im not to fond of this, and I have yet to figure out a solution, but I have other things to focus on at the moment. Im sure someone will speak up.
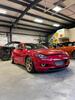
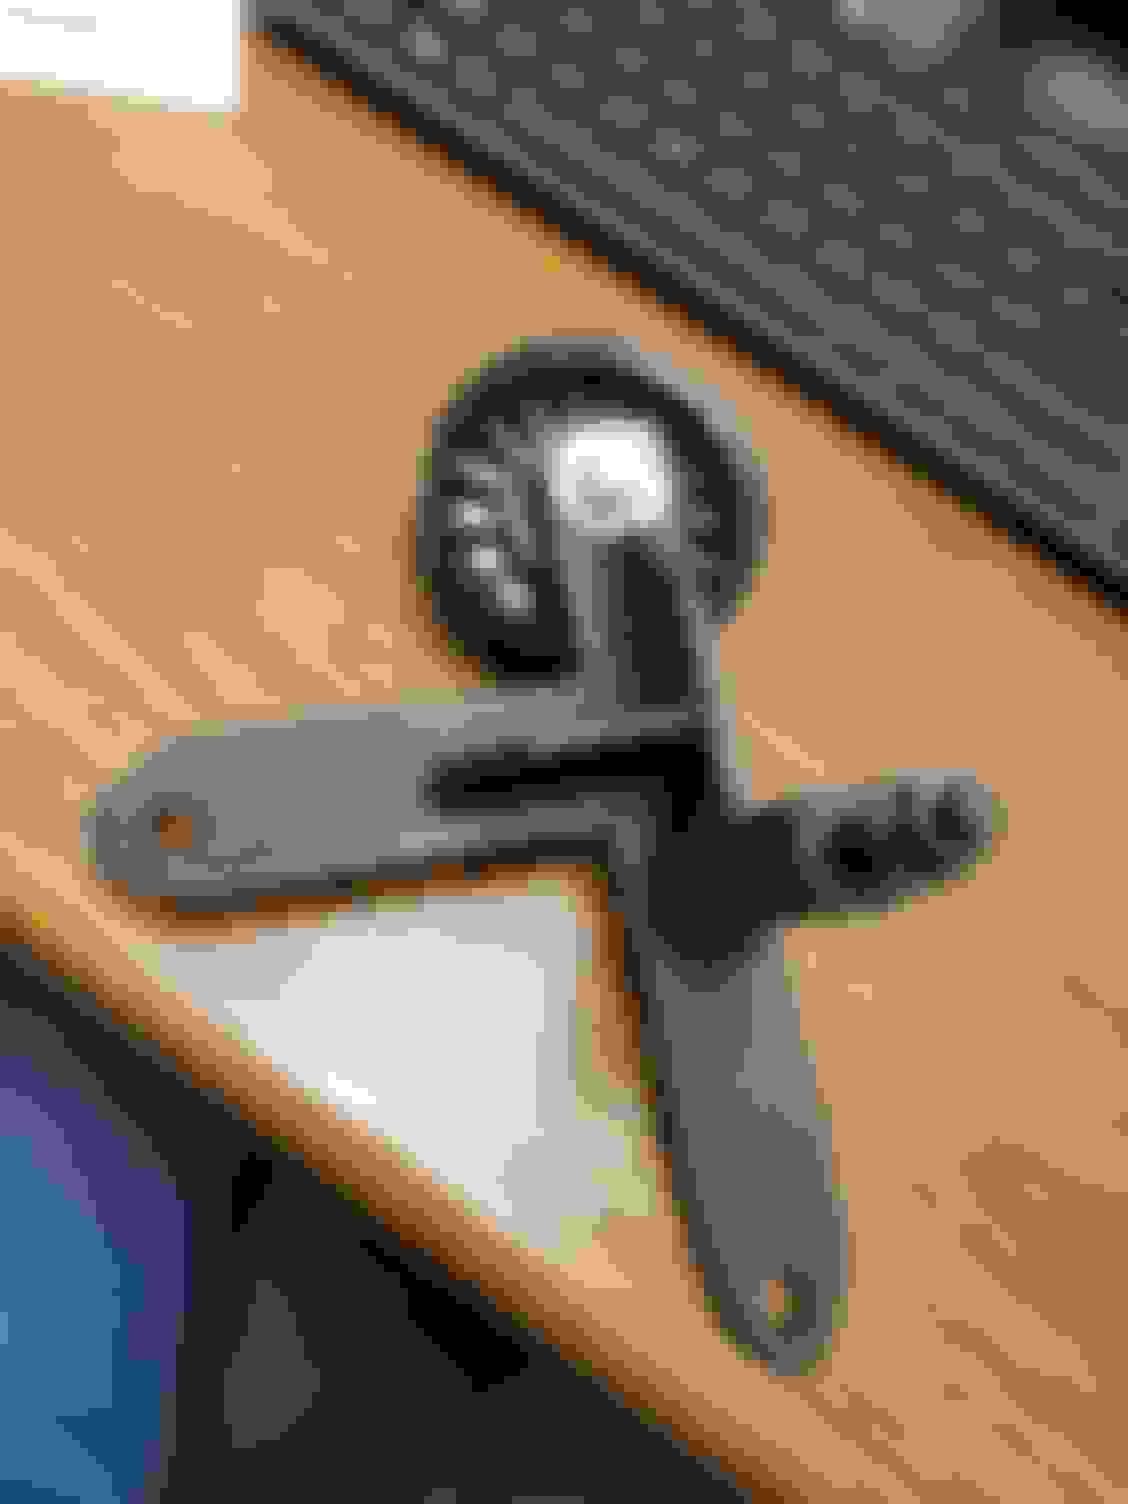
Well, there was more $ involved than $550. But, looking back, as far as the motor mounts are concerned, I would have just bought the Sub-Frame Plate Kit and made my own mounts (And I still may). They are pretty well made and cut on a water jet, so they look nice. But when he fixes the fitment issue, it should be a non issue. They steering kit was okay. I personally didn't care for the angle it left the sway bar links in, and ended up going to some adjustable ones and made some supported extensions for the control arm side, which I'm still not to fond of, but it will have to do for the moment (I'll add some pictures soon). And the Steering Shaft Extension I ended up welding because I did not trust the Allen screws.
Is this Sub-Frame Plate Kit offered by Stephen? If so, I don't see it on his website. If not, please send me the link.
I'm honestly not satisfied with any of the suspension solutions I've seen (from a kit that is). Really looking forward to seeing how you button everything up. Glad to see the PmC adapter place a JZ engine as close to the firewall as possible with the RX-8 transmission.
What are you going to do with engine management by the way? Will you be running dual ecu's or going with the Adaptronic set-up?
There is only 3 companies that I know of that make some kind of suspension kit or subframe for the rx8 that I know of, V8 Roadsters, LS1RX8 and Hinson Supercars. Hinson, is about useless IMOP. Called 3 times, they said they would get back with me on a price and never called back. 3rd time I called they said "We are busy, so..... sorry". I will be using Adaptronic 100%.
And yes, it's very, very tight behind the engine. Tight enough you have to remove the plastic brackets and studs off the firewall that hold the brake lines.
And no, you will have to call Steven or talk to his brother on getting stuff separate. But they will sell you whatever you want piece by piece.
Oh, and to get the valve covers off if they ever leak, you will be removing the motor mounts to drop the motor down enough to get the bastards off. Happy Days
I'm not sure if you're aware of CX-racing's sway bar spacers. https://www.cxracing.com/products-by.../ESK-RX8-SWAYB
Pics are at the bottom, just scroll down a bit. Can't tell 100% that the positioning is any better but at least the quality of the piece looks pretty nice. What's your opinion on them.
I'm a little less knowledgeable with suspension systems in this regard. Apologize if it's a dumb question.
Also, are you rerouting your brake lines as well for this swap then? Or have you found a more flush mounting solution in the way you'll hold the brake lines in the OEM position?
The positioning on the CX Racing ones move it all in the right spot. But It doesn't solve the issue, all they did was add a "pivot" point off the shock bolt in order to obtain the desired position, and use a aluminum sleeve to bridge the distance from where the sway bar link originally mounted. As one wheel moves independently of each other there will still be a significant amount of undesirable leverage on the mounting ear on the control arm. Which could/would cause it to fail. Last thing I need is to be at the track or at The Dragon and have a sway bar come loose. And once the car is running, tuned and all the bugs worked out, upgrading the suspension system even further to re-obtain factory or better handling is my goal. And I'm sure this swap will upset the handling quite a bit. Where there was no motor in front of the strut towers before, Now there is a foot of engine in front of them even with the engine 1/2in away or so from the firewall. Including more weight. But, Odie@FealSuspension will help me sort the rest of this garbage out when the time comes.
The brake line can be held back against the firewall with some stainless rubber insulated and/or plastic cable clamps and it clears everything just fine. As long as your cool with putting a couple stainless phillips head tech screws in your firewall to hold the clamps. But everything is so tight on the passenger side, all of the exhaust, manifold, (including a turbo blanket) will need to heat wrapped. There is A/C lines, Heater Core Lines and that one brake line for the passenger wheel that don't need to get hot.
Thanks for the insight about the turbo side heat issue. I'll be ceramic coating everything on that side as well as adding what you suggested. I've heard great things about Odie and Feal in general. I have a set of coilovers I'll probably have him revalve in the future. Is he also going to help you with the sway bar mounting and such? Or just shocks/dampers?
Thanks for the insight about the turbo side heat issue. I'll be ceramic coating everything on that side as well as adding what you suggested. I've heard great things about Odie and Feal in general. I have a set of coilovers I'll probably have him revalve in the future. Is he also going to help you with the sway bar mounting and such? Or just shocks/dampers?
No Problem. He will help with just the coilovers and sway bar sizing. This will give you an idea of how tight everything is over on the turbo side.
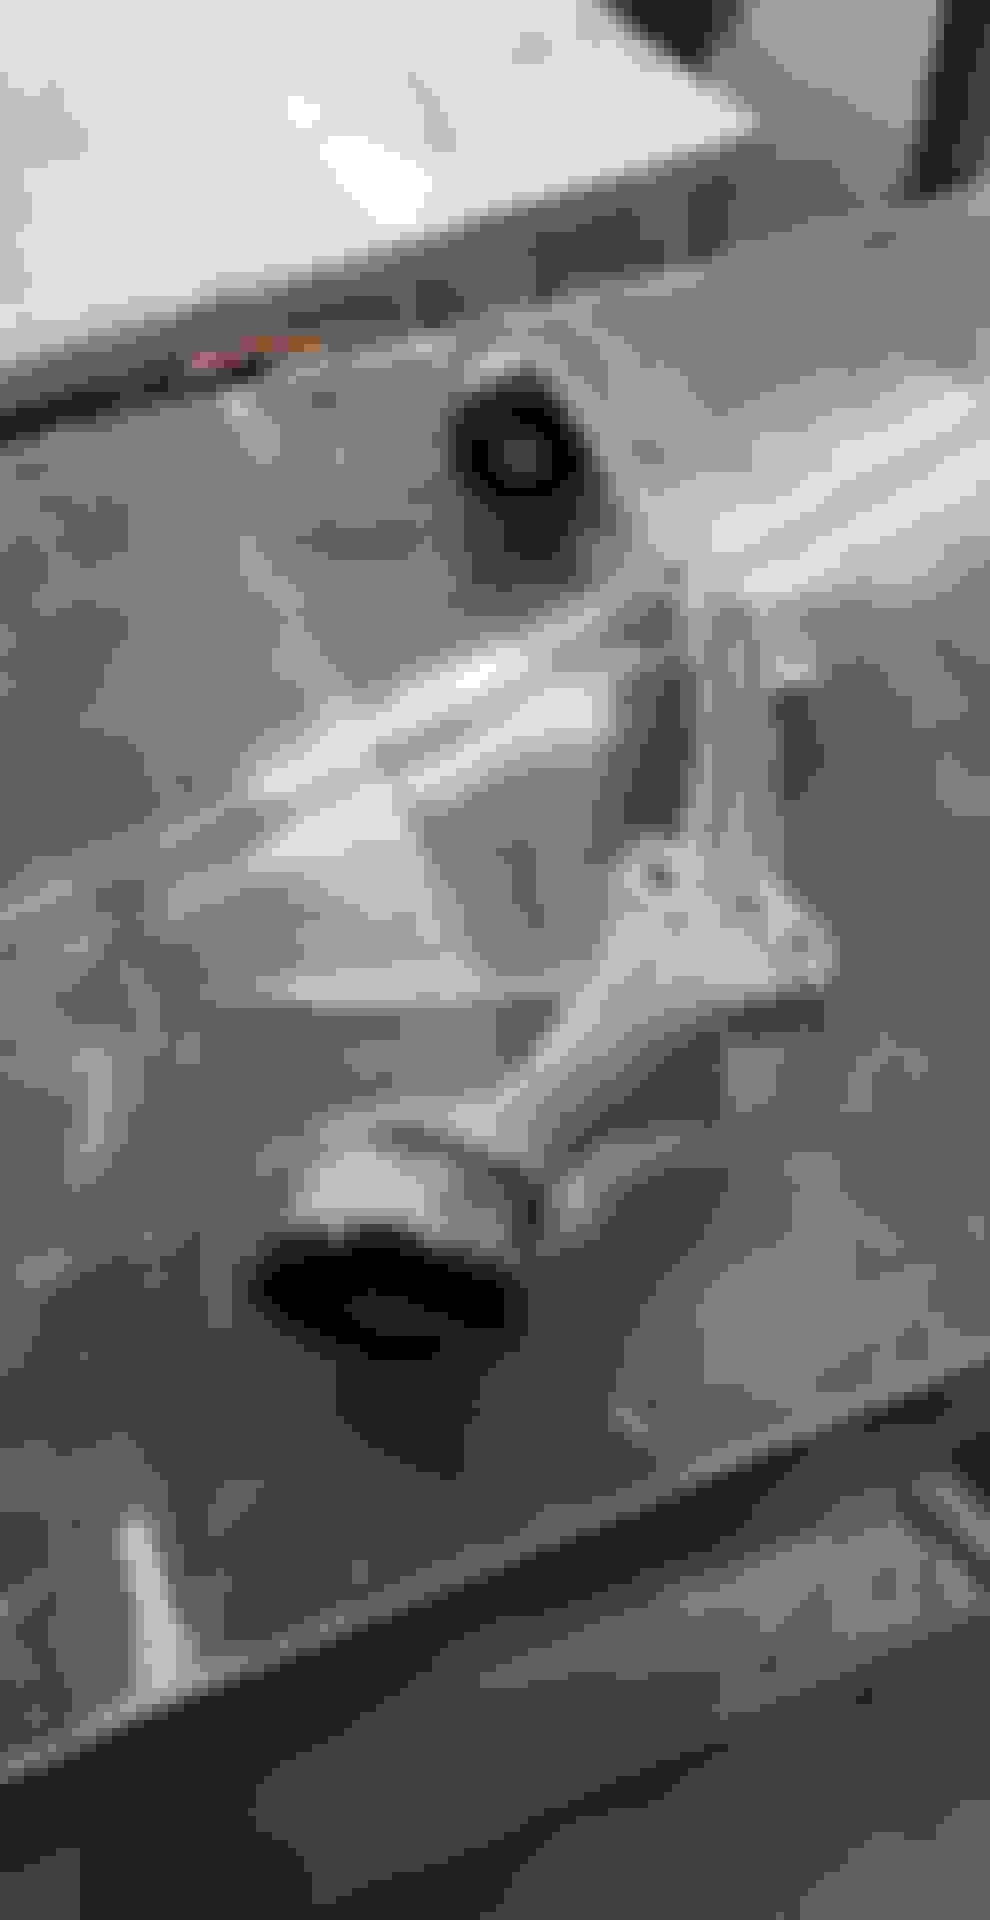
Okay, Intake manifold fitment : There are no clearance issues with the intake manifold on the firewall side. The issues you will run into as far as clearances are concerned is between the intake and the ABS pump. You will have to make some sort of bracket to hold the pump as close to the strut tower as you can get it. There is a picture showing how i did it. On the intake manifold there is some factory mounting/castings that must be removed for clearance issues as well. Once this has all been done, it is still relatively tight fitting, but you should end up with somewhere around 1/4in-3/8in clearance between the intake and the pump.
Not really. I have decided mid build to put the PRE 6765sp on the shelf and or sell and use a different turbo. I was on the fence about using this T3 6765 anyway because of having to adapt it to a T4 manifold. Its just going to be more trouble than it is worth. Currently looking for a EFR, Leaning towards a 7670...... I think....
This thread has been a massive amount of inspiration!
My PMC adapter kit is due to arrive on Friday, cant wait to make a start with my VVTI 1JZ,
Luckily my RX8 came factory 5 speed so no need to upgrade the box.
Sorry to go way back and ask a probably, totally simple question,
and your choice of Mazda 1x23x240mm clutch disk can be used. I have chosen Comp Clutch Part # 381087-0620 6 Puck Rigid Ceramic. This setup should hold almost 600 Ft Lbs of Trq. The R Box will break before the clutch does
Using this plate will be a fine offset and will disengage correctly?
We in NZ have a similar problem as you guys in US as none of the models came here and noone stocks the kits off the shelf.
I'd rather just like to order my clutch parts once.
Finally got around to finishing my power steering pump delete bracket. Apparently I'm the only one not using power steering but USING A/C. They make brackets for No Power Steering or No A/C. And even a fix for no a/c and power steering, but not just No Power Steering. I will post some more pictures tonight on how it mounts.
Finally got the correct belt for the engine the other day and got everything adjusted as far as belt alignment. I also FINALLY finished the differential bushings. I found out that you can actually remove the differential mount and replace the bushings without removing the entire diff. This may have all ready been known but it made me extremely happy regardless.
Also on a side note, I have located and purchased the shorter 2JZGTE Engine Mounts. These are shorter than the current SC300 mounts that I have, and I am hoping it will give me the needed room to either make the stock 2JZ stuff work, or at the very least let me be able to make a proper set of mounts. I will see this weekend. (UPDATE 3/20/2019 : THIS **** DID NOT WORK, WILL UPDATE LATER)
Regarding the removal of the diff mounts, did you have to lower the rear sub-frame at all, or were you able to access and undo the nuts / bolts with it all in situ?
Will be replacing my diff mounts soon as well, so any tips you can give would be of help.
Nice build thread too! Looking forward to the end result.
Thanks.
You have to take the Braces, PPF, Driveshaft and possibly the exhaust pipe (Mine was all ready out). Once all that is out of the way the diff will swing down. You loosen and remove the 2 17mm bolts on the diff mount, this will allow the diff to move down and the axles will rest on the subframe holding the entire diff in place. You then have enough wiggle room to slide the diff forward and rotate the nose further down allow you access to the 4 17mm nuts on top of the diff holding the mount on. After that you can move the diff around just enough to pull the entire mount out. It is kinda awkward/heavy so i suggest using a Jack to give you so help unless you have someone that can help you. Wasnt to bad.
So and update on the suspension. I was working under neath the car last night and i needed the wheel moved a bit to give me some elbow room, when i pushed on it I heard a click. So I got out from underneath and started checking. I grabbed the wheel and started to see if it had any play in it, which it did. Come to find out that the Heim Joints supplied in the kit from LS1RX8 are absolute trash. The joints are not tight and there is a clear clicking sound with everything tightened up like it is supposed to be when the wheel is rocked/moved back and forth.
So now I'm on the hunt for some quality joints. So I'm going to looking into QA1's, AFCO'S or Aurora's.