
1.8t 20v swap


Thread Starter
Registered
Joined: May 2016
Posts: 70
Likes: 3
I'll start by copying the first few posts from another forum to get us upto date.
I've decided that I'm going to do an engine swap in my track car project. More out of curiosity than anything.
I have no time limit on this, but will do my best not to let it drag on forever. Finishing off a xr2 turbo track car for a friend over the next week then this is top of the list. :wink:
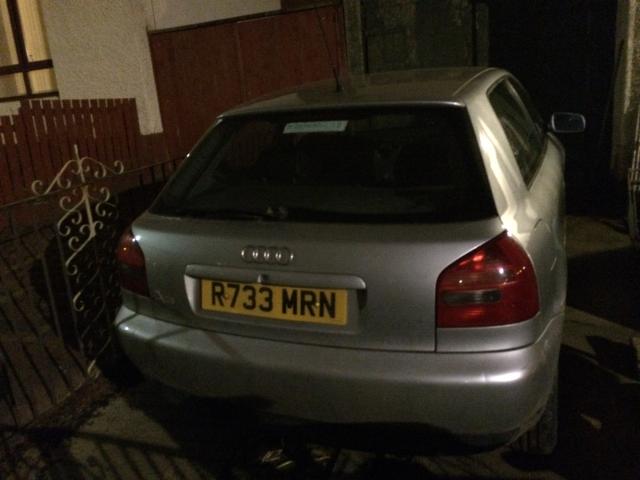
Engine I will be using is the VAG 1.8 20v turbo, not my first choice of engine. Cheap & plenty available. Massive market for tuning & one of the main reasons was, easy to use standard ecu.
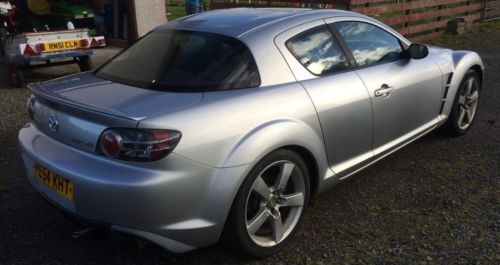
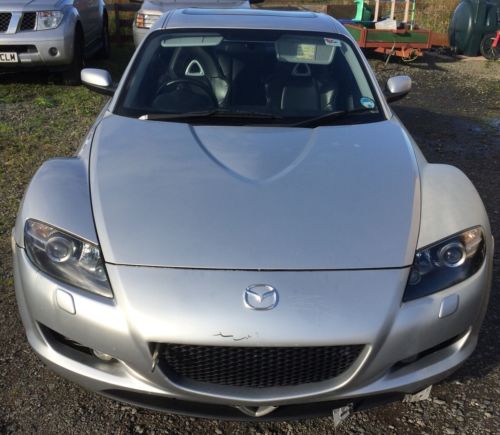
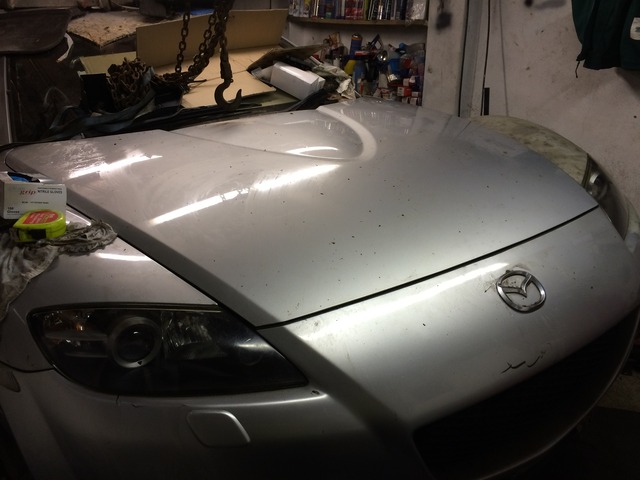
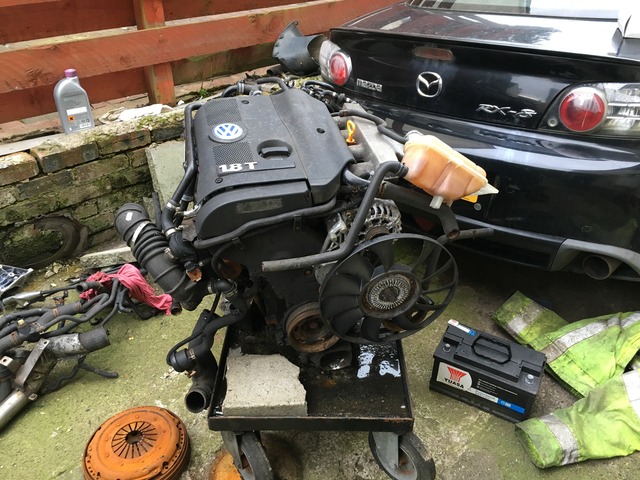
This is the RX8 I bought with low compression for �200
Got the car dropped off to remove the engine from.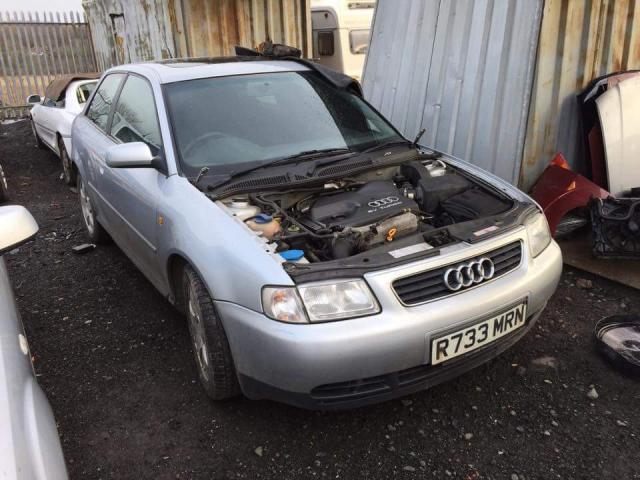

I'll do my best to answer any questions as I go. :wink:
Cheers John
I've decided that I'm going to do an engine swap in my track car project. More out of curiosity than anything.
I have no time limit on this, but will do my best not to let it drag on forever. Finishing off a xr2 turbo track car for a friend over the next week then this is top of the list. :wink:
Engine I will be using is the VAG 1.8 20v turbo, not my first choice of engine. Cheap & plenty available. Massive market for tuning & one of the main reasons was, easy to use standard ecu.
This is the RX8 I bought with low compression for �200


Got the car dropped off to remove the engine from.


I'll do my best to answer any questions as I go. :wink:
Cheers John


Thread Starter
Registered
Joined: May 2016
Posts: 70
Likes: 3
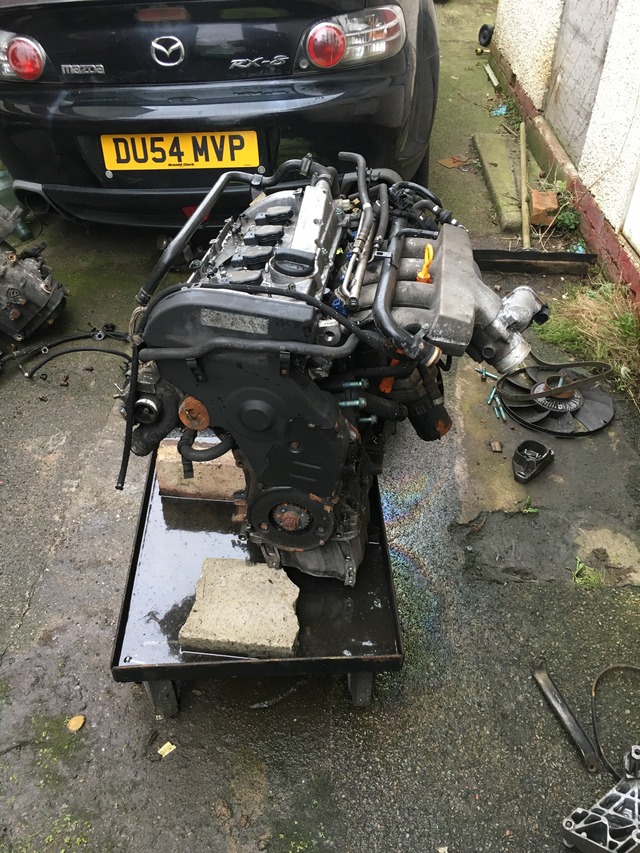
Removed the engine. Lots of seized & snapped bolts, as the car has been lying by the sea in Wick for 2 years before I bought her. #-o
Now the hard work starts. Collect a loan of a mockup block later this week.
Cheers John


Now the hard work starts. Collect a loan of a mockup block later this week.
Cheers John
Thread Starter
Registered
Joined: May 2016
Posts: 70
Likes: 3
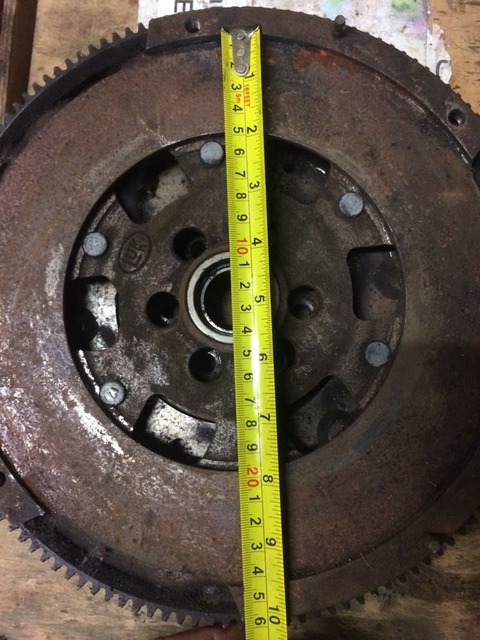
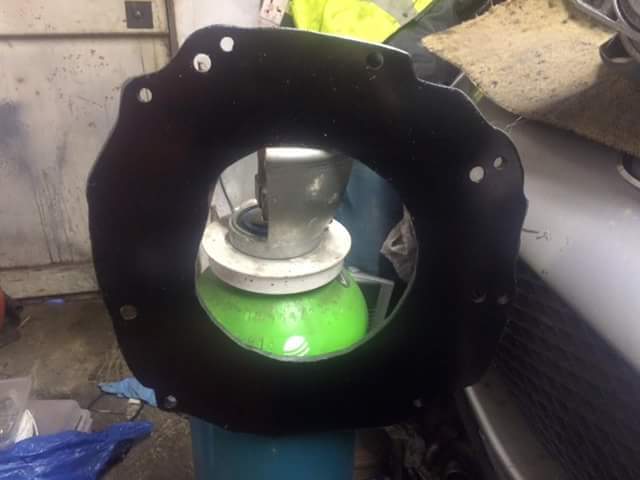
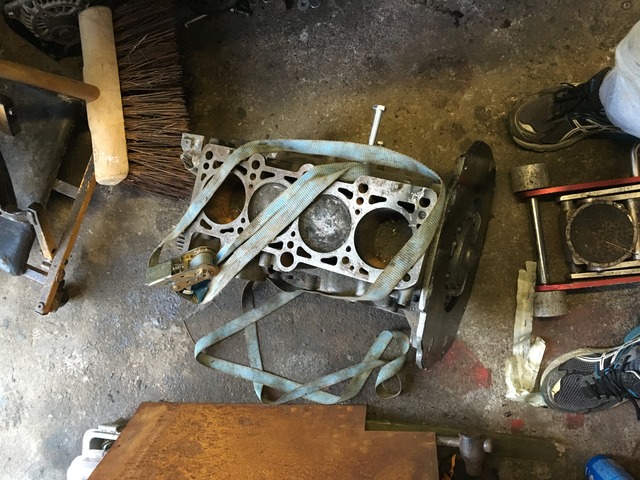
Well picked up a lone of a scrap block for mock up, so stuck it in to take a few measurements.
Also got donated a few old flywheels & clutches to have a play with. Have found a mix that might work. 1.9 tdi a4 solid flywheel (if I can find one at a reasonable price) with a 4x4 Sierra Cosworth friction plate & Audi pressure plate. Fly would need a lip machined on it to take the rx8 starter ring gear. Or get a custom fly made to take rx8 clutch. Once adapter plate arrives I can take final measurements & make a decision.
So most of my time has been spent like this. :roll:
Another 2 1/2 hours spent. Including picking up parts donated.
Cheers John

Also got donated a few old flywheels & clutches to have a play with. Have found a mix that might work. 1.9 tdi a4 solid flywheel (if I can find one at a reasonable price) with a 4x4 Sierra Cosworth friction plate & Audi pressure plate. Fly would need a lip machined on it to take the rx8 starter ring gear. Or get a custom fly made to take rx8 clutch. Once adapter plate arrives I can take final measurements & make a decision.
So most of my time has been spent like this. :roll:

Another 2 1/2 hours spent. Including picking up parts donated.
Cheers John
Thread Starter
Registered
Joined: May 2016
Posts: 70
Likes: 3
Broke out the CAD (cardboard aided design) to make a start on a mock up adapter plate. First plate will be made out of wood, just to check fitment & I can take all measurements from that. Saves money on wasted steal if it's not right. [-o<
Cheers John

Cheers John


Thread Starter
Registered
Joined: May 2016
Posts: 70
Likes: 3
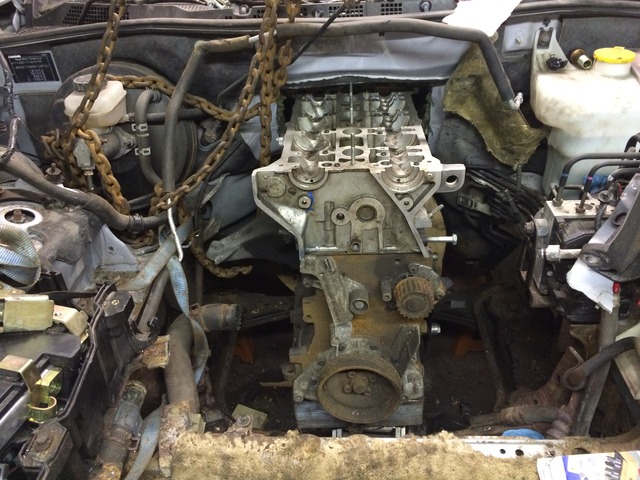
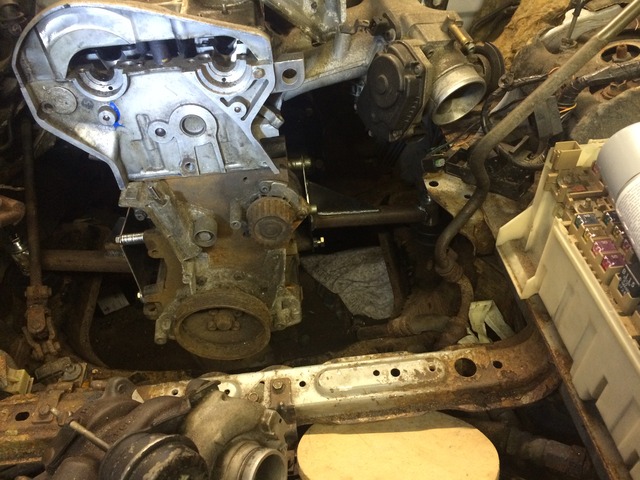
Spent some time, got the engine centred & at the proper hight in the bay. All measurements taken from gearbox on my rotary powered rx.
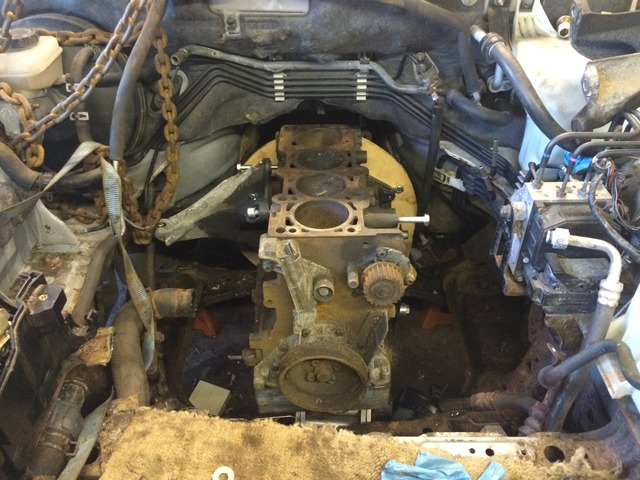
Sat the head on to see how much I'll need to cut the bulkhead. :shock:
Some more clearance required, could just use a bigger gearbox adapter, but want engine as far back as possible.
Cheers John

Sat the head on to see how much I'll need to cut the bulkhead. :shock:

Some more clearance required, could just use a bigger gearbox adapter, but want engine as far back as possible.

Cheers John
Thread Starter
Registered
Joined: May 2016
Posts: 70
Likes: 3
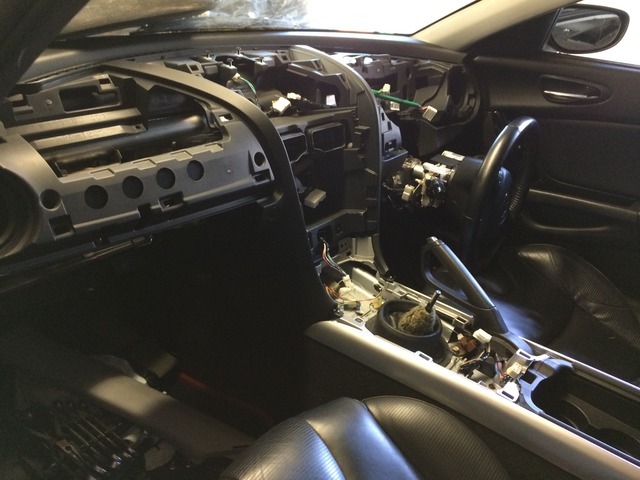
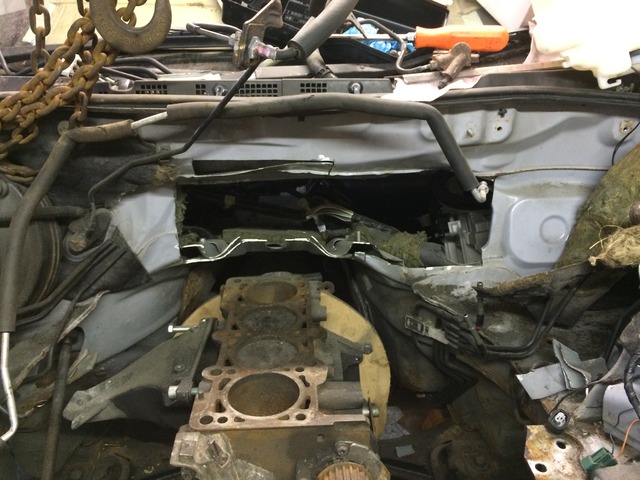
Unfortunately I didn't manage to make the road trip this weekend. :roll: But did put some time to good use.
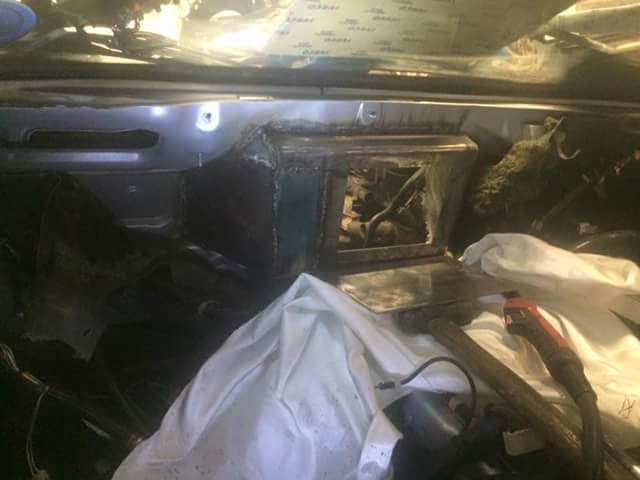
Dash looked so nice at the start of the day.

But it had to go.
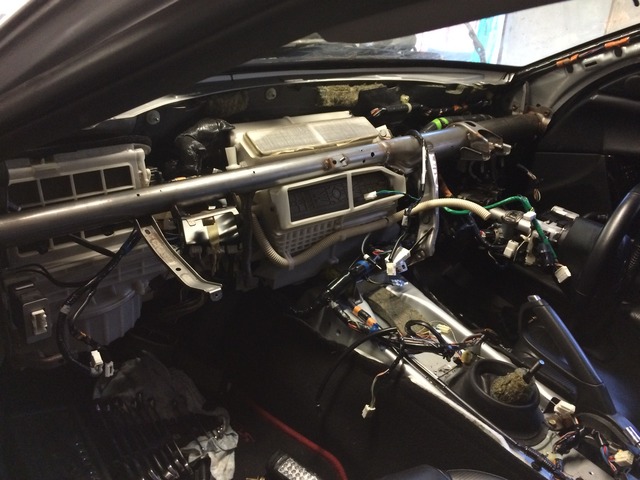
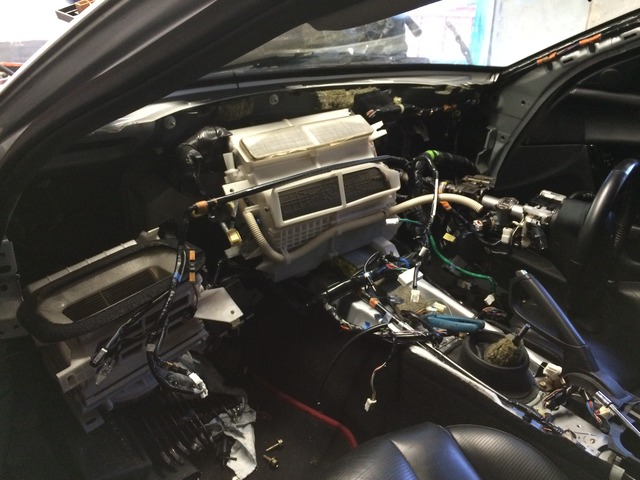
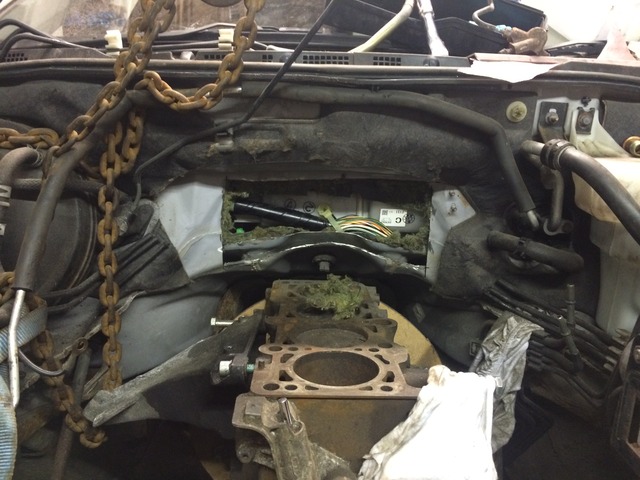
Gave me the acess to cut the bulkhead so I could get the engine as far back as I want. Still lots of clearance needed & then work out how I get a heater back in her. :-k
Cheers John
Dash looked so nice at the start of the day.

But it had to go.


Gave me the acess to cut the bulkhead so I could get the engine as far back as I want. Still lots of clearance needed & then work out how I get a heater back in her. :-k

Cheers John
Thread Starter
Registered
Joined: May 2016
Posts: 70
Likes: 3
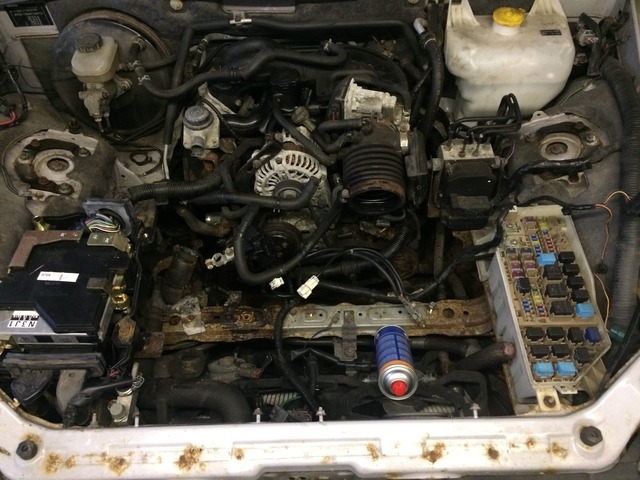
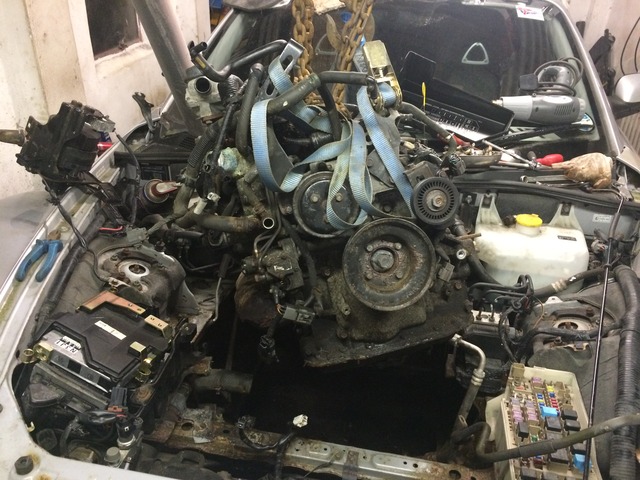
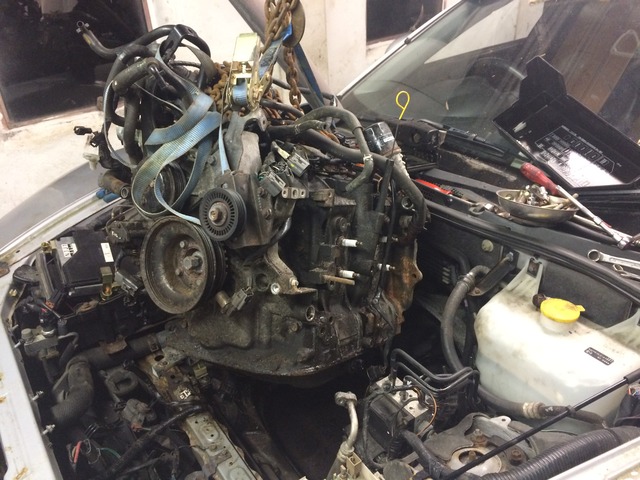
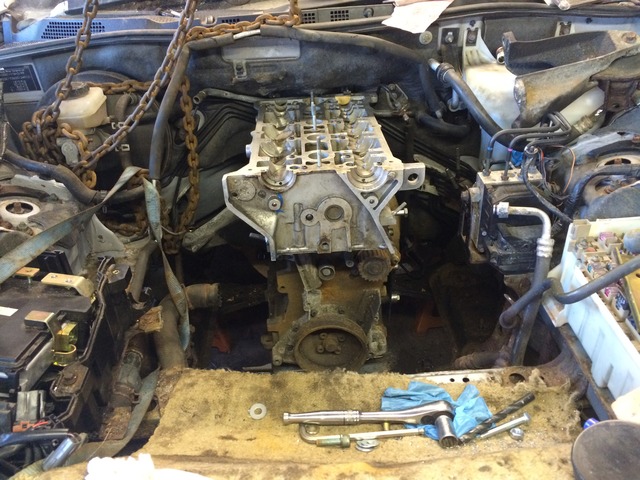
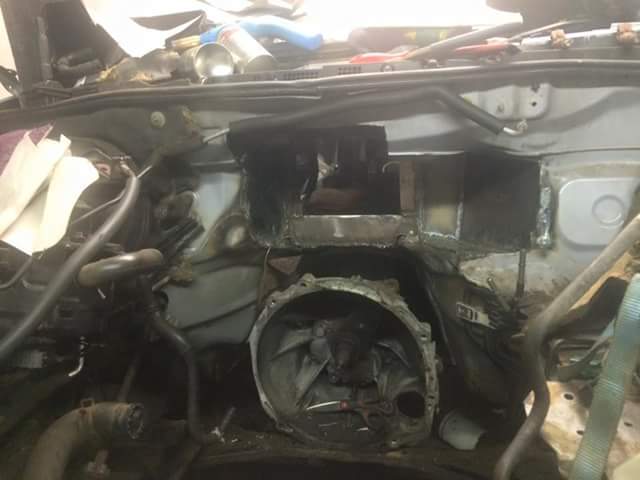
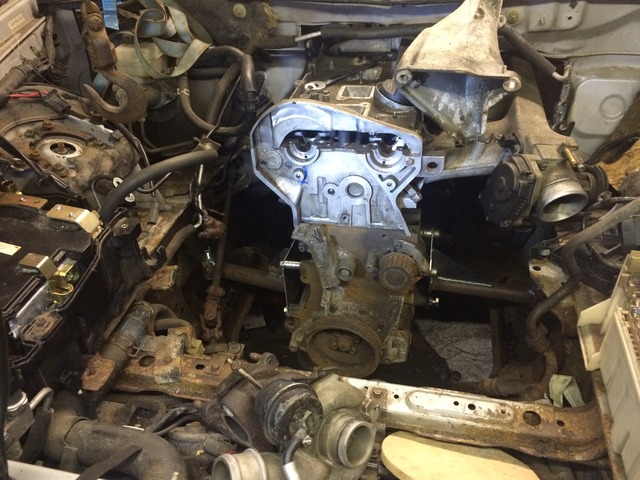
Most of the engine physical in the bay today. Lots had to come out the bulkhead. Need to put a bit of strength back into it next.
Inlet on.
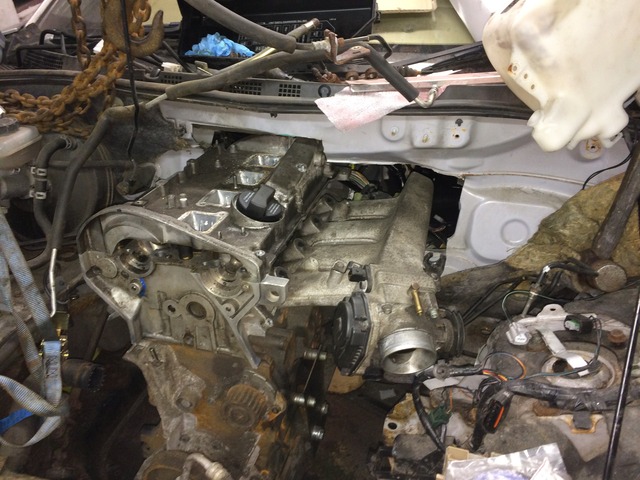
Exhaust manifold on. This isn't the one I'll be using. Proper one I have has the turbo further forward.
View from inside the car. Might not need fancy gauges. Passenger could just lean forward & feel intake & exhaust temps. :P
Bonnet even fits. :D
Cheers John

Inlet on.

Exhaust manifold on. This isn't the one I'll be using. Proper one I have has the turbo further forward.

View from inside the car. Might not need fancy gauges. Passenger could just lean forward & feel intake & exhaust temps. :P


Bonnet even fits. :D

Cheers John


Thread Starter
Registered
Joined: May 2016
Posts: 70
Likes: 3
The goal is to have a cheap fun track car. Original plan was to build a Locost 7 style kit car. But when you pick up a 8 for �200, it's was a ready made rolling chassis. Engine it quite short & fits behind the subframe, cheap, readily available in Scotland & easy to tune. Not looking for big power. Around 300 to 350, will be fine.
Cheers John
Cheers John
Thread Starter
Registered
Joined: May 2016
Posts: 70
Likes: 3
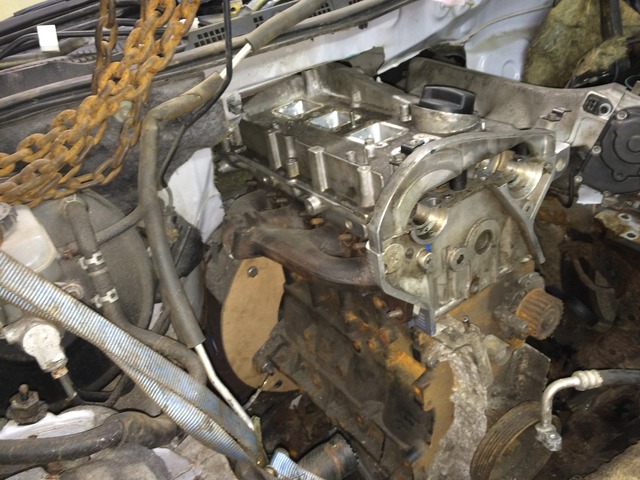
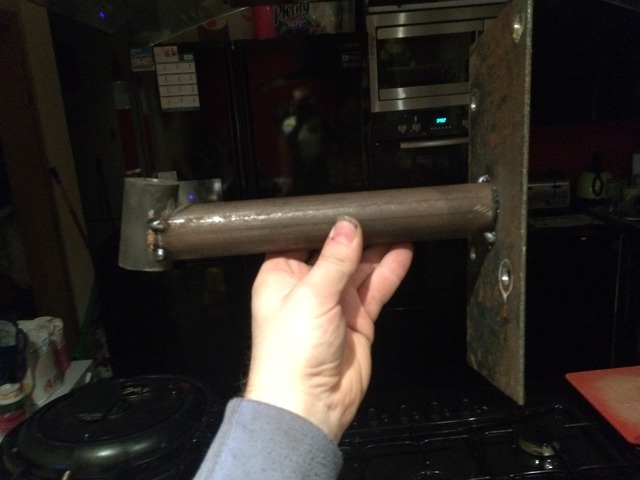
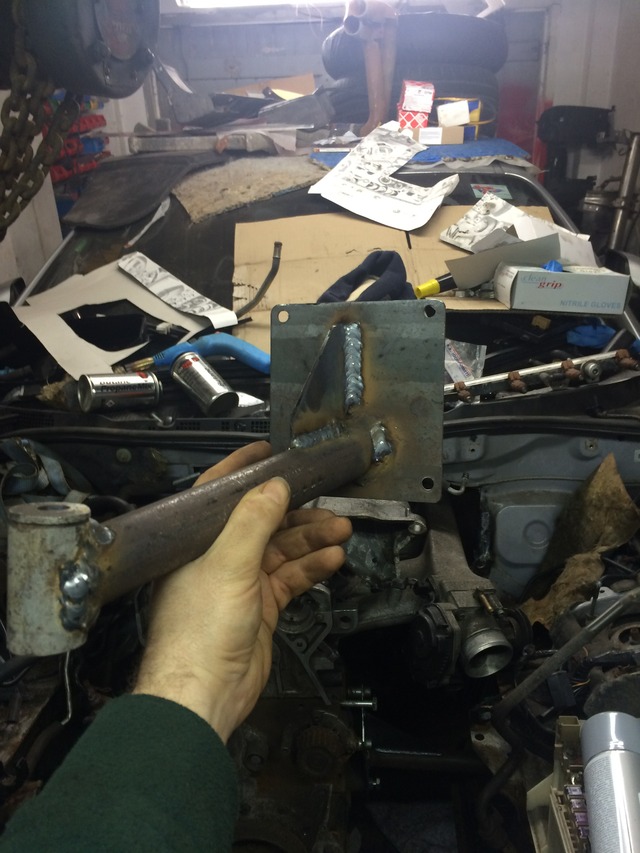
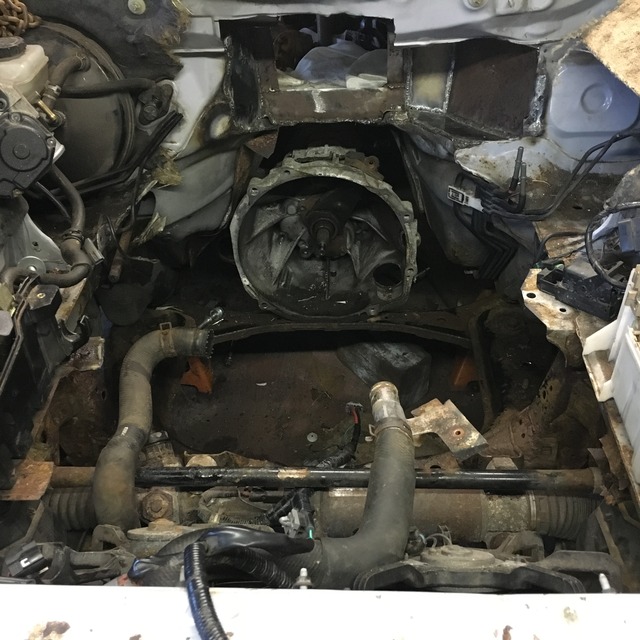
Sorry guys not had much time to spend on the car. But managed to get some time during the week to make the adapter plate.
Made the new bulkhead this weekend. Have left a removable inspection plate, to allow access to the rear of the engine.
Should be enough room for the engine now.
Plan of action for this week is to get engine back in with proper plate, make engine mounts & take final measurments for flywheel.
Hope to keep this post moving & updated now.
Will update time spent ASAP.
Cheers John


Thread Starter
Registered
Joined: May 2016
Posts: 70
Likes: 3
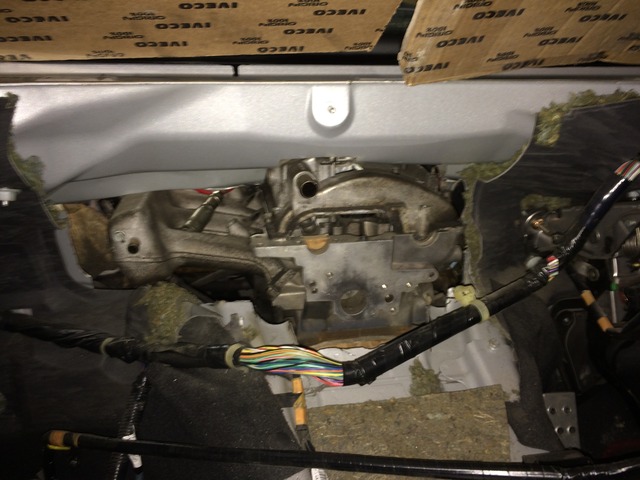
Made a start in the loom last night. Note to self, if someone who knows, tells you to try & avoid a loom from a Passat or A4. Next time listen. Most of loom is incased in a foam/tar, that has to be removed. #-o
Started like this
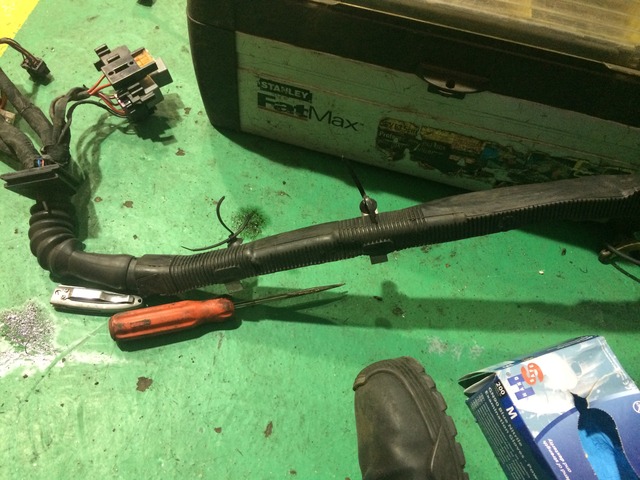
Got it this far before I needed a break, it really is a nightmare.
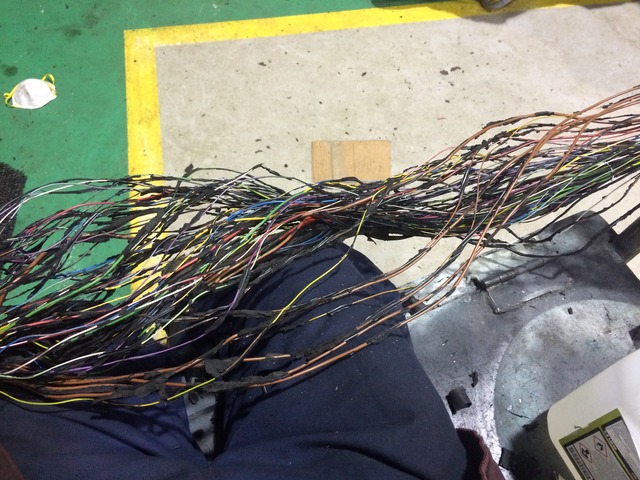
Everyone in work thinks I'm mad, sitting doing this on my teabreaks. :P
Cheers John
Started like this
Got it this far before I needed a break, it really is a nightmare.
Everyone in work thinks I'm mad, sitting doing this on my teabreaks. :P
Cheers John
Thread Starter
Registered
Joined: May 2016
Posts: 70
Likes: 3
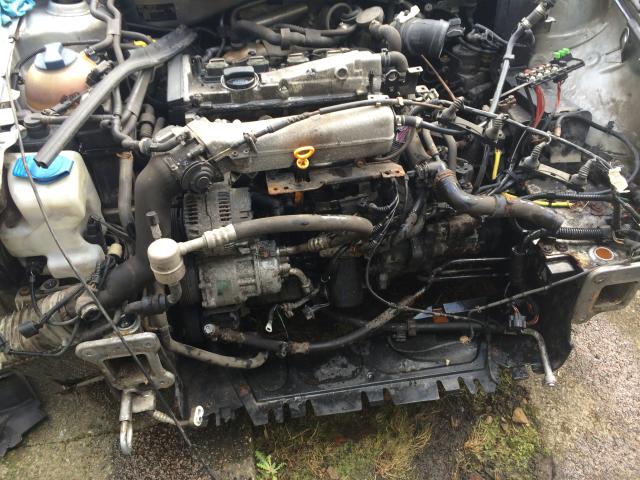
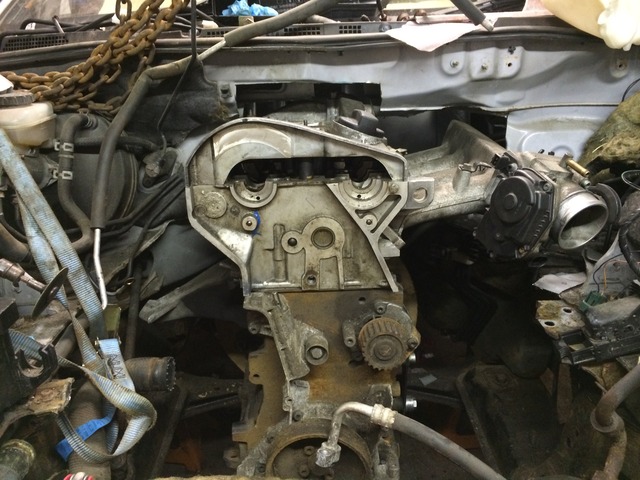
Got the engine decluttered a bit for fitting in. Also cleaned up a bit too.
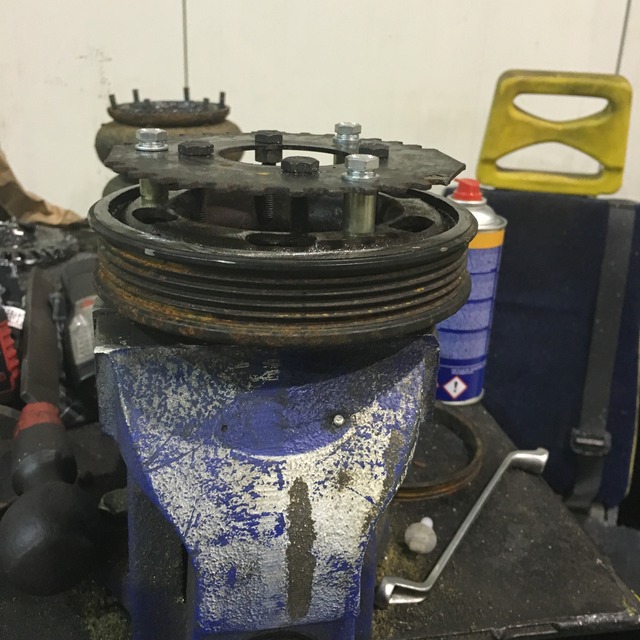
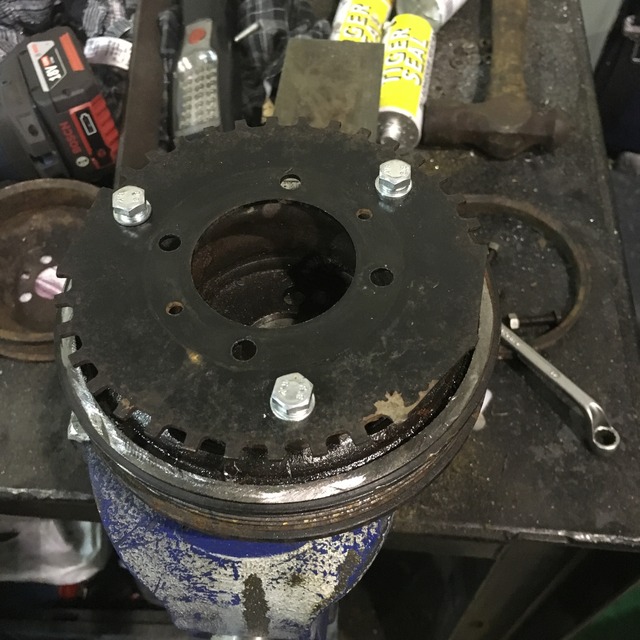
Also cut down the front pulley & mounted the RX8 trigger wheel. This is needed to send a signal to the RX8 ECU & should make the Rev counter, power steering & ABS work.
Original pulley
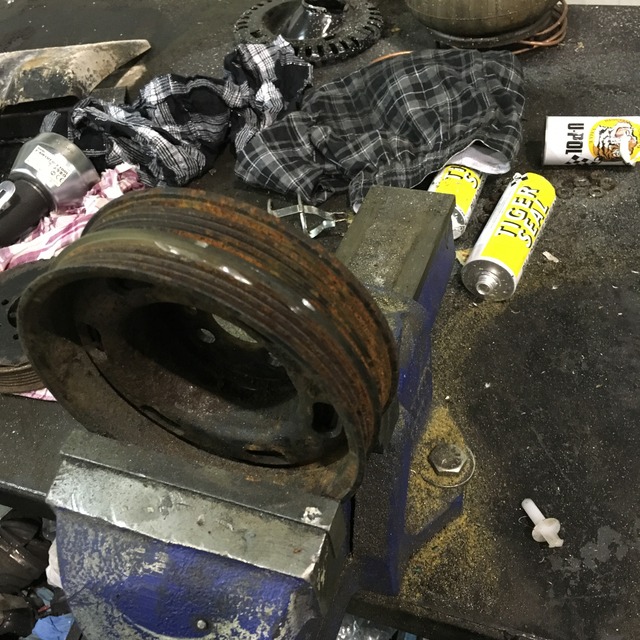
Cut aircon belt drive off
Got a stroke of luck to centre it. When I put bolts through the original mounting holes, they are a tight fit into the centre of the VW pulley. There for centering the trigger wheel. :thumbup:
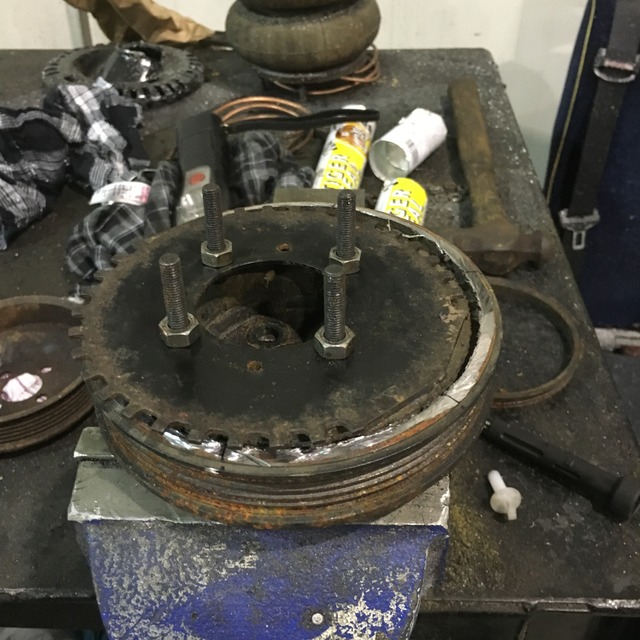
All done.
Cheers John

Also cut down the front pulley & mounted the RX8 trigger wheel. This is needed to send a signal to the RX8 ECU & should make the Rev counter, power steering & ABS work.
Original pulley

Cut aircon belt drive off

Got a stroke of luck to centre it. When I put bolts through the original mounting holes, they are a tight fit into the centre of the VW pulley. There for centering the trigger wheel. :thumbup:

All done.


Cheers John
Thread Starter
Registered
Joined: May 2016
Posts: 70
Likes: 3
Love it when I get to play with big boy toys. Got the plasma cutter out to make stronger plates for the engine mounts. Using what's left of the steel from the adapter plate.
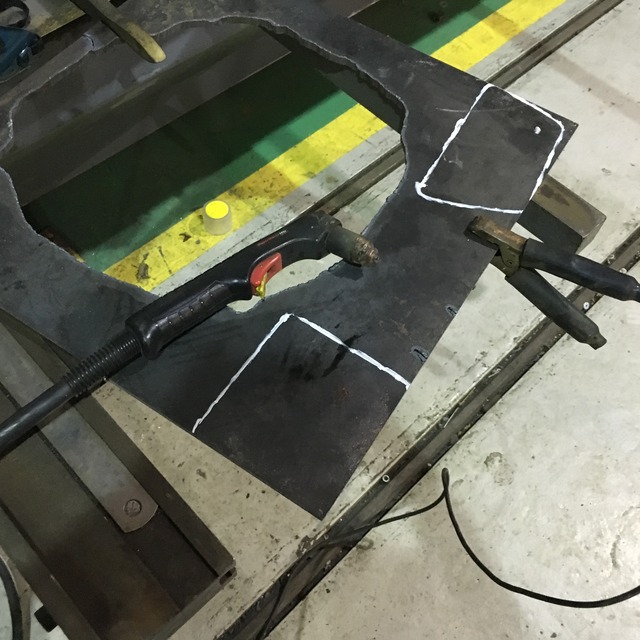
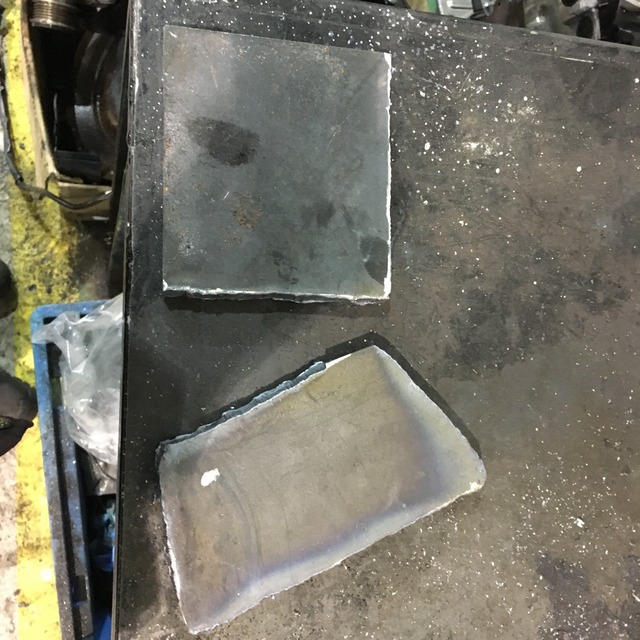
Should be strong enough this time. 10mm steel. Will update times & costs tonight.
Cheers John


Should be strong enough this time. 10mm steel. Will update times & costs tonight.
Cheers John
Thread Starter
Registered
Joined: May 2016
Posts: 70
Likes: 3
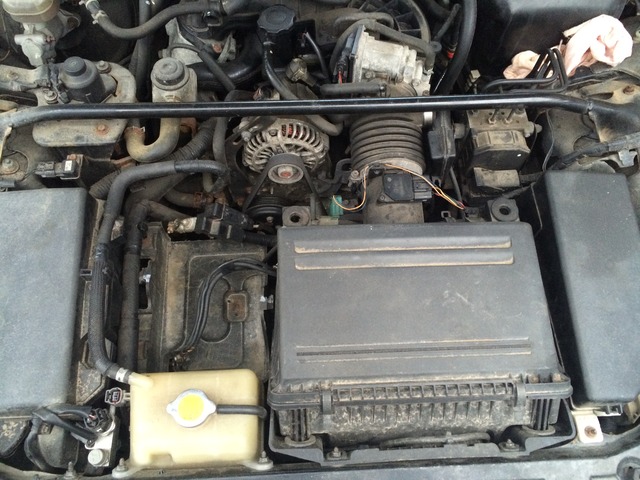
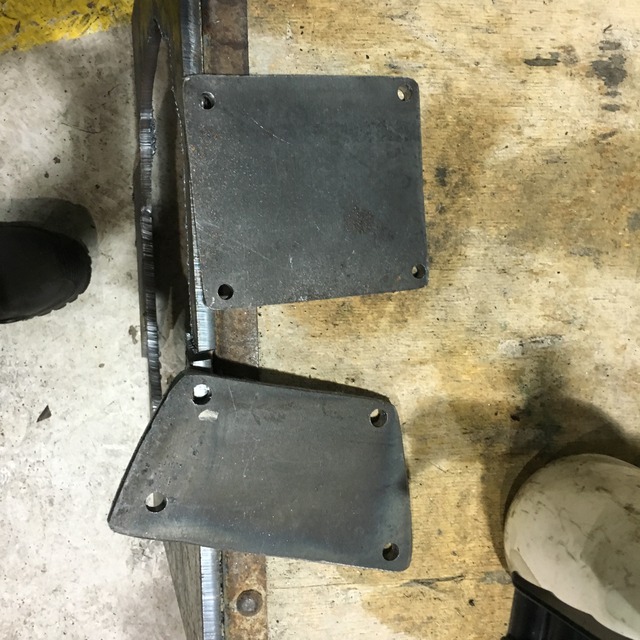
Re did the engine mounts.
First go just didn't look strong enough
Looks a bit better now.
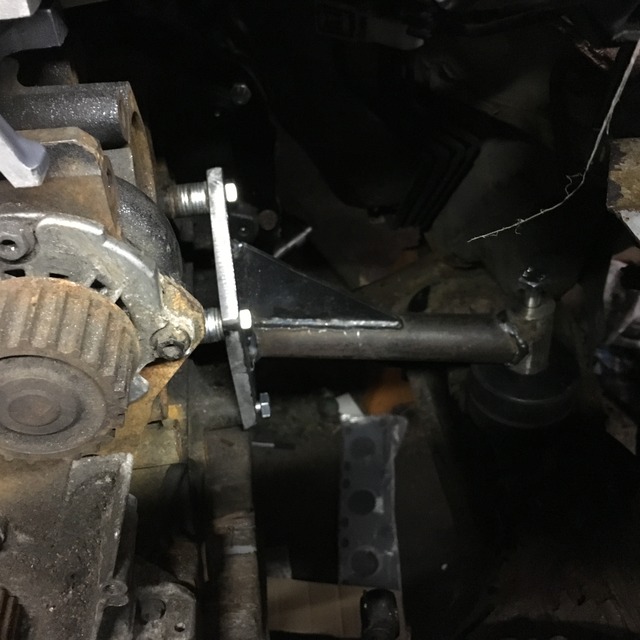
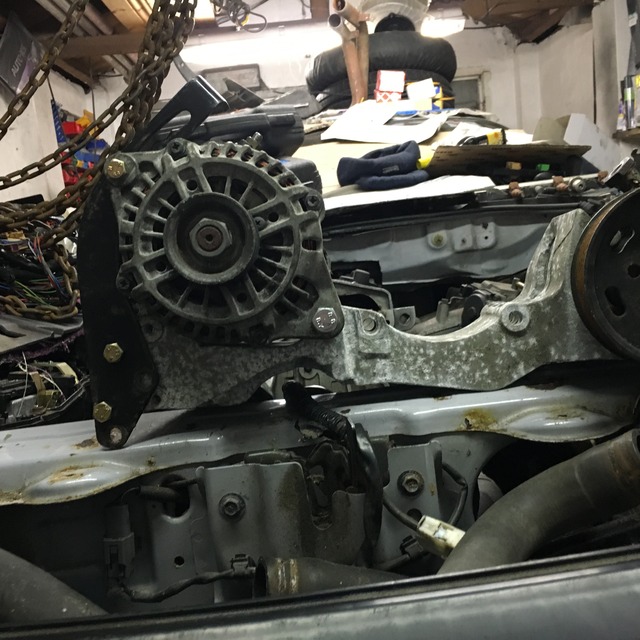
Also fitted the RX8 alternator to the Audi engine bracket. Using the RX8 starter & charging loom.
Cheers John
First go just didn't look strong enough

Looks a bit better now.

Also fitted the RX8 alternator to the Audi engine bracket. Using the RX8 starter & charging loom.

Cheers John
Thread Starter
Registered
Joined: May 2016
Posts: 70
Likes: 3
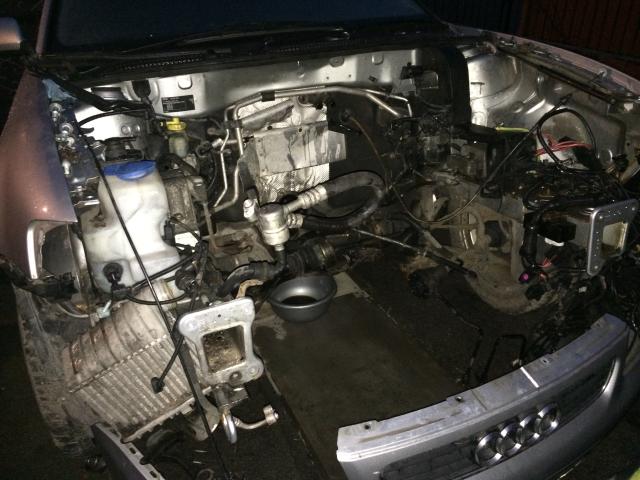
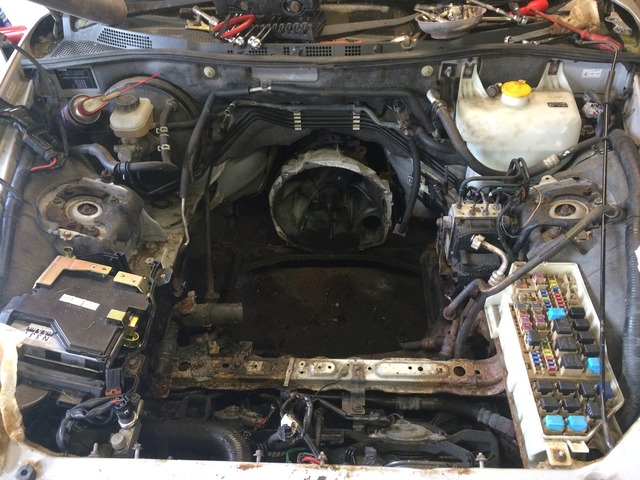
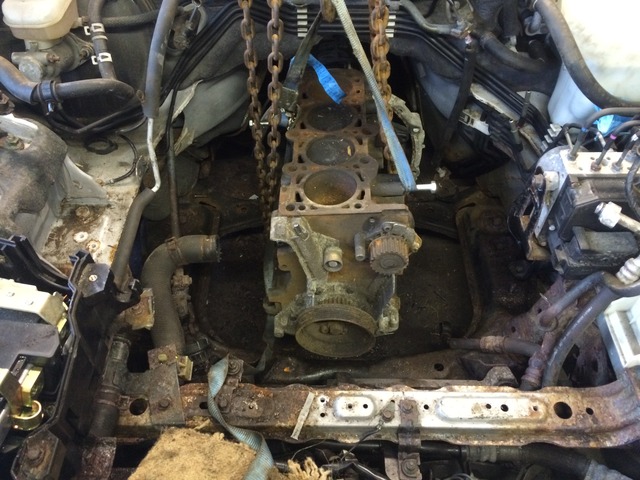
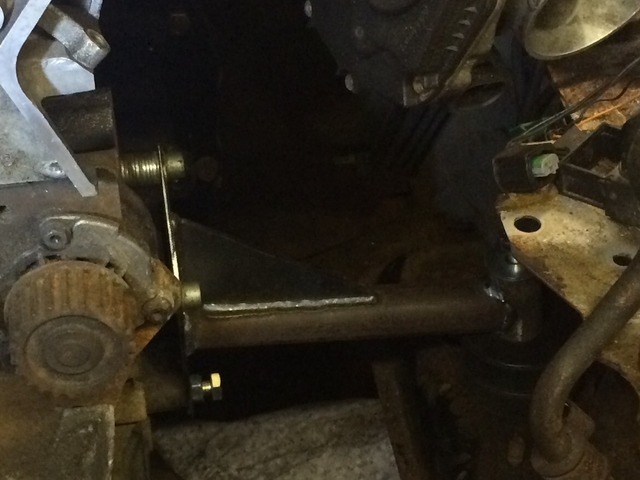
Car looks like it's went backwards this weekend. But got engine bang centre in the bay & holes drilled in subframe for the engine mounts.
Before removing the mockup engine hopefully for the last time.
Bay looks very empty now. Also cut out the support for the battery, I'll make a new one as coolant pipe has to change direction & be mounted higher.
Oil coolers & pipework also removed, for the moment anyway.
Cheers John
Before removing the mockup engine hopefully for the last time.

Bay looks very empty now. Also cut out the support for the battery, I'll make a new one as coolant pipe has to change direction & be mounted higher.

Oil coolers & pipework also removed, for the moment anyway.
Cheers John