When you click on links to various merchants on this site and make a purchase, this can result in this site earning a commission. Affiliate programs and affiliations include, but are not limited to, the eBay Partner Network.
The clutch on my daughters 2004 RX8 has been worsening so that was in my future. The other day she ran hot and now will not start. From what I have read, that is a BadThing (tm). We got it to start once, but loads of smoke/steam came out and it loped along on one rotor. In a bit the other rotor kicked in. She had been slow to start since we bought her (the RX8, not the daughter) and given the mileage it appears it is time.
I will be going for engine/drivetrain removal from the bottom and rebuilding in my freshly-cleaned garage. Car will stay in the drive, which is sloped about 15 degrees so an added bit of difficulty there. I am a pretty fair shade-tree mechanic, 58 years old, and raised to fix rather than throw away. Will be tackling this with a bottle jack, a floor jack, 4 jack stands, and an engine crane along with pneumatic and hand tools. Watched a load of YouTube, read this forum, and downloaded some engine spec manuals. It's going to be an experience.
I would like to post photos and experiences and have asked the admin where to do that. I got her ***-end up in the air (again, the car), but now have to go to a meeting.
Spent a lot of time getting the car in the air safely. Reckon I need about 18 inches clearance underneath to slide the engine/drivetrain out once lowered onto dolly. Front will have to come up a little after I'm done under the hood on the top end. Here are some pictures showing the wooden adapters to preserve the ridge at the lifting points on the front half. The rear factory points had sufficient clearance to forego making adapters. Also photo of where I placed the floor jack to lift the rear. The hogshead did not appear to be sufficient due to the elaborate independent suspension. There was a strong main member that carries much of the rear lift and side thrust. Used the floor jack under one and the bottle jack on the other (with a piece of flat steel to bridge the gap. Lifted the front at the main crossmember.
Back at it tomorrow.
Front jack stand point. Inside ridge the underside is corrugated.
Rear jack stand point. Note additional clearance of the body moulding outboard of the body ridge. No adapter required.
Rear jacking points used, right under the bolts, both sides. Steel plate used to prevent jack head from spreading bracket. This bracket carries the rear of the car.
Flying high. Note sloped drive requires rear stands extended further than front. The 4.3 Mercruiser in the background is the next project, but that's another group.
Lots of wrenching. This is a beautiful piece of engineering. Challenging, but a pleasure to work.
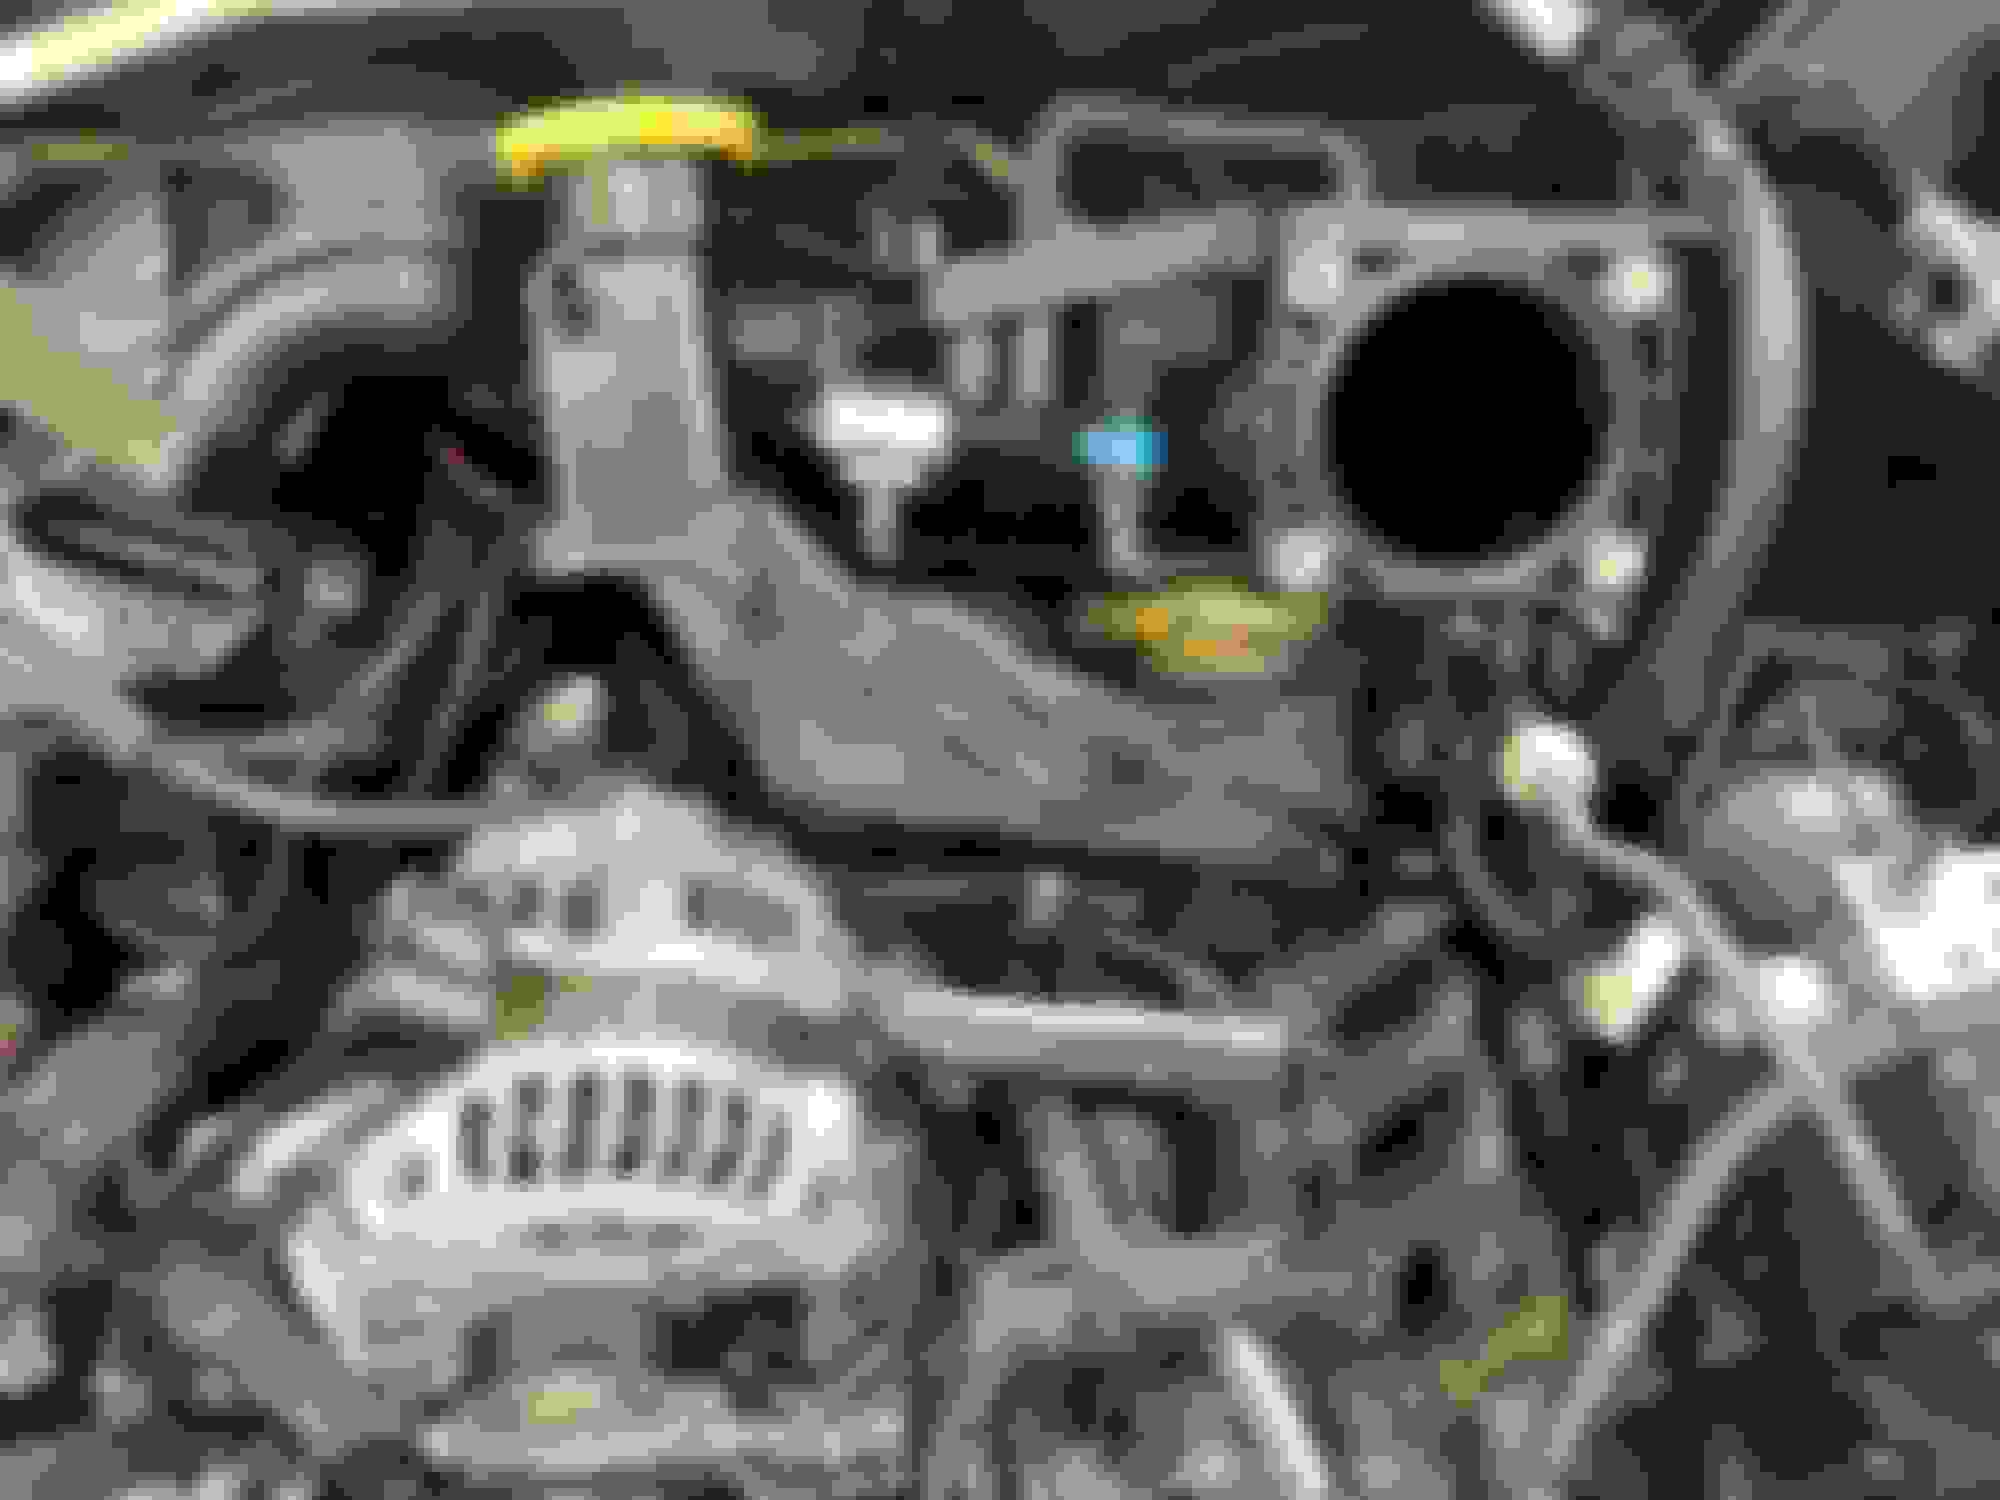
Who knew there were 2 oil fill caps?
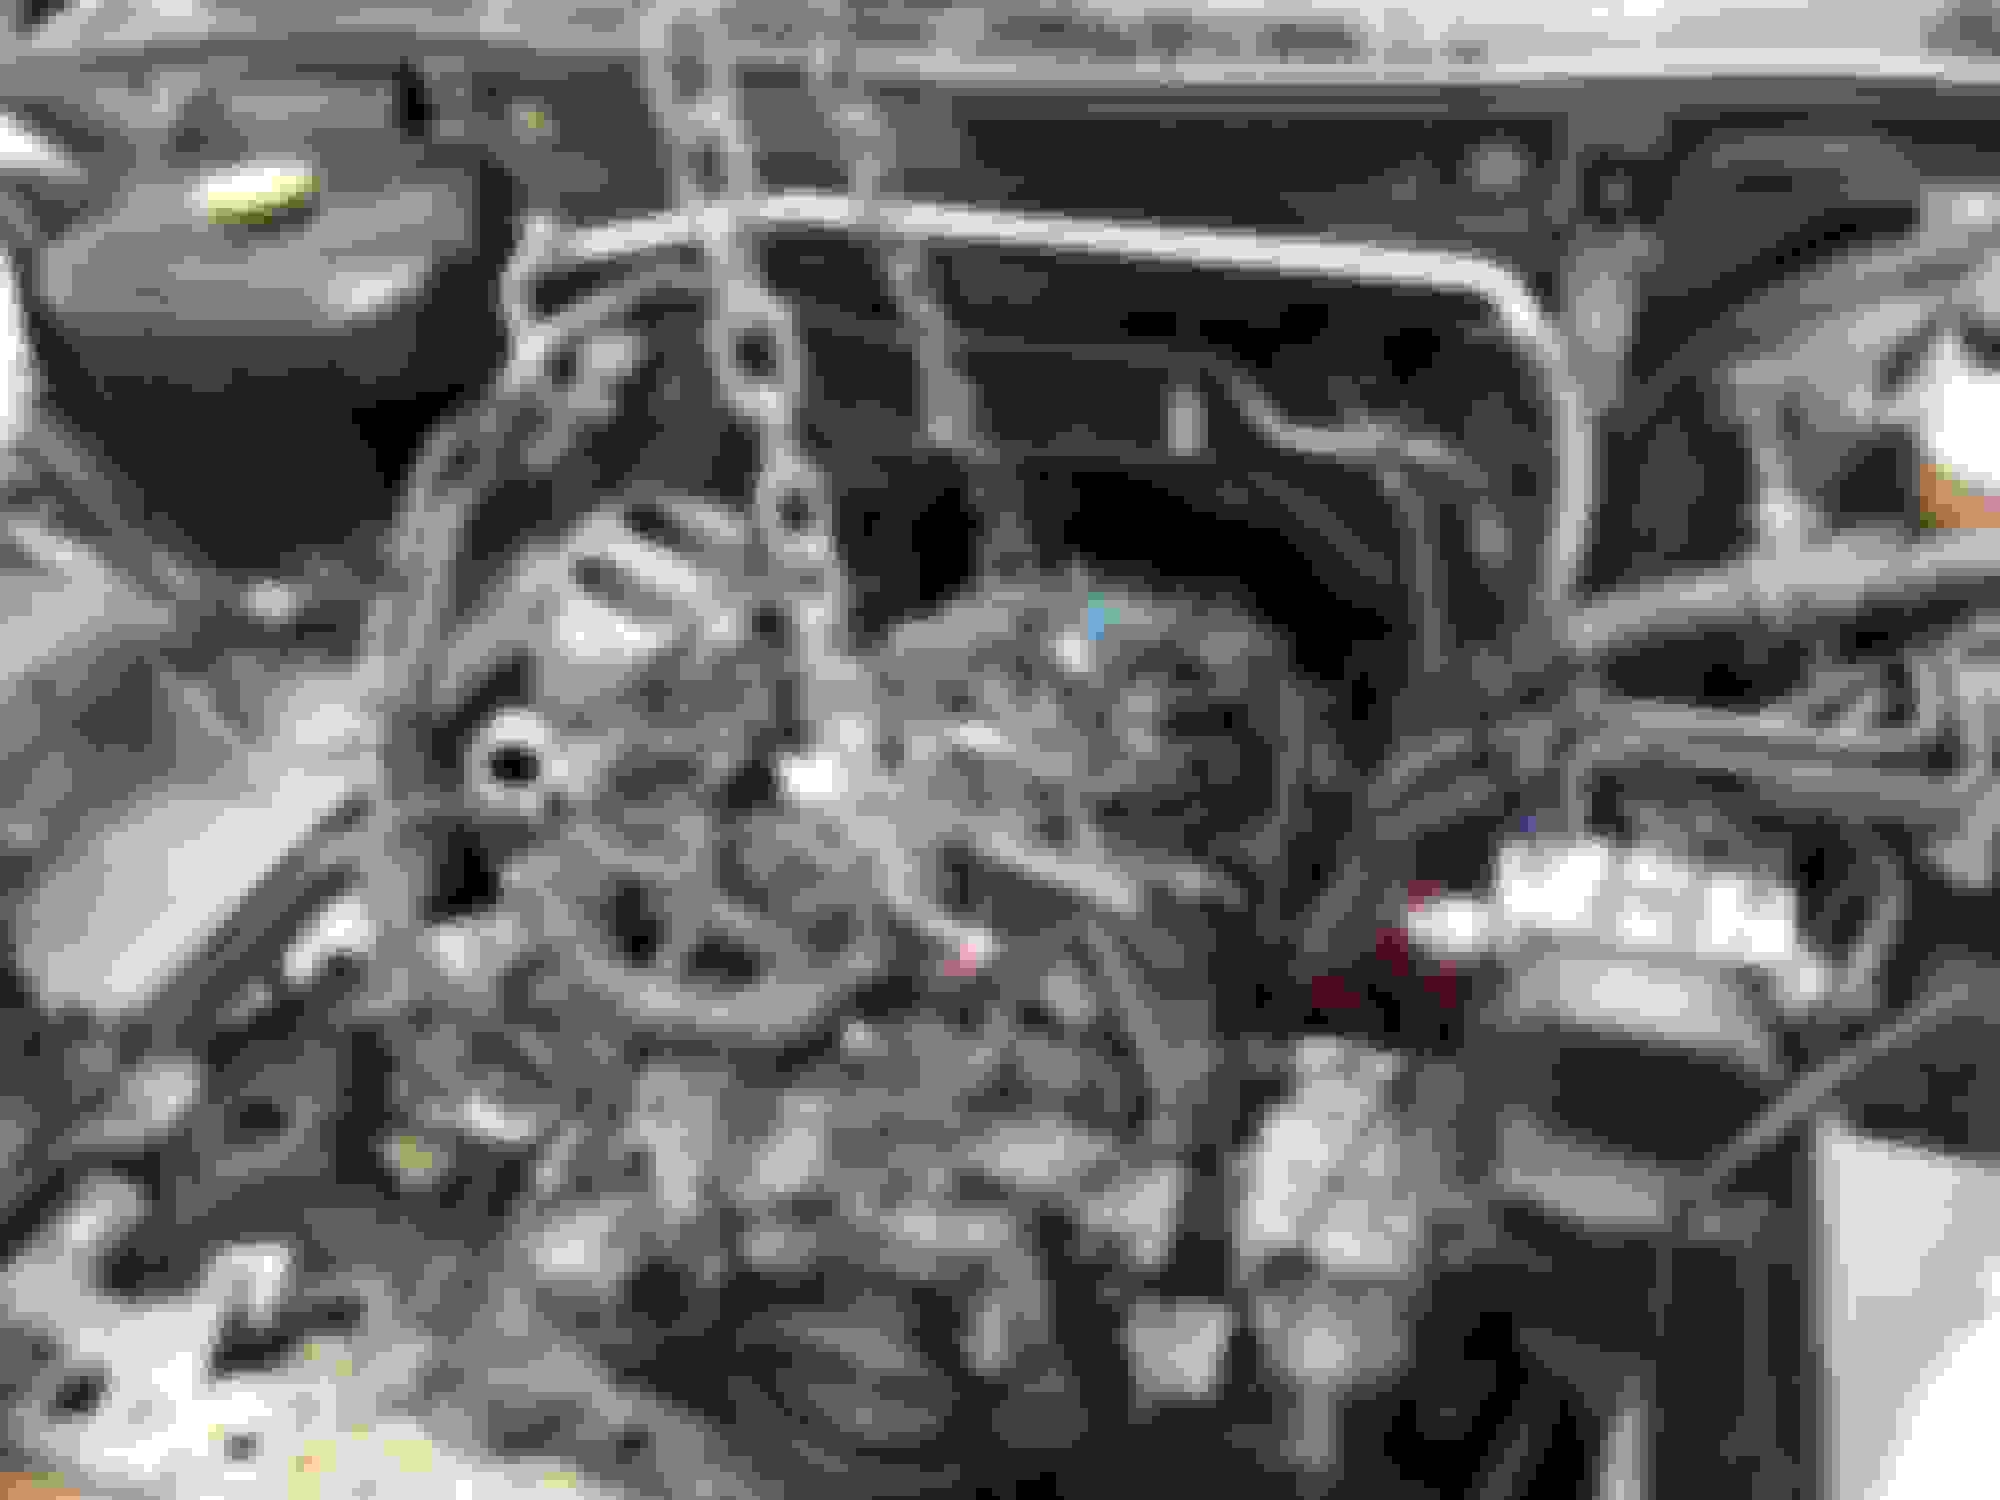
The powertrain support beam was a bear. Between the locktite and a little rust had to raise the pressure on the air just a bit.
This car has def been taken apart before as if the additional oil cap didn't convince. Here is where the EGR tube connects. No nuts on it at all. Good news is this may have been the cause of the check engine light. Maybe I won't have to buy a new cat!
All set to lower. Little bit of red you see is the floor jack supporting the tranny. Turns out the crossmember/engine/tranny sub-assembly is just slightly bow-heavy. Remove the crossmember and the rest balances on the rear engine hook.
Separated the engine and crossmember, gave both a good dose of PurpleStuff, and powerwashed. Disassembly has been fairly uneventful thanks to my daughter cleaning out the garage and helping wash up parts. Now the engine is down to the place where the 54 and 19 mm wrenches earn their keep. My air tools are not making it happen so arranging a helper and 4' pipe.
Flywheel heading to the machine shop Tuesday.
Cleaning up the intake manifold and other parts today (it's raining). LOADS of carbonized stuff in the intake and around the APVs.
Question: The Intake Manifold seems to have had some product applied to the mating surface with the block, but it is coming off in places. Any ideas what it is and what to do about it? Shellac?
Lots of black oily schmoo in the the back two exhaust ports.
Here is a parting shot of something that looks like it is in the wrong place....
Not accustomed to seeing wire in an exhaust port...
Once I get her apart we'll see her innards and assess what's next. Thanks.
Cleaning everything up and notice the inside of the oil pan is flaking up black paint. Also coming off the metal baffle.
What to do?
Scuff off to a reasonable limit?
Strip?
Paint?
Opinions please.
Best,
Rockfish
So plans to post photos of the whole process sort of fell to the side. It's done but have two problems.
Idle: it won't. It hums great at RPM, but stalls if you take your foot off the acc. Tried pumping the clutch 20 times as suggested in another thread. No help.
Clutch: Disengage it will not. Bled the system but still getting air from somewhere. Checked the Master and the rubber valve was a little bodged up so replaced with new Master Cylinder. No help. getting air bubbles and clutch does not want to stiffen up. New Slave Cylinder on order.... Ideas? BTW: Using Mighty-Vac to bleed systems. Also tried the old pump and squirt just for old times sake.
Do you have access to an OBD reader tool? If you, try to see what STFT, LTFT and airflow values are when it's running and when you let off the accelerator and let it try to idle. Could be as simple as a vacuum leak, especially since you had the manifold apart and sealant was flaking off.
Now that you mention it, I better check. What with the clutch problems it is possibe i pumped the clutch.
Originally Posted by Loki
Do you have access to an OBD reader tool? If you, try to see what STFT, LTFT and airflow values are when it's running and when you let off the accelerator and let it try to idle. Could be as simple as a vacuum leak, especially since you had the manifold apart and sealant was flaking off.
I do not. I have a guy that does, but if I can't get there that is out.
Originally Posted by Loki
What was that about a wire in the exhaust port?
Brain fart. That turned out to be a part of the exhaust port...
Some advice: These are nasty little motors. By the time you rebuild, the intake manifold and inny, outy, and twisty bits will be caked with schmoo of a crusty sort. Carb and parts cleaner are your friend. I had to drop the motor and all after I determined that the SSVs were gummed shut.
I used Hylomar on the reassemble everywhere except the oil pan. Black permatex there. I liked the Hylomar in that a little goes a long way and it stays flexible. Anyone else have feedback?
I would like to find the engineer who placed a bolt for the battery box under a molded-in hose holder on the ECU box. Trust the absence of said bolt will not lead to catastropic failure.
After this process as a practitioner I have great admiration for the car, the engineering, and the obvious use of Lean and Six Sigma processes in the factory. Lots of color coding and connections that just won't fit anywhere else but where they belong.
Only ended up with one bolt left over!
Thanks to you all who posted pix and guiding info. I was pleasantly surprised when it fired up on the first twist and did not detonate! Nary a rattle!
Last edited by rockfish; Jun 27, 2016 at 01:42 PM.
Reason: punctuation
Well, I hate the word premature in so many ways...especially in declaring victory. Got her running and up to temp and noticed wisps of steam coming from the radiator area. Found a wee crack and a pinhole up close to that little nipple on top that everyone says will break off. Replaced radiator. No having the benefit of said radiator i can see plainly that the previous owner had busted said nipple off and put a threaded nipple in the plastic cap. Gotta admire redneck engineering, but fear this may have cause the crack. This was probably the beginning of the end for the car, overheating, popped jacket. Anyway, that is done.
Just got back from a drive in the country. That is why these cars are so great. Problem is that she dies every time I take my foot off the gas. I mean she goes straight to 0 rpm, rolling or not. Clutch restarts are fine, as they would be. She crank starts fine too, if a little slow. She is acting rich. A little smoke and a tad of dinosaur decomp smell.
Pretty sure the coils are original. I cleaned the plugs when redoing the motor. She sounds to have compression. Runs like a scalded cat down the country roads. Just this stalling has me down. I have scanned a lot of threads and have some things to check tomorrow (injector wiring). Can't really check for a vacuum leak when she won't idle. Big Question: What the heck is a Drive Cycle I read about? I understand it needs to relearn itself, but what constitutes a drive cycle?
I'm still a virgin when it comes to these things, but I know having a healthy ignition system helps a lot. If the coils are original (How many miles on it?) It may require some updates and bits and bobs to get it into shape. We just put new OEM coils on my car, actually the guy we bought it from did and it responds well even in this blasted colorado heat. I'd trade it for blue ridge mountain humidity any day.
Folks, I am running out of rope... and so is my daughter. 2004 RX8. Hunting for idle and stalling at idle. Runs great at speed/RPM. Won't idle either hot or cold. Yesterday I held the throttle around 900 and it continued to hunt. Let off accelerator and she would stall. Here is what I can tell you besides what is in this thread. Please help...
Put two coils on her. Did not help the idle, but starts a LOT quicker. Waiting for payday for 2 more coils.
Codes P2259, P0410, and P0420 present.
AIR pump does not come on when cold, although it is summer. No power to it. Straight wired it and it will blow.
Checked connectors and vacuum hoses. All seem fine.
Cleaned MAF and TB.
Sprayed carb cleaner and ether at loads of places where vacuum leaks hide to no effect.
Plugs look good. The two coils I replaced came from rotor 1 cause its plugs were a little wet. Yes, those coils had the little parched place on the back.
Running premium fuel. K&N air cleaner. No mods.
Have done the brake-stomp a few times and noted the sweeping oil gauge.
Oil light comes on intermittently although oil gauge is slightly to the right of center.
ACV, SSV, and VDI actuators pull fine when manually vacuumed.
Other observation:
While checking voltage to AIR pump noted 16vdc at battery and fuse block. Seems a little high, but is was my el-cheapo meter. With engine off, 13.6vdc at battery.
When revving beyond 6k and releasing throttle there is a little hint of a backfire...
Did I mention this is a great little car for NC backroads? Awesome!
Would it hurt anything to roll one of the other vacuum solenoids with the ACV solenoid? Maybe that would tell me something.
Try placing the two known good coils on the leading plugs of each rotor. I'm sure you realize this, but you'll need to change where in the wiring harness the coils plug into, as well as the spark plug wires. That P0420 (catalyst below efficiency) tells me there's unburnt fuel/air going through the exhaust (hence your hint of backfire as well). The leading plugs do most of the burning, so let's see if this changes the behavior any.
The oil gauge is useless, it's not connected to any sensor. As long as there is some oil pressure, it will show slightly left of center.
Would help to have OBD readings for STFT, LTFT, throttle position and airflow at idle (or whatever the closest regime in which you can keep it running)
Could be as simple as resetting the eccentric shaft sensor profile (key to on, press the brake pedal 20 times in rapid succession).
Moved the new coils to energize the leading plugs. No change. Still have a wee bit of backfire. You are right. She is riching out.
Oil Gauge: Feh. Rather have a gauge than an light but suppose they are only as good as what drives them.
OBD: I have been toying with the idea of getting a reader that goes to my laptop or handheld, meanwhile I need to go see a friend. Any thoughs on these:
I have reset the ESS a number of times. I call it the "brake stomp" just because.
The 16vdc: would not think this has anything to do with it.
Tomorrow I'm going to roll the ACV solenoid with another of the three and see what happens. As far as I can tell I have those connected right. The wires don't seem long enough to do it wrong and I have confirmed the vacuum hose routing and cleaned the lines thoroughly. Oh, cleaned the MAF sensor again just for good measure...
Still entertaining ideas (hint)
Fixed the idle problem. I had the injectors misconnected. Tan tape looked yellow. Chased out the actual wires and made corrections. Purrs like a wildcat.
The CEL 2259, 0410 is still on. Rolling the AIR solenoid with a known good one did not help. I do have the proper voltages at the solenoid so I'm going to think on this a bit. For now, my daughter has her car back and she is happy so I am happy. Still entertaining suggestions on what to do about this and on the OBD devices above. Any suggestions will be appreciated.
Here is a PDF I made from articles found on the injector wiring.
I have the first OBD bluetooth adapter. I think mine has a different label on it, but many different brands use that same version and just apply their own label. Works fine. It's a little long so I thought I might bump it with my foot getting in/out, but it hasn't happened (although better to remove it anyway when the car is off since it is still powered). The fit is reasonably snug and it stays in place. Get the Torque app if you have an Android phone. The same OBD2 reader is available from a number of sellers on Amazon as well, and some may be cheaper.
Not sure the other one is worth double the price. It has more of an Apple look to it so maybe they figure they can charge more...
Last edited by mobius911; Jul 21, 2016 at 06:35 PM.
If you're looking into an OBD reader, I like my Ultragauge, and would recommend it. I didnt want to go with a bluetooth connector/torque app because I like the dedicated device for readings as opposed to using my phone or something of the sort.. It allows you to monitor nearly 70 sensors the Rx8 is capable of as well as read/clear DTCs and a bunch of other neat little things.


 Did the brake stomp, saw the oil gauge sweep, and she runs great, except stalling at idle.


