
Scuba Steve's Build Thread!


Thread Starter
Registered
Joined: Mar 2007
Posts: 309
Likes: 1
From: Toronto
Thread Starter
Registered
Joined: Mar 2007
Posts: 309
Likes: 1
From: Toronto
Another quick update as I've finally gotten back to work on the car.
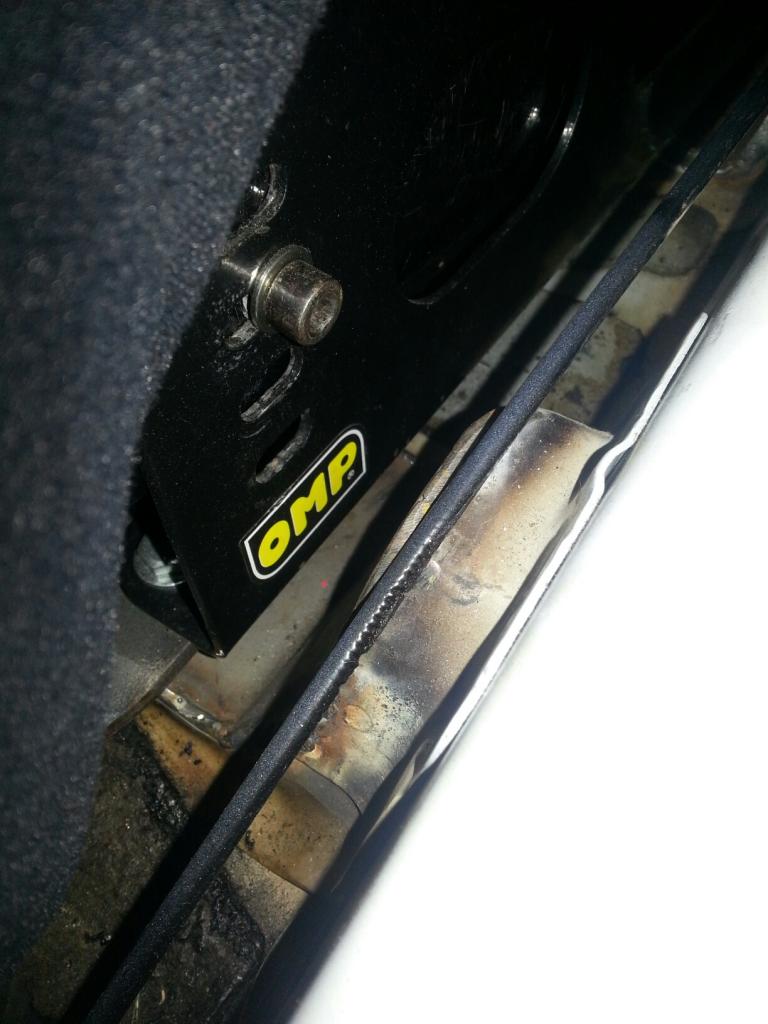
I've always felt that I sat too high in the RX8, so I decided to lower the seat about 3". I cut the hump out that the OEM seat mounted too, and welded in a steel plate to securely mount the seat to. The seat can't move more than the 1" that the OMP brackets allow it to slide which is fine by me. The only other person I will let drive the car is the same height, and we have no issue sharing the same seating position.
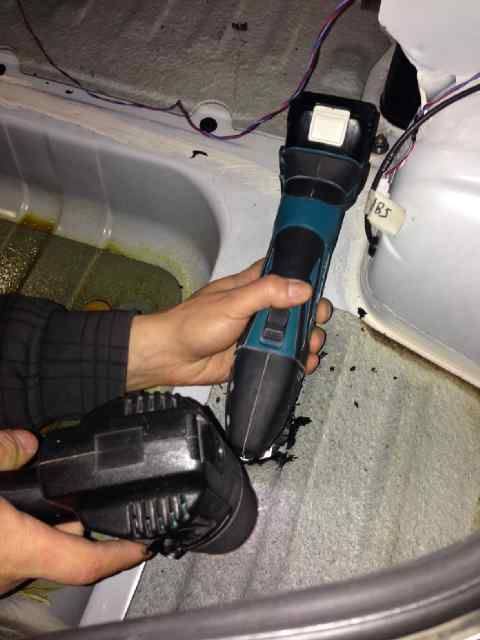
I have also removed all the sound deadening tar which ended up being pretty easy. I used a fein tool with a putty knife blade, and a heat gun to get the tar off. Came off easy and had the whole car done (and cleaned) in about 4 hours. I will have to wait to paint the interior until the weather warms up a bit as its just simply too cold in my garage to paint it now.
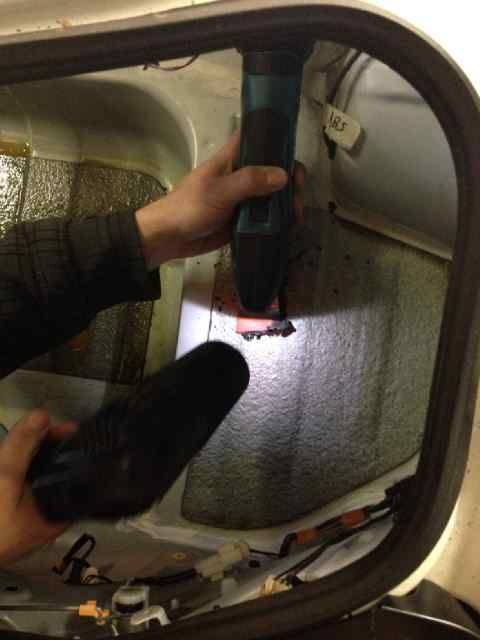
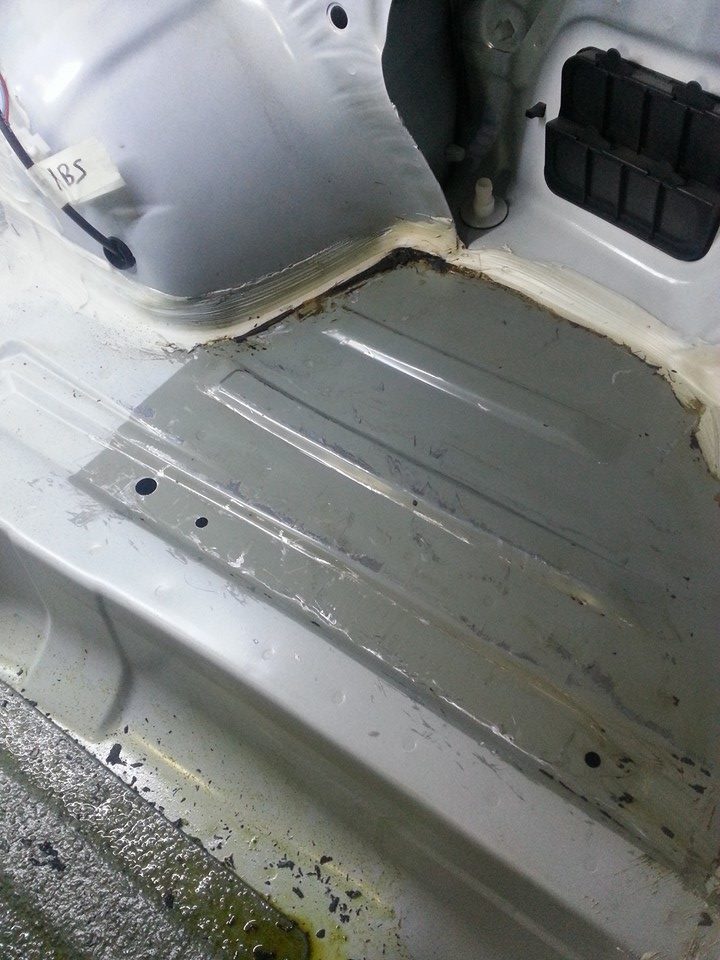
Next step will be to permanently install the rear lexan window then I will probably move on to installing the lightweight flywheel & new clutch, as well as making hardened motor mounts. I also need to have a custom exhaust made up but I'm still trying to decide how I want it to look/exit the car.
I've always felt that I sat too high in the RX8, so I decided to lower the seat about 3". I cut the hump out that the OEM seat mounted too, and welded in a steel plate to securely mount the seat to. The seat can't move more than the 1" that the OMP brackets allow it to slide which is fine by me. The only other person I will let drive the car is the same height, and we have no issue sharing the same seating position.
I have also removed all the sound deadening tar which ended up being pretty easy. I used a fein tool with a putty knife blade, and a heat gun to get the tar off. Came off easy and had the whole car done (and cleaned) in about 4 hours. I will have to wait to paint the interior until the weather warms up a bit as its just simply too cold in my garage to paint it now.
Next step will be to permanently install the rear lexan window then I will probably move on to installing the lightweight flywheel & new clutch, as well as making hardened motor mounts. I also need to have a custom exhaust made up but I'm still trying to decide how I want it to look/exit the car.
Last edited by ScubaSteve8; Nov 1, 2015 at 03:45 PM.
Thread Starter
Registered
Joined: Mar 2007
Posts: 309
Likes: 1
From: Toronto
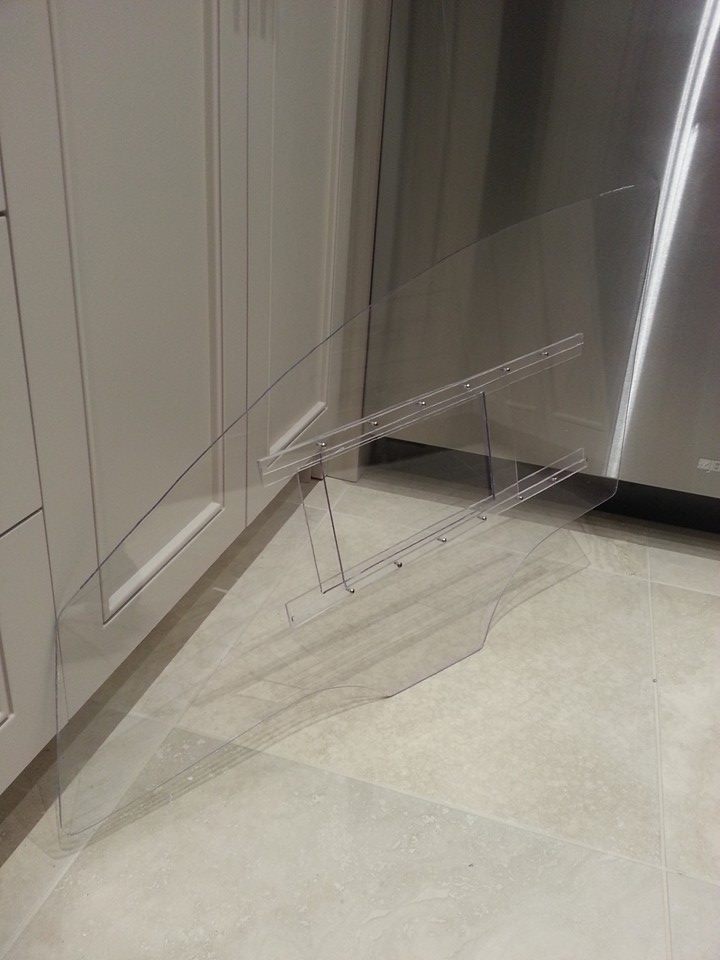
Its been too bloody cold out the past few days to go work on the car, so I decided to have a little fun inside. I made installed sliders on my lexan windows for essentially no reason other than the fact that I was bored today, and wanted to add a unique touch to the car.
Thoughts?
Thoughts?
Last edited by ScubaSteve8; Nov 1, 2015 at 03:37 PM.
Thread Starter
Registered
Joined: Mar 2007
Posts: 309
Likes: 1
From: Toronto
Been slowly plugging away on the car and acquiring parts over the past few weeks since I updated.
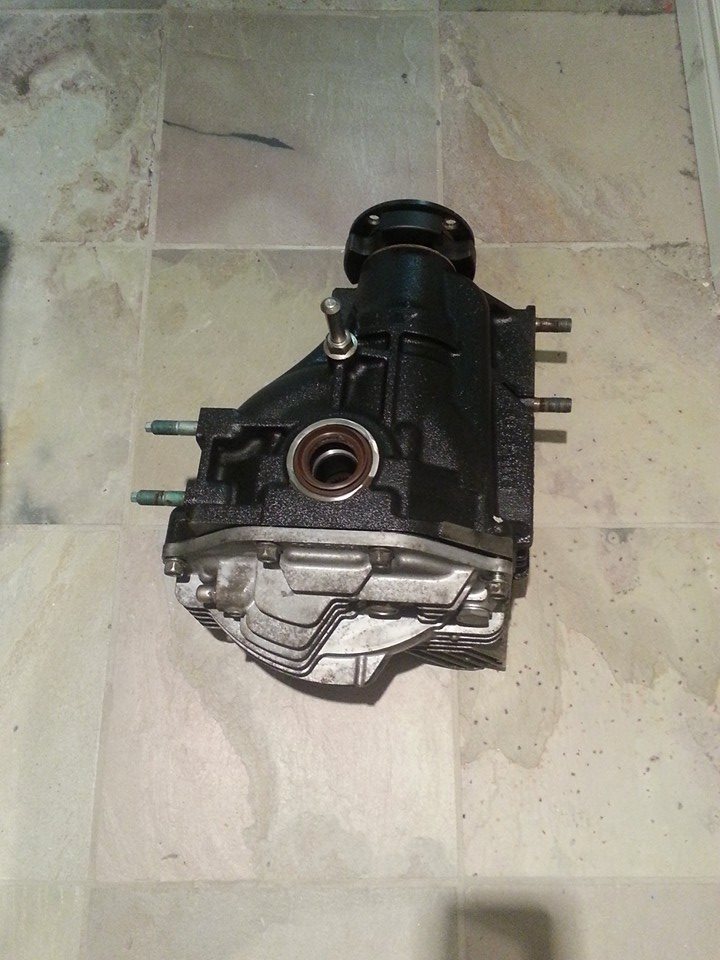
I got a 4.77 rear diff for the car from a local scrap yard. It came from a red 09 R3 with 16,000km on it so I wonder if it belonged to anyone on here? Had Pfaff Tuning clean it, check it over, and install new oil seals. I will be putting it in the car later in the build.
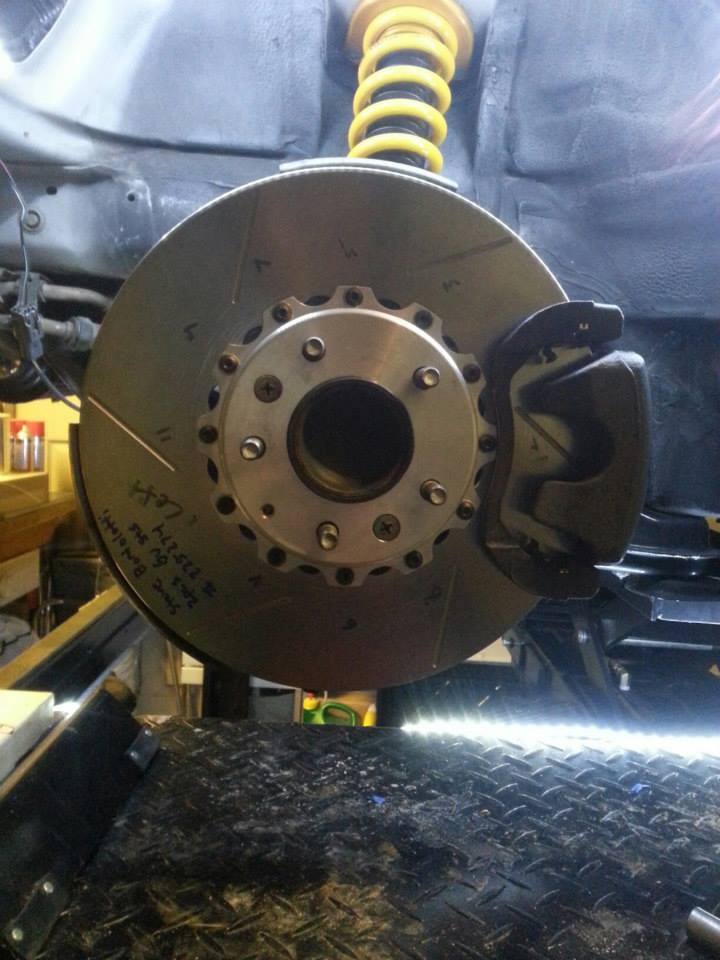
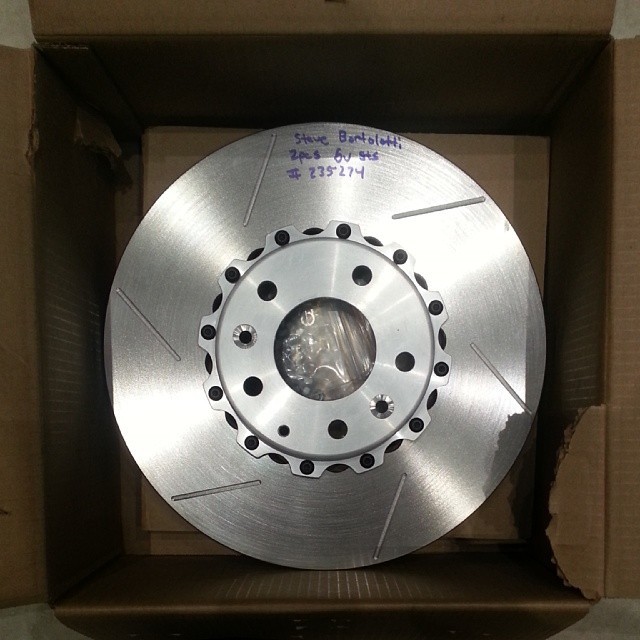
I also had Coleman Racing make custom rotors & hats for the front of the car. They are lighter than the previous 2-piece rotors by a few pounds (3 actually), and changing the outer rotor in the future will be very inexpensive. The best part, the whole setup (custom made from scratch) wasn't as expensive as most people would assume. They cost a little less than the DBA 5000 series 2-piece rotor. Some very minor bevelling of the calliper brace was required to clear the mounting hardware but thats no biggie.
Will be running Hawk DTC-60 pads as well.
I got a 4.77 rear diff for the car from a local scrap yard. It came from a red 09 R3 with 16,000km on it so I wonder if it belonged to anyone on here? Had Pfaff Tuning clean it, check it over, and install new oil seals. I will be putting it in the car later in the build.
I also had Coleman Racing make custom rotors & hats for the front of the car. They are lighter than the previous 2-piece rotors by a few pounds (3 actually), and changing the outer rotor in the future will be very inexpensive. The best part, the whole setup (custom made from scratch) wasn't as expensive as most people would assume. They cost a little less than the DBA 5000 series 2-piece rotor. Some very minor bevelling of the calliper brace was required to clear the mounting hardware but thats no biggie.
Will be running Hawk DTC-60 pads as well.
Last edited by ScubaSteve8; Nov 1, 2015 at 03:58 PM.
Thread Starter
Registered
Joined: Mar 2007
Posts: 309
Likes: 1
From: Toronto
Got another couple pieces of the puzzle back in place this weekend. The dash has been lightened substantially (approx. 7lbs) as I went to town on it with a fein tool. All the plumbing for the air to pass through is gone, and extra/unneeded support is also gone. I cut away the passenger side of the dash because well, its a race car!
Still need to loom the harness that runs through the car, and pass the sensors for the gauges back through the firewall. Its starting to get warmer out so I'll probably be painting the interior in the coming weeks.

I also installed the rear lexan window today. It turned out really, really good and I'm so glad I didn't buy one! It was pretty difficult to make given the curves and all, but I couldn't be happier with how it turned out. I painted a black strip around the perimeter to hide the bare opening underneath; glad this part of the build is over and done with. On to bigger things!
I had the outside of all the lexan windows covered in the same 3M film we use to clear-bra cars at the dealership. Should help keep them scratch free! I will be leaving the protective film on the inside until I'm done painting the interior.


Still need to loom the harness that runs through the car, and pass the sensors for the gauges back through the firewall. Its starting to get warmer out so I'll probably be painting the interior in the coming weeks.
I also installed the rear lexan window today. It turned out really, really good and I'm so glad I didn't buy one! It was pretty difficult to make given the curves and all, but I couldn't be happier with how it turned out. I painted a black strip around the perimeter to hide the bare opening underneath; glad this part of the build is over and done with. On to bigger things!
I had the outside of all the lexan windows covered in the same 3M film we use to clear-bra cars at the dealership. Should help keep them scratch free! I will be leaving the protective film on the inside until I'm done painting the interior.
Last edited by ScubaSteve8; Dec 14, 2014 at 07:15 PM.

Thread Starter
Registered
Joined: Mar 2007
Posts: 309
Likes: 1
From: Toronto
I saved 5lbs on the rear window by switching to lexan. The glass windows in the car really don't weigh a whole lot but since the weight is up high, the effect on the car should act as if more weight has been removed.
I didn't remove the parcel shelf because I would just have to weld reinforcement into that area anyway, which I am led to believe would negate any weight savings in the end.
I didn't remove the parcel shelf because I would just have to weld reinforcement into that area anyway, which I am led to believe would negate any weight savings in the end.
Thread Starter
Registered
Joined: Mar 2007
Posts: 309
Likes: 1
From: Toronto
Been hard at work the past few weekends to get this project off to have the exhaust built in 2 weeks. Interior is more/less done, just needs a coat of paint still which shouldn't take long - I'm still waiting for it to warm up as paint generally sticks best when its hot out.


Followed a DIY elsewhere on the forum to fill my motor mounts with urethane. I used 95A urethane, which is pretty close to solid. Its a pretty easy little project, and was kinda fun actually...never done anything like this before!


Pulled my first transmission out to do the lightweight flywheel and clutch setup. My OEM clutch looked virtually brand new, so I'm impressed at how well it took all the track use I put it through. Getting the 54mm nut off the flywheel was easy: I borrowed the torque wrench we use to tighten the centre-locks on the race car, which is pretty serious to say the least...the wrench is capable of more than 4x the amount of torque our engine produces

Stock:


While the transmission, ppf, and driveshaft are out, I'm going to swap the rear diff as well to the 4.77. Once that is in, it will be off to have my super lightweight exhaust made, and then its crunch time before event 1!!
Followed a DIY elsewhere on the forum to fill my motor mounts with urethane. I used 95A urethane, which is pretty close to solid. Its a pretty easy little project, and was kinda fun actually...never done anything like this before!
Pulled my first transmission out to do the lightweight flywheel and clutch setup. My OEM clutch looked virtually brand new, so I'm impressed at how well it took all the track use I put it through. Getting the 54mm nut off the flywheel was easy: I borrowed the torque wrench we use to tighten the centre-locks on the race car, which is pretty serious to say the least...the wrench is capable of more than 4x the amount of torque our engine produces
Stock:
While the transmission, ppf, and driveshaft are out, I'm going to swap the rear diff as well to the 4.77. Once that is in, it will be off to have my super lightweight exhaust made, and then its crunch time before event 1!!
Last edited by ScubaSteve8; Dec 14, 2014 at 07:21 PM.
Thread Starter
Registered
Joined: Mar 2007
Posts: 309
Likes: 1
From: Toronto
I ended up going with an Exedy stage 1 HD. In reality, I should have gone with a smaller diameter setup similar to yours, but I made the mistake of assuming this setup would be lighter than stock. Was pretty disappointed the ACT Prolite flywheel + Exedy clutch was only ~4lbs lighter than stock.

Thread Starter
Registered
Joined: Mar 2007
Posts: 309
Likes: 1
From: Toronto
Thanks for the positive feedback everyone!
The car is coming along slowly but surely. The transmission is back in, clutch is adjusted, and the 4.77 diff is now in which is exciting.

The side windows are also permanently installed which was a big step!

Exhaust is done as well!! I used 3" piping all the way though, with 3 Moroso spiral flow mufflers. The whole setup weighs 18lbs and is a lot quieter than I thought it was going to be - I probably could have gotten away with just 2 mufflers. I am going to paint the entire setup black with VHT header paint to give it a better look...I will post video clips once I figure out why it has a miss on rotor 2...


Next step will be to sort out the miss on rotor 2. It registered over 900 misfires on rotor 2 within about 1min so I'm sure a coil has gone bad, or the plugs are toast. After that, its time to install the swirl pot, paint the exhaust, and it should be ready to hit the scales/alignment rack!
The car is coming along slowly but surely. The transmission is back in, clutch is adjusted, and the 4.77 diff is now in which is exciting.
The side windows are also permanently installed which was a big step!
Exhaust is done as well!! I used 3" piping all the way though, with 3 Moroso spiral flow mufflers. The whole setup weighs 18lbs and is a lot quieter than I thought it was going to be - I probably could have gotten away with just 2 mufflers. I am going to paint the entire setup black with VHT header paint to give it a better look...I will post video clips once I figure out why it has a miss on rotor 2...
Next step will be to sort out the miss on rotor 2. It registered over 900 misfires on rotor 2 within about 1min so I'm sure a coil has gone bad, or the plugs are toast. After that, its time to install the swirl pot, paint the exhaust, and it should be ready to hit the scales/alignment rack!
Last edited by ScubaSteve8; Dec 14, 2014 at 07:25 PM.
Thread Starter
Registered
Joined: Mar 2007
Posts: 309
Likes: 1
From: Toronto
What a trying past month with this car and it's been a real test of my patience & determination to get this thing done. I can truthfully say I understand why I see so many builds on this forum never get finished...but this won't be one of them!
I finished up my fuel surge tank to solve my starvation issues once and for all. Ran the lines neatly under the car and I'm pretty happy with how the whole setup turned out. I put my Dad to work on building a fireproof box while I ran the lines, sorted out the fittings, FPR, etc. We make a pretty good team, and its been fun having him pitch in to help every once in a while...I guess you're never too old for father-son bonding!


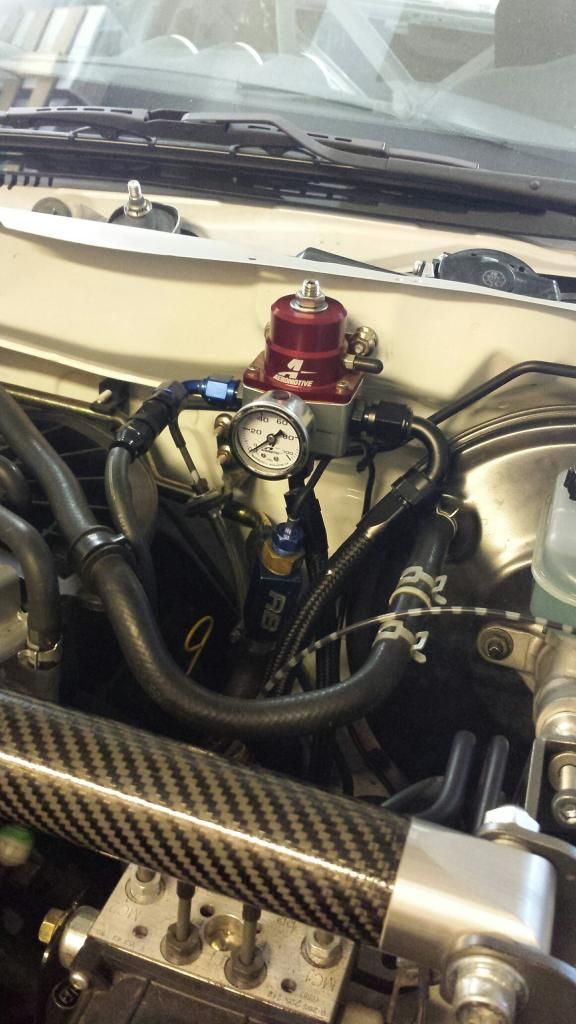
I finished up my fuel surge tank to solve my starvation issues once and for all. Ran the lines neatly under the car and I'm pretty happy with how the whole setup turned out. I put my Dad to work on building a fireproof box while I ran the lines, sorted out the fittings, FPR, etc. We make a pretty good team, and its been fun having him pitch in to help every once in a while...I guess you're never too old for father-son bonding!
Last edited by ScubaSteve8; Dec 14, 2014 at 07:28 PM.

Thread Starter
Registered
Joined: Mar 2007
Posts: 309
Likes: 1
From: Toronto
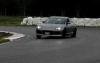
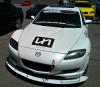
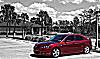
Well its not perfect, nor is it finished, but I got it far enough along to run it this weekend at events 1 & 2 for the Ontario Time Attack Series. The car is sooo easy to drive (and a ton of fun) being down so much weight! Final weigh in was at 2610lbs (packed full of fuel as per rules) and that is down about 330lbs from last season!!
The hard work paid off though: I won my class today, won the overall PAX (adjusted) scoring, and was 5th of 60 competitors on raw time. My fastest lap was a 1:39.1, but I DEFINITELY know there is more time in the car. Possibly another second or so. I tried not to shift more than I had to today since the clutch really had zero break in period so I left the car in 3rd for as much of the lap as possible. Tomorrow I'll probably throw away the clutch break in plans and see how that goes...
Here is the video: