When you click on links to various merchants on this site and make a purchase, this can result in this site earning a commission. Affiliate programs and affiliations include, but are not limited to, the eBay Partner Network.
Hey all, back from hiding yet again, I figured because I had to do this again due to a bad bearing (timken bearing too which surprised the hell out of me, 1st I've ever had be bad in the 13 years of being a mechanic from them) on my 2010 S2 sport, this is just a guide line and should only be taken as such.
So here we go....
This is basically what you should need, (minus a few things but will hit up on those as we go along) and be sure you are on a good flat surface due to some impending force that will be needed, take the wheel off and you will be here.
Now you take off your caliper and hang it out of the way as such (2 14mm bolts for the caliper and 2 17mm bolts for the caliper bracket) then take off the bracket.
This can be a pain but with an impact screw driver it makes life easier, if you don't have one just grab a screwdriver you don't care too much about and a hammer and carefully smack the back of the screwdriver (BE CAREFUL, you could easily make projectiles here with a cheap screwdriver) while turning to break the tension/rust, I have a breaker bar here just to hold everything in place while you do that.
This is the new timken hub that is NFG and new so it was easy to come out but know from here you are going to need some muscle, a slide hammer and PB blaster.
Be sure to remove this plug, you will need a small pick and pry down while pulling out.
Another shot of the back side and the 4 bolts you will need to take out.
You WILL need this (slide hammer kit) as well as a good sized hammer and take your strong pills (rarely they come out easy, most times it will be quite a bear to get out, the first was for me)
I have old lugs just for this but you can use the original ones, just know you can and probably will mess them up.
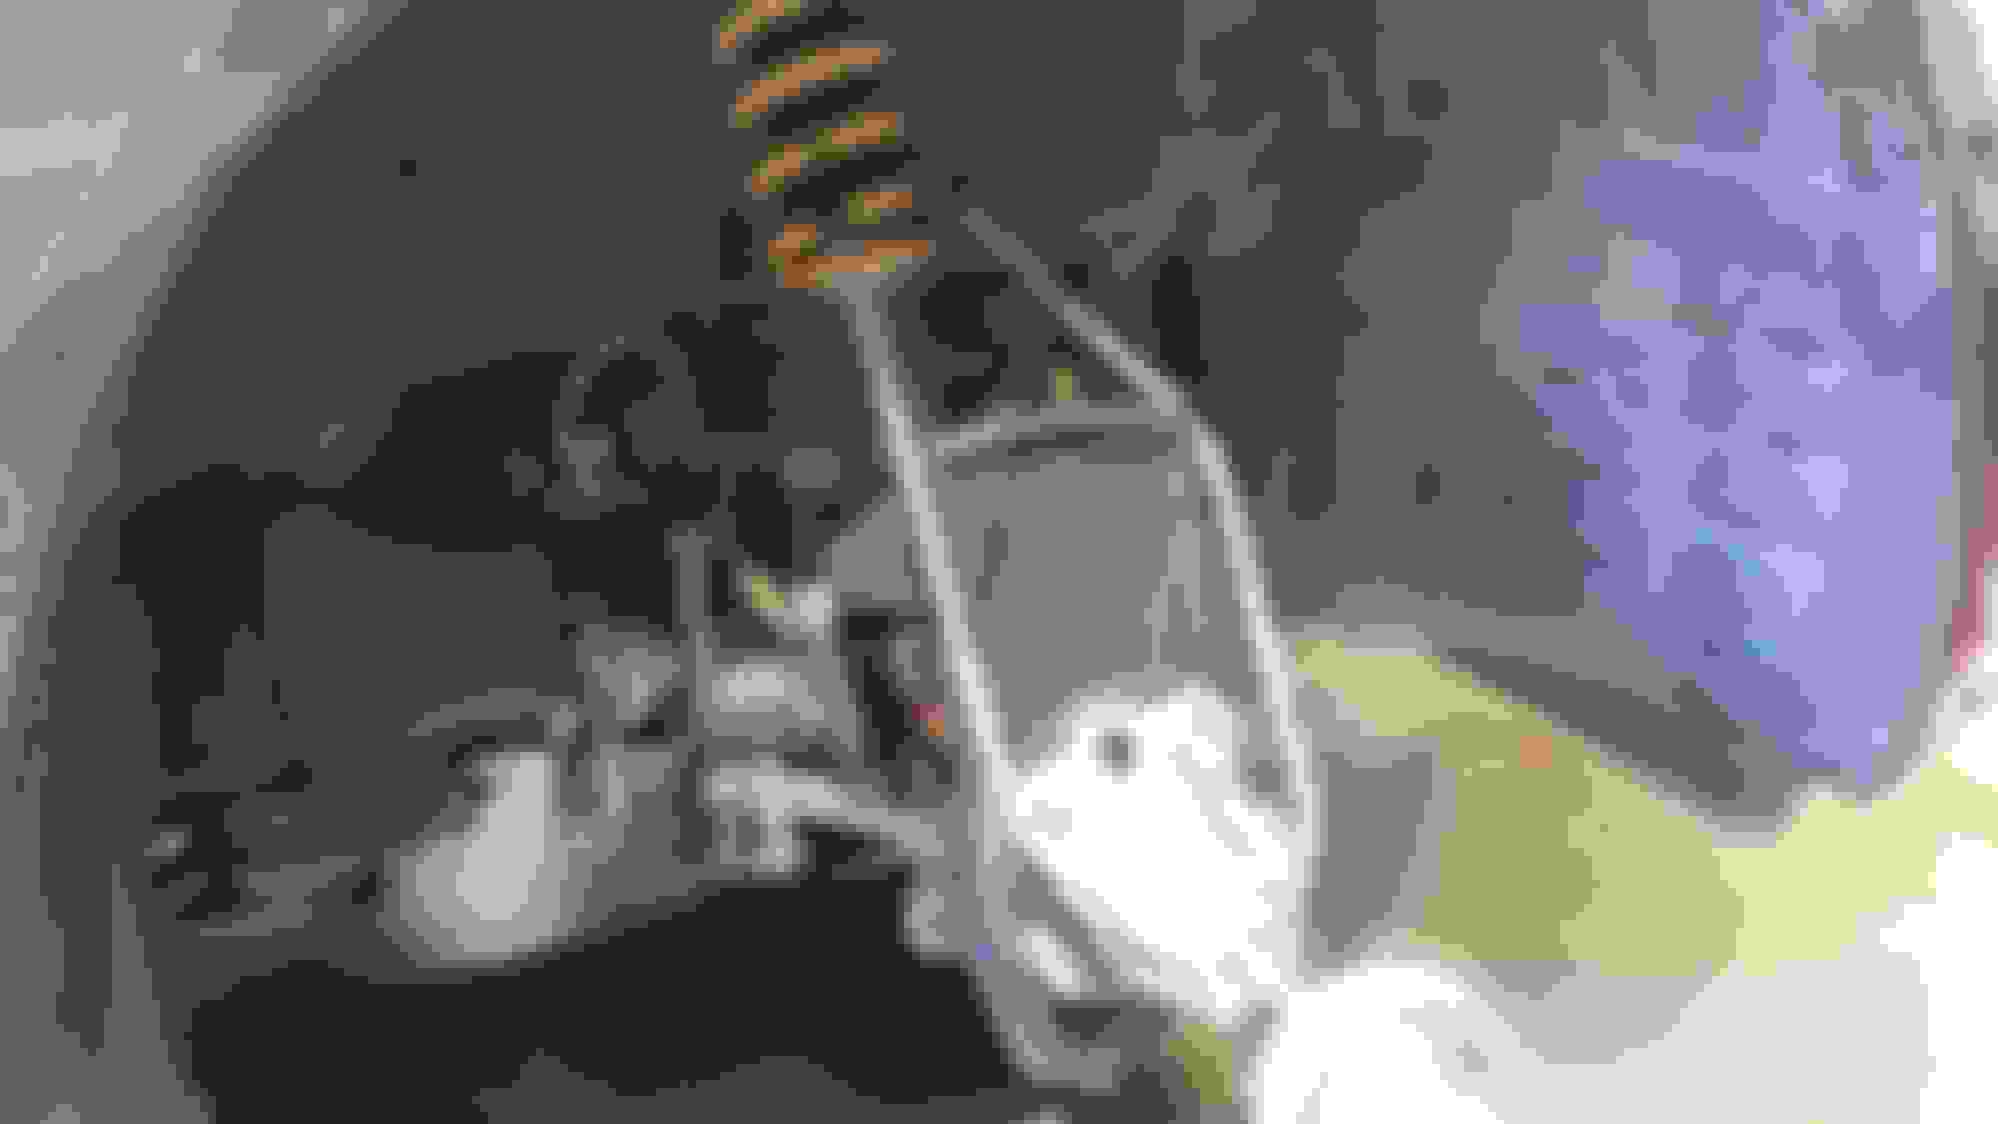
This is how it should look assembled, watch your hands and get ready to put some muscle in to it.
Its now out, note that the backing place is just riding on the back and will fall out.
This area though tight tolerance can and will build up surface rust (another reason why it can be a pain in the *** to come out) so be sure to take some sandpaper to the area and get all the rust off.
Now I am going to be waiting on the new one but installation is reverse of what you have seen but minus using hammer time, on putting the new hub in be sure to walk it in by going in a x pattern with the bolts and make sure it is flush with the surface before you put a torque on it. (Torque specs here: https://www.rx8club.com/series-i-tec...eel-hub-85147/)
Good luck and be sure to get an alignment after!!!!
mine wasn't nearly as difficult to get off... did both sides by hand without the kit, not sure why yours were so difficult? I did both left and right fronts by hand while at the track... not sure why yours were stuck though...
also - going with extended studs in the replacement?
mine wasn't nearly as difficult to get off... did both sides by hand without the kit, not sure why yours were so difficult? I did both left and right fronts by hand while at the track... not sure why yours were stuck though...
also - going with extended studs in the replacement?
Would want a better set of wheels before extended studs tbh, As to why it was difficult, it was my DD for about 1.5 years in Maryland and they love to put all sorts of salt down everywhere when there is even a slim chance of snow.
A thin coat of anti-seize on the mating surfaces will prevent that, some people may only ever replace a part once but if you race or plan to keep your car long term then putting anti-seize on almost everything makes your life so much easier down the road
Funny, I just performed the same procedure this evening to install brake ducts. I agree with Team on the anti-seize. Sand the mating surfaces, clean with alcohol, and smear a light coating of AS, and this job will be much easier next time.
Here's another tip: hook a bungee cord to the spring, wrap it around the hub, and hook it back the other end to the spring. When the hub releases, the hub and the slide hammer will be supported by the bungee cord.
Last edited by Steve Dallas; 06-13-2017 at 09:01 PM.
A thin coat of anti-seize on the mating surfaces will prevent that, some people may only ever replace a part once but if you race or plan to keep your car long term then putting anti-seize on almost everything makes your life so much easier down the road
Will say growing up in Maine and starting my mechanic career there I've seen my fair share of rust, and if you are anywhere north of Maryland go very light with the anti seize or it will turn in to even more of a caked on nightmare that you will need lots and lots of heat to do anything with, Have found so far copper anti seize is generally better over all with longevity.
looks like you are in my neck of woods. I am in falls church also have S2. do you track your car?
Its been a while, have changed over to more rallycross with my protege over the years but will pop up every so often with the S2 to events, though I want to see if dominion raceway is actually any good here one of these days.
 05-12-2017, 05:14 PM

 due to a bad bearing (timken bearing too which surprised the hell out of me, 1st I've ever had be bad in the 13 years of being a mechanic from them) on my 2010 S2 sport, this is just a guide line and should only be taken as such.