When you click on links to various merchants on this site and make a purchase, this can result in this site earning a commission. Affiliate programs and affiliations include, but are not limited to, the eBay Partner Network.
You need only the positive pressure in the bumper mouth to "force" air into the ducts toward the negative pressure area in the wheel well. The heat exchangers (AC condenser and radiator) are capable of only so much flow rate. What cannot flow through the exchangers buffets back out the front. What I am doing is stealing some of that excess for the brakes. The pressure differential directs flow to the brakes. A ram air situation is not needed.
That is roughly how Ian did it. He hammered the scoop flat and riveted a 2" flange to it. In my guesstimation, I did not think there was enough rigid material to hold a 2.5" duct, and I thought (and still think) 2.5" is the minimum that should be used for an RX-8. I honestly wish there was room for 3" hose with 255 tires.
Having said that, you have to remove the hub to remove the dust shield. It is sandwiched between the hub and spindle. I suppose you could manage to flatten the scoops and attach a flange without removing the hub, but I thought the $120 was worth it to have purpose-made parts, and I kinda thought my hubs were toast anyway, after a whole lotta track hours.
.
2.5" inch hose with ram air effect will flow plenty I think, will be grabbing the air from the sides of the radiator/nose mouth area via hose to aluminum flange riveted to the oem brake shields -similar to the video below.
That video is seriously ghetto. No way I would post something like that under my own name. I guess #becauseracecar goes a long way with some people. BMWs already have above average brake cooling. I would be willing to bet he actually lost cooling performance by replacing the factory setup with only 2" hose in a car of that weight.
Having said that, the treatment he gave the dust shields is similar to what Ian did. Ian just just did a much cleaner job of it and left most of the shields intact. Those shields are there to protect various things from rotor heat, and there is certainly no benefit to cutting most of them away, when you are piping air between the shield and rotor.
I pondered using a flange in the same location like the above photo, and even traced the outlines of some aluminum flanges I had left over from my Miata, but then I realized the area just to the right of that is open in an S2, which means just as much positive pressure is behind it as is in the flange location. There is no need to hack it up. You get the same amount of air flow by doing what I did and just poking the hose through the fender liner.
.
Last edited by Steve Dallas; 12-13-2017 at 01:47 PM.
ran across this video and wanted to share. very interesting to see how dynamic rotor temperatures changes really are on the track. car is Stock AP1 Honda S2000 with JRZ dampers, 245 NT-01 tires, and Cobalt XR1/XR2 pads
he easily gets into 850-900 C at the end of the hard braking zones!
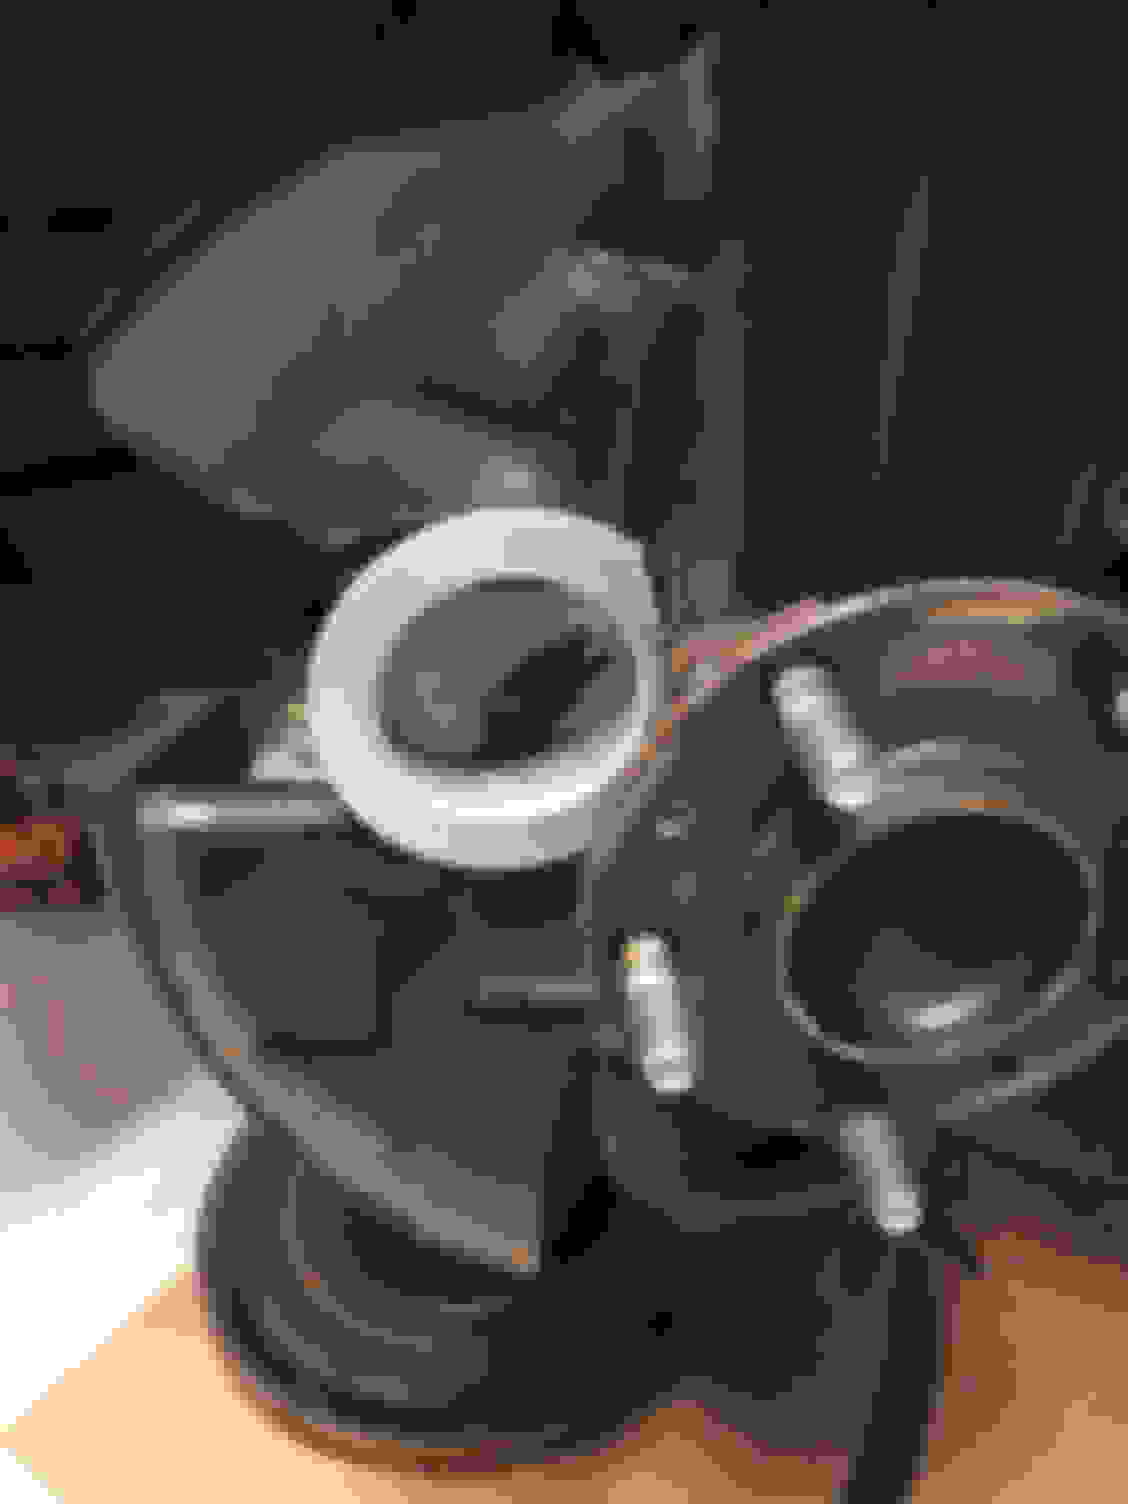
Started doing brake cooling ducts tonight. Driver side almost done. I decided to Cut the brake shield and fit the flange inside. Dremell came in pretty handy. Will attach with rivets.
It turned out pretty good.
Last edited by Nadrealista; 04-02-2019 at 10:05 PM.
Just got back form a track day at dominion raceway. Brake cooling ducts worked flawlessly throughout 4 30minute sessions despite running out or the rear pads early in the last 2 sessions - so most of the braking was done done by the fronts. They never overheated, granted it was nice spring day with temps in low seventies.
this is a must do simple mod for anyone who tracks this car.
Next thing for me is suspension, lack of camber is killing me.
Just got around replacing the rear pads here is what they look like
Last edited by Nadrealista; 04-19-2019 at 01:10 PM.
My RX-8 will be back at the track for a 3 day Italian tune-up starting Friday of next week. The same brake parts I ran at Hallett will be used as my starting brake parts at Cresson. Yes, they are still in service after adding ducts. I will report back on how they hold up. I am not expecting any drama, but I am taking an extra set of pads, obviously.
Last edited by Steve Dallas; 04-28-2019 at 09:54 AM.
So... No data again, which is unusual for me, but I do have anecdotes. I drove the car 3 hours per day for 3 days and never bled the brakes and never had any signs of fade or other brake problems. The ducts are working as expected and have totally solved my problems with lack of brake heat dissipation. Additionally, I now have 25 hours on the same brake parts (rotors and pads), and the front pads are about 50% worn, while the rotors are maybe 10% worn. I am very pleased with these results.
.
Last edited by Steve Dallas; 06-18-2019 at 09:40 PM.
Thanks for the inspiration on the brake ducts. Here's what it looks like on my series 1.
I didn't tie the duct to the upper control arm. If I did that, I had to leave too much duct to allow the wheel to turn.
These passed the hand measurement test at the track. By that I mean I held my hand next to the wheel and the rear rotors felt like they were radiating slightly more heat than the fronts. Previously the fronts would be noticeably hotter. Next time I'll try and use a temp gun for some less subjective results.
Clearance at full lock with 255/40/17 tires on 17x9 ET48 wheels.
 12-13-2017, 01:01 PM