When you click on links to various merchants on this site and make a purchase, this can result in this site earning a commission. Affiliate programs and affiliations include, but are not limited to, the eBay Partner Network.
For this project you will need a hydraulic press. They are very useful and for a home garage the Harbor/Northern/Amazon Chinese versions work fine. I have a 20 ton but a 12 may work. You will also need a large cold chisel, angle grinder with cut-off wheel, and a
Removing the spindle from the car is the first step. This is easier if the dust shield is removed. I use sheet metal shears. All images are with the shield removed.
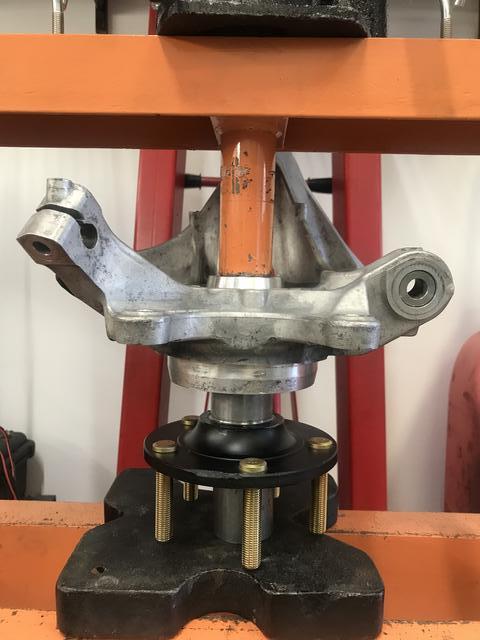
Start by pressing out the hub from inside to outside. Supporting the spindle is difficult in this part but using some press plates it is not too difficult. Make sure you are pressing the hub only.`````````````````````````
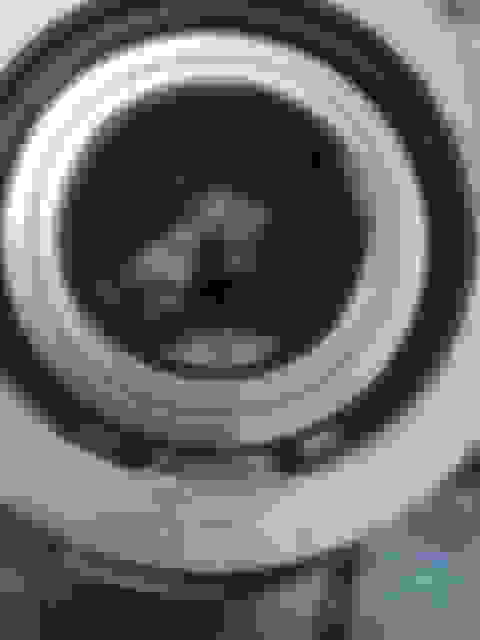
The hub will come out with the outer bearing race attached leaving you something looking like this.
Next remove the outer snap ring. You will need real snap ring pliers to do this.
Now press out the bearing from inside to out, being sure to press on the outer race.~
You will now have an empty spindle, old bearing, snap ring, and hub with the outboard inner race still on it.
If you want to use a new hub you can skip the next step. Otherwise you will need to remove the race from the hold hub. Easiest way to do this is to partially cut the race with a cut-off wheel then crack the race with a hammer and cold chisel being careful not to damage the hub in the process. Mount the hub in a vice and partially cut the race as shown.
Now hit the race with the cold chisel placed in the cut to split the race. It will probably shatter in several pieces as it did here.
Occasionally you get luck and crack the race without shattering it.
Now the new bearing and new/old hub can be pressed in. Grease the hub/bearing/spindle surfaces to avoid galling the aluminum and to make the process easier. It also really helps to heat up the spindle with a torch to expand it a bit. Press the bearing in from outside to in being sure to press on the outer race. pay attention to the process making sure the bearing isn't getting cocked and that it is inserting smoothly.
Once it bottoms out, check the inside of the spindle to make sure it is completely seated without any gap.
Now place the snap ring in the outer side of the spindle. Make sure it truly snaps into the groove.
Press the hub into the bearing. I find it easier to support the center of the hub with something and press the spindle down onto the hub. Be sure to press on the inner bearing race. If you do not support the hub center, you risk pressing the wheel studs out.
I am using long race studs here.
That's it. Make sure everything spins freely and you are ready to re-install.
have fun, was a pita even having a full auto shop at my disposal.
Adax, I don’t see any issue with the image function other than the photos are hot-linked rather than uploaded with the forum upload function (hich is a big no-no). You have to load those links into the forum uploader and then it will load them onto the forum server. Sooner or later those hotlinks will go dead and this will be another useless dyi thread. It also drains the source server resources. Which is why they change something on the address structure every few years to kill off all the memory draining hotlinks.
if I had moderator edit privilege I’d go in there and do them for you, but nobody else is likely to do it for you.
 10-19-2019, 04:07 PM