When you click on links to various merchants on this site and make a purchase, this can result in this site earning a commission. Affiliate programs and affiliations include, but are not limited to, the eBay Partner Network.
Not my choice of engine or aspiration, but a proper build nonetheless. Wiring looks nice as well.
Subbing.
Thank you sir! I appreciate it!
I have started disassembly of it again lol. I think it goes without saying that this car is much more of an education tool for myself than an actual "I only want a fast car I can drive"
I figure since it is currently -4c and snowing, I have more than enough time to address a few things I wasnt entirely happy with my solution for during the build, and I would like to think I am continually learning as I am going, and thus would like to apply the knowledge to a few revisions.
Generation 3, Version 2 ? lol.
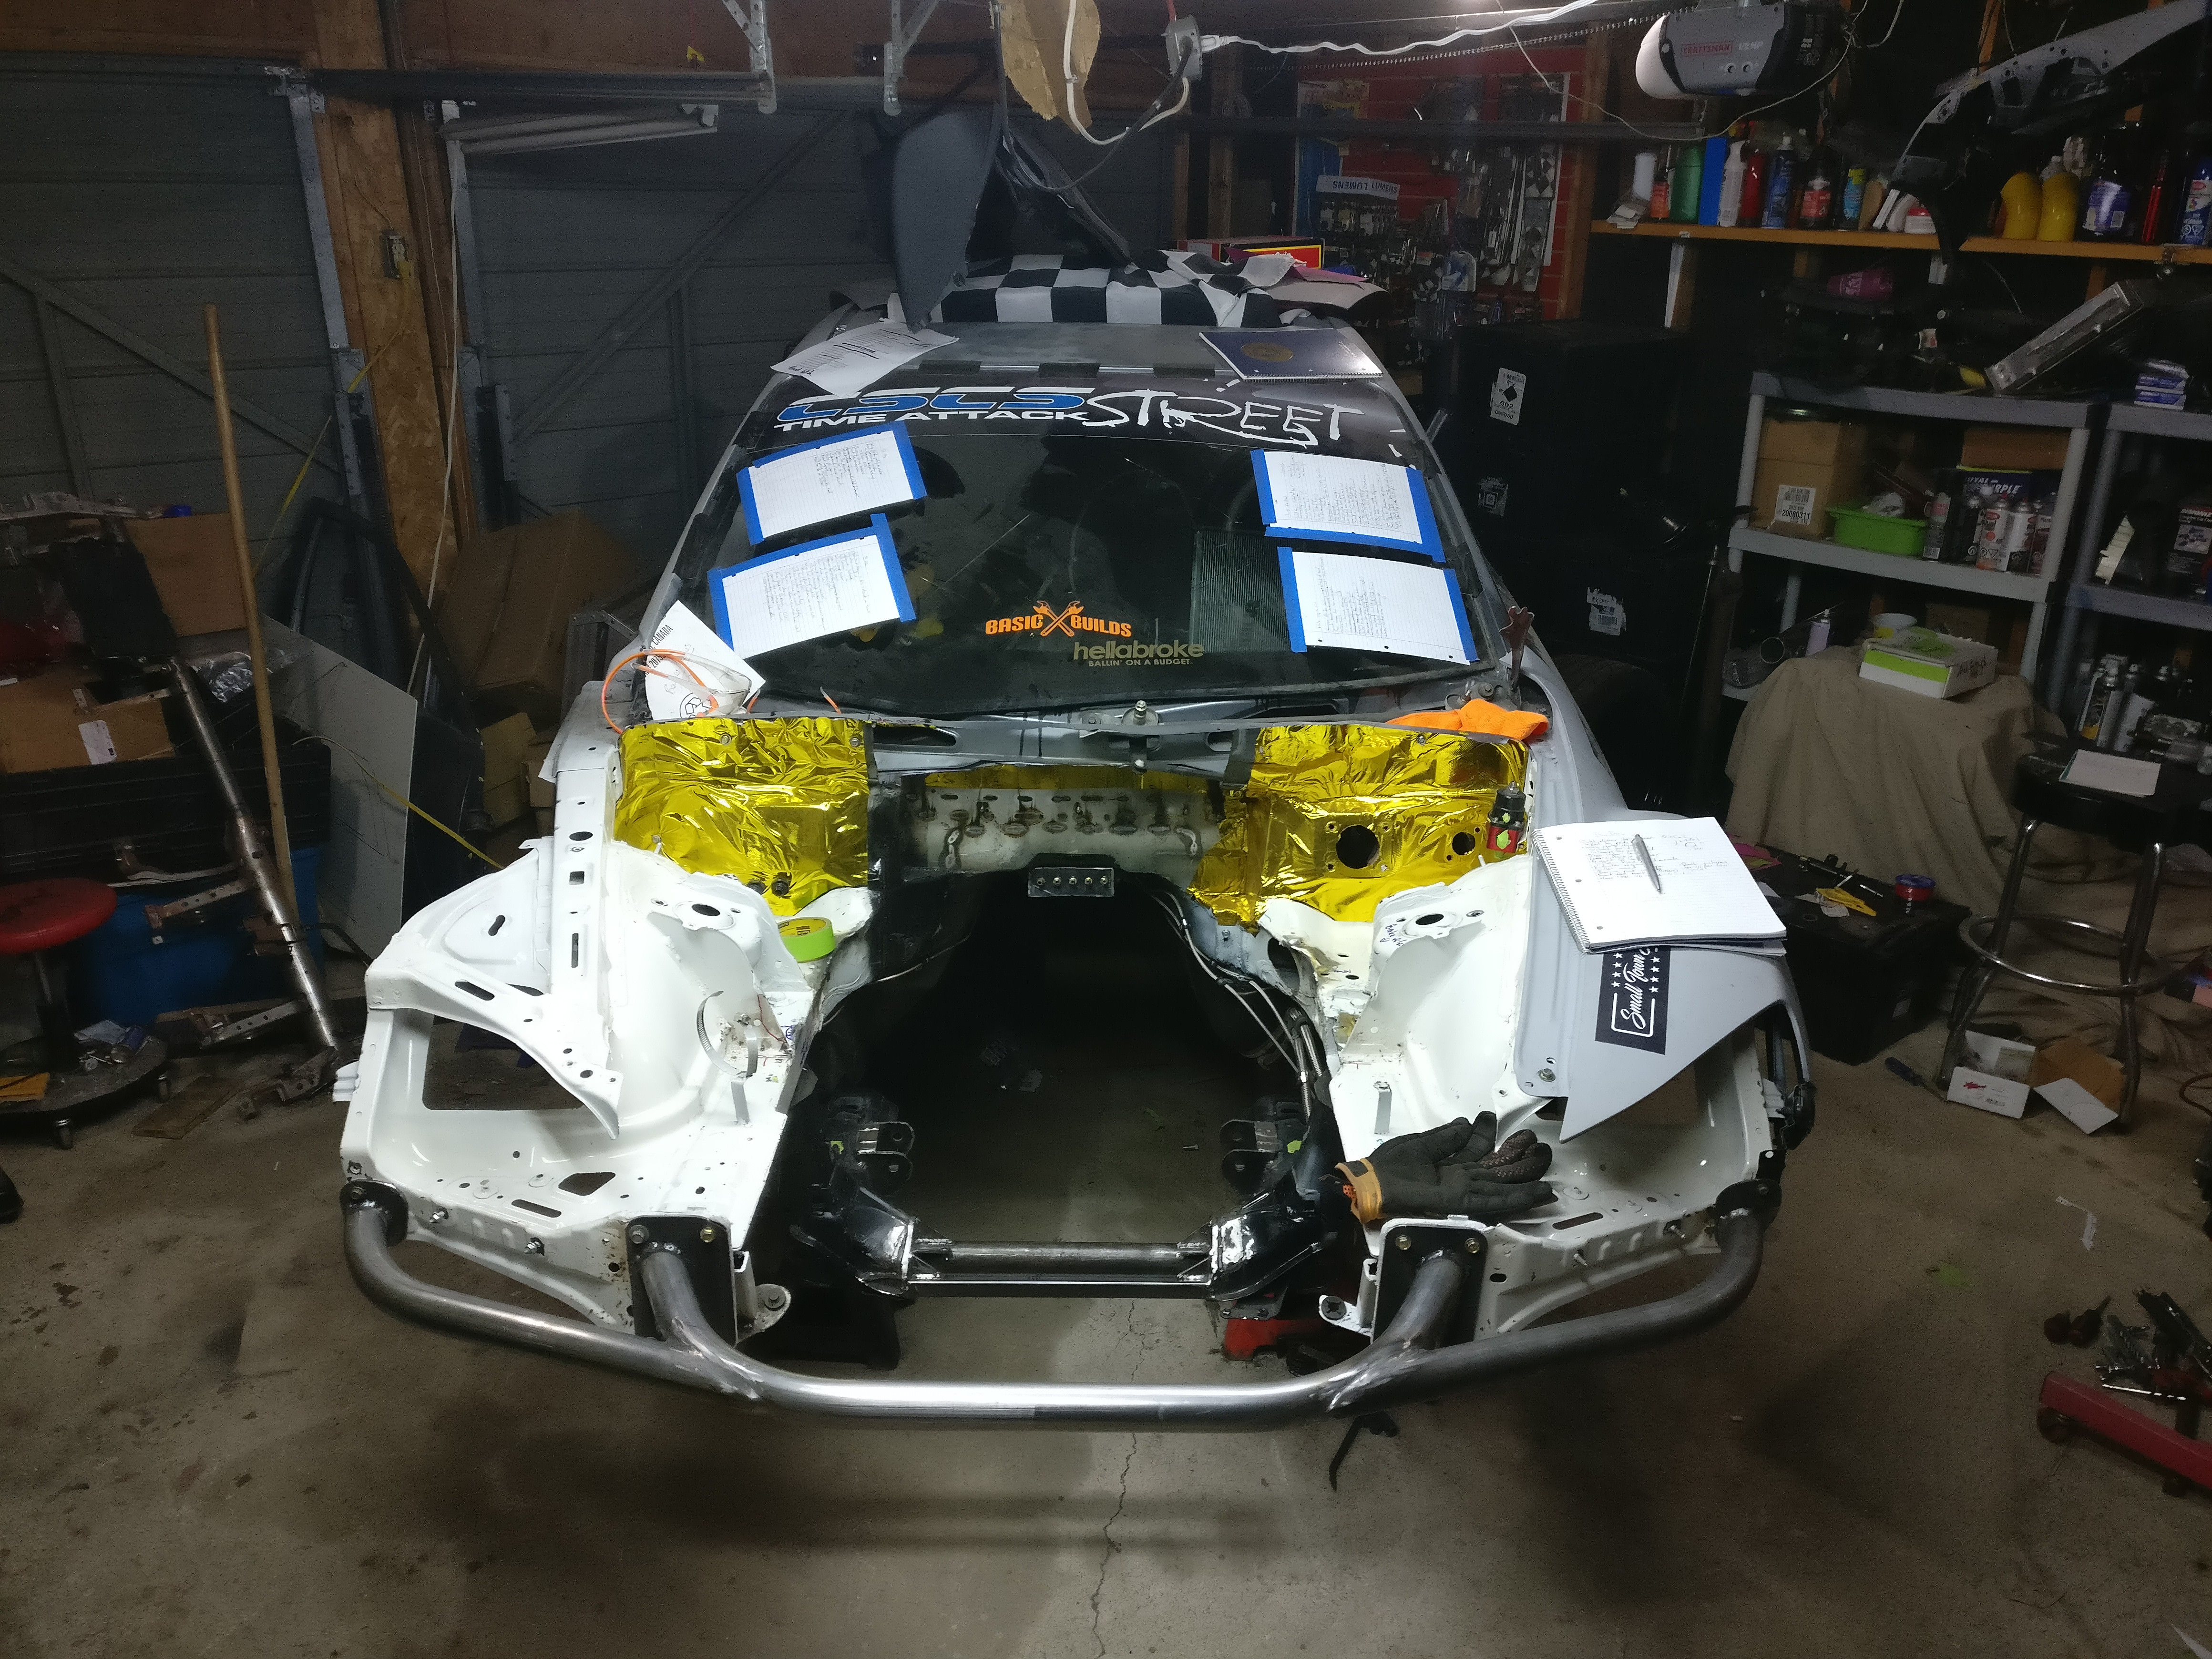
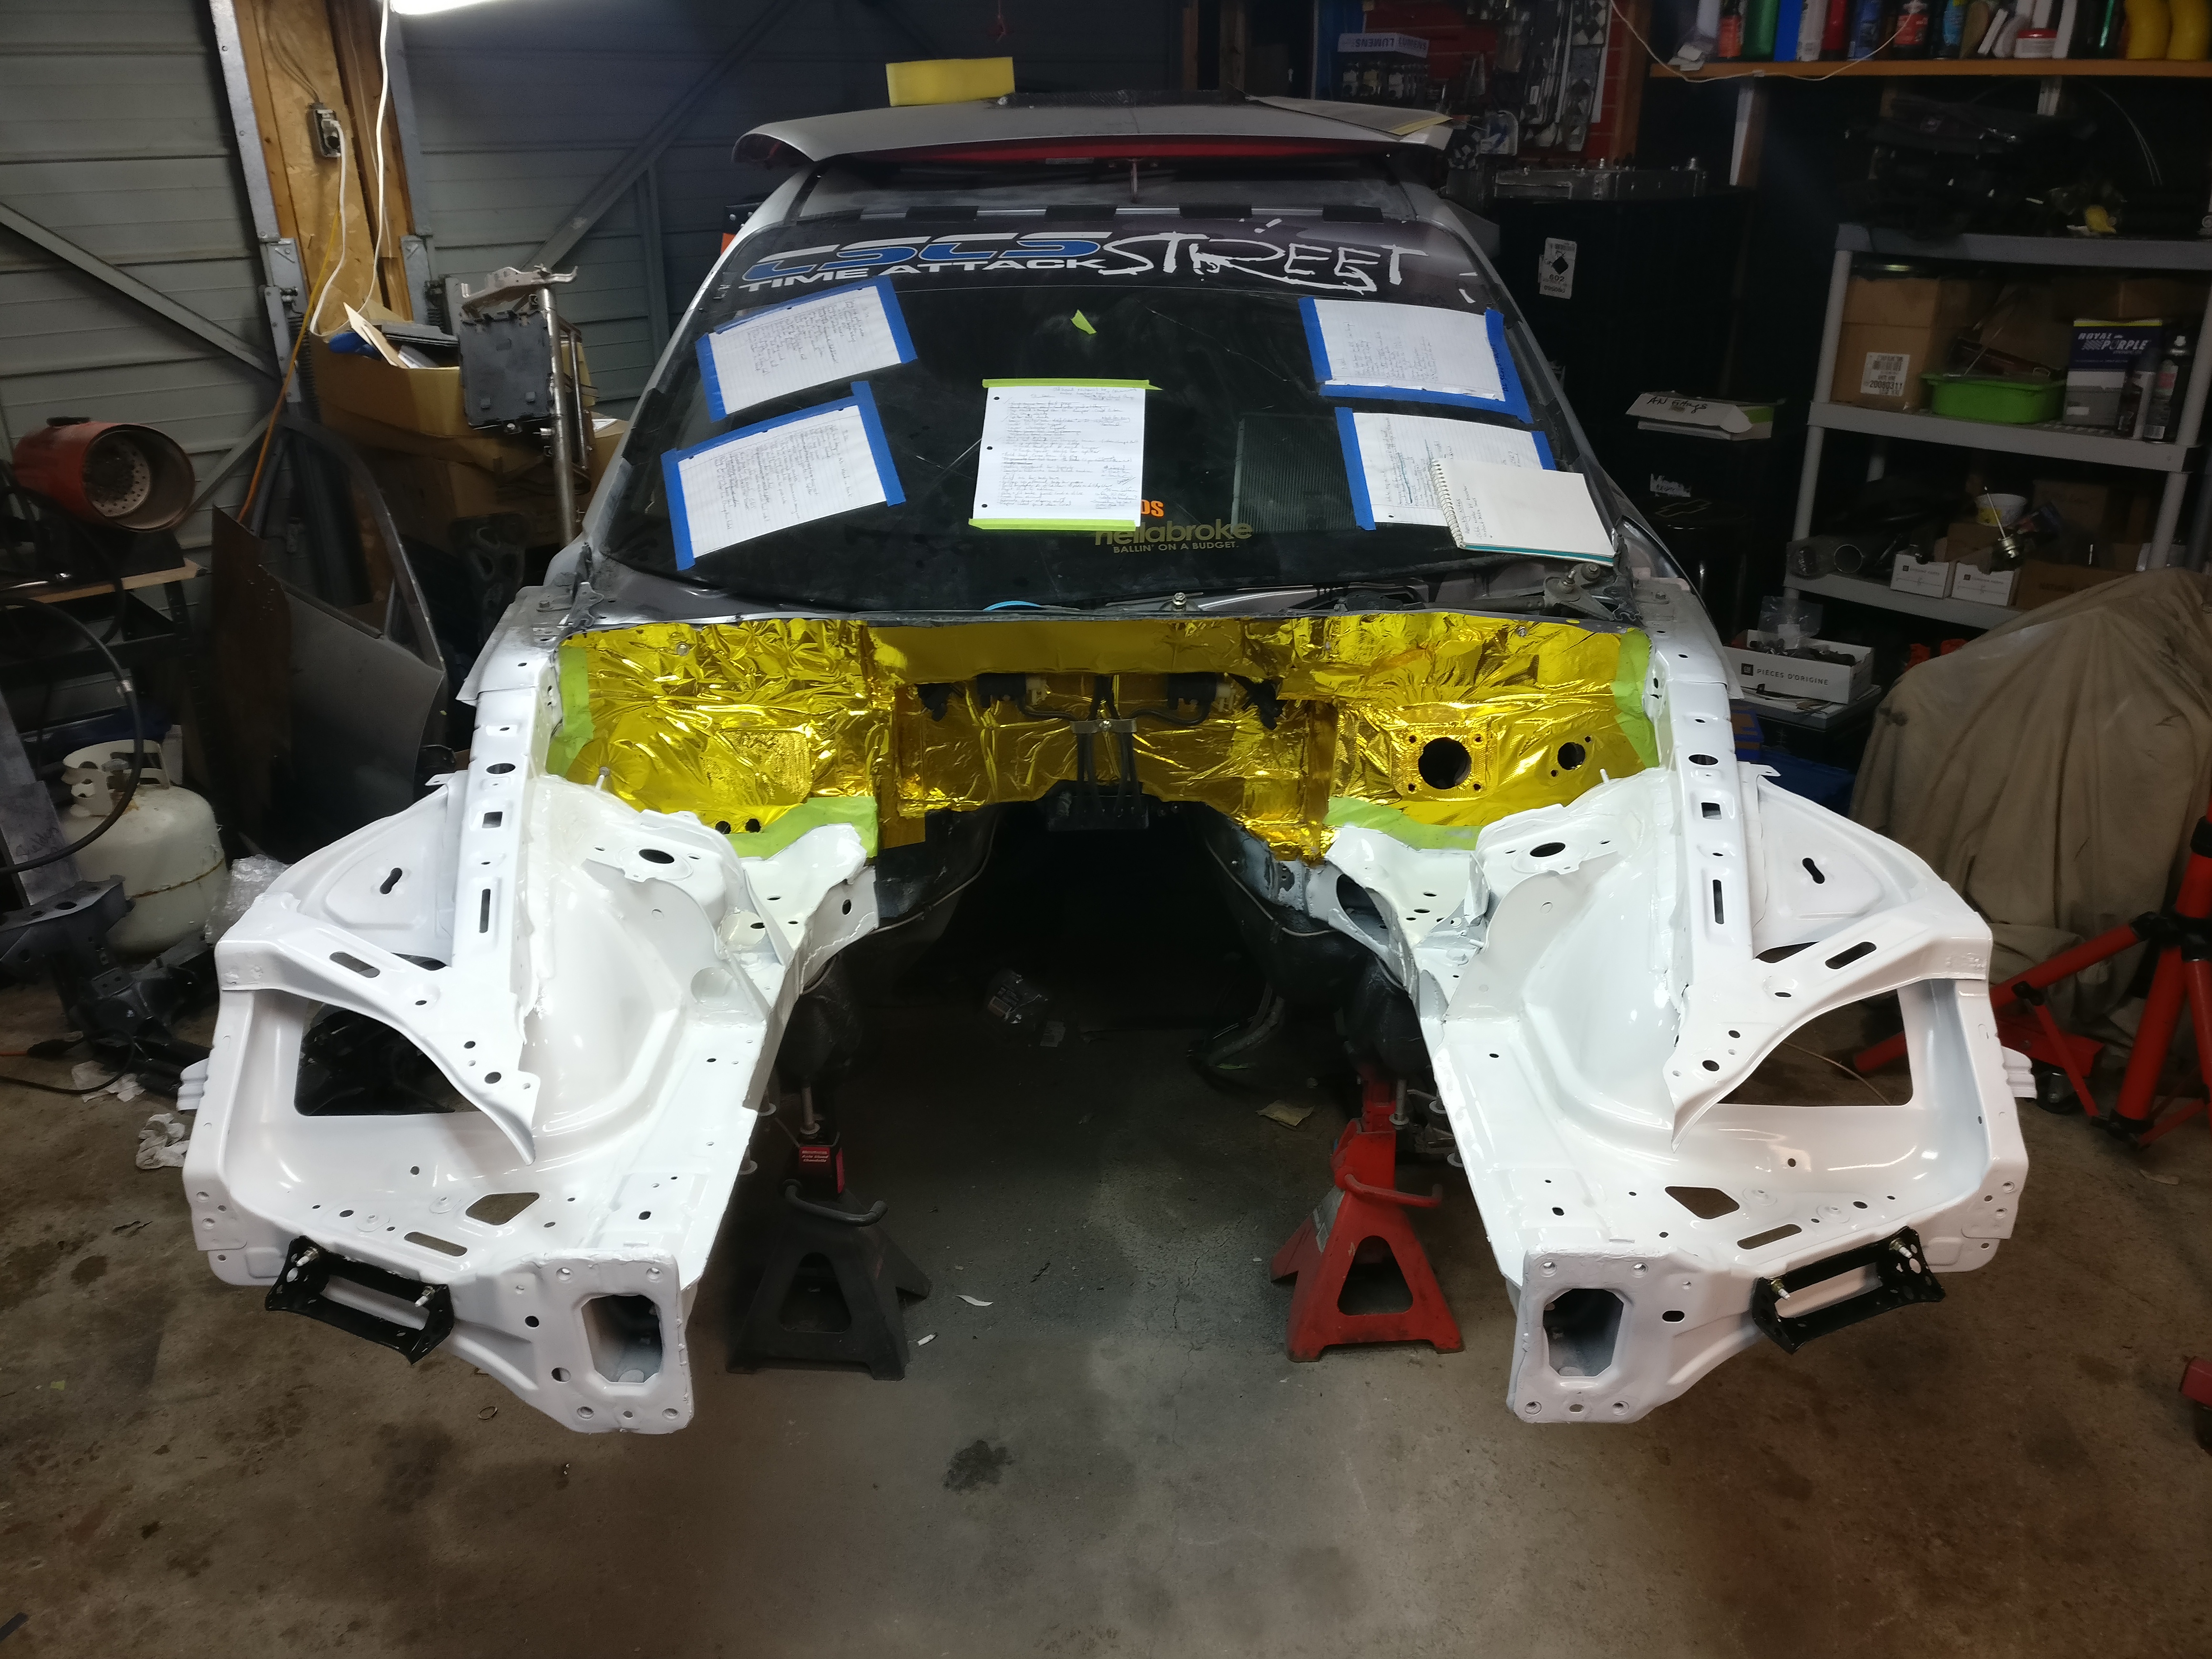
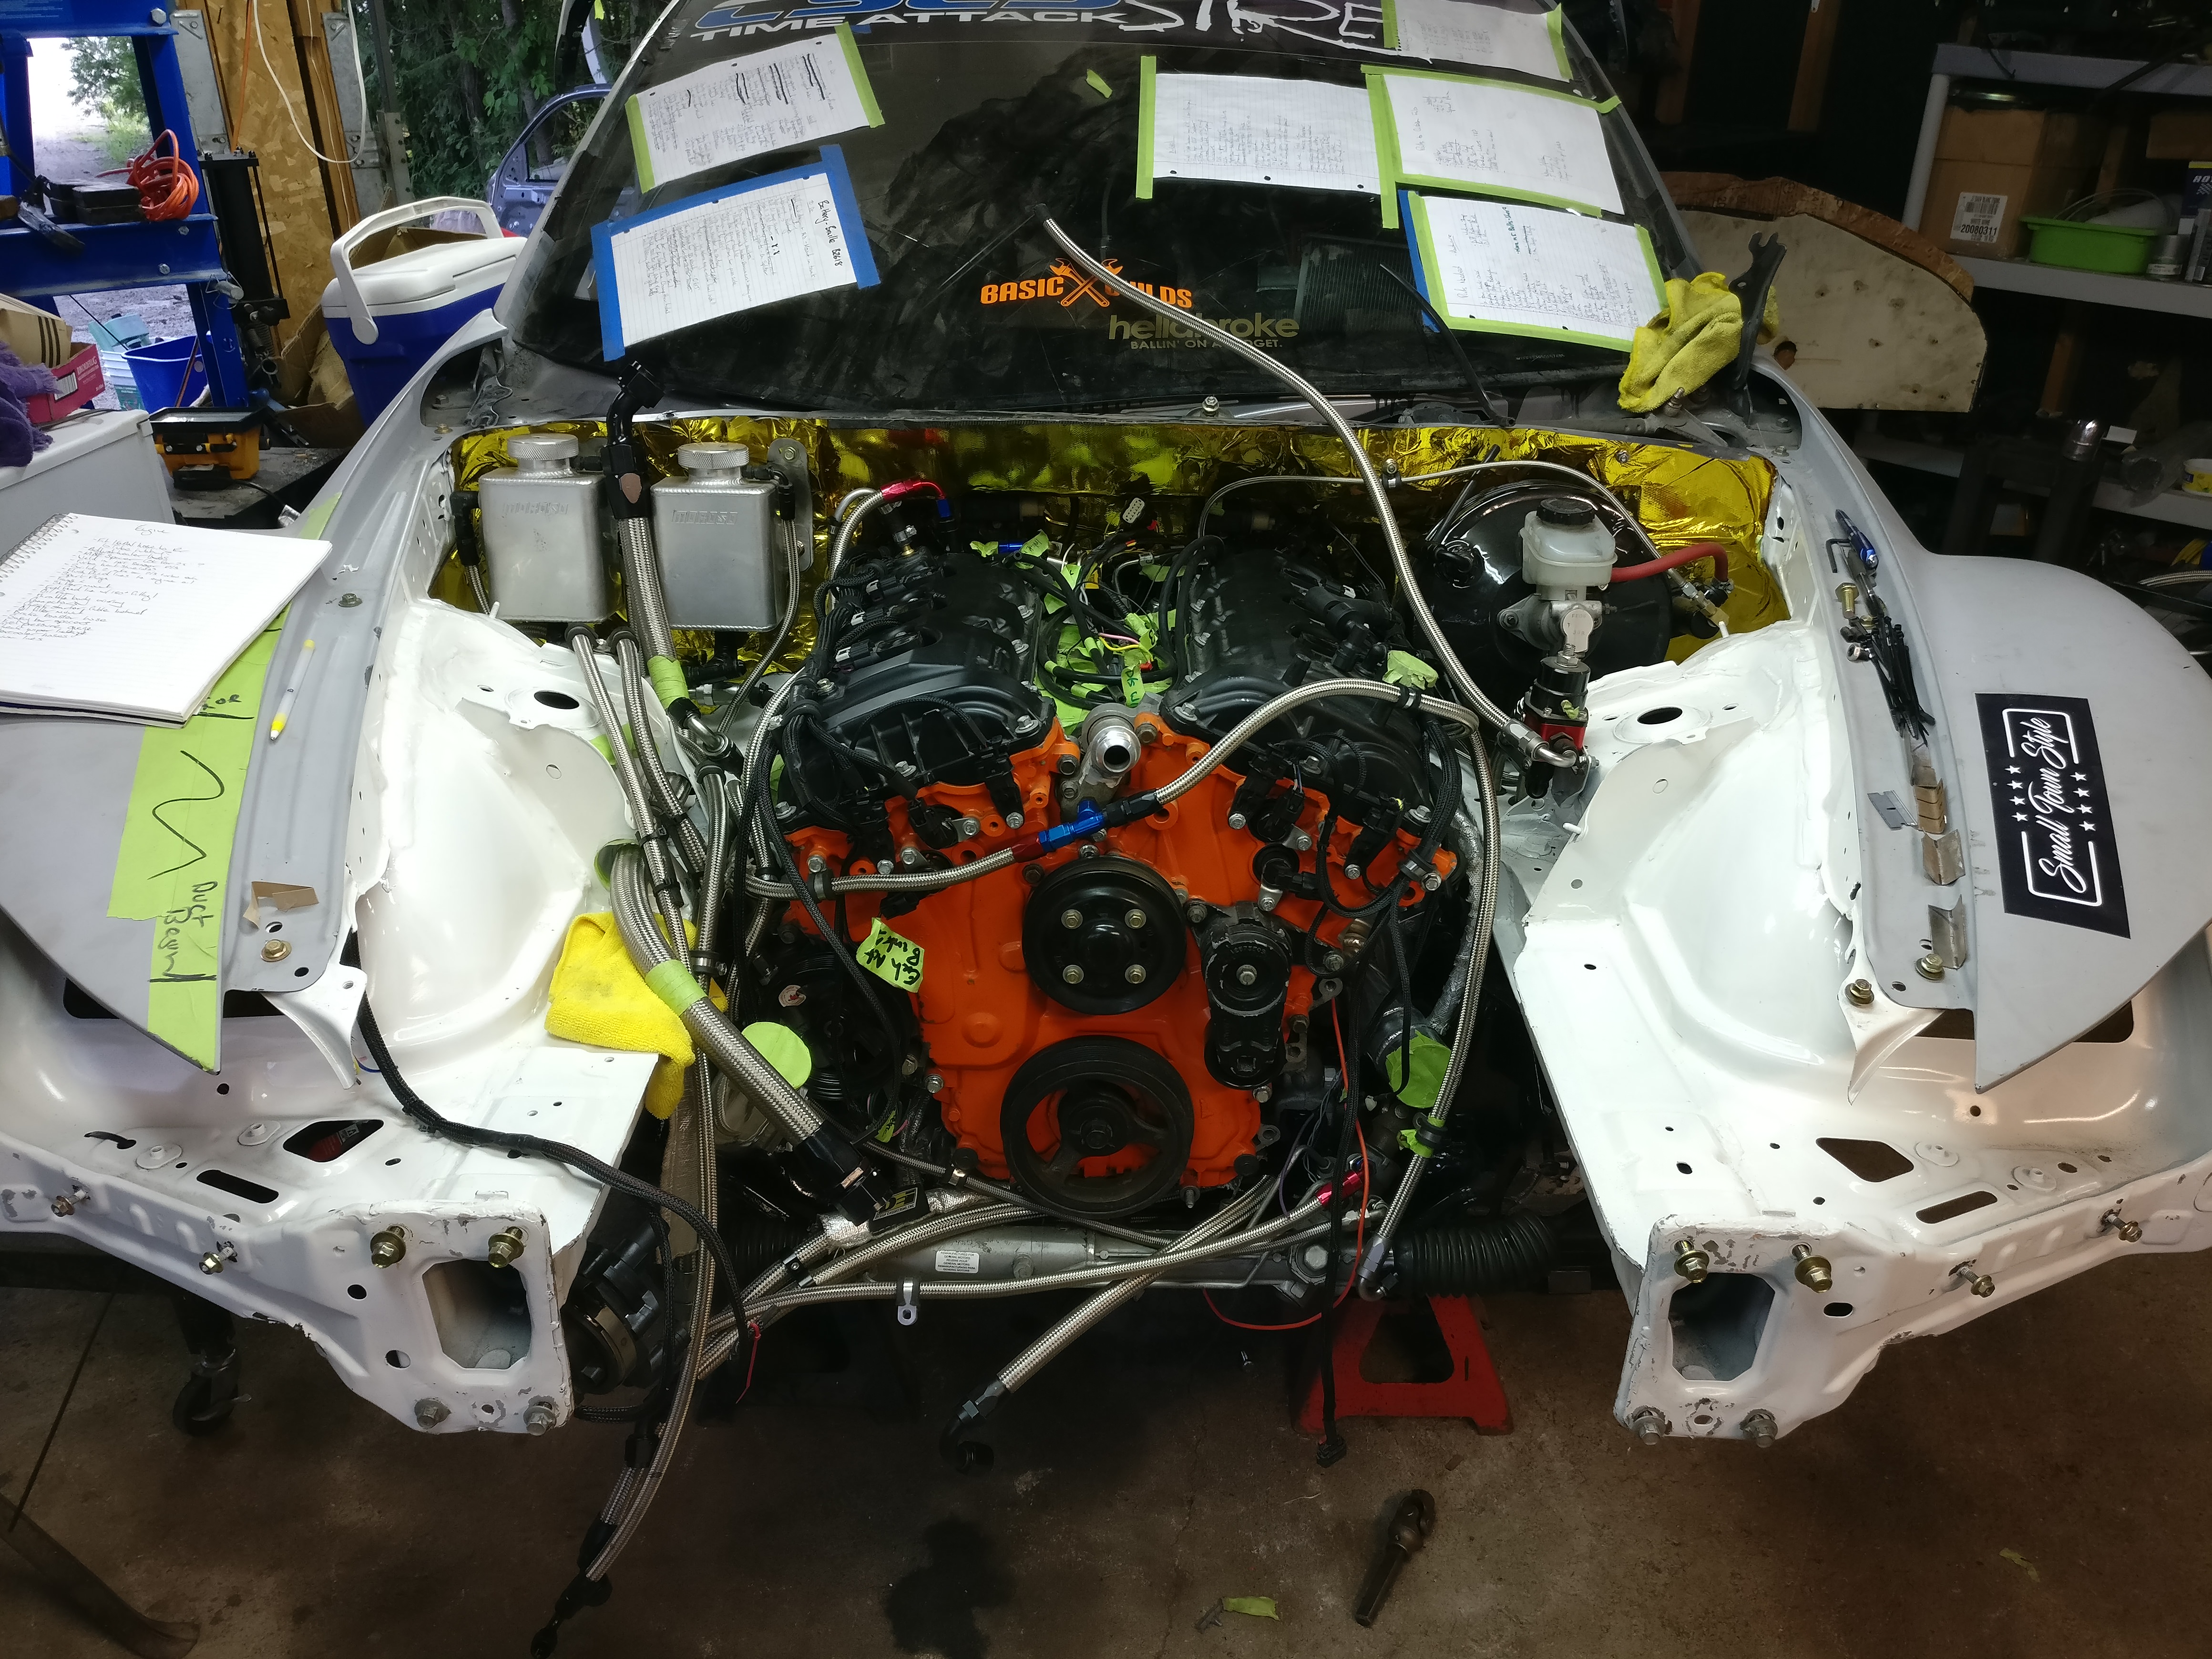
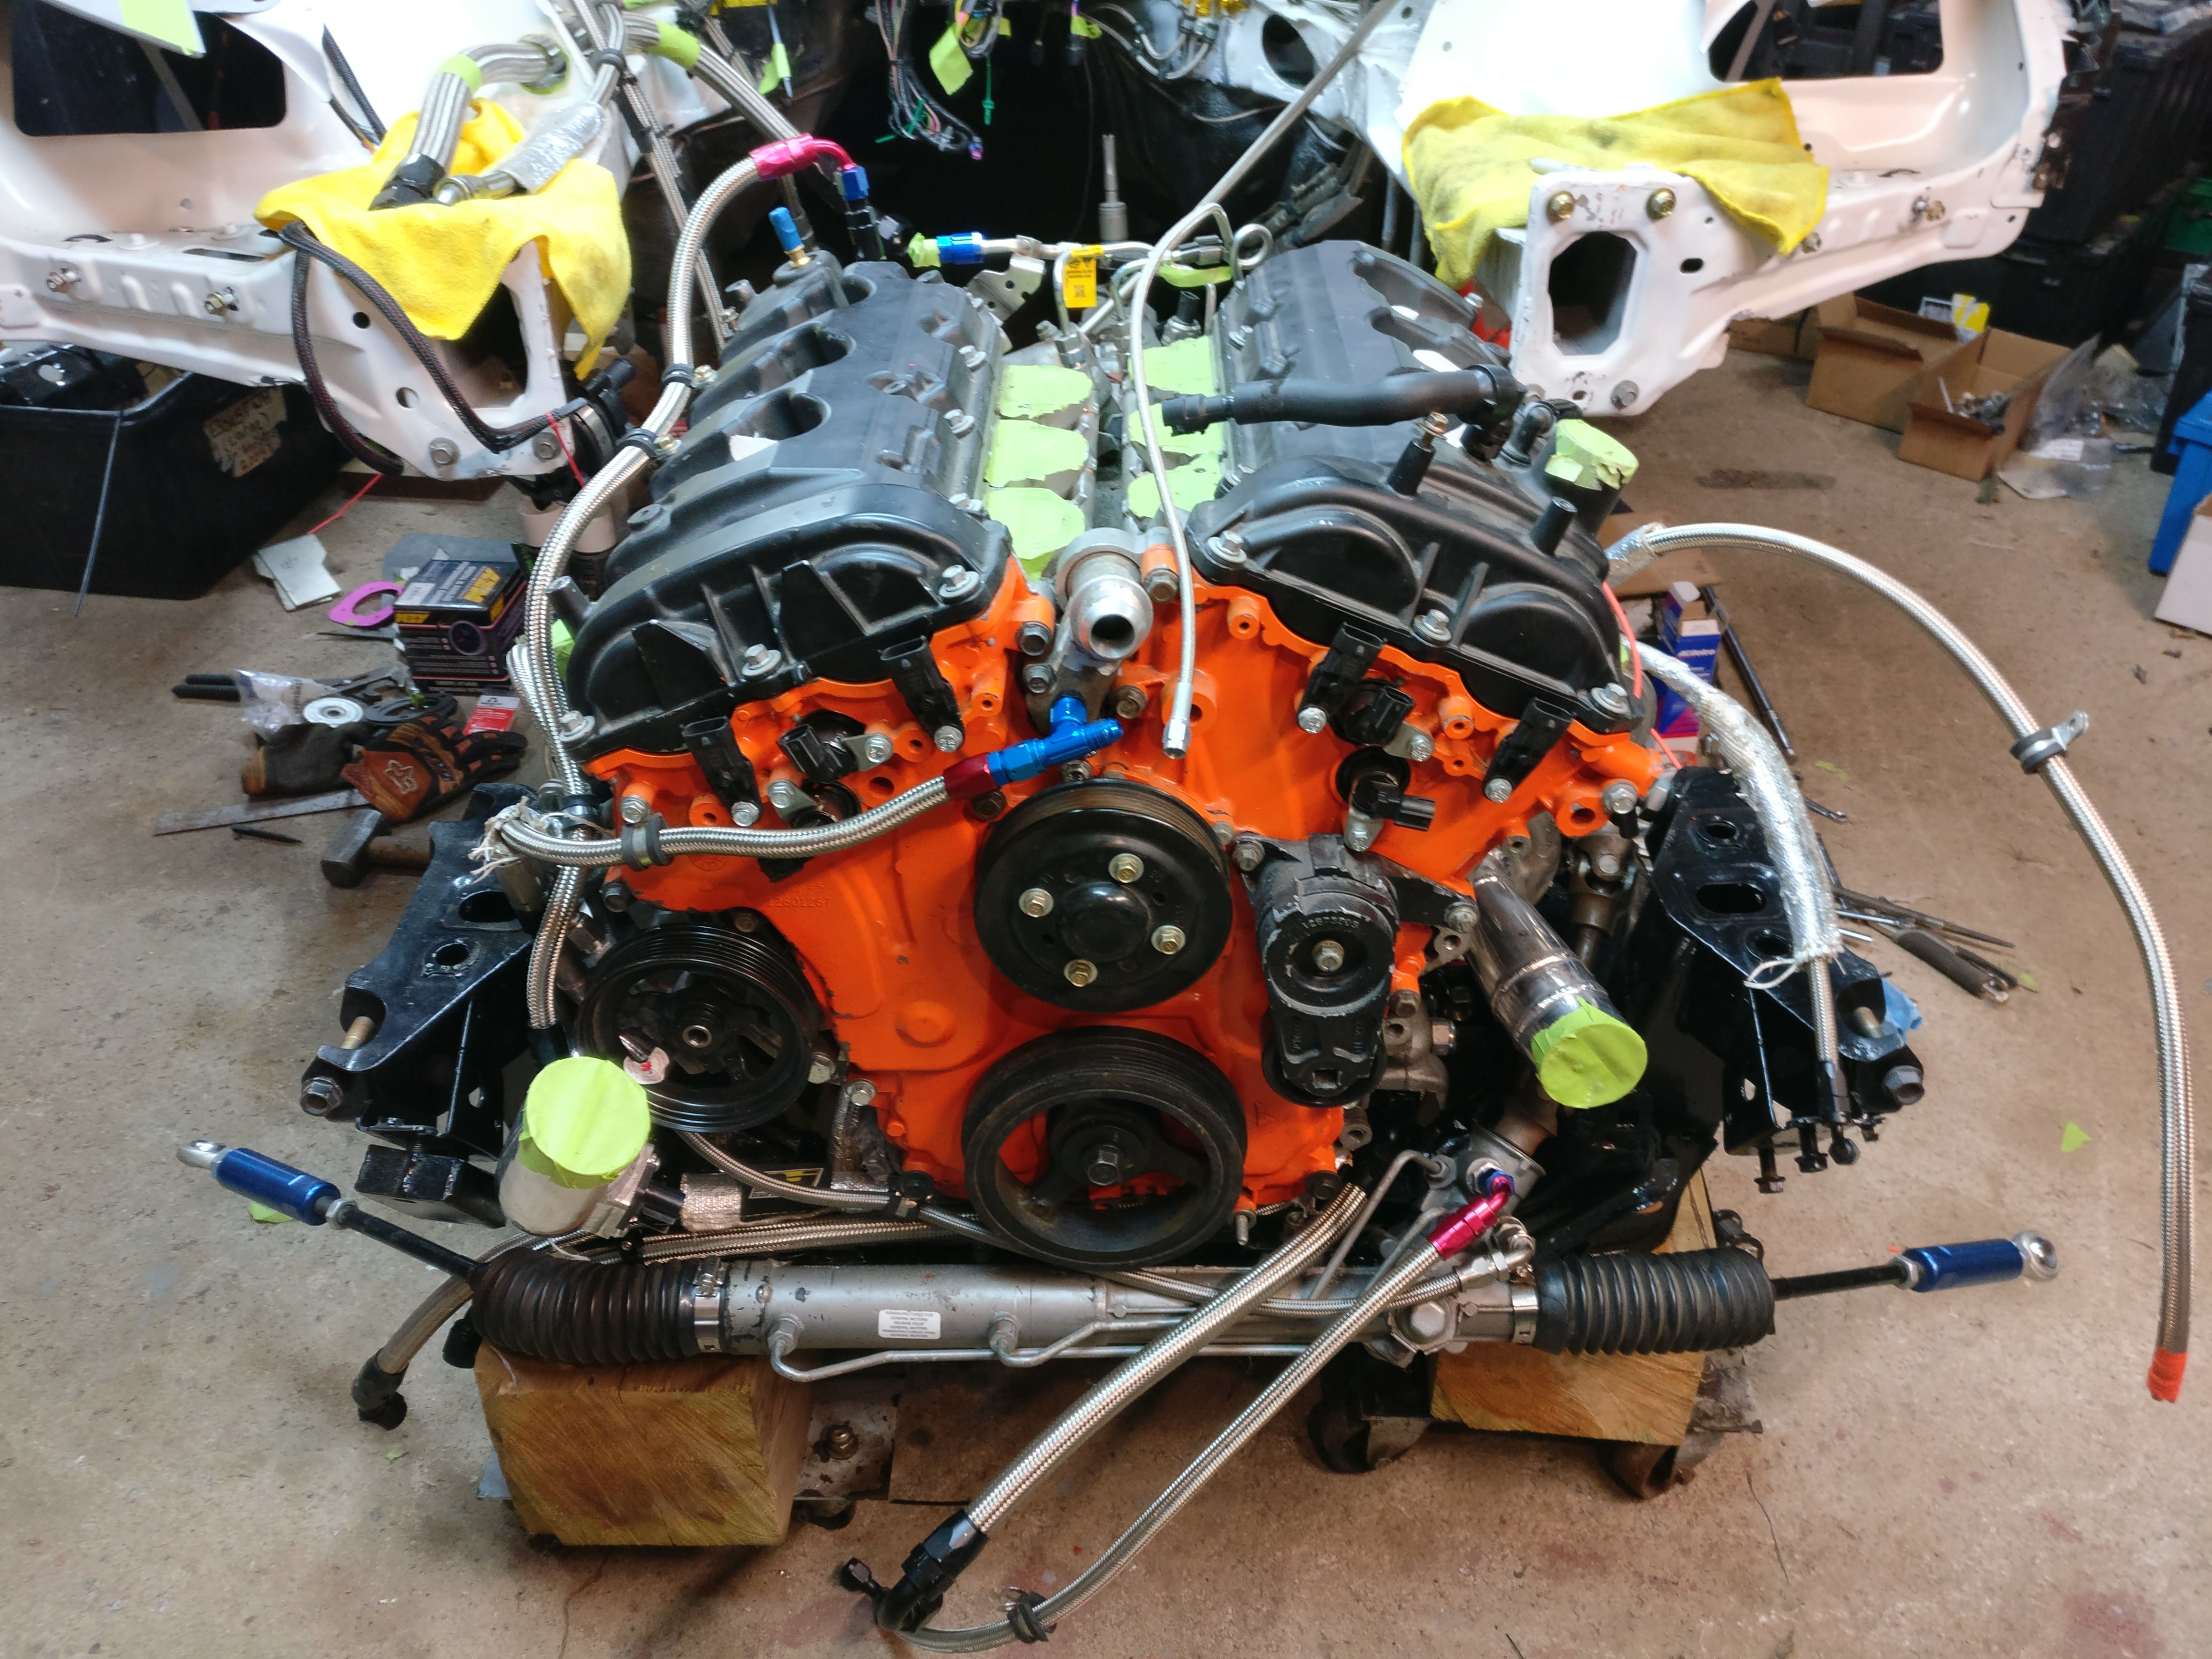
Anyways, I have emptied most of the engine bay, as I am going to start with re fabricating the engine mounts for it.
I had initially believed I did not have enough space below the turbochargers to design a bushed mounting system, which had led me to the solid mounting off the front of the engine.
I have since realized there is more space than I had thought, and have been nervous from the get-go about having solid mounts in it.
I have now completed my design for the mounts and will have them re-fabricated by the end of next weekend with poly bushings included in them. Of course this means I now need to re visit every where I had a very tight fit and need to figure out how to open up a bit more real estate given there will be a little bit of engine movement now with the bushed mounts.
Last edited by Chezmanbespoke; 11-19-2017 at 09:12 PM.
As usual, a couple days off work means obsessively working 10x harder than I did during the week LOL, but managed to get another big chunk done, though it never seems to make it look any further along.
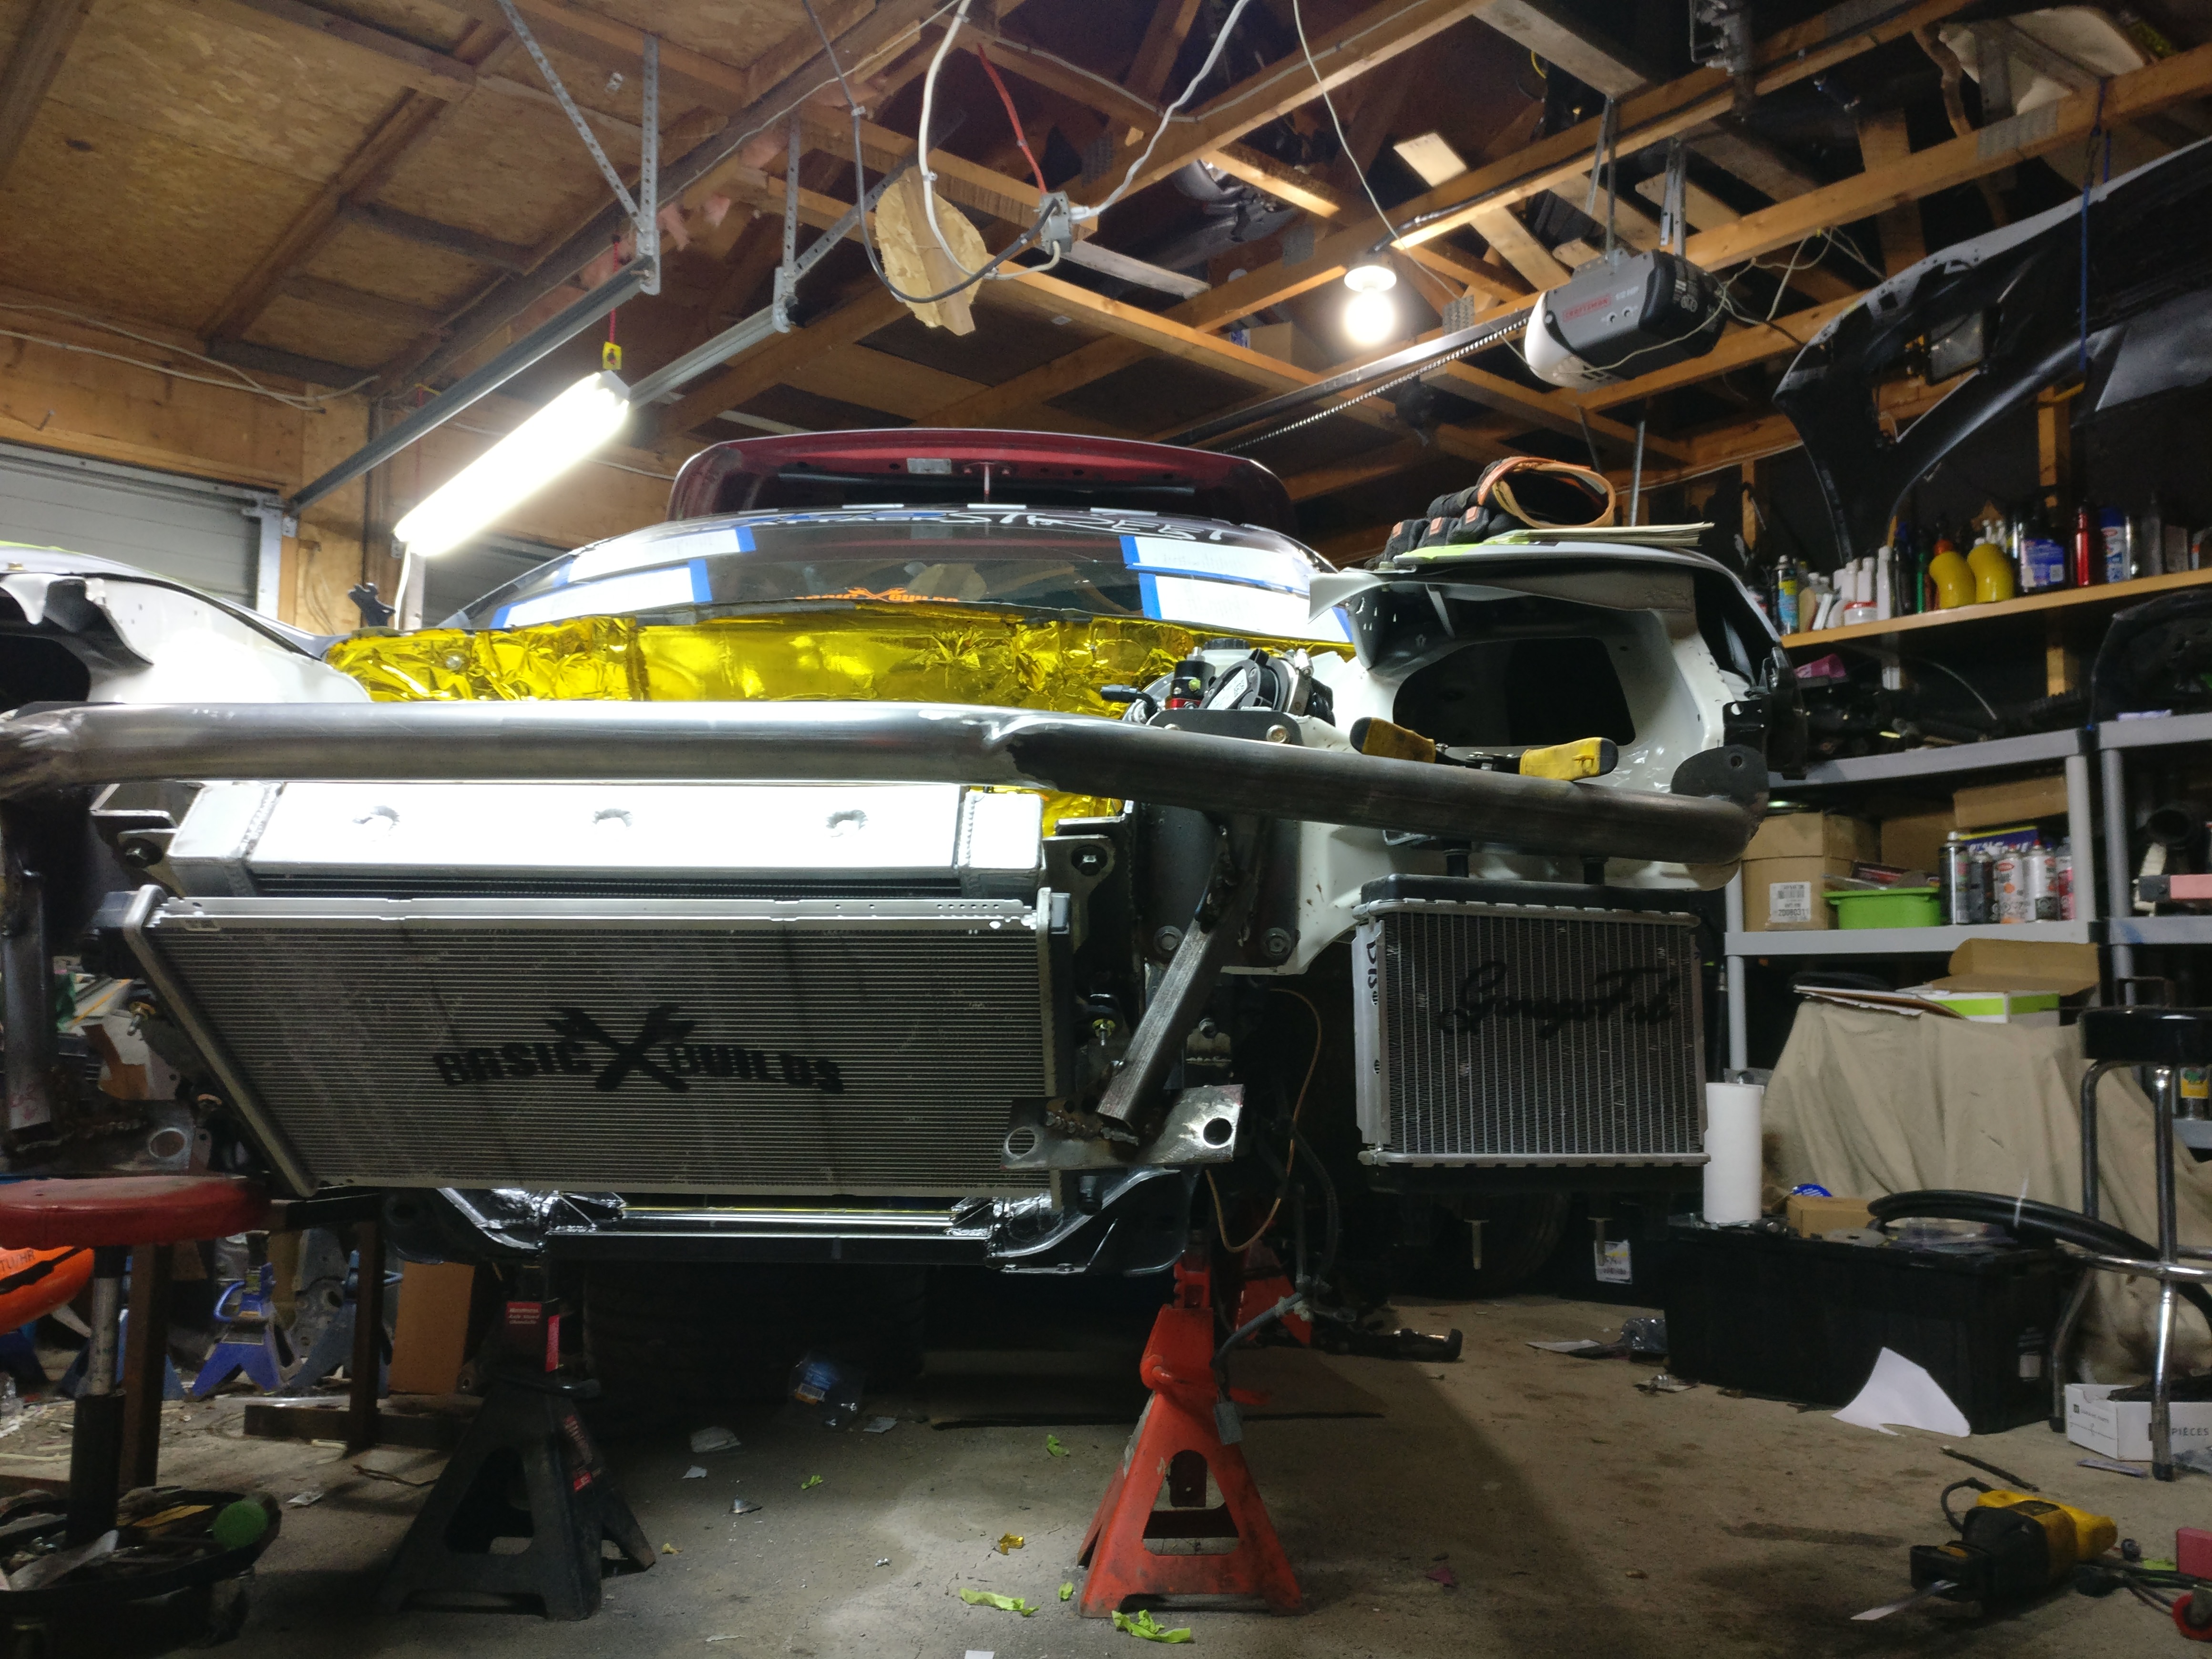
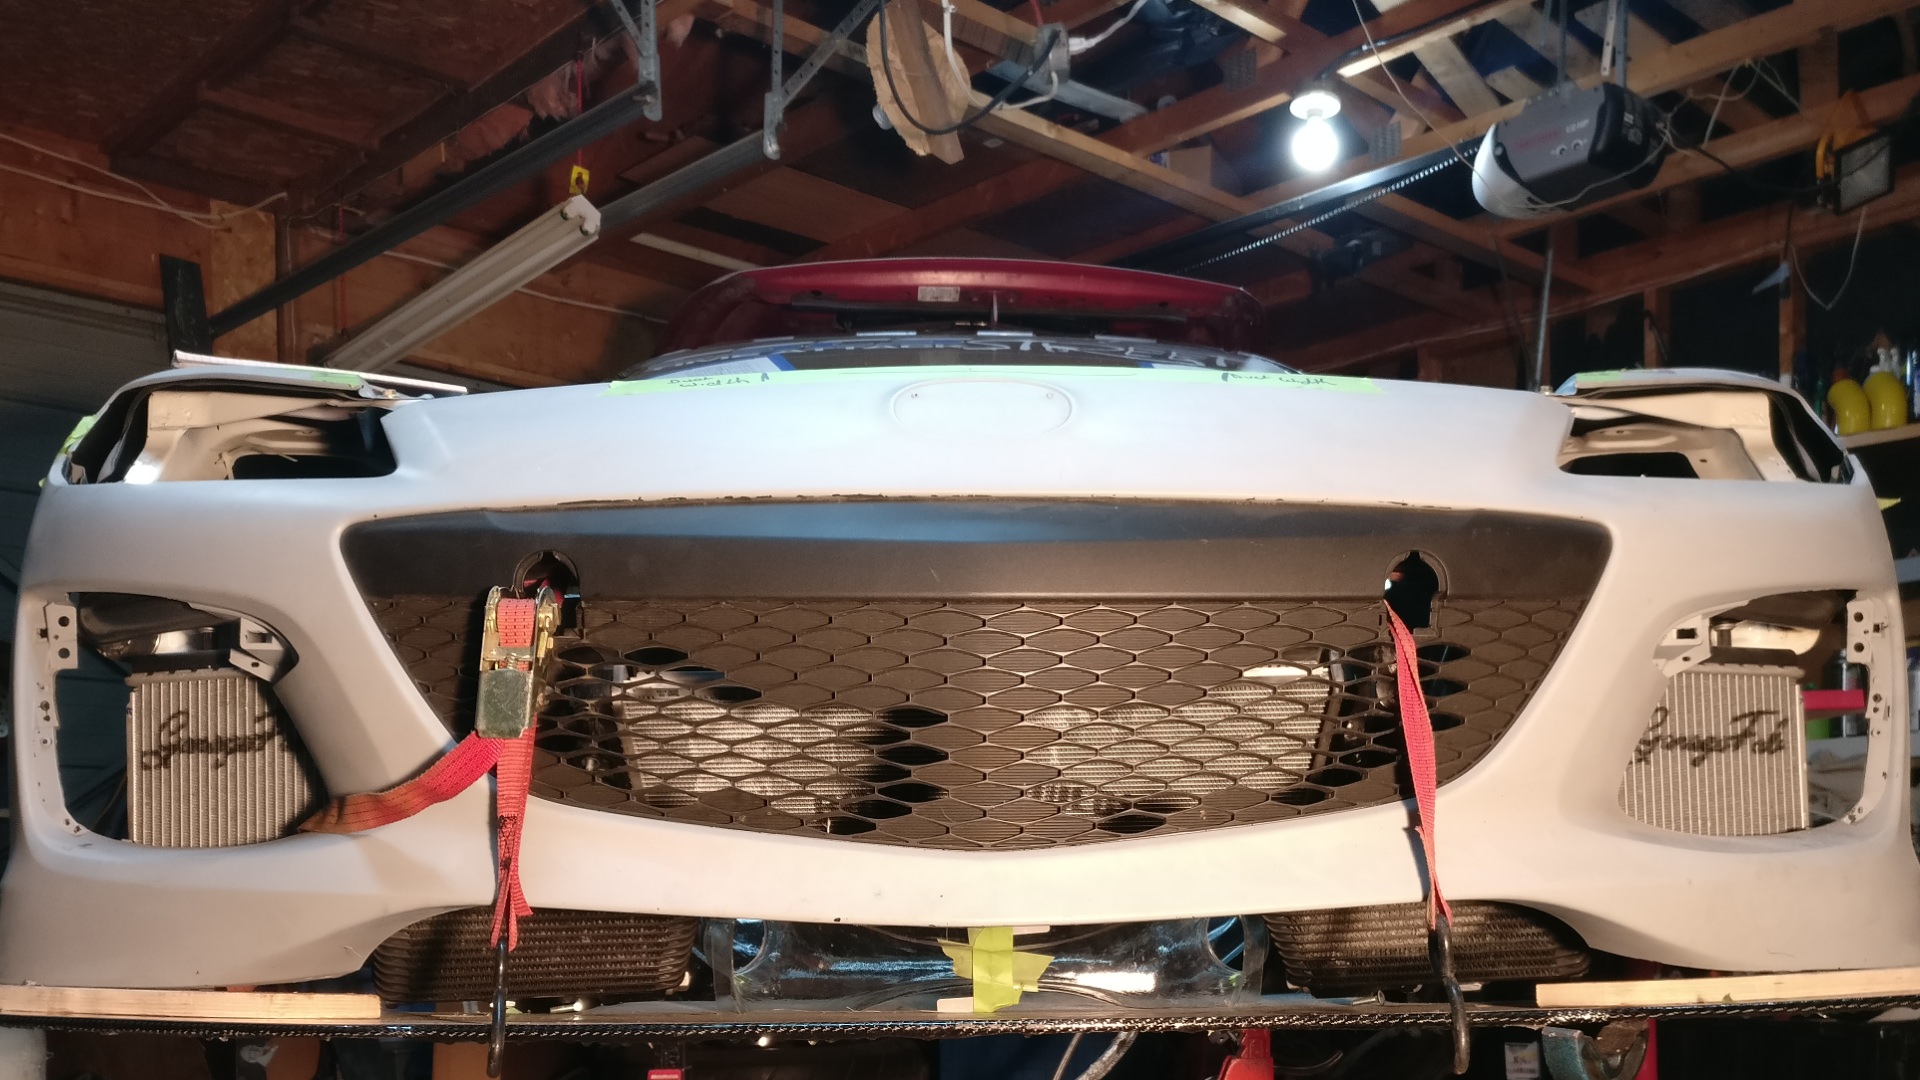
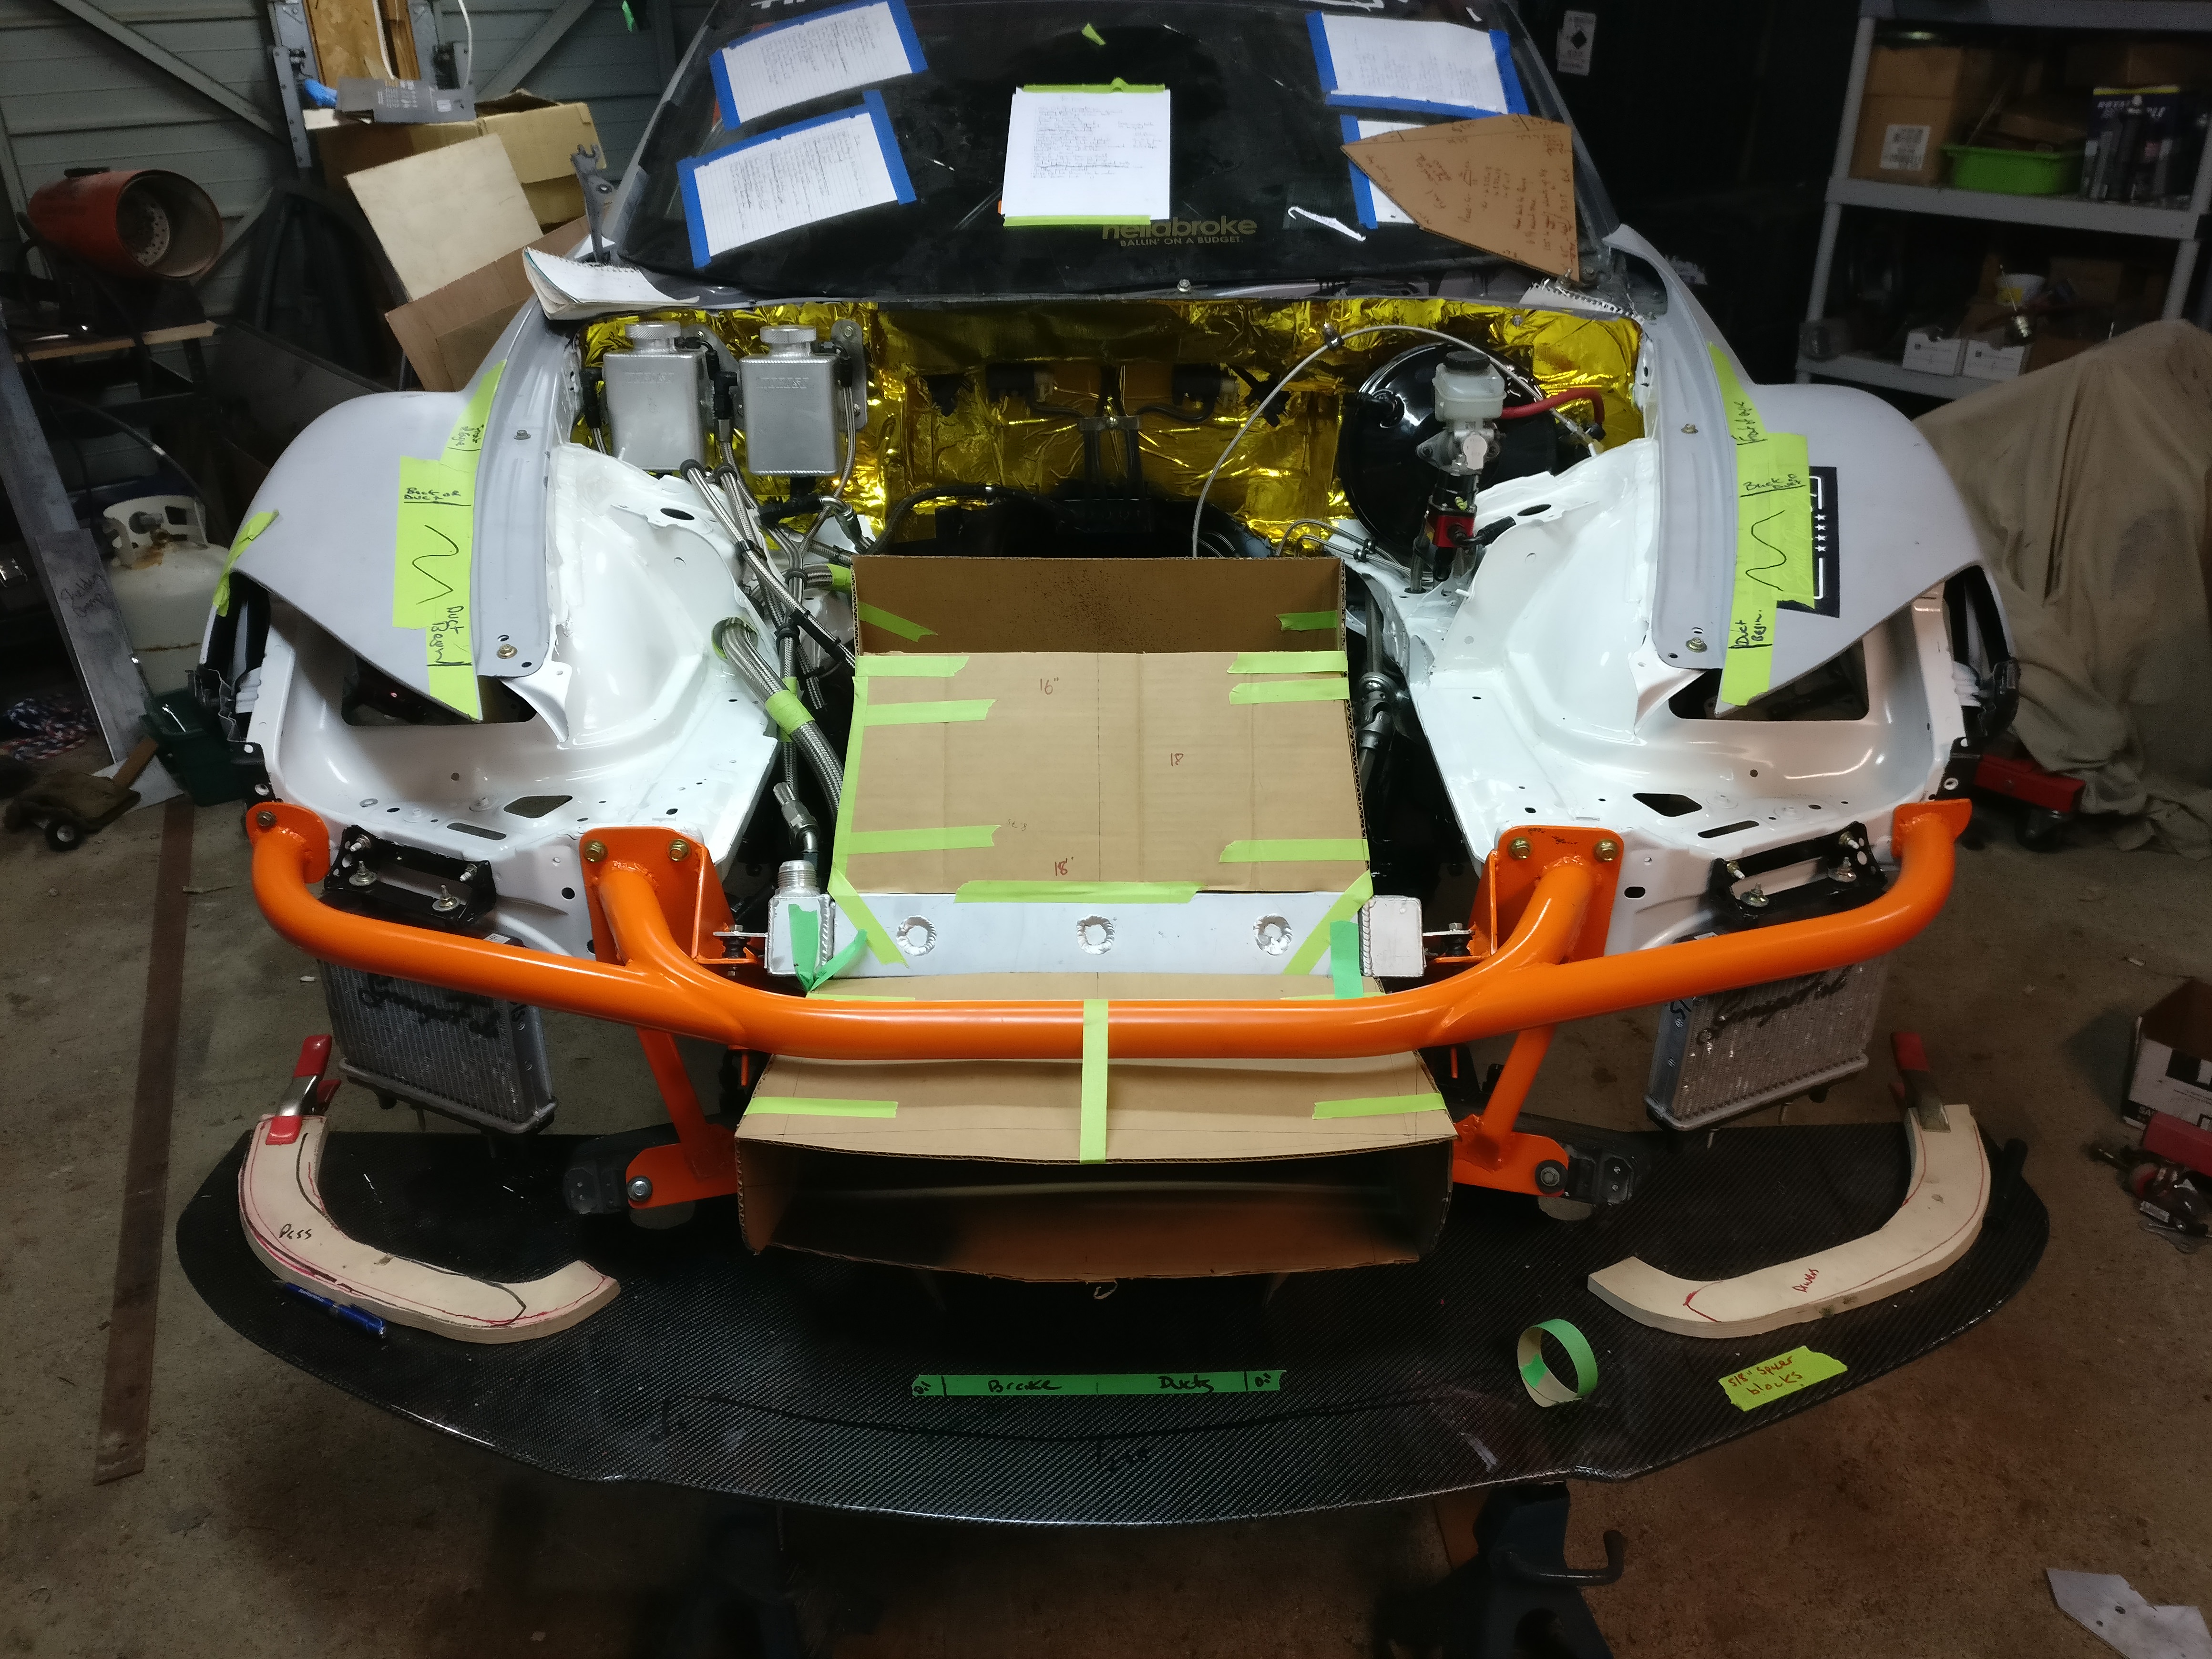
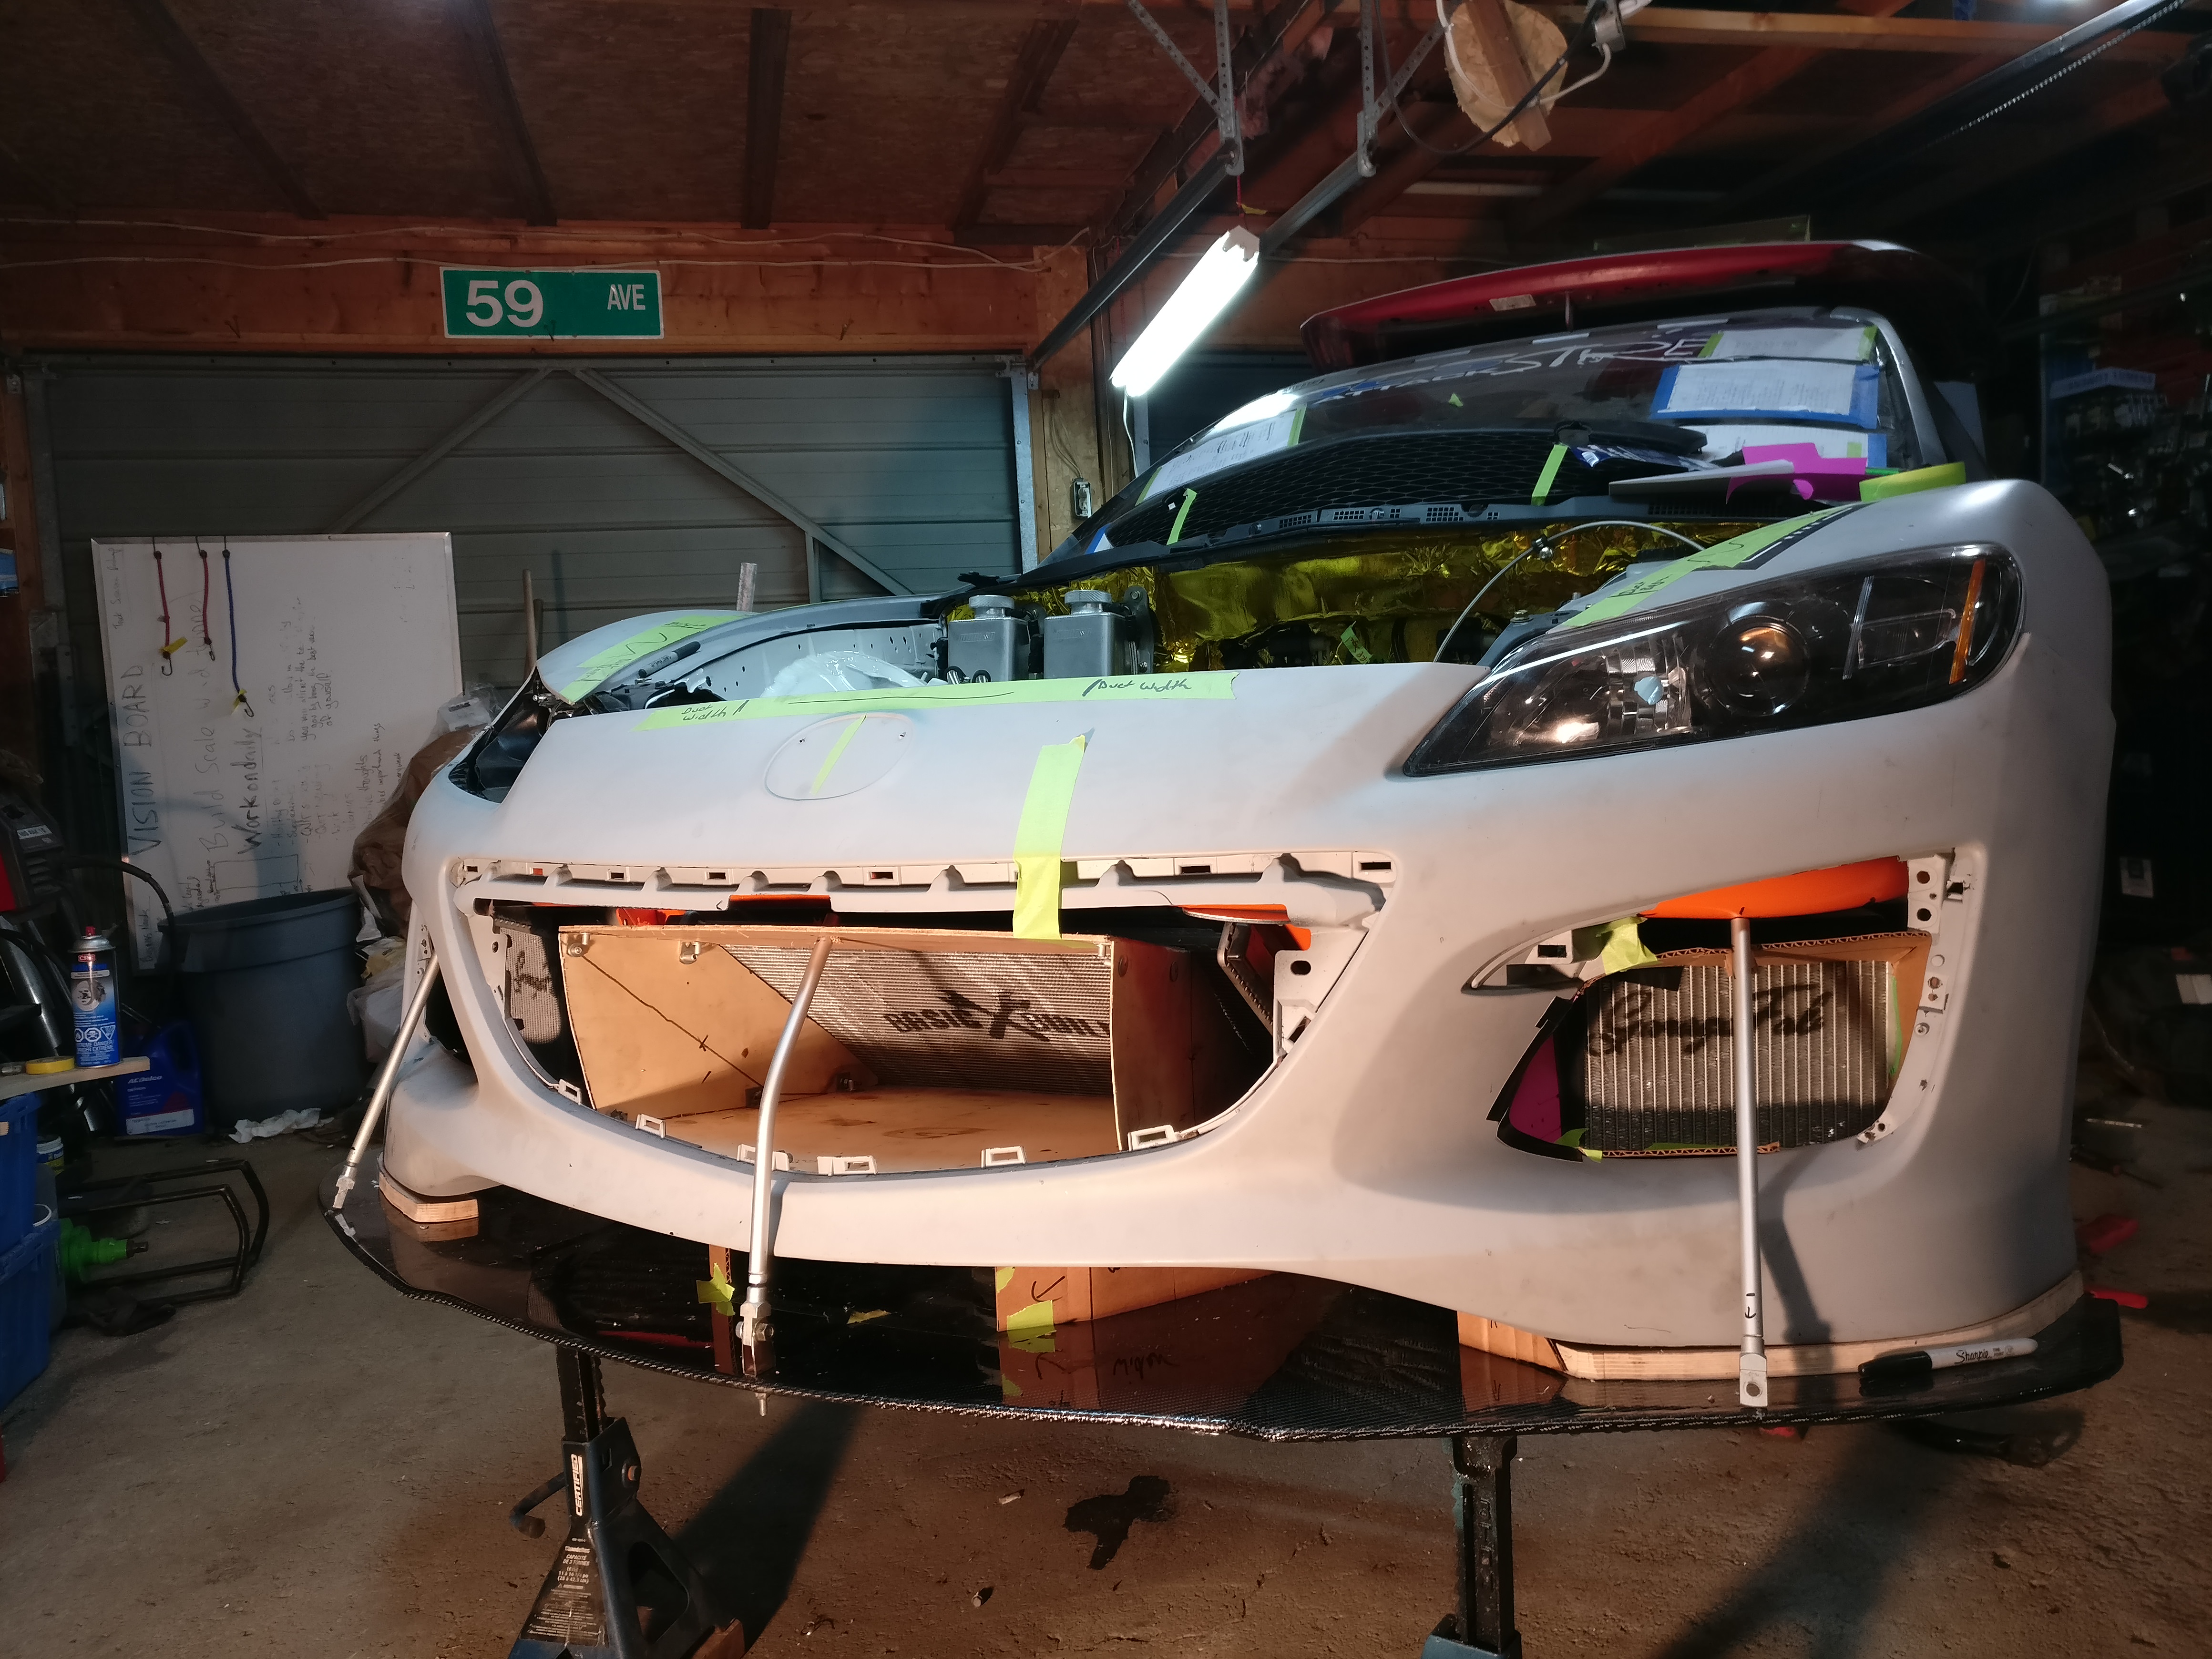
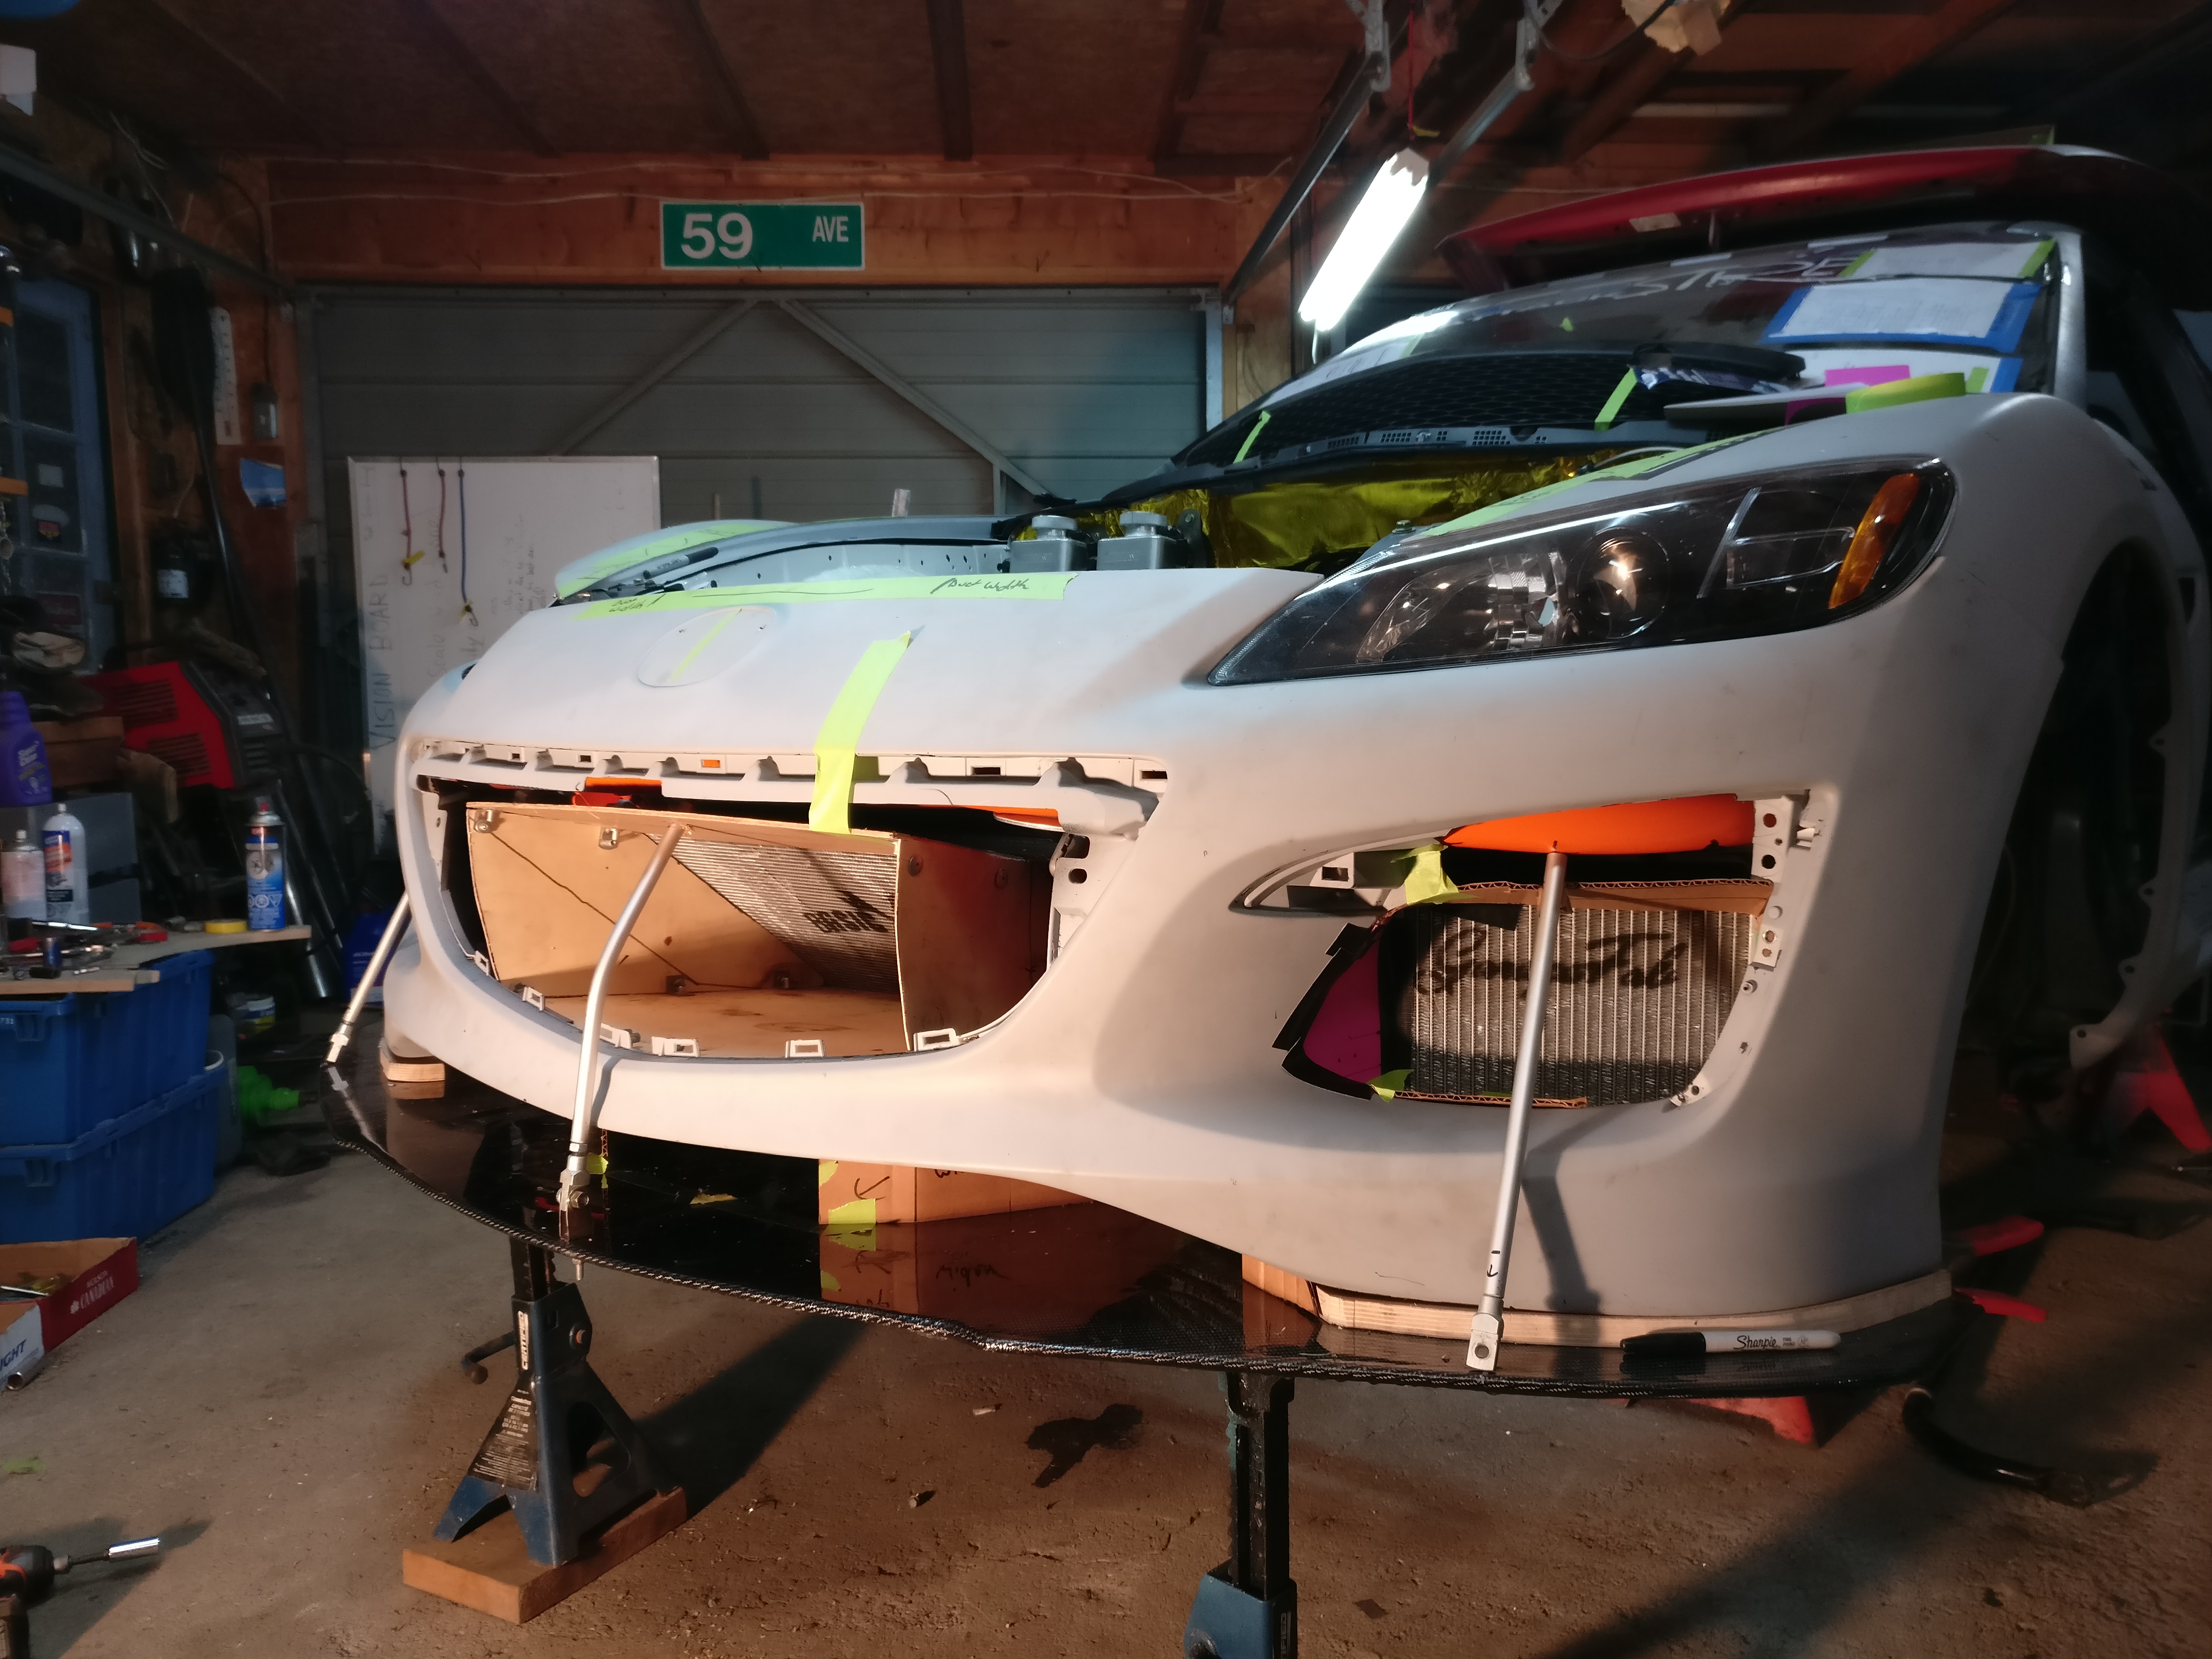
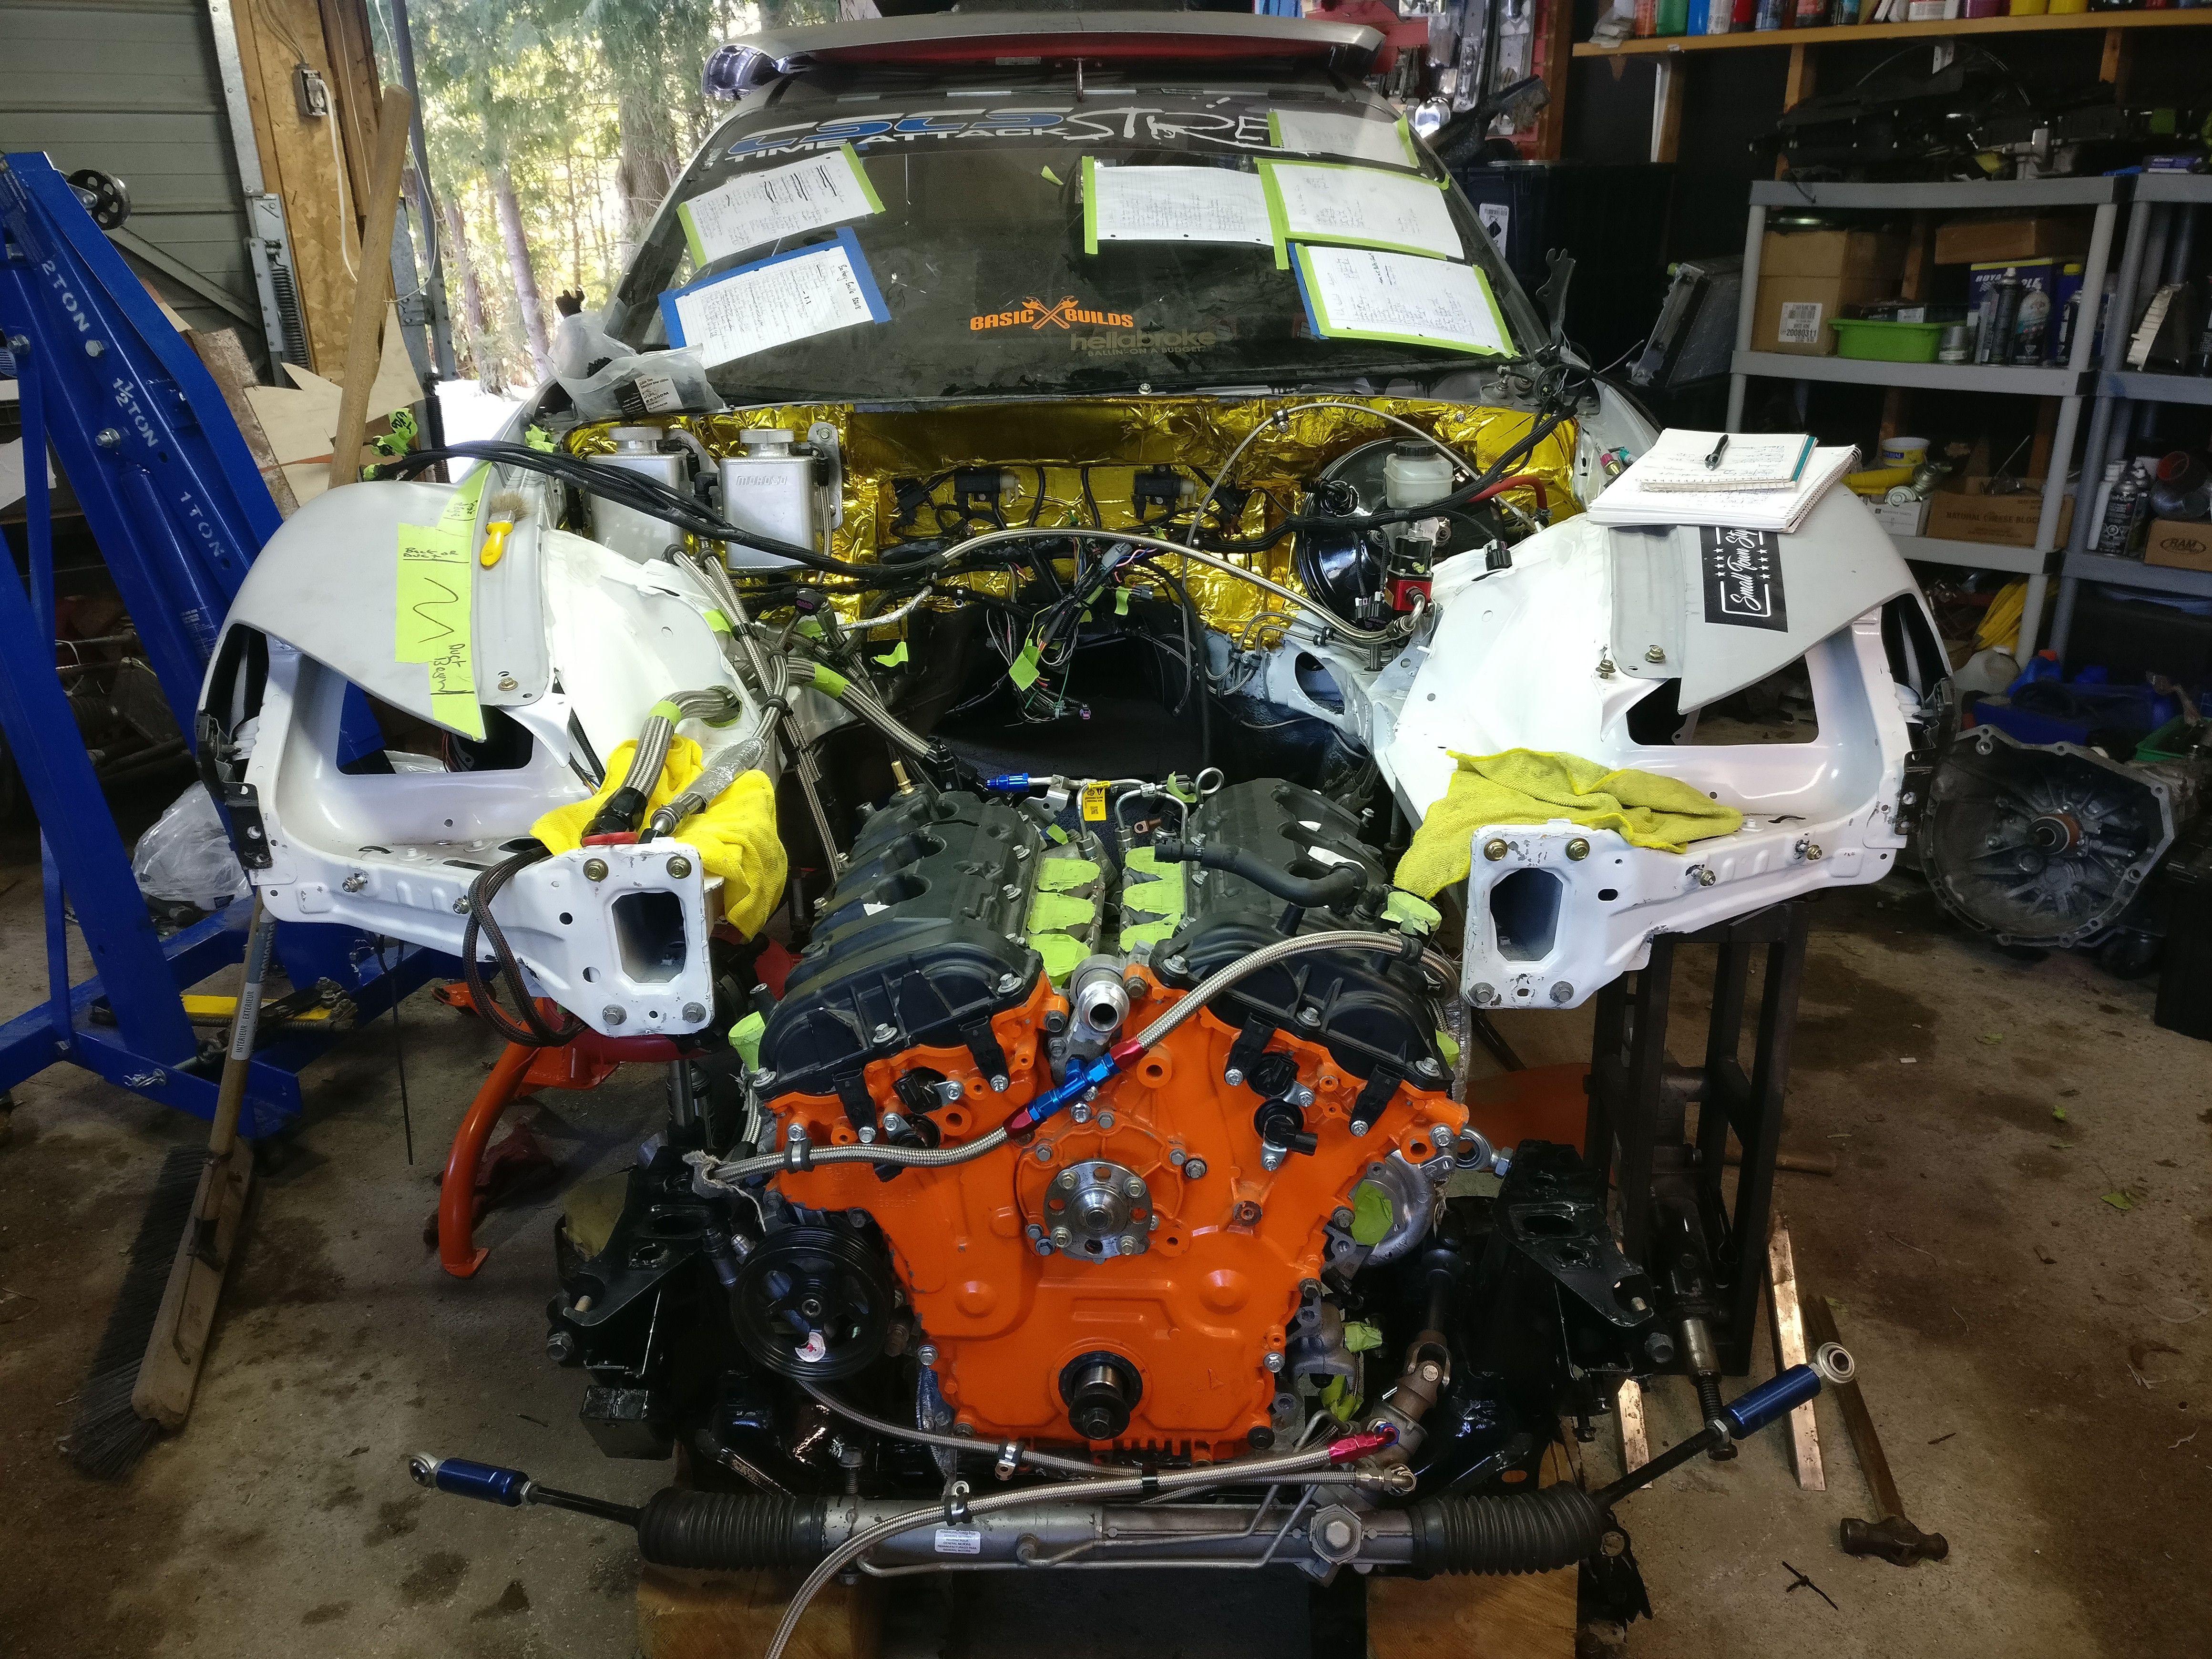
That being said, it briefly looked to be progressing while I sat the front clip on the car again to figure out where I wanted the rad & center heat exchanger to fit, and I'm much happier with this setup.
As always with this, I'm continually learning, and still revisiting things I did previously, and trying to apply some new knowledge. Fingers crossed the latest revisions through out the car see the road before they are changed again.
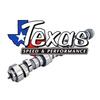
Almost could say I finally finished the wiper cowl and wiper transmission modifications, except I welded the stud on my actuator lever upside down... Dumbass. Otherwise it's nearly there! I had to get creative with the passenger side armstud/actuator stud/what ever the piece is the arm bolts to. The intercooled intake manifold assembly is in the path for the lever in its original position, and I figured the only hope of saving the passenger side wiper was to somehow flip it. Thankfully the RX8 has a bit of an opening underneath the windshield, and with a bit of creativity in designing a new lever, I was able to have the passenger side rod move inside the cowl and retain the arm. I made a new arm/lever to fit the wiper motor which now has a link connection infront and behind the motor stud. This of course means that the wiper transmission must be installed in 3 stages, frame with loose link installs with the link being fed into the cowl, then bolt the link to motor actuator/arm, and lastly the motor fit to the transmission assembly, as there is no space to tighten the passenger side link while the motor is there.
I am very much aware that this is beyond ridiculous LOL.
Last pic is as she sits now, which doesn't look much different, but I promise it definitely is!
Last edited by Chezmanbespoke; 12-19-2017 at 08:19 AM.
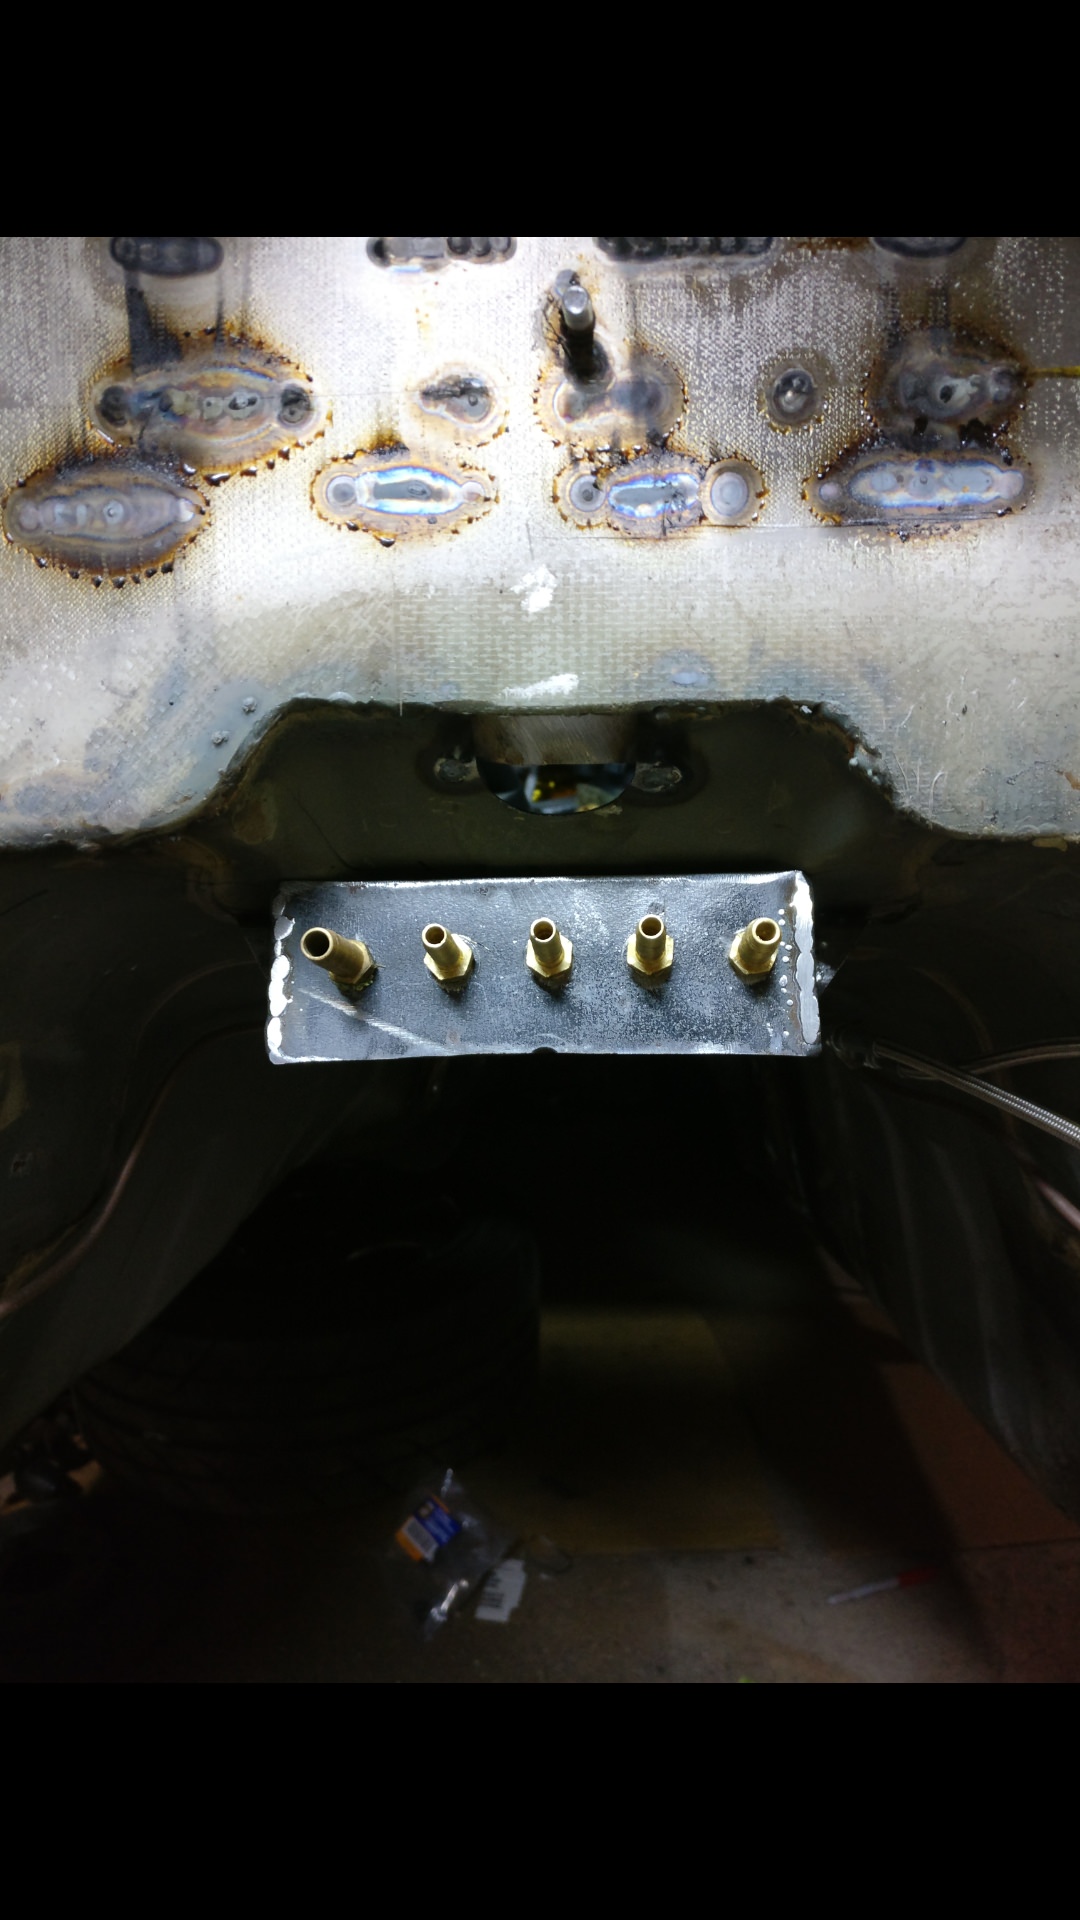
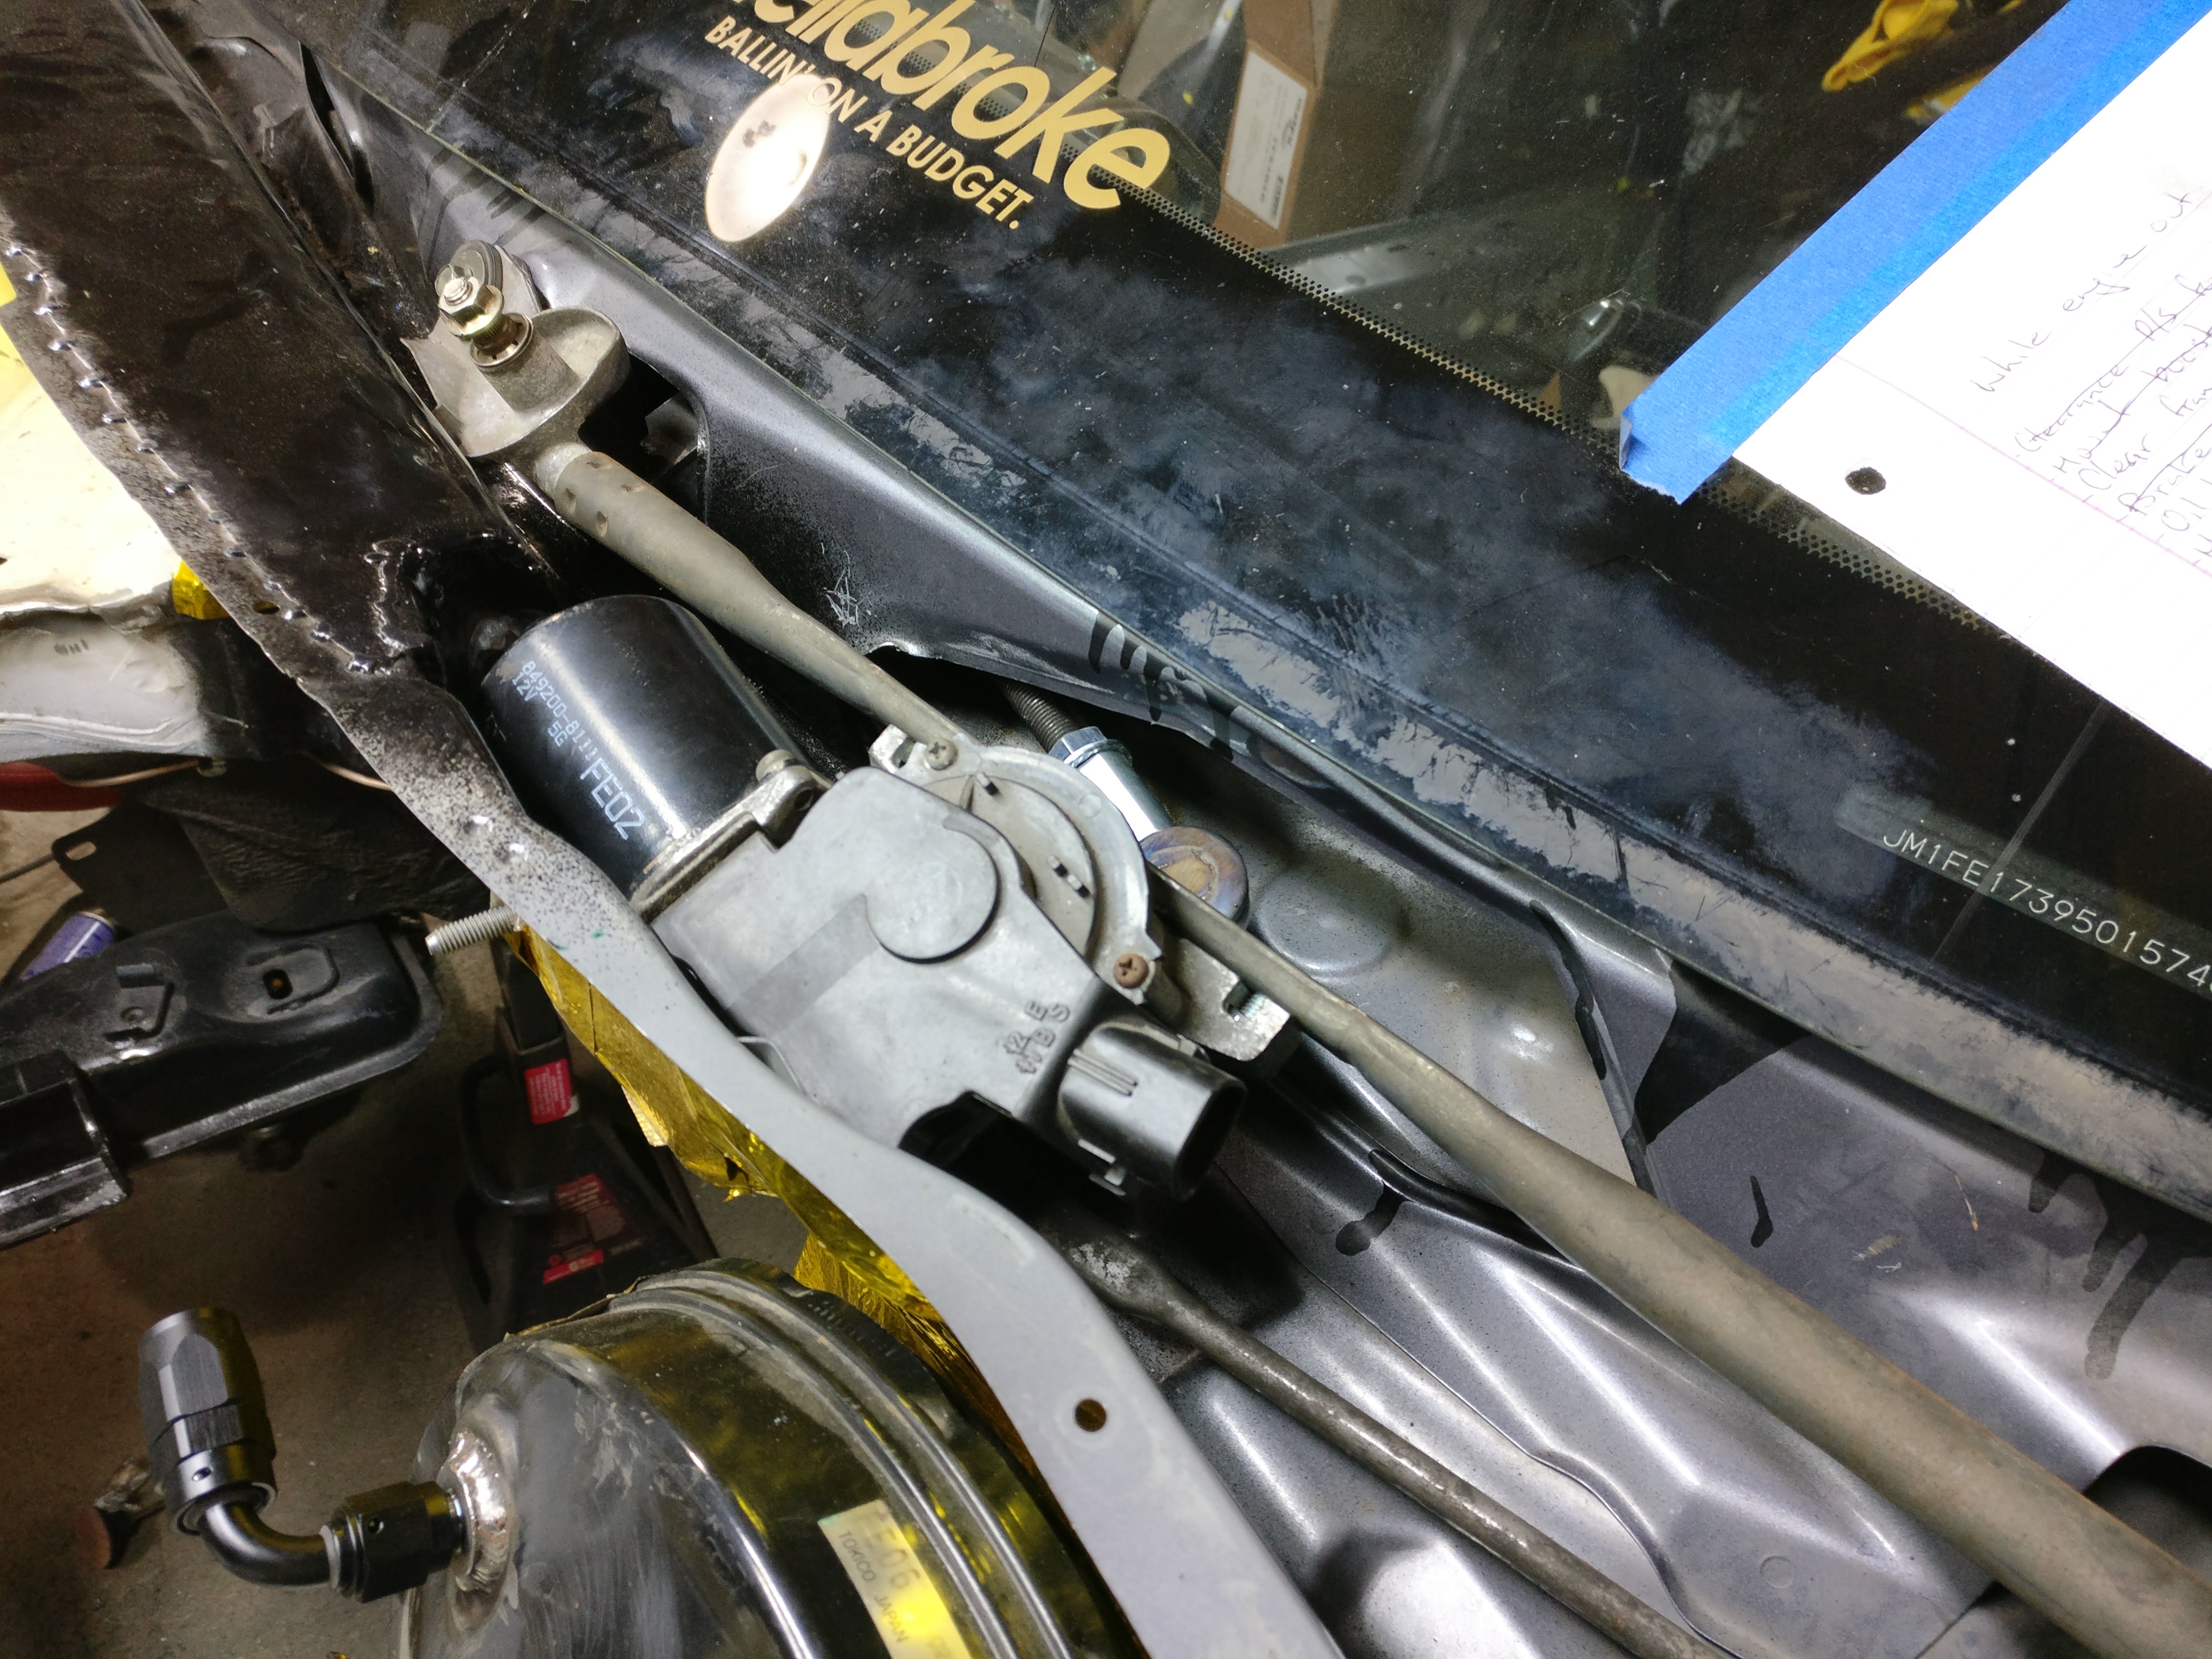
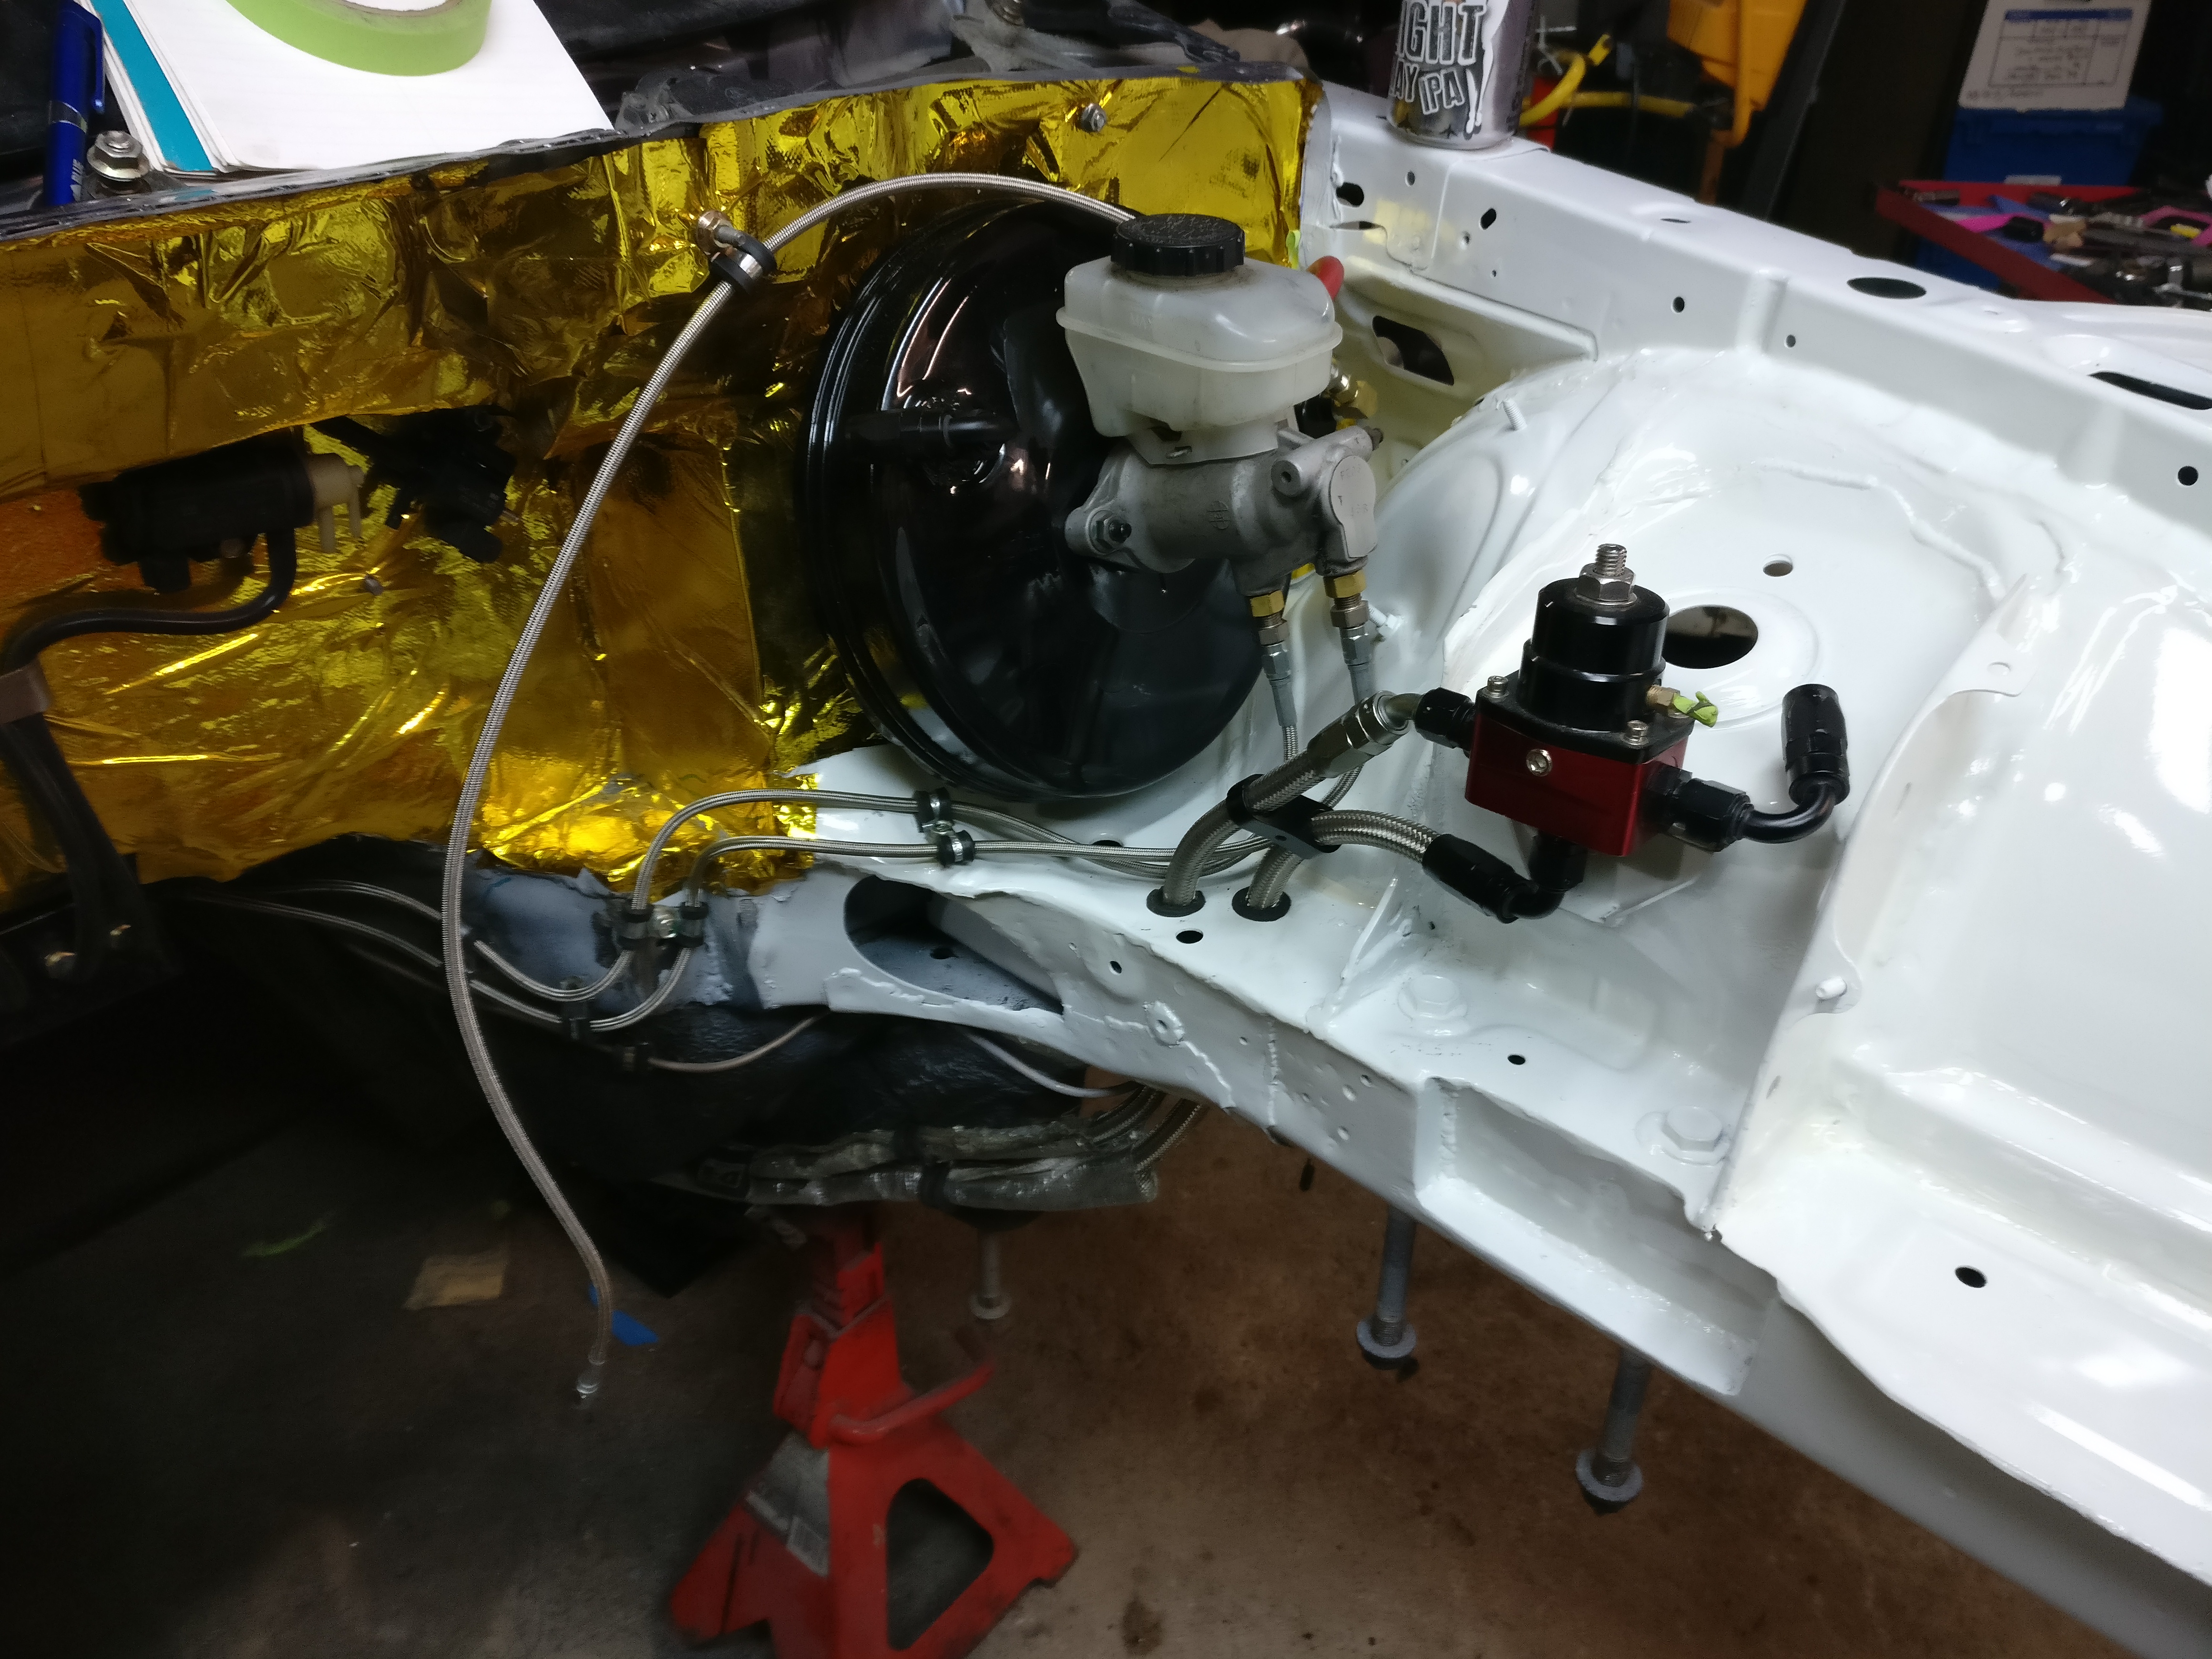
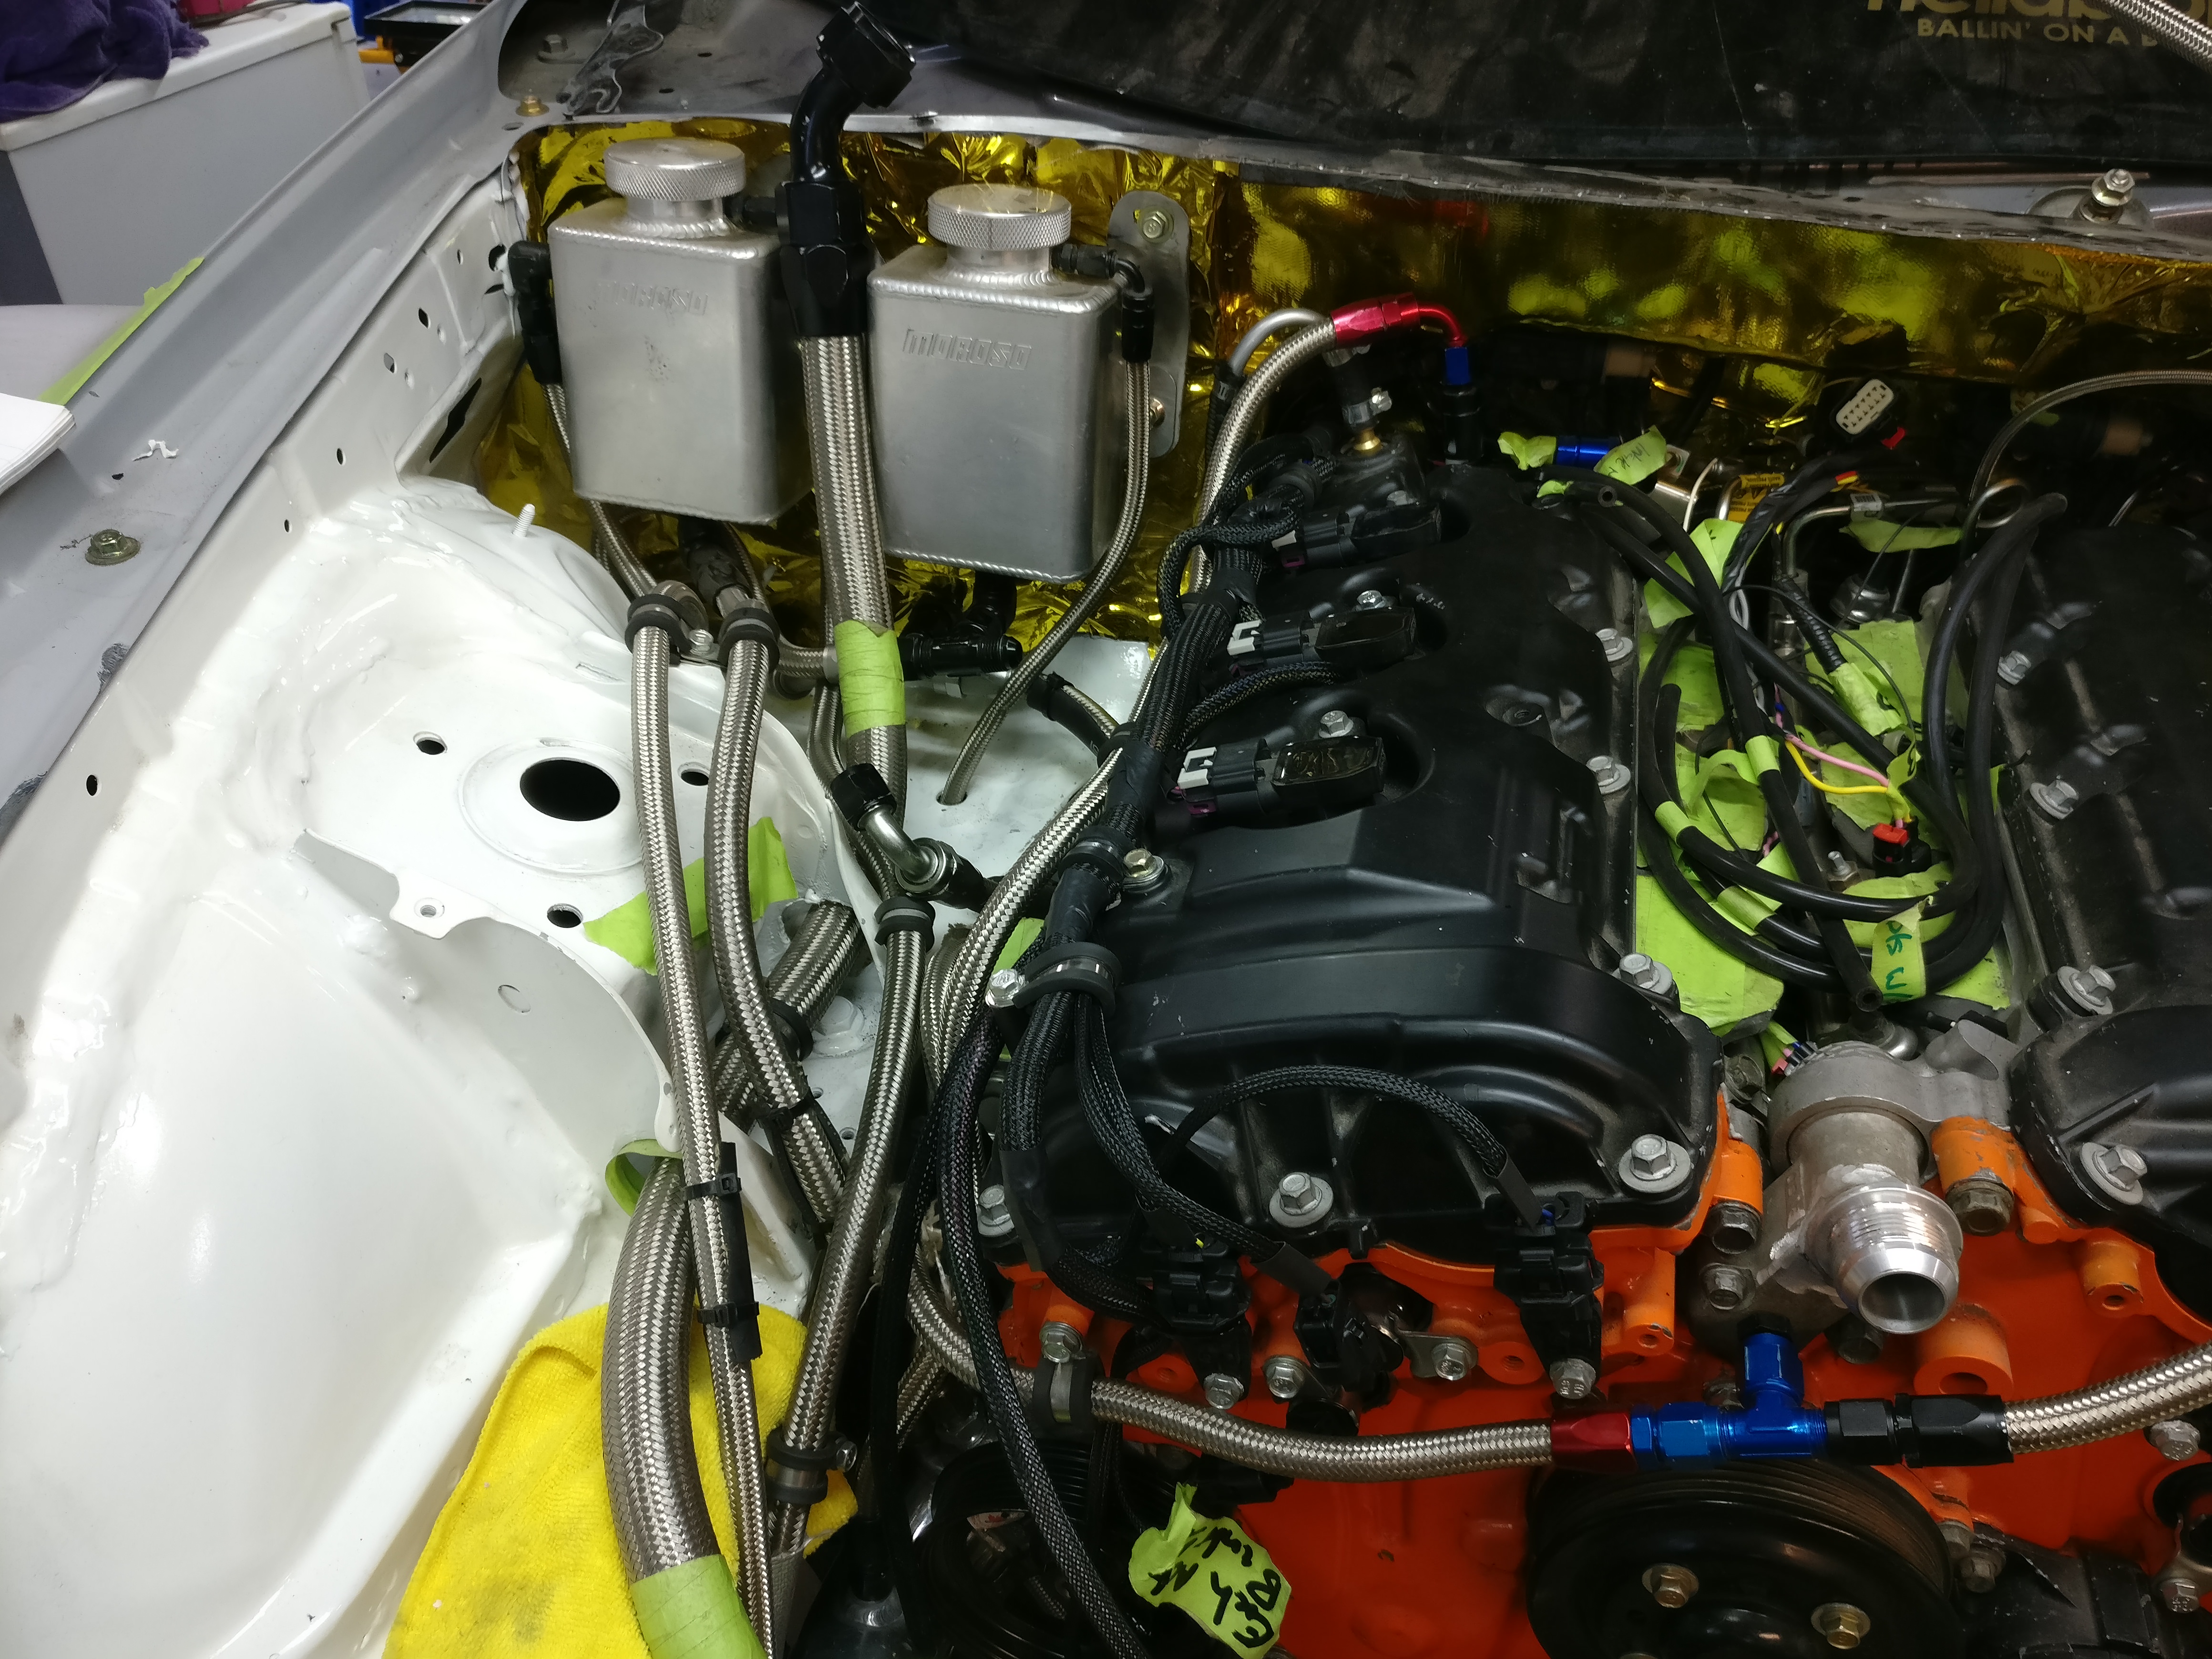
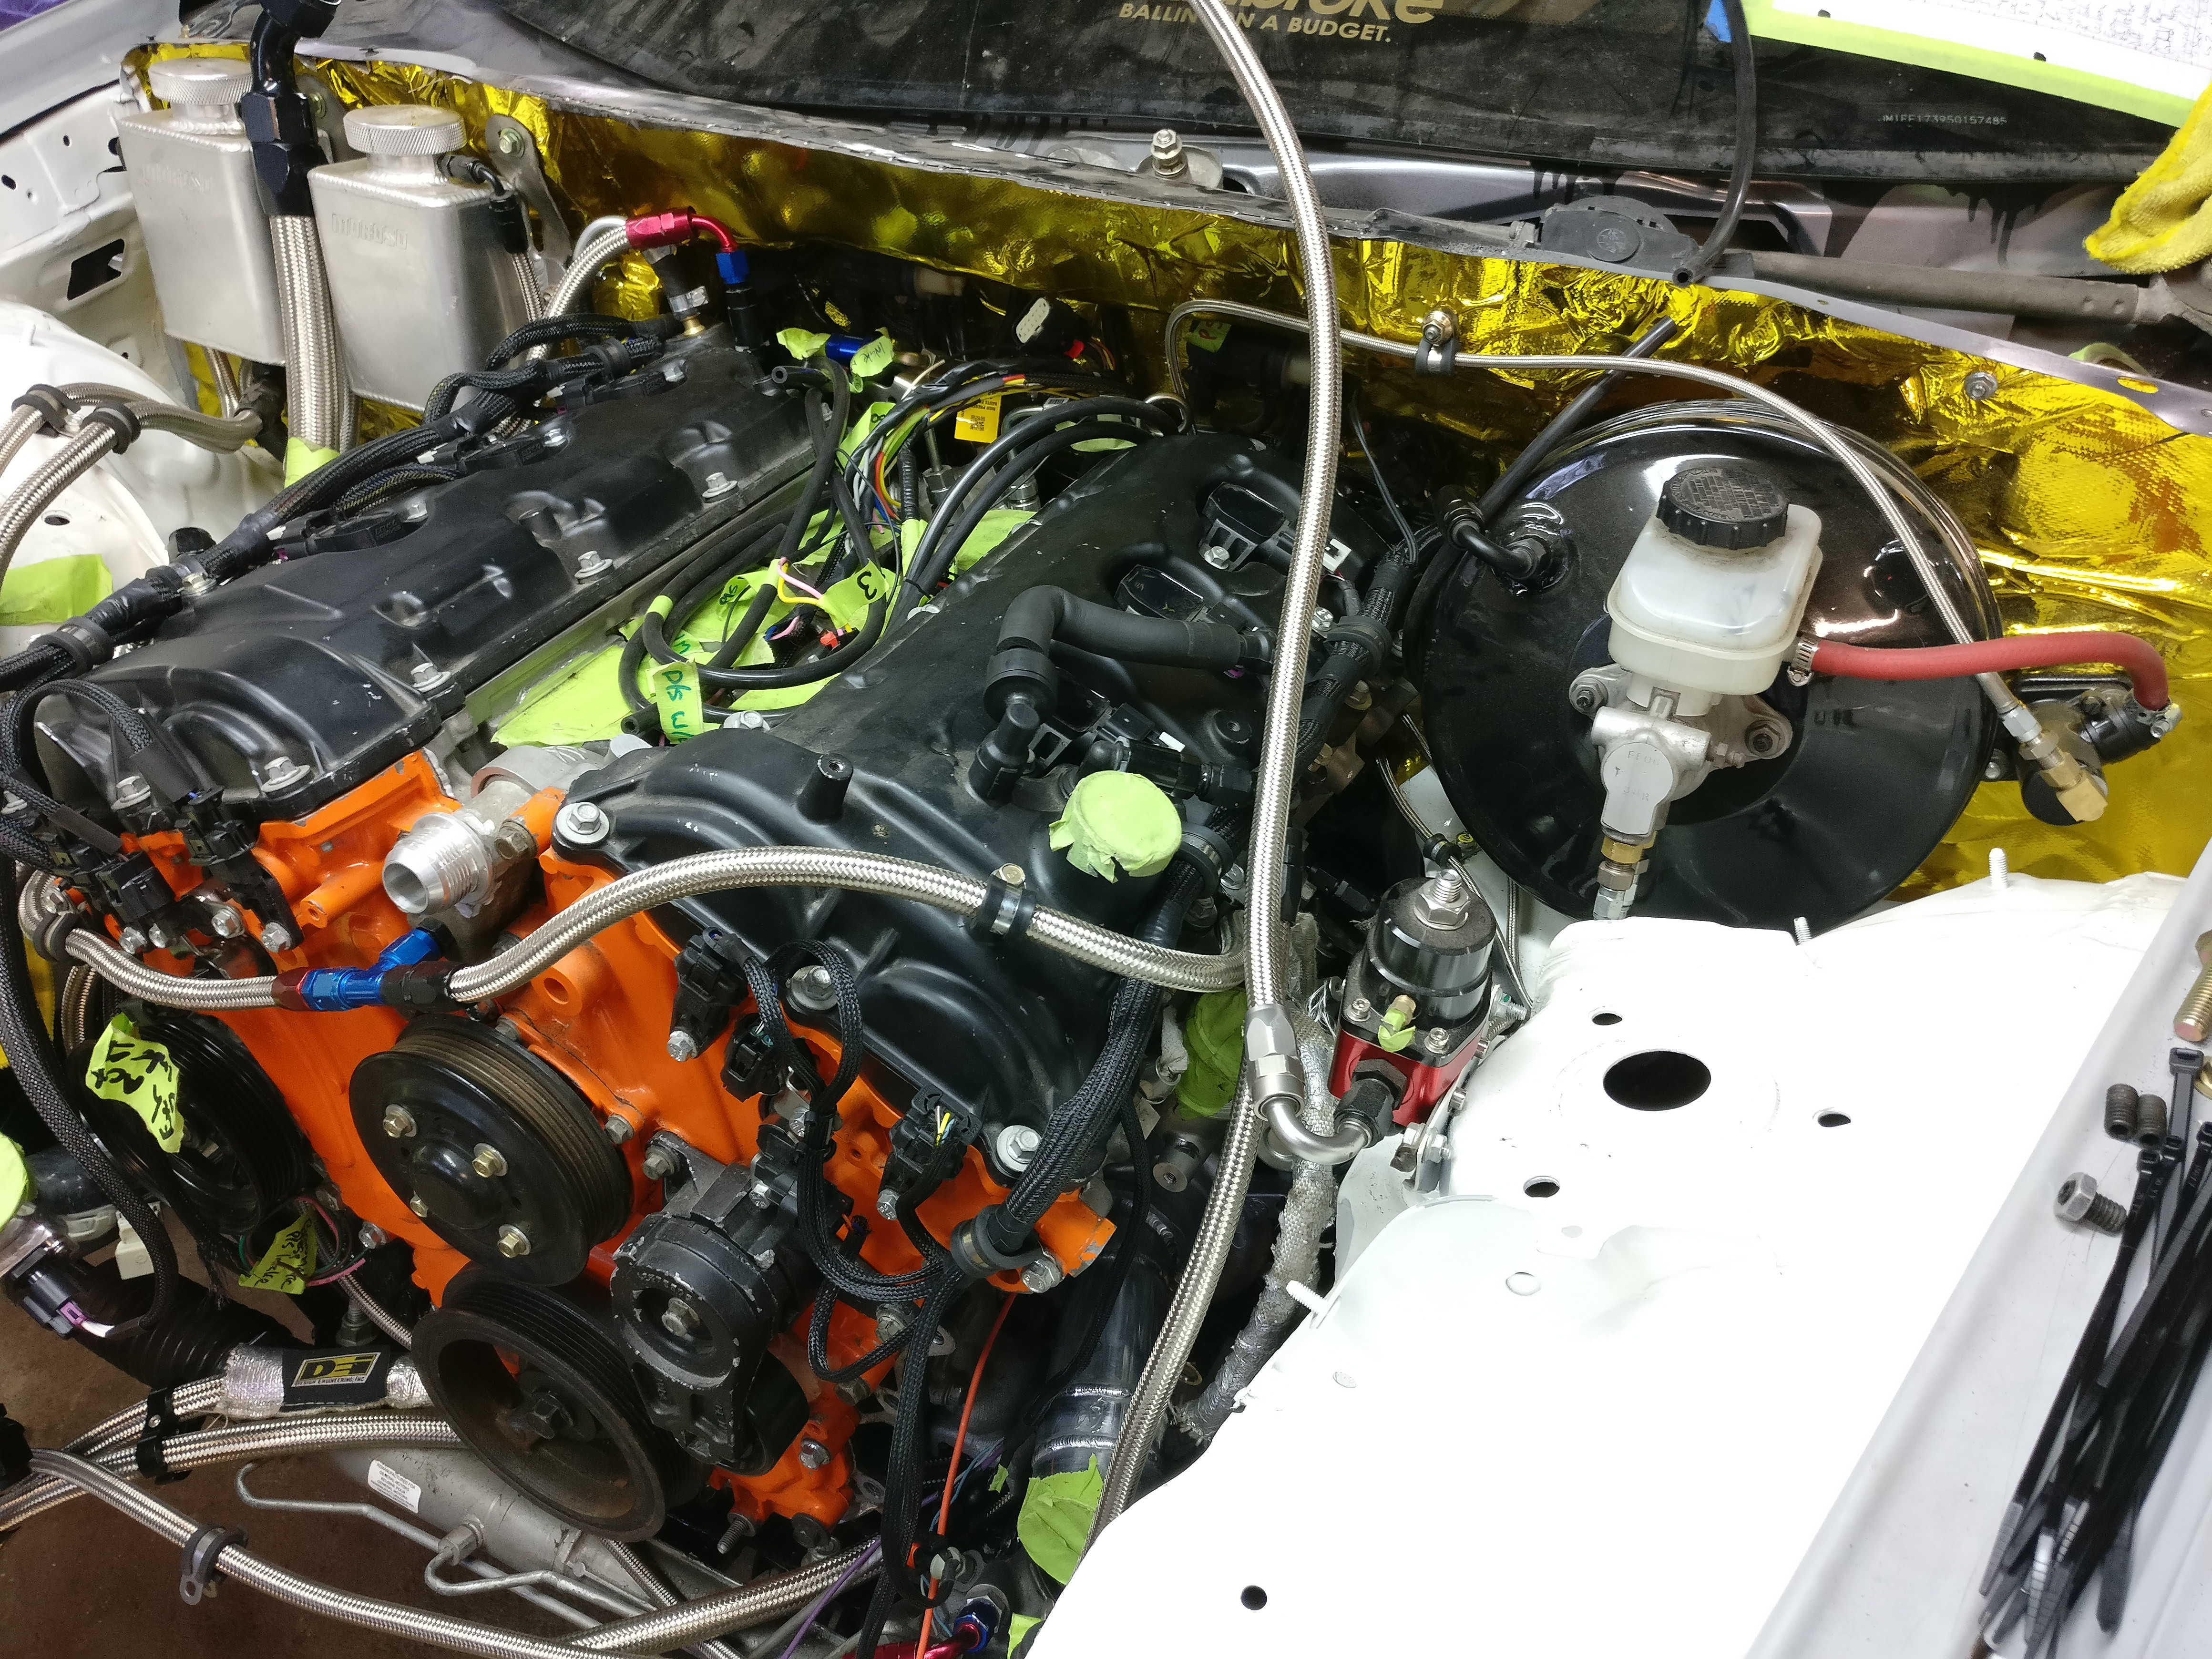
Nice progress, its the tedious minute things that are such a pita! What are the hose barbs for?
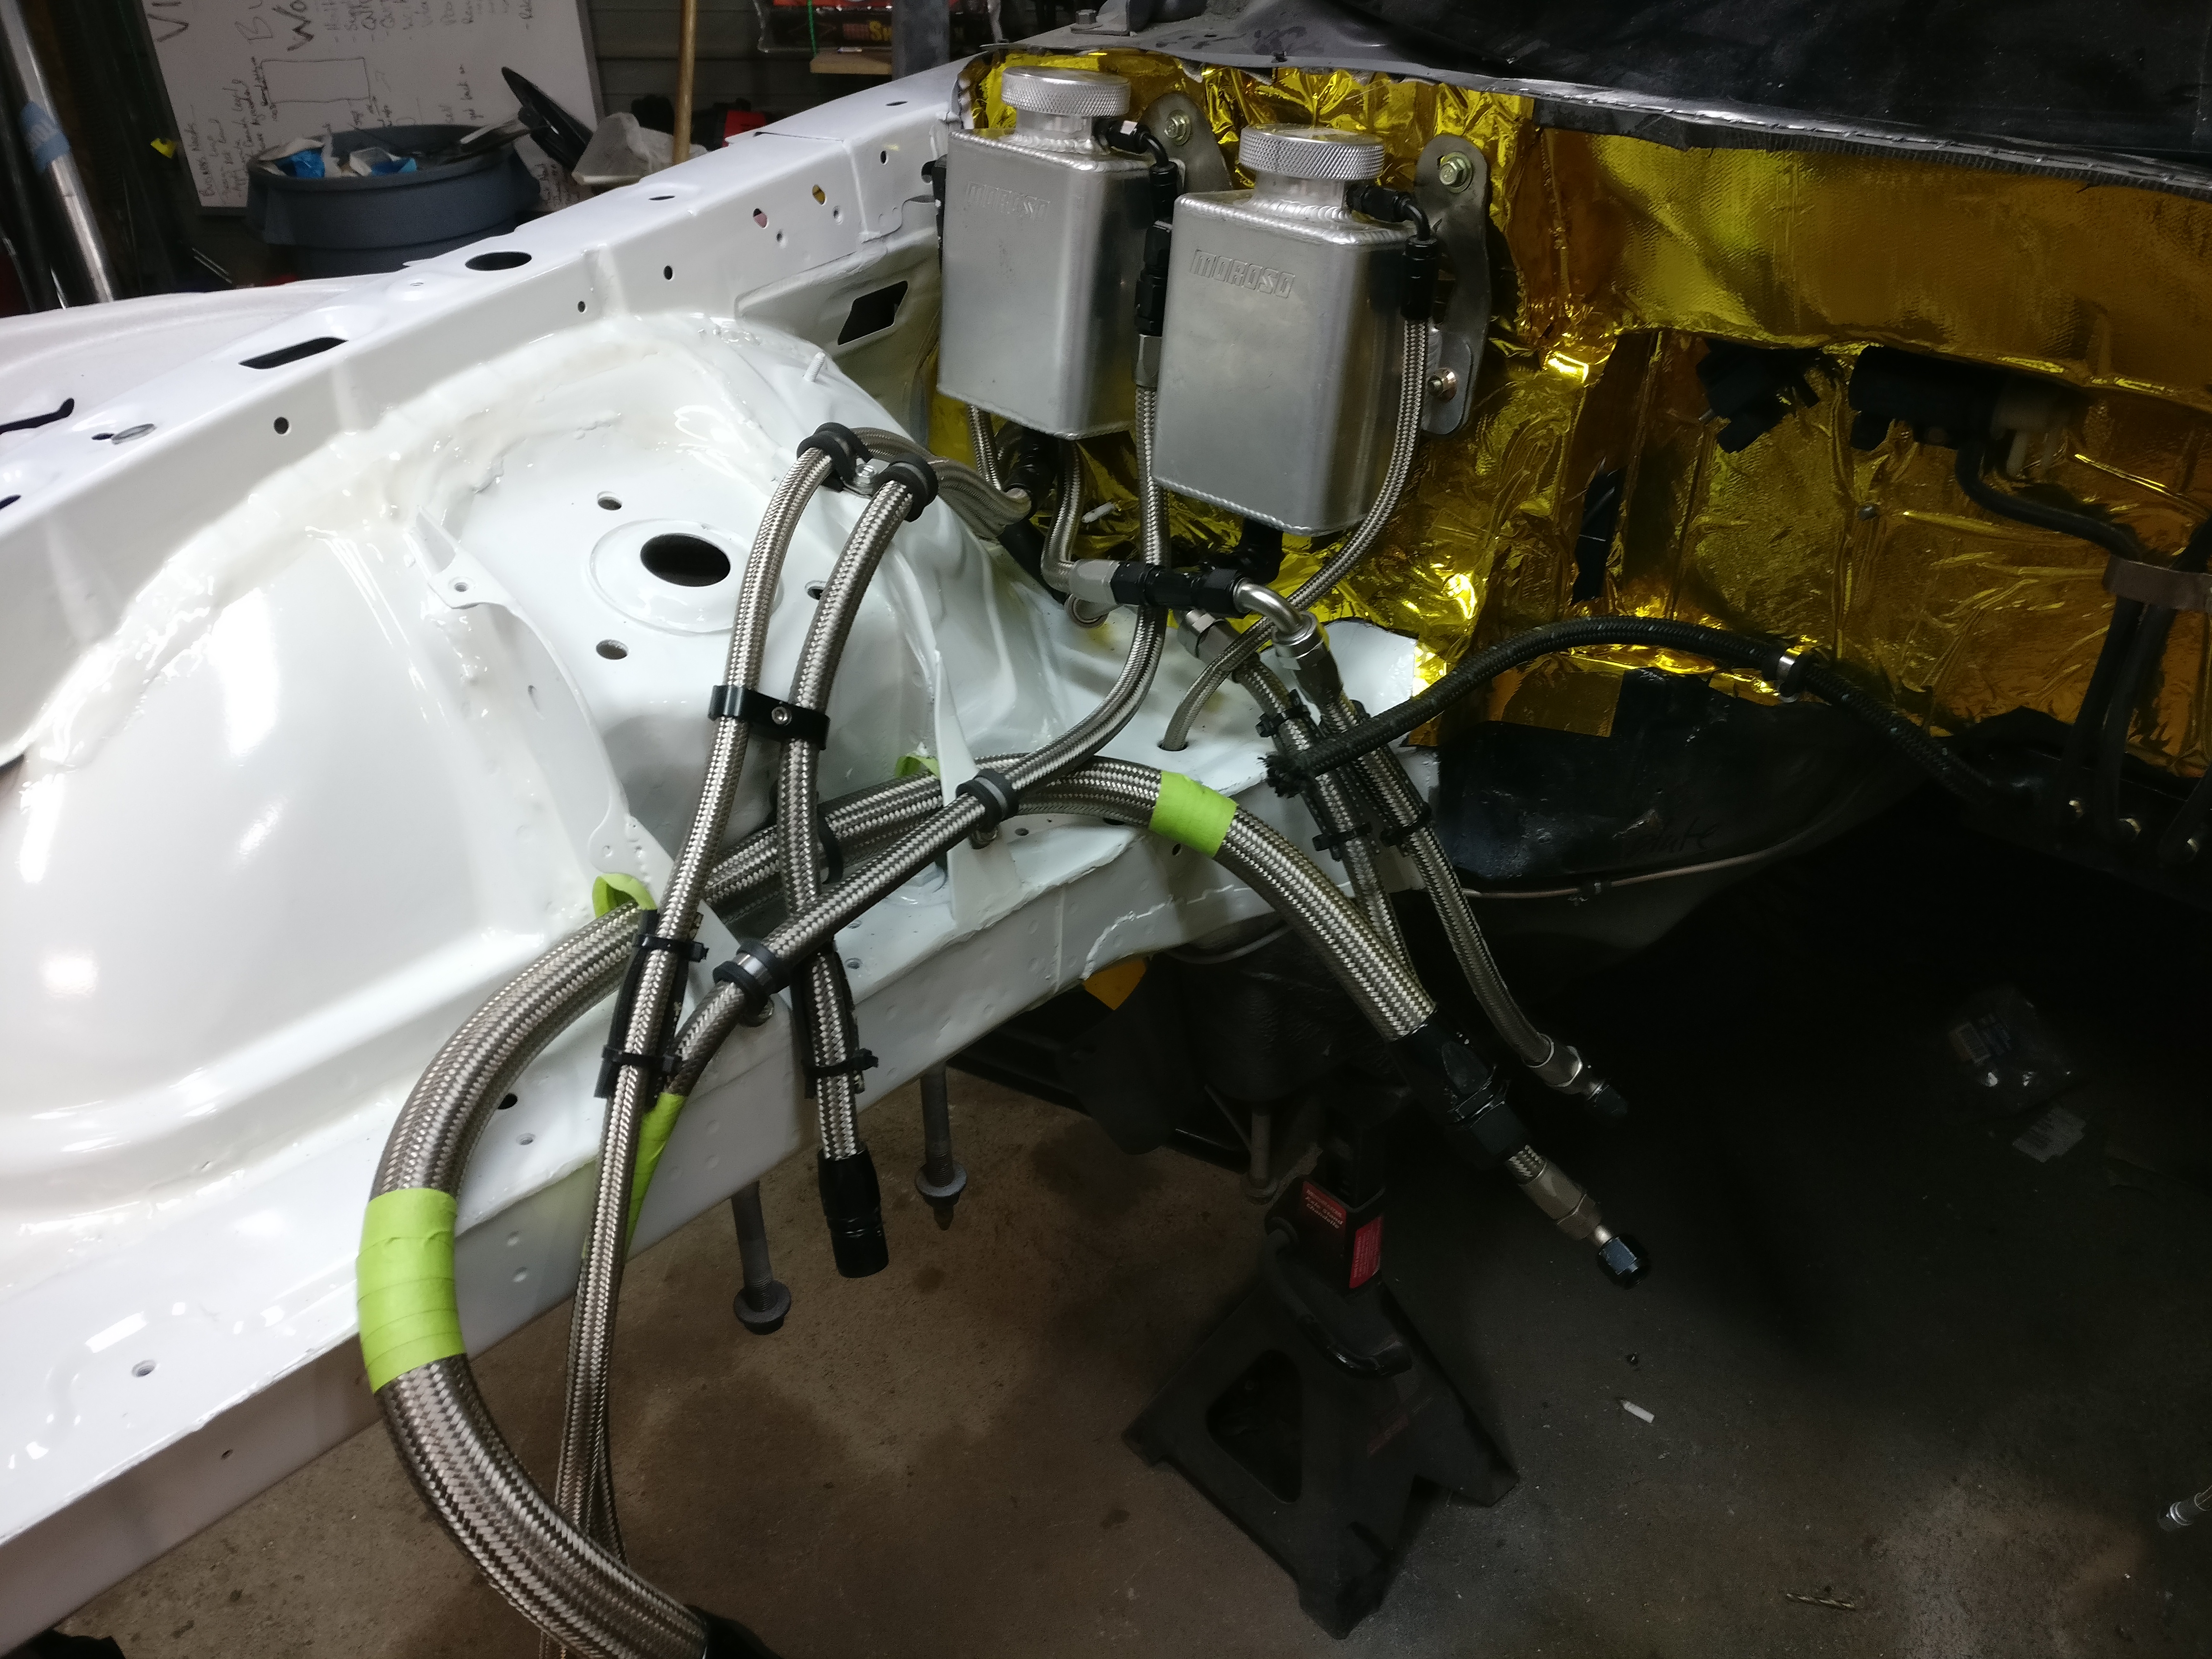
The hose barb setup in the tunnel is the vacuum reservoir that is fed by the cam driven vacuum pump! One barb to the pump, then for each boost control solenoid
Turns out posting from a phone makes the pictures squish together odd lol
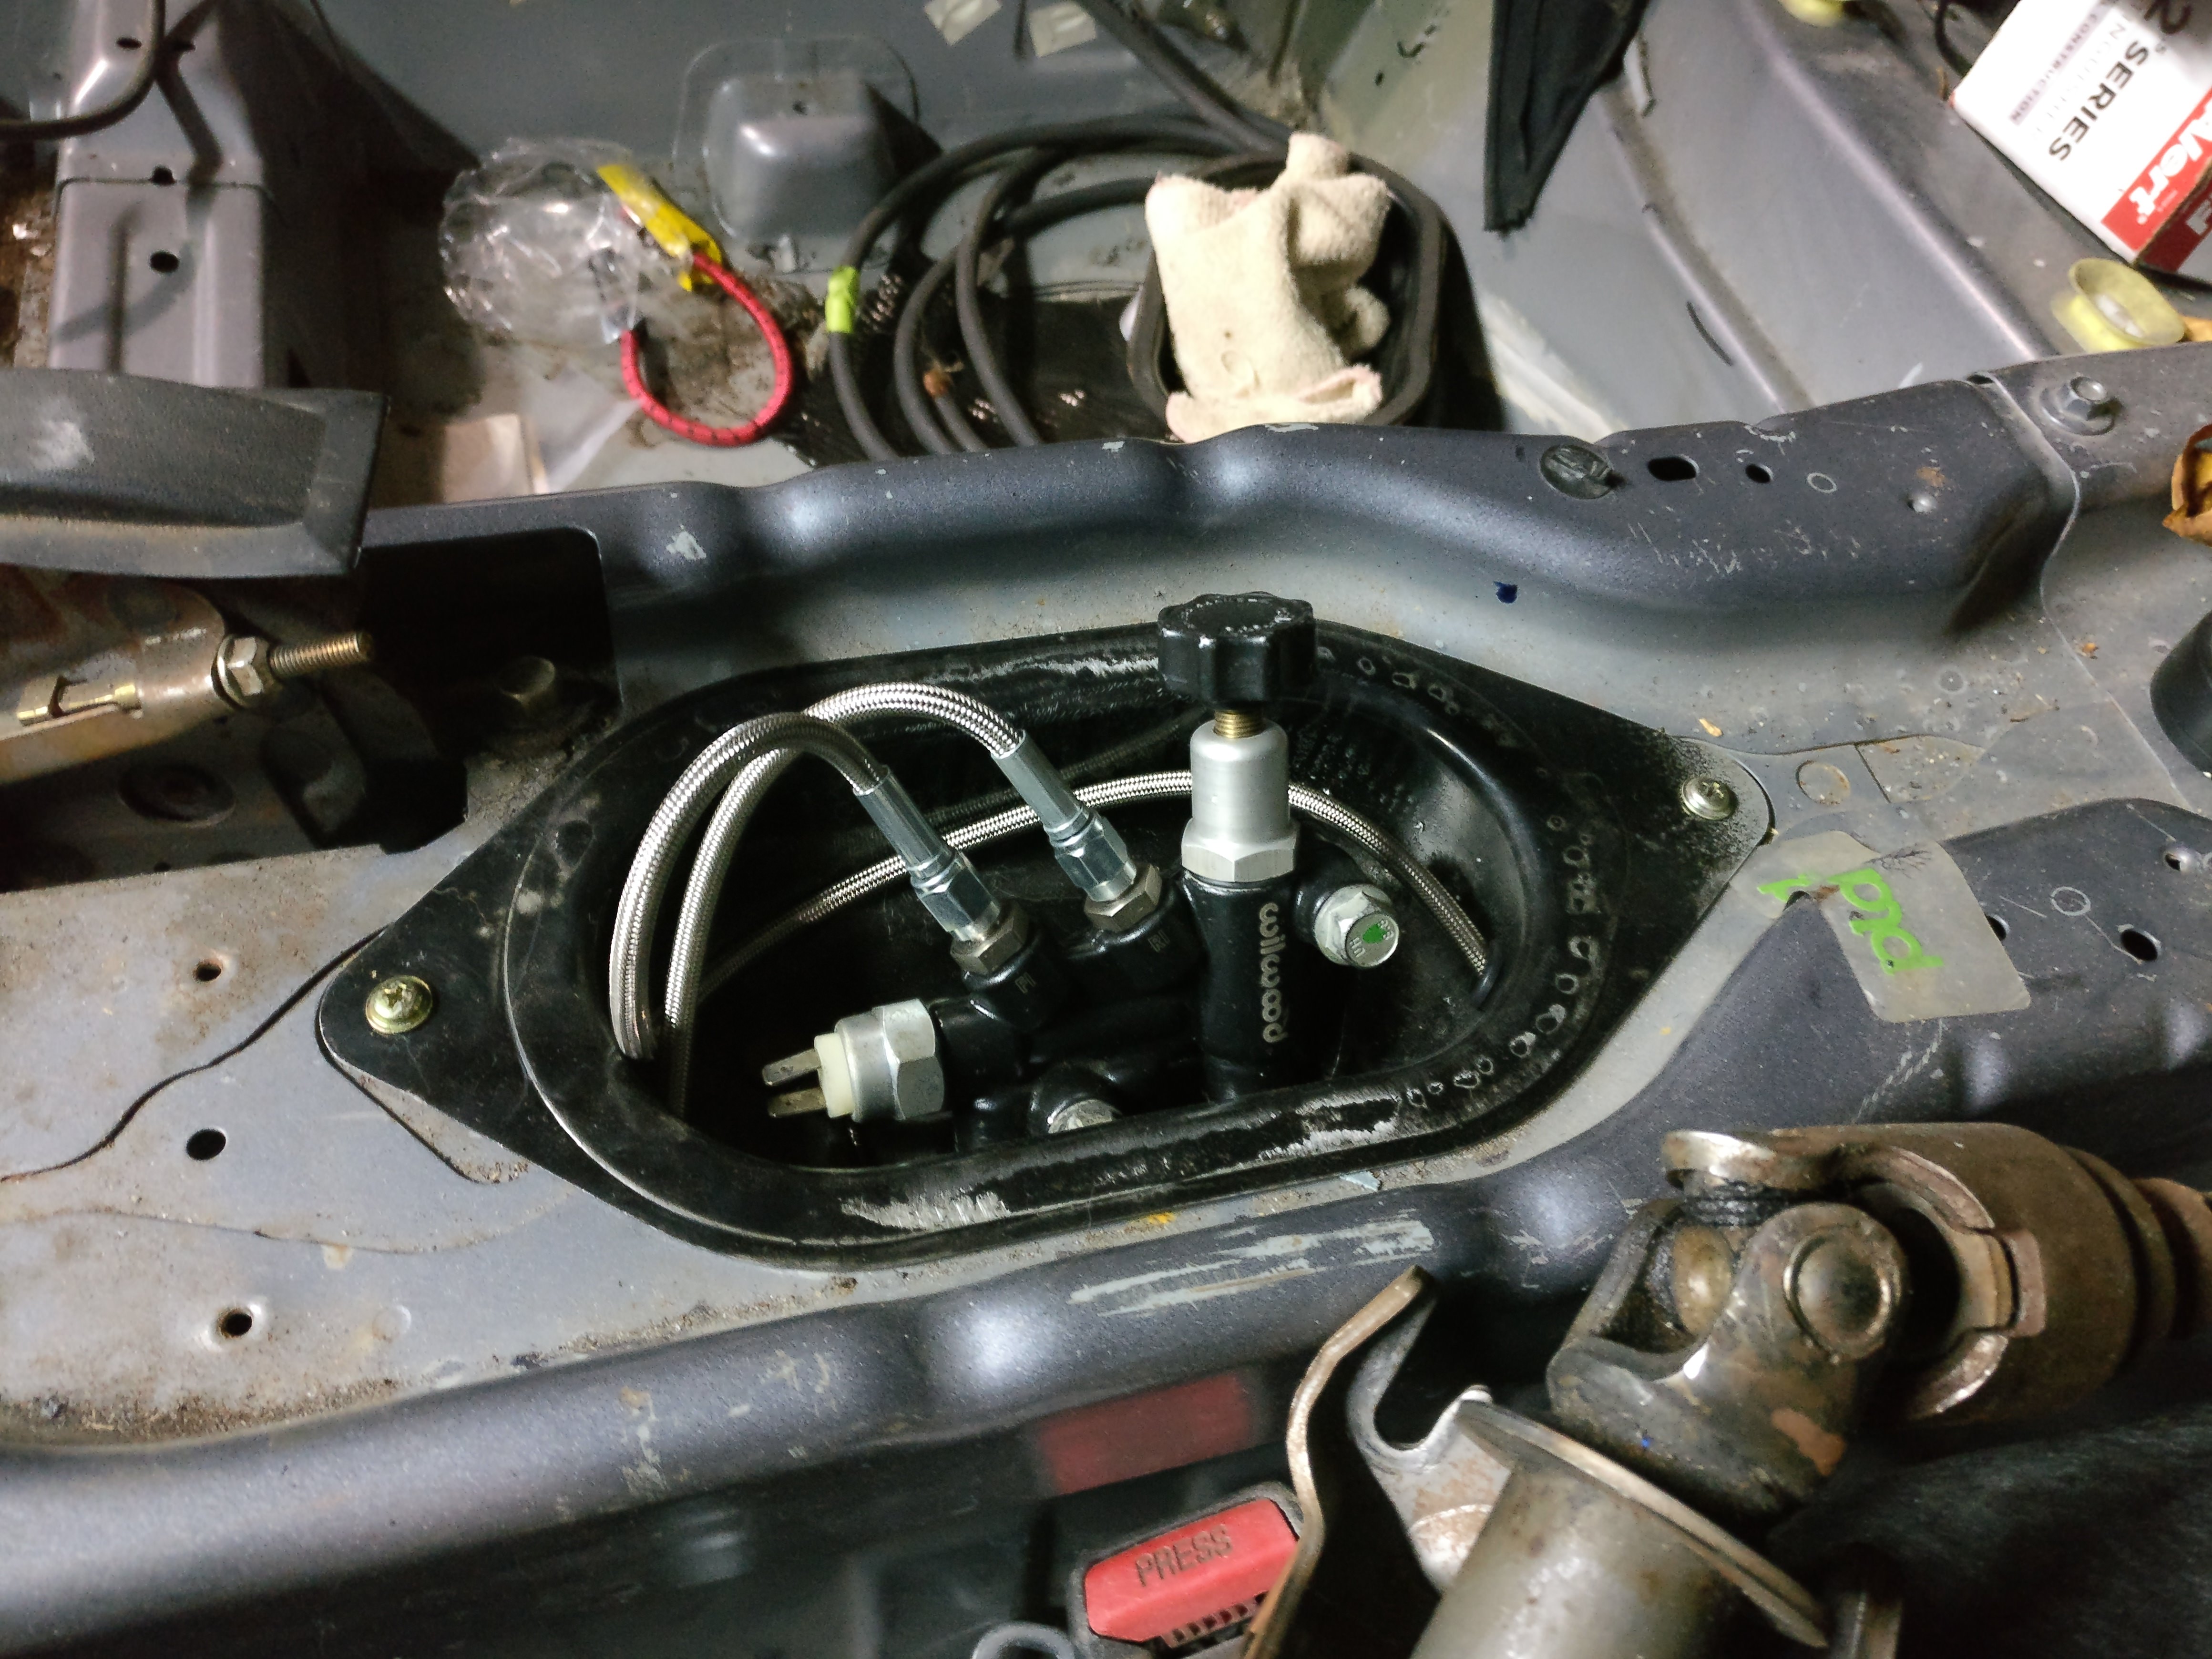
Fixed up my wiper transmission **** up, and got around to testing it! Works excellent, very thankful this solution worked out!
Closed up some of my firewall work, and test fit the wastegate control solenoids. Unfortunately the brackets I made for the BOV control solenoids dont really hold them as tight as I would like, so I will make a new bracket for them.
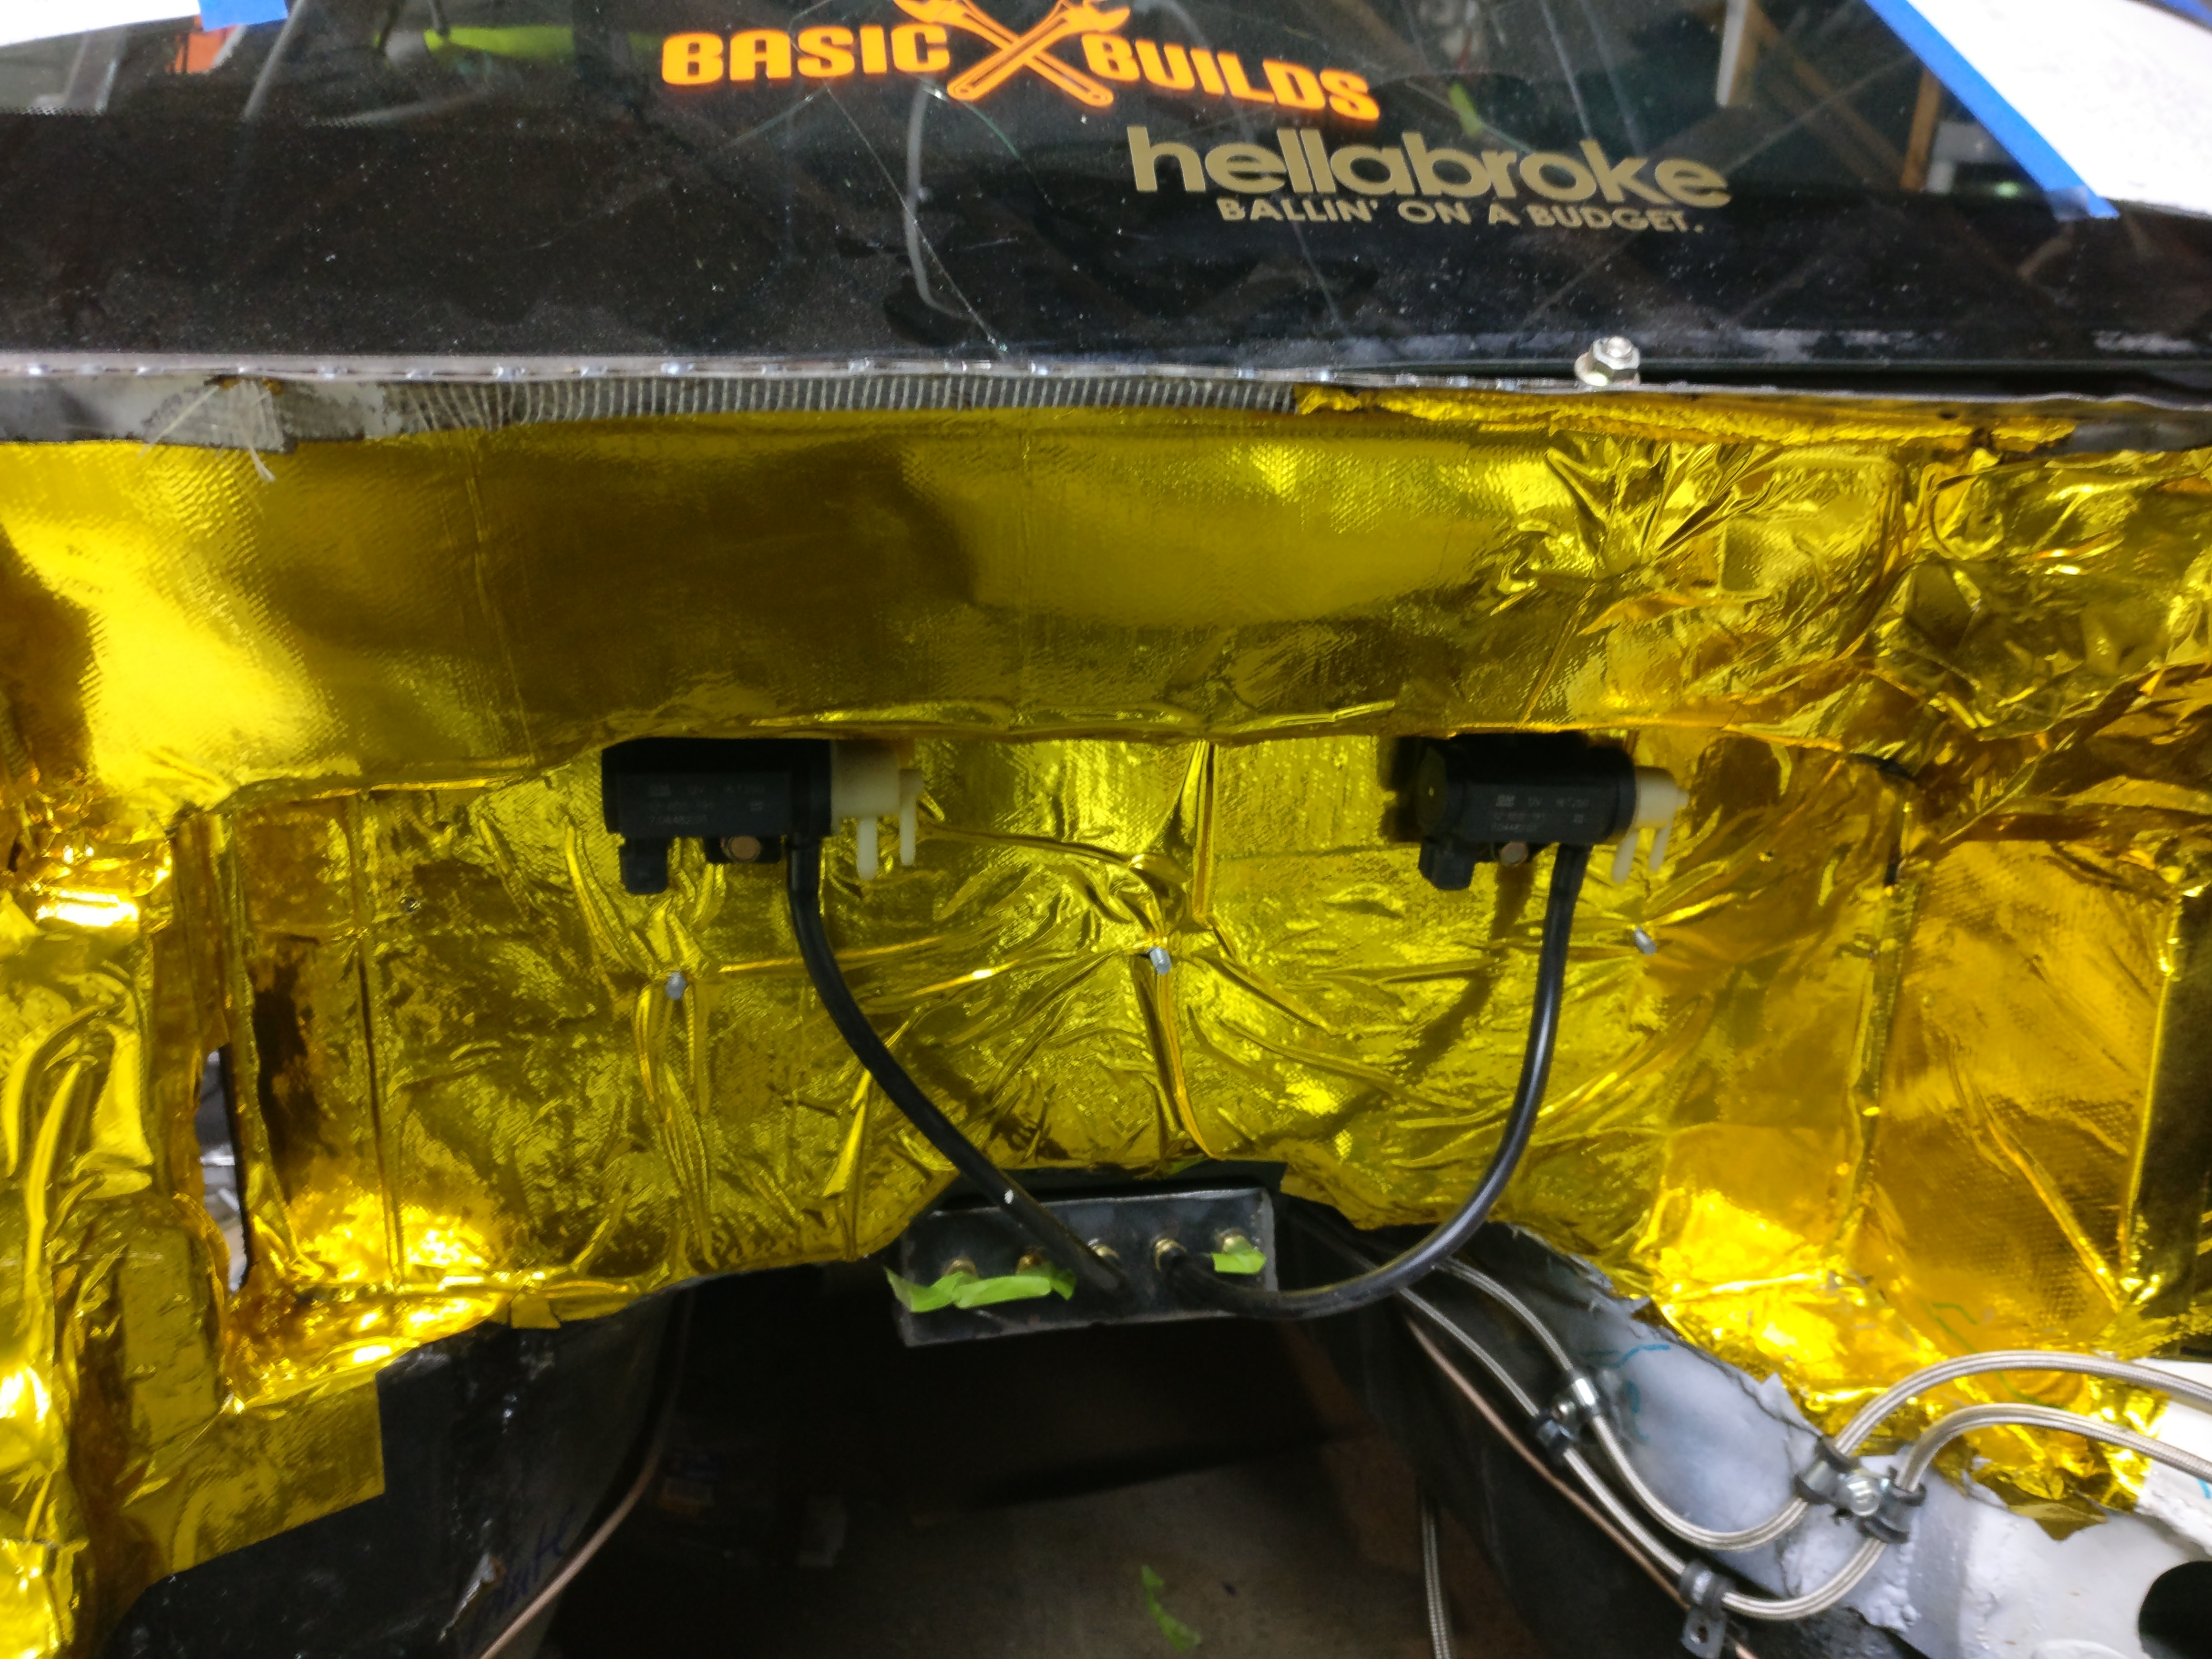
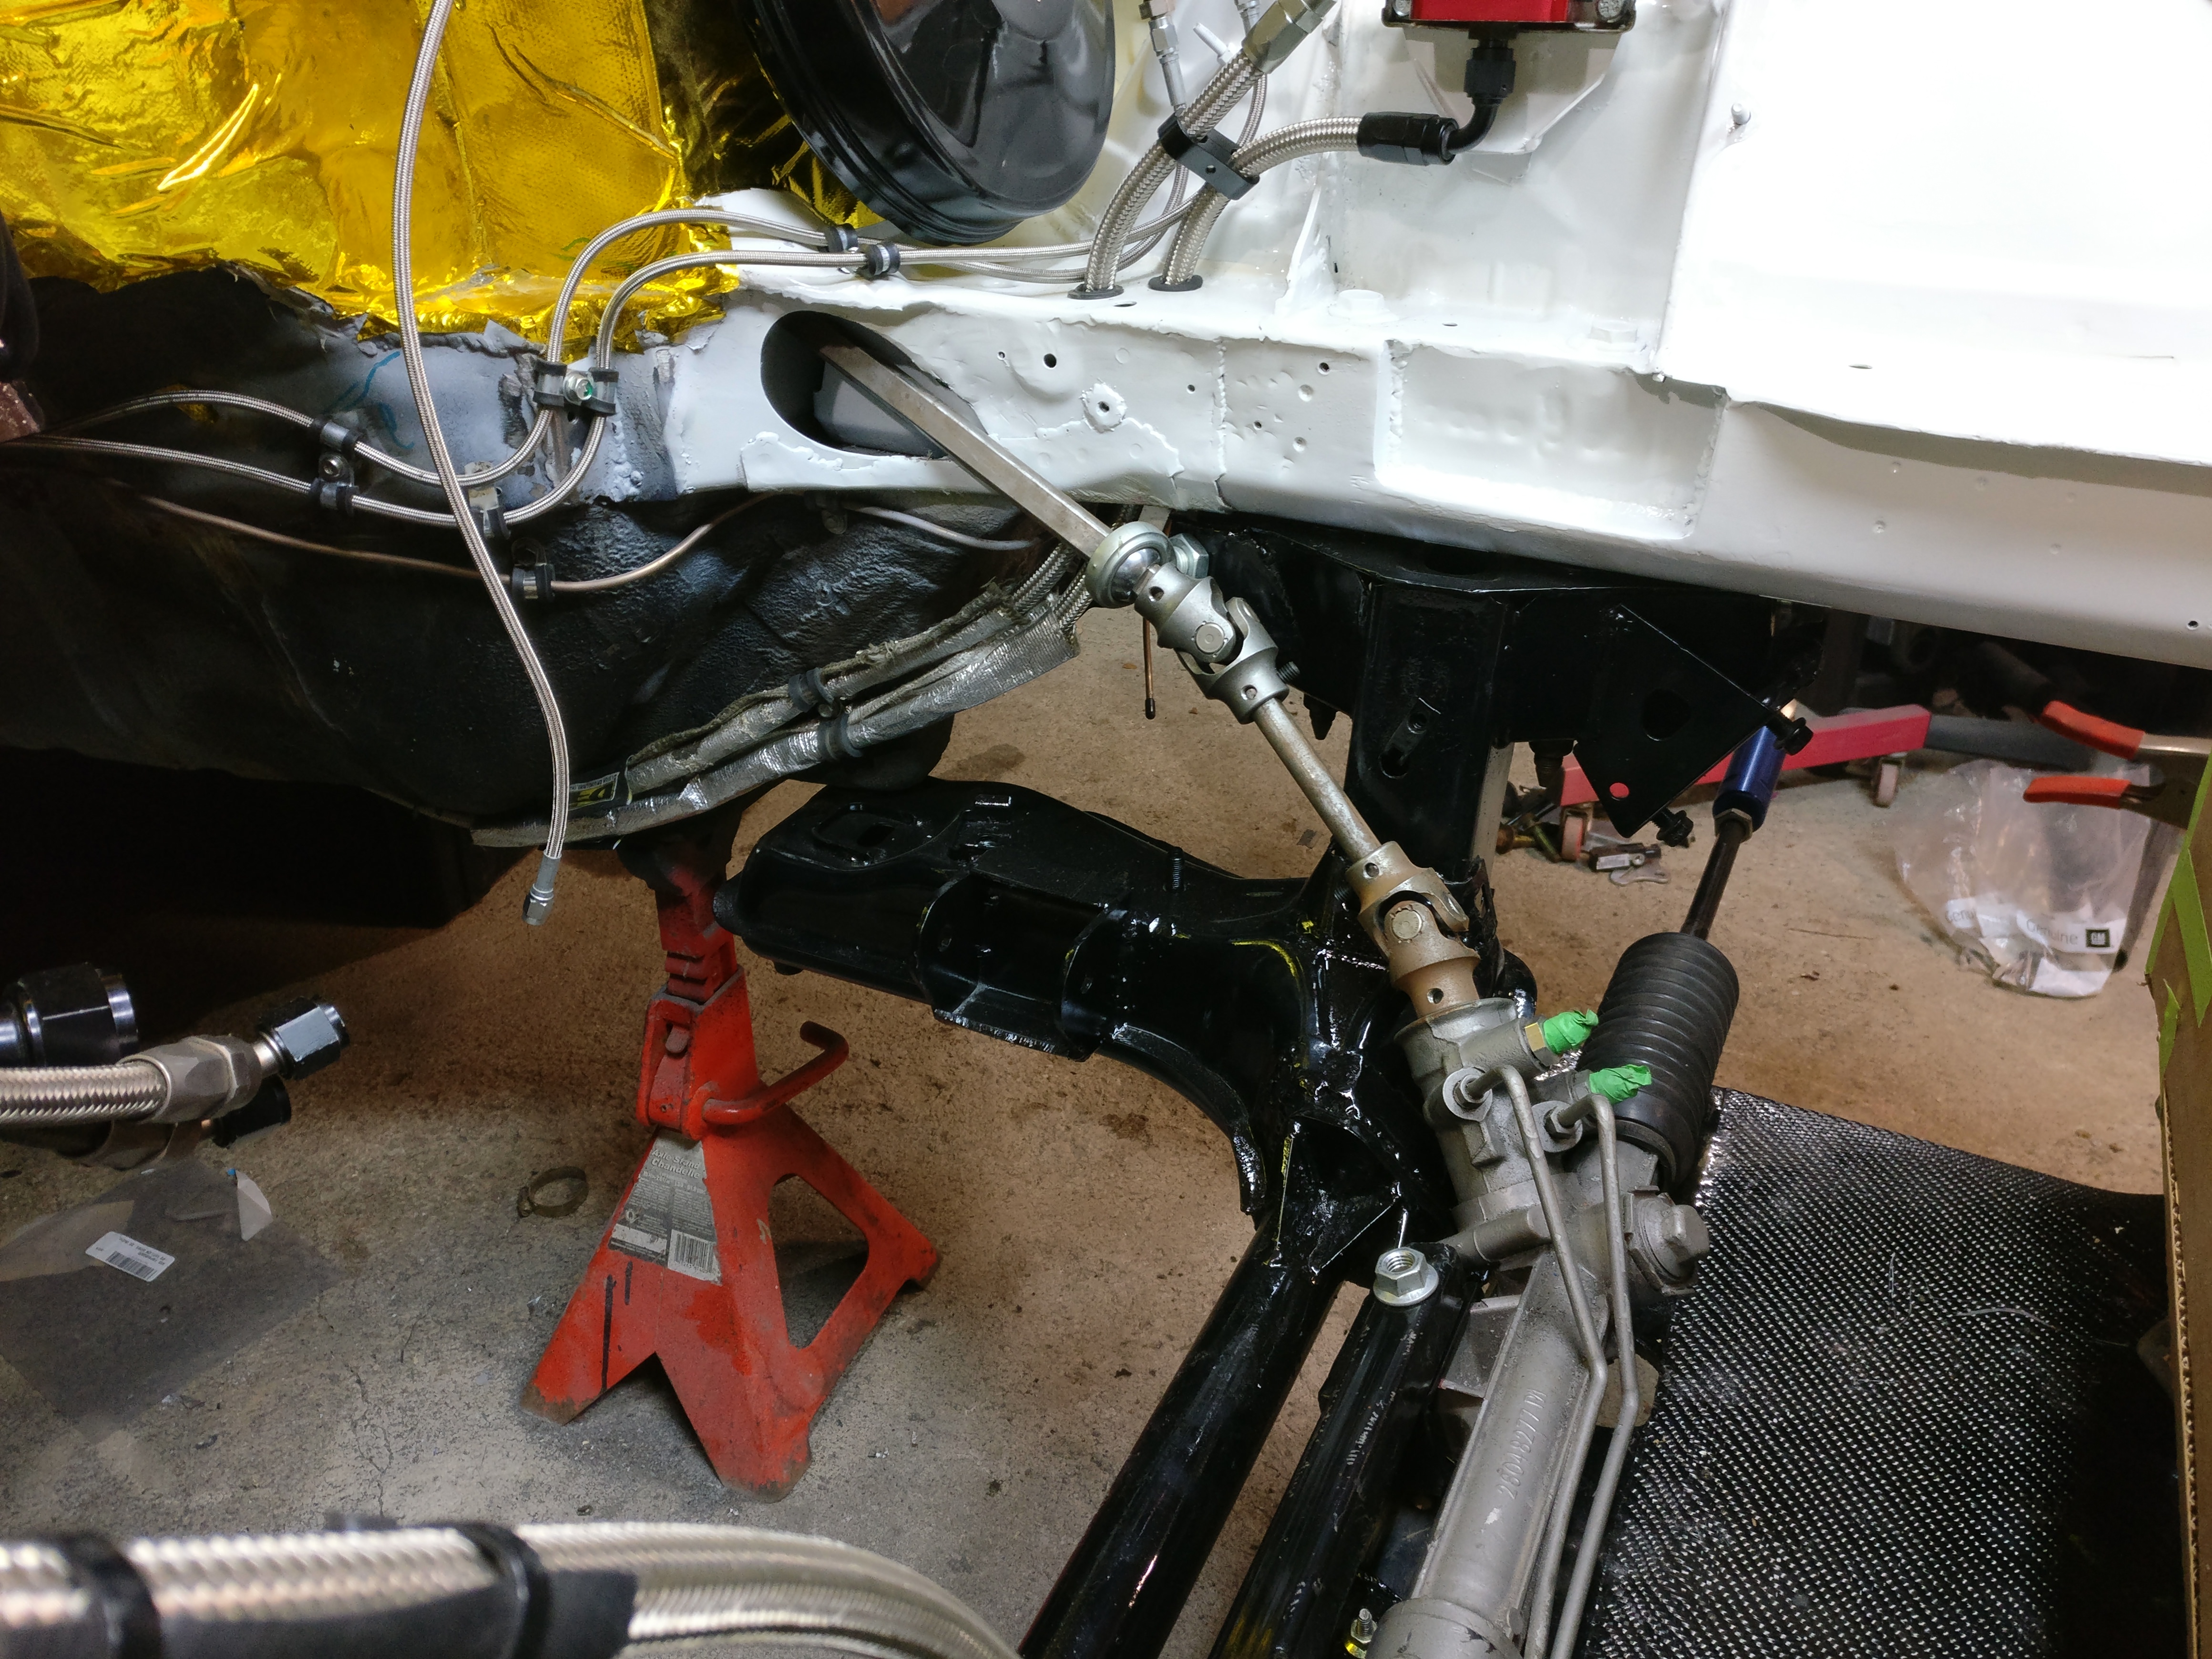
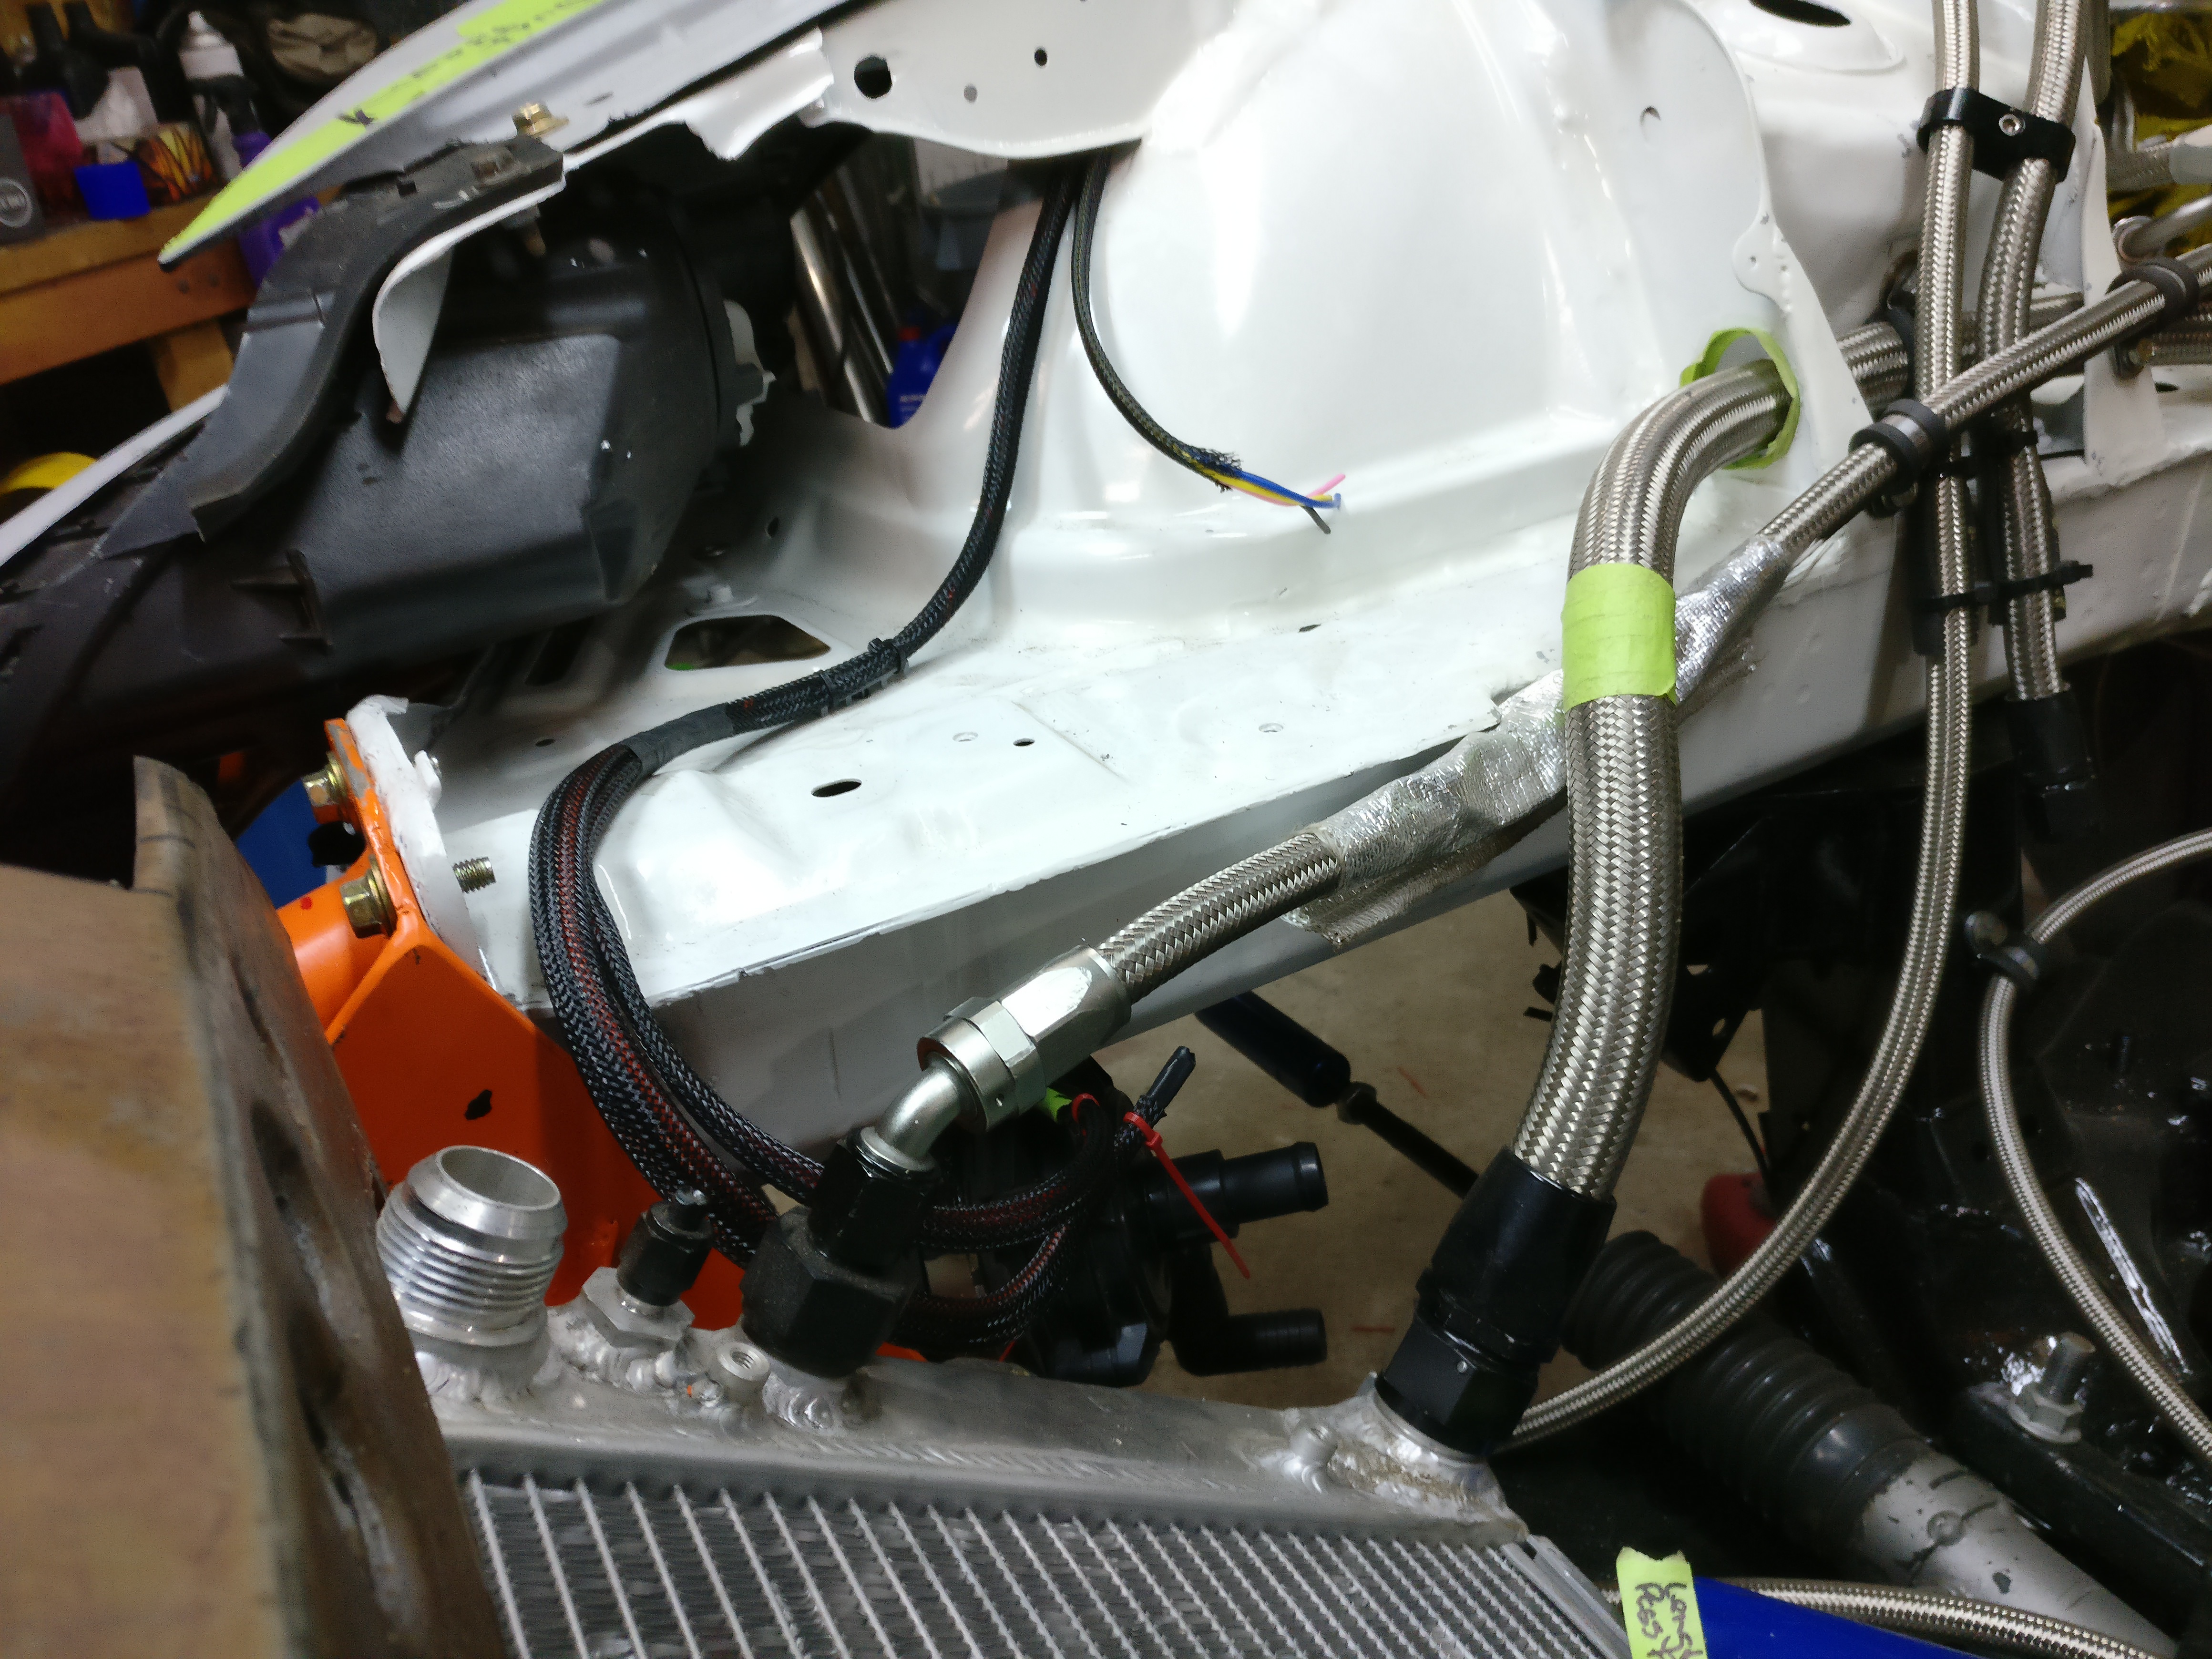
In light of realizing I need to have a triple U joint steering system to clear the turbo and end up with a more favorable rack position, I fabricated a bracket for the steering shaft support. I still need to massage the shaft opening a bit and I think I will close it on the opposing side. I will sit the engine back in before I get too carried away and realize things dont fit.
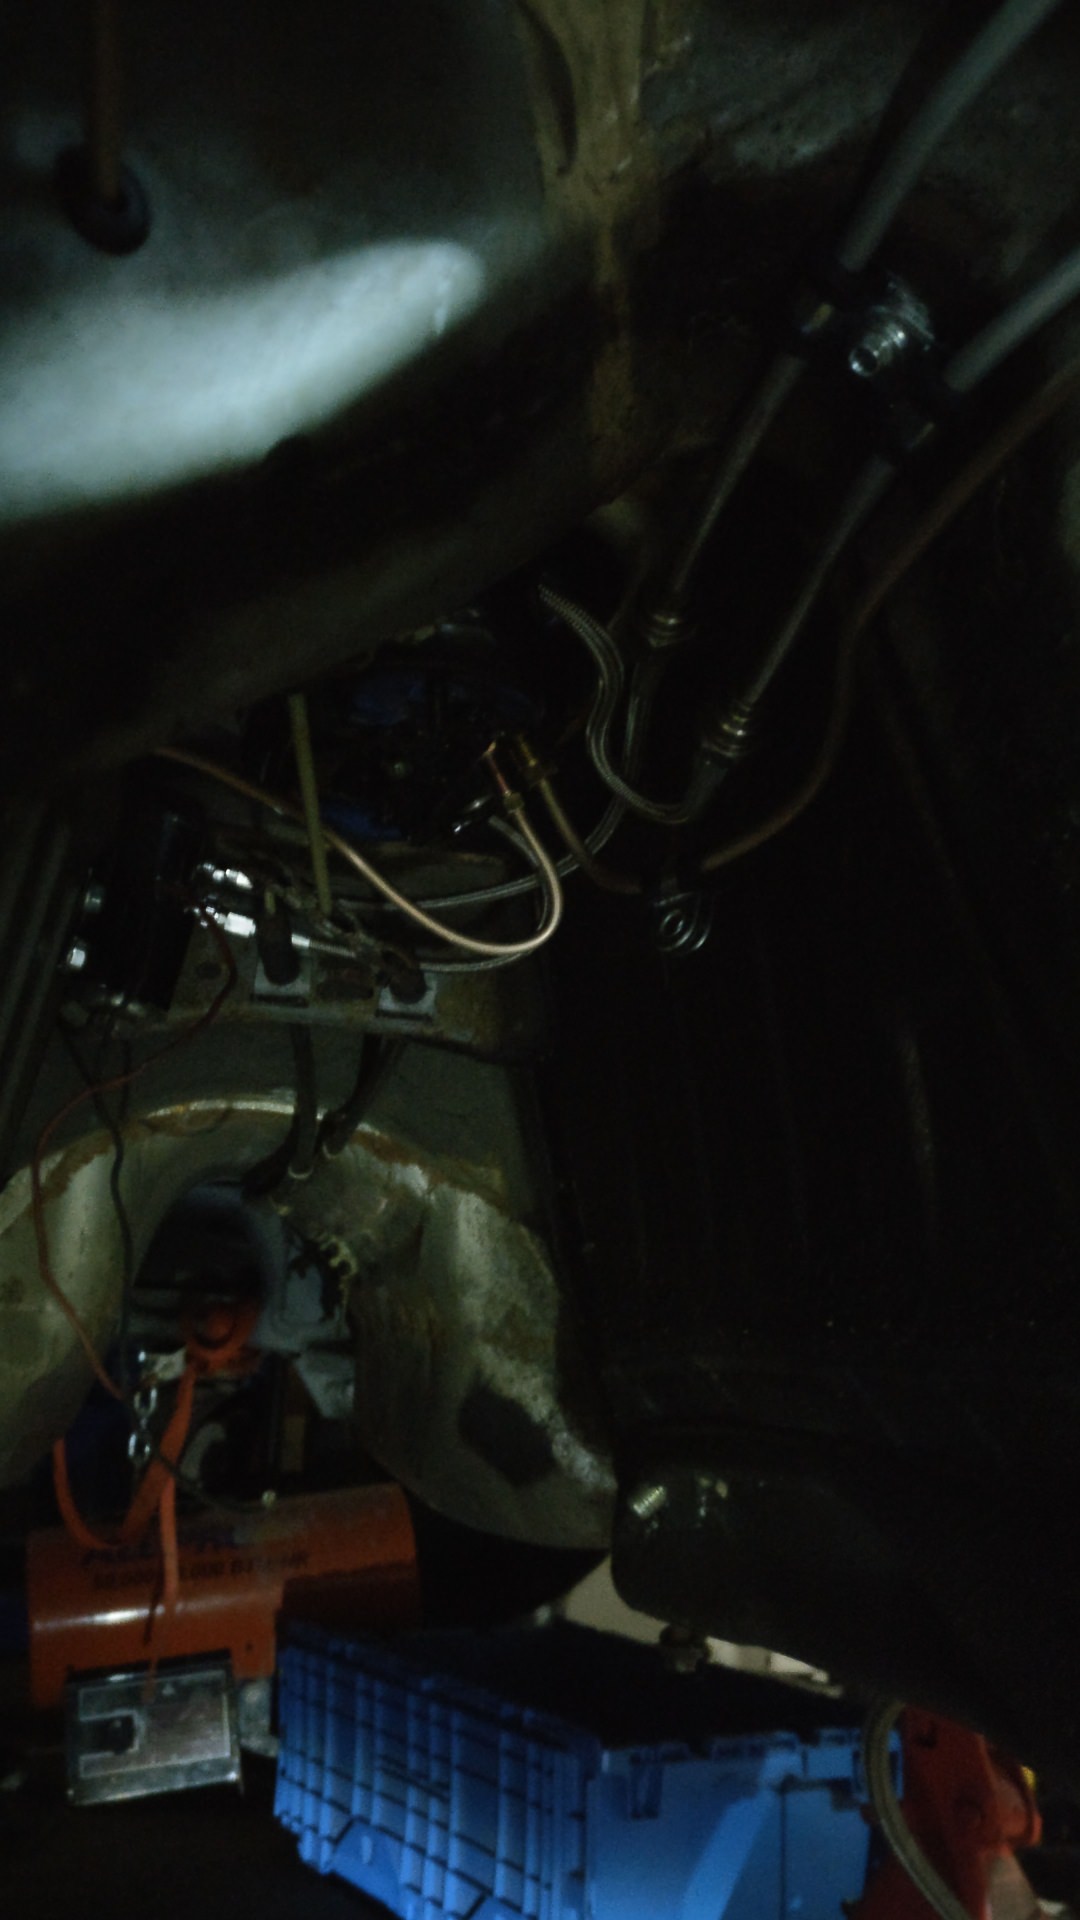
The fuel lines are a bit tight behind it but I will clean up the frame rail a bit to give them a tad more space.
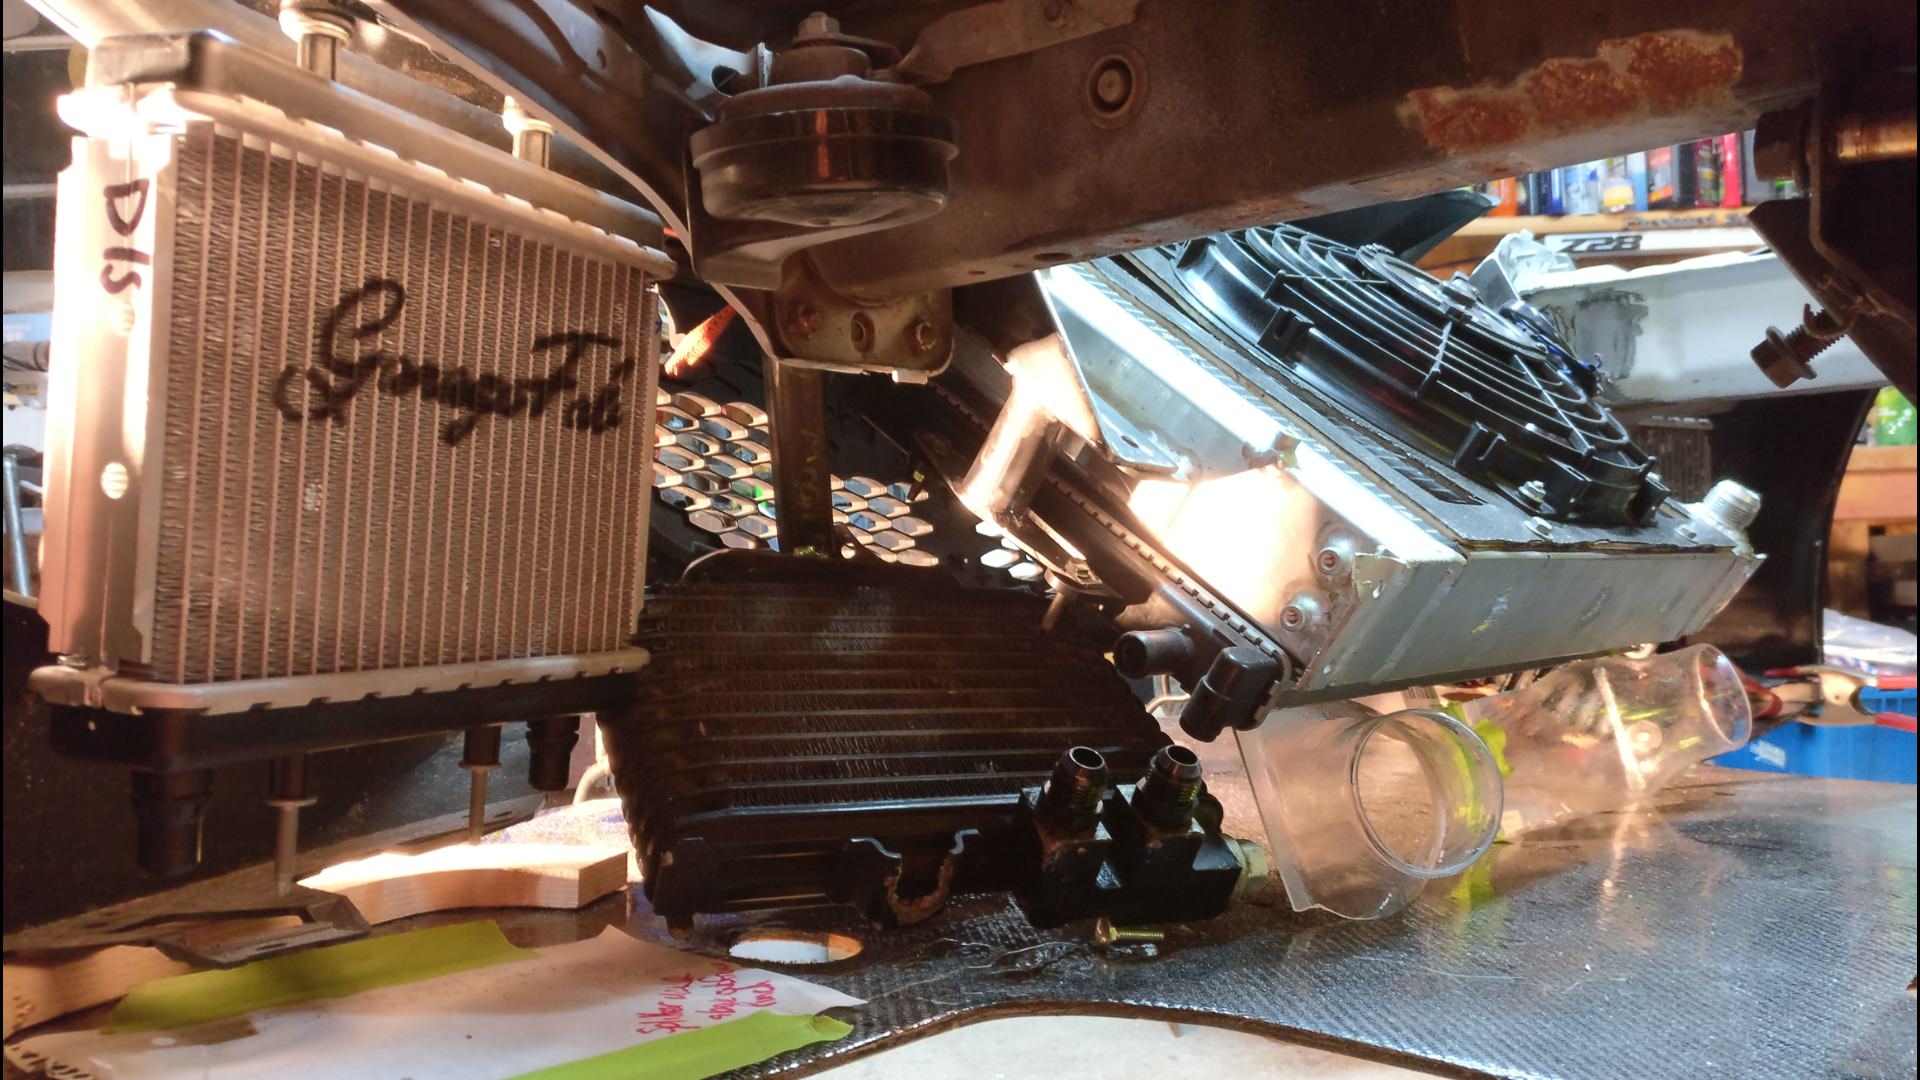
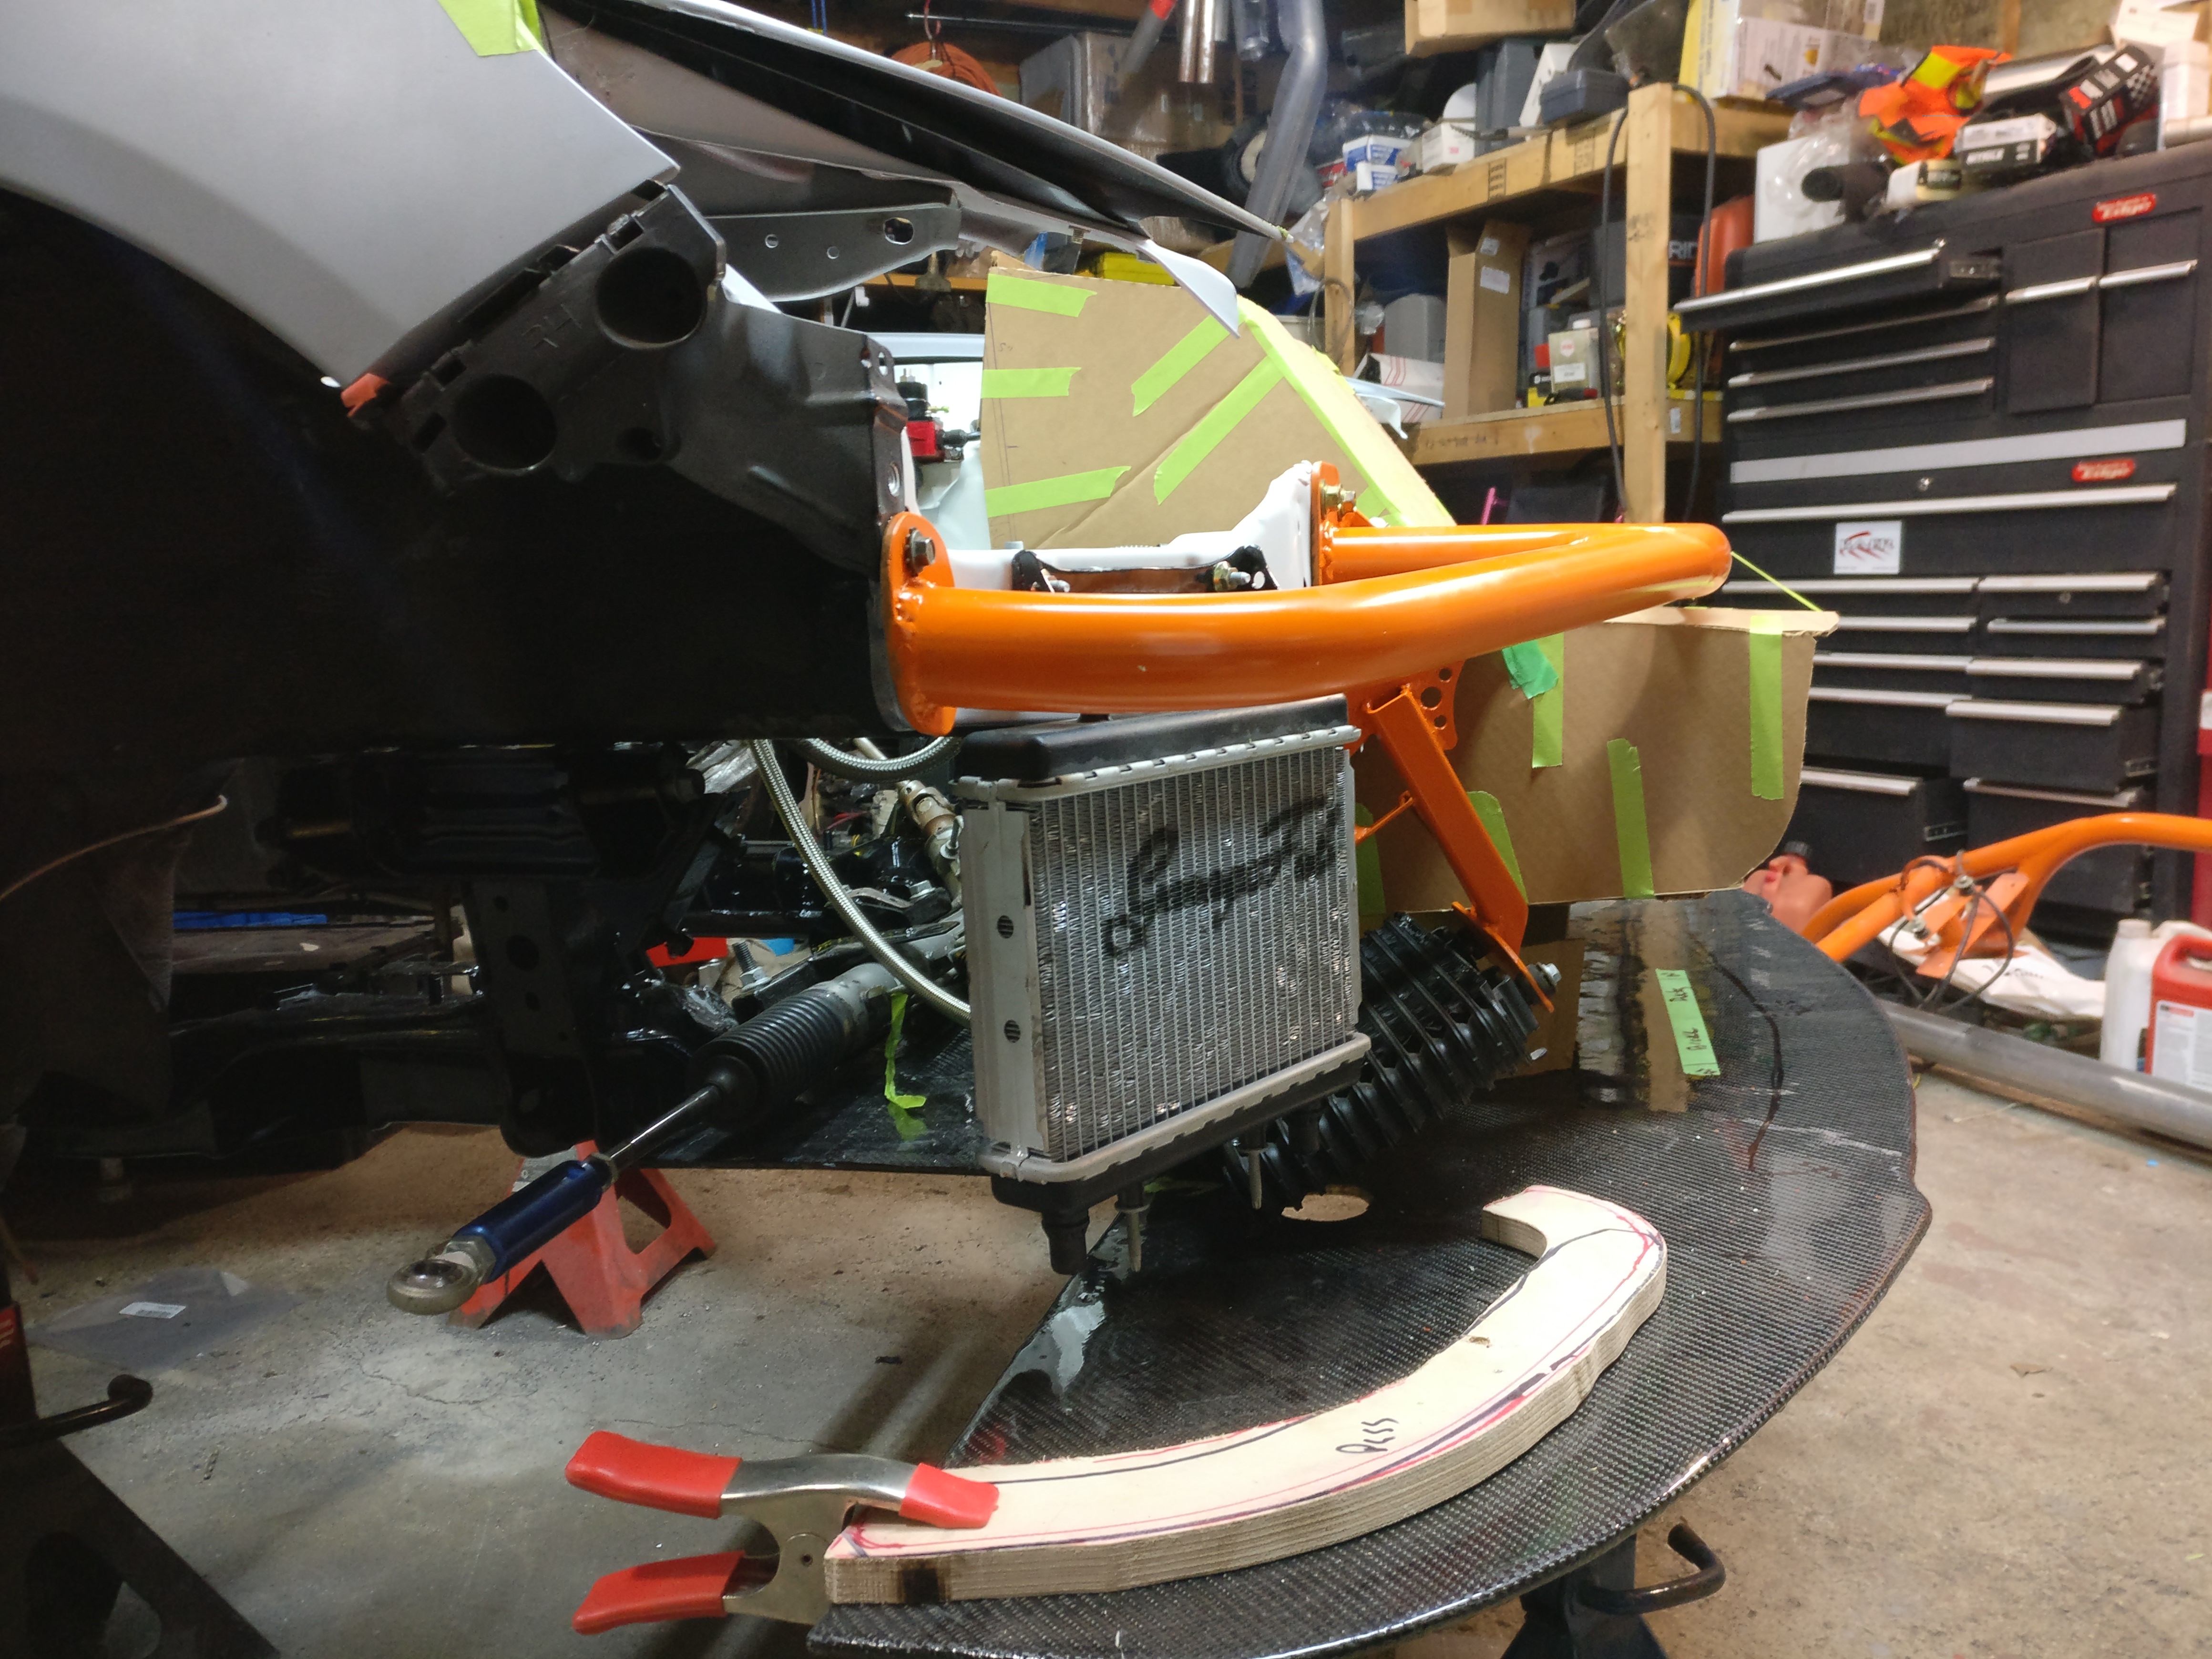
Finally got around to revisiting my oil cooler mounts also. The mounts are still a work in progress, though I think this solution will work better than previously.
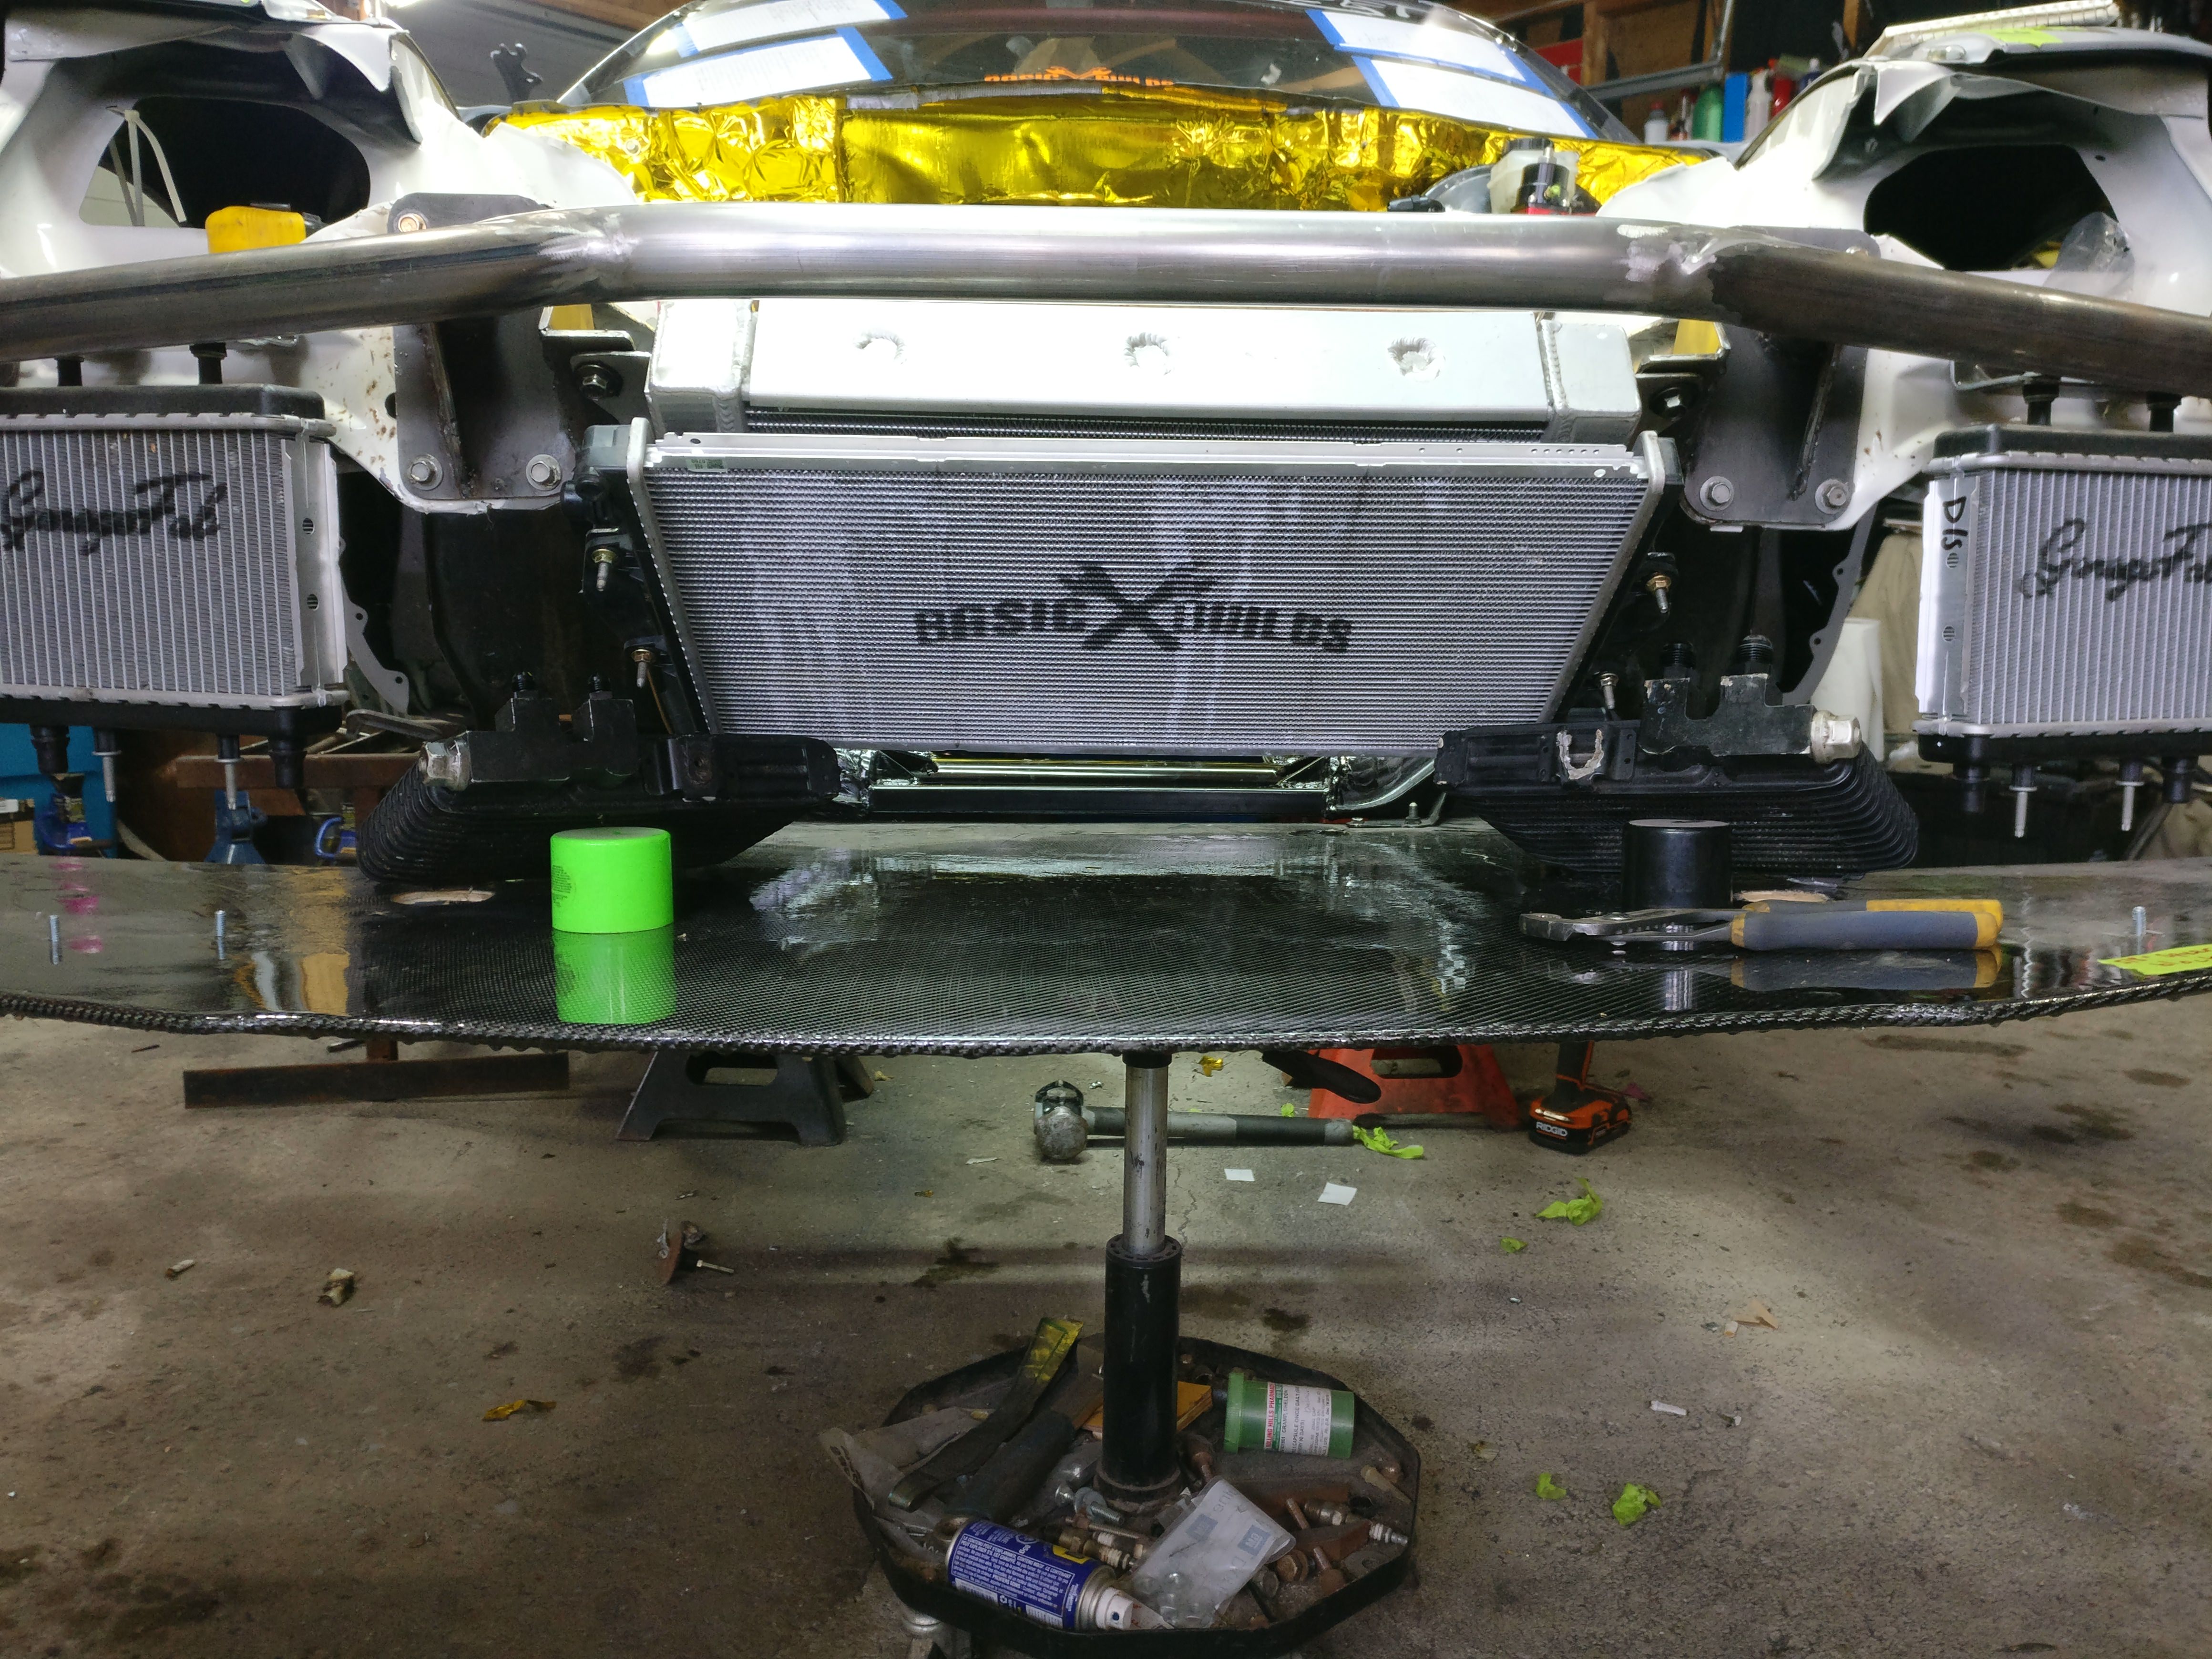
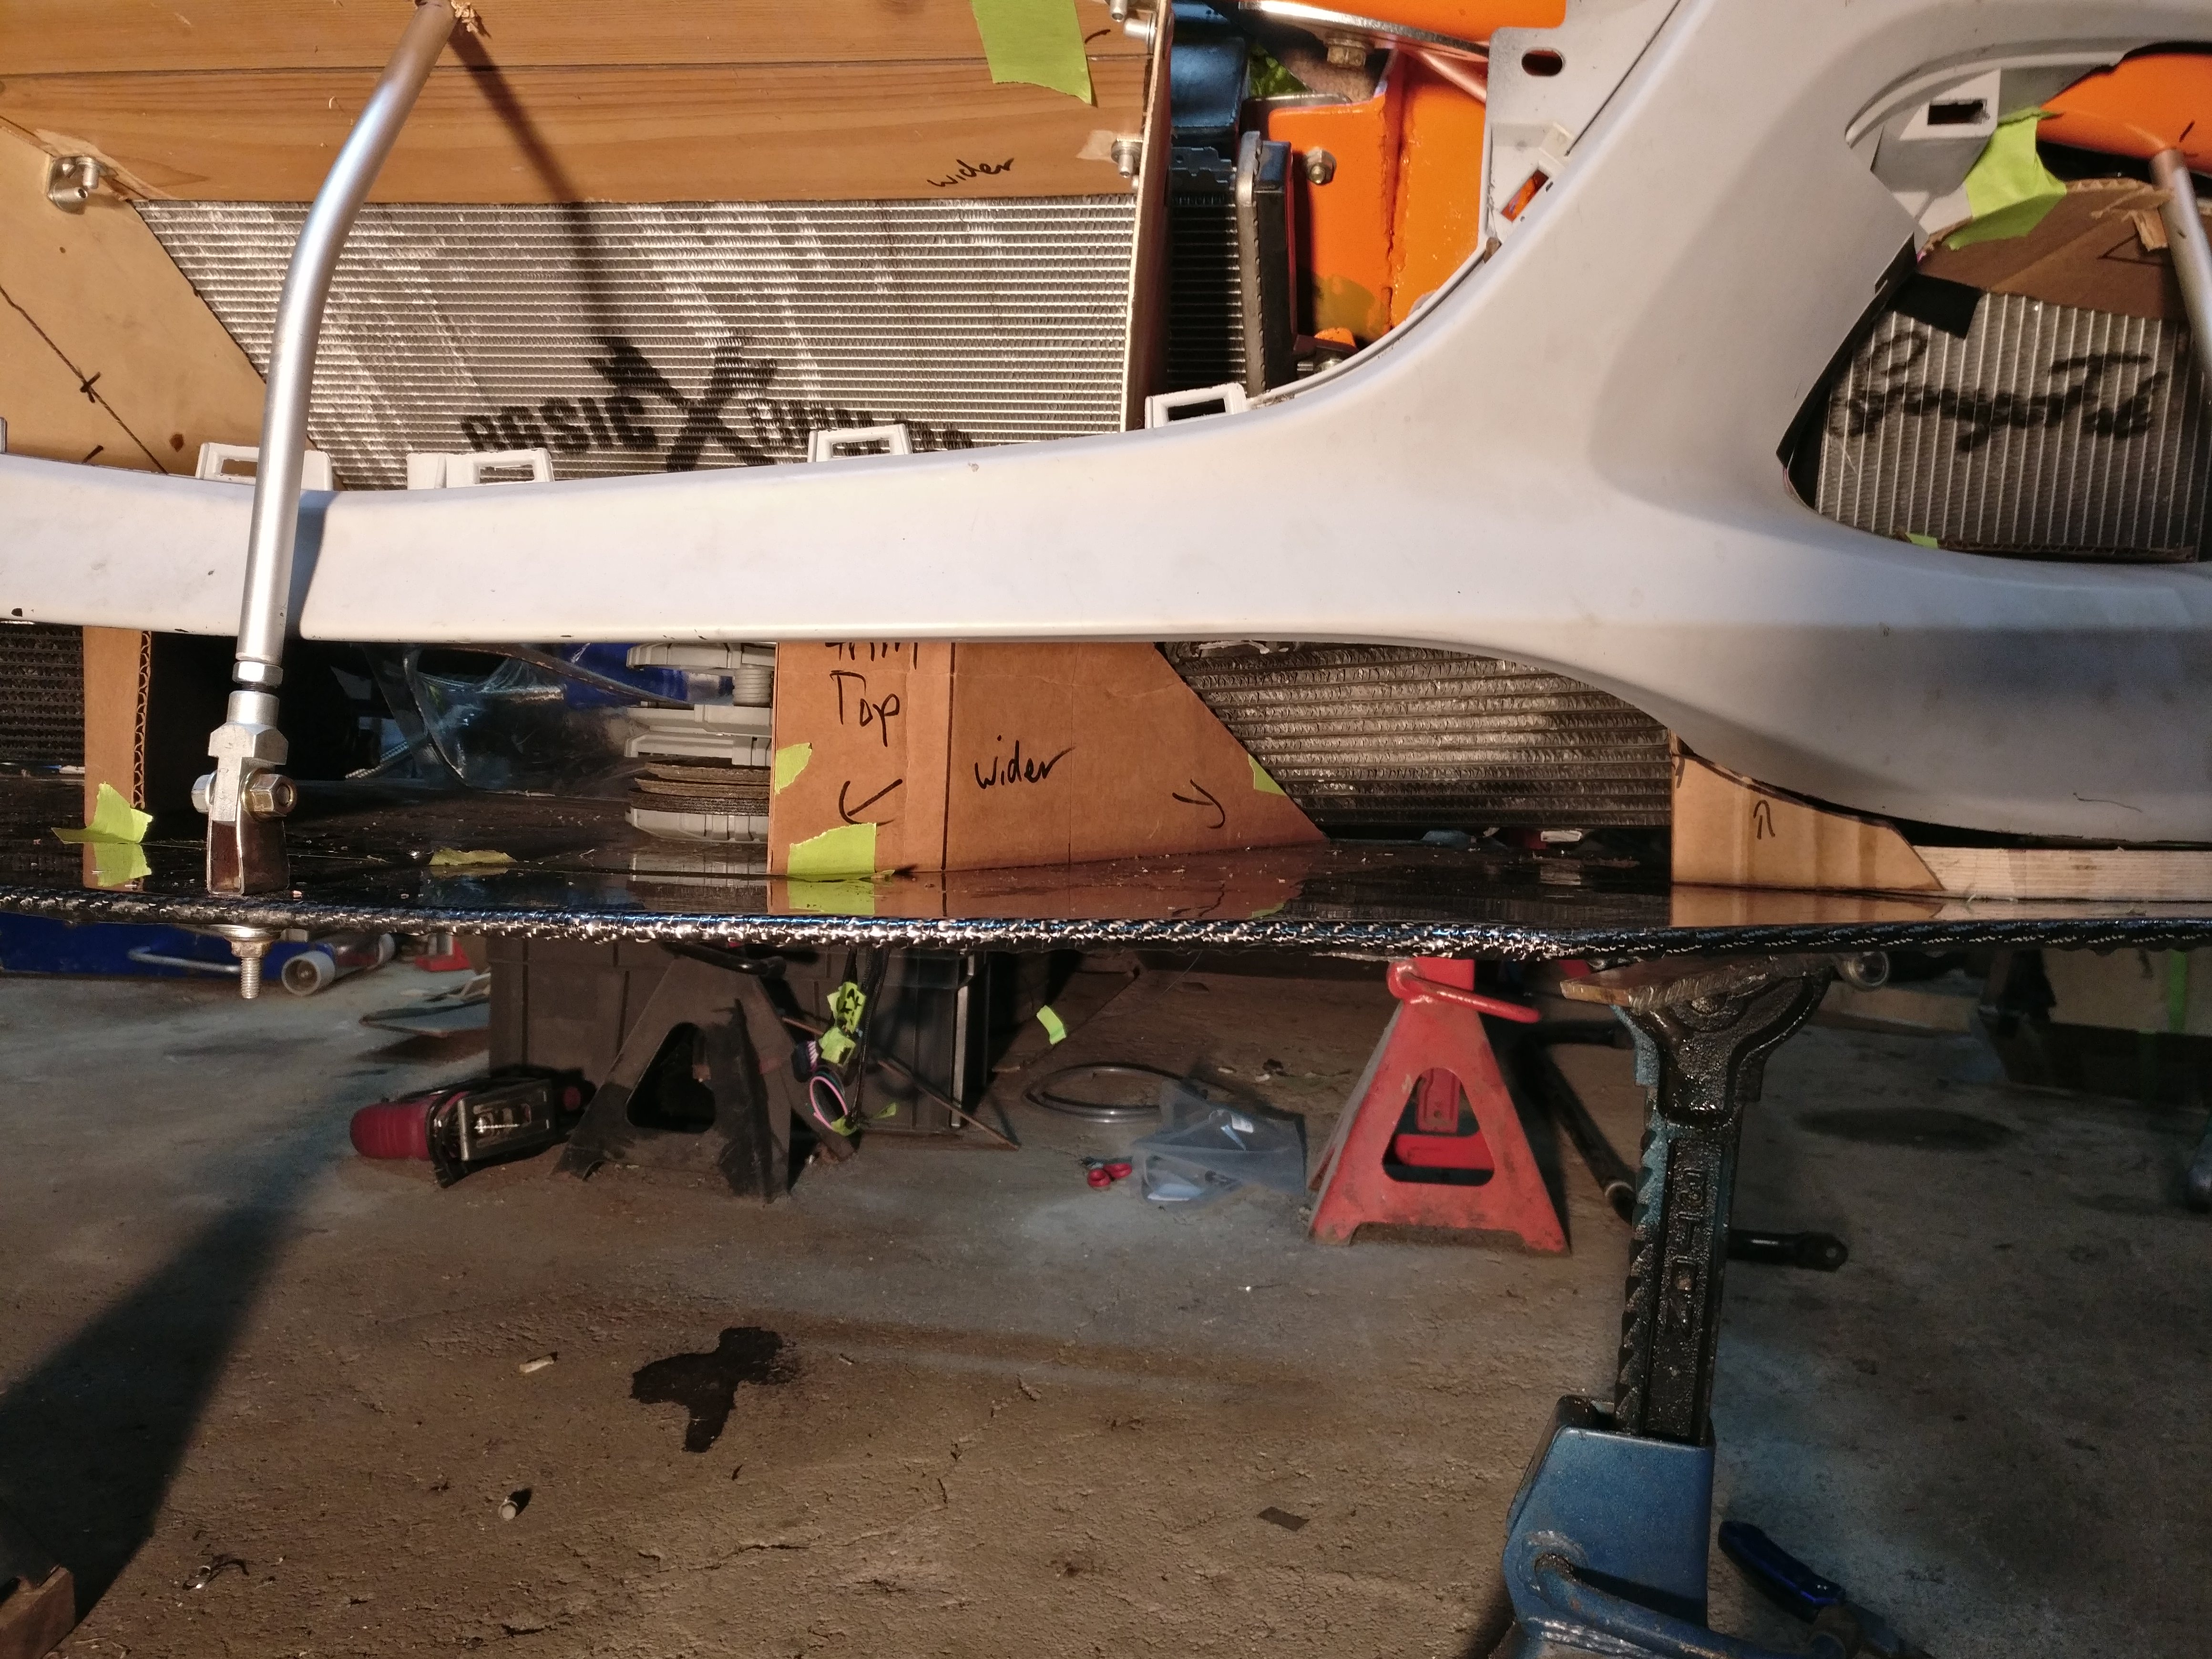
There will be some rather elaborate ducting setup onto the splitter, and all I need to do is be careful I dont destroy the splitter once it drives LOL
Getting closed to at least having the cooling system design finished. I am going to make new outboard cooler mounts to shift them outwards and back. The center ducts are mock up pieces for what the brake cooling ducts will be.
I admire someone who takes an existing design to make something unique. I wish I had the time to take a sleeper Corvair or Karmann Ghia and turn it into something magic.
Have been a bit slow on the progress in the past month or so, but I am starting to get motivated again as I have realized there is only 8 weeks to Toronto's ImportExpo... Probably a bit of a stretch but I will see what I can do!
I am in to the work of prepping the engine bay for paint AGAIN. This is one of the much less thrilling jobs to have to re do. I need to get the final paint coat into the bay as soon as I can, as no further assembly can happen until it does, but I am having a hell of a time keeping heat in the garage lately!
Keeping it warm long enough to warm the car up is no simple task with a propane space heater that freezes its tank every 20 minutes LOL
I notched? or made a hole.. in the passenger side strut tower to run the rear coolant feed through. The holes have a reinforcement ring on the back of them, and I added a couple braces to it.
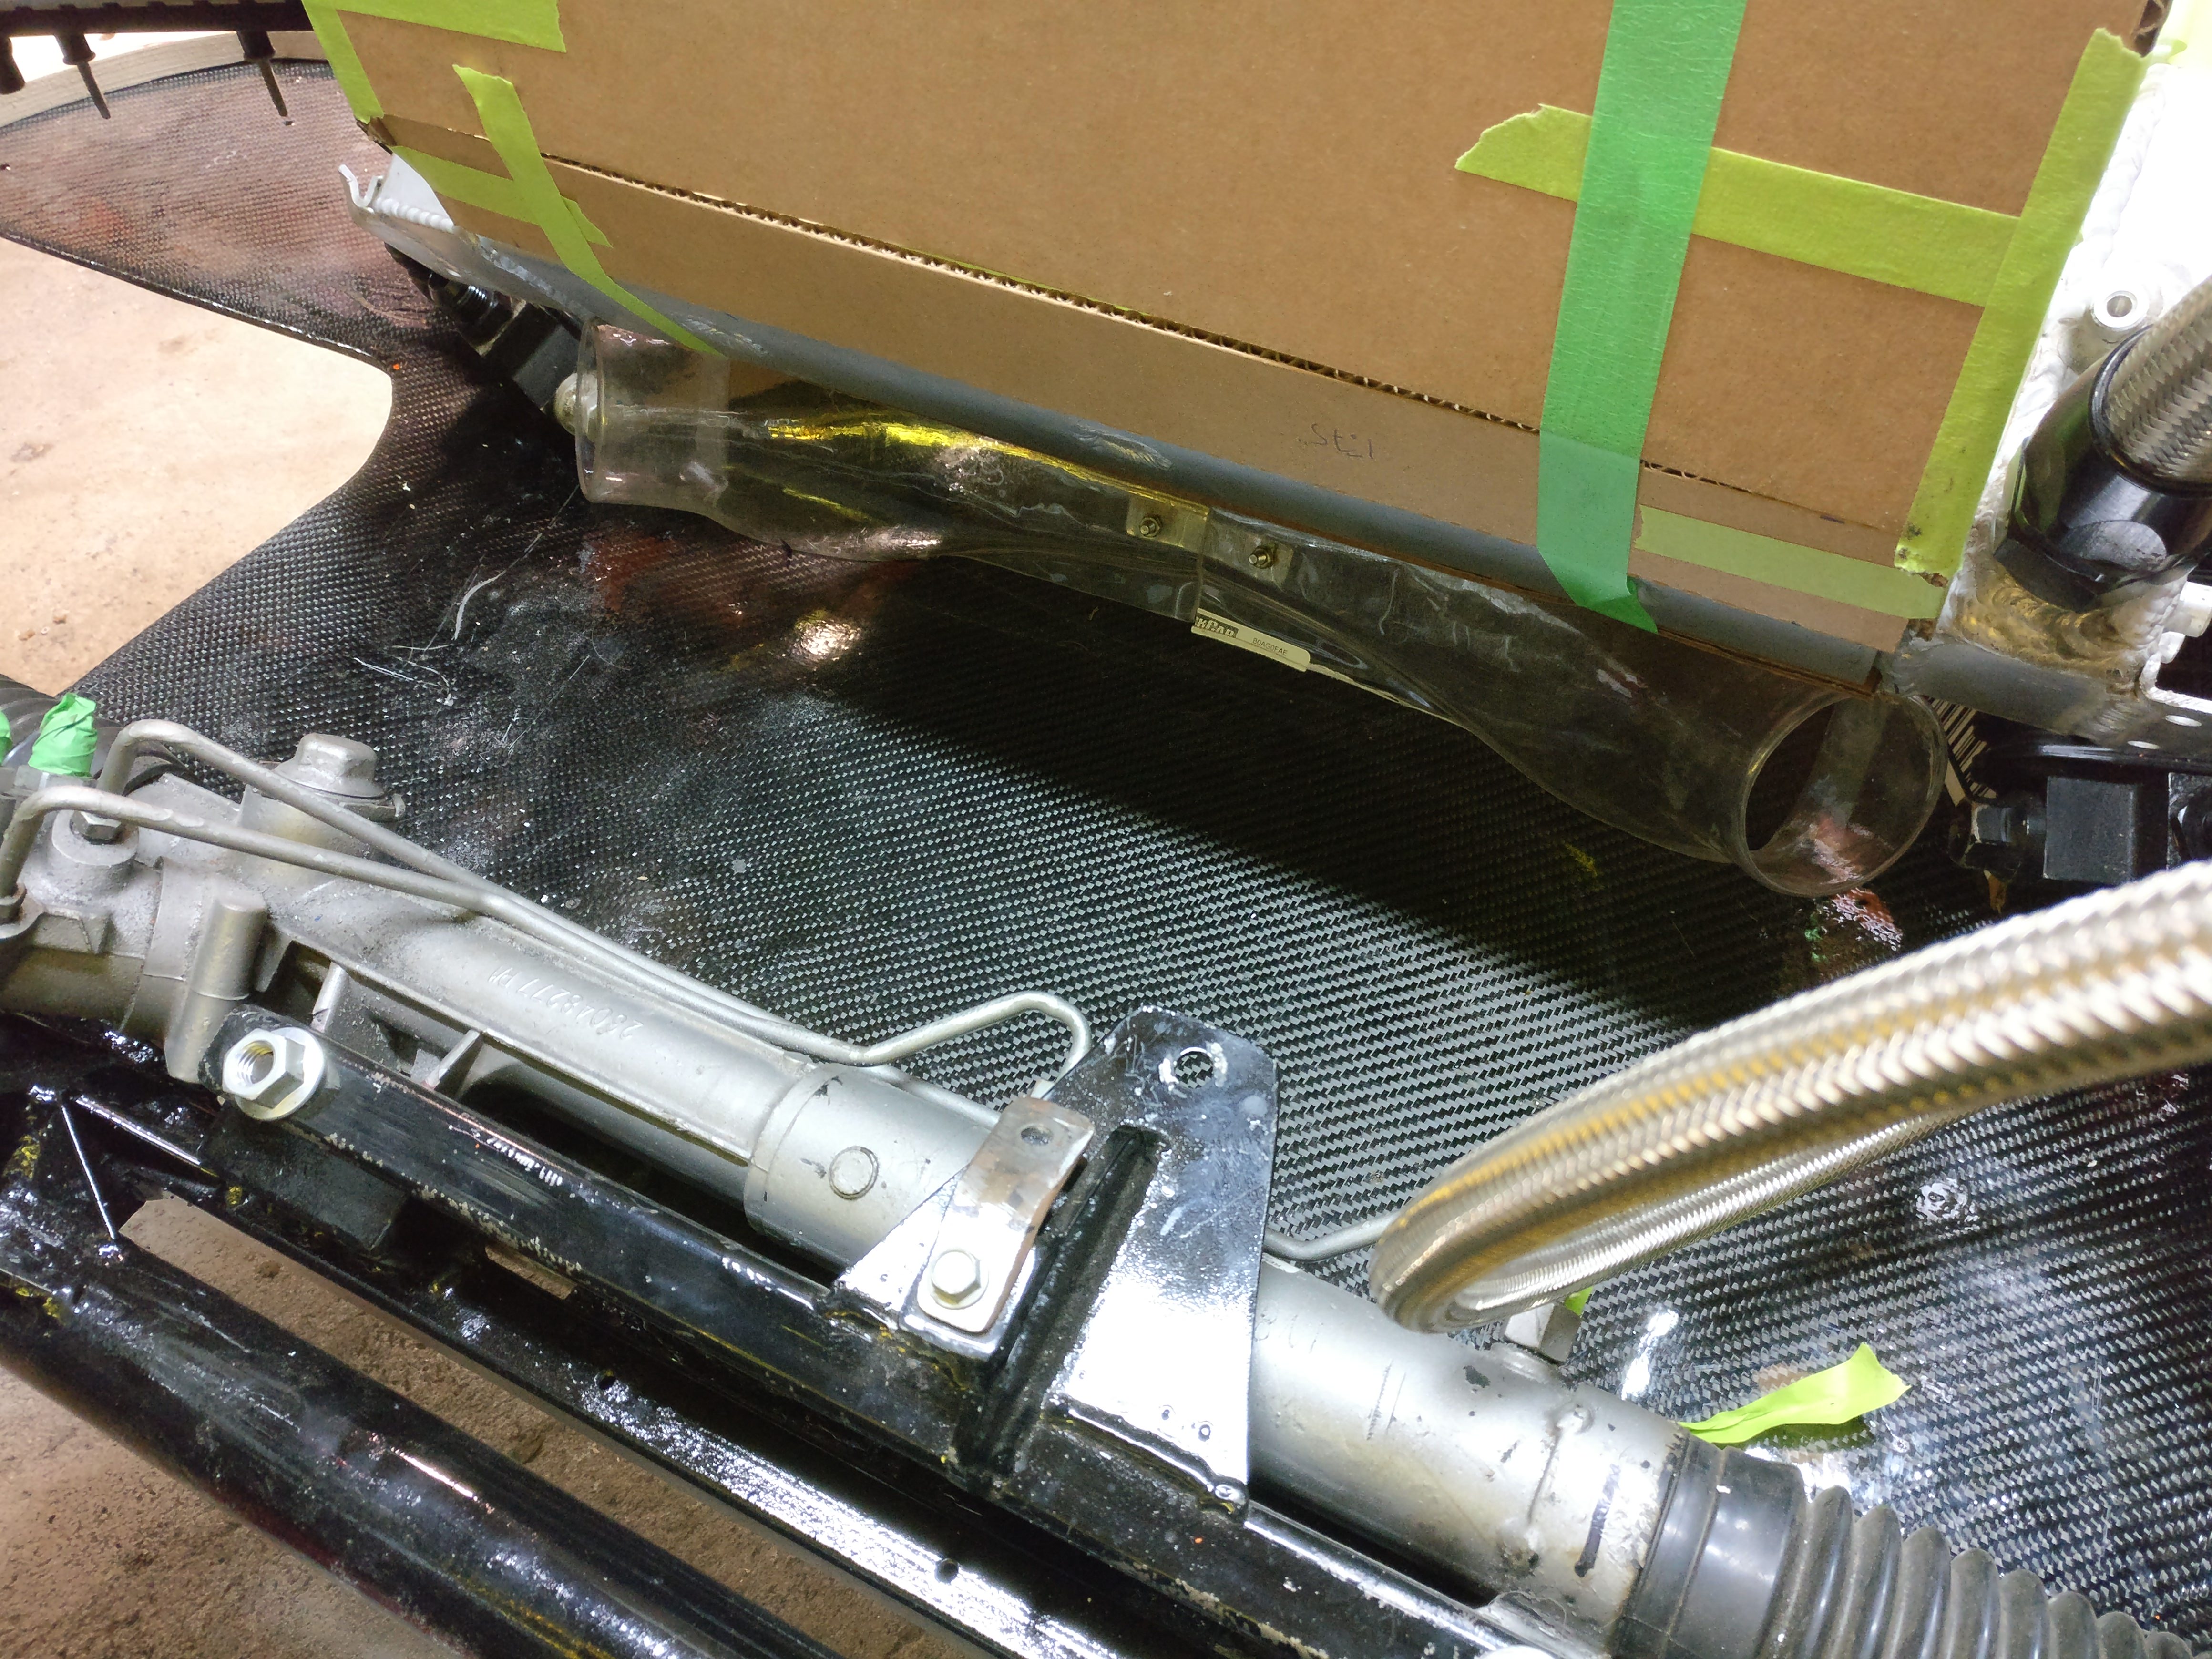
The 3.6L Lower rad hose connection comes off the back of the motor over the trans bell housing, which makes a line coming forward a bit of a pain. I figured this would look much cleaner and simplify plumbing.
Now... I made up a hard line as I had intended on welding it into the chassis, but then realized it would be a ***** to paint.
I cant decide if I want to use the hard line, or just run the AN line through the holes, similar to how it was previously setup... Thoughts?
After about 6 years of this welder being difficult to use and inconsistent wire feed, I finally replaced the liner in gun.... Wish I would have thought of that sooner LOL!
As she currently sits. Hoping to get a bit more sanding done in the bay this week.
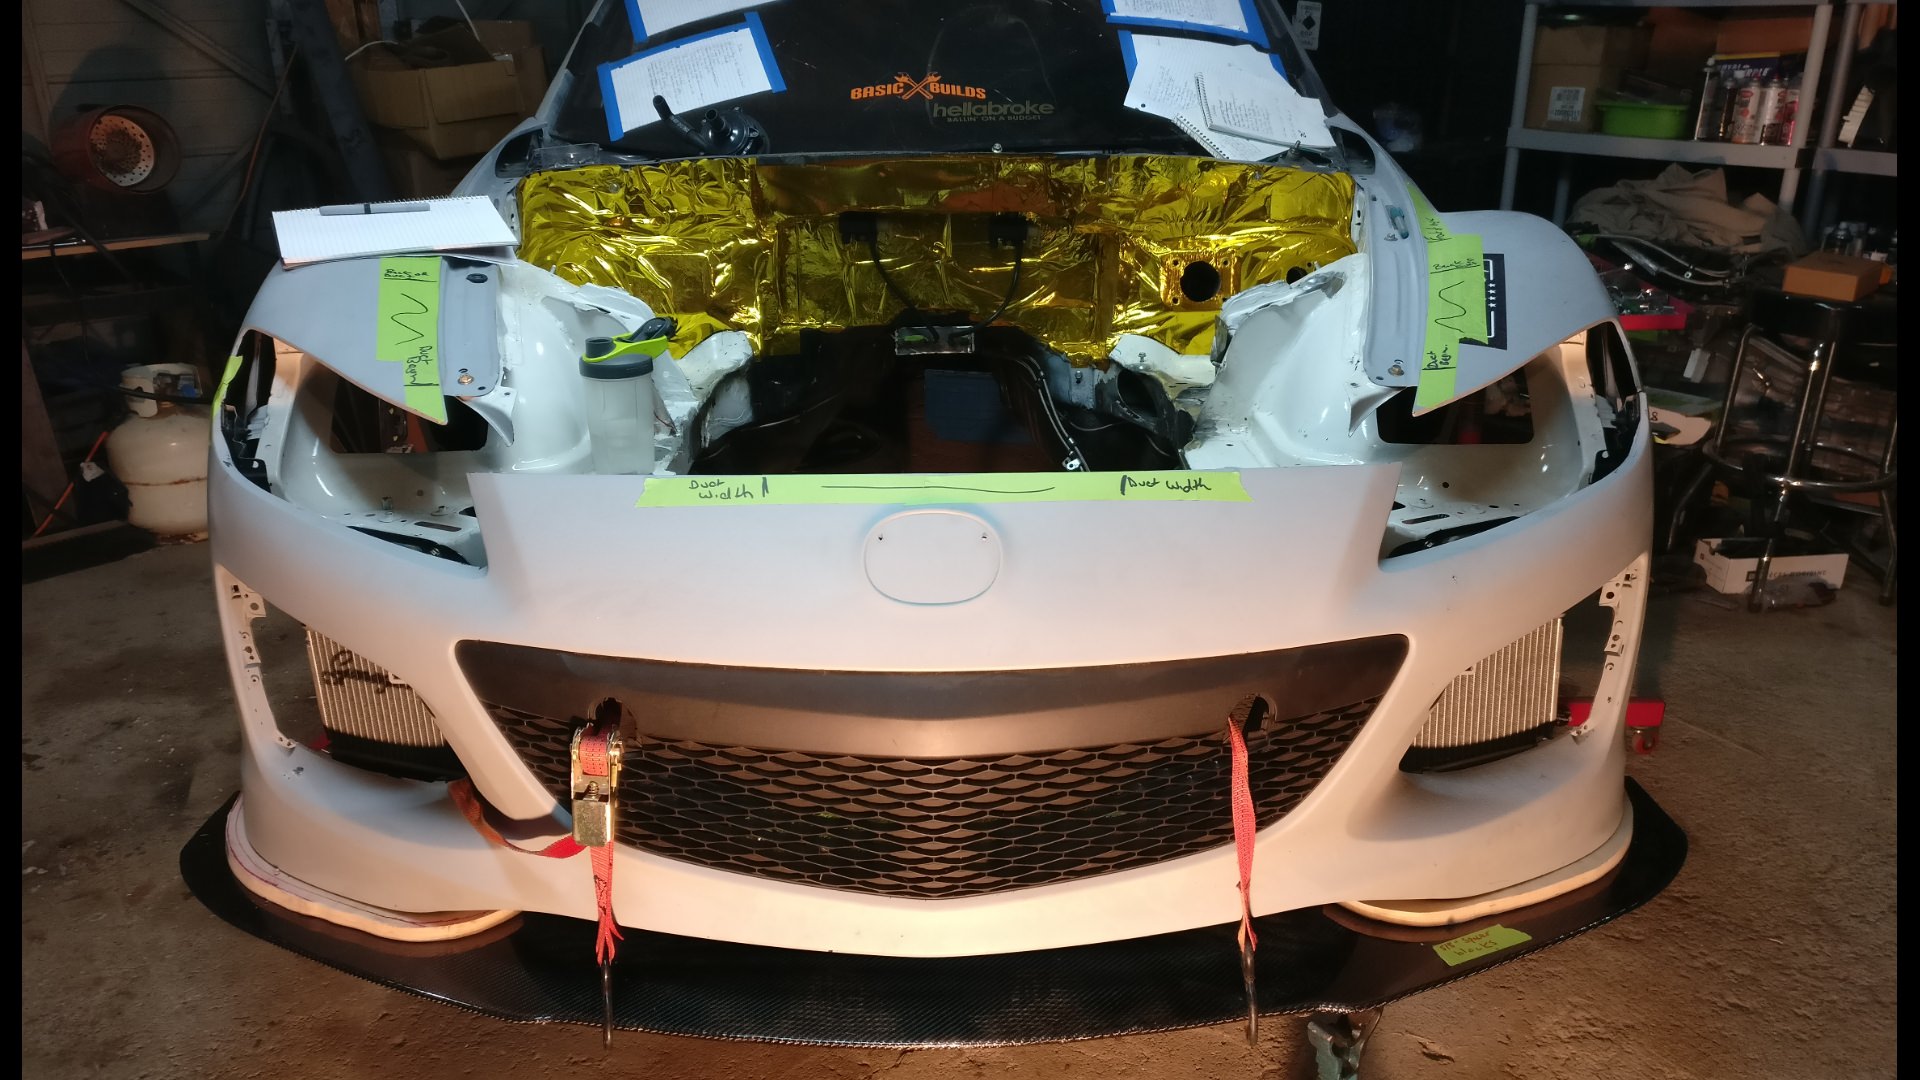
Spent some time this week trying to figure out how I want to do the center ducting.
I am sure there will be 4 or 5 more variations before I settle, as always lol. Final parts will be all carbon fiber. Never done any of this before, see how it goes lol
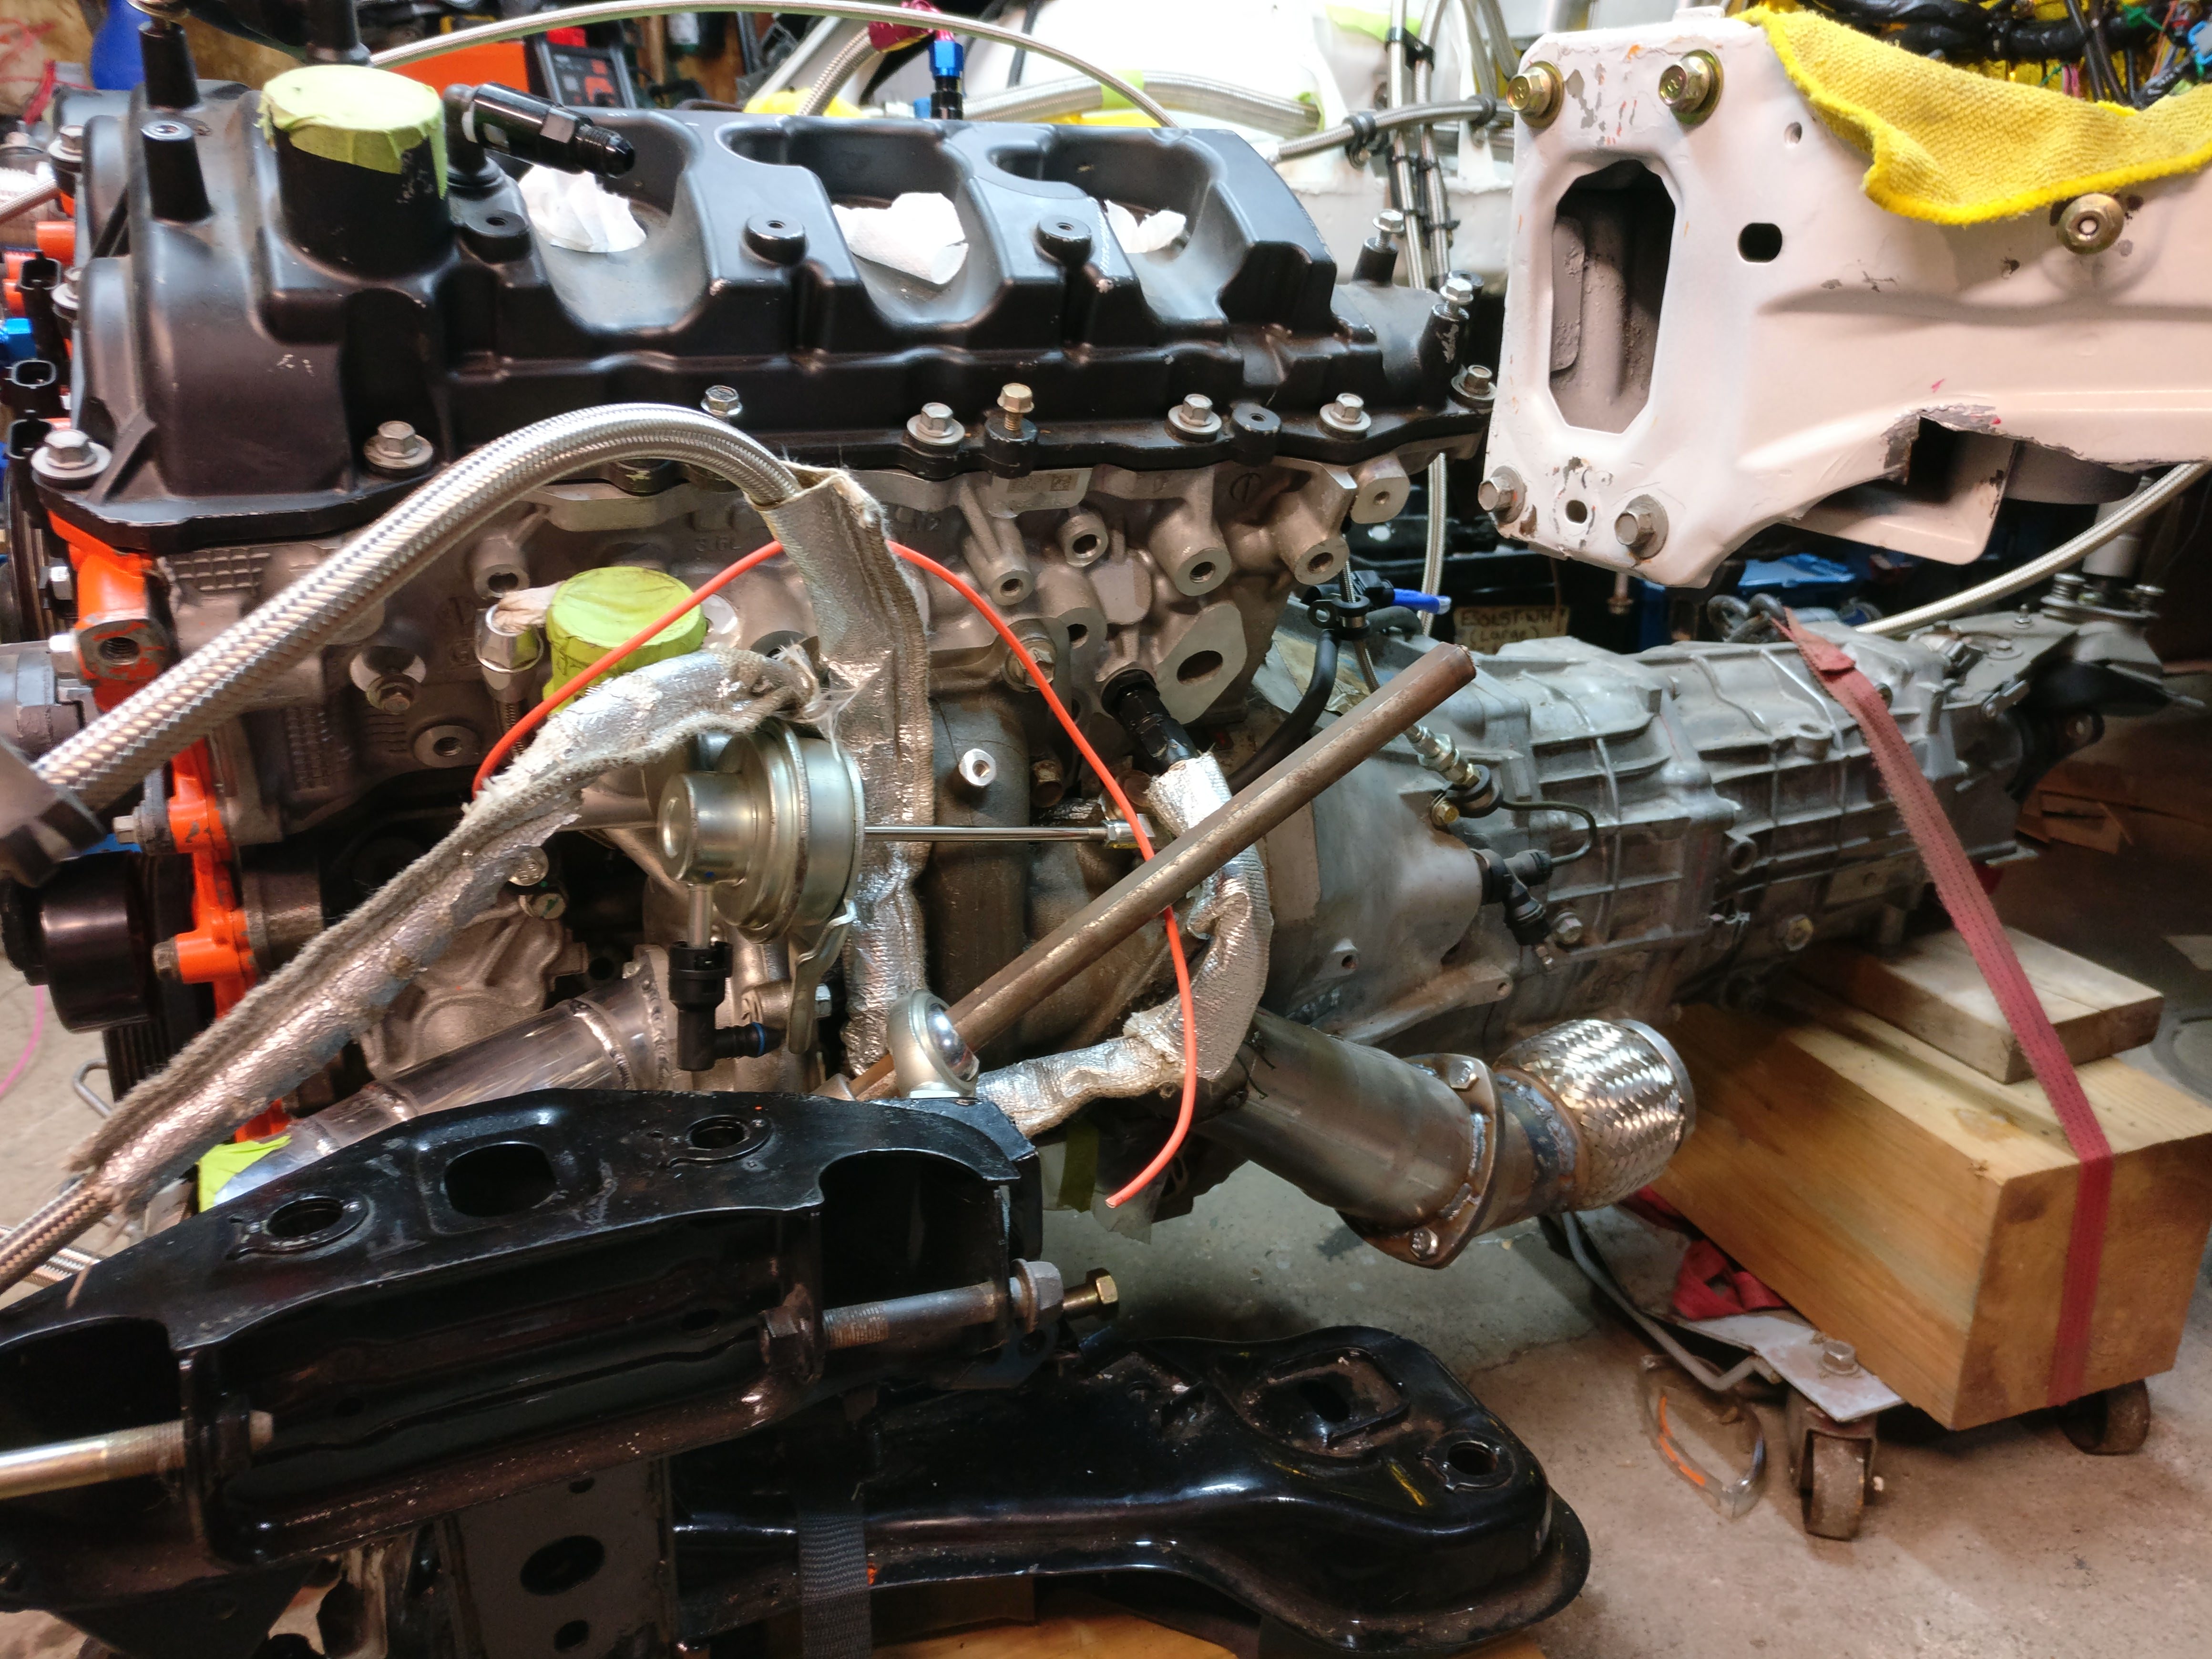
Checked the fit of the triple U joint steering system. It works fantastic as far as turning the rack... but I am worried I put the middle joint in the worst possible place and it may contact the LH Turbo... Which is the whole reason I changed to this type of a system so I had more space around the turbo LOL
Hopefully will have the hardware for my engine by the end of the week to reassemble it, and get it mounted up!
Last edited by Chezmanbespoke; 03-06-2018 at 10:02 PM.
Remaking my ducting work in a wood ply so that I can hand them off to a buddy of mine to be reproduced out of carbon fiber. Too much risk the cardboard will change shape as its handled and I have already produced enough parts that did not fit as I intended LOL
Motor is waiting for the hardware to complete reassembly. I have re checked every bearing clearance, and while I am still not happy... I suppose its good enough for now. I will tear it down in the fall to take a look, provided I don't blow it up before then lol.
Finally gave in to the 8.8 swap for the differential. Too much fear I am A. going to kill the stock diff and have down time, and B. I bought 3.91 gears, and I really don't want to destroy them.
Otherwise, making good progress! The engine harness is in, and I have the forward harness's set in place. I will do the final connecting of the wiring and build the power distribution centre last.
Hopefully it will be driving by the end of may! Having to accept some things I am not entirely happy with based on it now being April, and if I keep chasing everything I am not happy with... this car is never going to drive lol.
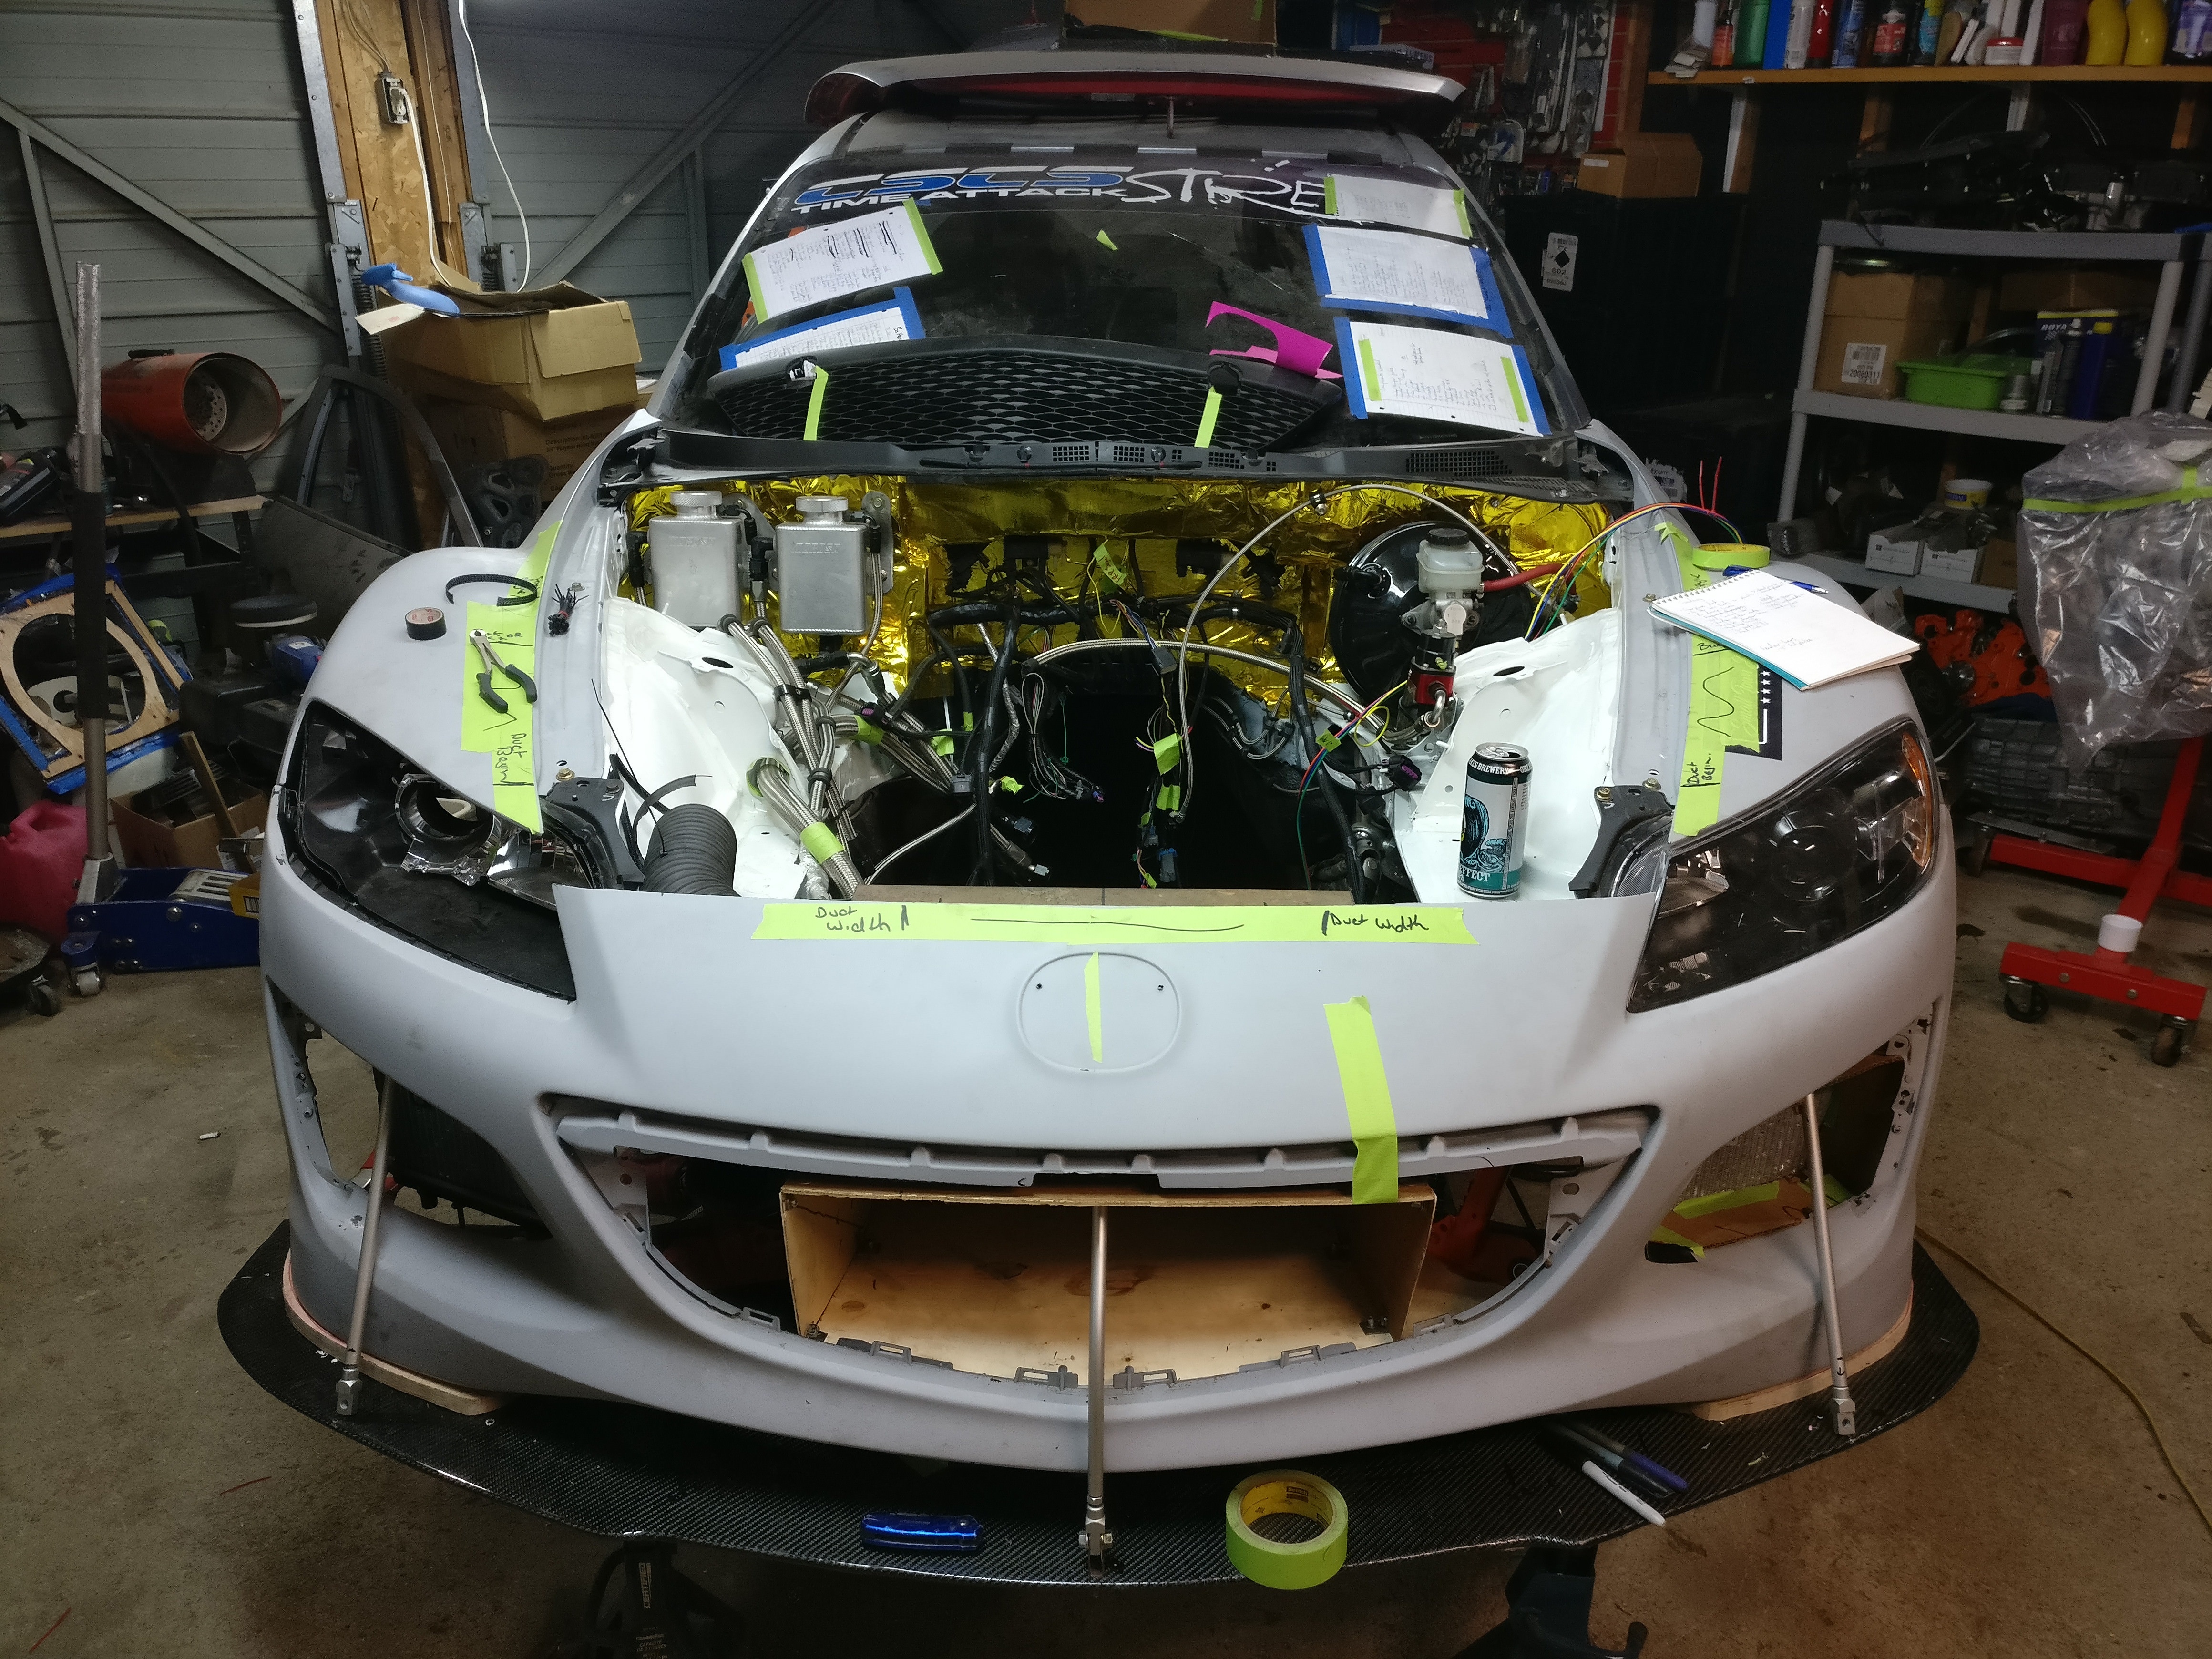
I made these splitter rods today... they wont be staying lol. Not that happy with them.
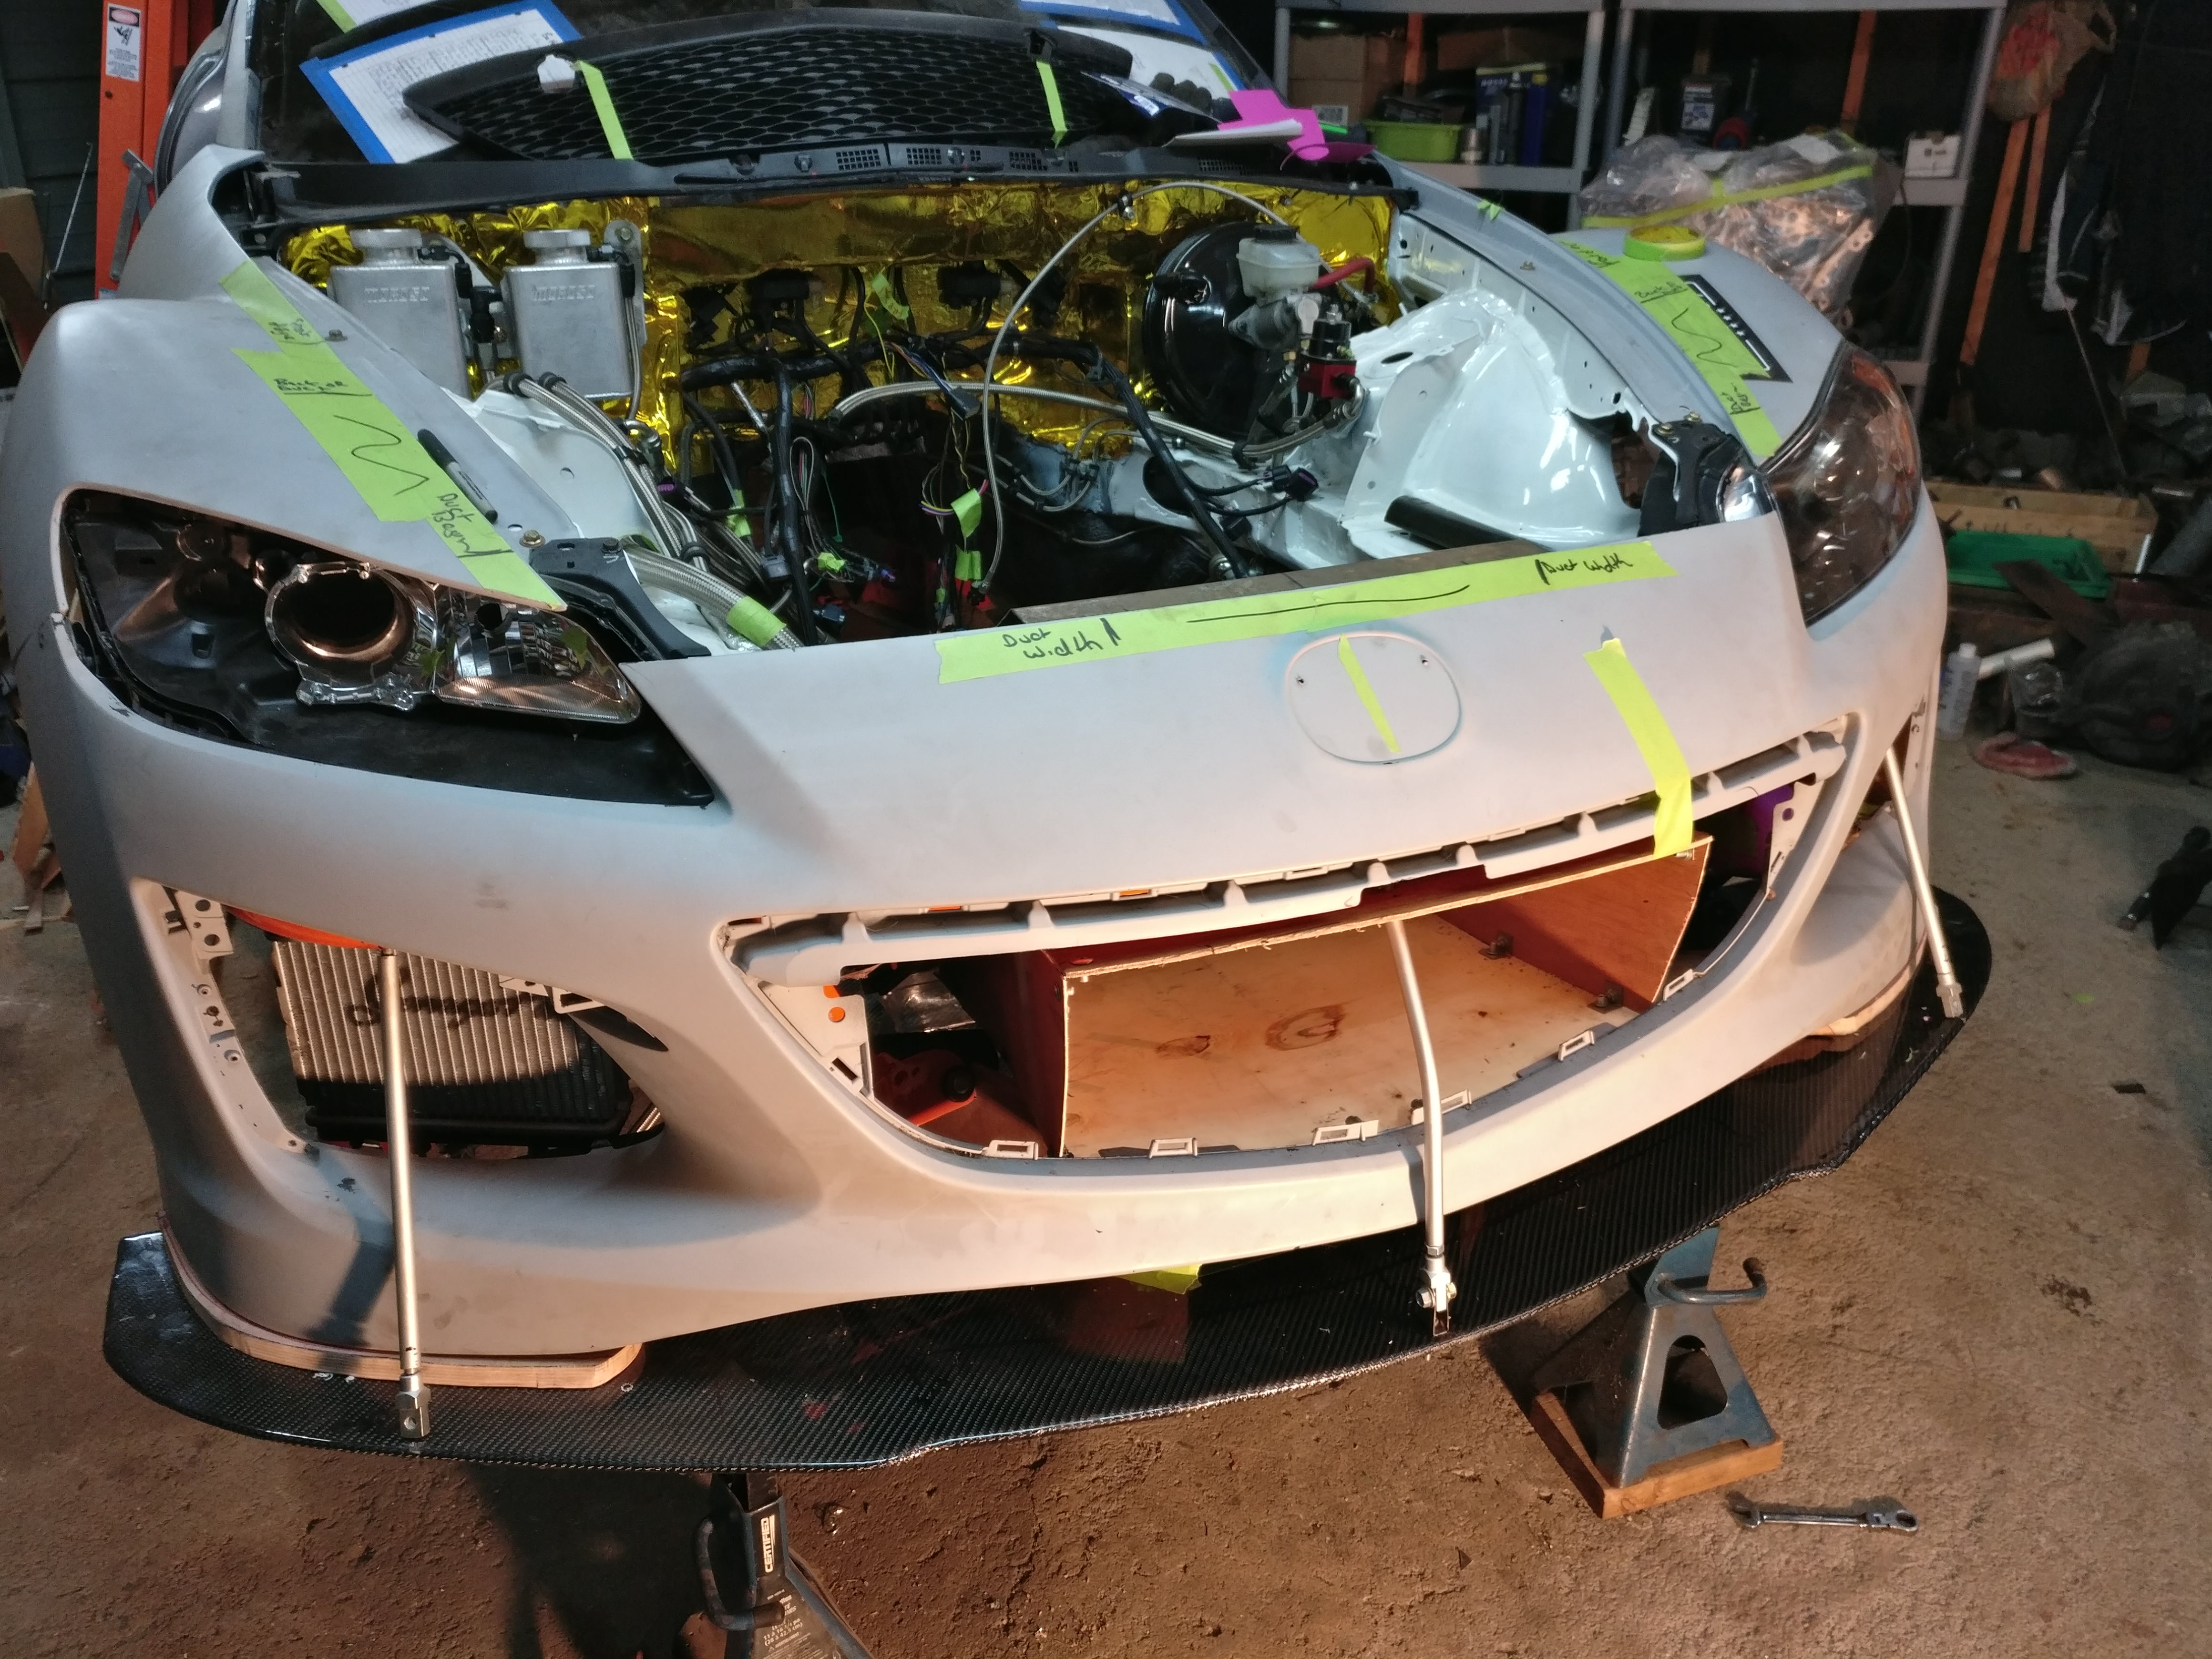
Wiring for the passenger side includes the intercooler pump & coolant fan, but otherwise the only required electrical at the front is the lighting. Necessities only!
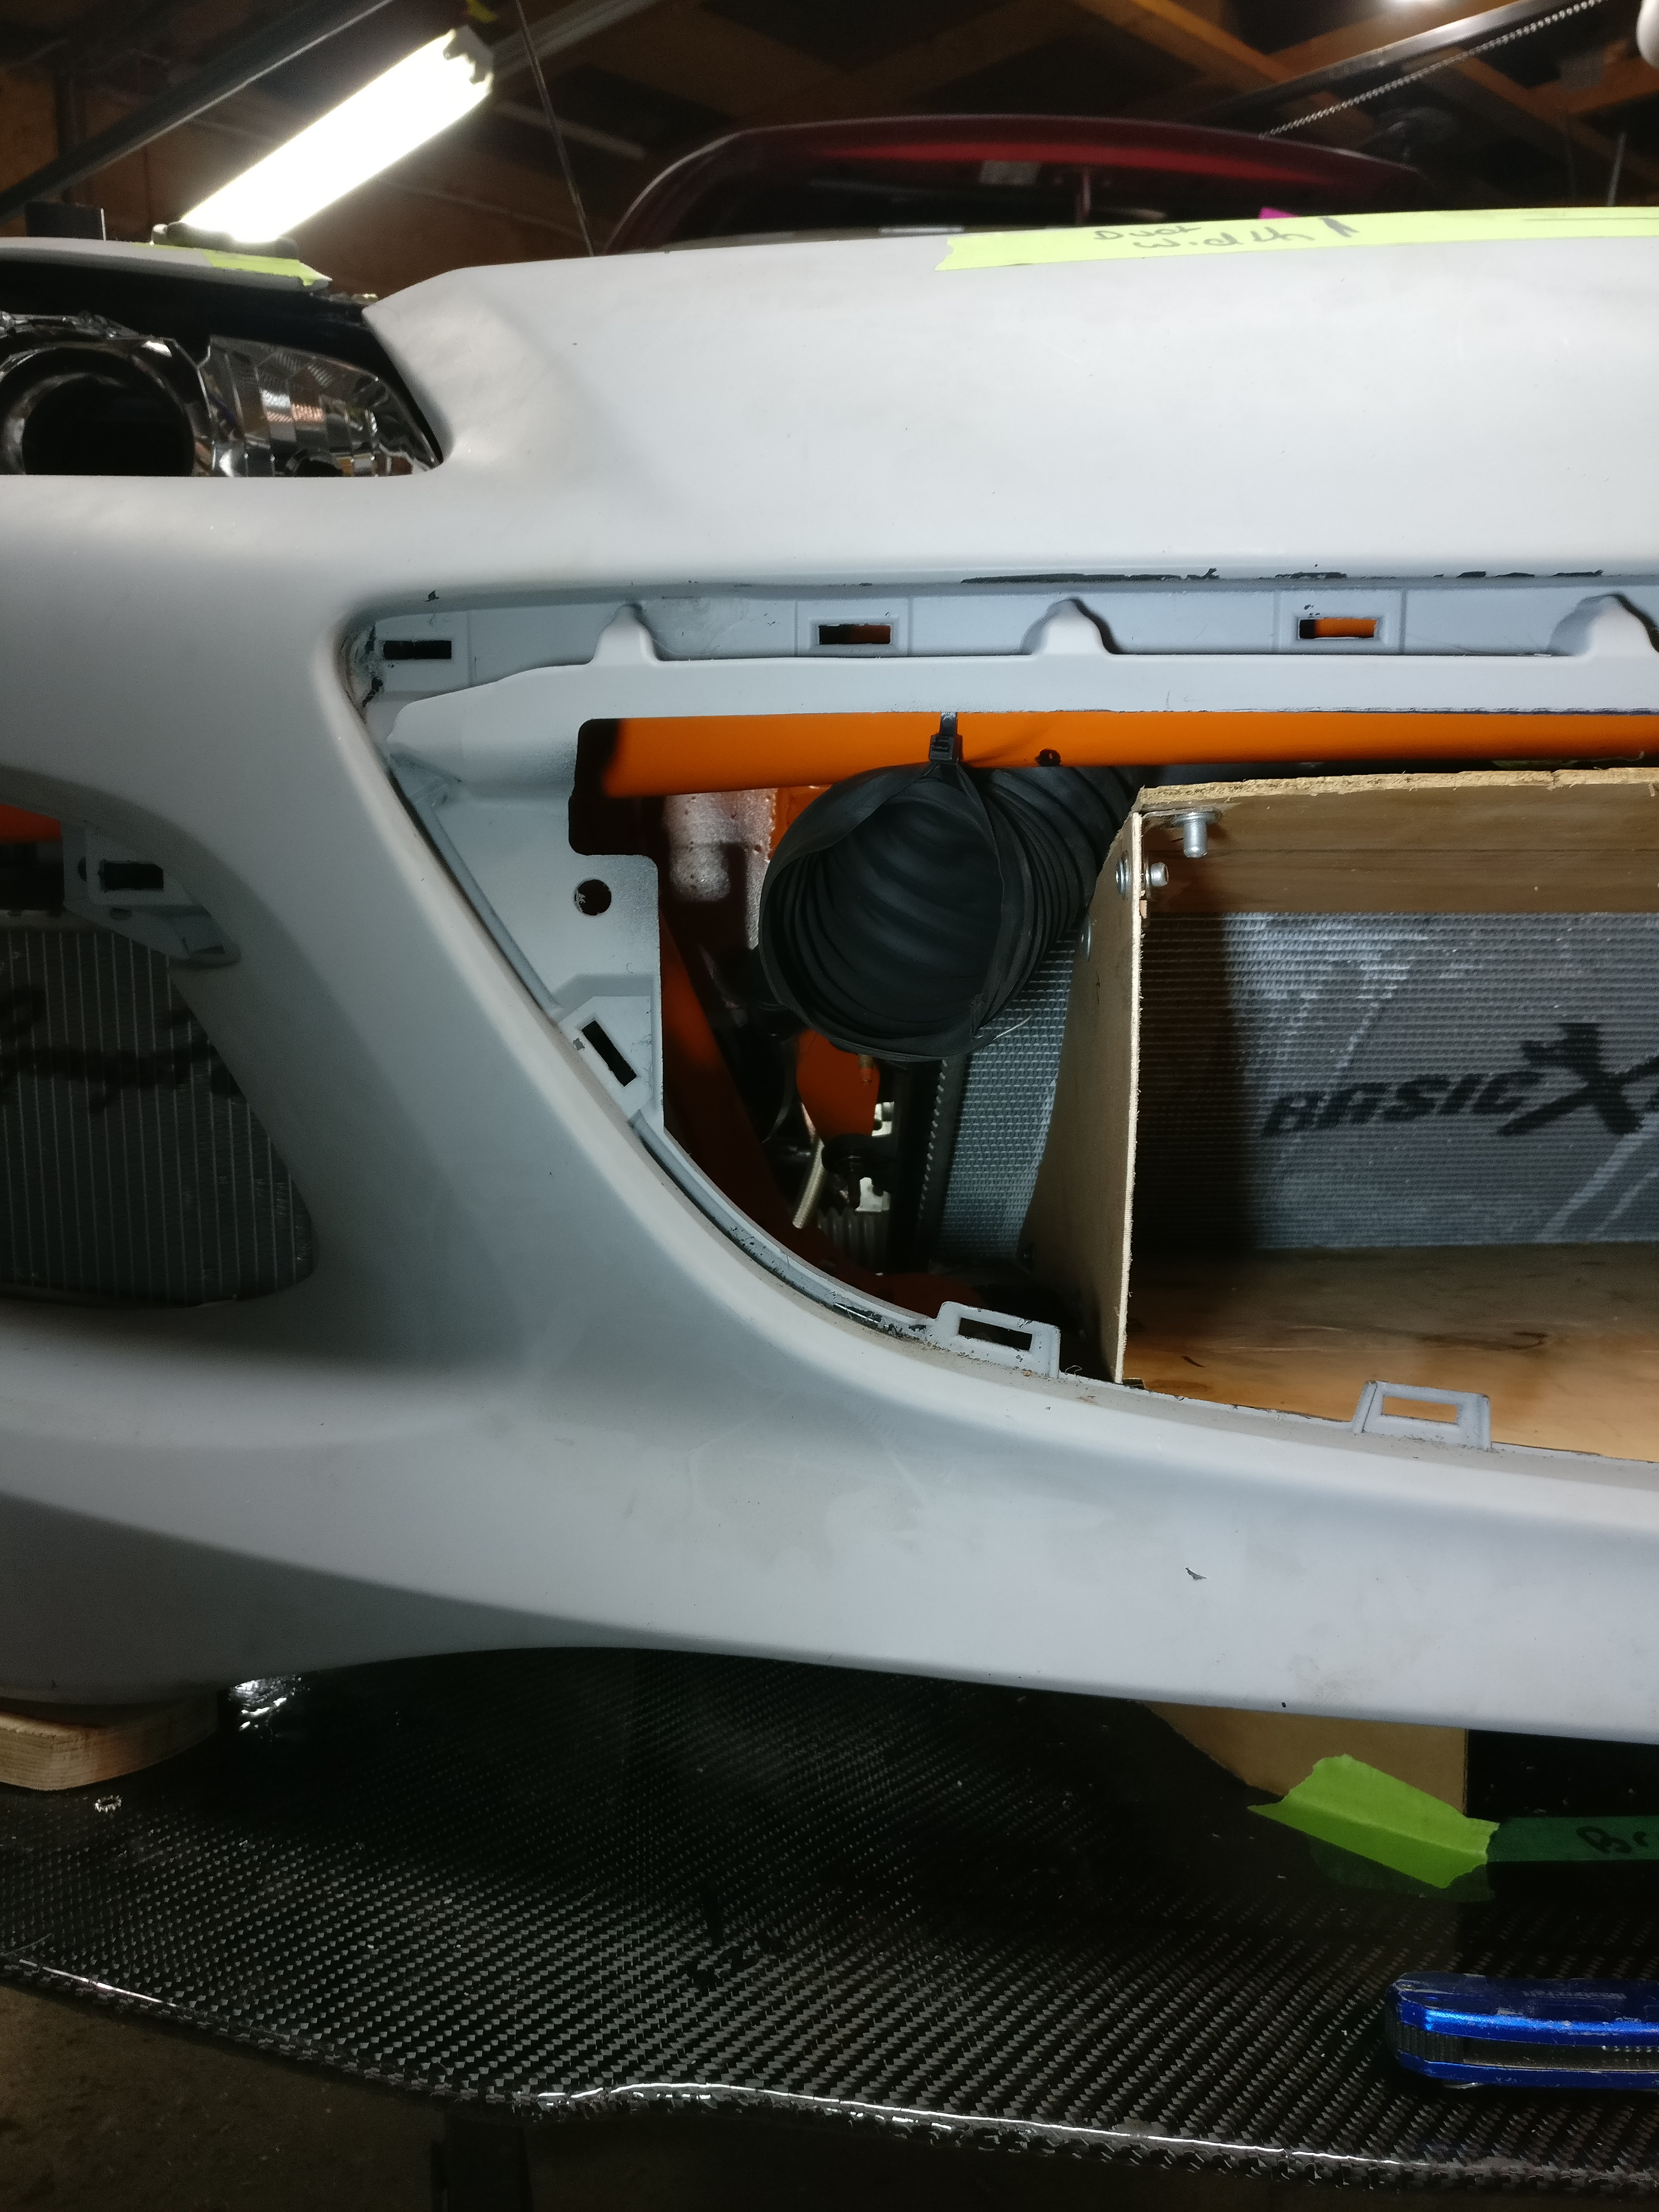
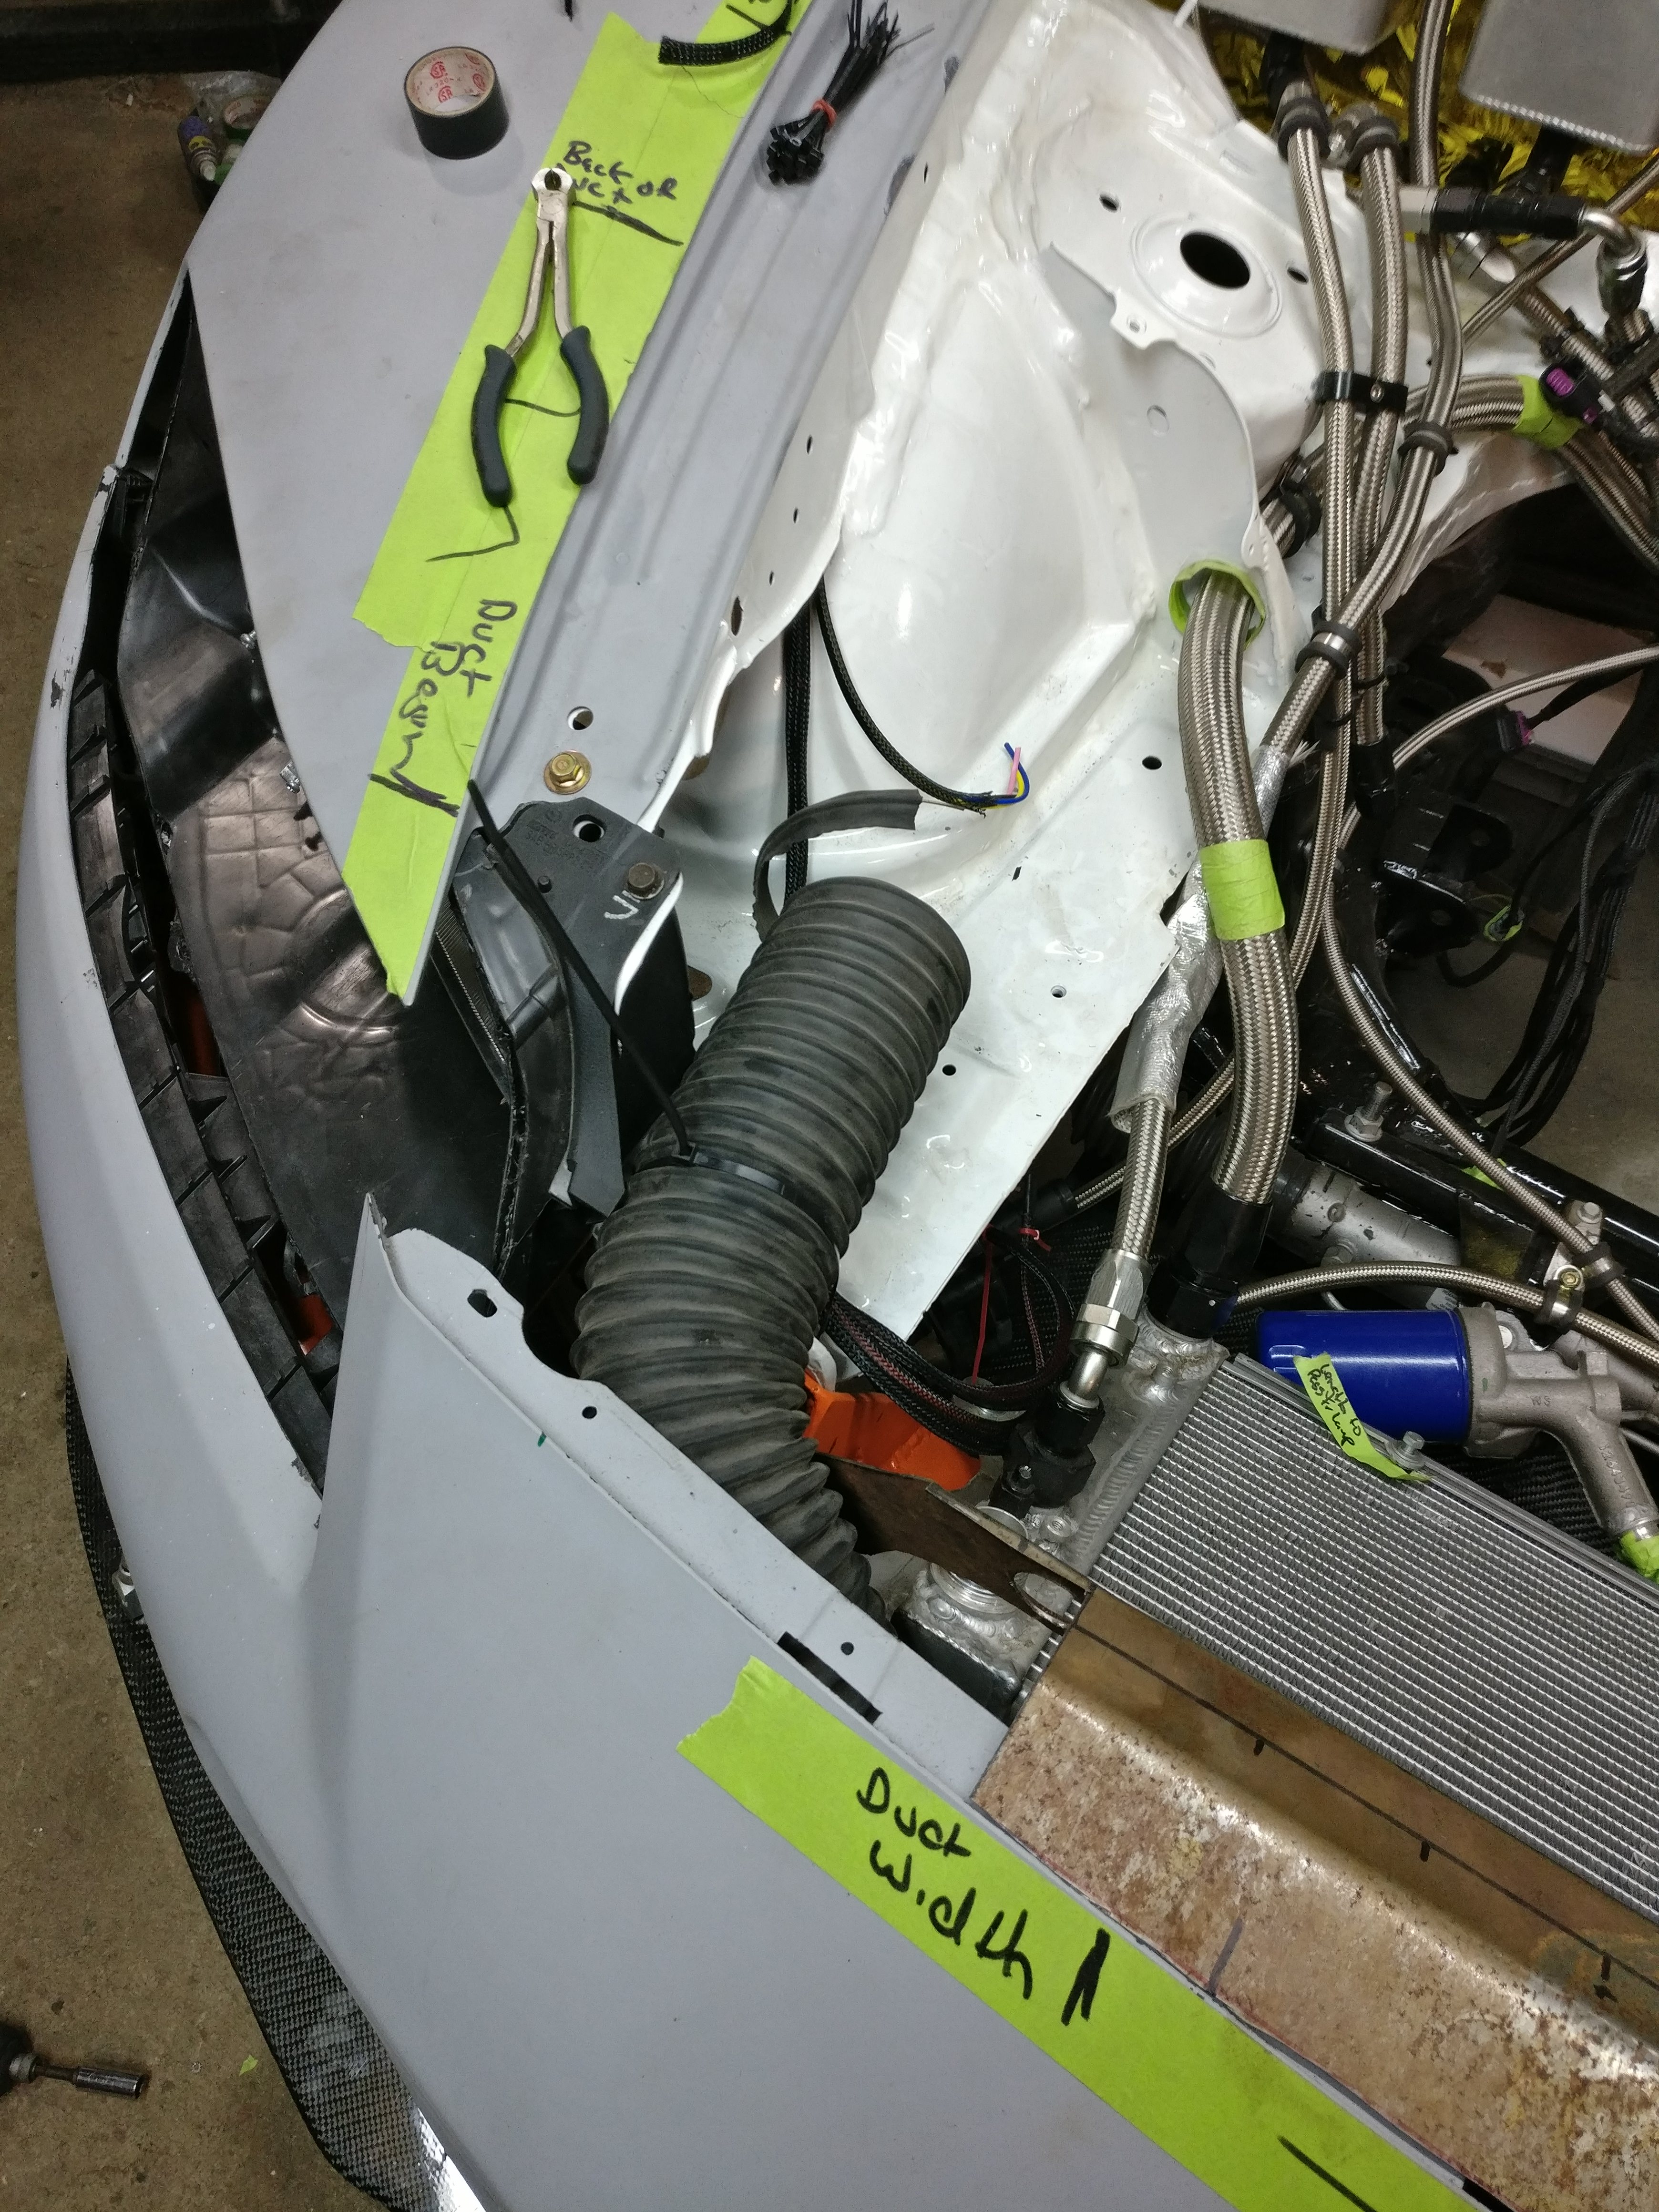
I have been thinking about whether I could create a duct setup that air would enter into from beside the radiator ducting, and funnel air up to the air filters. Quickly threw some brake duct tube I had in to see if it is even plausible. Looks like it may be, but I will leave this for later on and focus on what it needs to run for now.
It is just zip tied in place here to see if it fits.


 11-19-2017, 08:02 PM