DIY: Waterproofing Ballasts
 06-26-2014, 08:10 AM
#1

DIY: Waterproofing Ballasts
Intro
For anyone that has played with HID ballasts, they know one of the most frustrating things is to mount them in a non oem location
while protecting them from the elements. Most if not all ballasts are not waterproof, which means it is very easy to turn your
purchase into a paperweight.
A common thing that is done in engineering to help protect delecate circuitry from the elements is a process called "potting". This can
easily be done with OEM ballasts to ensure that they are protected from exposure to water. Potting is done with something called 'potting compound'
which can be found at circuitry suppliers and other specialty stores.
Requirements
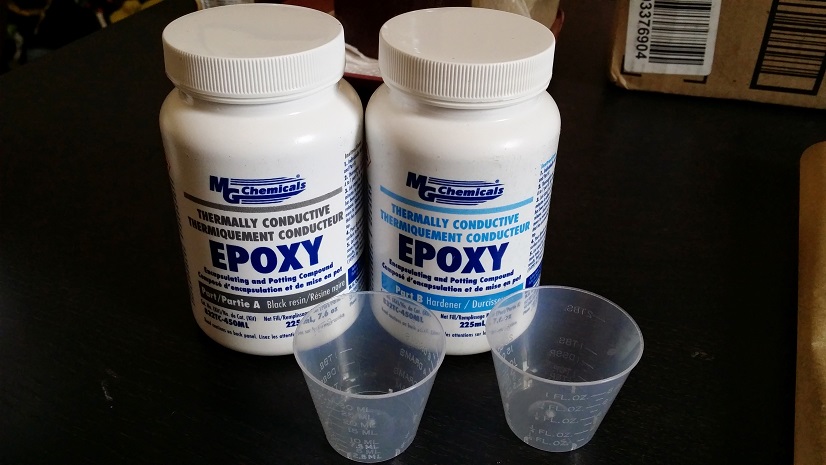
*A Pair of Ballasts (Pictured are OEM Denso Slim Ballasts)
*MG Chemicals Thermally Conductive Epoxy
*Clean Work Area
*Tools to open the ballast of your choice (pictured is a phillips screwdriver)
The Process
Pictured below are the equipment that I will be using in this DIY. These items can be
found listed in the 'Requirements' section
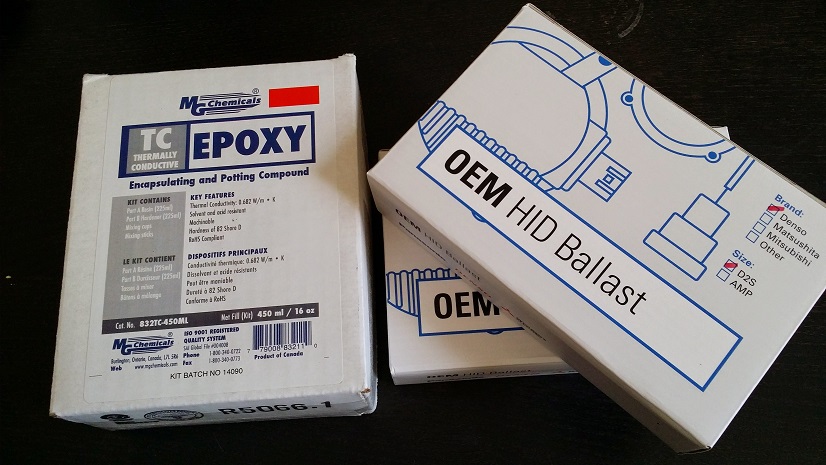
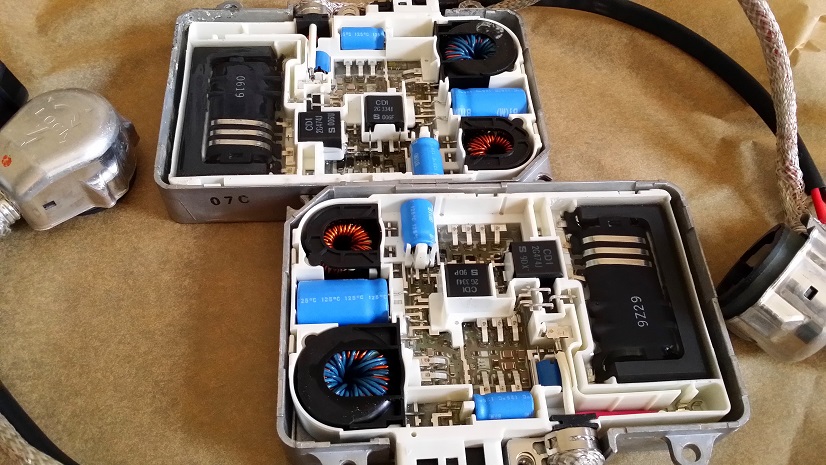
The ballast we are using in this DIY is one of the most common and most reliable ones on
the market, a DENSO Slim Ballast
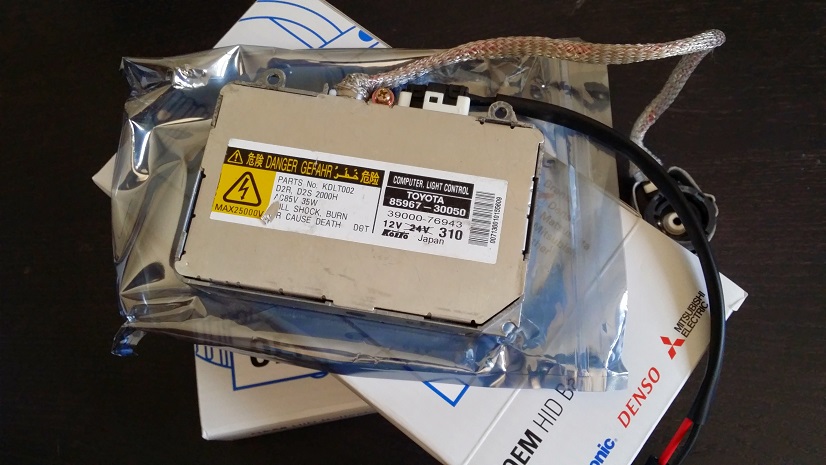
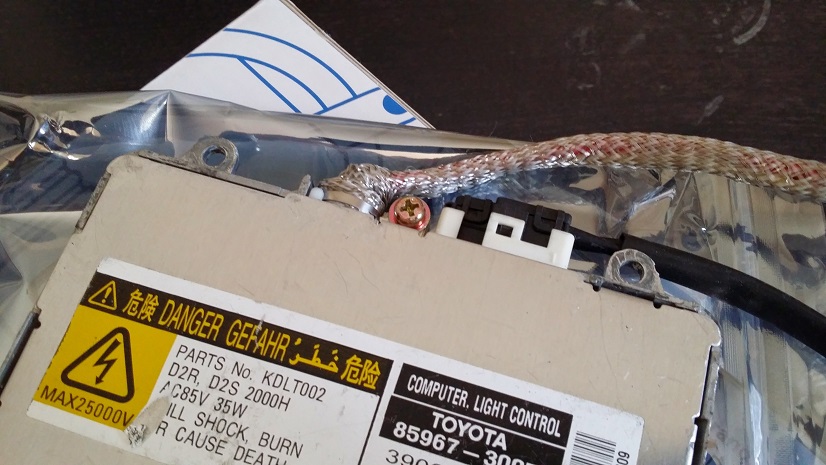
The first thing that we want to do is to open up our ballast by locating the screws that
hold the cover on. In the case of the Denso Slim, there is only one phillips head screw
near the igniter harness.
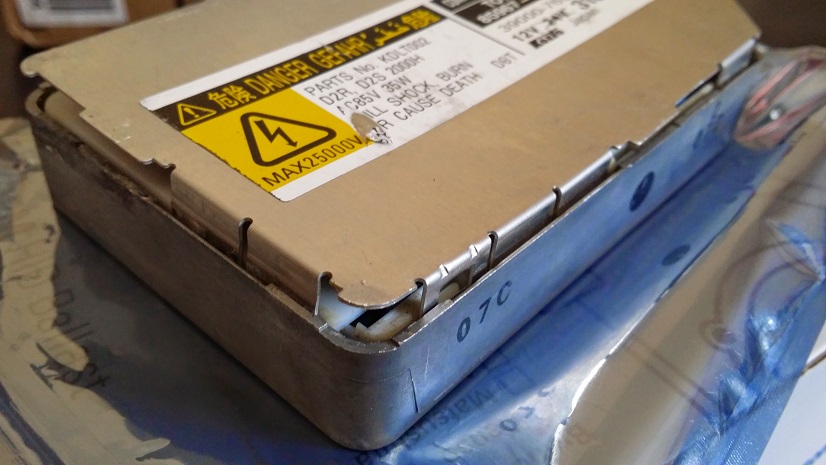
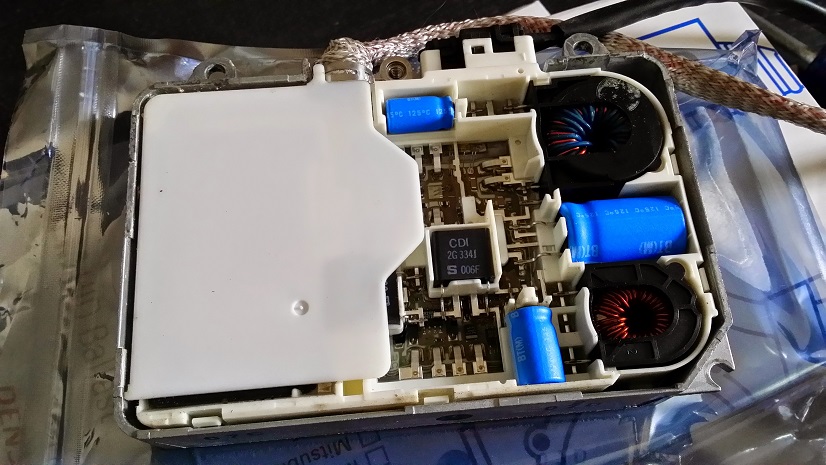
Once the screws that hold the cover on the ballast have been removed, you can start to gently
pry open the cover. In the case of the Denso's, they require a bit of work to remove the cover.
Simply start on the edges with a flat screwdriver or a knife, and gently open the cover.
The Denso ballasts once open, have a plastic cover that protects one of the components from getting
shorted out against the case of the ballast. This can be easily removed by just lifting it off of the
circuit board.
For anyone that has played with HID ballasts, they know one of the most frustrating things is to mount them in a non oem location
while protecting them from the elements. Most if not all ballasts are not waterproof, which means it is very easy to turn your
purchase into a paperweight.
A common thing that is done in engineering to help protect delecate circuitry from the elements is a process called "potting". This can
easily be done with OEM ballasts to ensure that they are protected from exposure to water. Potting is done with something called 'potting compound'
which can be found at circuitry suppliers and other specialty stores.
Requirements
*A Pair of Ballasts (Pictured are OEM Denso Slim Ballasts)
*MG Chemicals Thermally Conductive Epoxy
*Clean Work Area
*Tools to open the ballast of your choice (pictured is a phillips screwdriver)
The Process
Pictured below are the equipment that I will be using in this DIY. These items can be
found listed in the 'Requirements' section
The ballast we are using in this DIY is one of the most common and most reliable ones on
the market, a DENSO Slim Ballast
The first thing that we want to do is to open up our ballast by locating the screws that
hold the cover on. In the case of the Denso Slim, there is only one phillips head screw
near the igniter harness.
Once the screws that hold the cover on the ballast have been removed, you can start to gently
pry open the cover. In the case of the Denso's, they require a bit of work to remove the cover.
Simply start on the edges with a flat screwdriver or a knife, and gently open the cover.
The Denso ballasts once open, have a plastic cover that protects one of the components from getting
shorted out against the case of the ballast. This can be easily removed by just lifting it off of the
circuit board.
 06-26-2014, 08:10 AM
#2
The Denso ballasts already have a compound applied to the circuit to help prevent against corrosion,
but this does not protect against water. It is safe to add the thermal epoxy over the compound.
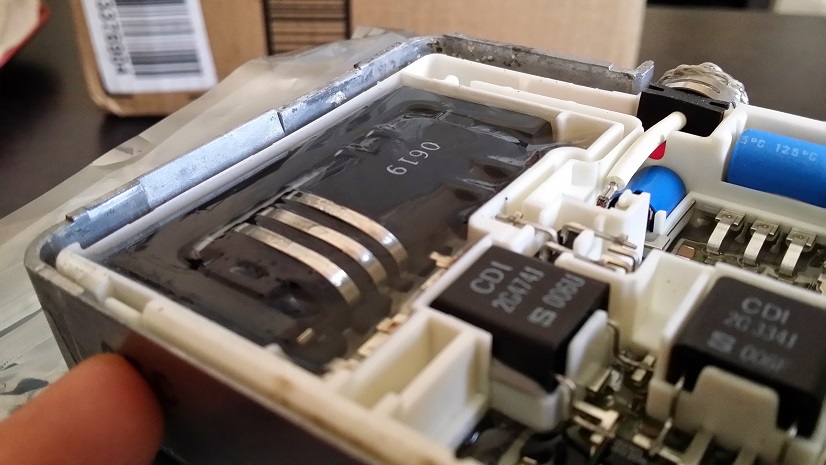
Once both ballasts have been prepared, we then want to place them on a nice clean, level work surface. This will help us keep a clean work area for when we start pouring our thermal epoxy.
Epoxy Prepping
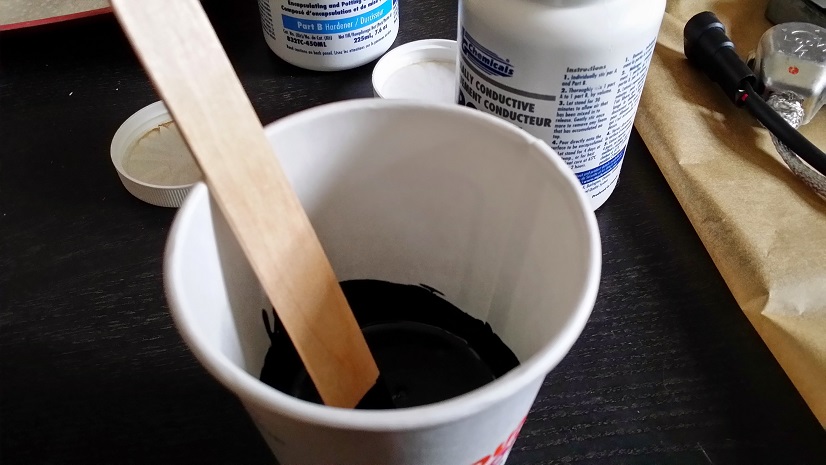
The process for prepping the epoxy is similar to any other compound that has multiple parts. The easy thing in this case is that both the epoxy and the hardener are to be mixed in equal parts. In my case, I was able to use 50mL of total mixed epoxy to coat both ballasts.
Simply mix the two parts of the epoxy in a clean container of your choice. Mix this well, and then set aside for about 15 to 30 minutes so that the air works its way out of the mixture.
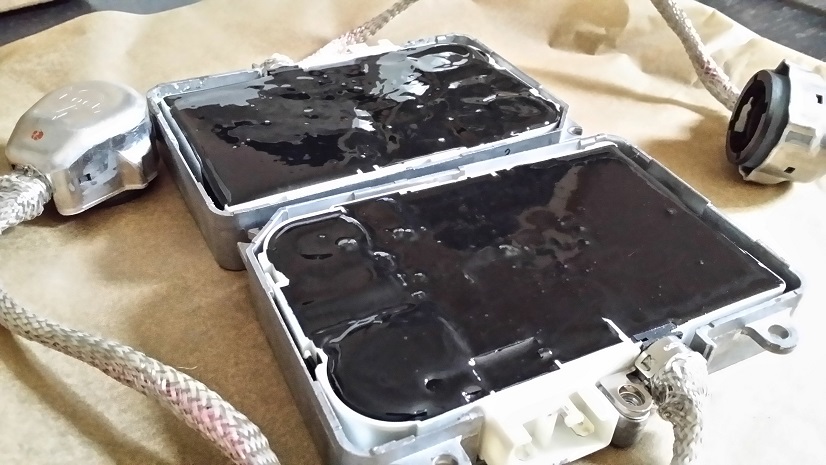
Once fully set, we will want to start slowly pouring the epoxy onto the internals of the ballast, making sure to cover every component. The epoxy should fill the ballast so that it just clears the internal plastic enclosure. This will ensure that you have room to replace the cover.
but this does not protect against water. It is safe to add the thermal epoxy over the compound.
Once both ballasts have been prepared, we then want to place them on a nice clean, level work surface. This will help us keep a clean work area for when we start pouring our thermal epoxy.
Epoxy Prepping
The process for prepping the epoxy is similar to any other compound that has multiple parts. The easy thing in this case is that both the epoxy and the hardener are to be mixed in equal parts. In my case, I was able to use 50mL of total mixed epoxy to coat both ballasts.
Simply mix the two parts of the epoxy in a clean container of your choice. Mix this well, and then set aside for about 15 to 30 minutes so that the air works its way out of the mixture.
Once fully set, we will want to start slowly pouring the epoxy onto the internals of the ballast, making sure to cover every component. The epoxy should fill the ballast so that it just clears the internal plastic enclosure. This will ensure that you have room to replace the cover.
Last edited by paimon.soror; 06-26-2014 at 08:12 AM.
06-26-2014, 08:10 AM
#3
The instructions state that you want the compound to cure for a few days, however, you can accelerate the process by placing it in the oven at 130F for two hours, or 170F for one hour.
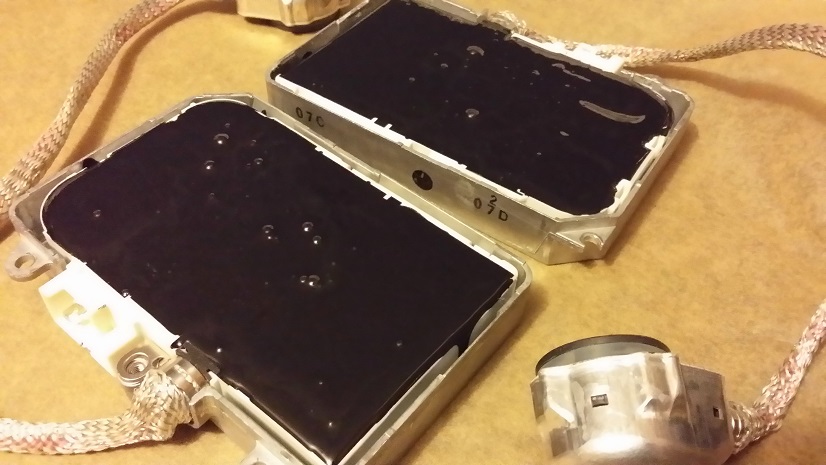
Once you are done, you can carefully reseal the ballast, and you can now move forward with a sense of comfort knowing that your ballasts are protected from any brief encounter with water.
Once you are done, you can carefully reseal the ballast, and you can now move forward with a sense of comfort knowing that your ballasts are protected from any brief encounter with water.
Last edited by paimon.soror; 06-26-2014 at 08:13 AM.
06-26-2014, 03:02 PM
#4
Registered

Absolutely loved this write-up! Extremely clear and concise!
I guess when pouring the epoxy onto the internal components, the speed at which I am pouring should allow me to react quickly enough when I see that the epoxy has covered the component and has risen just above the components, right? I shouldn't accidentally cause the epoxy to overflow out of the case, right?
I guess when pouring the epoxy onto the internal components, the speed at which I am pouring should allow me to react quickly enough when I see that the epoxy has covered the component and has risen just above the components, right? I shouldn't accidentally cause the epoxy to overflow out of the case, right?


Thread
Thread Starter
Forum
Replies
Last Post