When you click on links to various merchants on this site and make a purchase, this can result in this site earning a commission. Affiliate programs and affiliations include, but are not limited to, the eBay Partner Network.
I read up on here that you need to install longer exhaust hangers to prevent the tips from burning the plastic. They are Correct! I was to impatient to order the ones recommended so I went to my local Autozone, Advanced Auto and O'reilly's to see what I can get locally.
I used ramps to get the rear end up in the air. I'm sure you could use jack stands too, use what you have. There are 5 rubber hangers and 2 nuts and a ground wire holding the stock cat back system on. You do not need to separate the muffler from the connecting pipe between the cat and the muffler.
2 on the passenger side
2 on the driver side
1 above the connecting pipe
Lube all 5 of them generously with WD 40 or something similar and let sit for 5 to 10 mins. While you are waiting you can locate the 2 bolts you need to remove.
DO NOT WASTE YOUR TIME REMOVING THESE!
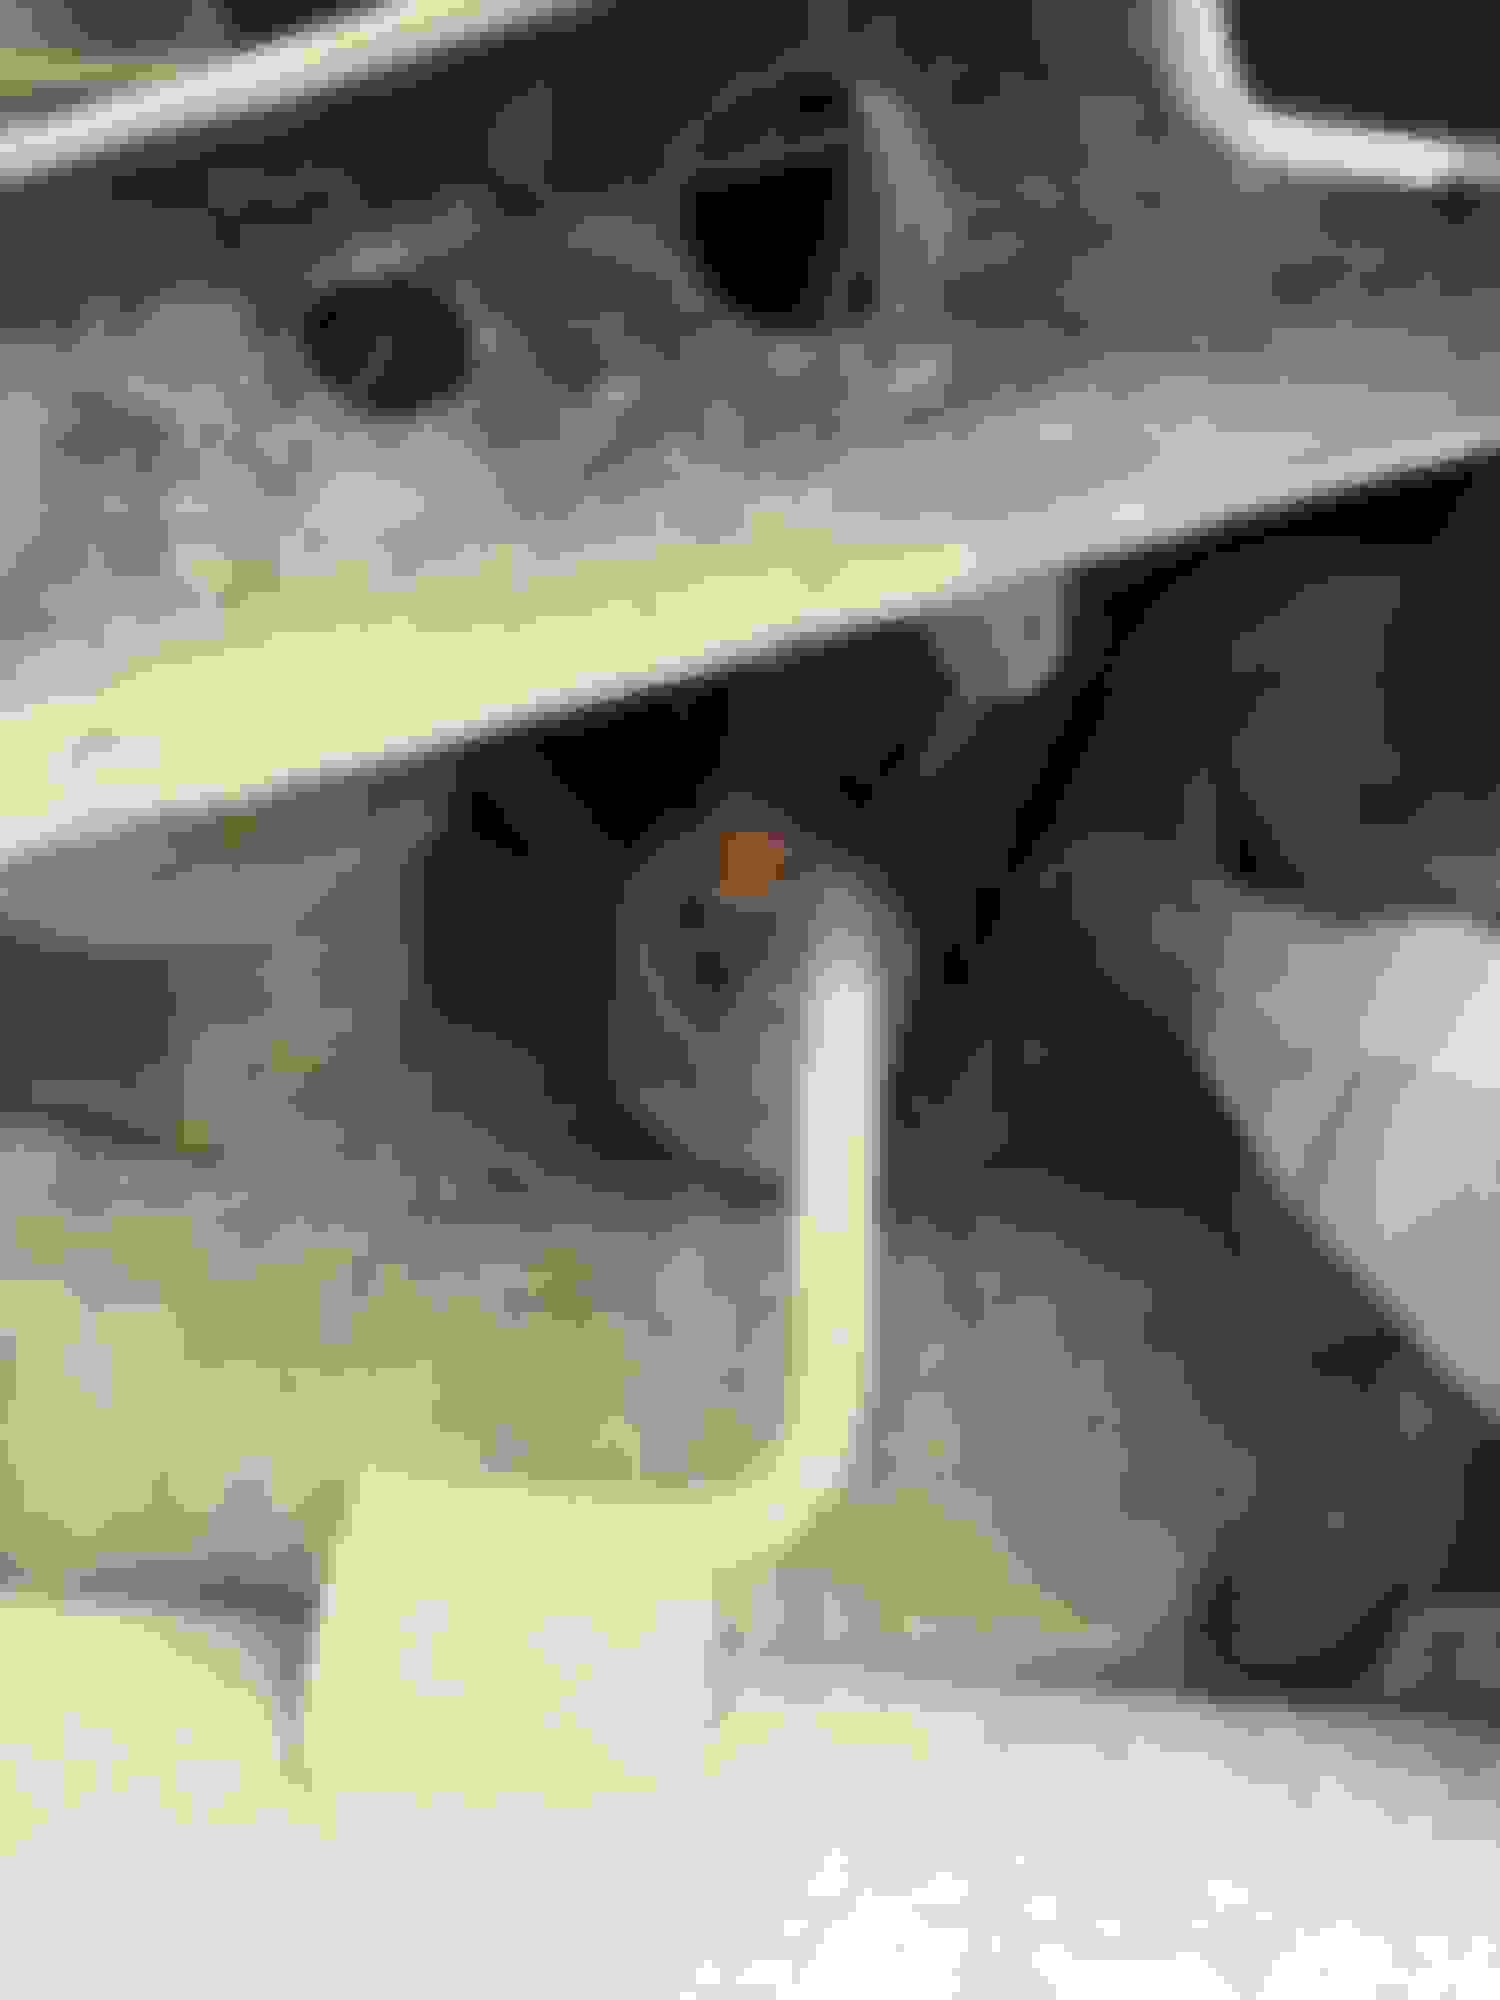
This is what your looking for. 2 bolts with springs behind them.
I removed the bolts and springs first and then worked on removing the exhaust from the rubber hangers. It is a little annoying but they will all come off and your exhaust will fall to the floor. Don't forger the ground wire! remove that before you remove the hangers.
Prep for install: (first time learning as i go) 1 hour.
The First problem you will come across is the flange on the new system will not clear the humps on the 2 bolt ends coming off the cat. the second is the supplied springs OR the stock springs will need to be cut to fit.
*There may be a better/correct way but this is what i did*
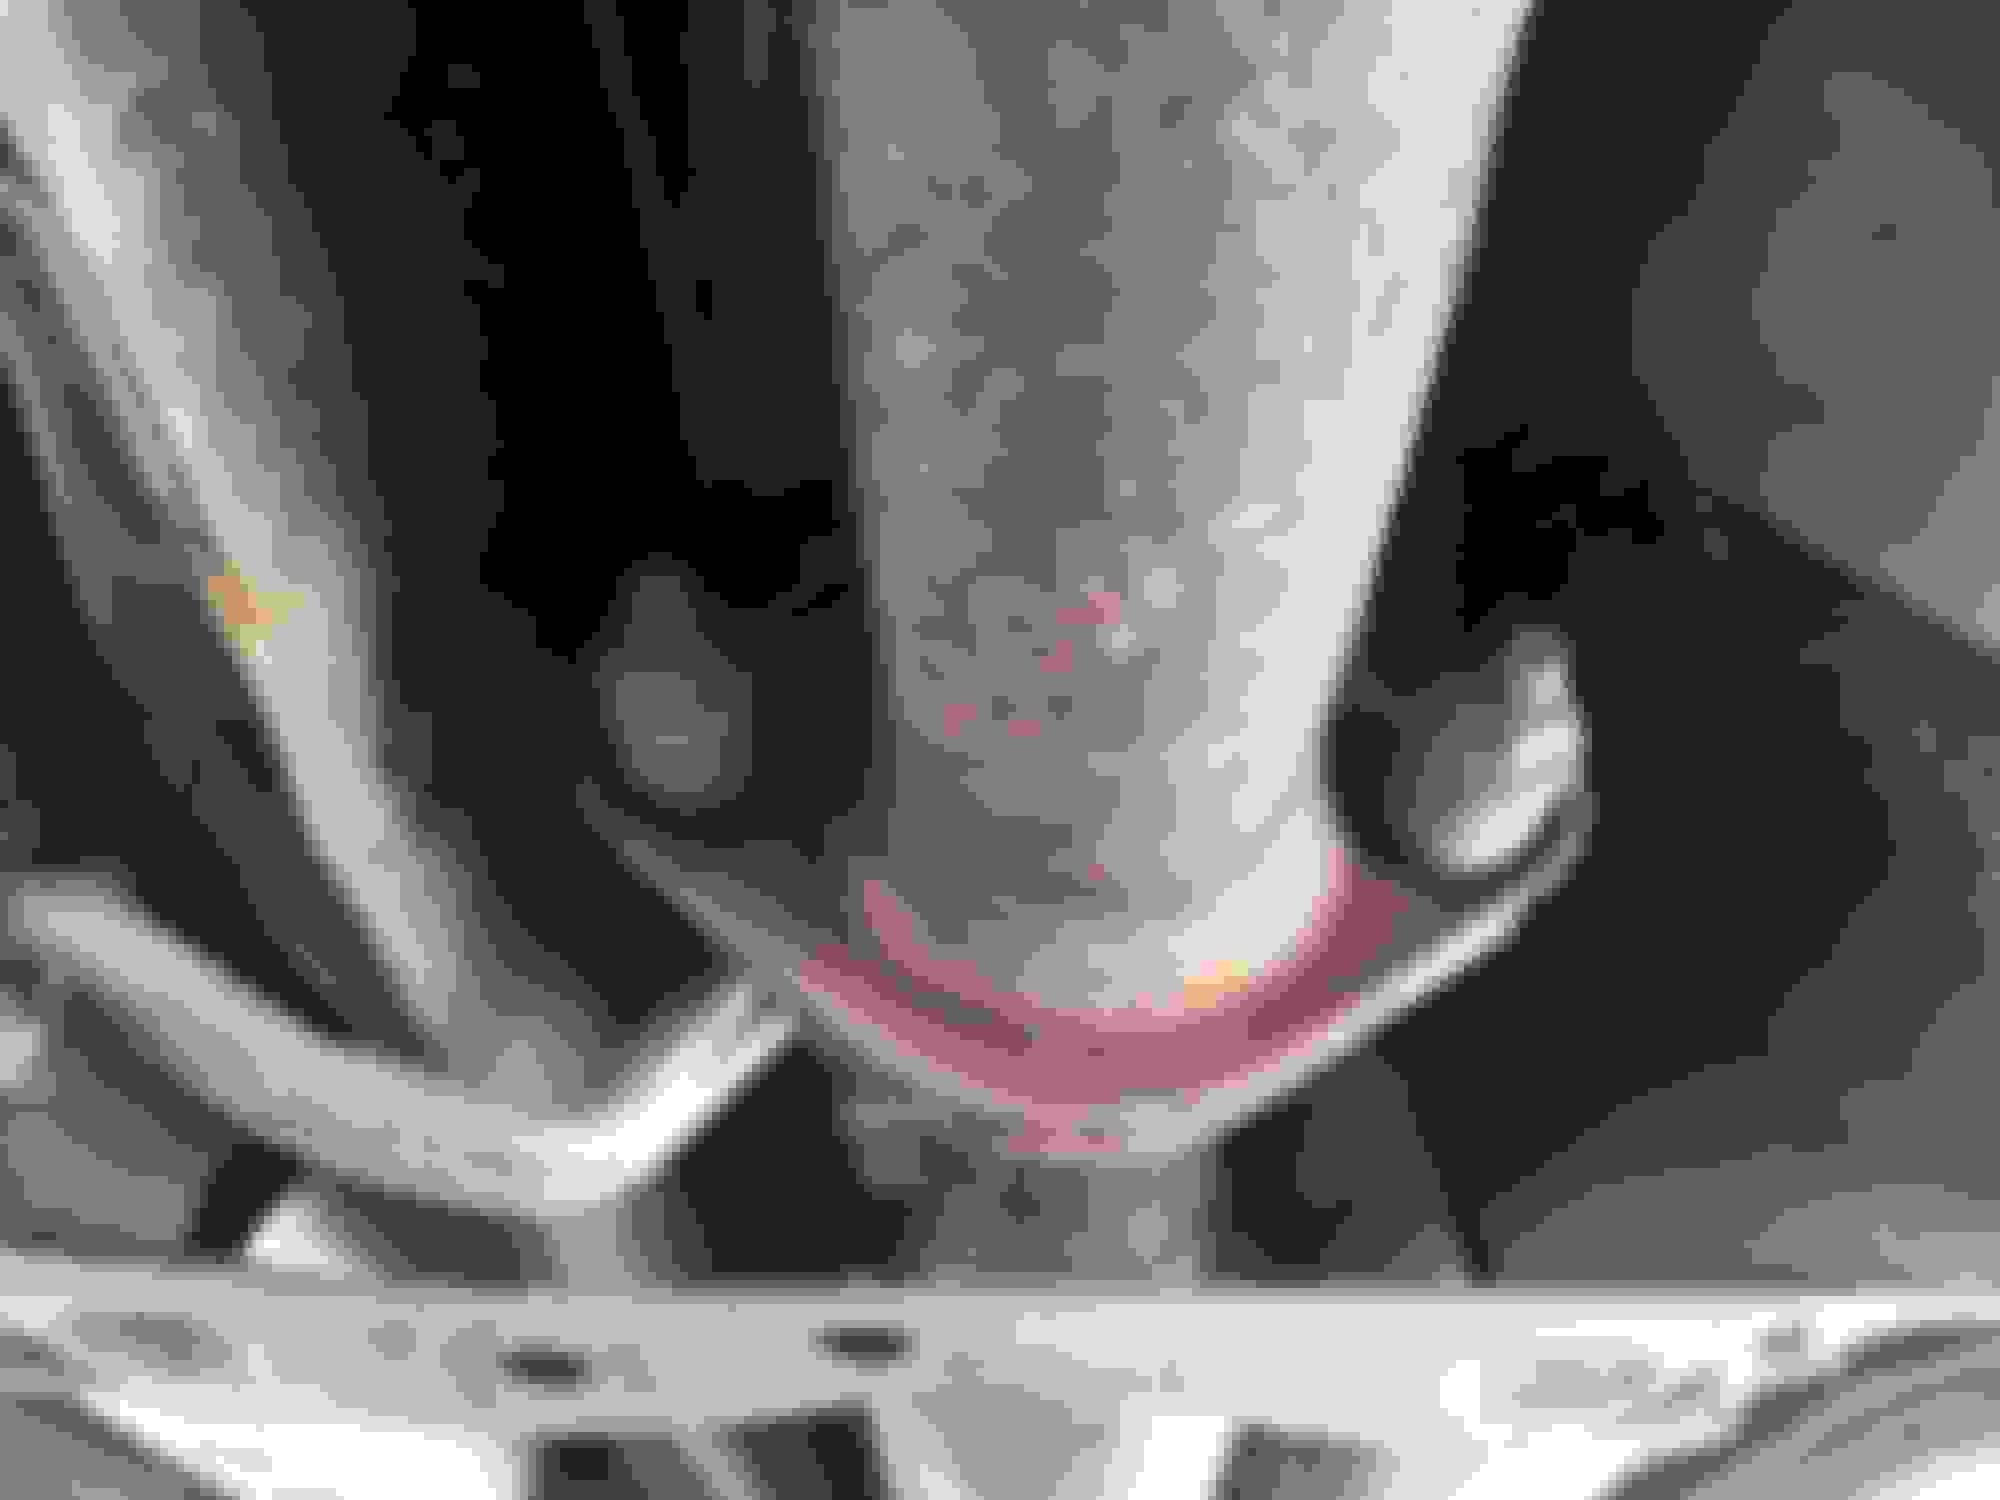
Locate the 2 bolts coming off the cat flange.
Grind down the bottom of the hump next to the threads. Do not grind the threads! you only need to take off about a 1/8 of a inch to make your new flange fit. I took off a little at a time and tested it until it fit over the humps.
Once the new flange fits over the humps you will need to cut the springs. i used the stock springs and cut one layer off at a time to see what works best test fitting each time. I ended up cutting off 3 rings witch in the end was basically cutting it in half. If you have a way to cut one in half without distroying the surrounding rings, go for it. I was using a 4in cutting wheel so i cut 3 rings off both stock springs.
Once you can get the springs on with the bolts behind them and it threads, your ready for install.
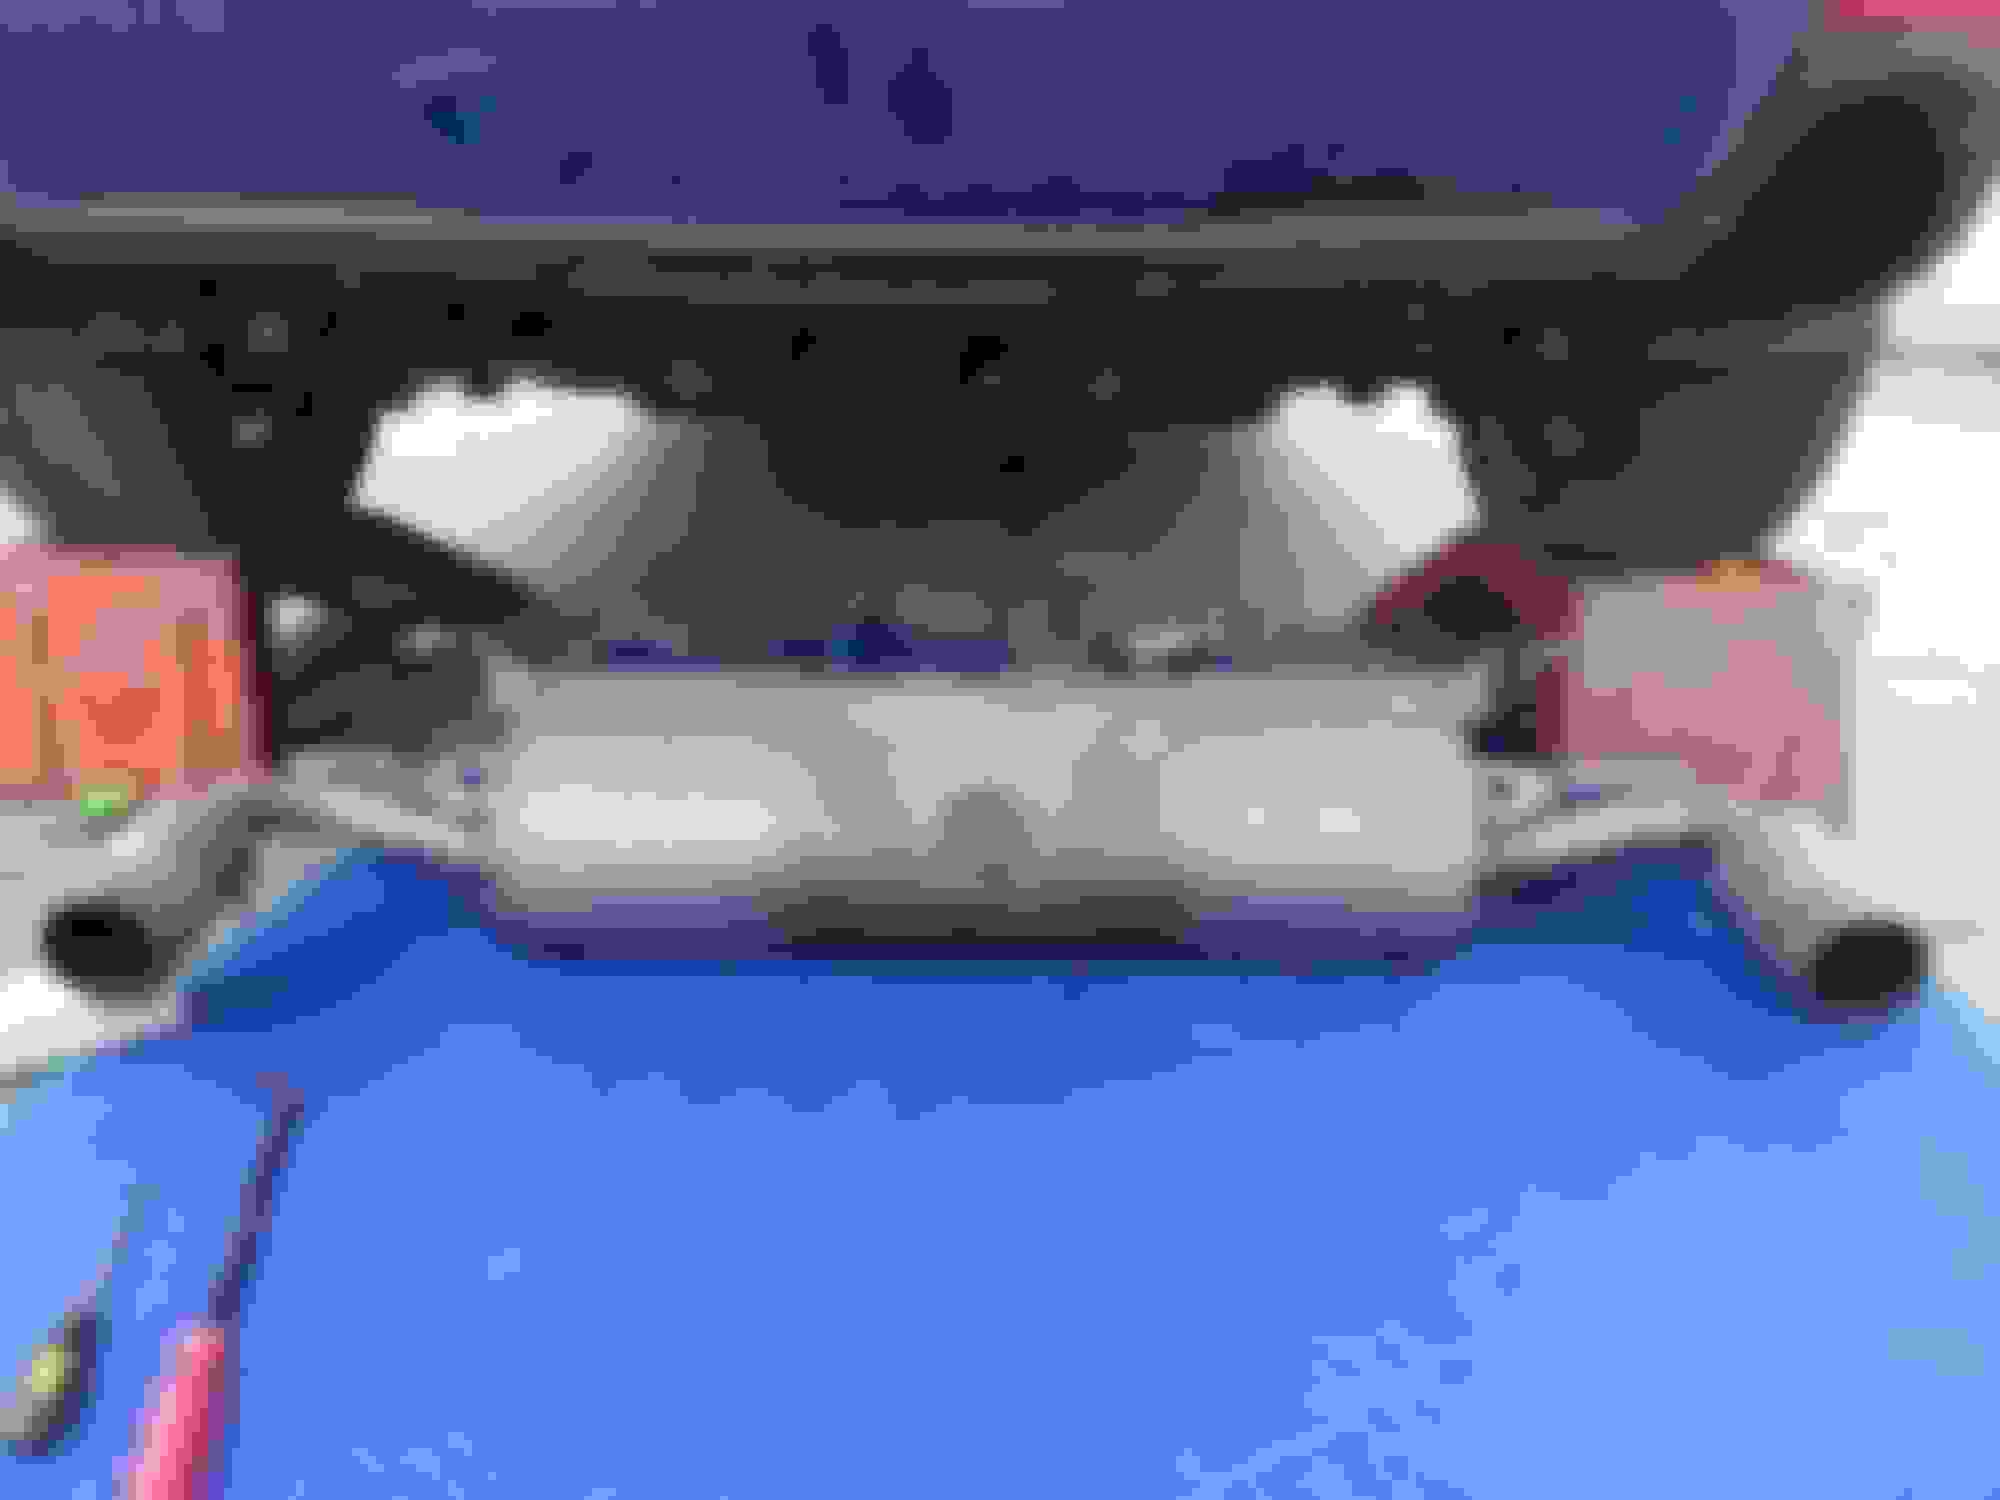
Install New Catback: Time 1 hour
Be sure to use the new exhaust gasket when installing your new system.
Install your 4 new 4in walker hangers on muffler section of the new system. Do not connect the connecting pipe yet. Once you have the mufflers hanging on the car install the connecting pipe to your cat. I did not use or replace the hanger for the connecting pipe.
Once you have the new gasket, springs and bolts tight use the provided hardware to connect the mufflers to the connecting pipe. Make sure everything is tight!
NOTES:
After install i checked to see if there was any clearance issues. The pasanger side tip was very close to the plastic and the driver side was about a 1/8 in away. I did a test run around the block with some warm up rev time in the drive way. I noticed the plactic on the passanger side was just about to melt so i turned off the car and let everything cool down. I changed the hangers to 2 each on the 2 back hangers near the tips and nothing on other 2. the weight of the exhaust brought the system down about another 1/8 of a inch and gave enough room to not melt the plastic.
I've been driving with this setup for almost 2 weeks now. I love the sound, the doubled up hangers keep the exhaust in place and it was all done solo in 3 hours.
I hope this helps anyone looking to do this install on their S2.
Moved this for you, very nice work. The only other issue you are going to run into is that the tips wont be properly aligned but that's just a caveat of trying to adapt some S1 systems to an S2.
Moved this for you, very nice work. The only other issue you are going to run into is that the tips wont be properly aligned but that's just a caveat of trying to adapt some S1 systems to an S2.
Yes, the tips are a little off but not really noticeable. I'm working on playing with the exhaust hangers and the connection between the mufflers and the connecting pipe to correct this.
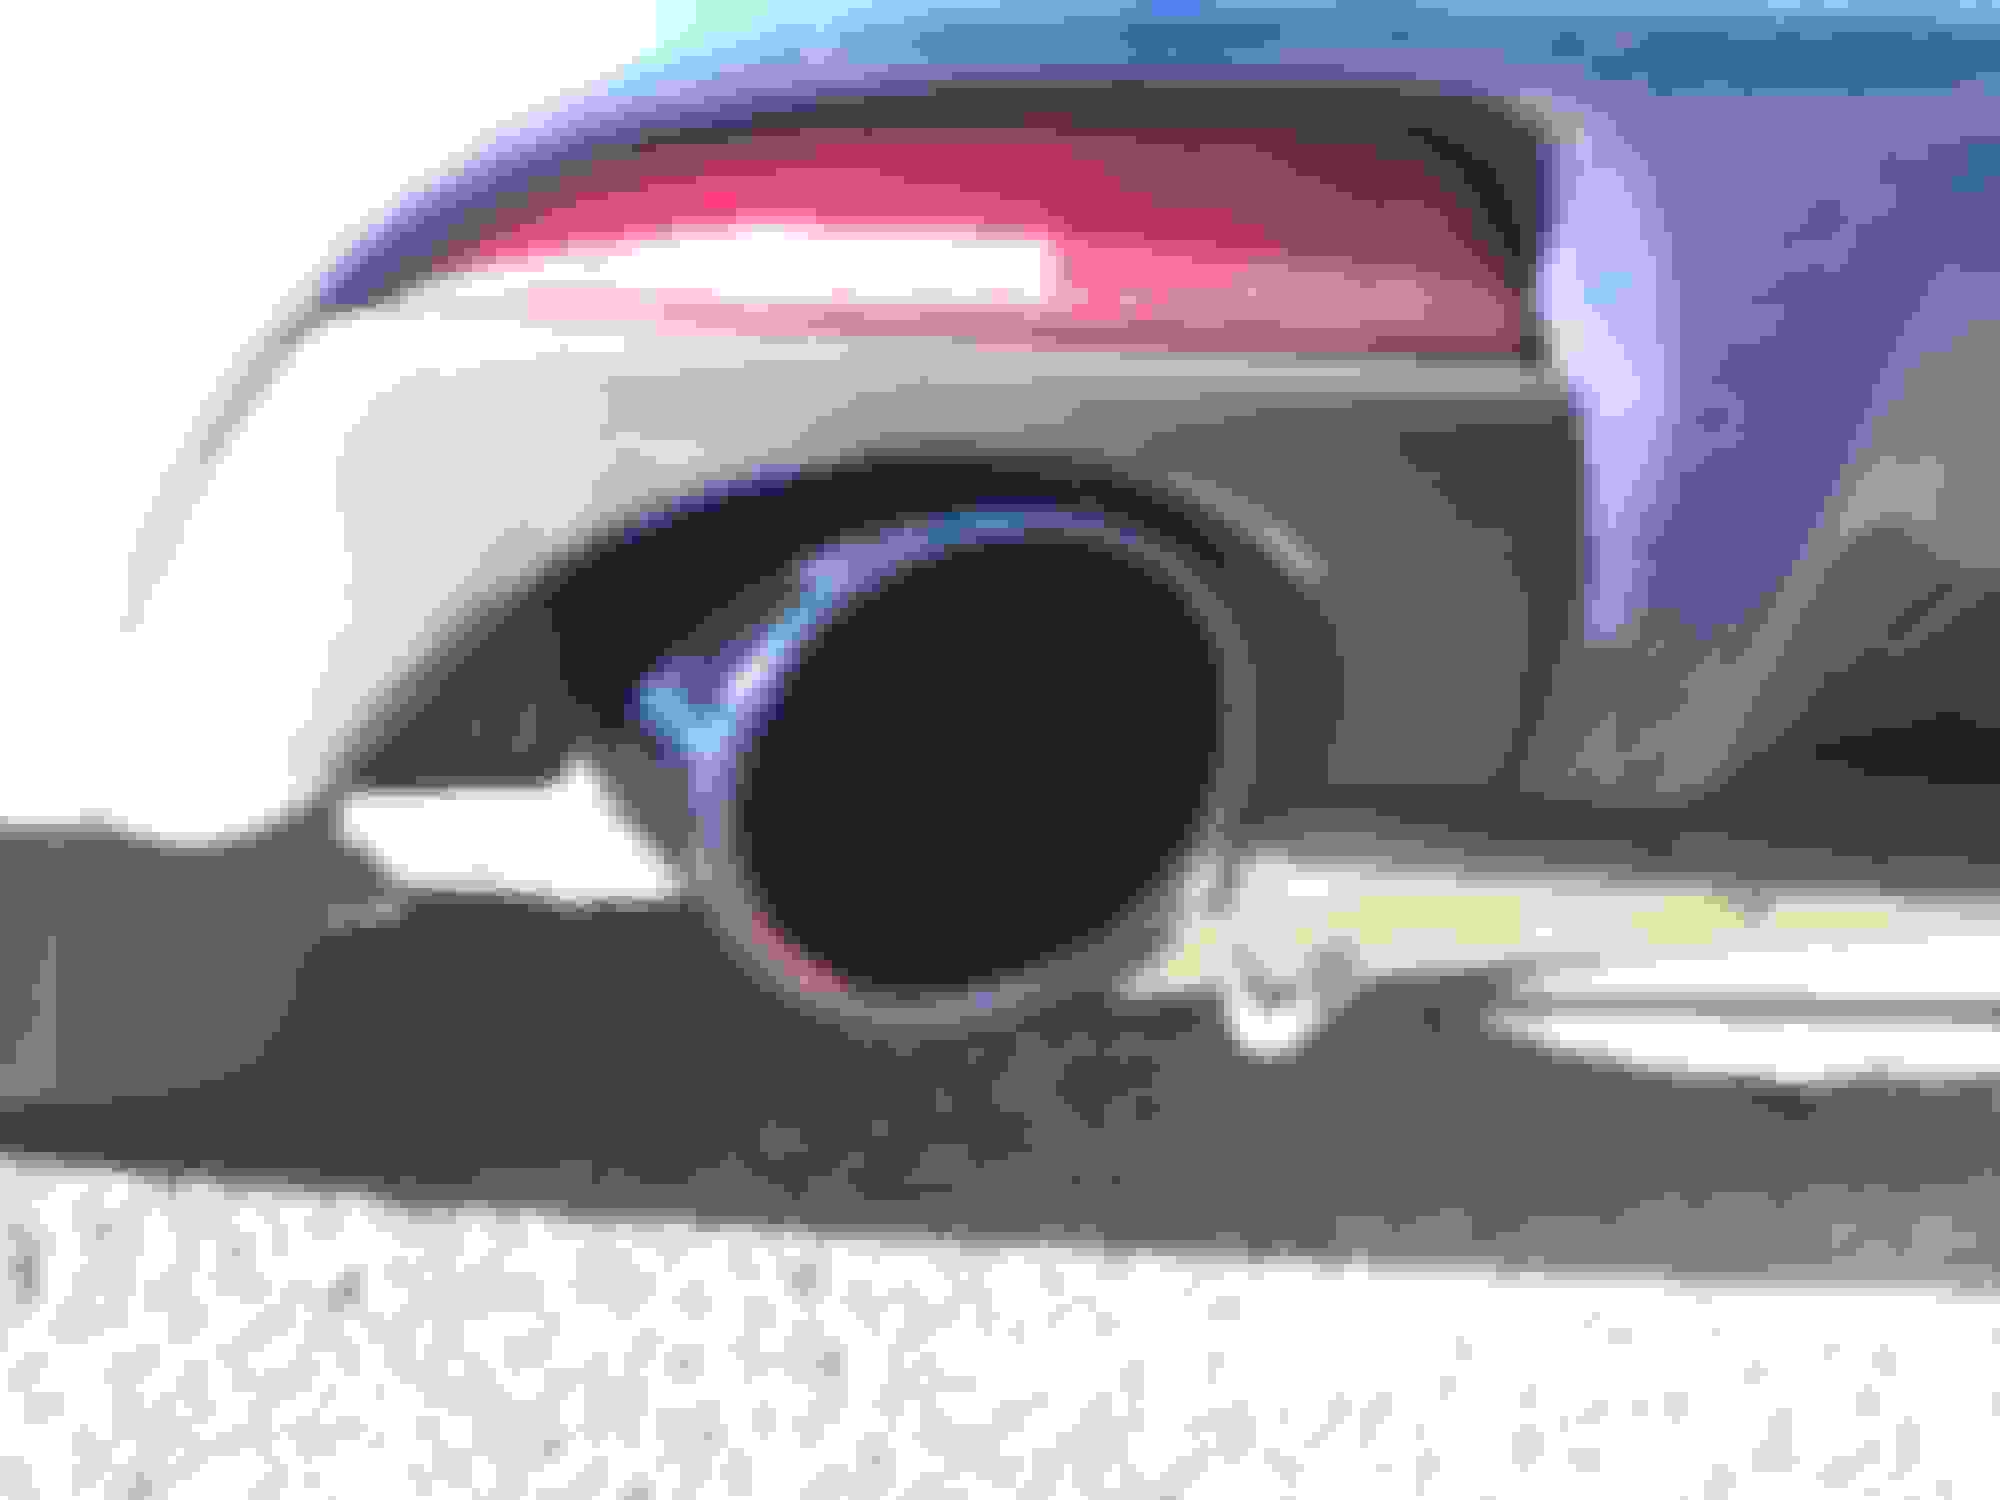
Driver side, about 3/8 of a inch clearance.
Passenger side is about 1/2 a inch clearance. I did notice that the bottom of the bumper is very flexible. it might be possible to adjust this a little. (work in progress)
Camera angle is slightly different making the gap look bigger then it is on the right.
The length on each side is the same. Neither side sticks out further then the other.
I think that with a little work with the exhaust hangers this could be a perfect fit. More testing to be done.
Couple of things to add. You can just buy shorter springs and studs from Autozone, Adavance, Etc. for a few bucks rather than cut and grind. Also, you can buy adjustable exhaust hangers.
Couple of things to add. You can just buy shorter springs and studs from Autozone, Adavance, Etc. for a few bucks rather than cut and grind. Also, you can buy adjustable exhaust hangers.
Thanks. I figured as much that you could buy springs to fit. Going to the store is hard when your cars in pieces and on ramps tho. (yes I have a second vehicle however its in the shop getting a new transmission) Save the $$$ and cut them was my thought.
The studs however, I could not remove them so that's why I took some material off to get the flange to clear the humps on the OE ones. It looked as though the bolts were welded on the other side.
And the second one was impossible to reach even if it wasn't.
I did try everything i could think of to remove the studs (PB blaster, heat, socket, vice grips, closed end) but they would't budge. The kit came with what looked to be replacement studs/screws but again, could not get the stock studs out.
As for the hangers, I did go to the 3 stores mentioned and there was VERY little to choose from. I even had to go to 2 different ones to get the 4 I needed. The one you have pictured looks to be ideal but I wanted to see if this could be done using local available parts instead of ordering something.
Do you have a Autozone/Advanced part number for the hanger pictured?
Well, the studs just screw in , the nut is welded. But you could have just removed the cat, it is much easier to work on if it is rusted with it on a bench.
I totally agree. I was a little pressed for time as I needed my car the next morning and my patience got the best of me. Maybe the next person attempting this install will learn from my mistakes. After all, isn't that the point of these DIY threads..
Oh and as for a workbench, mine is kinda out of order at this time. I'm redoing my garage and EVERYTHING and them some is piled on my work area. Can you even see my vice? lol
how's yours holding up after 1.5 years on the road? I just installed one on my car. I used 3 MHB003-GD hangars, one each for the 2 most rear locations, and one for the connecting pipe. I ran into the same problems with needing to cut around the cat bolts to get parts to fit except the springs. I used a really big nut for each one temporarily while I look for good-sized springs or cut the original down.
AV8R, I installed mine last year and the only issue I had was the 2 rear hangars ripped out as the muffler wall skin is very thin. I think they stressed out when I bottomed out on a driveway. I had my buddy weld them back on, only took a few minutes each. Other than that, still looks like new. I think I have about 10K miles on mine.
thanks for the update, good to hear. I put mine back on the lift today to replace my temporary fix of using nuts back to springs. I dremel'd the OEM springs almost in half. I also replaced the ground strap with a longer one since the OEM was not long enough. The last thing I noticed was a rattling noise as I slowly drove over some speed bumps: I found the plug on the connector pipe loosened although I ensured it was fully seated a few days ago when I installed. I put sealing tape so it wouldn't rattle itself loose again. Not worried about the high temps; if anything it'll melt and burn a little, but not too concerning.
I didn�t notice anyone mention the ground wire at the back ds of the exhaust, I broke the bolt for it when i was removing the rusty factory pipes, and when i got a replacement one, it seems that the threading on the new one is slightly smaller as i couln�t thread in the ground bolt and wire, anyone know what size exactly? Or did yall just not rehook up the ground wire?
Last edited by Justin Crossland; 07-14-2018 at 08:48 PM.
from what I recall the OEM grounding wire wasn't long enough so I bought one from Autozone. It's a bit longer than needed, but they only had one length.
 04-14-2015, 09:38 AM


 but that's just a caveat of trying to adapt some S1 systems to an S2.