2009 RX8 R3 FACE/OFF - Painted Headlight Housings!
 05-30-2009, 07:23 PM
#1
Banned
Thread Starter

Join Date: May 2009
Posts: 44
Likes: 0
Received 0 Likes
on
0 Posts
2009 RX8 R3 FACE/OFF - Painted Headlight Housings!
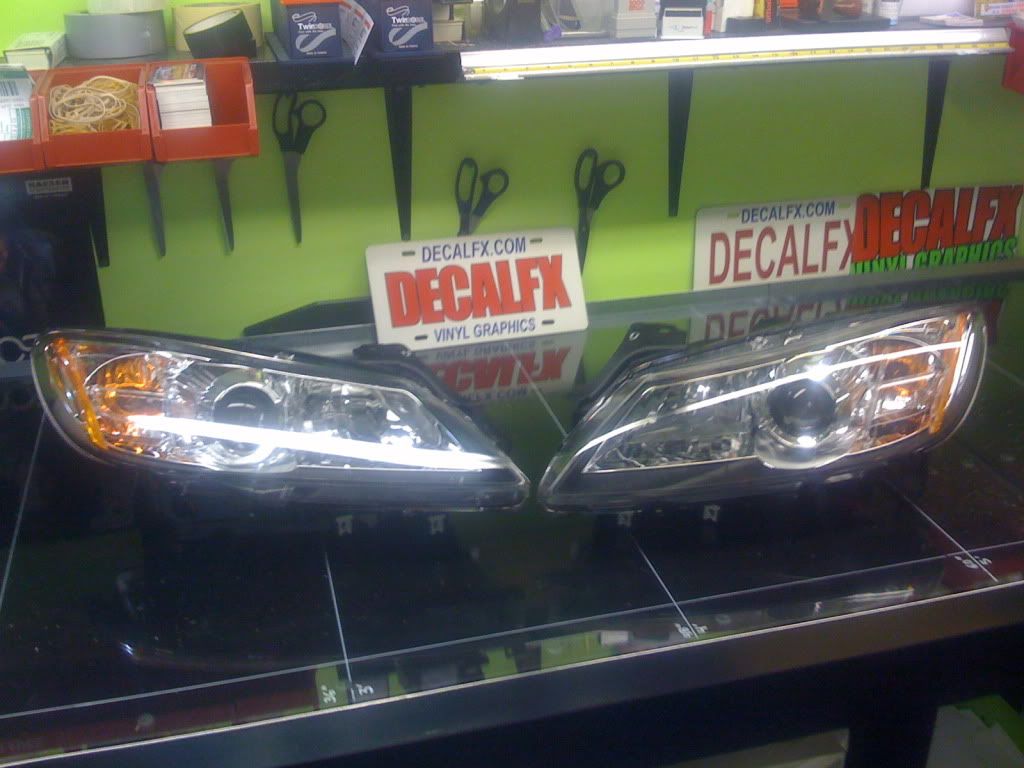
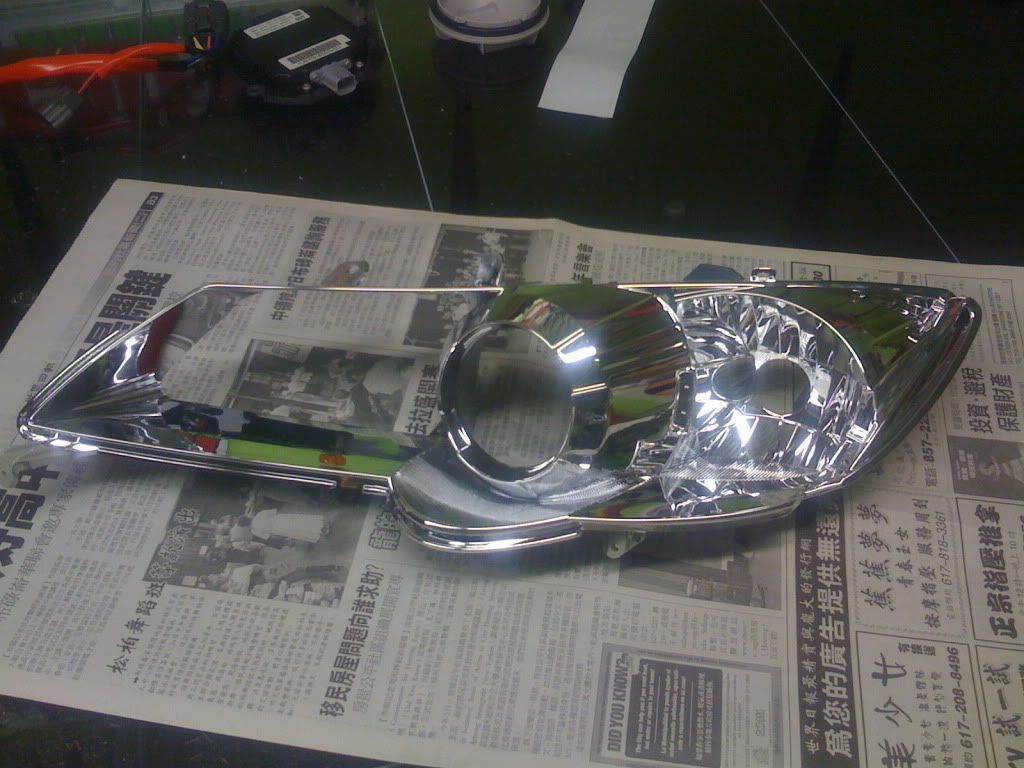
Considering my R3 is mostly black, the chrome in the headlights has GOT TO GO.... Its time to black these bitches out!
So here on day 1:
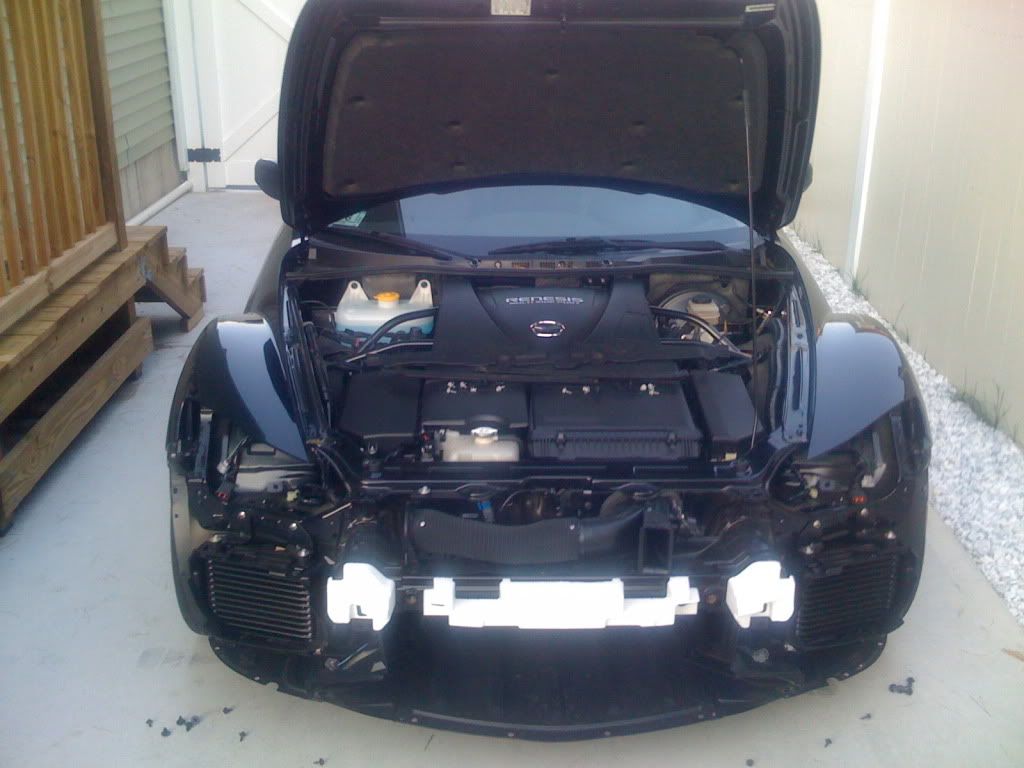
- Bumper removal
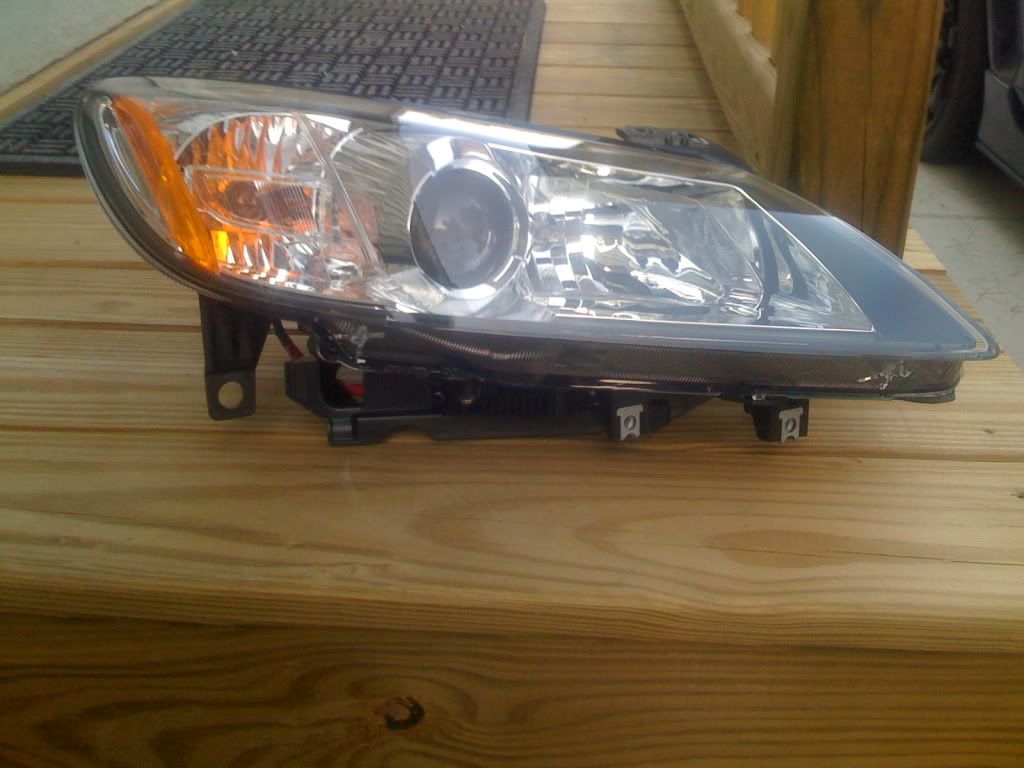
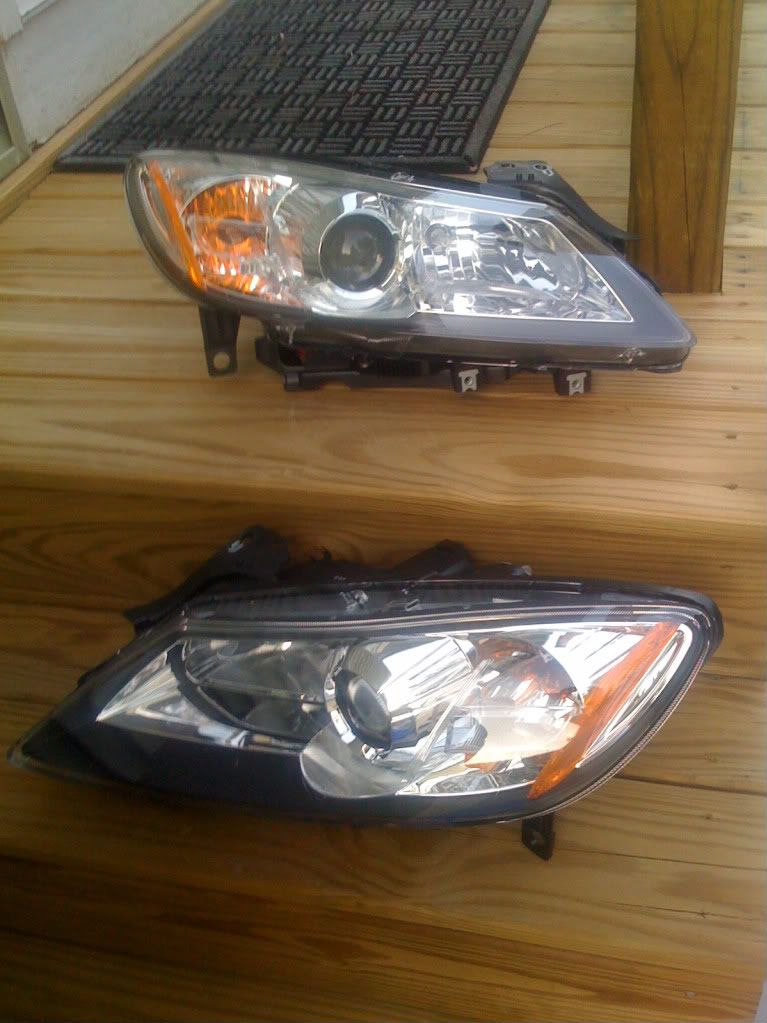
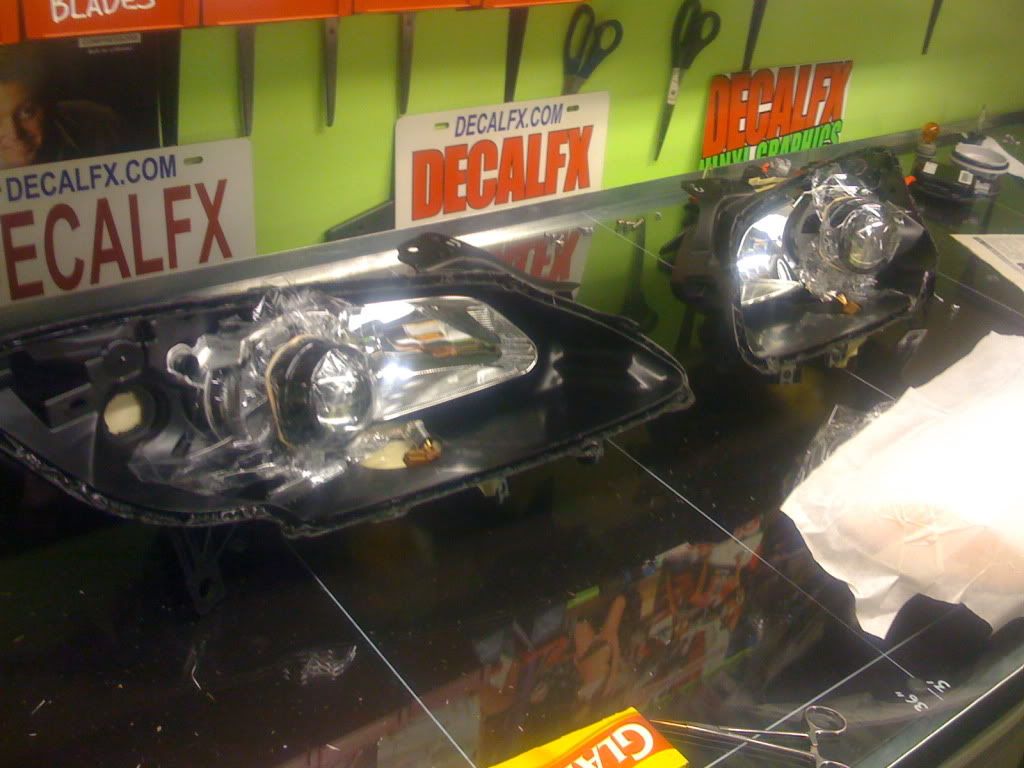
- Headlight removal
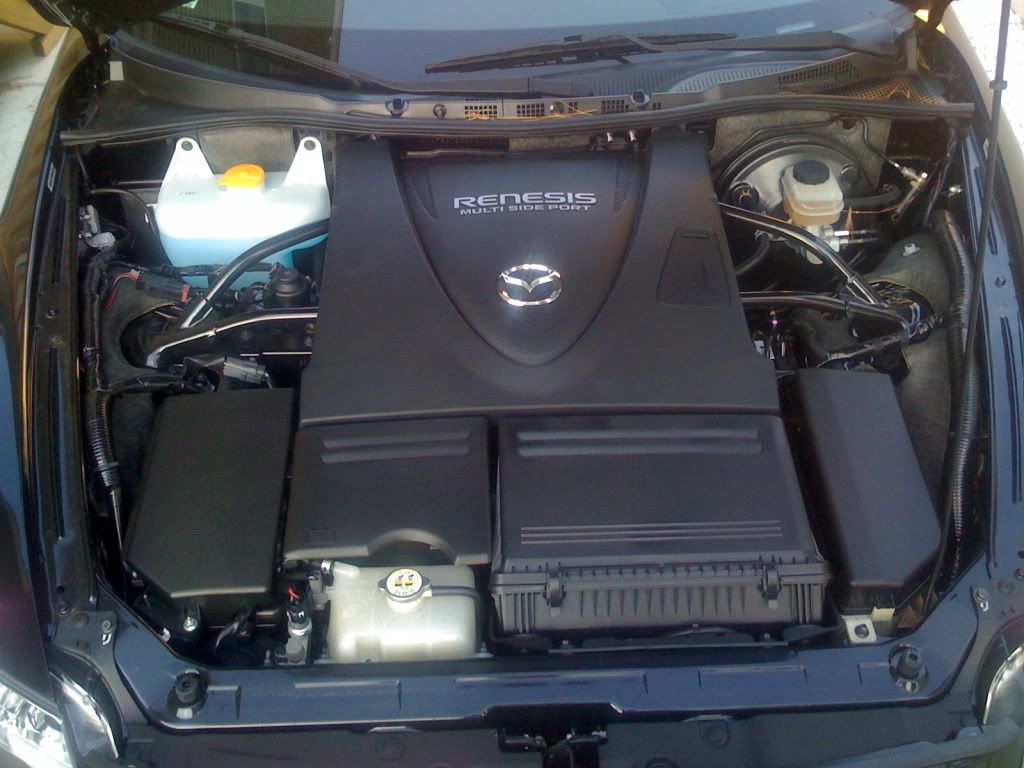
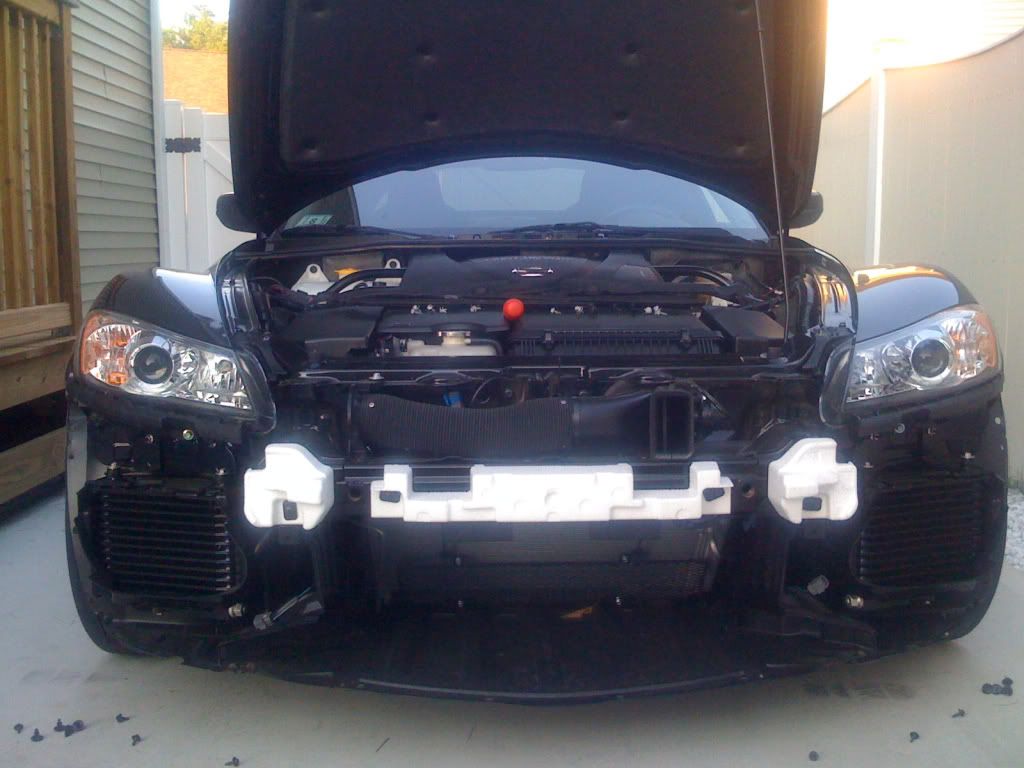
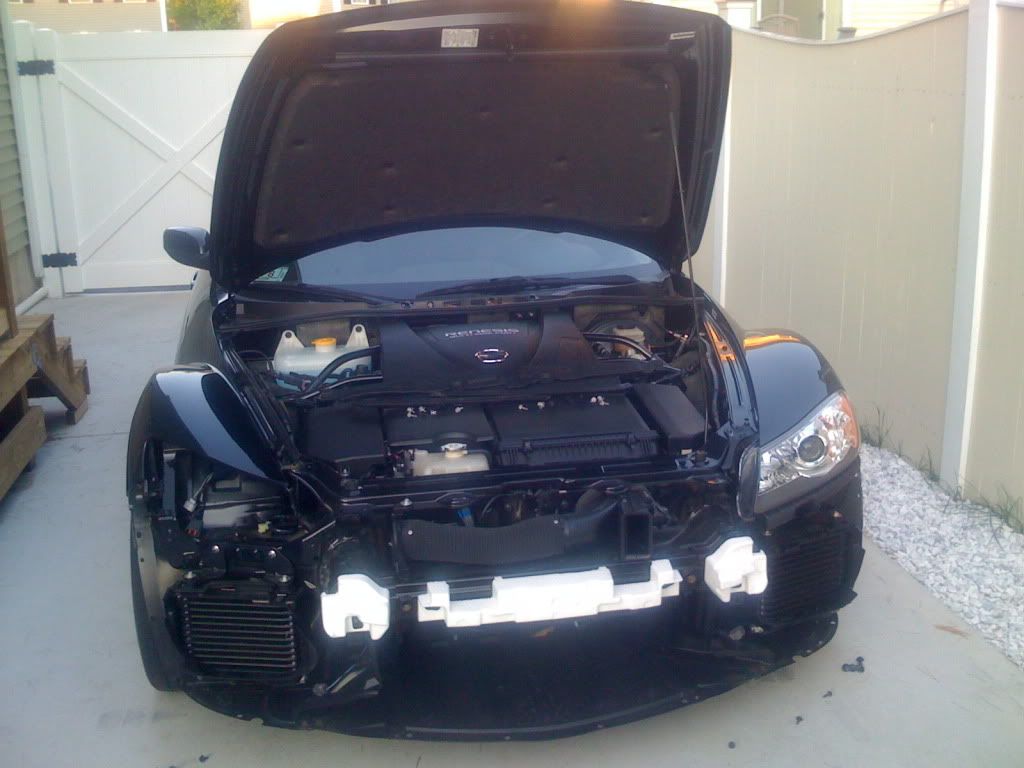
More to come as it happens... stay tuned...
So here on day 1:
- Bumper removal
- Headlight removal
More to come as it happens... stay tuned...
 05-30-2009, 07:29 PM
#2
Banned
Thread Starter
Join Date: May 2009
Posts: 44
Likes: 0
Received 0 Likes
on
0 Posts
Id like to give thanks to Chef "shakeyourbrakes" for the baking instructions. You can check out his thread at https://www.rx8club.com/series-i-exterior-appearance-body-kits-27/painted-hid-headlight-housing-diy-yea-i-finally-did-144633/
Lets hope that 220 degrees is money! Ill find out in a little bit!
Lets hope that 220 degrees is money! Ill find out in a little bit!


 05-30-2009, 10:18 PM
#9
whines all the way home
iTrader: (2)

Join Date: Oct 2004
Location: Towson/Baltimore, MD
Posts: 7,402
Likes: 0
Received 2 Likes
on
2 Posts
Good luck, The 04-08 lights turned out just great but then again I didnt have to sand down chrome paint and repaint areas that are gonna affect the light projection,,,

05-30-2009, 10:29 PM
#10
Banned
Thread Starter
Join Date: May 2009
Posts: 44
Likes: 0
Received 0 Likes
on
0 Posts
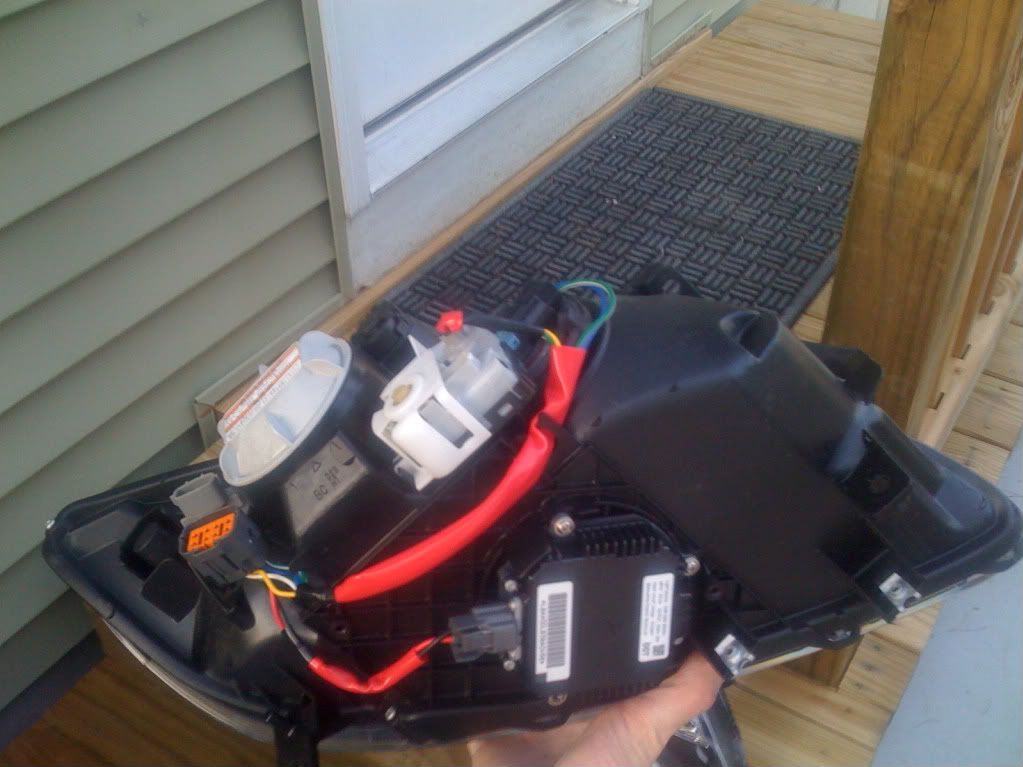
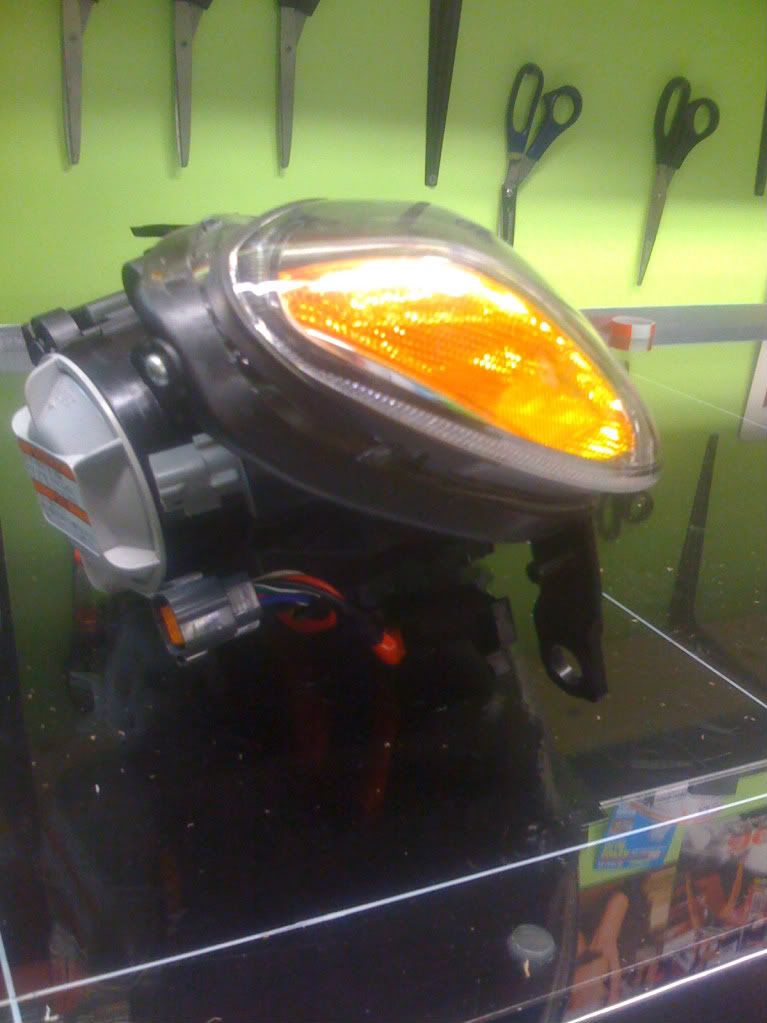
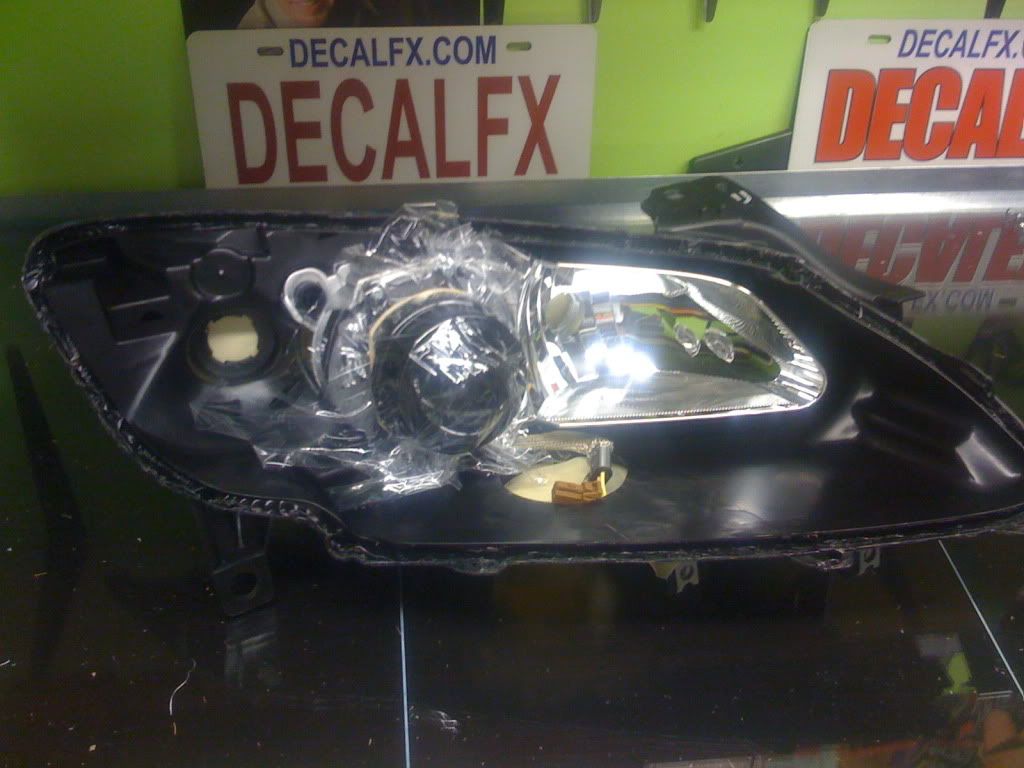
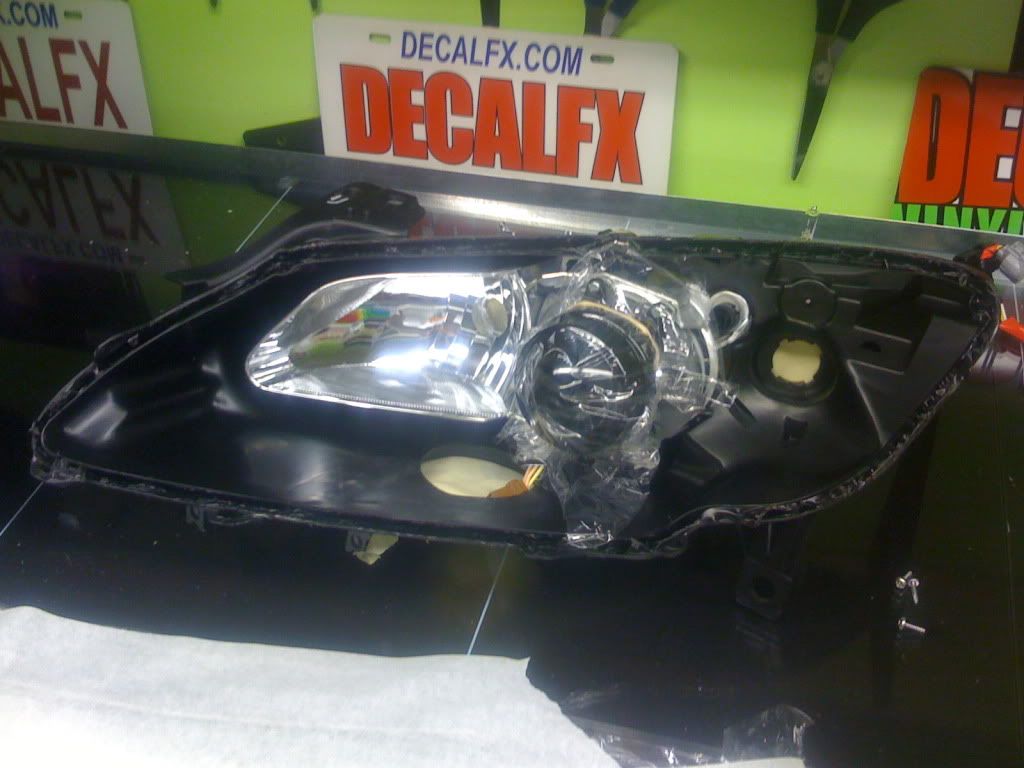
Update: just did the baking. 220 works, I wouldnt want to try it any higher and risk melting anything. You have to work it and put it back in 4-5 more times for 5 mins each time to reheat the glue and soften it. Not only do I have pics but I have been recording the process on video so I will be posting that as soon as I get it all back together in a day or 2. Gotta pick up some high temp paint tomorrow, this Krylon fusion I have isnt recommended for warm/hot surfaces. DOH!
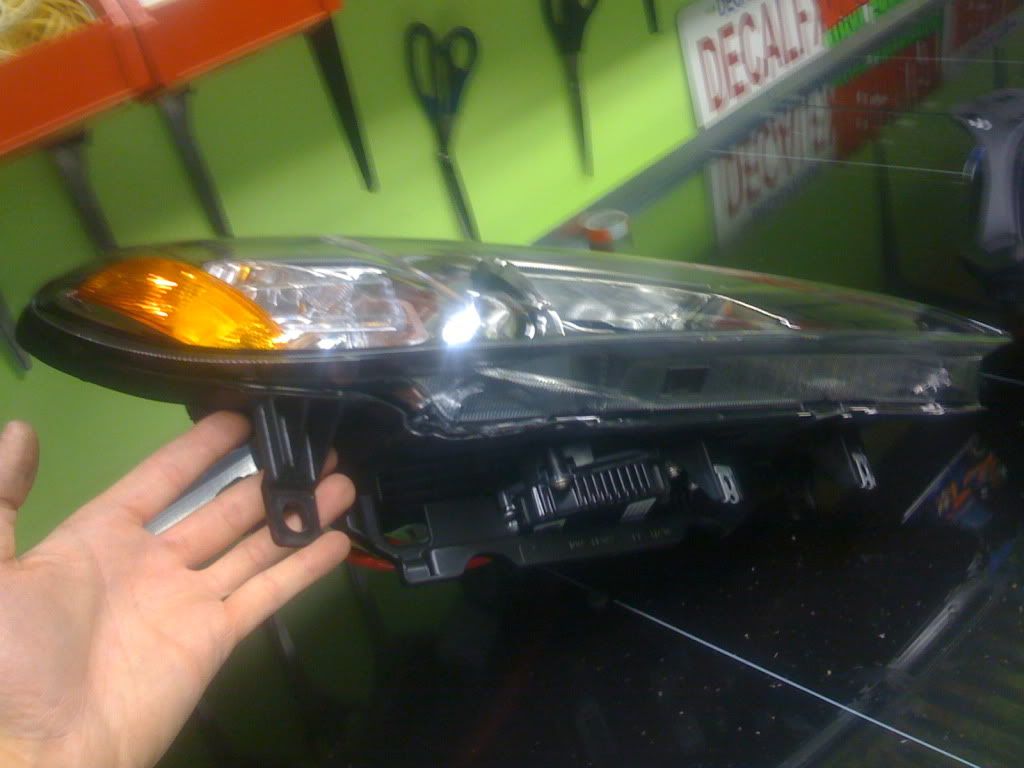
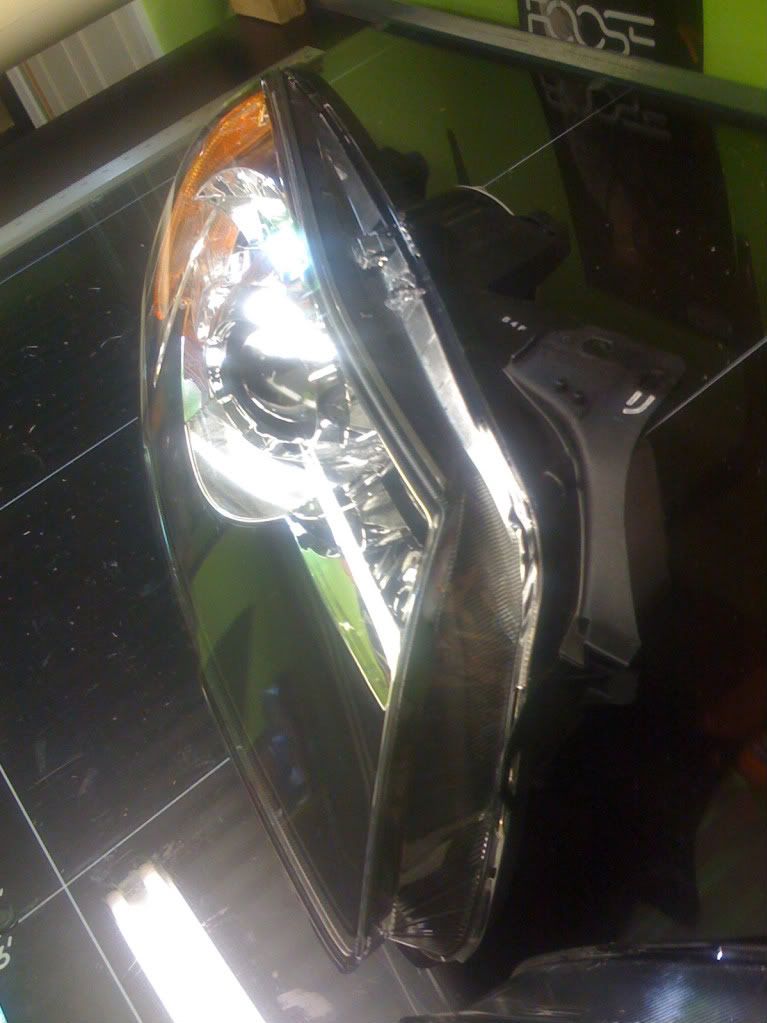
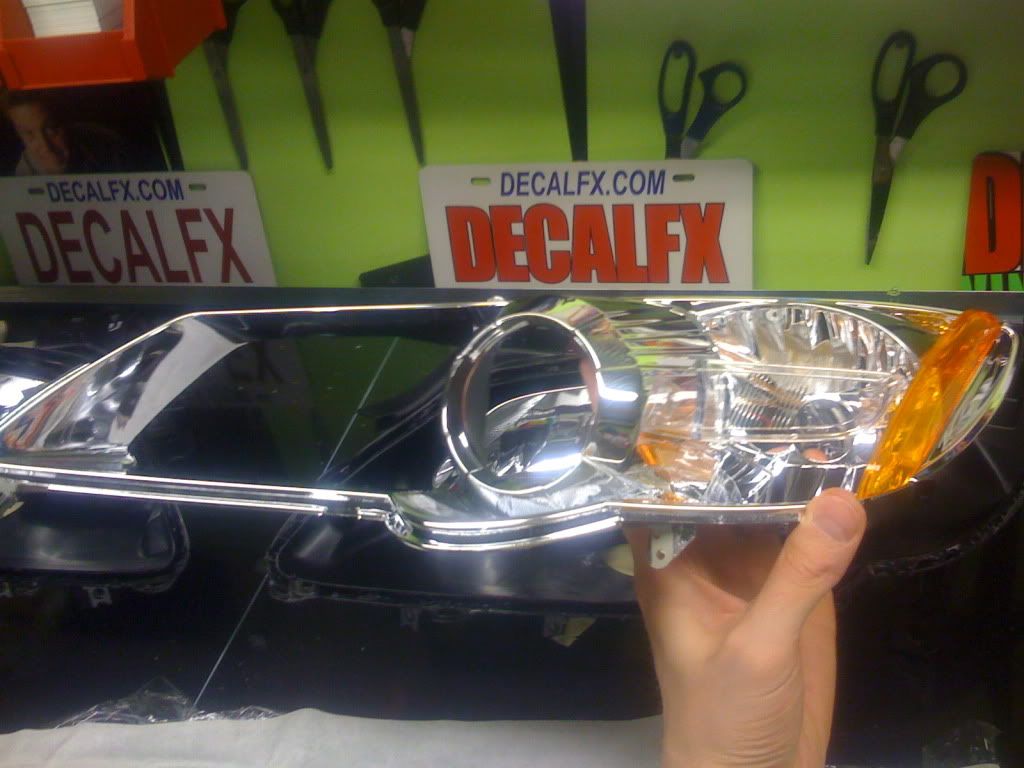
NgoRX8- ALL CHROME is going black. As long as the highlight output is not effected I dont care about the signal and high beam. I'm going all out BLACK..... I dont like seeing people who leave portions chrome, it makes the headlight look broken and like pieces are missing.
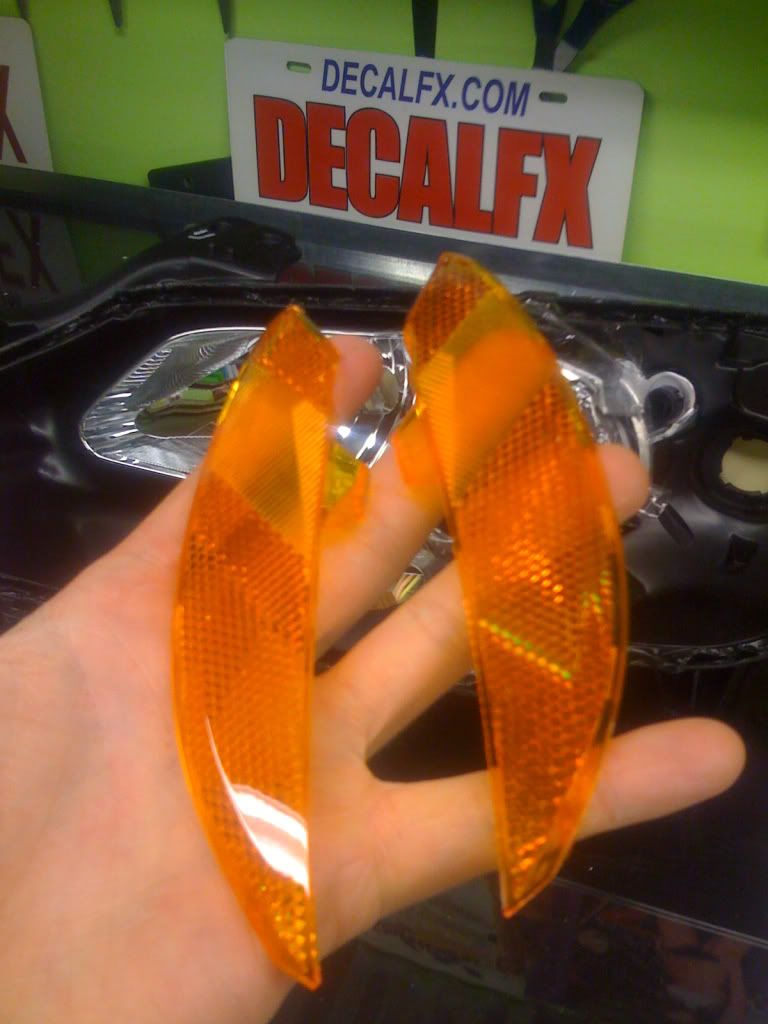
Also, I took the amber reflectors OUT. I refuse to have em, painted or not they got to go!
The video should be good. I will be editing it all with subtitles and what not. Should help you guys out and feel more comfortable with the process as well as other car owners in general since its really the same process for most recent model cars.
Stay tuned.........
NgoRX8- ALL CHROME is going black. As long as the highlight output is not effected I dont care about the signal and high beam. I'm going all out BLACK..... I dont like seeing people who leave portions chrome, it makes the headlight look broken and like pieces are missing.
Also, I took the amber reflectors OUT. I refuse to have em, painted or not they got to go!
The video should be good. I will be editing it all with subtitles and what not. Should help you guys out and feel more comfortable with the process as well as other car owners in general since its really the same process for most recent model cars.
Stay tuned.........
05-30-2009, 10:34 PM
#11
Banned
Thread Starter
Join Date: May 2009
Posts: 44
Likes: 0
Received 0 Likes
on
0 Posts
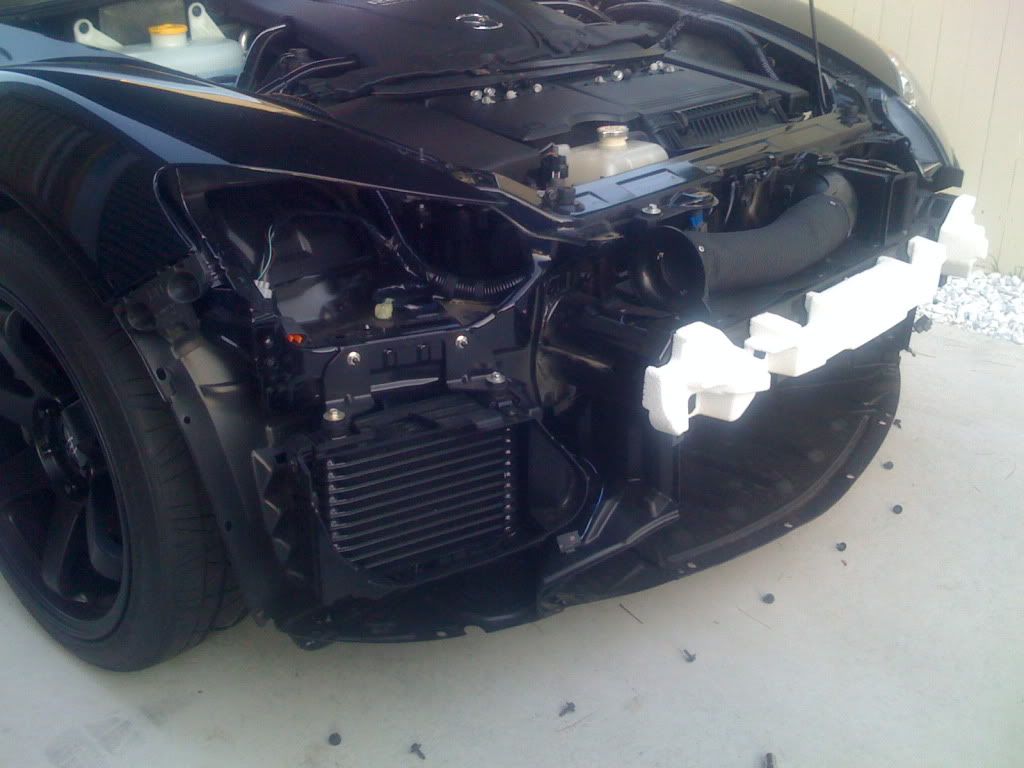
Why remove the VFAD? I know its for the air intake but can someone point it out to me in one of my pics and explain why I would do that?  (VIA PM to avoid a change in topic in the thread)
(VIA PM to avoid a change in topic in the thread)
Last edited by TheBlackmobileR3; 05-30-2009 at 11:25 PM.
 05-30-2009, 11:01 PM
#13
a.k.a. WhITeRE8
iTrader: (8)
Join Date: Apr 2005
Location: Nor Cal *
Posts: 2,231
Likes: 0
Received 0 Likes
on
0 Posts
Nice job! I see that you are chinese? I am too lol!
Are you planning on reusing the glue, or apply new glue?
Are you planning on reusing the glue, or apply new glue?
Last edited by SiLVeRE8; 05-30-2009 at 11:04 PM.
05-30-2009, 11:14 PM
#14
hey nice man, just a quick word of advice. After you paint those and reassemble everything, make sure not to put them back together for at least 12 hours. The first time I painted mine, I let the paint basically dry to touch, which was about two to three hours, and I sealed them back up and put them back in. The next day I woke up to the inside of the lenses covered in a kind of fog all across the inside. After I took them out and back apart again, which was a pain in the ***, I realized that the "fog" was actually a layer of paint which adhered to the inside of the lens in the drying process. Since theres nowhere for the fumes to go, they attach to the lens... I had to sand the inside of the lens, all the from 400 to 1000 grit to get it off.
Lesson learned, the next time I painted them, I let them dry for about 20 hours, and didnt come across the problem again. Just a heads up!
Lesson learned, the next time I painted them, I let them dry for about 20 hours, and didnt come across the problem again. Just a heads up!
05-30-2009, 11:19 PM
#15
Banned
Thread Starter
Join Date: May 2009
Posts: 44
Likes: 0
Received 0 Likes
on
0 Posts
shakeyourbrakes - Interesting, Ive done quite a few sets on my past cars and never had that problem. It sounds to me like overspray. I have kept my lenses wrapped in syran wrap wince I got them apart to prevent any dust or paint from getting on the backside of the lens. I appreciate the heads up but I really have no idea what happened with yours, really weird.
What kind/ brand paint did you use?
What kind/ brand paint did you use?
Last edited by TheBlackmobileR3; 05-30-2009 at 11:22 PM.
05-30-2009, 11:22 PM
#16
Banned
Thread Starter
Join Date: May 2009
Posts: 44
Likes: 0
Received 0 Likes
on
0 Posts

 05-31-2009, 02:23 AM
#20
Banned
Thread Starter
Join Date: May 2009
Posts: 44
Likes: 0
Received 0 Likes
on
0 Posts
Just did a bunch of reading and found a lot of people have used the Krylon Fusion paint inside their headlights with no problems from the heat of projectors. I went ahead and painted them satin black and they are drying right now......
 cant wait to see how it turns out!
 05-31-2009, 02:29 AM
#23
Registered

i was planning on doing this soon, how hard is it to do? gonna be my first time opening up my headlights so im a little scared about doing this
05-31-2009, 02:58 AM
#24
Banned
Thread Starter
Join Date: May 2009
Posts: 44
Likes: 0
Received 0 Likes
on
0 Posts