DIY: Tips for an easy sway bar install
 09-04-2010, 05:07 PM
#1

DIY: Tips for an easy sway bar install
Tips for installing the front sway bar...
1. Remove Undertray and lower section of wheel wells... Takes like 5 min and it just gets it out of the way
2. Remove lower radiator brackets... It's just four bolts and it will allow the radiator to swing out a little so you have more room to work with. Don't worry the radiator won't fall out or go anywhere.
3. Detach Tie Rods from Hub/Spindle... One nut on each side and will allow you to easily swing the sway bar into the proper position. After removing nut just tap the tie rod end with a hammer and it will come right out...Note: When detaching the tie rod there's a cotter pin that you have to remove, I would recommend you replace it with a new one, this prevents the nut from loosening all the way so the tie rod doesn't come loose while driving.
4. Install Sway Bar from Drivers Side... To me it's just easier to maneuver from this side.
The rear bar is easy there's not really much to obstruct it. Not really any tips here it's very straight forward.
These are things that take a few extra minutes to start with but I guarantee it will save you time wrestling with the sway bar.

The following users liked this post:
sharingan 19 (03-23-2023)
12-30-2010, 07:04 PM
#2

This was very helpful. Car would still be in pieces if not for this post.. A few things to add, if I may...
Have the ends of the bar pointed down when you pass it through the wheel well on the far side (the side you did not start at). This will let you rotate it up to connect to the end link. I could not get it to work if the end was up. I had an adjustable bar that was longer than the stock one.
If you cannot get the last 2 ##$@% fasteners that hold the under tray in because they are the stupid little plastic ones and you cannot get to them, that is OK, just let the tray hang from them. The key is really the radiator brackets.
If you decide you want to install grease fittings, make sure they will clear the installation bolts. Parallel to the tabs on the fittings is NOT a good idea. Remember to drill through the bushing as well so the grease can get through to the bar. Also, if you install fittings, you will need to grind the inside part down flush or it will rub on the bar in the front. When you grind it down, the spring and ball will come out. Given that there are no bearings involved, this is probably OK. Just cover it with a rubber cap.
Be careful of the ABS lines. I unbolted mine from popped the wire ties lose from the fender liners. With the liners out, it is a good idea to do the ASH8 mod and open up the holes a little bit.
Again, thanks kma5783
The following users liked this post:
sharingan 19 (03-23-2023)
12-30-2010, 09:40 PM
#3
No problem just glad it helped someone out!
I posted it thinking it would save a lot of people some time because some people around here make it seem like a sway bar install is so difficult, by doing these things it makes it way easier.
Good additional tips you added, definitely have to keep the ends of the bar facing down and I never thought about it but installing some grease fittings isn't a bad idea, hmmm...I may have to do that haha
10-09-2012, 02:47 PM
#4

Great tips. I just installed front and rear sway bars yesterday. I would add that removing the front wheels is a must (my hotchkis instruction manual didn't suggest it) and that you don't have to completely remove the undertray. Simply having the undertray loose gives you all the wiggle room necessary.
 10-10-2012, 08:11 PM
#6
I read through the Racing Beat instruction manual and they removed the sway bars through the side, so that's why they removed the wheels. Since I removed the bar with the undertray and radiator loostened removing the wheels wasn't necessary. But to undo the tie rods I had to remove the wheels. Also, I reused the cotter pin after I reassembled the tie rods. Is this safe?


 10-31-2012, 01:04 PM
#10
Yea it's not really necessary, but IMO just makes it a little easier to install adjustable bars that have longer ends. Actually none of these things are really necessary to get them installed, it just makes it easier IMO, it just saves you the time of wrestling the bar into place.
 03-21-2013, 01:15 PM
#12

Removed my front sway bar today. Took maybe 45min including removing wheels and jacking up the car.
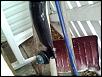
Helpful Tip: You can access the sway bar from under the hood by removing the Airbox(assuming you have the stock intake, which I don't). Its in front of the power steering connector above the front crossmember. You can maneuver it out of the drivers side easily.
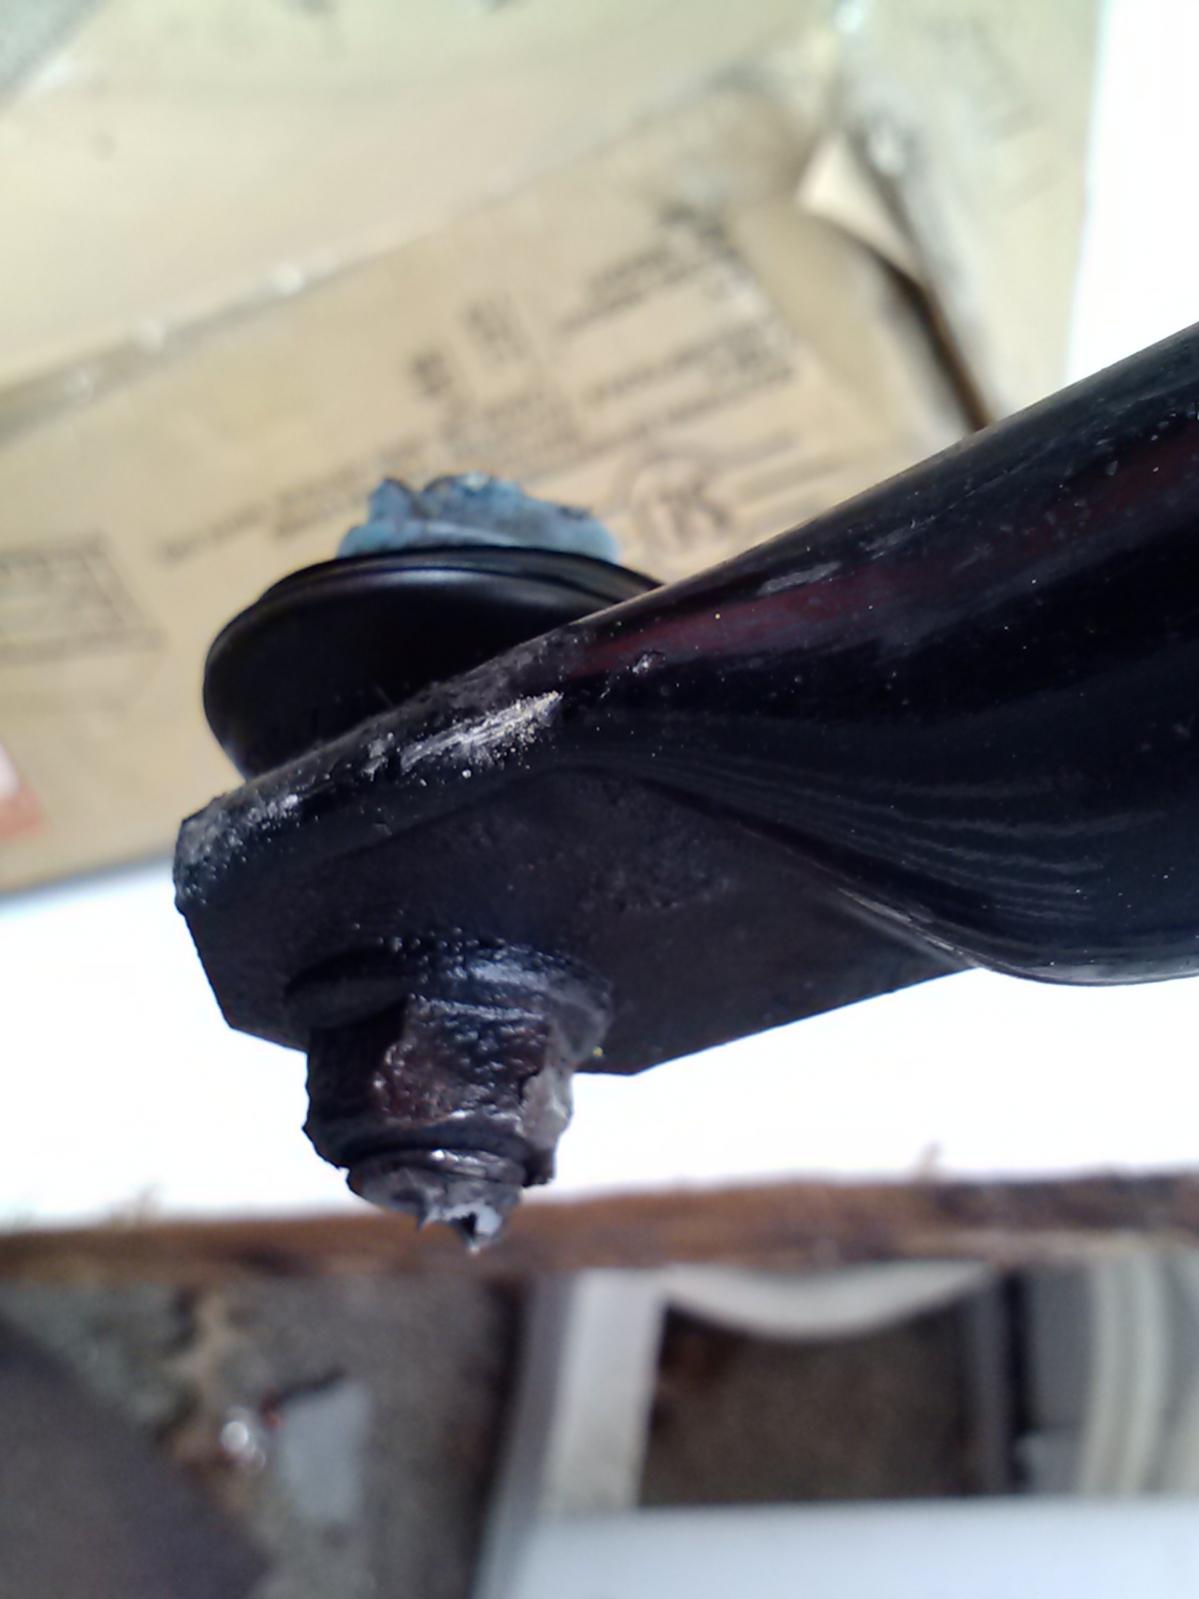
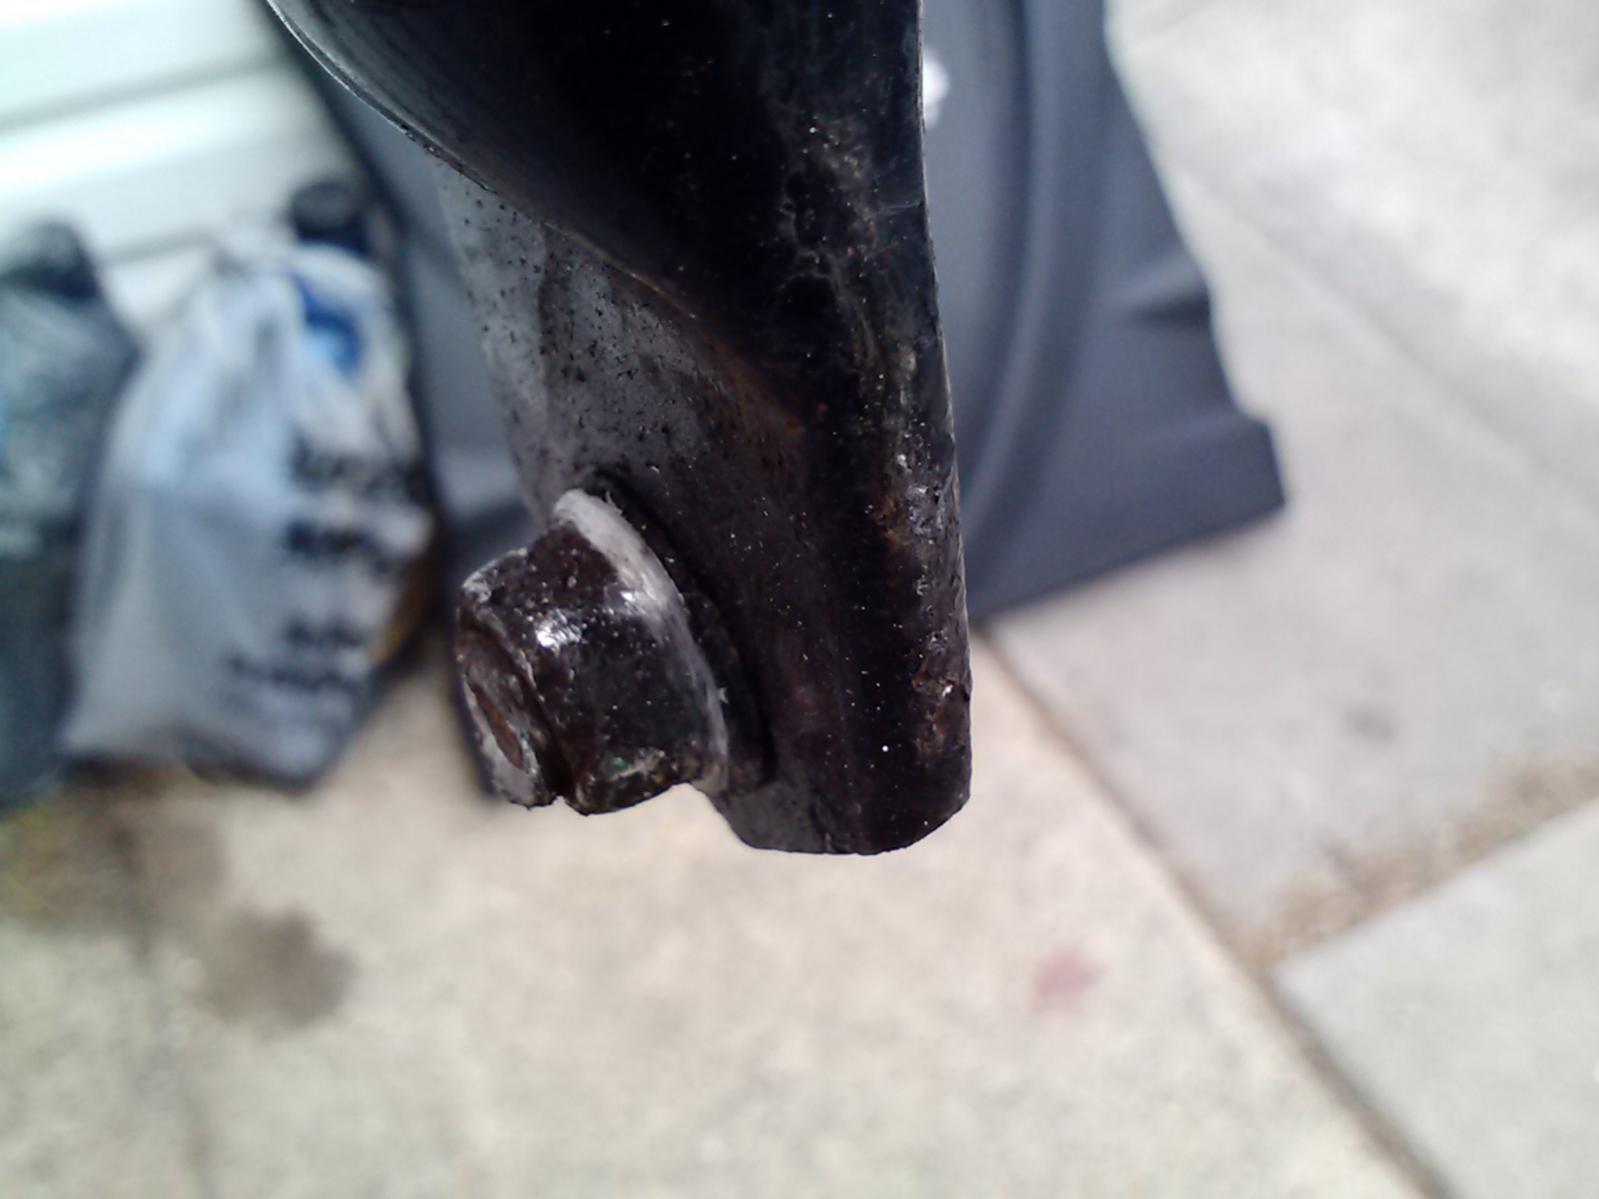
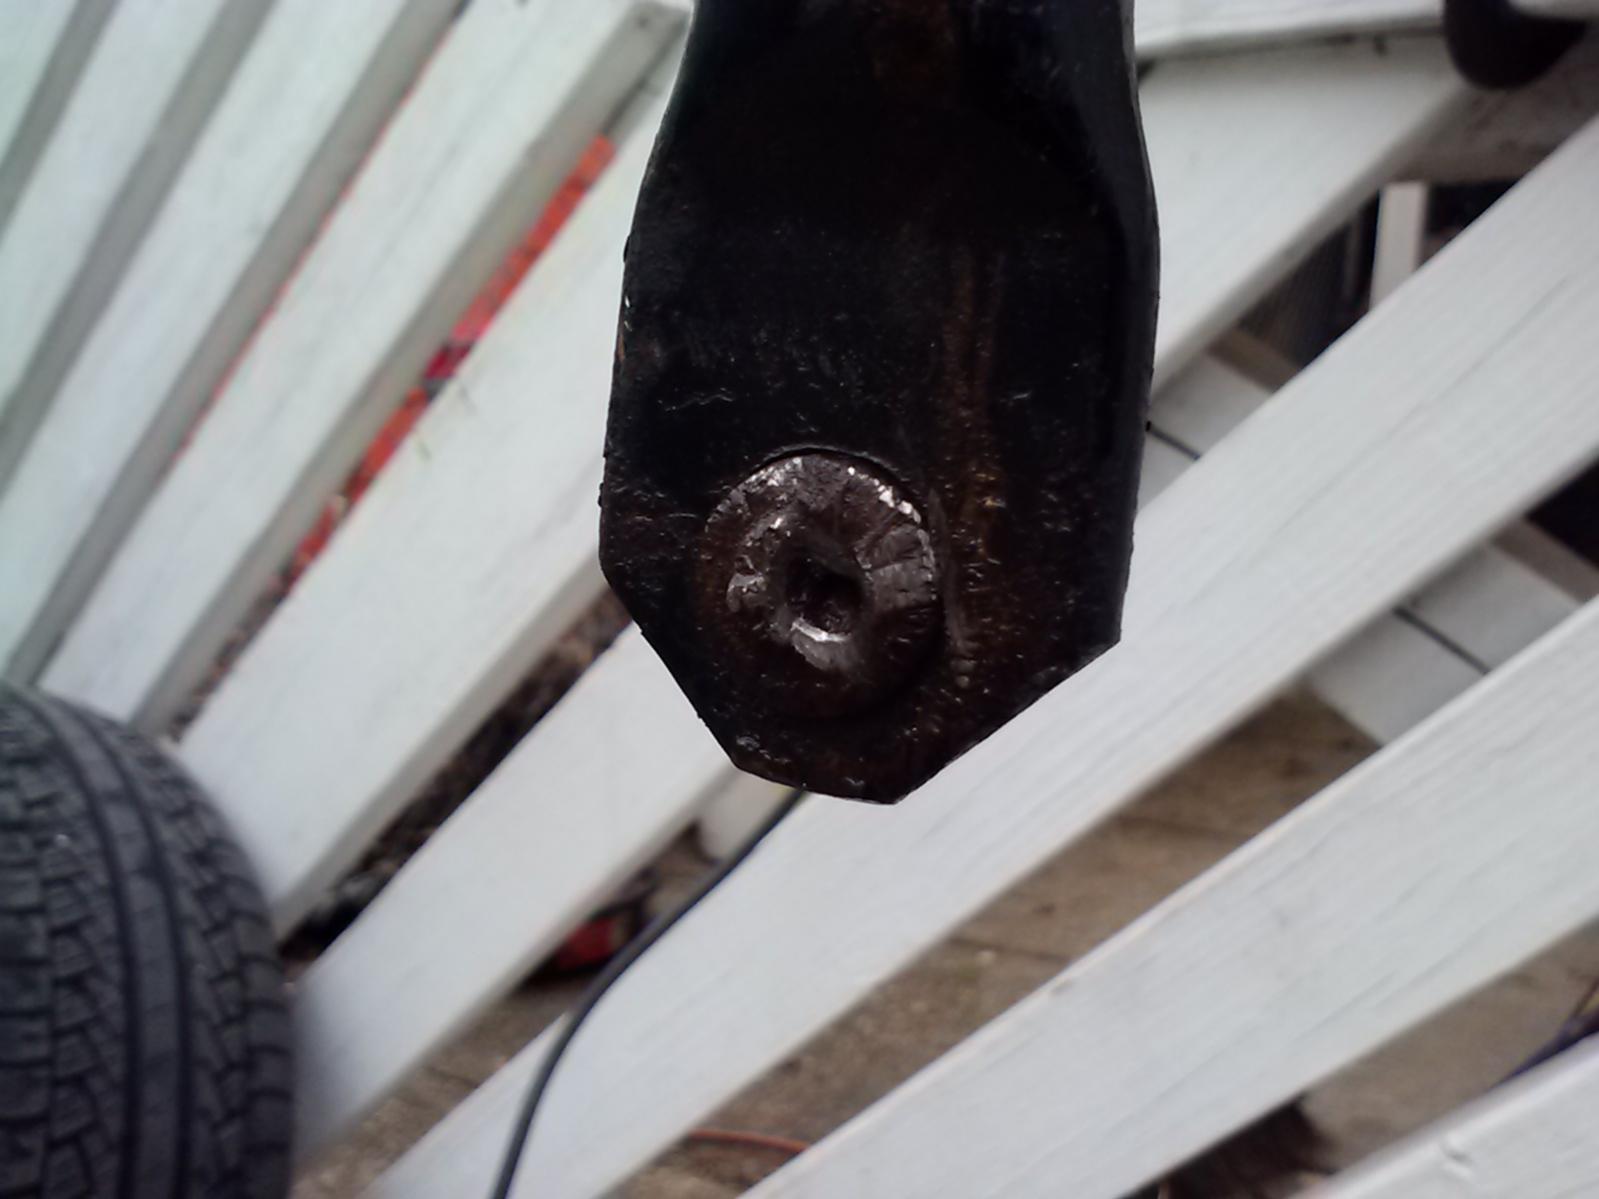
Now my only dilemma is my endlinks were seized pretty bad and I couln't get them out even with a box ended wrench and allen key inside the endlink stud, I had to break them off with a hammer (I have Racing Beat adjustable endlinks ready to go in). BUT the stock endlink studs are still stuck in the sway bar and I can't get them out, tried dremeling and drilling them out with no success.

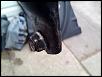
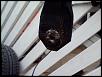
Should I take them to a shop to have them grinded or cut out of the sway bar?
Contemplating getting an aftermarket sway bar but would rather just use my stock one if I can just get the damn endlink studs out
Helpful Tip: You can access the sway bar from under the hood by removing the Airbox(assuming you have the stock intake, which I don't). Its in front of the power steering connector above the front crossmember. You can maneuver it out of the drivers side easily.
Now my only dilemma is my endlinks were seized pretty bad and I couln't get them out even with a box ended wrench and allen key inside the endlink stud, I had to break them off with a hammer (I have Racing Beat adjustable endlinks ready to go in). BUT the stock endlink studs are still stuck in the sway bar and I can't get them out, tried dremeling and drilling them out with no success.

Should I take them to a shop to have them grinded or cut out of the sway bar?
Contemplating getting an aftermarket sway bar but would rather just use my stock one if I can just get the damn endlink studs out
Last edited by GK1707; 03-21-2013 at 01:18 PM.

 03-23-2013, 04:57 PM
#16
1. Do not use grease fittings or even grease at all. Instead wrap Teflon pipe fitting tape on the bar where the bushing contacts it.
2. Do not use larger endlinks like RB etc. They are unnecessary and once you drill out the holes you are stuck having to use them forever and ever or replace the components you drilled out needlessly
2. Do not use larger endlinks like RB etc. They are unnecessary and once you drill out the holes you are stuck having to use them forever and ever or replace the components you drilled out needlessly
03-23-2013, 07:10 PM
#17
1. Do not use grease fittings or even grease at all. Instead wrap Teflon pipe fitting tape on the bar where the bushing contacts it.
2. Do not use larger endlinks like RB etc. They are unnecessary and once you drill out the holes you are stuck having to use them forever and ever or replace the components you drilled out needlessly
2. Do not use larger endlinks like RB etc. They are unnecessary and once you drill out the holes you are stuck having to use them forever and ever or replace the components you drilled out needlessly
And I have the RB adjustable endlinks. No drilling required. Direct OE bolt on.

 .
03-25-2013, 02:13 PM
.
03-25-2013, 02:13 PM
#20
Reinstalled the sway bar and RB adjustable endlinks. Team was correct, they are the same thread pattern on both ends of the links. Shouldn't pose a problem if you know your basic lefty loosey and righty tighty 
Test drove and they're great no more clunk that I was having with my shot stock endlinks so I'm pleased with em.
Test drove and they're great no more clunk that I was having with my shot stock endlinks so I'm pleased with em.

Thread
Thread Starter
Forum
Replies
Last Post
JimmyBlack
Series I Major Horsepower Upgrades
273
02-10-2020 10:23 PM
Fickert
Series I Major Horsepower Upgrades
7
09-09-2015 01:21 PM
projectr13b
Series I Do It Yourself Forum
1
09-06-2015 01:04 PM