DIY: How to change your rear brake pads.
 04-24-2009, 11:33 PM
#1
RX8 & RX7 owner
Thread Starter

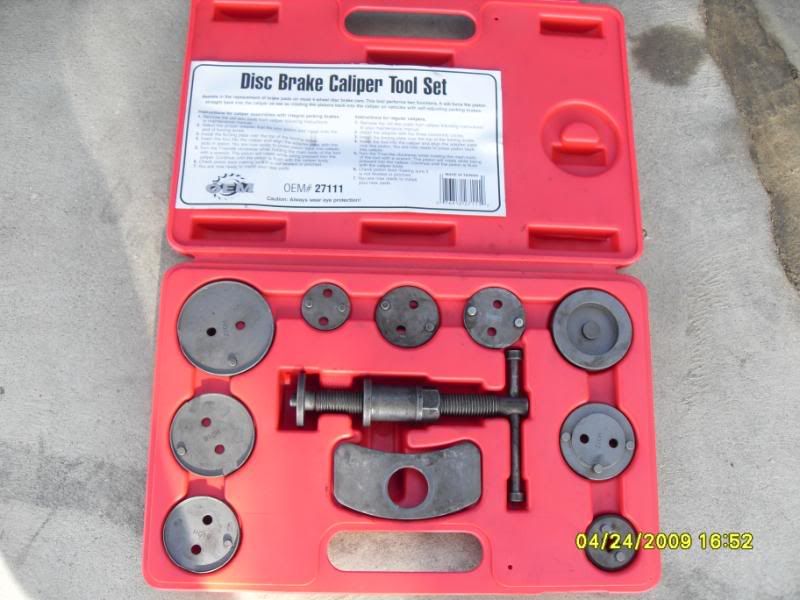
Welcome! This is a thread on how to change your rear brake pads using OEM Mazda Brake Pads. Easy step by step instructions and pictures guarantee you not to get lost at all. I made this DIY for fellow RX8 Club members! (and because i needed to change my rear pads). Enjoy. Trust me you will have no questions because this is as detail as you can get with pictures!You are going to need a Disc Caliper Tool Set which can be rented from Autozone for free! ($55 deposit) and it looks like this.
You are also going to need a socket wrench with a 14 mm socket.

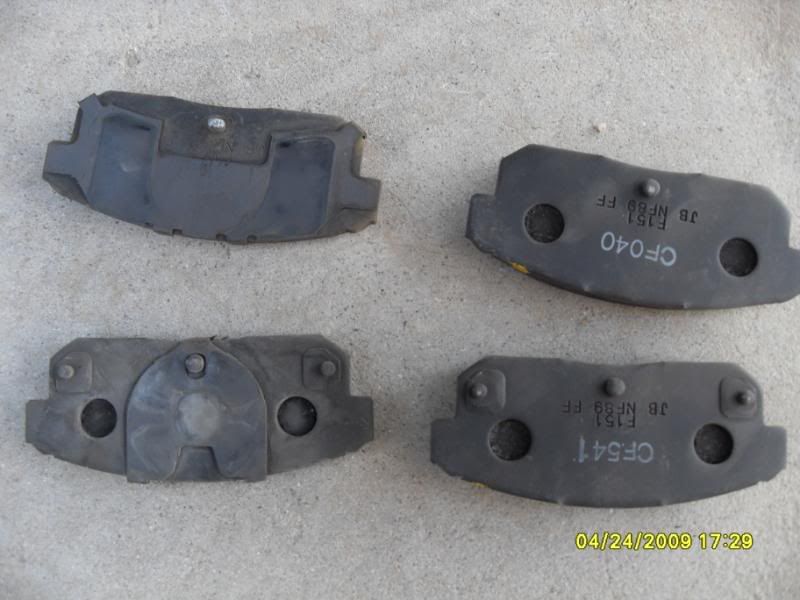
First pull out your pads you have bought. They should look like this. The smaller box is the rear, the bigger box is the front.

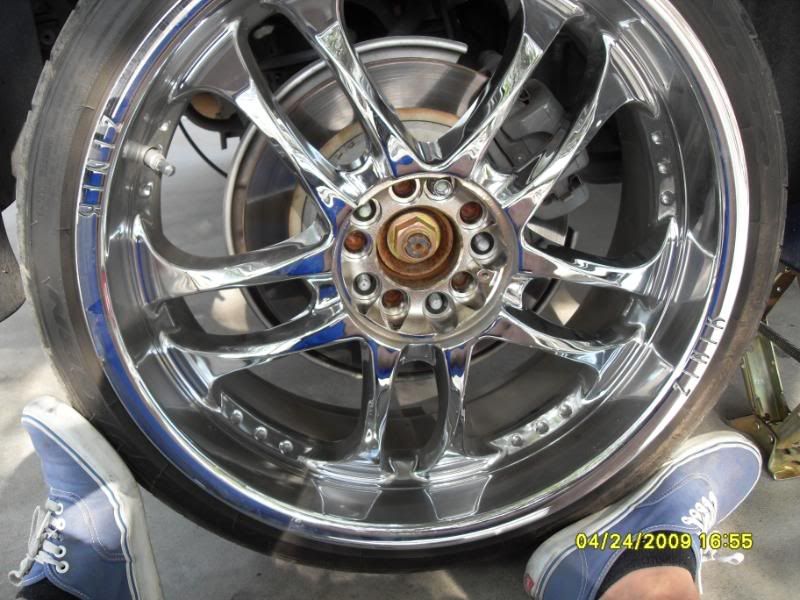
First take off wheel caps if you have any, and loosen lug nuts from both rear wheels (loosen do not take off!)
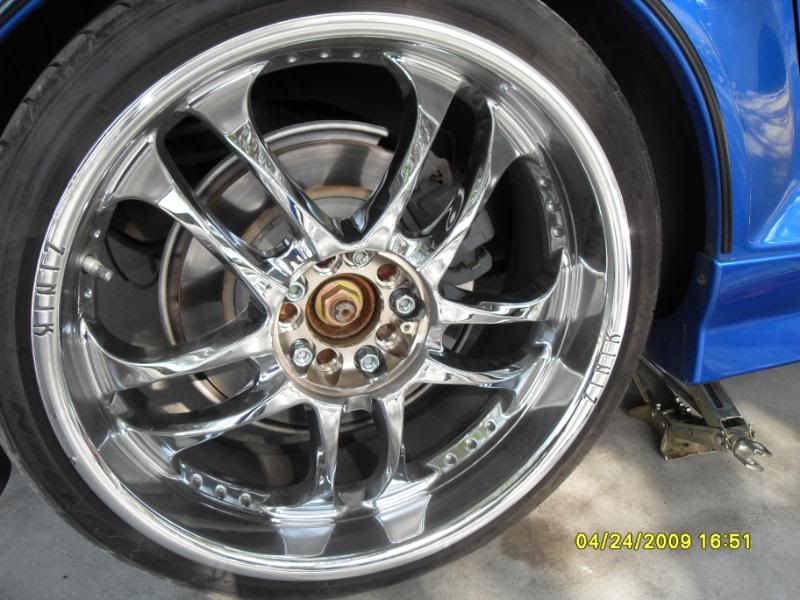
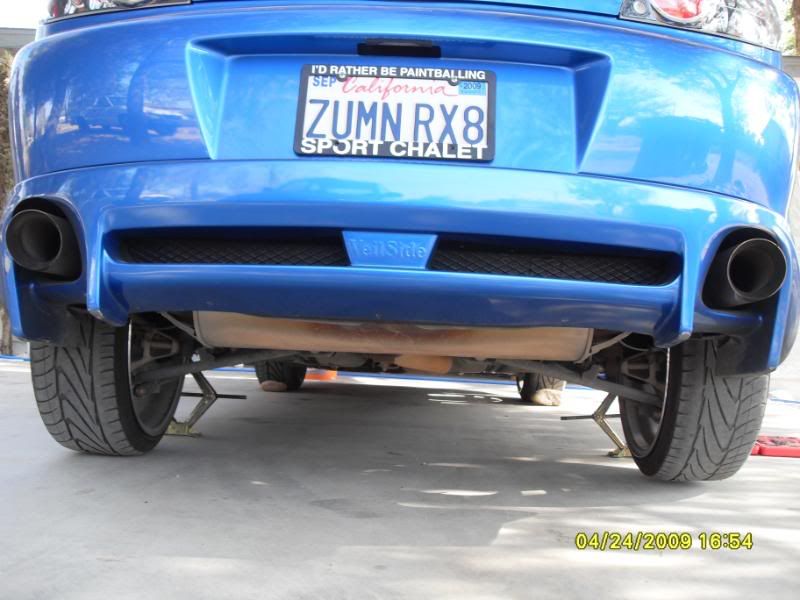
Now put two bricks or chocks in back of both your front wheels to keep your car from rolling back start to jack up your car. When always jacking up your cars use jacks or jack stands in pairs. I just used two jacks. Your car should look like this.
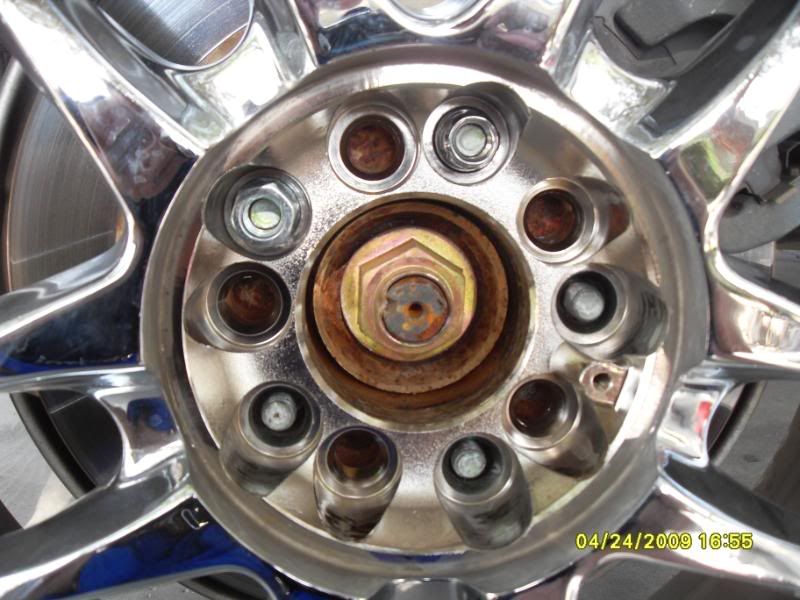
Once your nuts are loosened (lol) and your car is jacked up, remove the nuts fully. It should look like this
And if you need help use your feet to keep your wheel straight while you take off your nuts (lolz!)
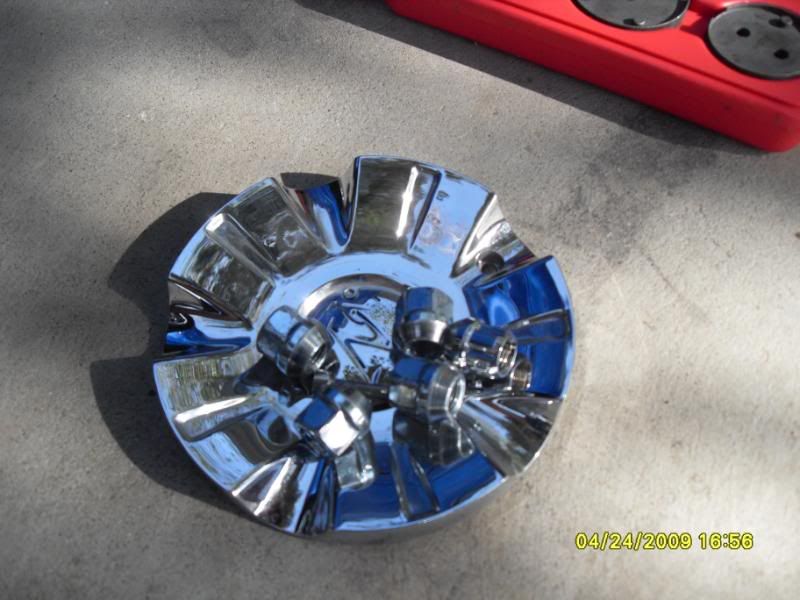
Dont lose your nuts! If you have wheel caps, use the wheels caps to keep your nuts together (lol) like this.
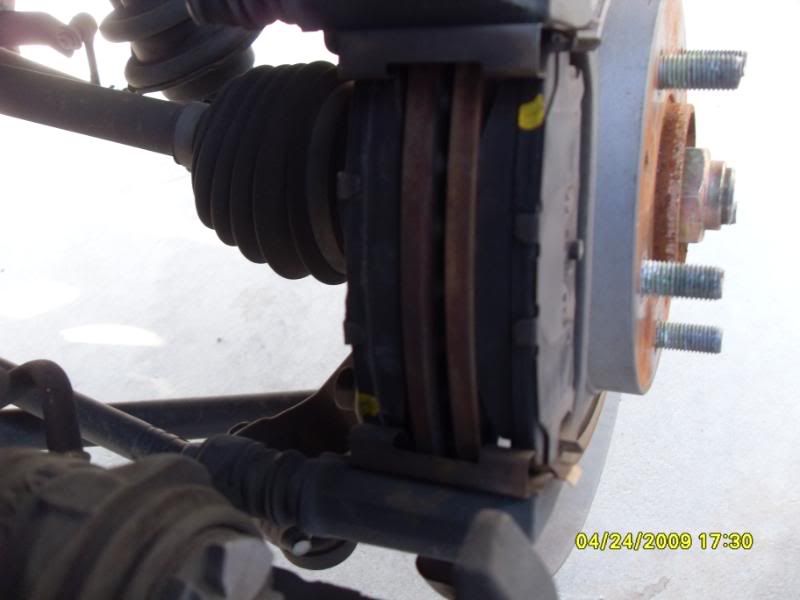
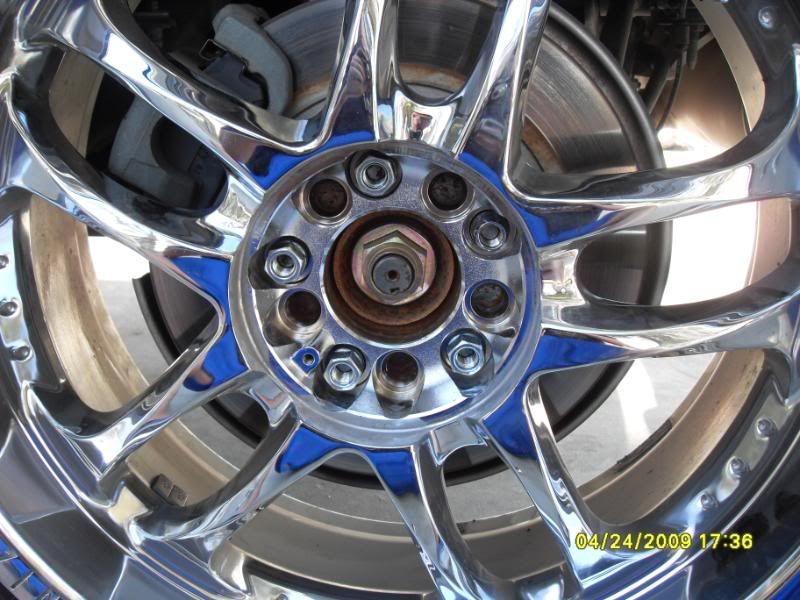
Once you have taken both wheels off, you should see your brake system and go back to your tools and get your socket wrench with the 14mm socket it should look like this, if you grabbed a hammer put it back! (lolz jk)
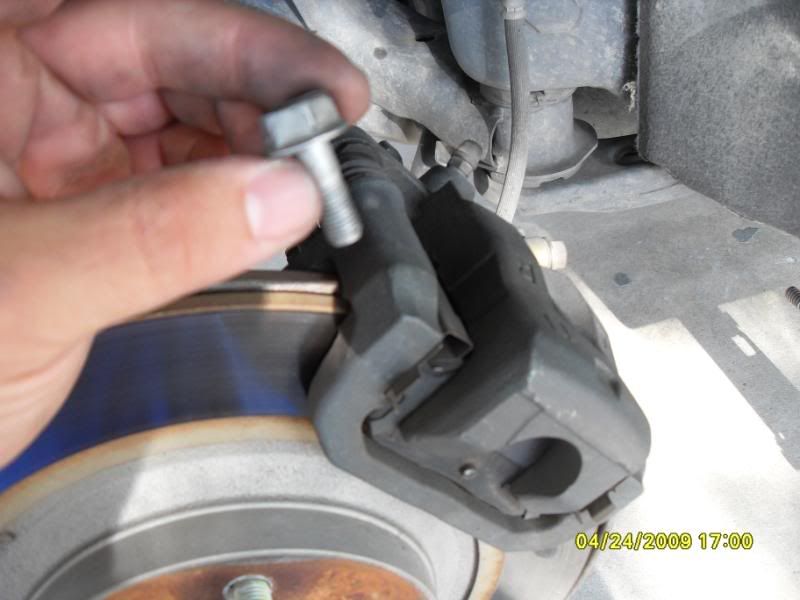
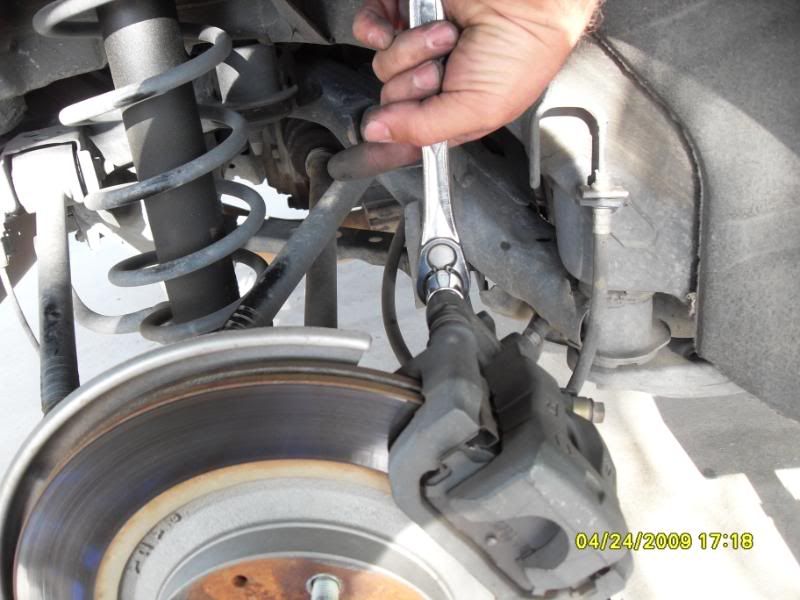
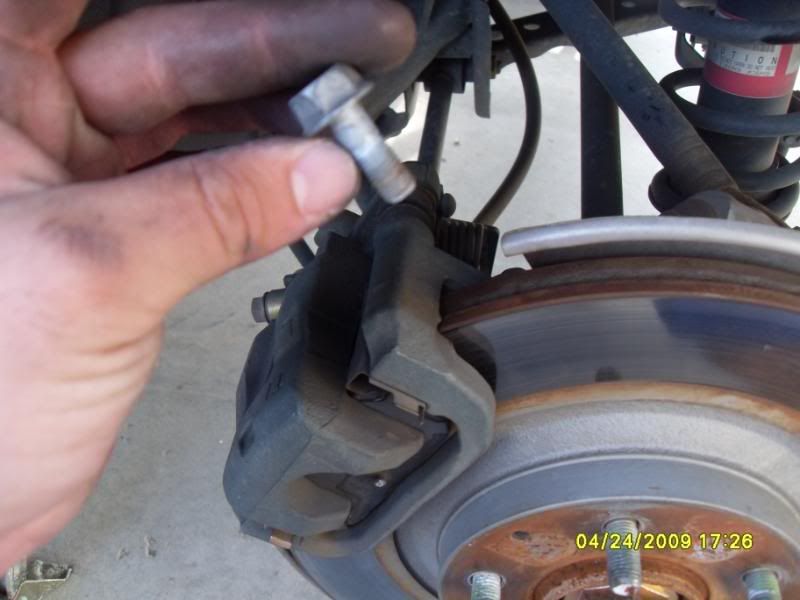
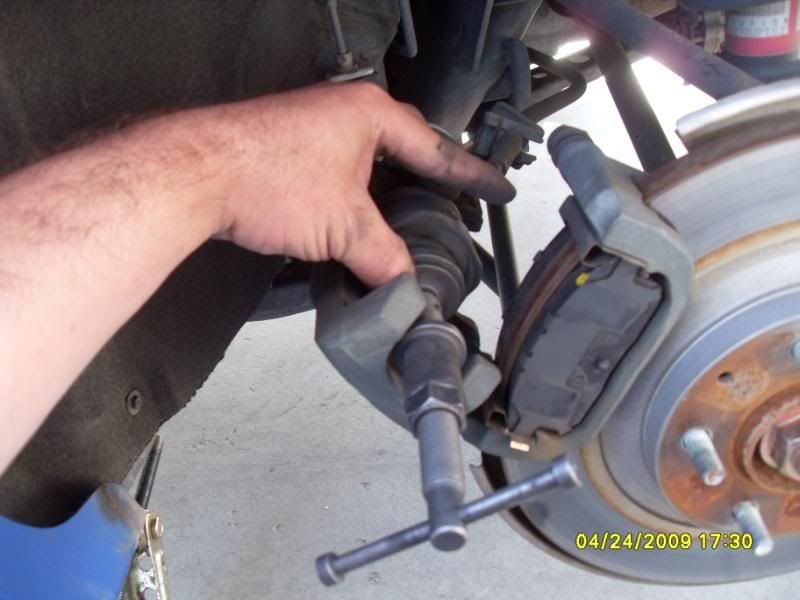
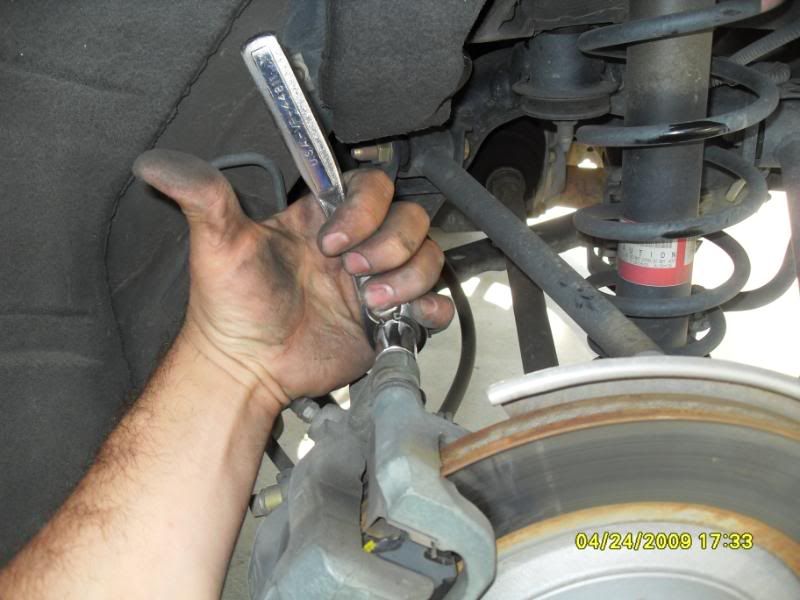
First start off on the passenger side and start to remove the top caliper bolt by turning it in the direction of my finger (clockwise) it should look like this

Completely remove the top bolt, it should look like this, and do not lose it!
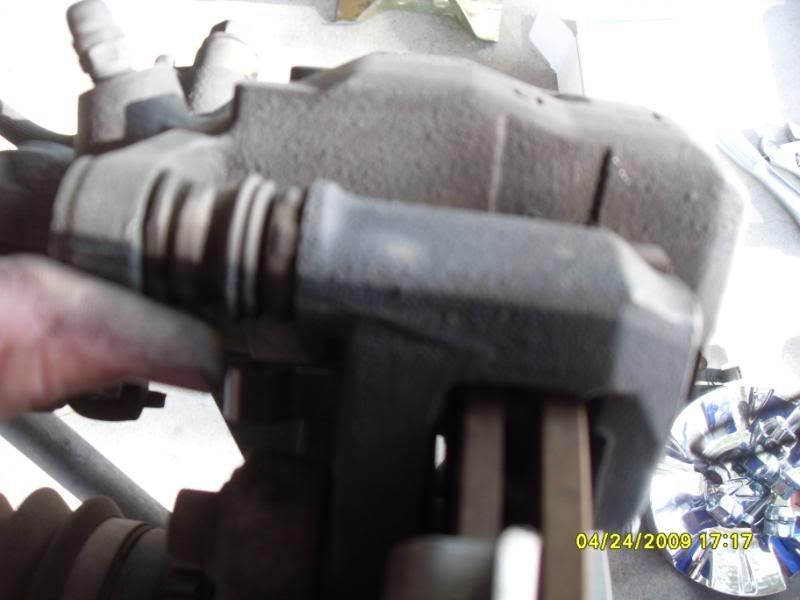
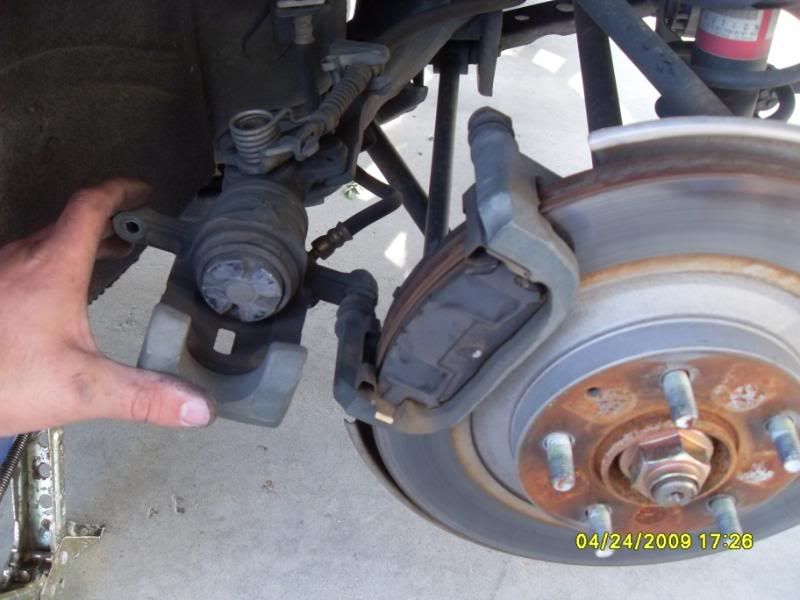
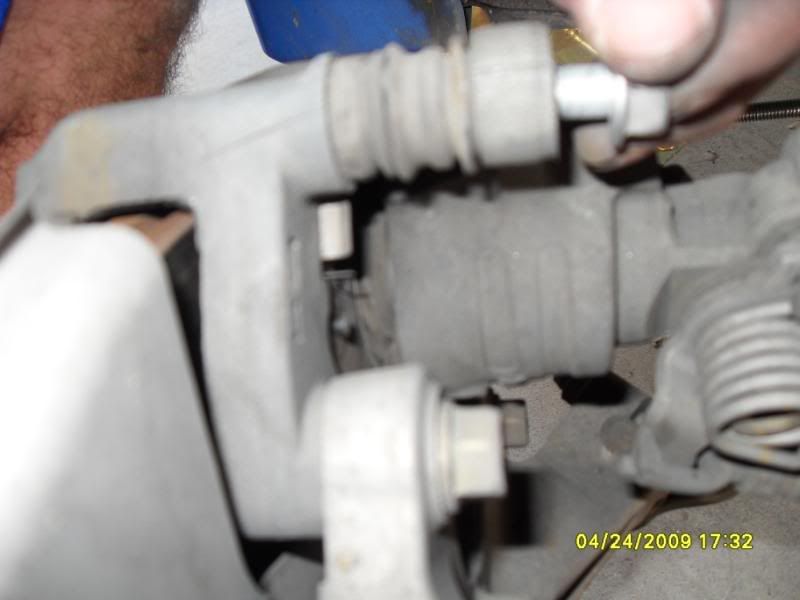
With the top caliper bolt removed, Now start to push ur caliper towards the front of your car like this
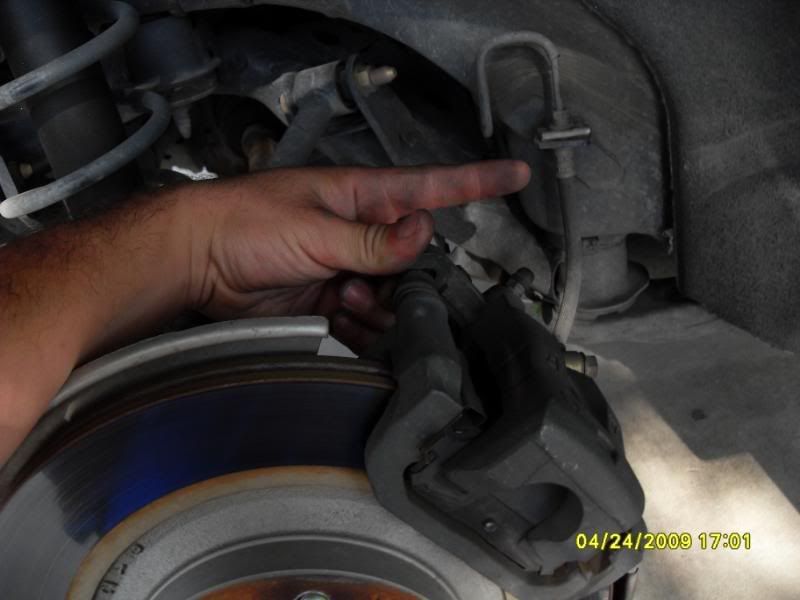
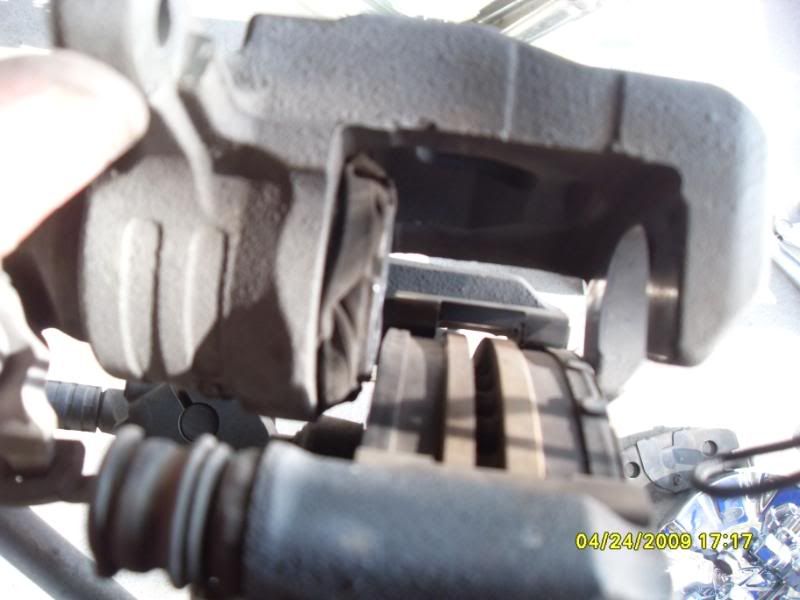
When you push your caliper foward you should be at this picture
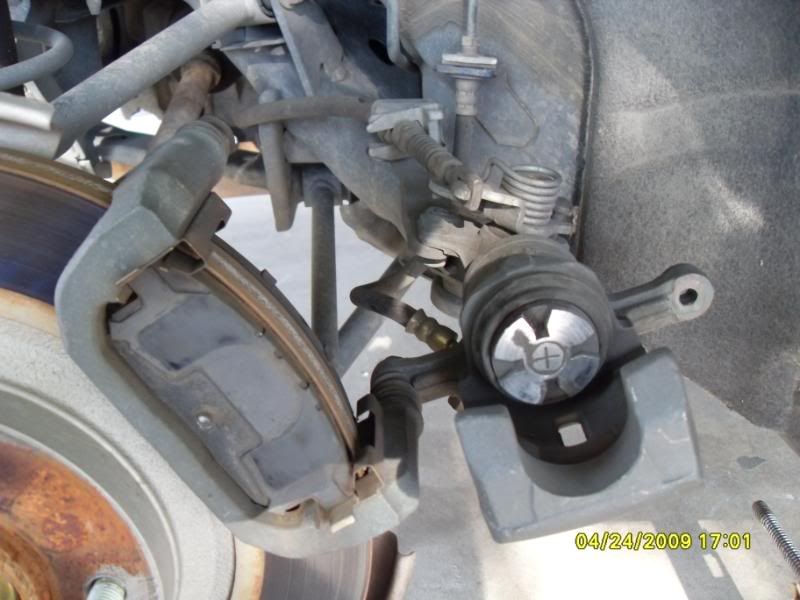
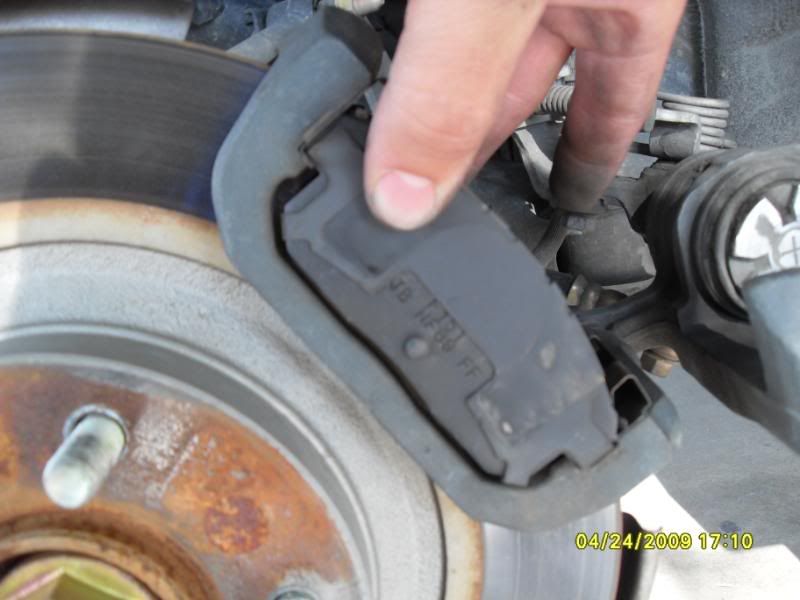
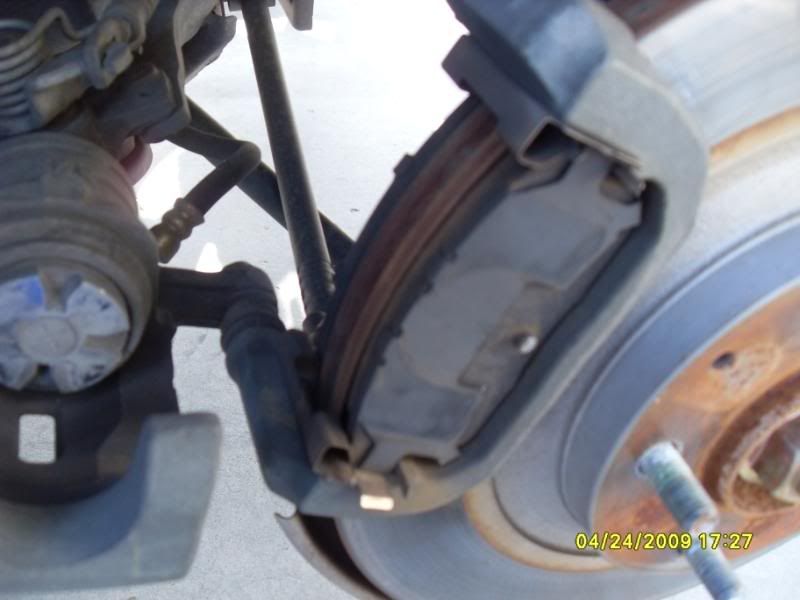
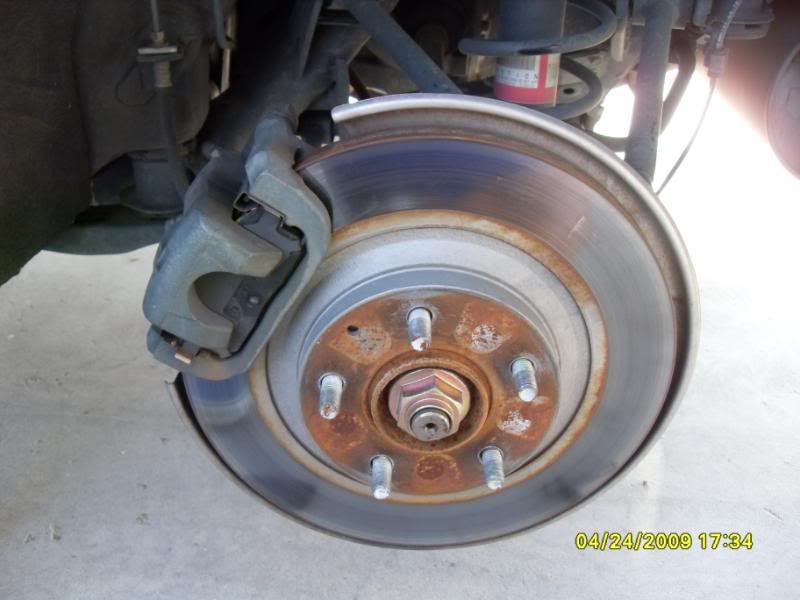
Now take off your brake pads, the inner and outter and keep the metal clips on the old brake pads, it should look like this.
Now that you took out your pads your should be at this picture. If the metal clips to the calipers came off then put them back on.
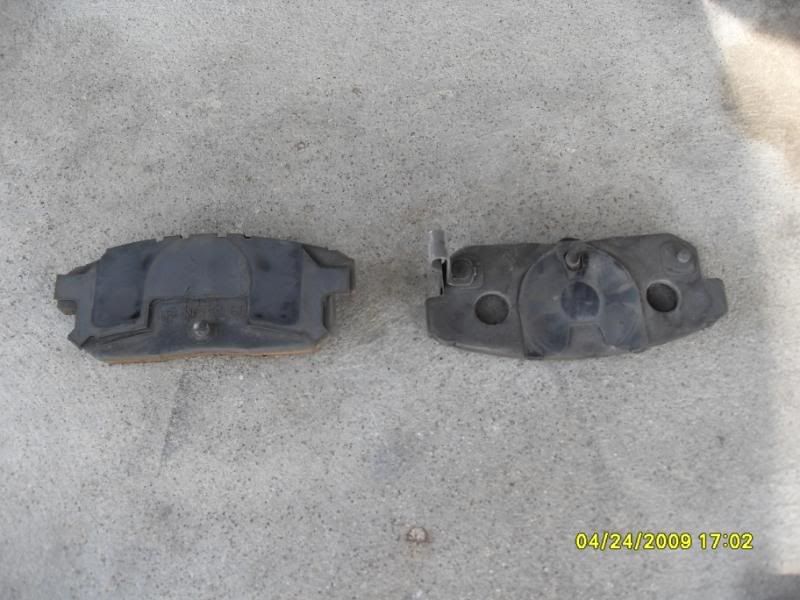
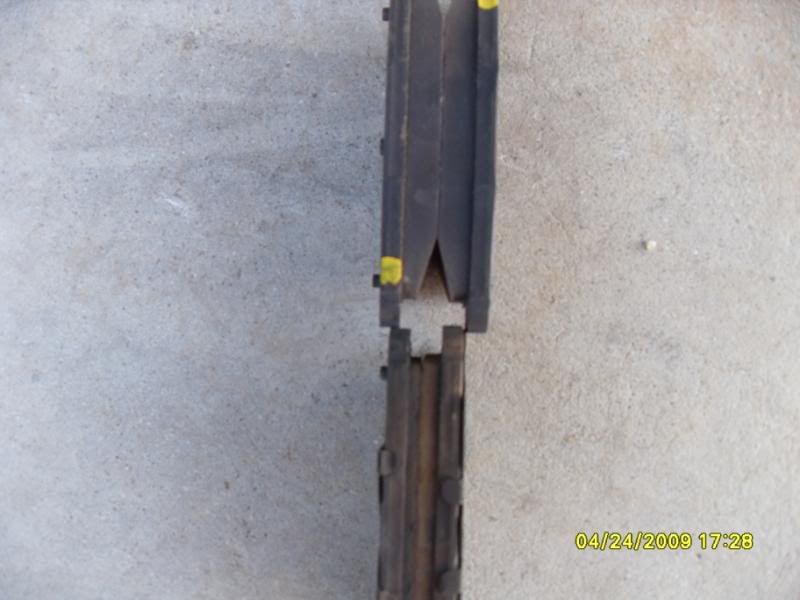
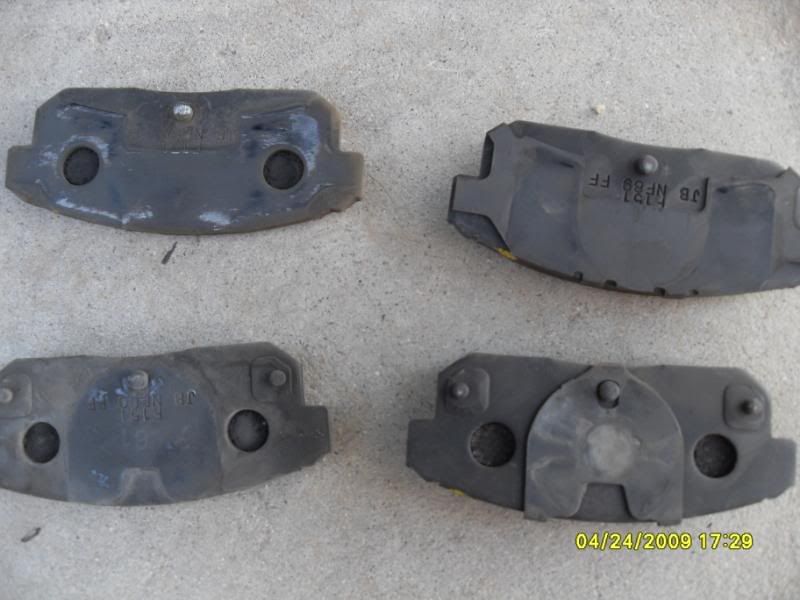
Now keep you old pads with your new pads like this and transfer the metal clips on the old pads to the new pads

First get the new inner pad and insert it in the caliper. The inner pad is the only one that has a clip. Make sure the clip is at the top like this. Important: only the rear passenger side pads has the clip, that is why i said to start from the passenger side! If not u F'd up and have to start over. If you did it correct and are at this picture then continue to the next step and good job.
Now install the outter pad like this, and dont forget the clips on the pads!
With both new pads you caliper should look like this.

Once that is done, go back to the Caliper tool kit and get the HO14 attachment, it should look like this
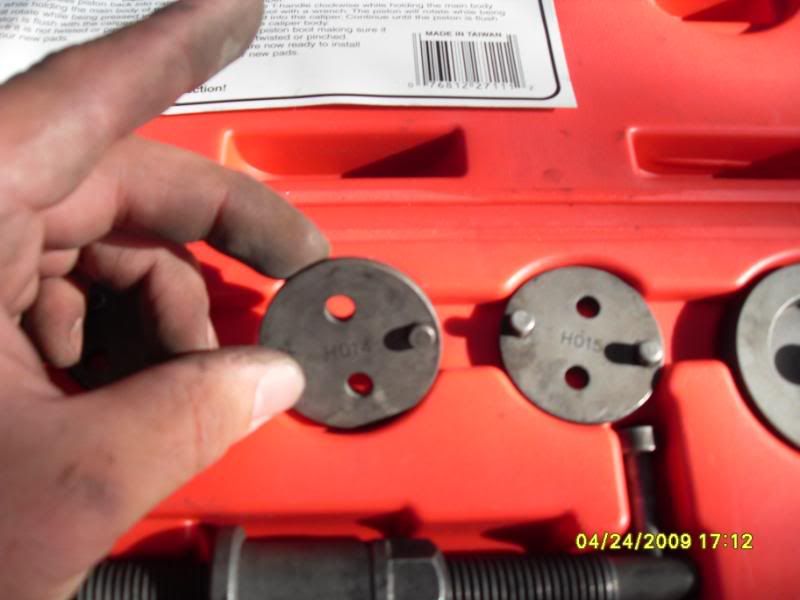
Now get the Bolt tool and attach the HO14 Insert like this
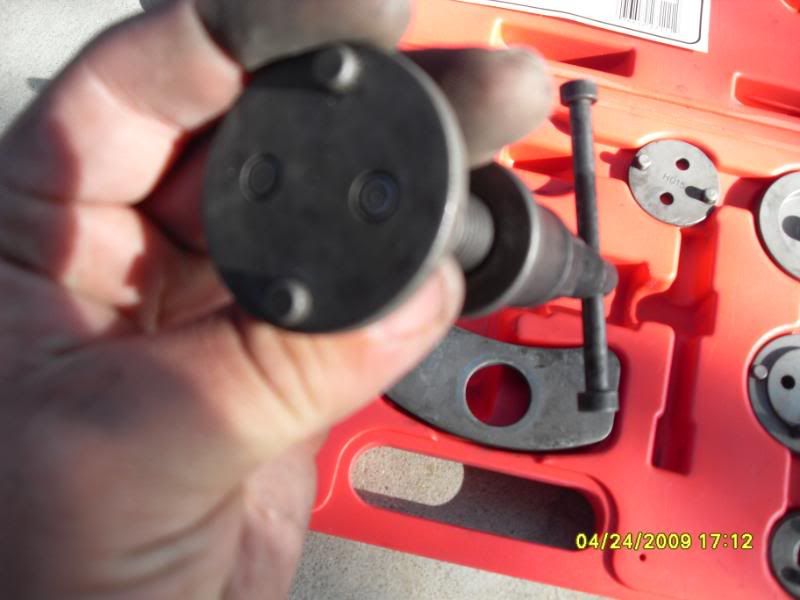
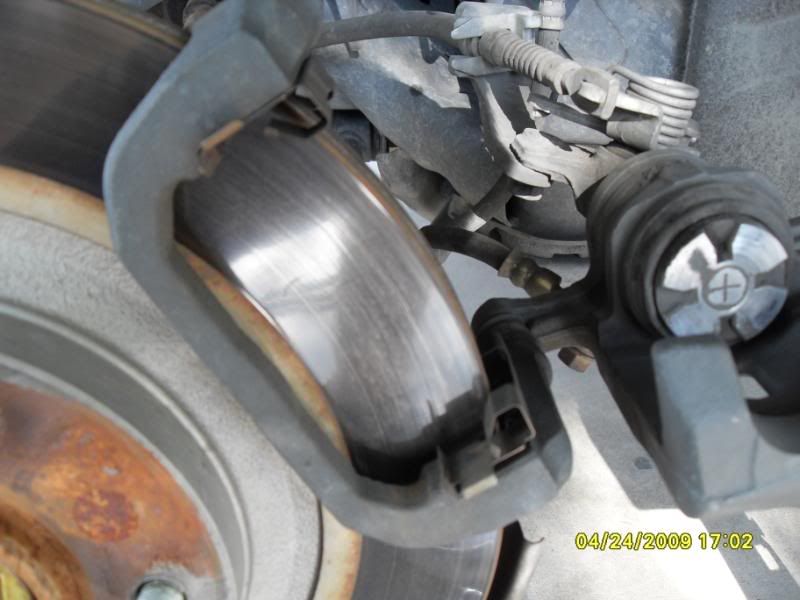
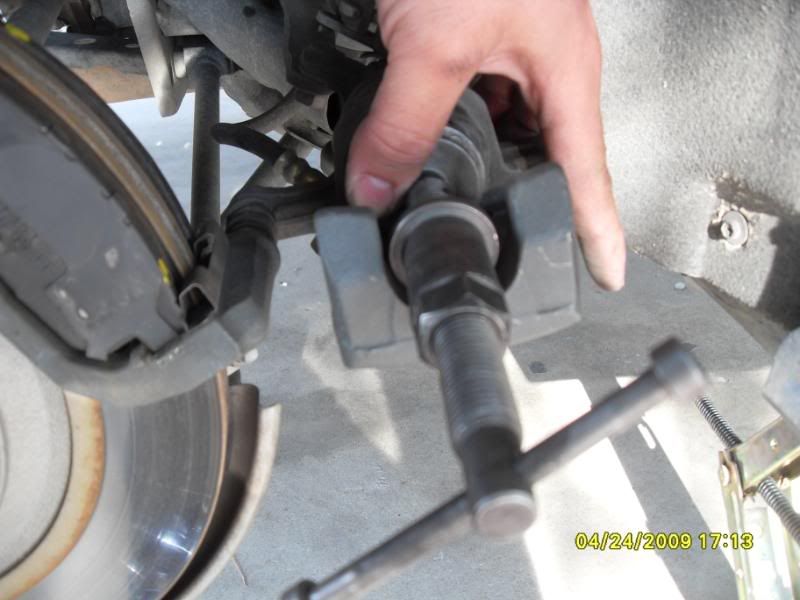
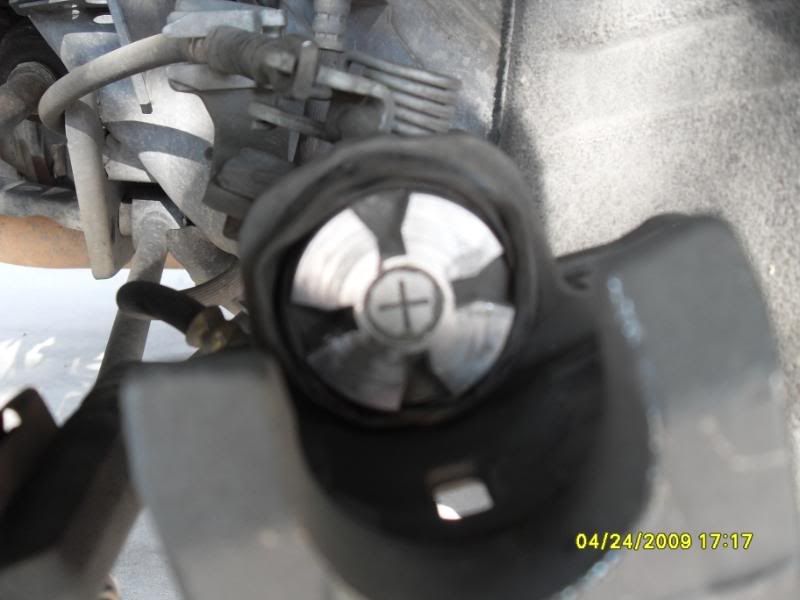
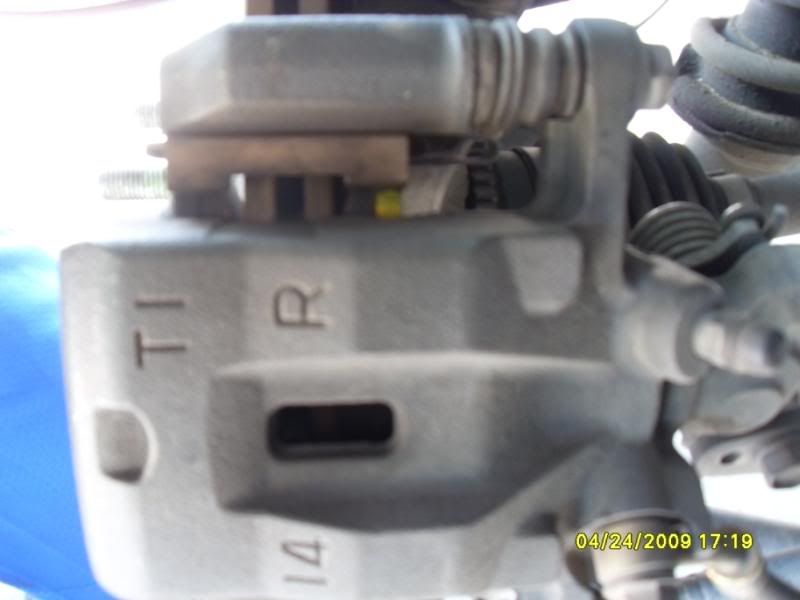
Now place the tool to the caliper piston like this. The two nipples at the end of the tool should insert into the cross in the piston. You should be here, if you are then begin to turn the tool handle in the direction of my finger (clockwise) and only turn the piston as far back as you need to be able to put the caliper back down over the pads,.
It is important the you followed the previous step and especially the underlined part. The reason i said "only as far as you need to clear the pads when you pull the caliper down is because the "+" or "cross" part of the piston needs to slide into the nipples of the back of the inner brake pad. You can see the nipples on the pads, they are next to the CE530. Heres a picture
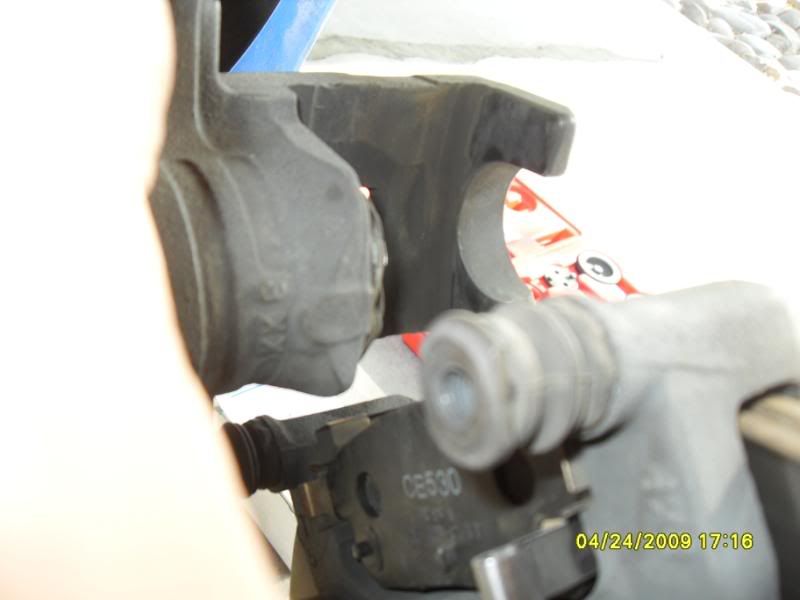
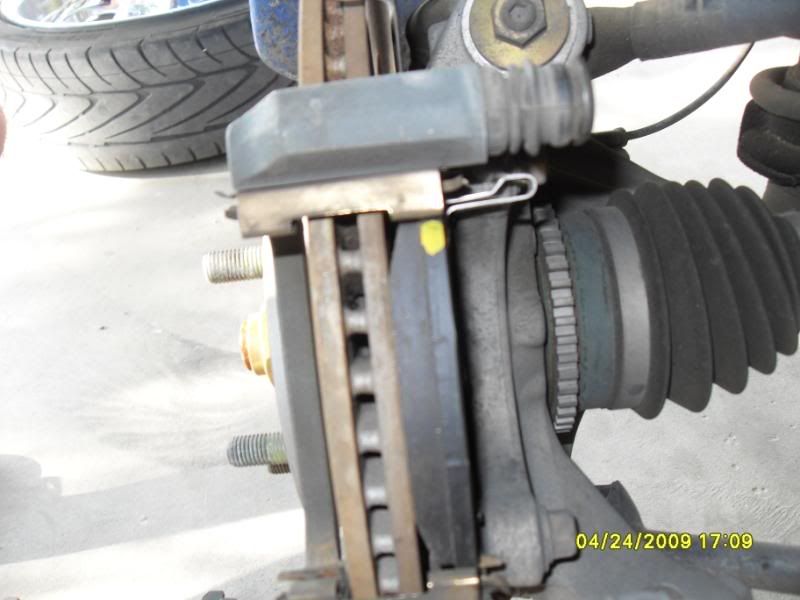
The piston "+" should be in this position for it to insert into the pad. Heres a pic
Now slide you caliper back down, it should look like this and you should have no gap between the piston and you inner brake pad. These two pictures is what you should have done.
You are also going to need a socket wrench with a 14 mm socket.
First pull out your pads you have bought. They should look like this. The smaller box is the rear, the bigger box is the front.
First take off wheel caps if you have any, and loosen lug nuts from both rear wheels (loosen do not take off!)
Now put two bricks or chocks in back of both your front wheels to keep your car from rolling back start to jack up your car. When always jacking up your cars use jacks or jack stands in pairs. I just used two jacks. Your car should look like this.
Once your nuts are loosened (lol) and your car is jacked up, remove the nuts fully. It should look like this
And if you need help use your feet to keep your wheel straight while you take off your nuts (lolz!)
Dont lose your nuts! If you have wheel caps, use the wheels caps to keep your nuts together (lol) like this.
Once you have taken both wheels off, you should see your brake system and go back to your tools and get your socket wrench with the 14mm socket it should look like this, if you grabbed a hammer put it back! (lolz jk)
First start off on the passenger side and start to remove the top caliper bolt by turning it in the direction of my finger (clockwise) it should look like this
Completely remove the top bolt, it should look like this, and do not lose it!
With the top caliper bolt removed, Now start to push ur caliper towards the front of your car like this
When you push your caliper foward you should be at this picture
Now take off your brake pads, the inner and outter and keep the metal clips on the old brake pads, it should look like this.
Now that you took out your pads your should be at this picture. If the metal clips to the calipers came off then put them back on.
Now keep you old pads with your new pads like this and transfer the metal clips on the old pads to the new pads
First get the new inner pad and insert it in the caliper. The inner pad is the only one that has a clip. Make sure the clip is at the top like this. Important: only the rear passenger side pads has the clip, that is why i said to start from the passenger side! If not u F'd up and have to start over. If you did it correct and are at this picture then continue to the next step and good job.
Now install the outter pad like this, and dont forget the clips on the pads!
With both new pads you caliper should look like this.
Once that is done, go back to the Caliper tool kit and get the HO14 attachment, it should look like this
Now get the Bolt tool and attach the HO14 Insert like this
Now place the tool to the caliper piston like this. The two nipples at the end of the tool should insert into the cross in the piston. You should be here, if you are then begin to turn the tool handle in the direction of my finger (clockwise) and only turn the piston as far back as you need to be able to put the caliper back down over the pads,.
It is important the you followed the previous step and especially the underlined part. The reason i said "only as far as you need to clear the pads when you pull the caliper down is because the "+" or "cross" part of the piston needs to slide into the nipples of the back of the inner brake pad. You can see the nipples on the pads, they are next to the CE530. Heres a picture
The piston "+" should be in this position for it to insert into the pad. Heres a pic
Now slide you caliper back down, it should look like this and you should have no gap between the piston and you inner brake pad. These two pictures is what you should have done.
Last edited by ZumnRx8; 04-24-2009 at 11:47 PM.
 04-24-2009, 11:33 PM
#2
RX8 & RX7 owner
Thread Starter
If your caliper went back down correctly and there is no gap between the piston and pads then congratulations and continue by inserting the top caliper bolt back by moving it in the direction of my finger (counterclockwise), like this
With the bolt back on and everything done correctly you should be at this picture.
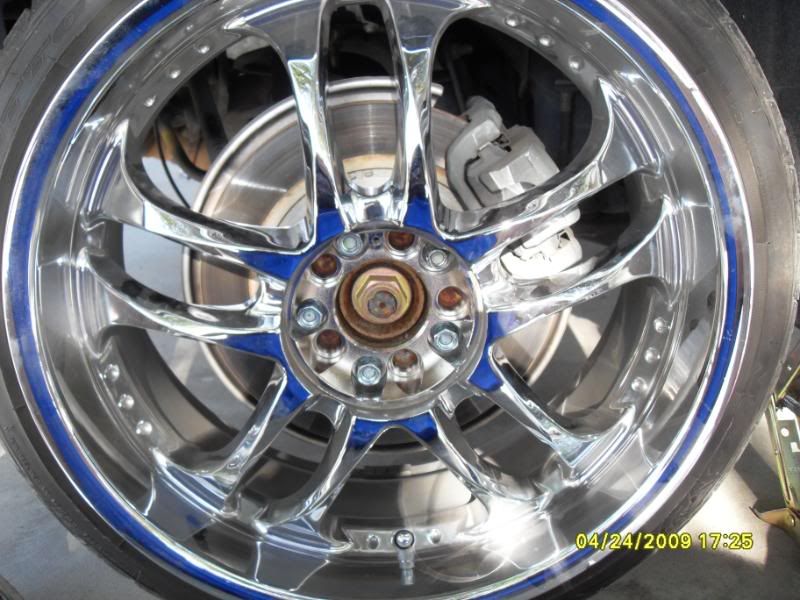
Now put the wheel back on to the passenger side and put the bolts on but not completely tight. Like this

Congratulations you are now half way and continue to the driver side rear brake system and take of the top caliper bolt in the direction of my finger (clockwise) like this
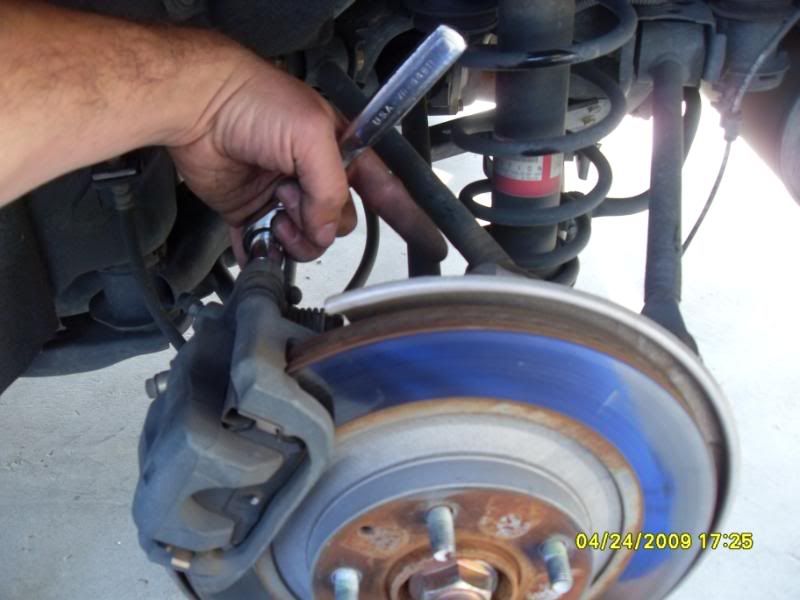
Again the bolt should look like this
Same like the other side, pull back the caliper like this
Take off the pads
Wow I needed brakes didnt I? Geeez!
Transfer the clips from the old pads to the new pads like this
Insert the pads
Get the Caliper tool kit and turn the piston in the direction of my finger (clockwise) and like I had said before, only as far back as you need to clear the pads when bringing the caliper back down.
Now bring down the caliper to where the inner pad nipples slides into the "+" of the piston. Like this
If successful insert the top bolt caliper and tighten in the direction of my finger (counterclockwise) like this
You should now be here.
Put the wheel back into position
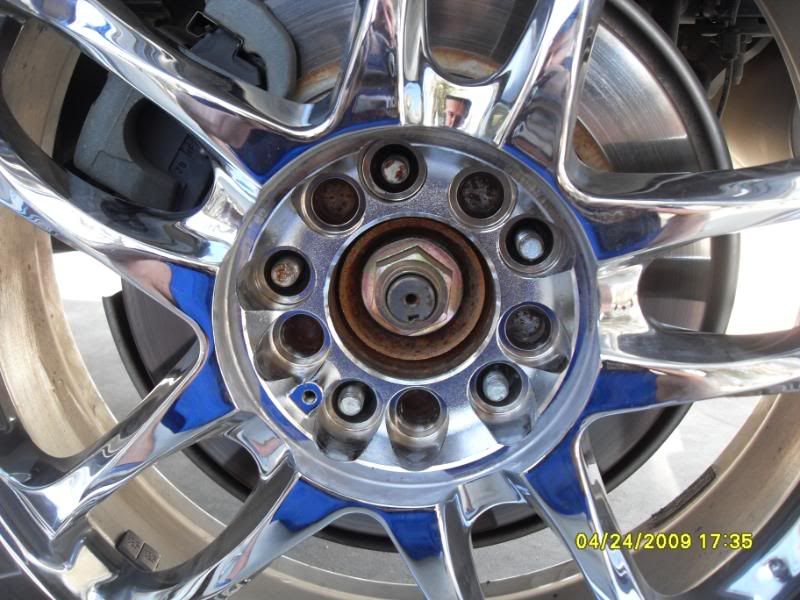
Put the nuts back on and tighten but not completely
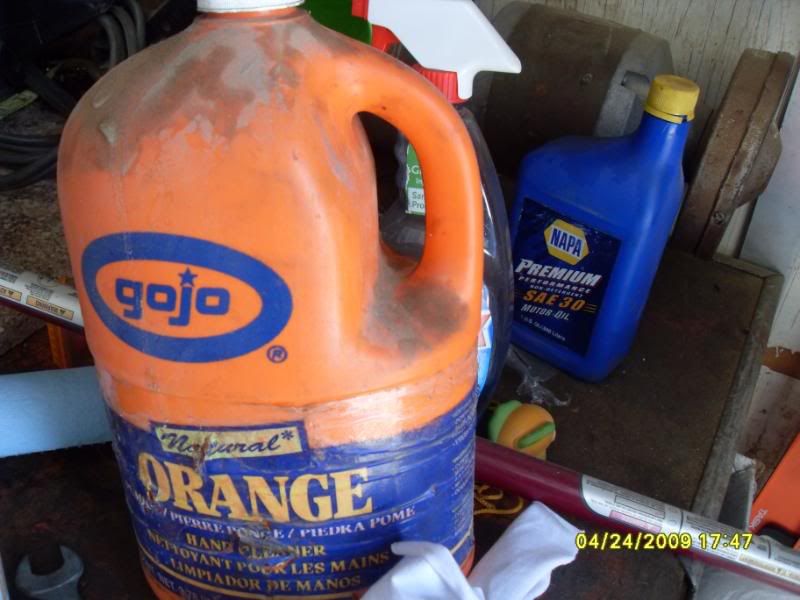
Now Lower you car back down and tighten both the rear driver and passenger side wheel nuts. Congratulations you are now done and earned some experience points! You are very welcome and if any questions PM me! P.S.! Dont forget to wash your hands with GoJO! or your wife/GF will slap you if you try touching them.
 As you can see from the time on the pics it only took me less than an hour and thats with taking pics! BOOOYA!
With the bolt back on and everything done correctly you should be at this picture.
Now put the wheel back on to the passenger side and put the bolts on but not completely tight. Like this
Congratulations you are now half way and continue to the driver side rear brake system and take of the top caliper bolt in the direction of my finger (clockwise) like this
Again the bolt should look like this
Same like the other side, pull back the caliper like this
Take off the pads
Wow I needed brakes didnt I? Geeez!
Transfer the clips from the old pads to the new pads like this
Insert the pads
Get the Caliper tool kit and turn the piston in the direction of my finger (clockwise) and like I had said before, only as far back as you need to clear the pads when bringing the caliper back down.
Now bring down the caliper to where the inner pad nipples slides into the "+" of the piston. Like this
If successful insert the top bolt caliper and tighten in the direction of my finger (counterclockwise) like this
You should now be here.
Put the wheel back into position
Put the nuts back on and tighten but not completely
Now Lower you car back down and tighten both the rear driver and passenger side wheel nuts. Congratulations you are now done and earned some experience points! You are very welcome and if any questions PM me!
P.S.! Dont forget to wash your hands with GoJO! or your wife/GF will slap you if you try touching them. As you can see from the time on the pics it only took me less than an hour and thats with taking pics! BOOOYA!
Last edited by ZumnRx8; 04-24-2009 at 11:41 PM.


 04-25-2009, 12:21 AM
#5
RX8 & RX7 owner
Thread Starter
04-25-2009, 12:22 AM
#6
Administrator
iTrader: (7)

Zumn, great DIY, grats on the Sticky status!
04-27-2009, 06:20 PM
#7
Registered
Join Date: Jan 2007
Location: MA
Posts: 13
Likes: 0
Received 0 Likes
on
0 Posts
Great DIY -thanks so much - I just had my wheel off today scoping out the project so your timing is impeccable.
I few questions:
1) I am getting new rotors, too - do I remove the entire caliper from the two bolts which are behind the caliper (i.e. not the same one you removed to just change the pads)?
2) If I decide to paint the caliper (and the dust shield behind the rotor), does anyone have any suggestions for a good technique.
3) If not painting the caliper, do they need to be cleaned with brake cleaner as part of the regular maintainance of changing the pads?
4) Best technique for bedding?
Thanks!
05-05-2009, 01:52 PM
#8
Is Nifty

I went to install my slotted rotors last night and this was very helpful. Thanks for the DIY!
If you don't have the Tools, you can take a needle nose pliers, open them enough so they fit in the slots and use them like a screw driver.
EDIT: Just be careful not to damage the Rubber Seals with the pliers.
If you don't have the Tools, you can take a needle nose pliers, open them enough so they fit in the slots and use them like a screw driver.
EDIT: Just be careful not to damage the Rubber Seals with the pliers.
Last edited by Shnifty; 05-05-2009 at 01:57 PM.
 05-05-2009, 09:56 PM
#10
Senior Member

Join Date: Jul 2003
Location: DC Metro Area, USA
Posts: 1,554
Likes: 0
Received 0 Likes
on
0 Posts
Great DIY  . Thanks much, it will be handy when I do my brakes soon.
I noticed that the rubber dusts seal around the pistons looks deformed after they were turned back in. I think the trick to prevent that is to turn them in slow and check them after each 1/4 turn.
I've used the needle nose pliers method in the past.
Shop manual says to "Verify that dust seal is installed into groove of the piston securely."
Service manual minimum thickness:
Pads: 2mm for both front/rear.
Rotors: 22mm/front , 16mm/rear.
. Thanks much, it will be handy when I do my brakes soon. I noticed that the rubber dusts seal around the pistons looks deformed after they were turned back in. I think the trick to prevent that is to turn them in slow and check them after each 1/4 turn.
I've used the needle nose pliers method in the past.
Shop manual says to "Verify that dust seal is installed into groove of the piston securely."
Service manual minimum thickness:
Pads: 2mm for both front/rear.
Rotors: 22mm/front , 16mm/rear.
05-05-2009, 10:08 PM
#11
hello, is this thing on?

Join Date: Dec 2008
Location: Utah
Posts: 240
Likes: 0
Received 0 Likes
on
0 Posts
Great DIY . Thanks much, it will be handy when I do my brakes soon.
I noticed that the rubber dusts seal around the pistons looks deformed after they were turned back in. I think the trick to prevent that is to turn them in slow and check them after each 1/4 turn.
I've used the needle nose pliers method in the past.
Shop manual says to "Verify that dust seal is installed into groove of the piston securely."
Service manual minimum thickness:
Pads: 2mm for both front/rear.
Rotors: 22mm/front , 16mm/rear.
. Thanks much, it will be handy when I do my brakes soon. I noticed that the rubber dusts seal around the pistons looks deformed after they were turned back in. I think the trick to prevent that is to turn them in slow and check them after each 1/4 turn.
I've used the needle nose pliers method in the past.
Shop manual says to "Verify that dust seal is installed into groove of the piston securely."
Service manual minimum thickness:
Pads: 2mm for both front/rear.
Rotors: 22mm/front , 16mm/rear.
05-27-2009, 11:32 PM
#12
Registered User

Join Date: May 2009
Posts: 1
Likes: 0
Received 0 Likes
on
0 Posts
that is great just what I needed as have to change the pads on mine you should think about doing a online work manual what you have done here is better than my manual I will use your step by step for doing my pads...much appreciated.
05-31-2009, 04:46 PM
#13

It's really important with the rear brakes that the piston is retracted completely into the caliper body. If it doesn't go back all the way, it appears that the parking brake actuator mechanism ( a worm gear drive of sorts) doesn't let the piston retract and release properly...and the pads will drag.
This doesn't appear to be a problem if the pads are new...they won't fit otherwise. But it has bit me in the *** when I was swapping back in used track pads
This doesn't appear to be a problem if the pads are new...they won't fit otherwise. But it has bit me in the *** when I was swapping back in used track pads


 06-01-2009, 07:00 PM
#17
Lotus Wannabe

Join Date: Jun 2008
Location: Seattle
Posts: 38
Likes: 0
Received 0 Likes
on
0 Posts
Great DIY! We need more just like this.
Question: Is the process exactly the same for front brakes. If not can someone explain the finer differences in procedure?
Question: Is the process exactly the same for front brakes. If not can someone explain the finer differences in procedure?
Last edited by wankelhead; 06-01-2009 at 07:06 PM.
06-01-2009, 10:15 PM
#19
Senior Member
Join Date: Jul 2003
Location: DC Metro Area, USA
Posts: 1,554
Likes: 0
Received 0 Likes
on
0 Posts
You need a piston compressor tool or a c-clamp (which is what I use) to push the front pistons back into the calipers.
 06-03-2009, 05:45 PM
#21
RX8 & RX7 owner
Thread Starter
Anyone else have a hard time reading it?? The front can be pushed back in with the same tool kit.... with the front you dont have to worry about lining up the "+" of the piston to slide into the inner brake pad like the rear. The front simply requires the piston to be pushed directly back in. A C- Clamp would do.
06-03-2009, 10:41 PM
#23
I read the whole thing and saw all the pics.
but seriously, put single/double space after each picture link wont hurt
oh one more thing, one day photobucket will "disable/delete" your pictures. so you might want to host them somewhere else, or just re-size them to something smaller and upload it all on this server.
I found a lot of DIYs with dead picture links for the same reason
 and most of those DIY creators are either moved on to other cars and never came back, dont have backup of the pics, or has pass away.
06-06-2009, 01:25 PM
and most of those DIY creators are either moved on to other cars and never came back, dont have backup of the pics, or has pass away.
06-06-2009, 01:25 PM
#25

Thanks to Zumn for this DIY and many others as well for nuance advice (e.g. the need for an impact tool for the front rotor frozen screws!).
Also thanks to Brice at FluidMotorSports.com for his rapid shipment of Racing Brake Sport Rotors and Hawk Ceramic pads.
Now off to bed-in .... Zoom, Zoom... quiet and sure stop
Also thanks to Brice at FluidMotorSports.com for his rapid shipment of Racing Brake Sport Rotors and Hawk Ceramic pads.
Now off to bed-in .... Zoom, Zoom... quiet and sure stop