When you click on links to various merchants on this site and make a purchase, this can result in this site earning a commission. Affiliate programs and affiliations include, but are not limited to, the eBay Partner Network.
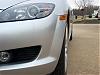
I want to give a general DIY’er approach to this and also put it in an easy location to find, also this might not be the “correct” way but it has worked for myself and others. Just did this over the past weekend and found some info but nothing very clear on how to replace. I did find the TSB from the dealer on how to replace but it also is not very descriptive.
IMPORTANT NOTE: This is somewhat easy…. but because of the thrust Torrington bearing on the Ecc shaft, if done wrong you can cause your car to become a yard ornament (need new engine).
DO NOT attempt if you are not comfortable with potentially rendering your engine useless, or if you cannot carry out steps 1-5 without a DIY to show you how.
1. Put front of car on jack stands.
2. Remove upper intake & lower intake box. Tip: for the zip ties connecting the power wire to the lower intake use a flat head at bottom twisting upwards on each side and it allows the zip tie to slide out and be reused.
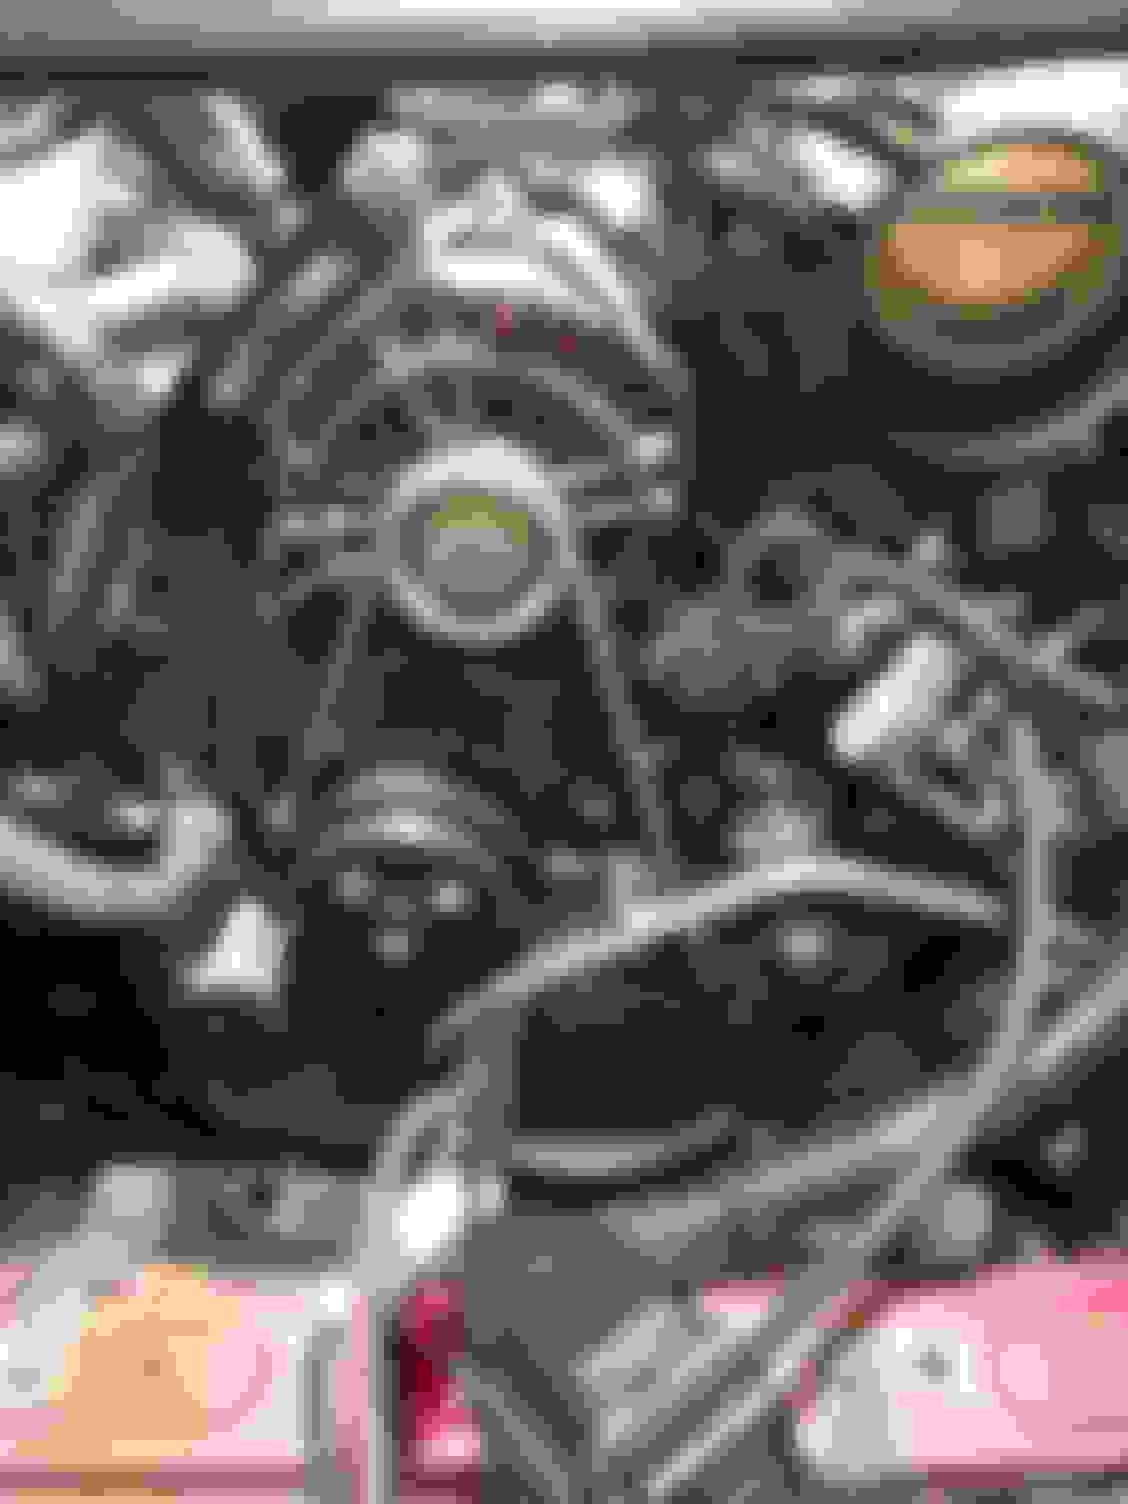
3. Remove battery and battery box. The box has 3 parts, the top is easy and just snaps in, the middle is tricky but also just clips to the bottom. The bottom has 3 10mm bolts holding it down, the two closest to the ECU box are tricky. I lifted the coolant line and used a 10mm open end gear wrench that swivels at the end.
4. Remove the A/C drive belt.. Loosen (do not remove) bolt on tensioner pulley, and then lower the tensioner using bolt at the top.
5. Remove Alternator Drive belt. Loosen bolt on the side of alternator (12mm) then use tensioner bolt on top of the alternator tensioner to lower the alternator. Tip: I had to tap alternator with a hammer to get it to start dropping.
6. Rotate main pulley till the alignment mark (middle of flattened ends) is at a ninety degree angle facing the passenger side Example: <O…
7. *A* Place a brake stop (I used a piece of wood wedged between the seat and pedal) on the clutch pedal to depress it permanently during this procedure.
8. Remove starter (One 14mm stud and One 14mm bolt and nut), I was able to slide it in between the transmission and sub frame to hold it up
9. *B* During Step 10.1 Lock flywheel and do your best to not let the shaft spin. Tip: I used a friend, holding the prybar on a flywheel tooth and wedged the bar on the transmission housing.
10. *C* Remove Pulley Lock Bolt > Ecc Shat bypass valve > Spring > Pulley. Tip: I used a half inch drive wrench with a pipe over it extending it about 3 feet. Others have used a blow torch on the bolt to heat it up to remove. Others have used impact, but I don’t see how it could be done without a swivel neck with the engine in the car.
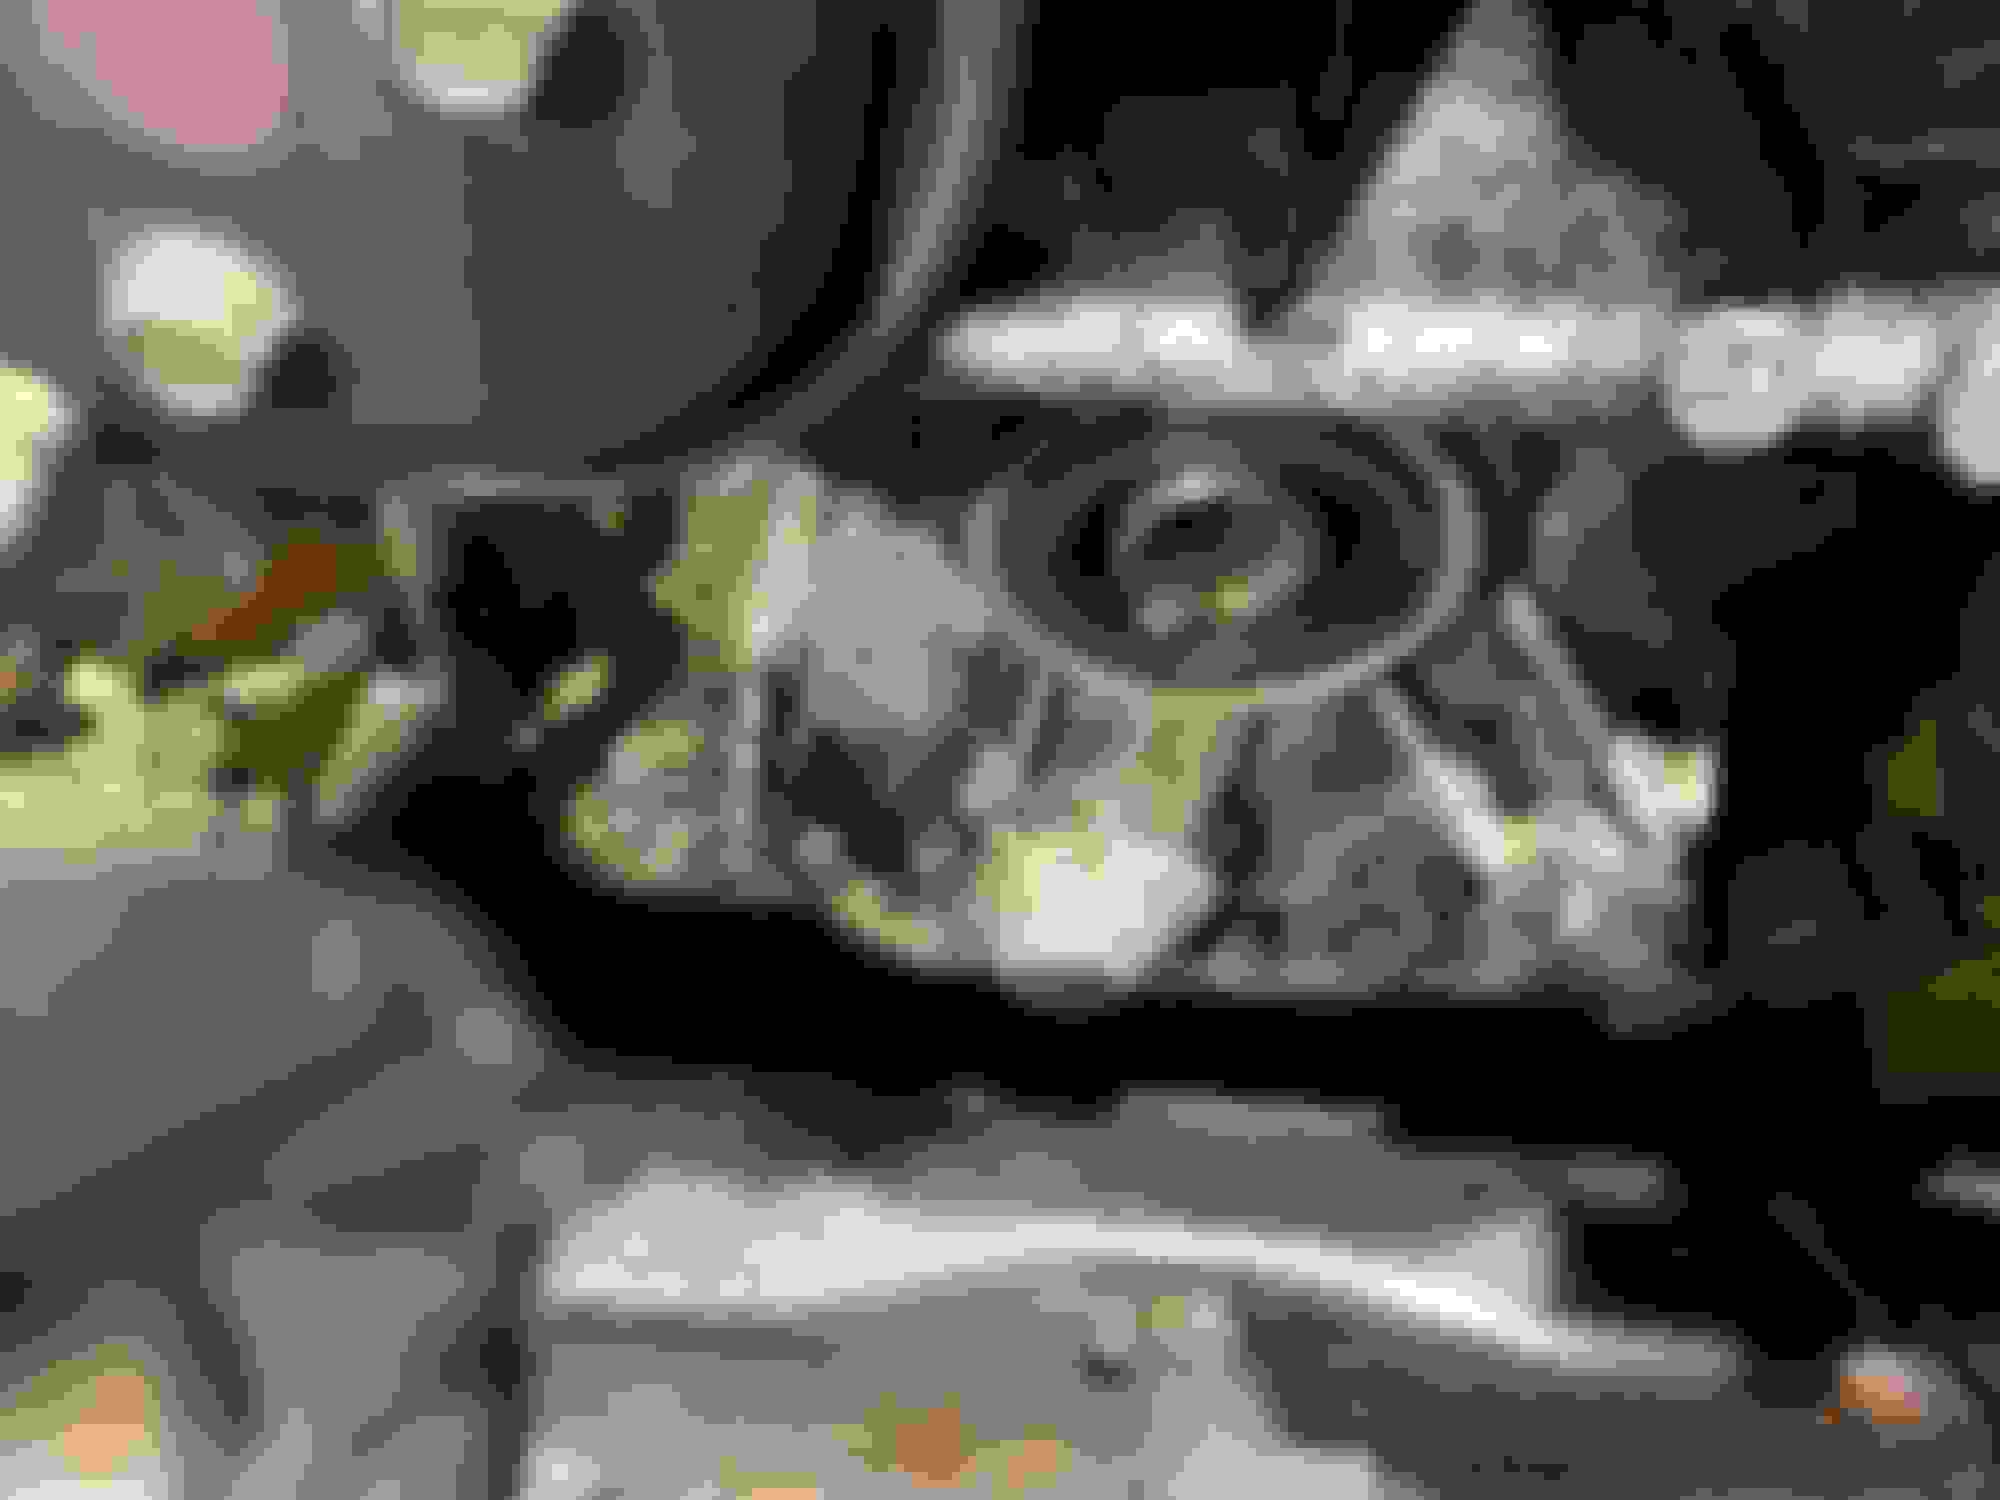
11. Remove Old Seal. Tip: I used a flat head wrapped in a rag to wedge it out of the housing.
12. Clean the housing of oil and debris & Replace with a New Seal. Tip: use a rubber mallet and tapped on the old seal over the new one in order to not damage the new seal. There will be a slight lip between the housing and new seal.
13. Lube the inside of the seal with oil.
14. Now follow steps 1-10 in reverse order. Pulley Lock Bolt Torque: Step 1> 188 ftlb Step 2> 216 ftlb
*A* Do this in order to keep the Torrington bearing correctly placed on the Eccentric shaft. The engine does not sit level. The weight of the flywheel will allow the shaft to slide away from the car and the Torrington bearing will become dislodged causing immediate engine failure.
*B* Do not use the starter cranking method as this could allow the Torrington bearing to dislodge.
*C* If the shaft key that aligns the pulley and Ecc shaft falls be sure to replace before putting the pulley back.
Disclaimer: By following this DIY you accept responsibility of any damages or harm to yourself or your vehicle, this is only a suggestion and retranslation of what I did in order to help others attempt.
I know of 2 8's that need this. Mazda had a tool for holding the flywheel. It sounds like the clutch brace is the way to go to keep the bearings seated. Great idea.
Questions:
Anyone else tried it? I found this in the forum. It has some detail on why the clutch pedal press is a good idea. I think this is how Ivory Mazda killed Silver Streak's car.
We just did 2 of these today following the process above. All went well. Both cars run. First one was about 2 hours, second, other that the custom reassembly, was closer to 1.
Observations:
The torch is not to deal with locktite, it is to deal with the sealer that is placed between the bolt and the hub. Based on how they go together, a well glued hub and bolt is not going to come off easy. A butane torch for half a minute or so around the flange part of the bolt really seems to soften up the sealer. Um, the bolt will be freaking hot when it does come off. So will the hub.
a small shim, like you would use to level cabinets, can be cut to fit between the back of the pressure plate and the edge of the hole for the starter as secondary insurance for the ES moving back. The stick on the clutch pedal method is the primary one. Do this after the bolt is cracked loose.
Be nice to whom ever is holding a bar against the flywheel. That is a hard job.
Make sure you are perfectly clear with any help that the pin is supposed to stay in, not that you are worried it will drop out. My assistant handed it to me and said, basically, it did not fall out. It carefully went back in. And everything seems to be OK.
The drawings all say that the pin is on the bottom of the shaft, no idea why, but it seemed strange. We checked several times. It worked.
This is the perfect time to clean the ESS. It is right there.
I pulled the pulleys off to make things easier to handle. They are keyed, they will go on both ways, but the bolts will only go in if you get them right. They were rather light, I am surprised that the light pulleys will make much difference.
Torque on the bolt. a 30" long breaker bar was deflecting a good 2 to 3 inches with 2 people pulling hard. The 400 foot pound estimate is likely not far off.
Some kind of seal puller might be nice, I used a set of bent nose long reach needle nose pliers to get it out. There is no way you can do it like in the TSB while the engine is in the car.
Also, the custom clutch pedal depression tool look an awful lot like a 29.5 inch piece of 1x2 pine braced against the outboard driver seat mount, after the plastic cover is pulled off.
We just did 2 of these today following the process above. All went well. Both cars run. First one was about 2 hours, second, other that the custom reassembly, was closer to 1.
Observations:
The torch is not to deal with locktite, it is to deal with the sealer that is placed between the bolt and the hub. Based on how they go together, a well glued hub and bolt is not going to come off easy. A butane torch for half a minute or so around the flange part of the bolt really seems to soften up the sealer. Um, the bolt will be freaking hot when it does come off. So will the hub.
a small shim, like you would use to level cabinets, can be cut to fit between the back of the pressure plate and the edge of the hole for the starter as secondary insurance for the ES moving back. The stick on the clutch pedal method is the primary one. Do this after the bolt is cracked loose.
Be nice to whom ever is holding a bar against the flywheel. That is a hard job.
Make sure you are perfectly clear with any help that the pin is supposed to stay in, not that you are worried it will drop out. My assistant handed it to me and said, basically, it did not fall out. It carefully went back in. And everything seems to be OK.
The drawings all say that the pin is on the bottom of the shaft, no idea why, but it seemed strange. We checked several times. It worked.
This is the perfect time to clean the ESS. It is right there.
I pulled the pulleys off to make things easier to handle. They are keyed, they will go on both ways, but the bolts will only go in if you get them right. They were rather light, I am surprised that the light pulleys will make much difference.
Torque on the bolt. a 30" long breaker bar was deflecting a good 2 to 3 inches with 2 people pulling hard. The 400 foot pound estimate is likely not far off.
Some kind of seal puller might be nice, I used a set of bent nose long reach needle nose pliers to get it out. There is no way you can do it like in the TSB while the engine is in the car.
Thanks again for the info.
green,
thanks again for the hospitality and making it very easy to get this thing done.. let me know how the midpipe works out.
a small shim, like you would use to level cabinets, can be cut to fit between the back of the pressure plate and the edge of the hole for the starter as secondary insurance for the ES moving back. The stick on the clutch pedal method is the primary one. Do this after the bolt is cracked loose.
Quoted!
so i can break the nut loose then before removal, block the clutch and flywheel to keep it from moving????
Finally got around to doing my front seal today. Took me about an hour not including cleaning up the residual oil but all went well. Also installed an Atkins thermal pellet while I was in there. I forgot to take an after picture with the new seal installed.
 05-30-2013, 01:00 PM