
DIY: Cheap RPF1 Center Caps


Thread Starter
Mile High Eight
Joined: Jun 2011
Posts: 255
Likes: 0
From: Denver, CO
DIY: Cheap RPF1 Center Caps
**This DIY is based off Black Enkei RPF1's, with a 73mm bore diameter**
If you, like me, find the official enkei rpf1 center caps ridiculous in both price and looks, then you have come to the right place.
Total cost of these center caps is less than $25.00.
First thing to do is buy the center caps. These are Honda center caps that come from any of the follow according to centercaps.net:
2003-2009 Honda Pilot
2003-2009 Honda Odyssey
2003-2009 Honda Element
2004-2009 Honda Civic
Part number is 44732-S9A-A00 or 44732S9AA000 (use this when searching ebay).
You can find these on ebay for $16.99 for a set of four. Check out seller 00hpf200503. They come from China, so it takes about 3 weeks, but they are exactly as described, and brand new.
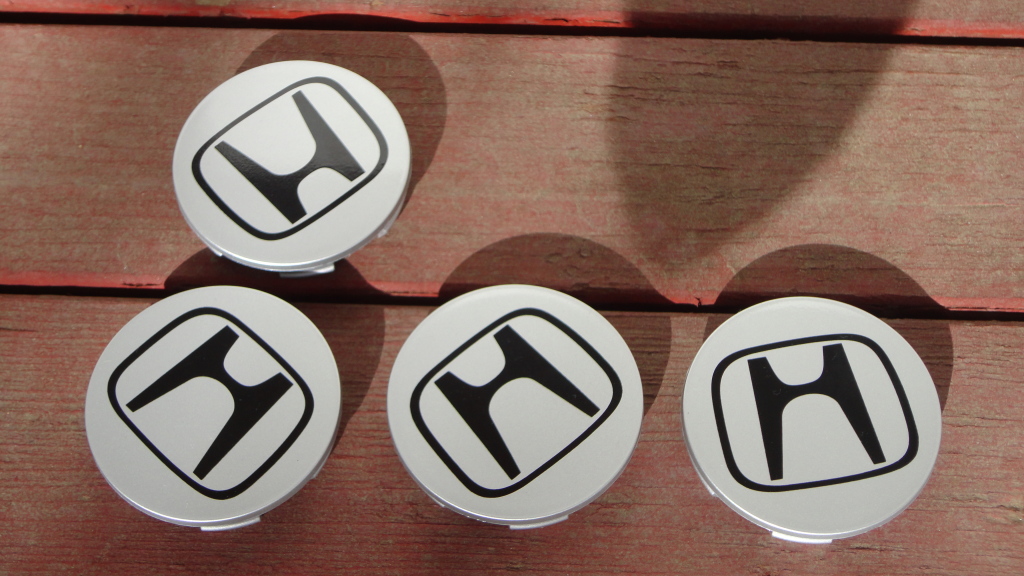
Figure 1: Honda Center Caps
(Image attachment 1 - DSC00069_sm)
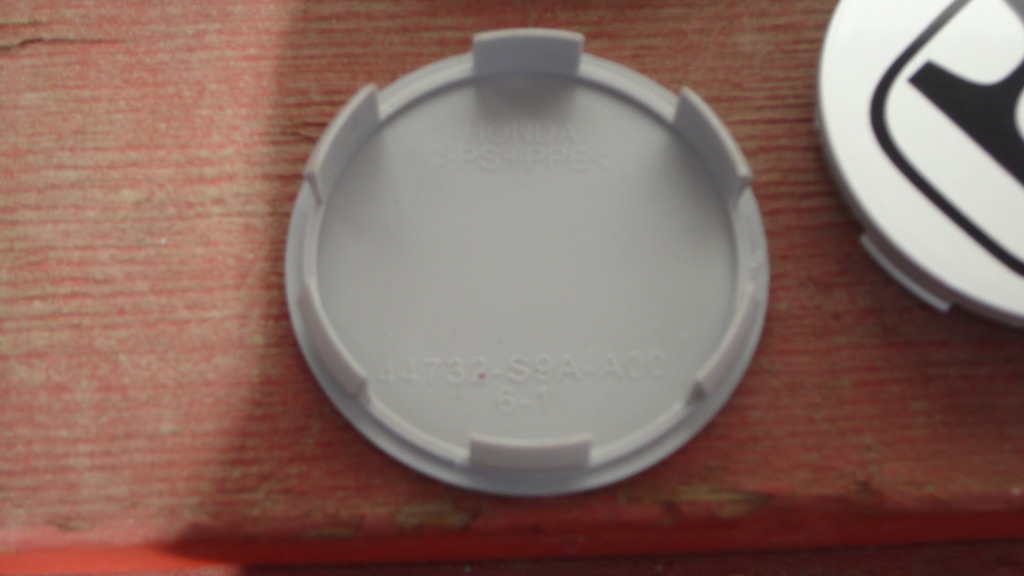
Figure 2: Honda Center Cap Part Number
(Image attachment 2 - DSC00070_sm)
The next step is to knock down the face of these to bare plastic. The Honda H is painted on after the fact, so it has a slight raise in elevation which would be visible if you were to paint directly over them. So take some 80 grit, and give it a pretty good rough up. Finish up with some higher grit paper to smooth everything out.
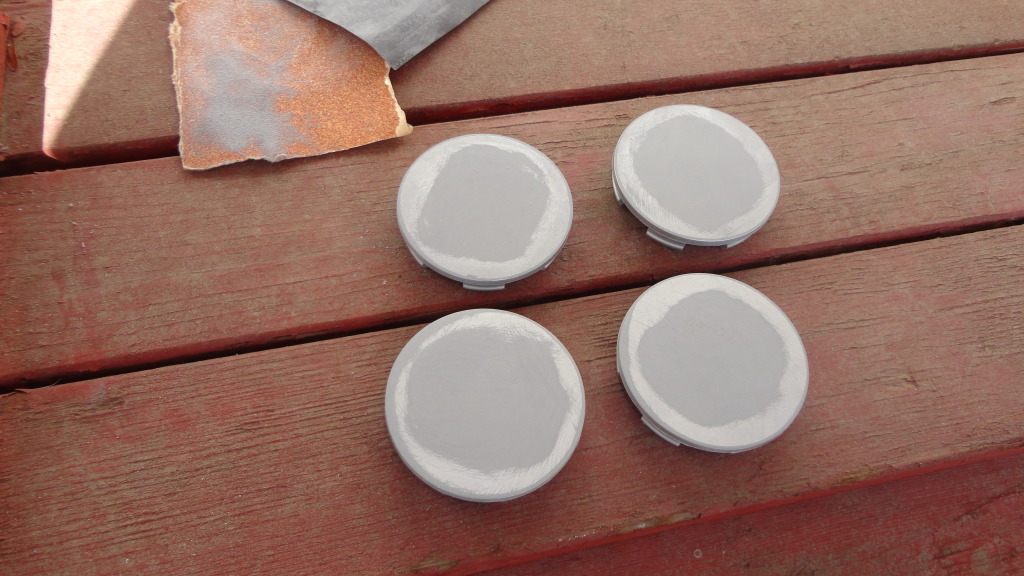
Figure 3: Sanded Honda Center Caps
(Image attachment 3 - DSC0071_sm)
Next comes painting. The closest paint match I could find to the enkei black is Rust-oleum Satin. It isn't an exact, but pretty close. I bought this can at Lowe's, for $4.50. I don't know what color would match best for any other color, but I am sure it wouldn't be hard to find.
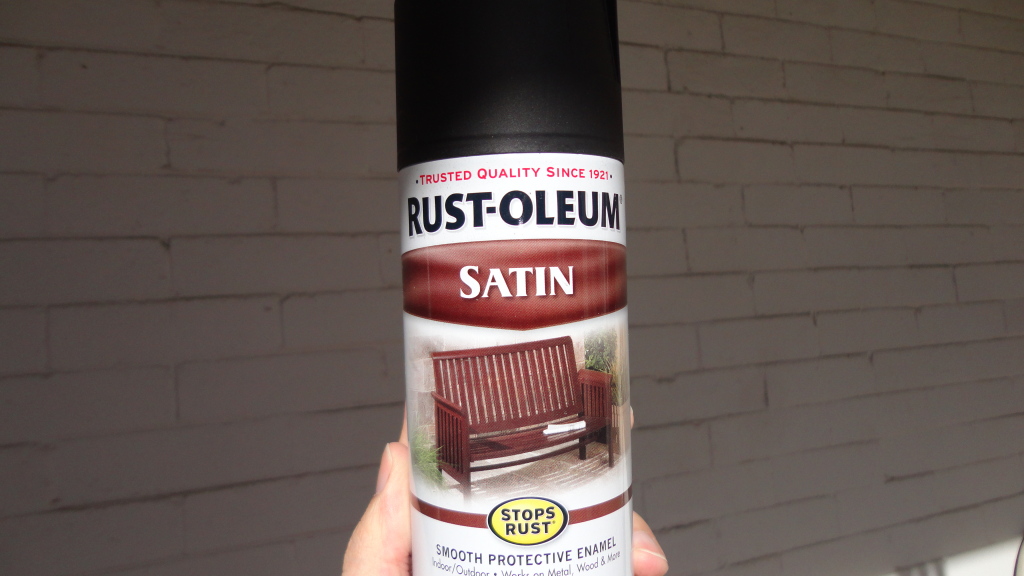
Figure 4: Rust-oleum Satin Black Spray Paint
(Image attachment 4 - DSC0074_sm)
I taped the prongs so that they didn't get a coat of paint. This is already a tight fit, and adding that extra layer would only increase this problem. Plus, it would just chip off when you put them on or take them off in the future.
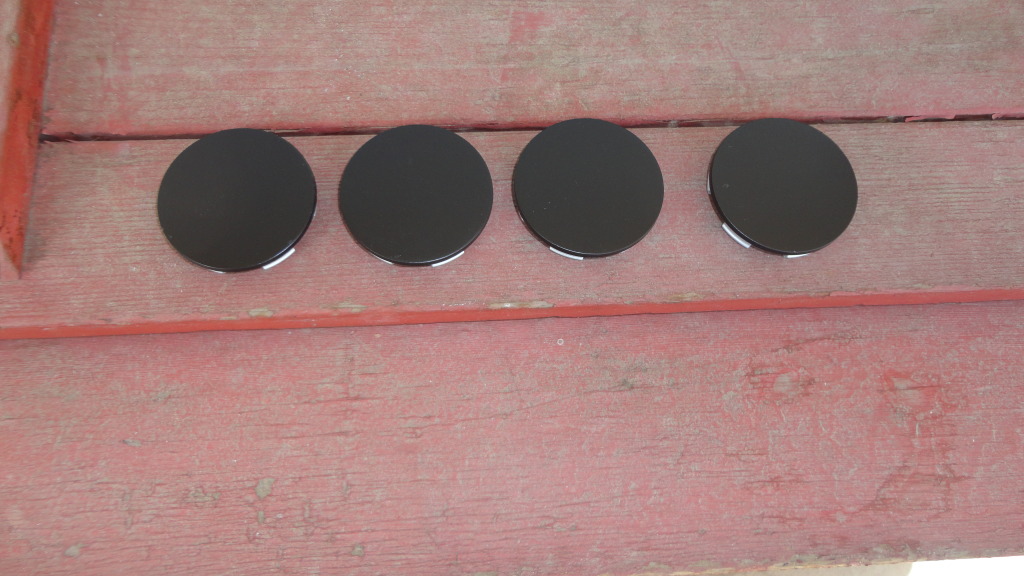
Figure 5: Finished Painting
(Image attachment 5 - DSC0075_sm)
If you, like me, find the official enkei rpf1 center caps ridiculous in both price and looks, then you have come to the right place.
Total cost of these center caps is less than $25.00.
First thing to do is buy the center caps. These are Honda center caps that come from any of the follow according to centercaps.net:
2003-2009 Honda Pilot
2003-2009 Honda Odyssey
2003-2009 Honda Element
2004-2009 Honda Civic
Part number is 44732-S9A-A00 or 44732S9AA000 (use this when searching ebay).
You can find these on ebay for $16.99 for a set of four. Check out seller 00hpf200503. They come from China, so it takes about 3 weeks, but they are exactly as described, and brand new.
Figure 1: Honda Center Caps
(Image attachment 1 - DSC00069_sm)
Figure 2: Honda Center Cap Part Number
(Image attachment 2 - DSC00070_sm)
The next step is to knock down the face of these to bare plastic. The Honda H is painted on after the fact, so it has a slight raise in elevation which would be visible if you were to paint directly over them. So take some 80 grit, and give it a pretty good rough up. Finish up with some higher grit paper to smooth everything out.
Figure 3: Sanded Honda Center Caps
(Image attachment 3 - DSC0071_sm)
Next comes painting. The closest paint match I could find to the enkei black is Rust-oleum Satin. It isn't an exact, but pretty close. I bought this can at Lowe's, for $4.50. I don't know what color would match best for any other color, but I am sure it wouldn't be hard to find.
Figure 4: Rust-oleum Satin Black Spray Paint
(Image attachment 4 - DSC0074_sm)
I taped the prongs so that they didn't get a coat of paint. This is already a tight fit, and adding that extra layer would only increase this problem. Plus, it would just chip off when you put them on or take them off in the future.
Figure 5: Finished Painting
(Image attachment 5 - DSC0075_sm)
Last edited by Hydr0nium; Mar 31, 2012 at 03:38 PM.
Thread Starter
Mile High Eight
Joined: Jun 2011
Posts: 255
Likes: 0
From: Denver, CO
Optional Step 1:
The caps that will go in your rear wheels will not sit flush to the rim due to the hub nut sitting further out than the rotor. So, if you have a rotory tool, just knock down the back side of the center cap about an 1/8". Otherwise, you can just live with the small gap (that isn't noticeable unless you are real close, and at the right angle).
Optional Step 2:
Go to a local vinyl shop, and have them print up some emblems of your choice, in a color of your choice. Apply these to the center caps after the paint has fully dried.
I will probably do this later, but am worried about cluttering up the clean look. Still unsure of doing the mazda M, or the enkei logo.
Lastly, you are ready to install the center cap. These are a tight fit, and require you to put one side in first, then push the other side in. Unfortuantely, these do seem to have the ability to chip your finish--but it will be entirely covered by the cap so no one will know. The bright side is they will not come off unless you intend them to.
Here is a test fit and color comparison:
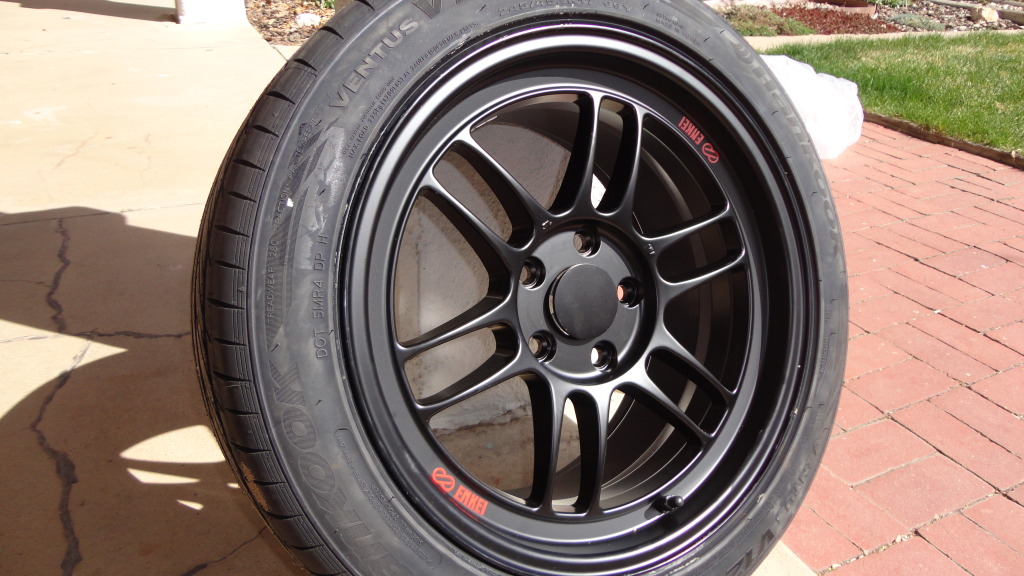
Figure 6: Test Fit of Center Cap
(Image Attachment 1 - DSC00076_sm)
And finally, installed:
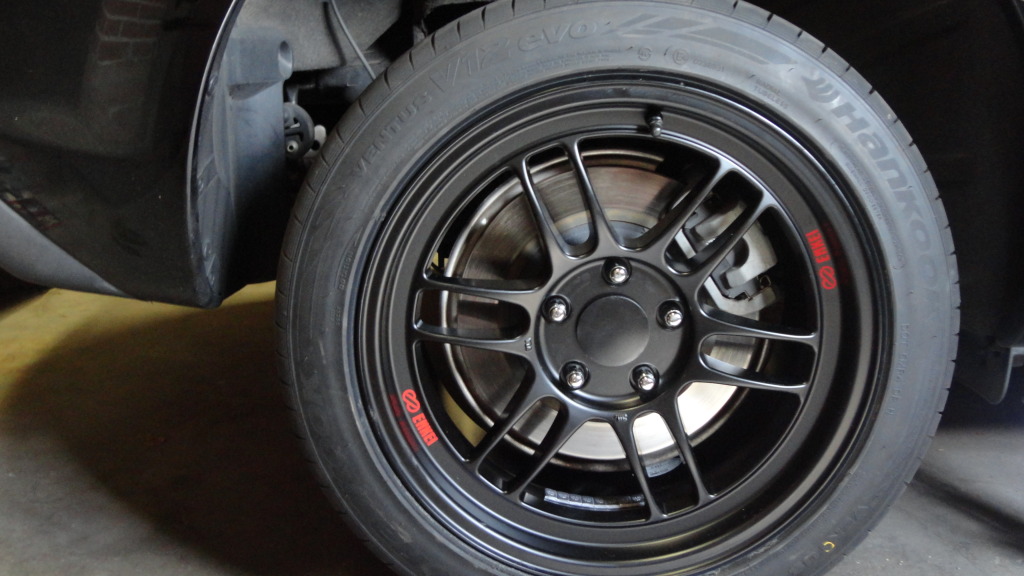
Figure 7: Center Cap Installed, Wheel Mounted
(Image Attachment 2 - DSC00081_sm)
Total cost for center caps and paint:
~$20.00
Total cost for center caps, paint, and vinyl emblems:
~$25.00 - $30.00
Total Time:
Prep - 15 min
Paint - 30 Min (3 coats)
Dry - 2-3 Hours, more is better
Install - 5 min
The caps that will go in your rear wheels will not sit flush to the rim due to the hub nut sitting further out than the rotor. So, if you have a rotory tool, just knock down the back side of the center cap about an 1/8". Otherwise, you can just live with the small gap (that isn't noticeable unless you are real close, and at the right angle).
Optional Step 2:
Go to a local vinyl shop, and have them print up some emblems of your choice, in a color of your choice. Apply these to the center caps after the paint has fully dried.
I will probably do this later, but am worried about cluttering up the clean look. Still unsure of doing the mazda M, or the enkei logo.
Lastly, you are ready to install the center cap. These are a tight fit, and require you to put one side in first, then push the other side in. Unfortuantely, these do seem to have the ability to chip your finish--but it will be entirely covered by the cap so no one will know. The bright side is they will not come off unless you intend them to.
Here is a test fit and color comparison:
Figure 6: Test Fit of Center Cap
(Image Attachment 1 - DSC00076_sm)
And finally, installed:
Figure 7: Center Cap Installed, Wheel Mounted
(Image Attachment 2 - DSC00081_sm)
Total cost for center caps and paint:
~$20.00
Total cost for center caps, paint, and vinyl emblems:
~$25.00 - $30.00
Total Time:
Prep - 15 min
Paint - 30 Min (3 coats)
Dry - 2-3 Hours, more is better
Install - 5 min
Last edited by Hydr0nium; Mar 31, 2012 at 03:35 PM.


Thread
Thread Starter
Forum
Replies
Last Post
ShellDude
RX-8 Parts For Sale/Wanted
5
Oct 1, 2015 09:55 PM
{WTB/WTT} WTB Right Undertray Riser and Guard
archon
RX-8 Parts For Sale/Wanted
3
Oct 1, 2015 06:08 AM